After the upholstery
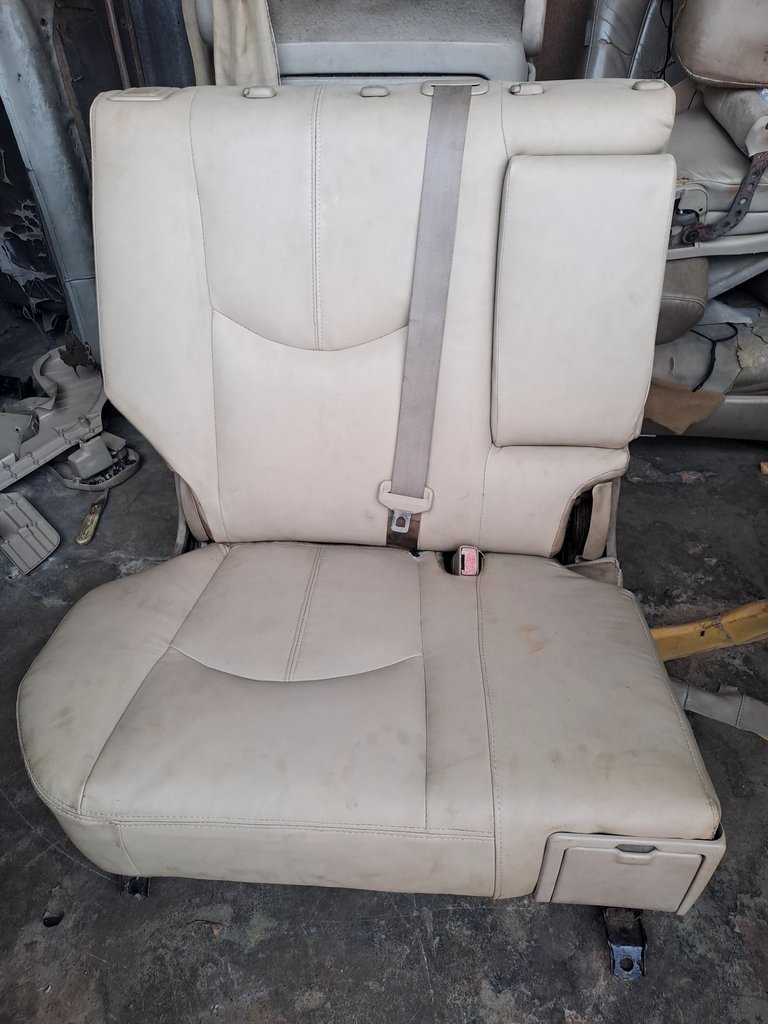
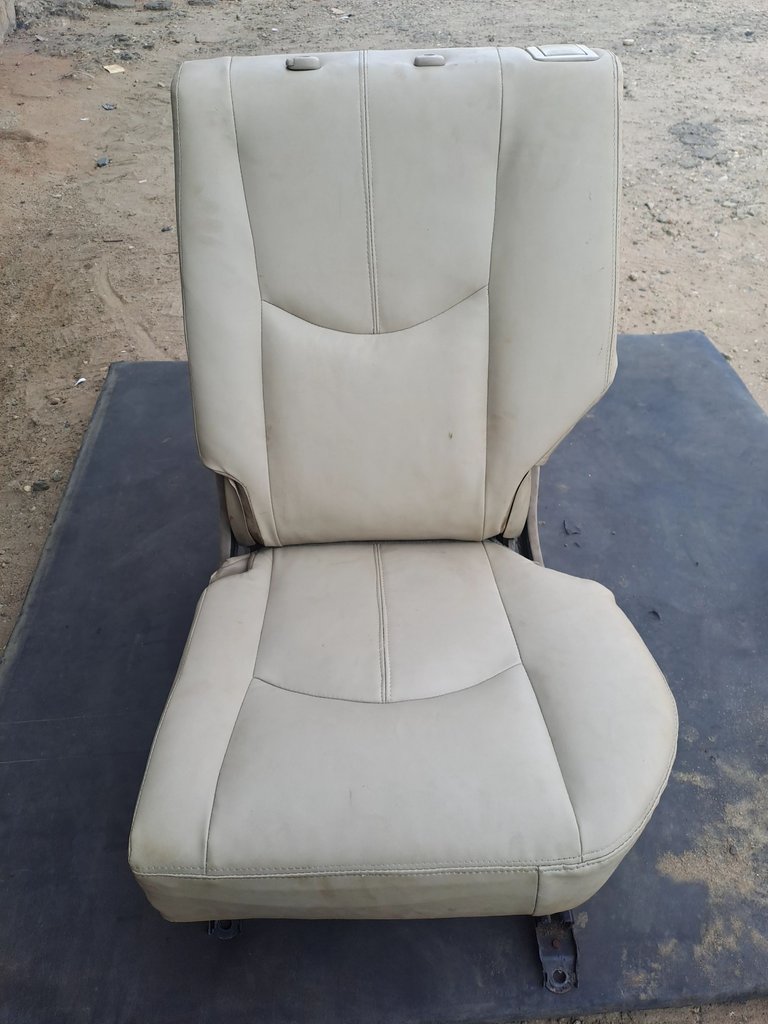
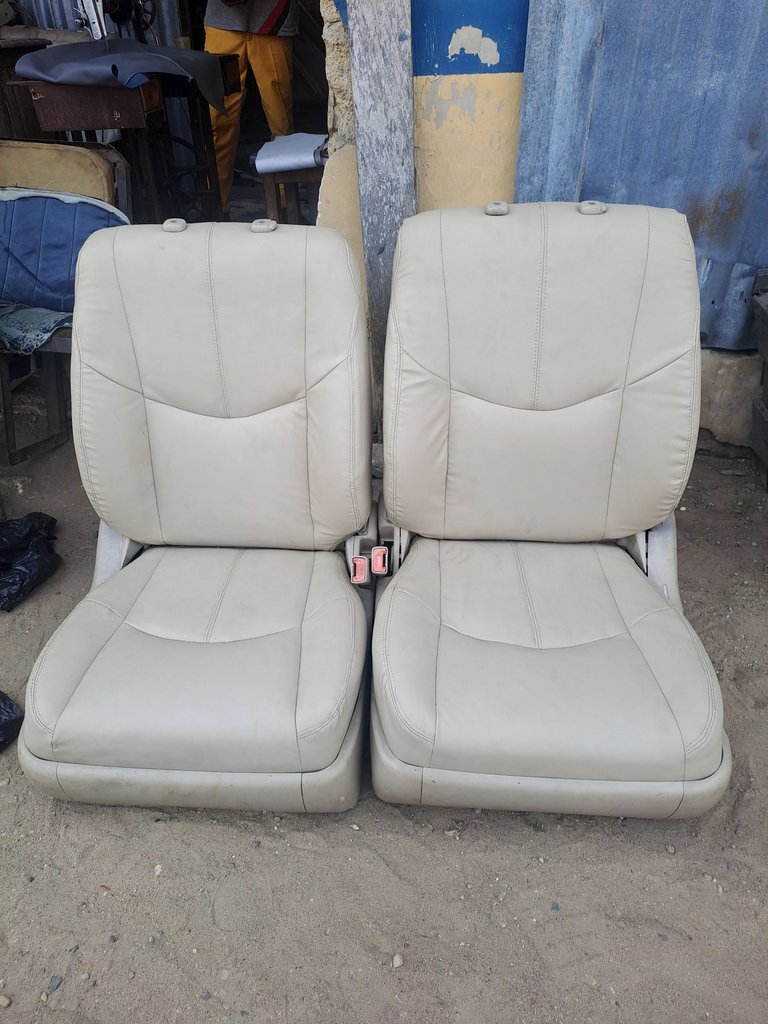
*Before the upholstery"
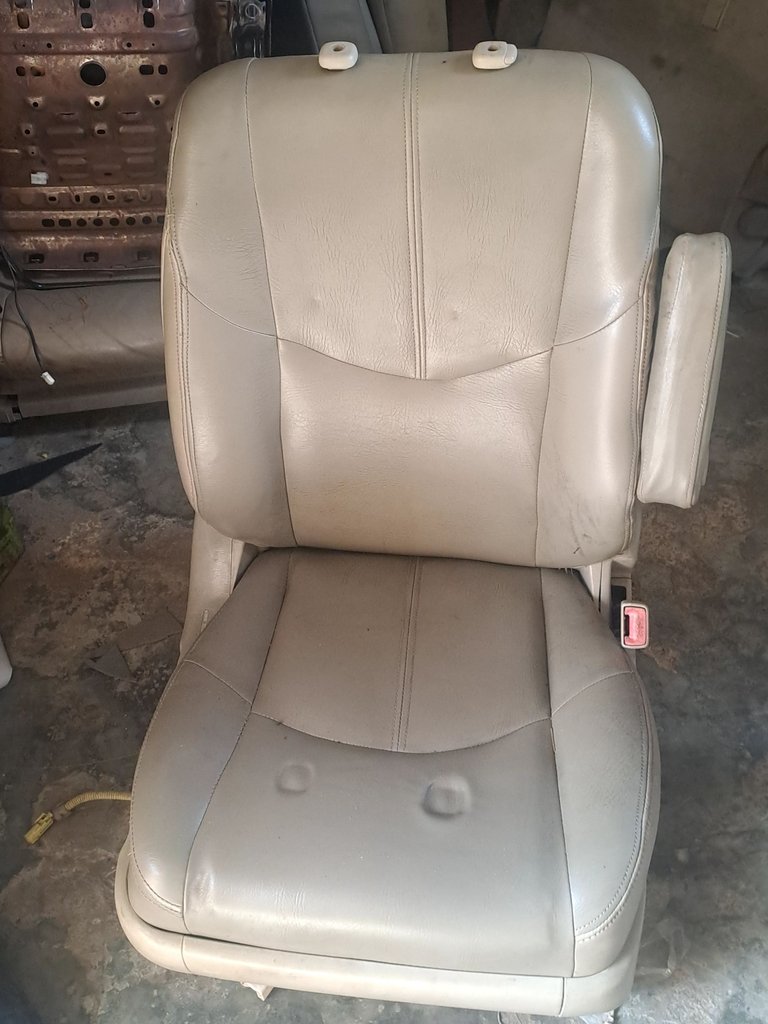
You all know this is Christmas period, everyone is making preparation to travel with their car to their village so for that everyone one to make their car interior look neat, this very Lexus seat was giving to me by a customer last week and i round it up on Saturday so i chose to share it today and believe you will be happy to read from me and also learn from me.
Sewing of car seat is something very simple in which if you determine to do it, you can do it although is somehow stressfull because of bending down to do everything and you will end up having waist pain.
Let get to the process
Before then i will love to list some of the material i used.
- new leather
- sewing machine
- star and flat screwdriver
- pliers
- scissors
- clips
- sewing tape
- chalk.
- spanners Etc
I will be using the front seat for the steps description since the all have the same steps.
Seat before

I use spanners to lose the man seat from the back just to get Access to all hidden part of the seat, see photo.
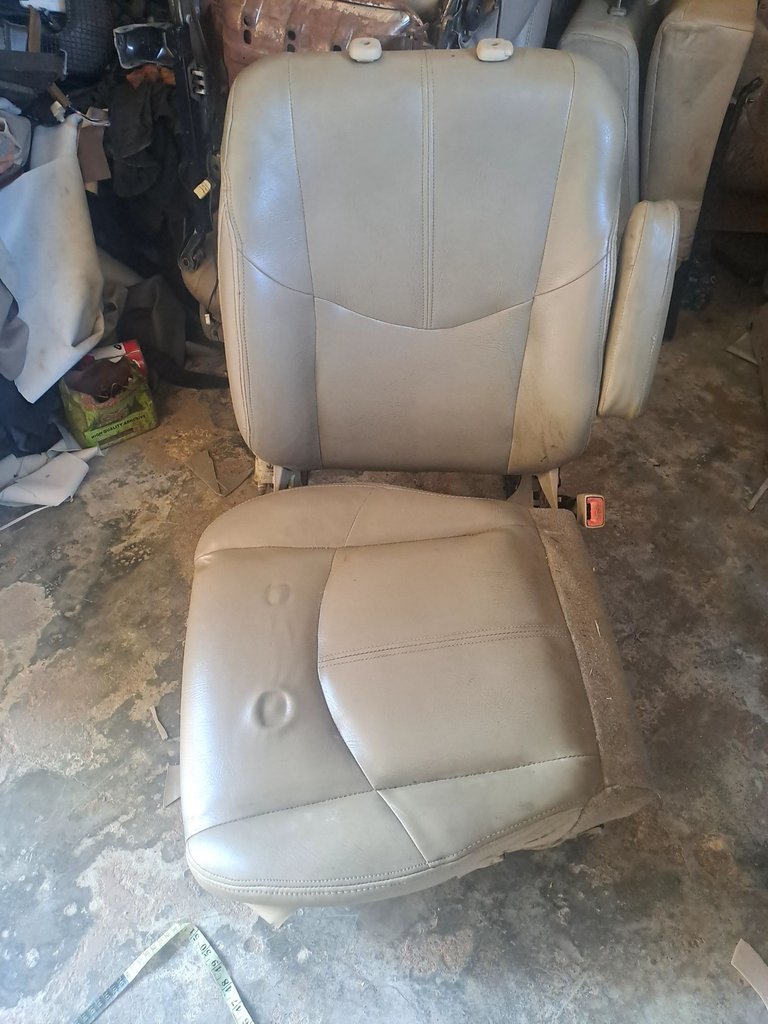
I then use a measurement tape to measure of the vertical and horizontal length of each pattern (joining) of the seat and the write it down with the help of chalk.
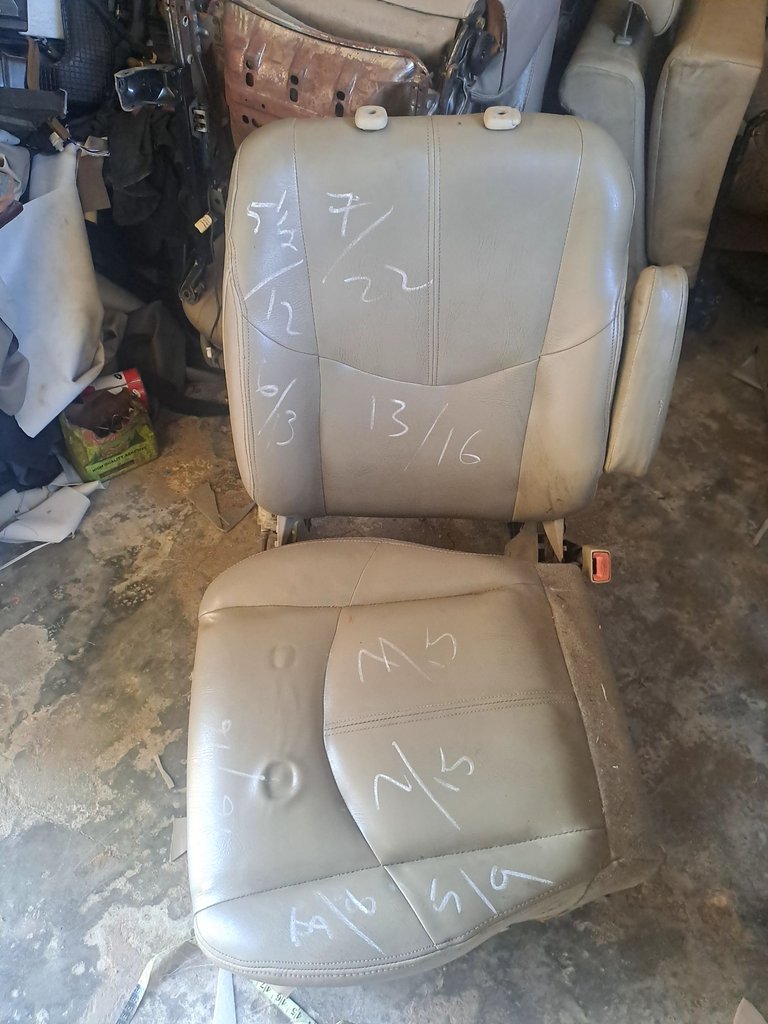
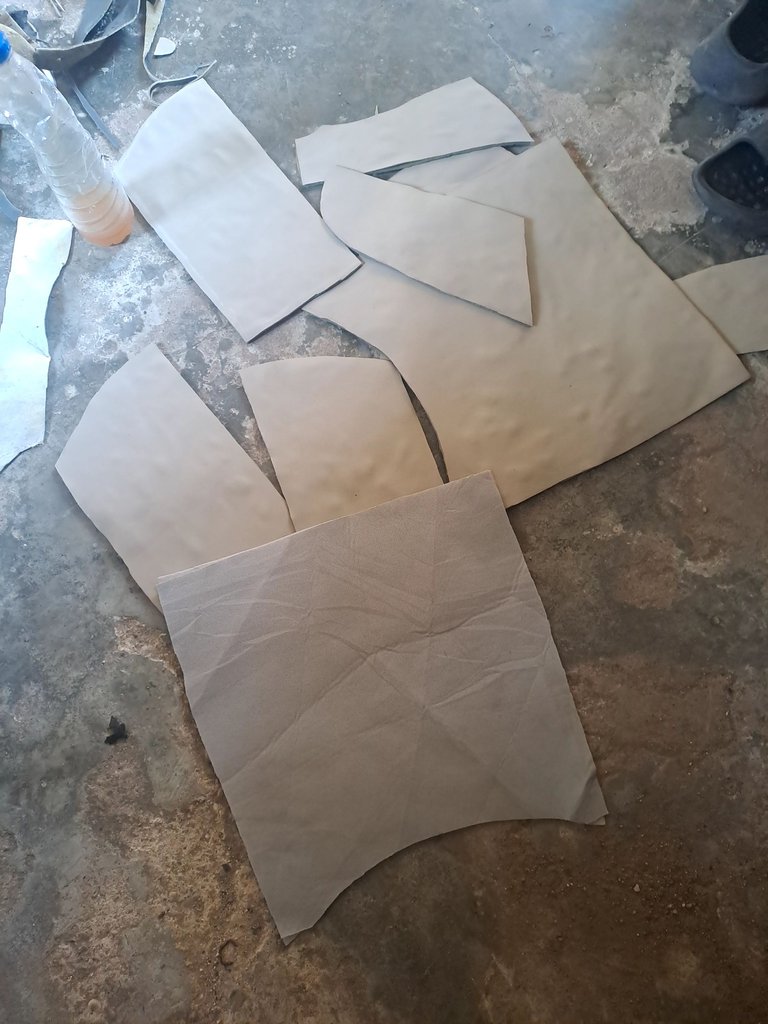
I then transfer the measurements to the new leather be marking out the measurements.
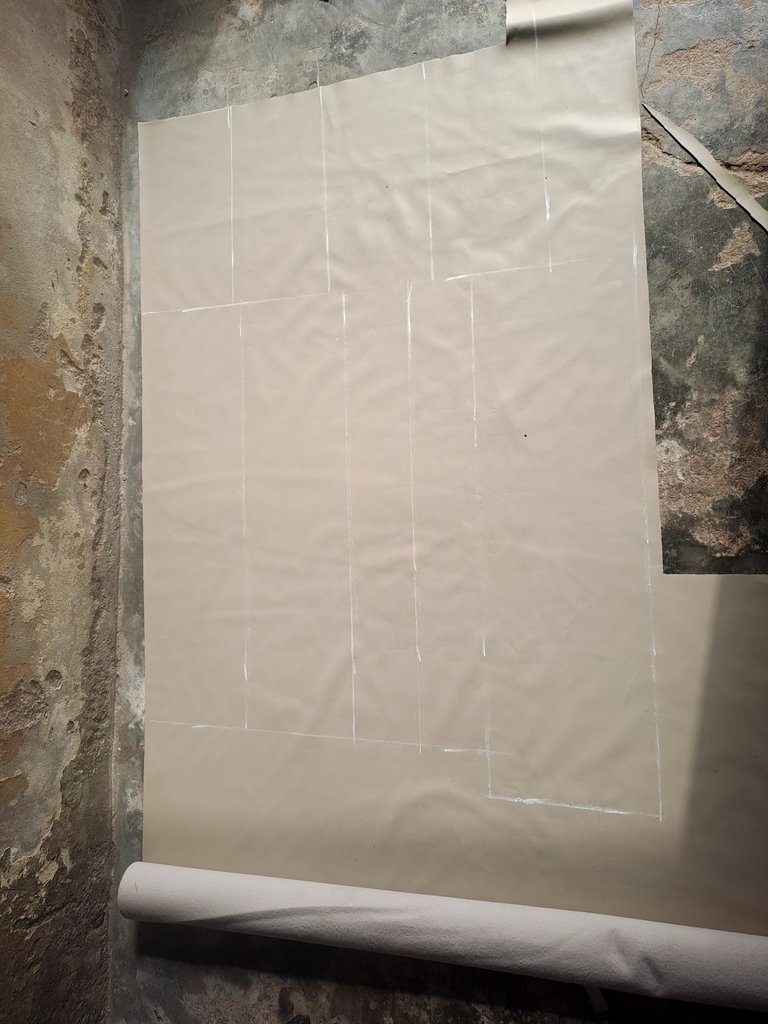
I then cut them out with the help of scissors.
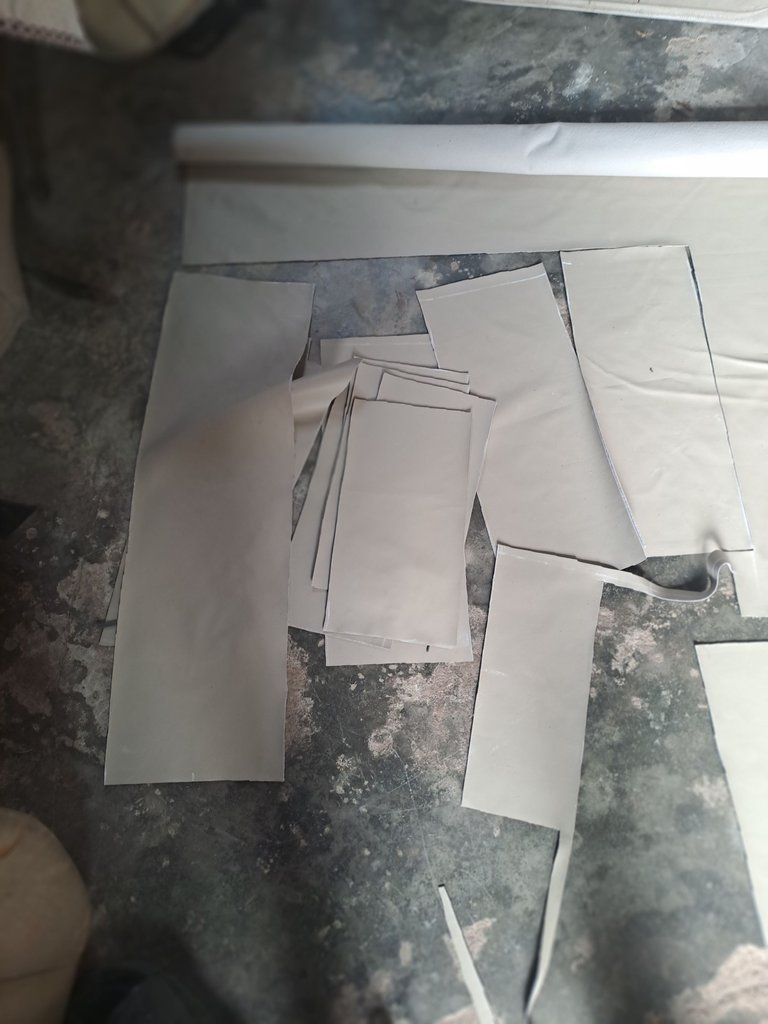
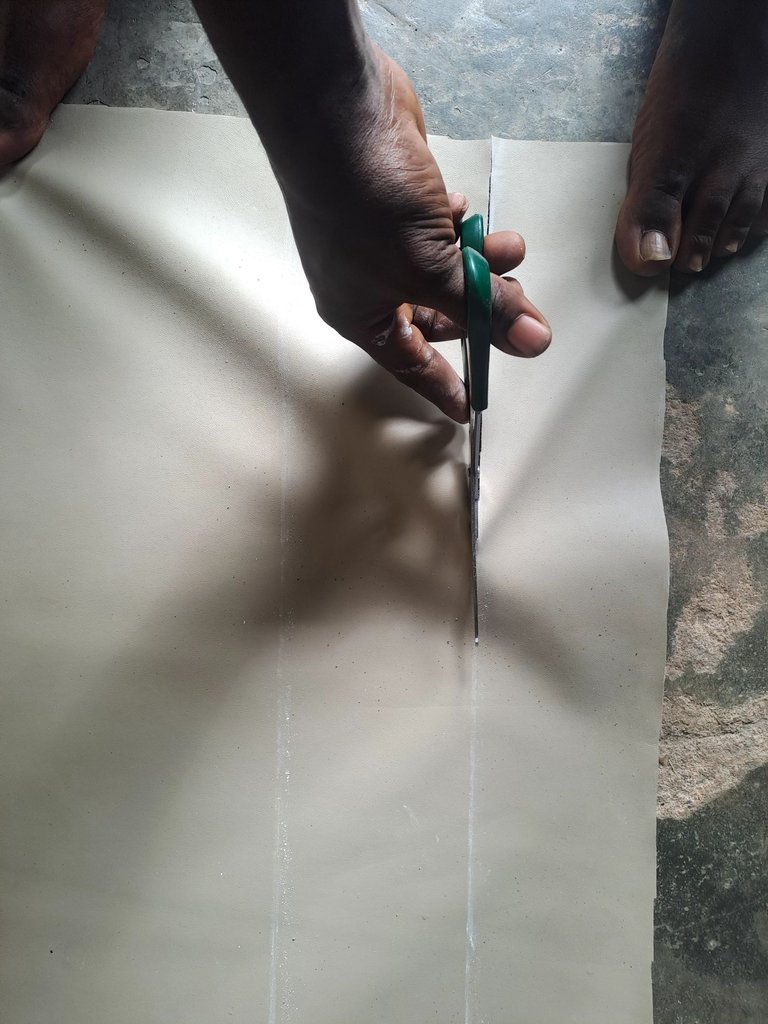
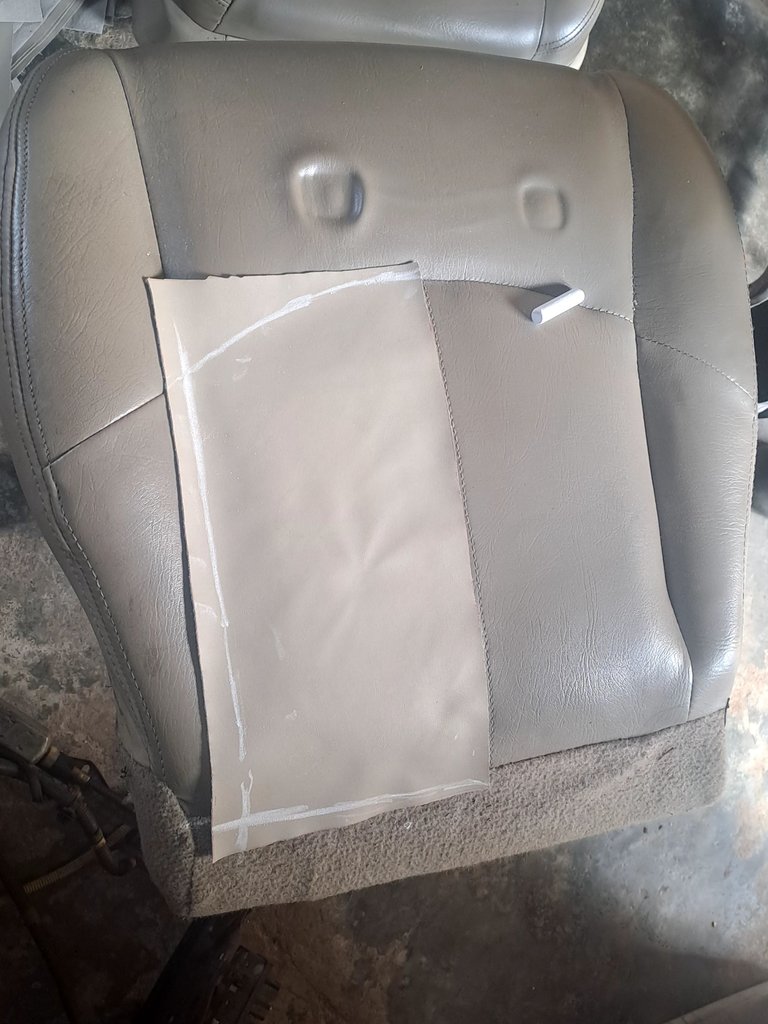
To get the pattern of the seat, i place the cut material on it position and then draw out the shape with the help of chalk.
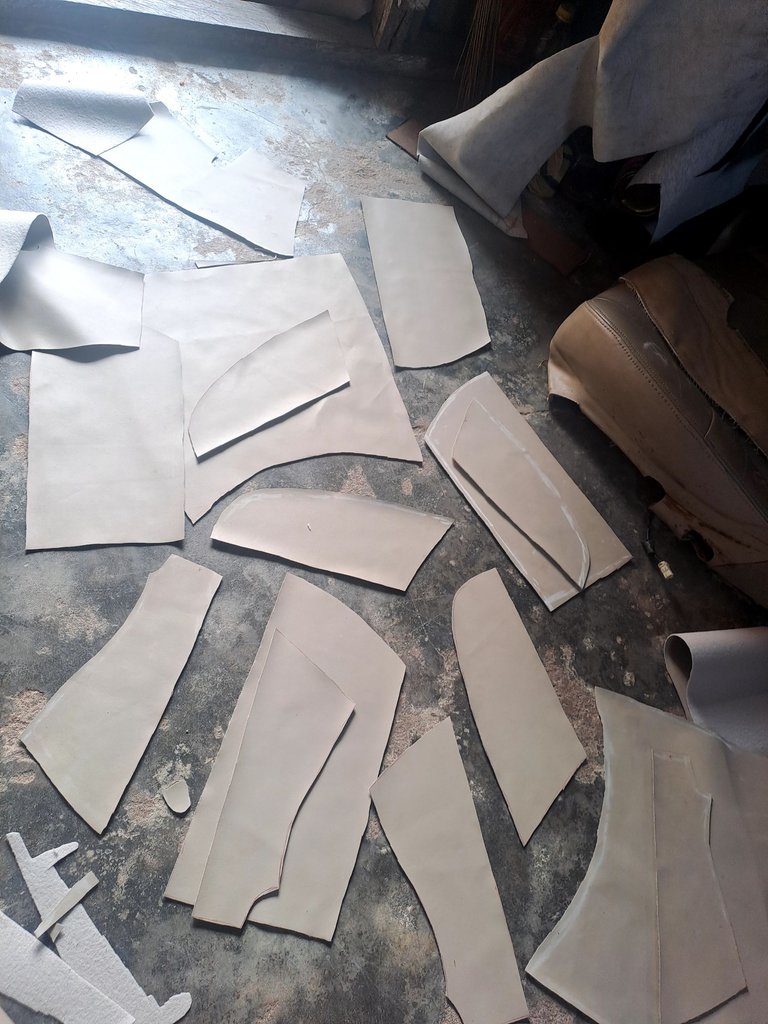
I then place the shape pattern on a roof material an then gum it together.

With the help of scissors i cut it out for sewing process.
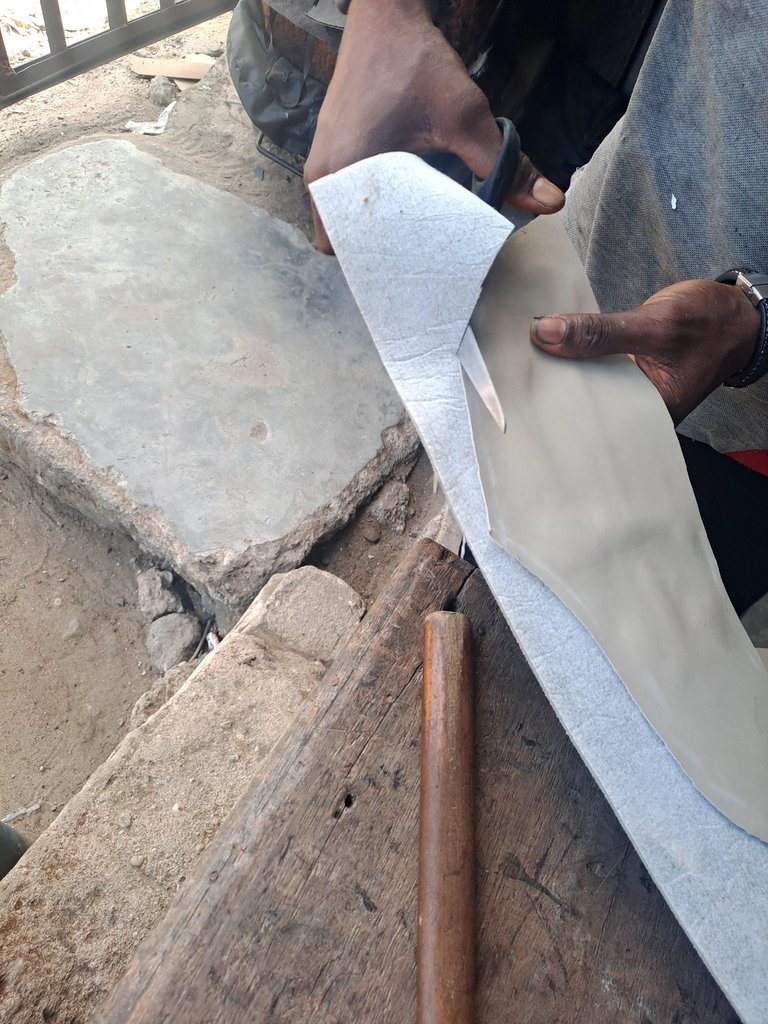
I then use sewing machine to join the pattern together.
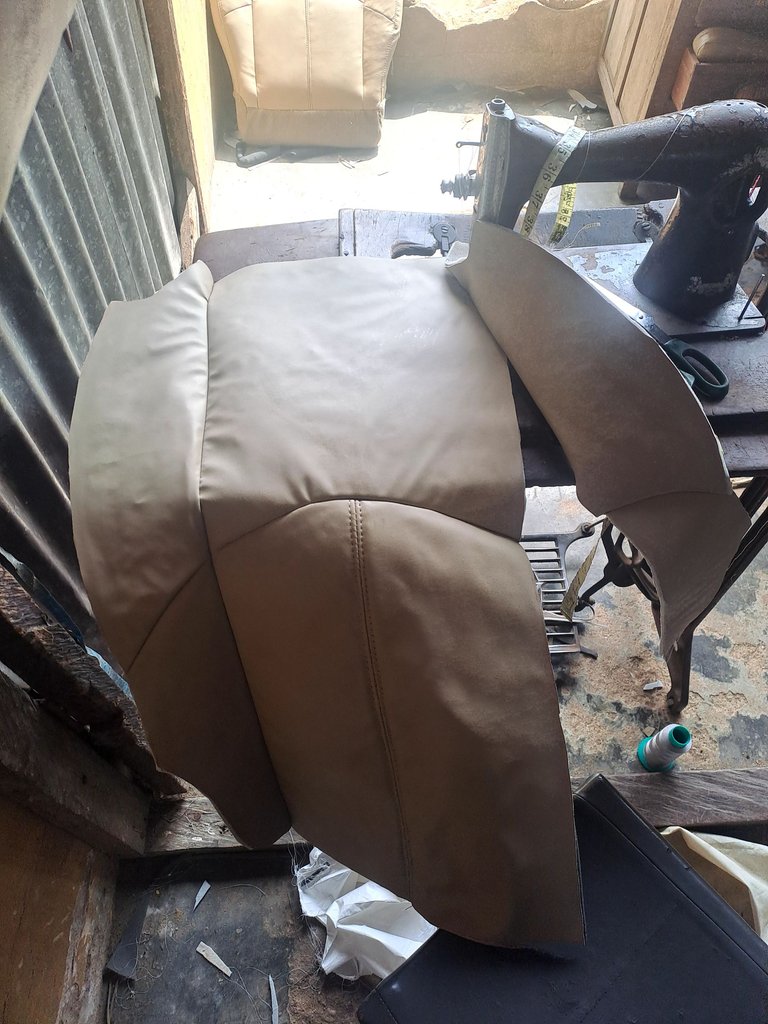
Finally the seat cover is ready.
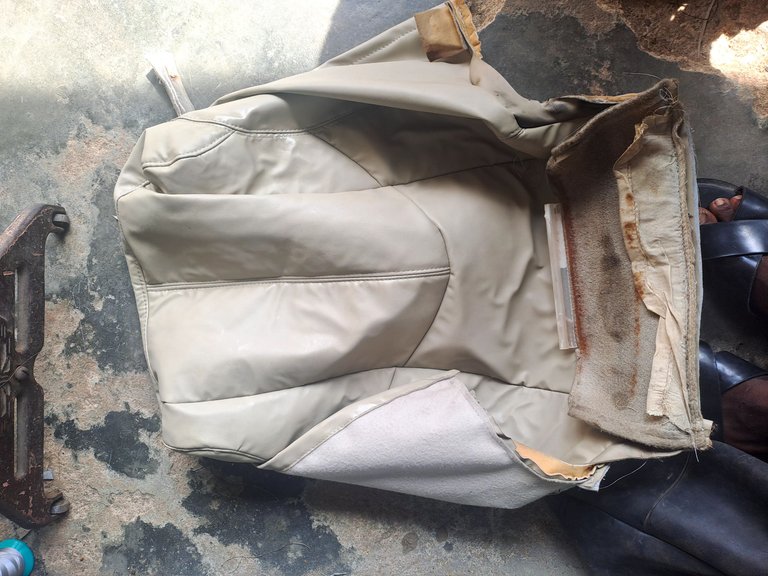
I then clip the new seat cover to the foam with the help of pliers and clips.

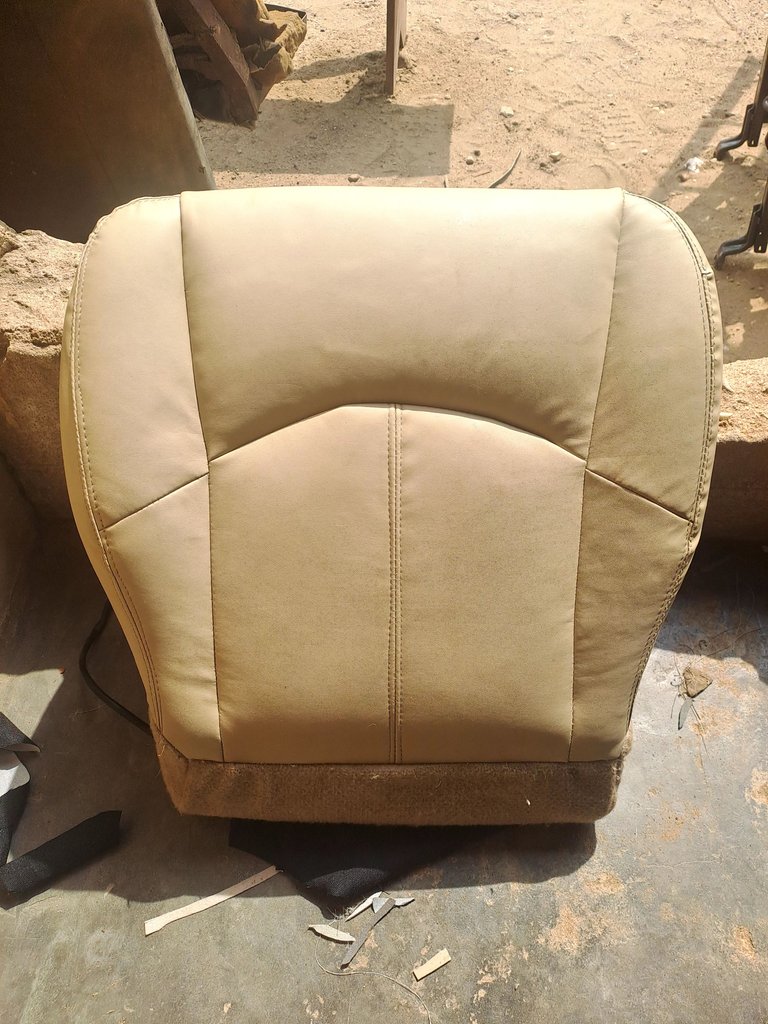
Finally i tight back the seat and here is the final look of the seat.

**I follow the same step to achieve the back seats.


Hope this is beautiful and look at the seat it turn out new and the steps also is simple to follow up.
Thanks everyone for you time and for reading from me i really appreciate and please if you have any questions feel free and drop it at the comments section and please don't fail to support my work. Remain bless.
Posted Using InLeo Alpha
The transformation is incredible, thanks for walking us through the creative process, well done.