Holaaa! Vecinos creativos de esta maravillosa comunidad hivediy, los saludos con gran alegría y entusiasmo hoy es domingo 19 de junio del 2022; fecha que en este año celebramos el Día del Padre, hacemos un poquito de historia y les cuento que después de tomar el segundo domingo de mayo para celebrar el día de las madres; a Sonora Smart Dodd se le ocurrió ir a la misa que se oficiaba un domingo por el día de las madres y pensó que también había que celebrarle el Día a los Padres; empezó hacer la guerrita hasta que hace 50 años, exactamente en el año 1972 Nixon decidió que si, y entonces decidieron que el tercer domingo de junio: celebraríamos El Día de los Papás. Y es que hay que ver lo que no conseguimos las mujeres no lo consigue nadie. Jajaja.
Mi manualidad de hoy se la voy a dedicar a un Padre para mí ejemplar, Mi Yerno, lo hice con temática deportiva pues El es un apasionado del béisbol, tienen un equipo en el trabajo y ese no pierde una temporada, imagínense se apellida Cabrera.
Escogí hacer un adorno que podrá usar luego como portalápices, organizador de escritorio etc.
Hellooo! Creative neighbors of this wonderful hivediy community, I greet you with great joy and enthusiasm today is Sunday June 19, 2022; date that this year we celebrate Father's Day, we make a little history and I tell you that after taking the second Sunday of May to celebrate mother's day; Sonora Smart Dodd had the idea of going to the mass that was celebrated on a Sunday for Mother's Day and thought that Father's Day should also be celebrated; he started waging the little war until 50 years ago, exactly in 1972 Nixon decided yes, and then they decided that on the third Sunday in June: we would celebrate Father's Day. And it is that we must see what we women do not achieve, nobody achieves. LOL.
I am going to dedicate my craft today to an exemplary father for me, My Son-in-law, I did it with a sports theme because he is passionate about baseball, they have a team at work and that one does not lose a season, imagine his last name is Cabrera.
I chose to make an ornament that you can use later as a pencil holder, desk organizer.
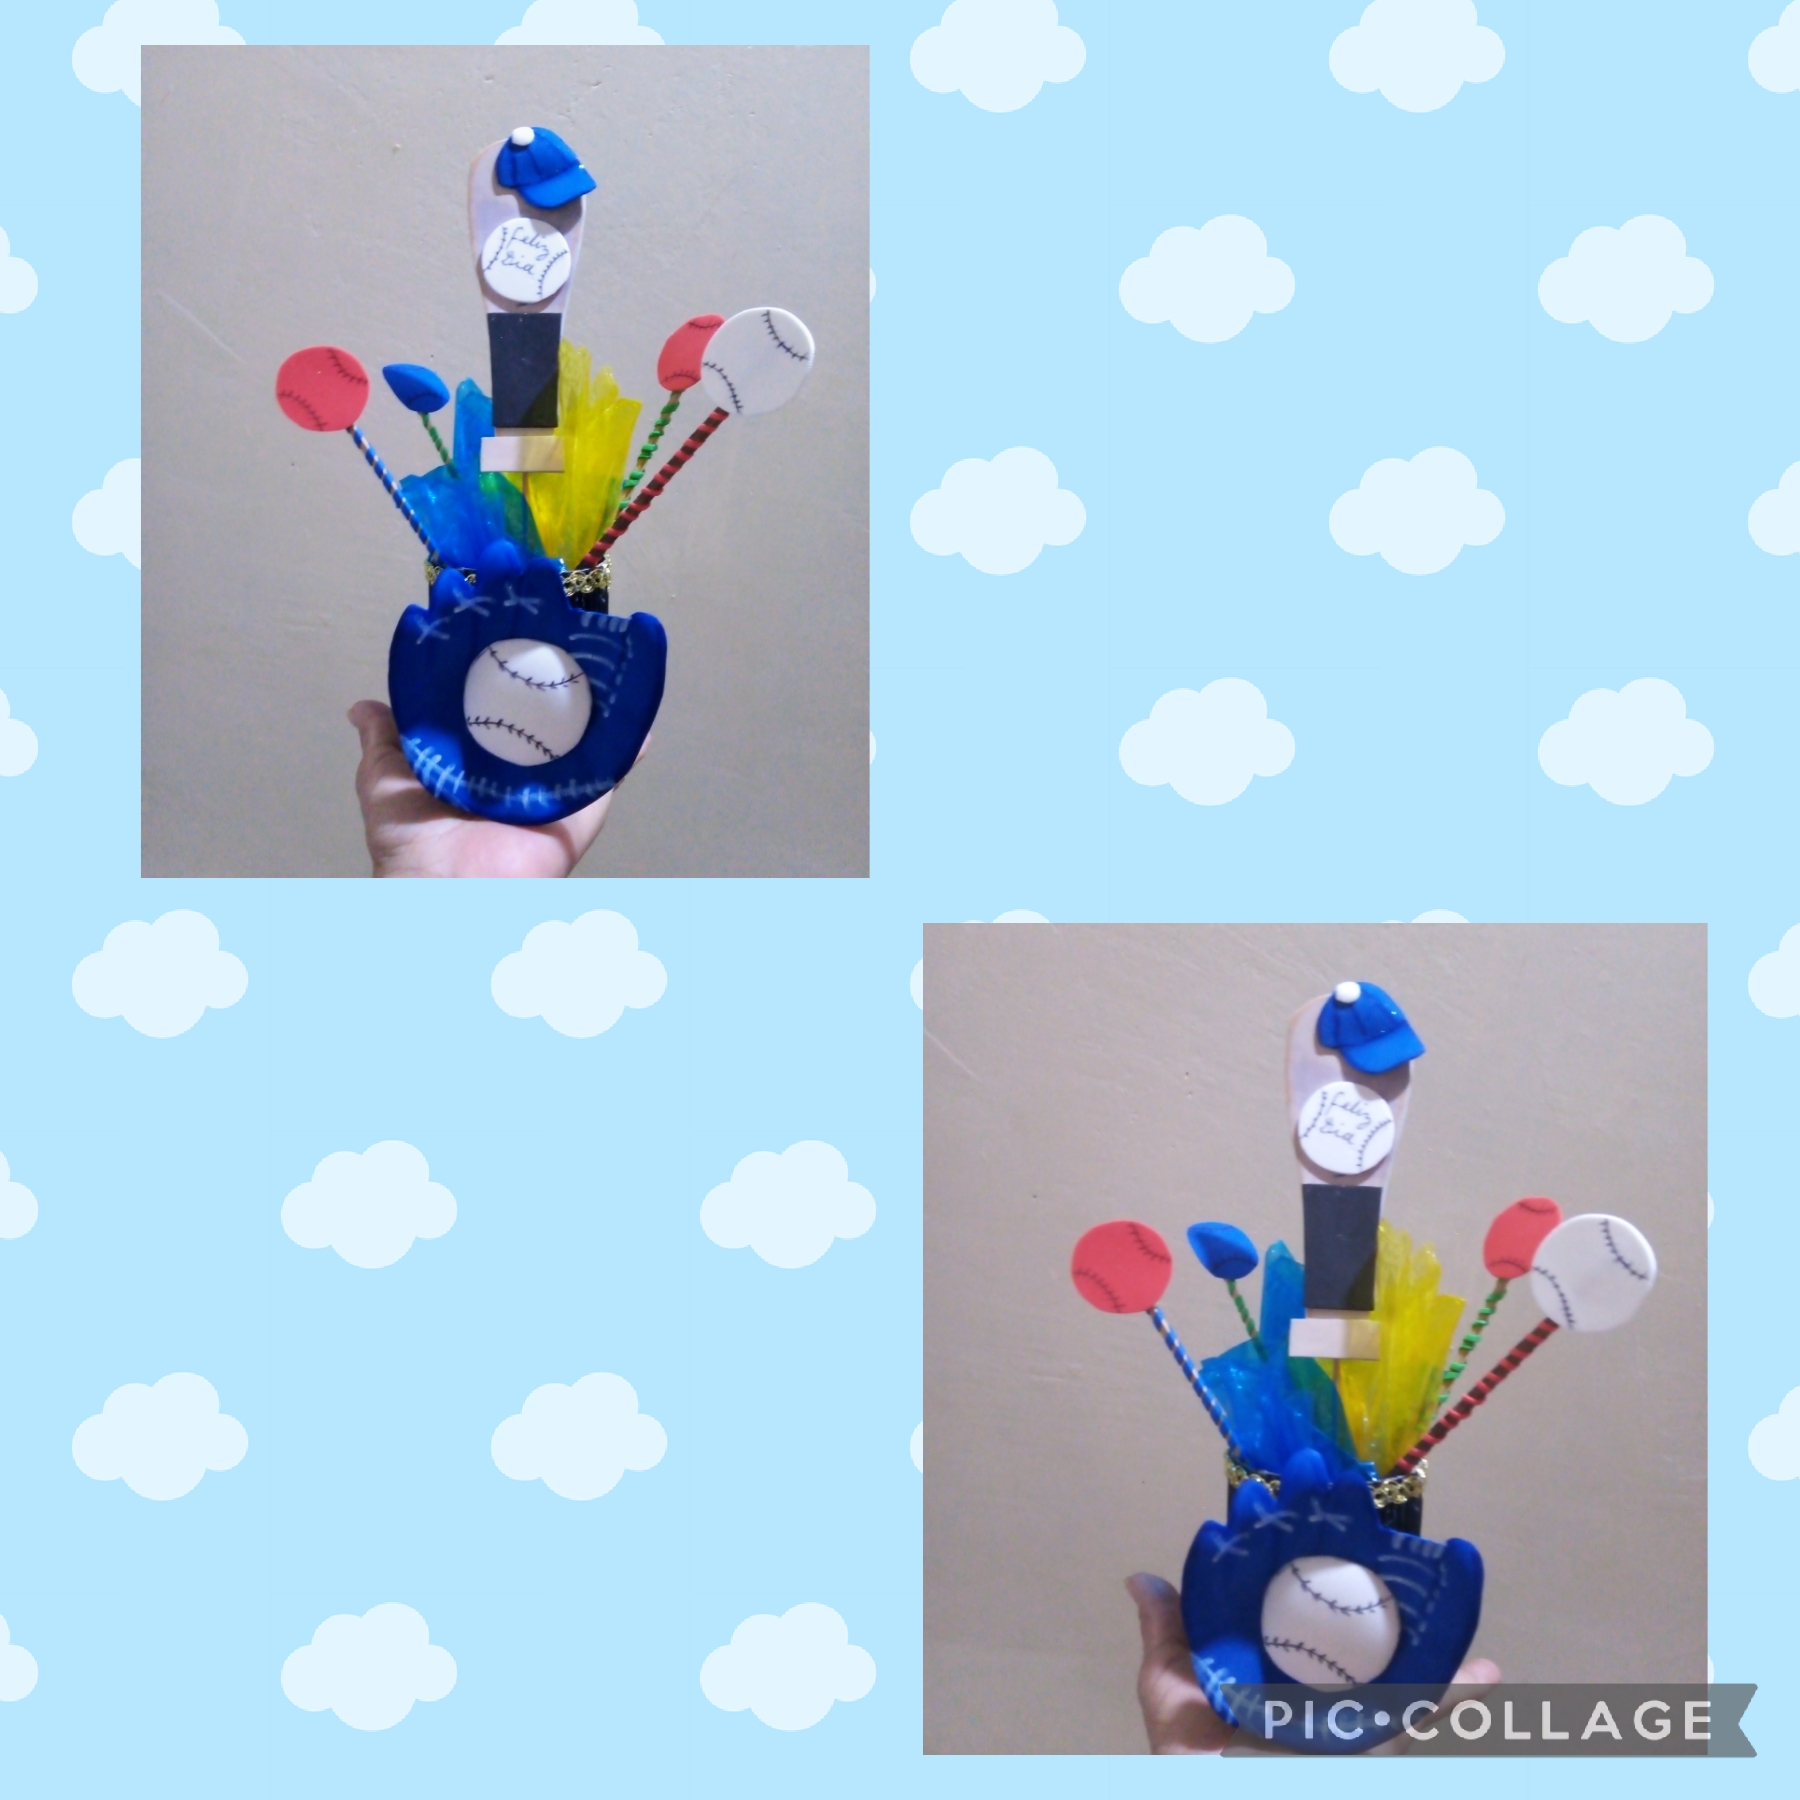
Cómo les iba comentando, mi yerno y yo nos llevamos de maravilla; vivimos a cuatro horas de distancia, nos llamamos los 31 de diciembre para darnos el feliz año, nos felicitamos en los cumpleaños gracias a las videollamadas, sus amigos comentan que vive dándole gracias a Dios por haberle dado una suegra como Yo, así mismo estoy encantadisima por la suerte de mi hija de haberlo encontrado a El, es el rey de la casa el que siempre dice la última palabra: "lo que tú digas mi amor"; por todas esas cualidades es: mi yerno preferido. Ah! Me olvidaba mi hija es: hija única, jajaja.
Bueno después de comentarles todas las virtudes de mi yerno; les dejo el paso a paso de cómo le hice un bonito detalle para festejar su día.
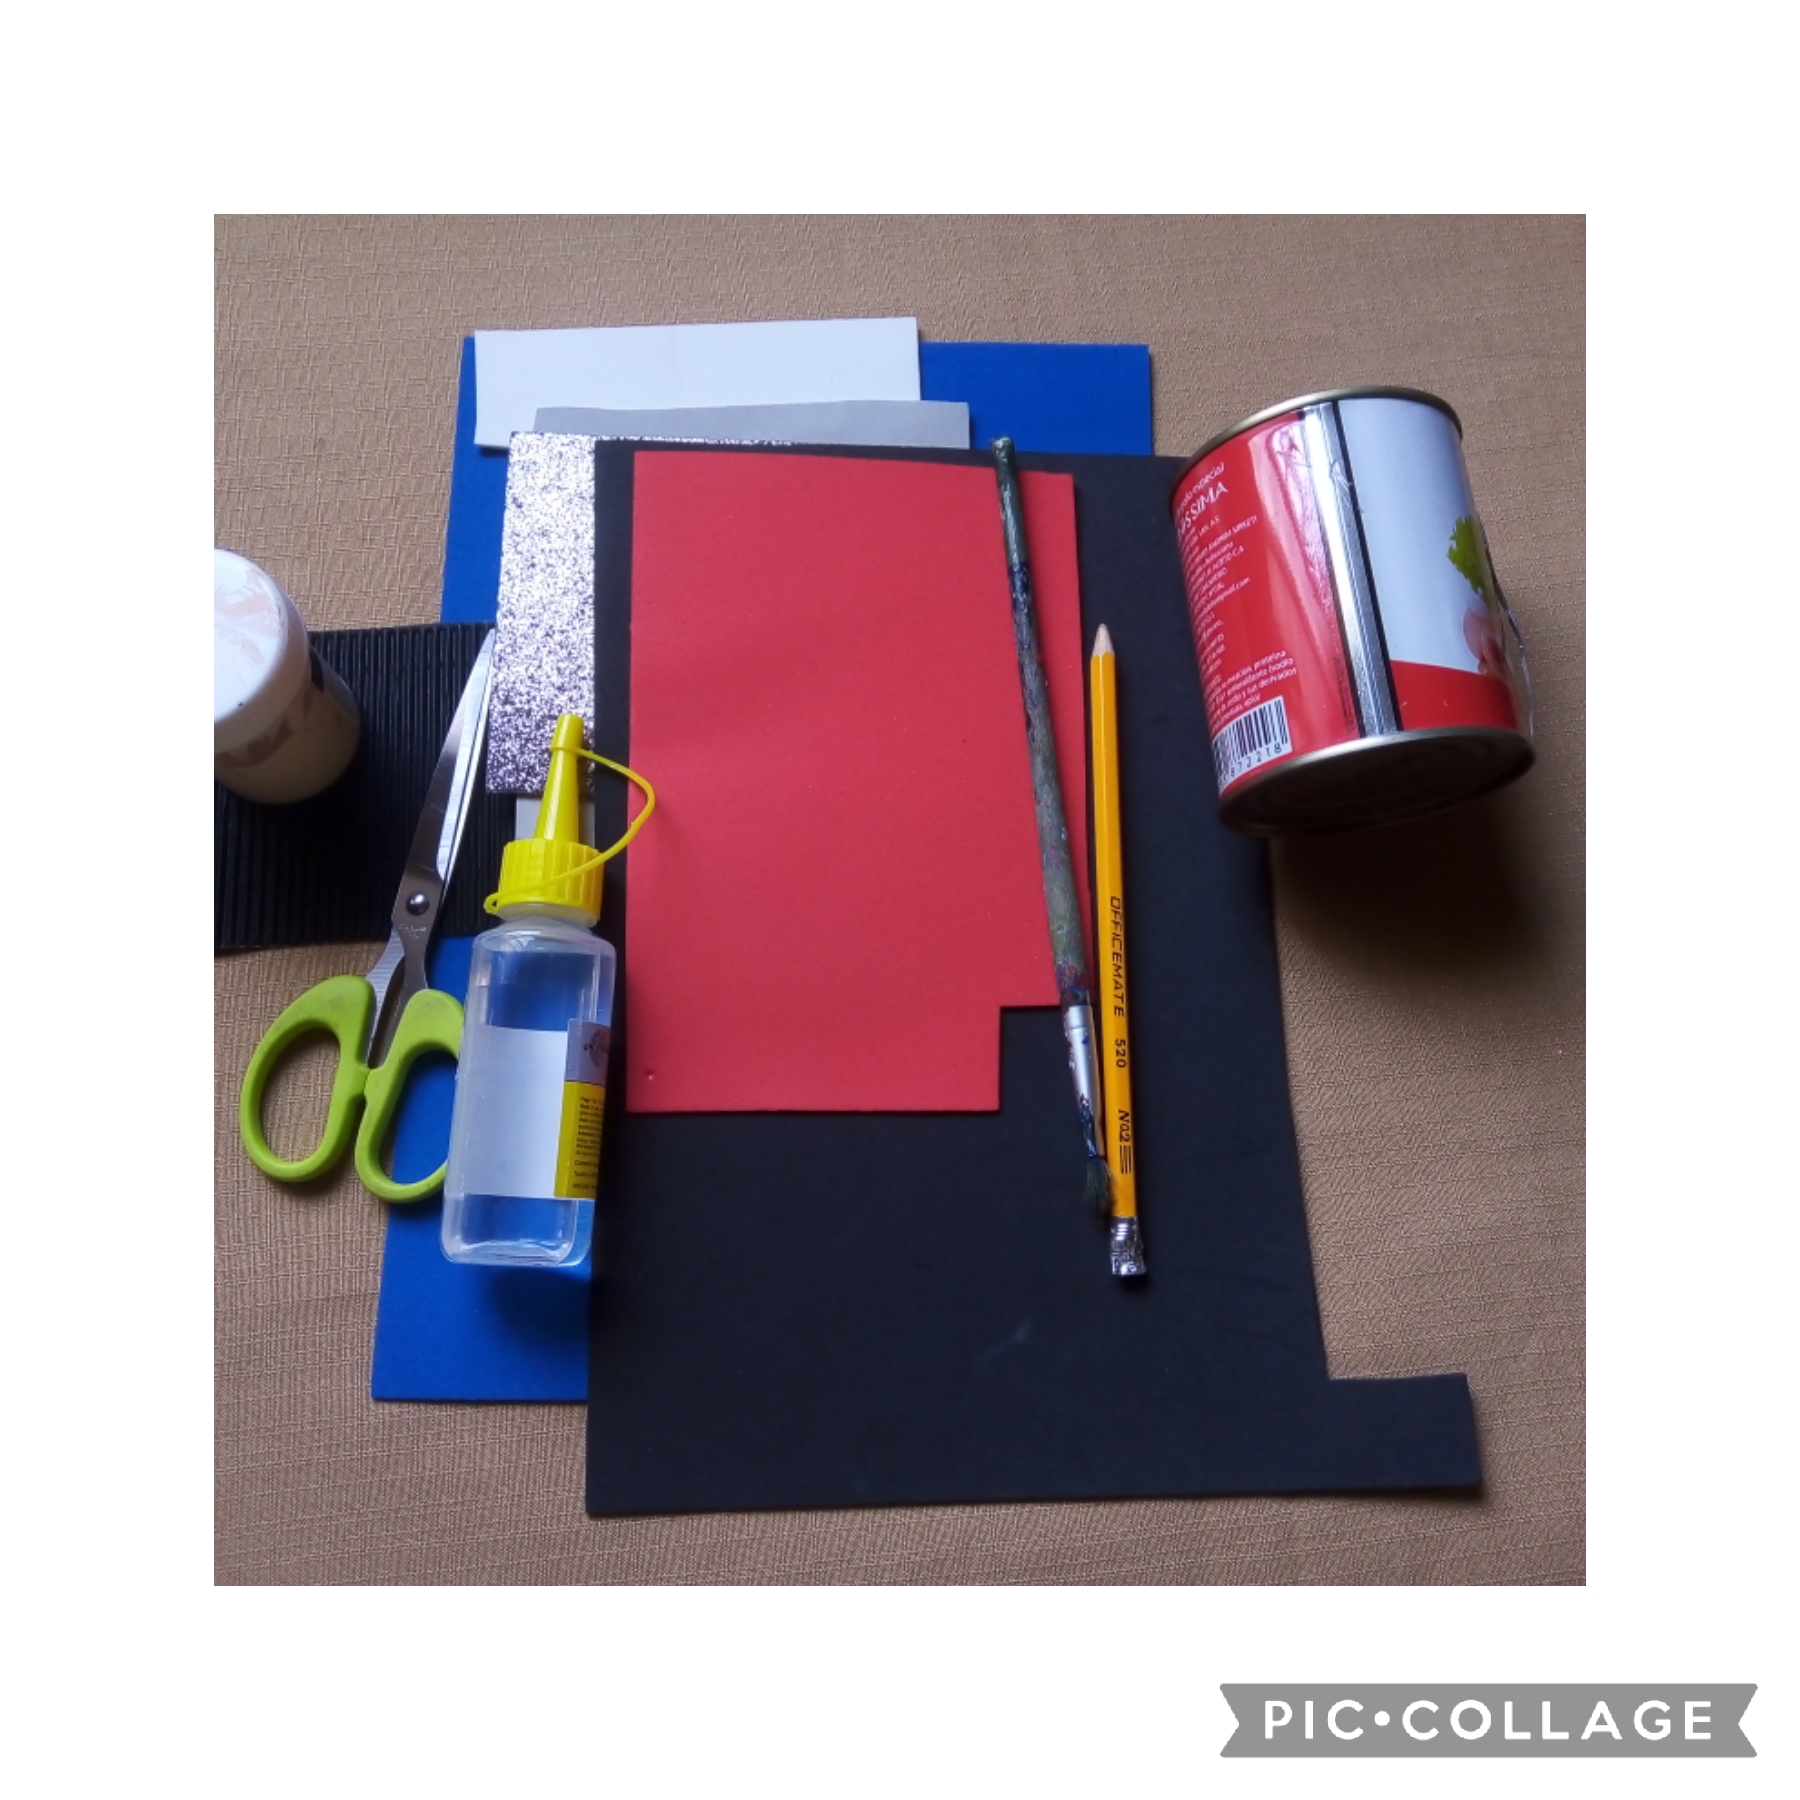
ESTOS SON LOS MATERIALES QUÉ USÉ PARA SU ELABORACIÓN:
Una lata de conservas vacia.
Cartón corrugado negro.
Foamis azul.
Foamis rojo.
Foamis blanco.
Foamis beige.
Foamis negro.
Marcador negro.
Palitos de altura.
Silicón al frío.
Puntilla dorada.
Tijeras.
Papel celofán azul y amarillo.
Plancha.
Marcador azul.
THESE ARE THE MATERIALS I USED FOR ITS ELABORATION:
An empty can of preserves.
Black corrugated cardboard.
Blue foam.
Red foamis.
White foam.
Beige foam.
Black foam.
black marker
Height sticks.
Cold silicone.
Golden lace.
Scissors.
Blue and yellow cellophane.
Iron.
Blue marker.
Estos fueron los pasos que usé en su realización:
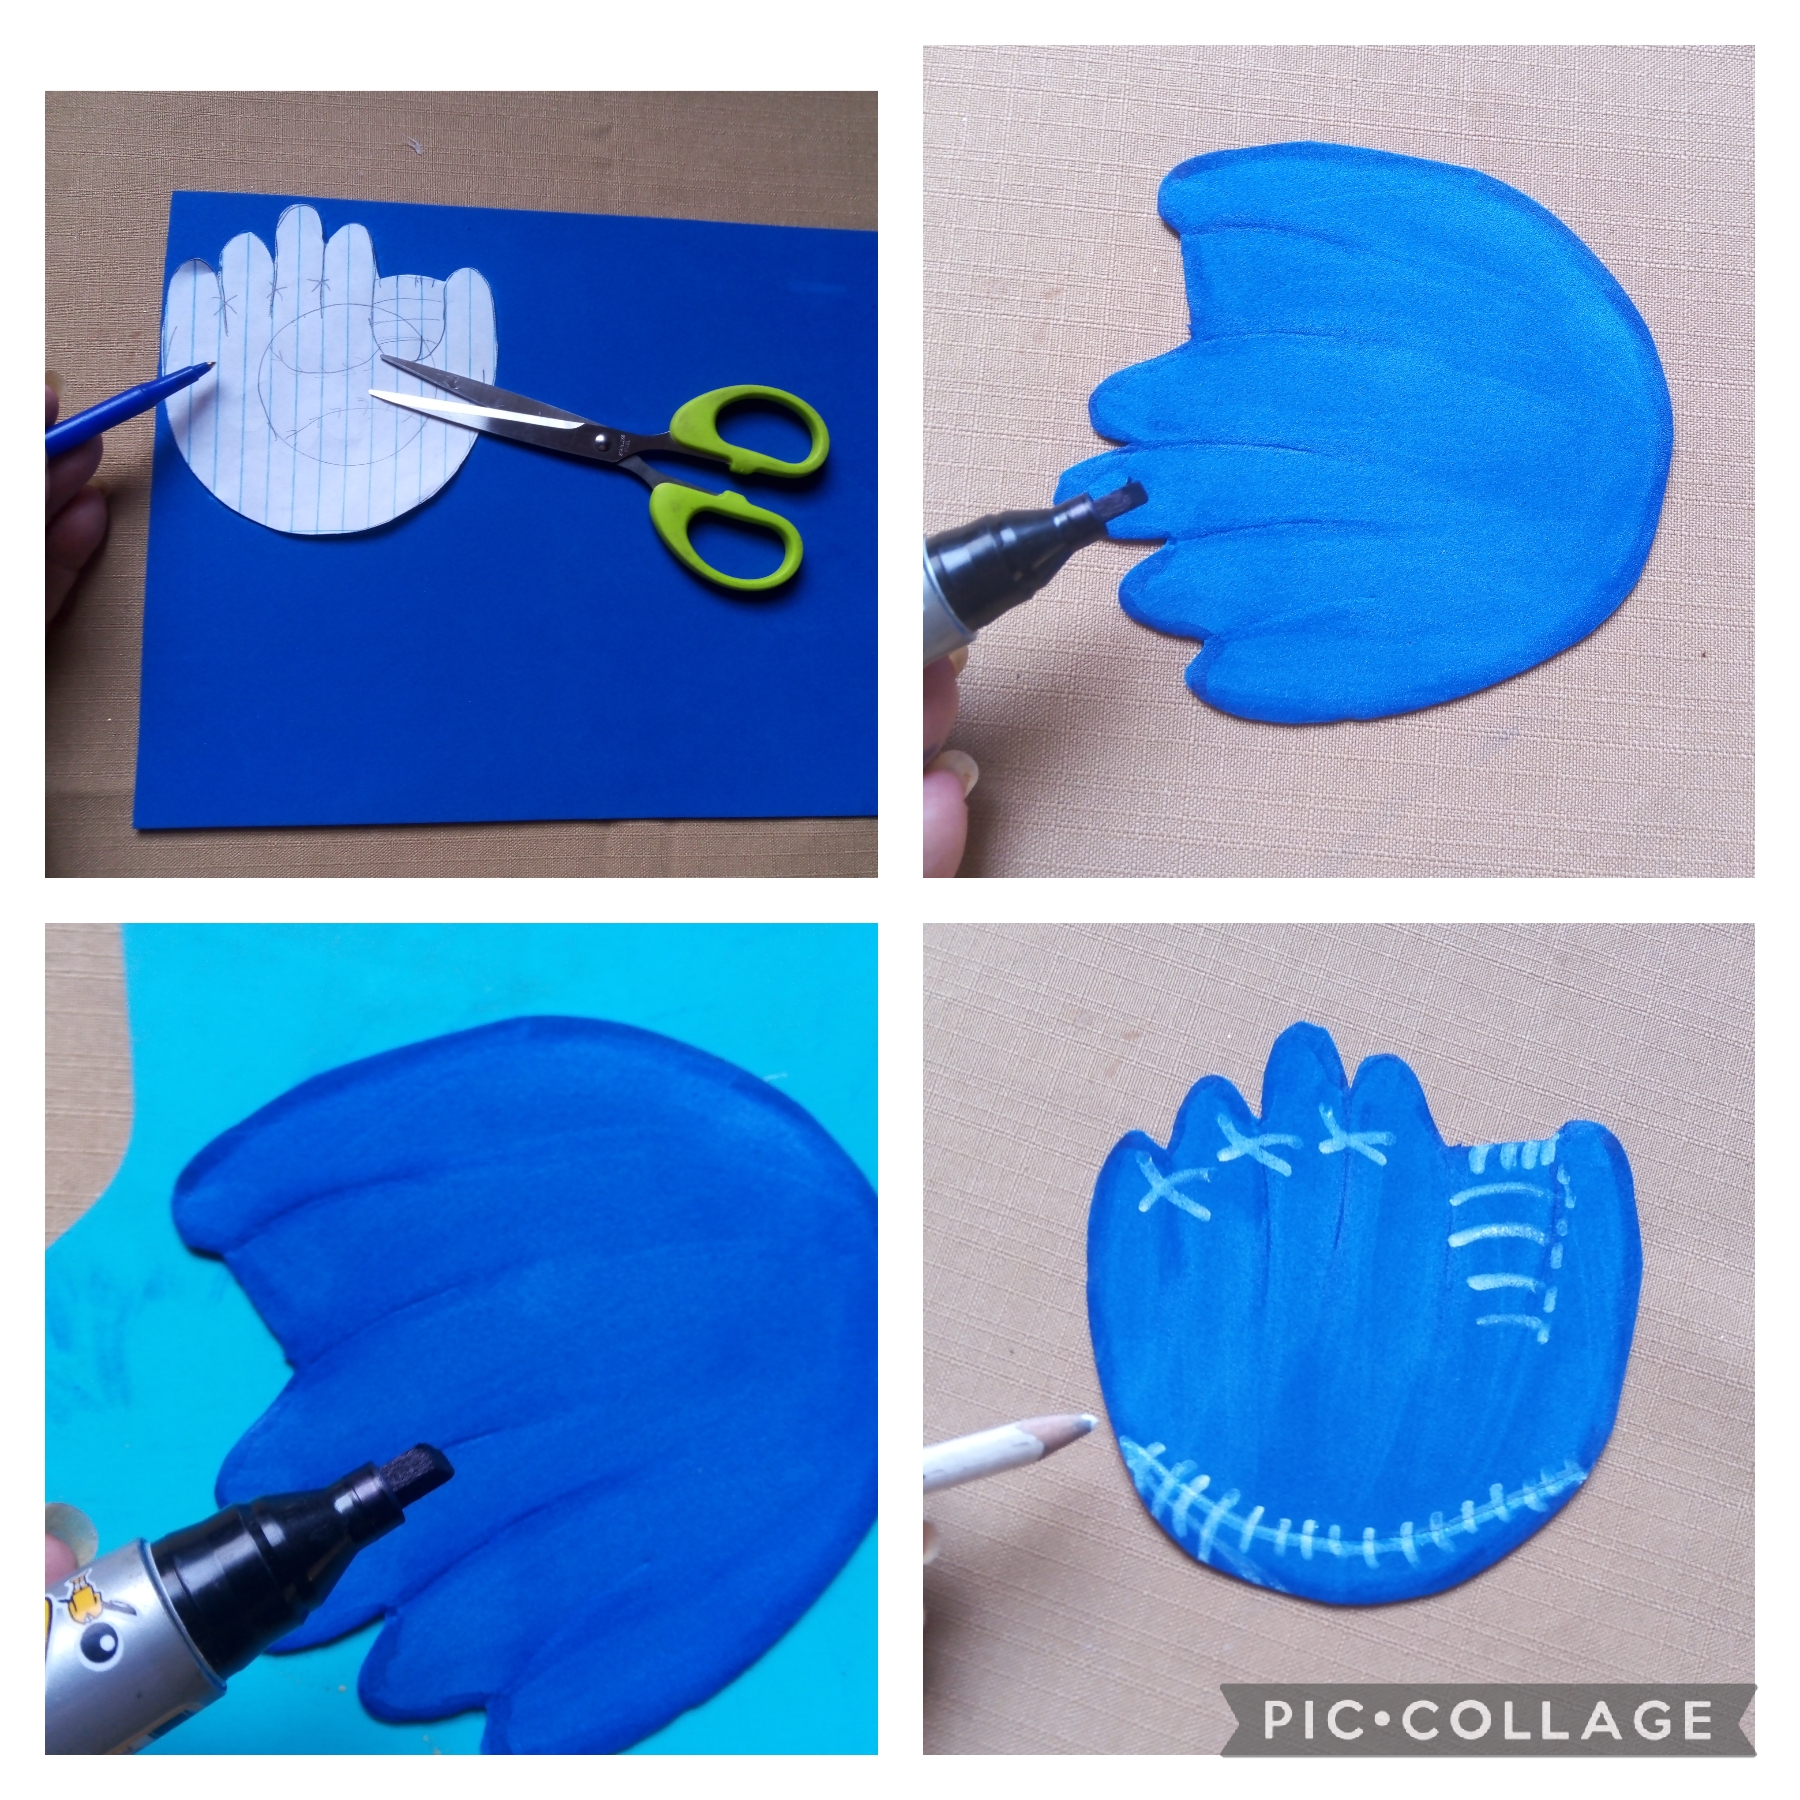
PRIMER PASO:
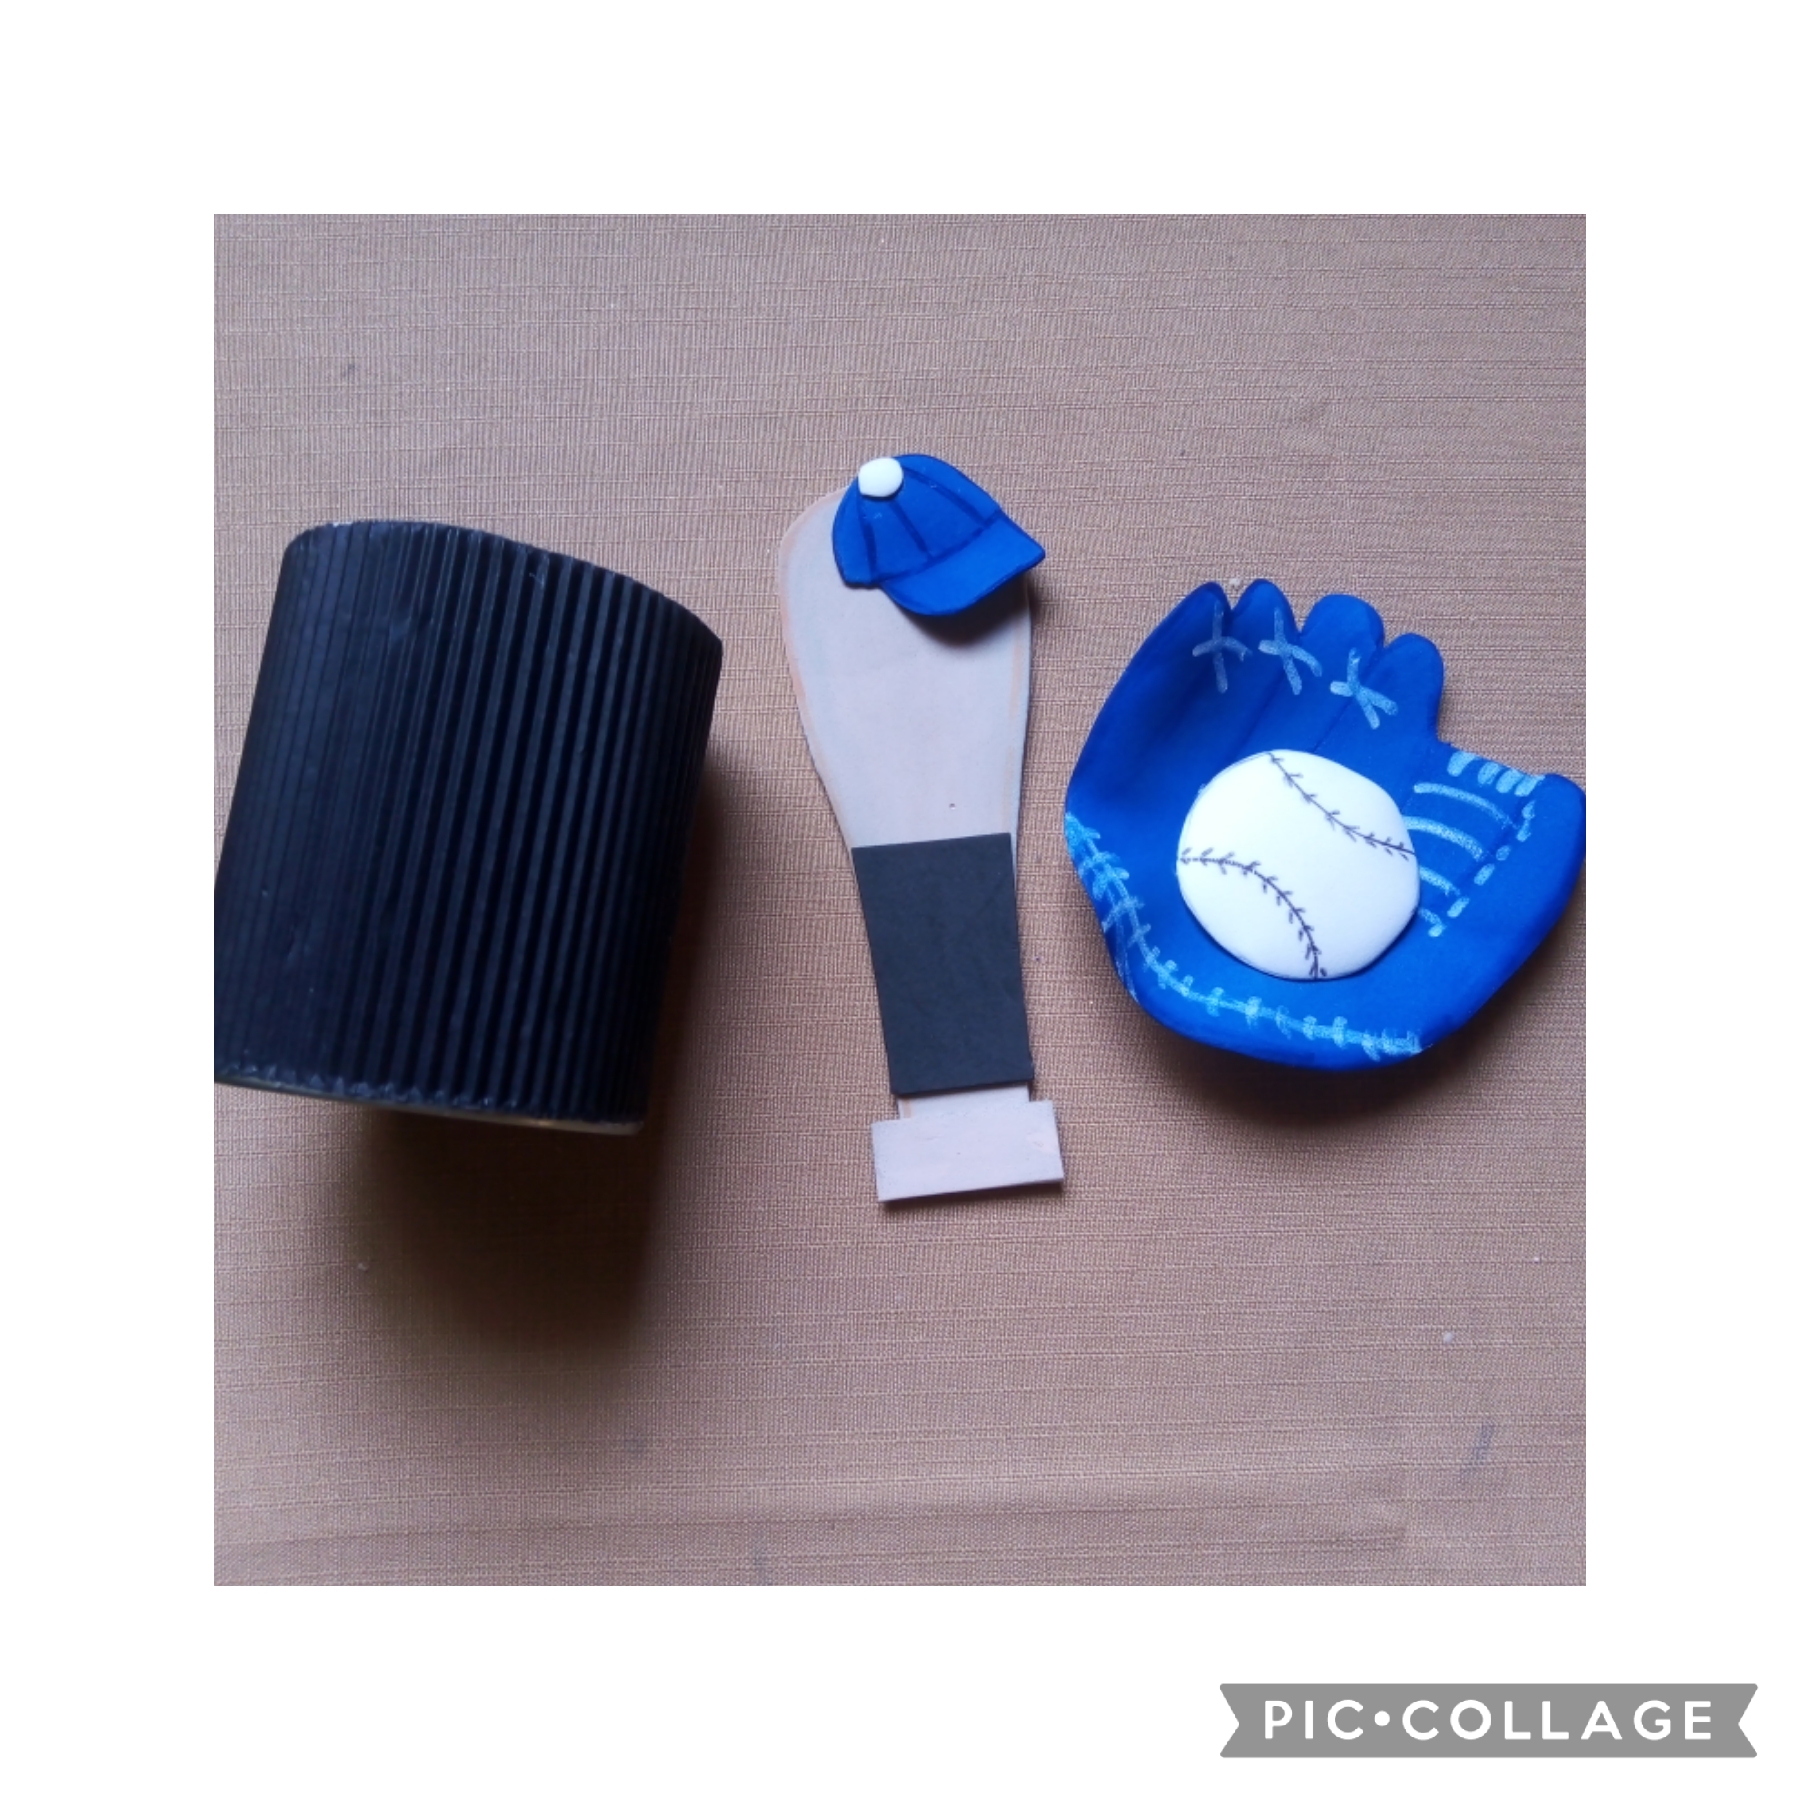
Dibuje un molde en papel y luego lo transferí al foamis azul, luego recorto con las tijeras, con el marcador azul hago un sombreado por todo el contorno; con marcador blanco hago pespuntes para decorar como en las fotos.
These were the steps I used in its realization:
FIRST STEP:
I drew a pattern on paper and then I transferred it to the blue foamis, then I cut it out with the scissors, with the blue marker I make a shading all over the contour; With a white marker I make stitches to decorate as in the photos.
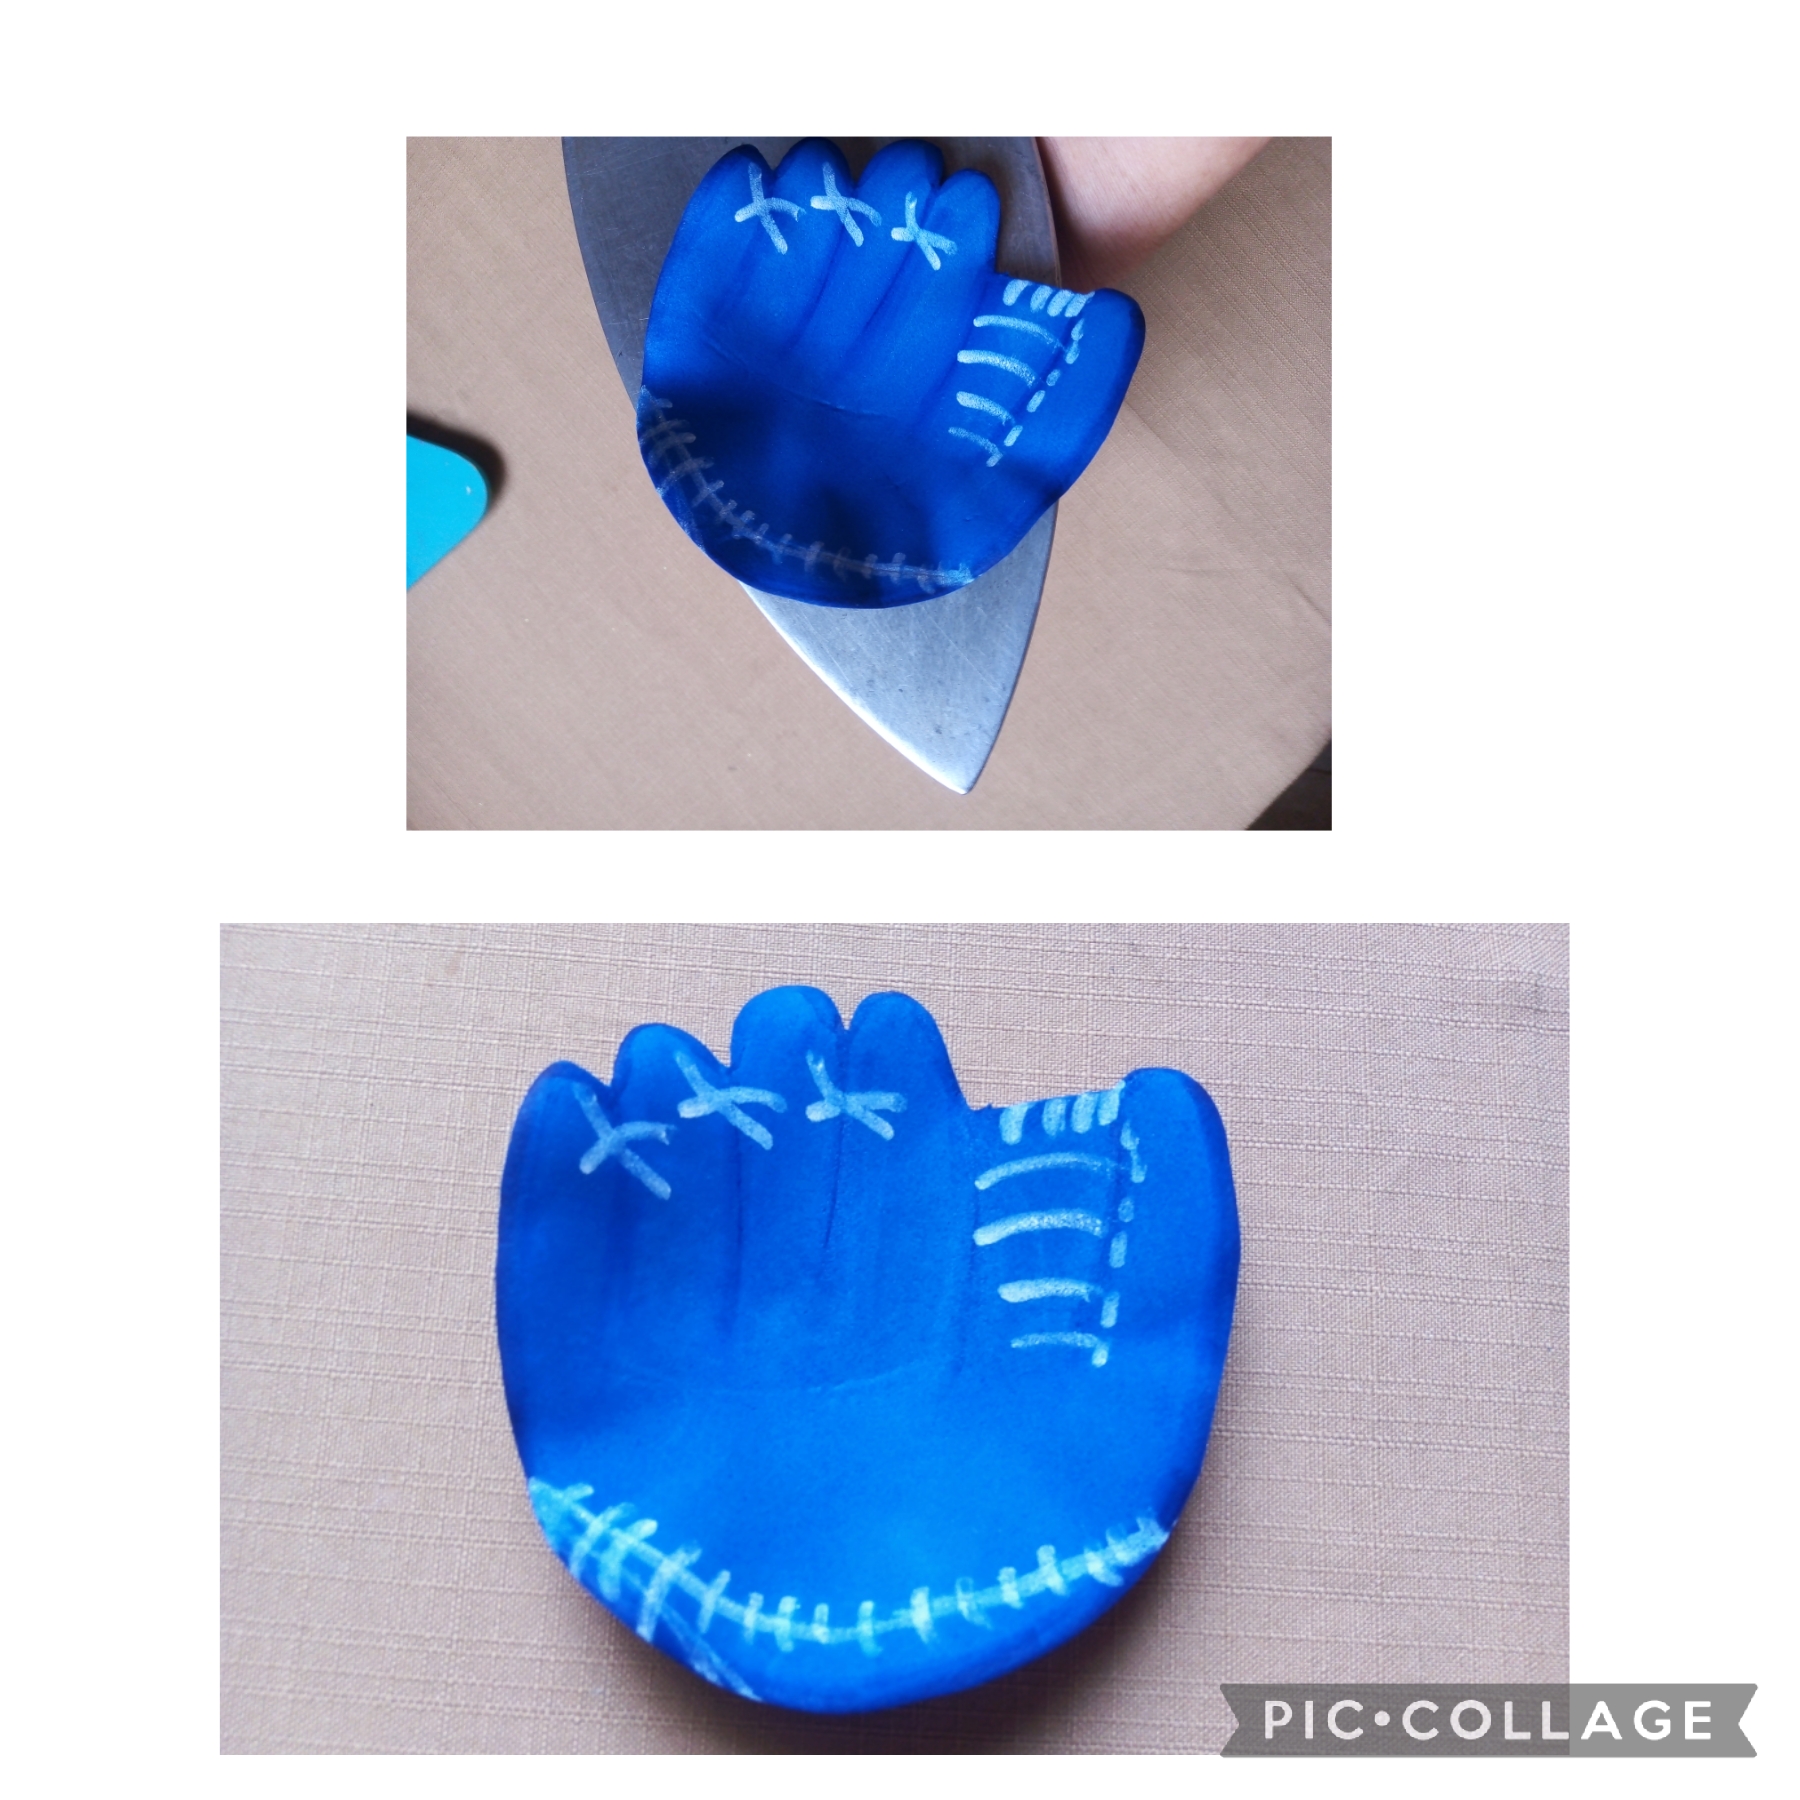
PASO DOS:
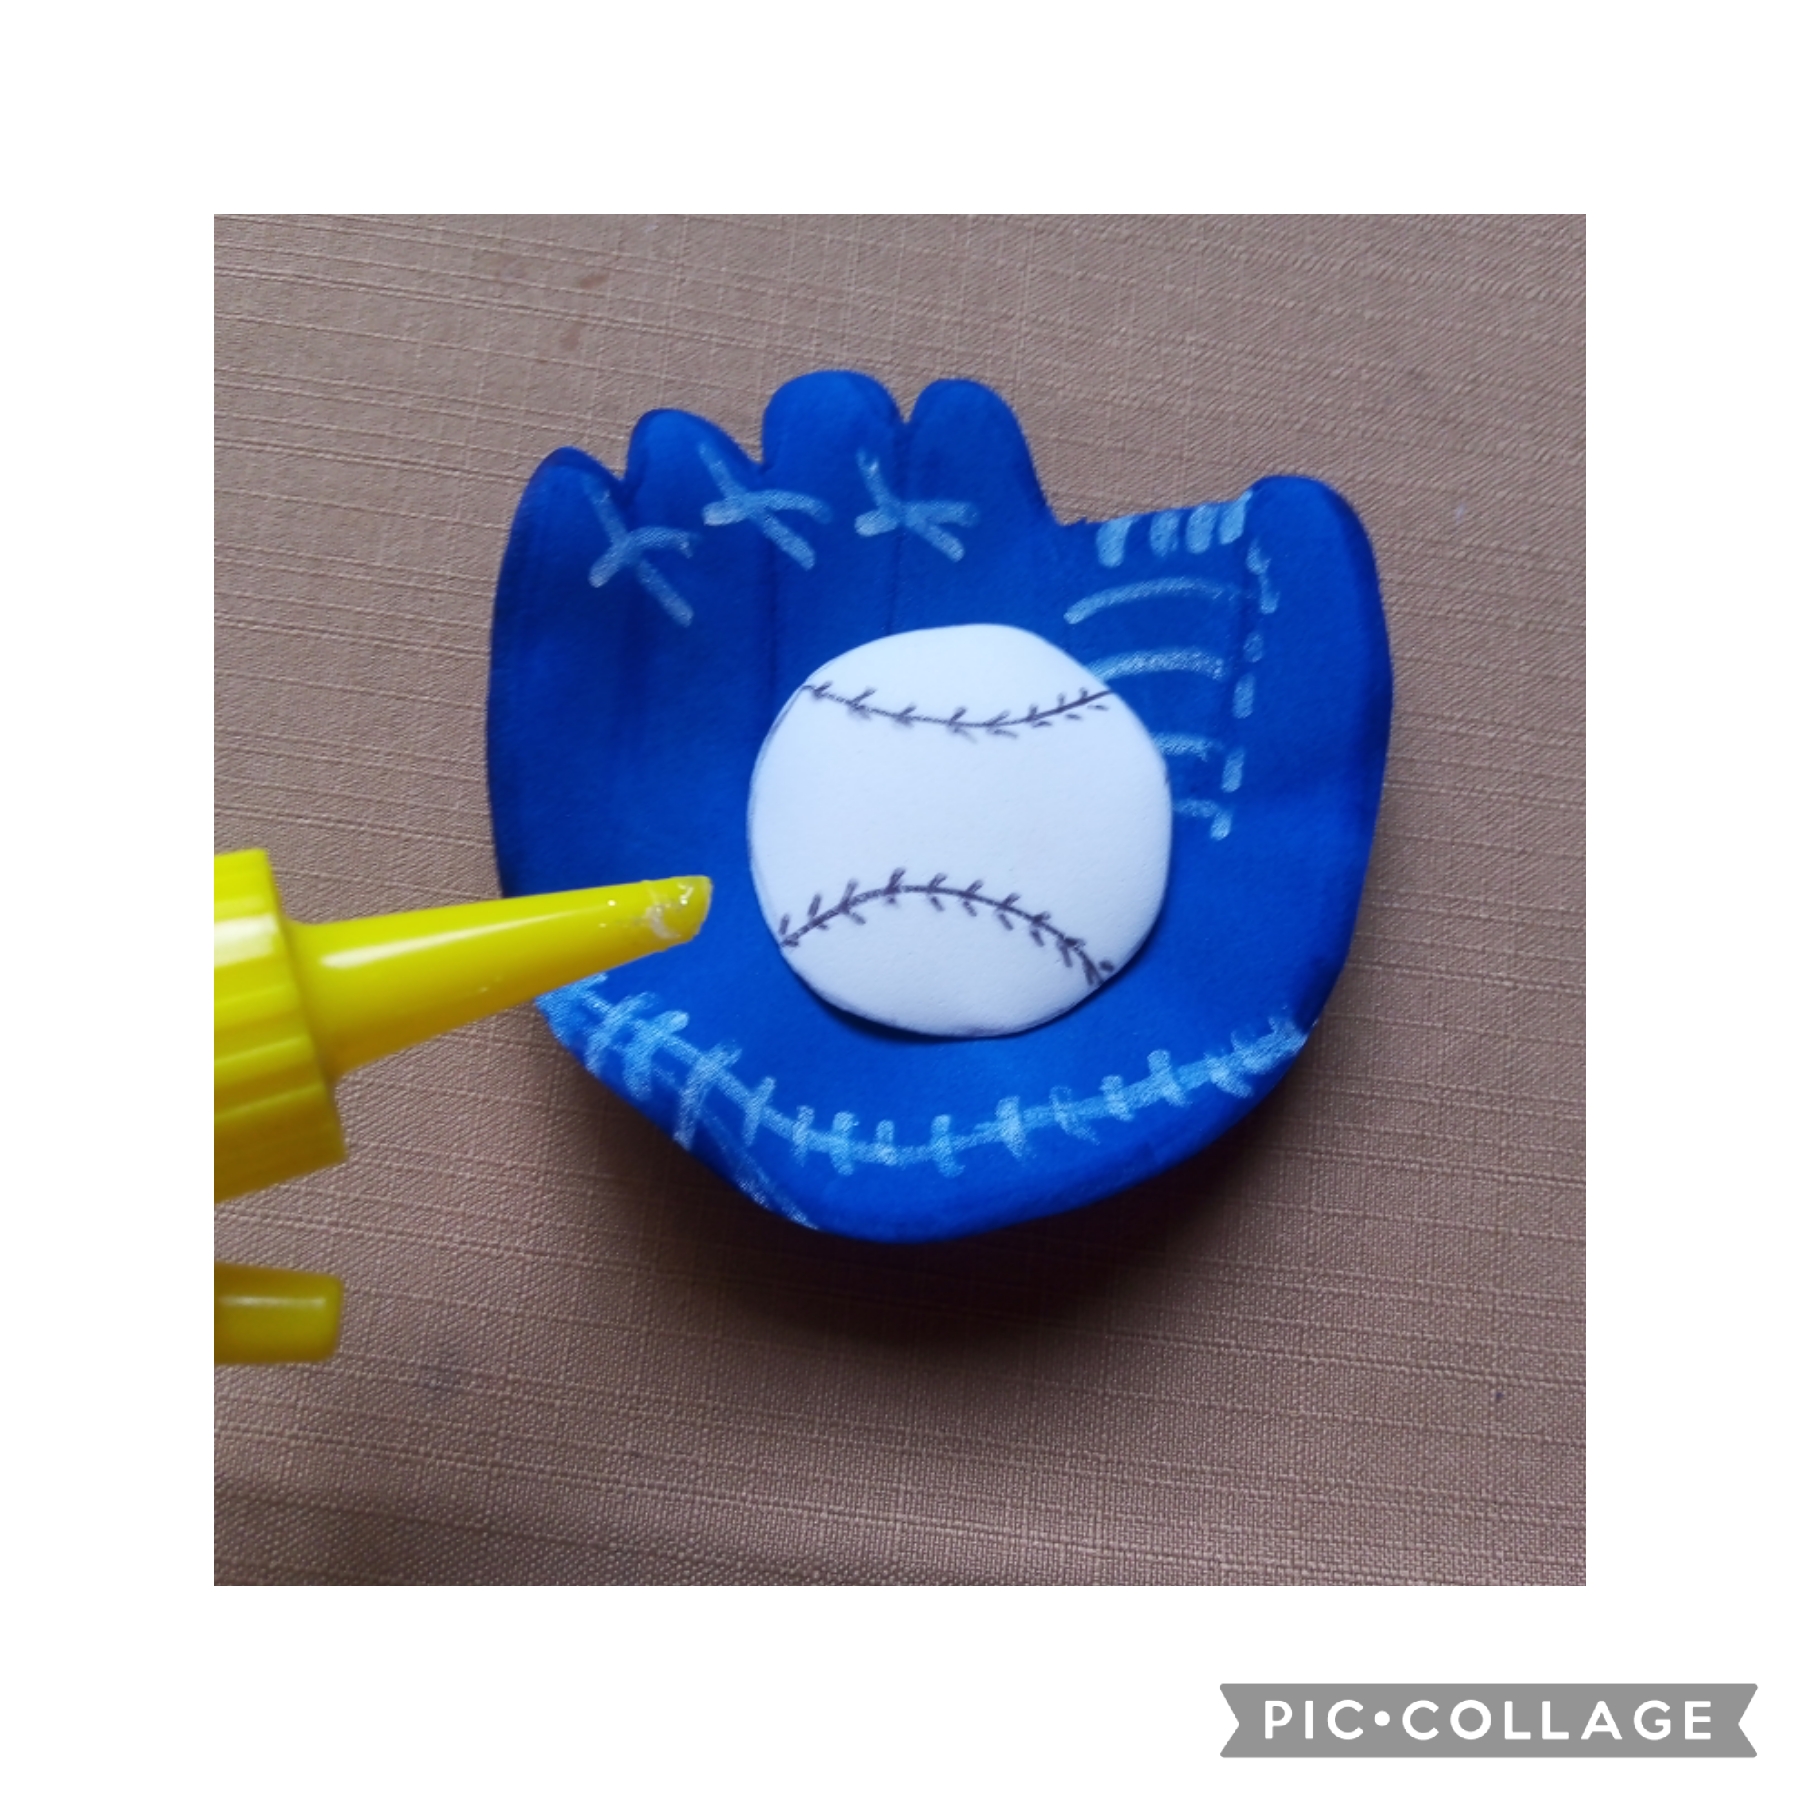
Usando la plancha termoformo la pieza del guante (como en las fotos)
STEP TWO:
Using the iron I thermoform the piece of the glove (as in the photos
TERCER PASO:
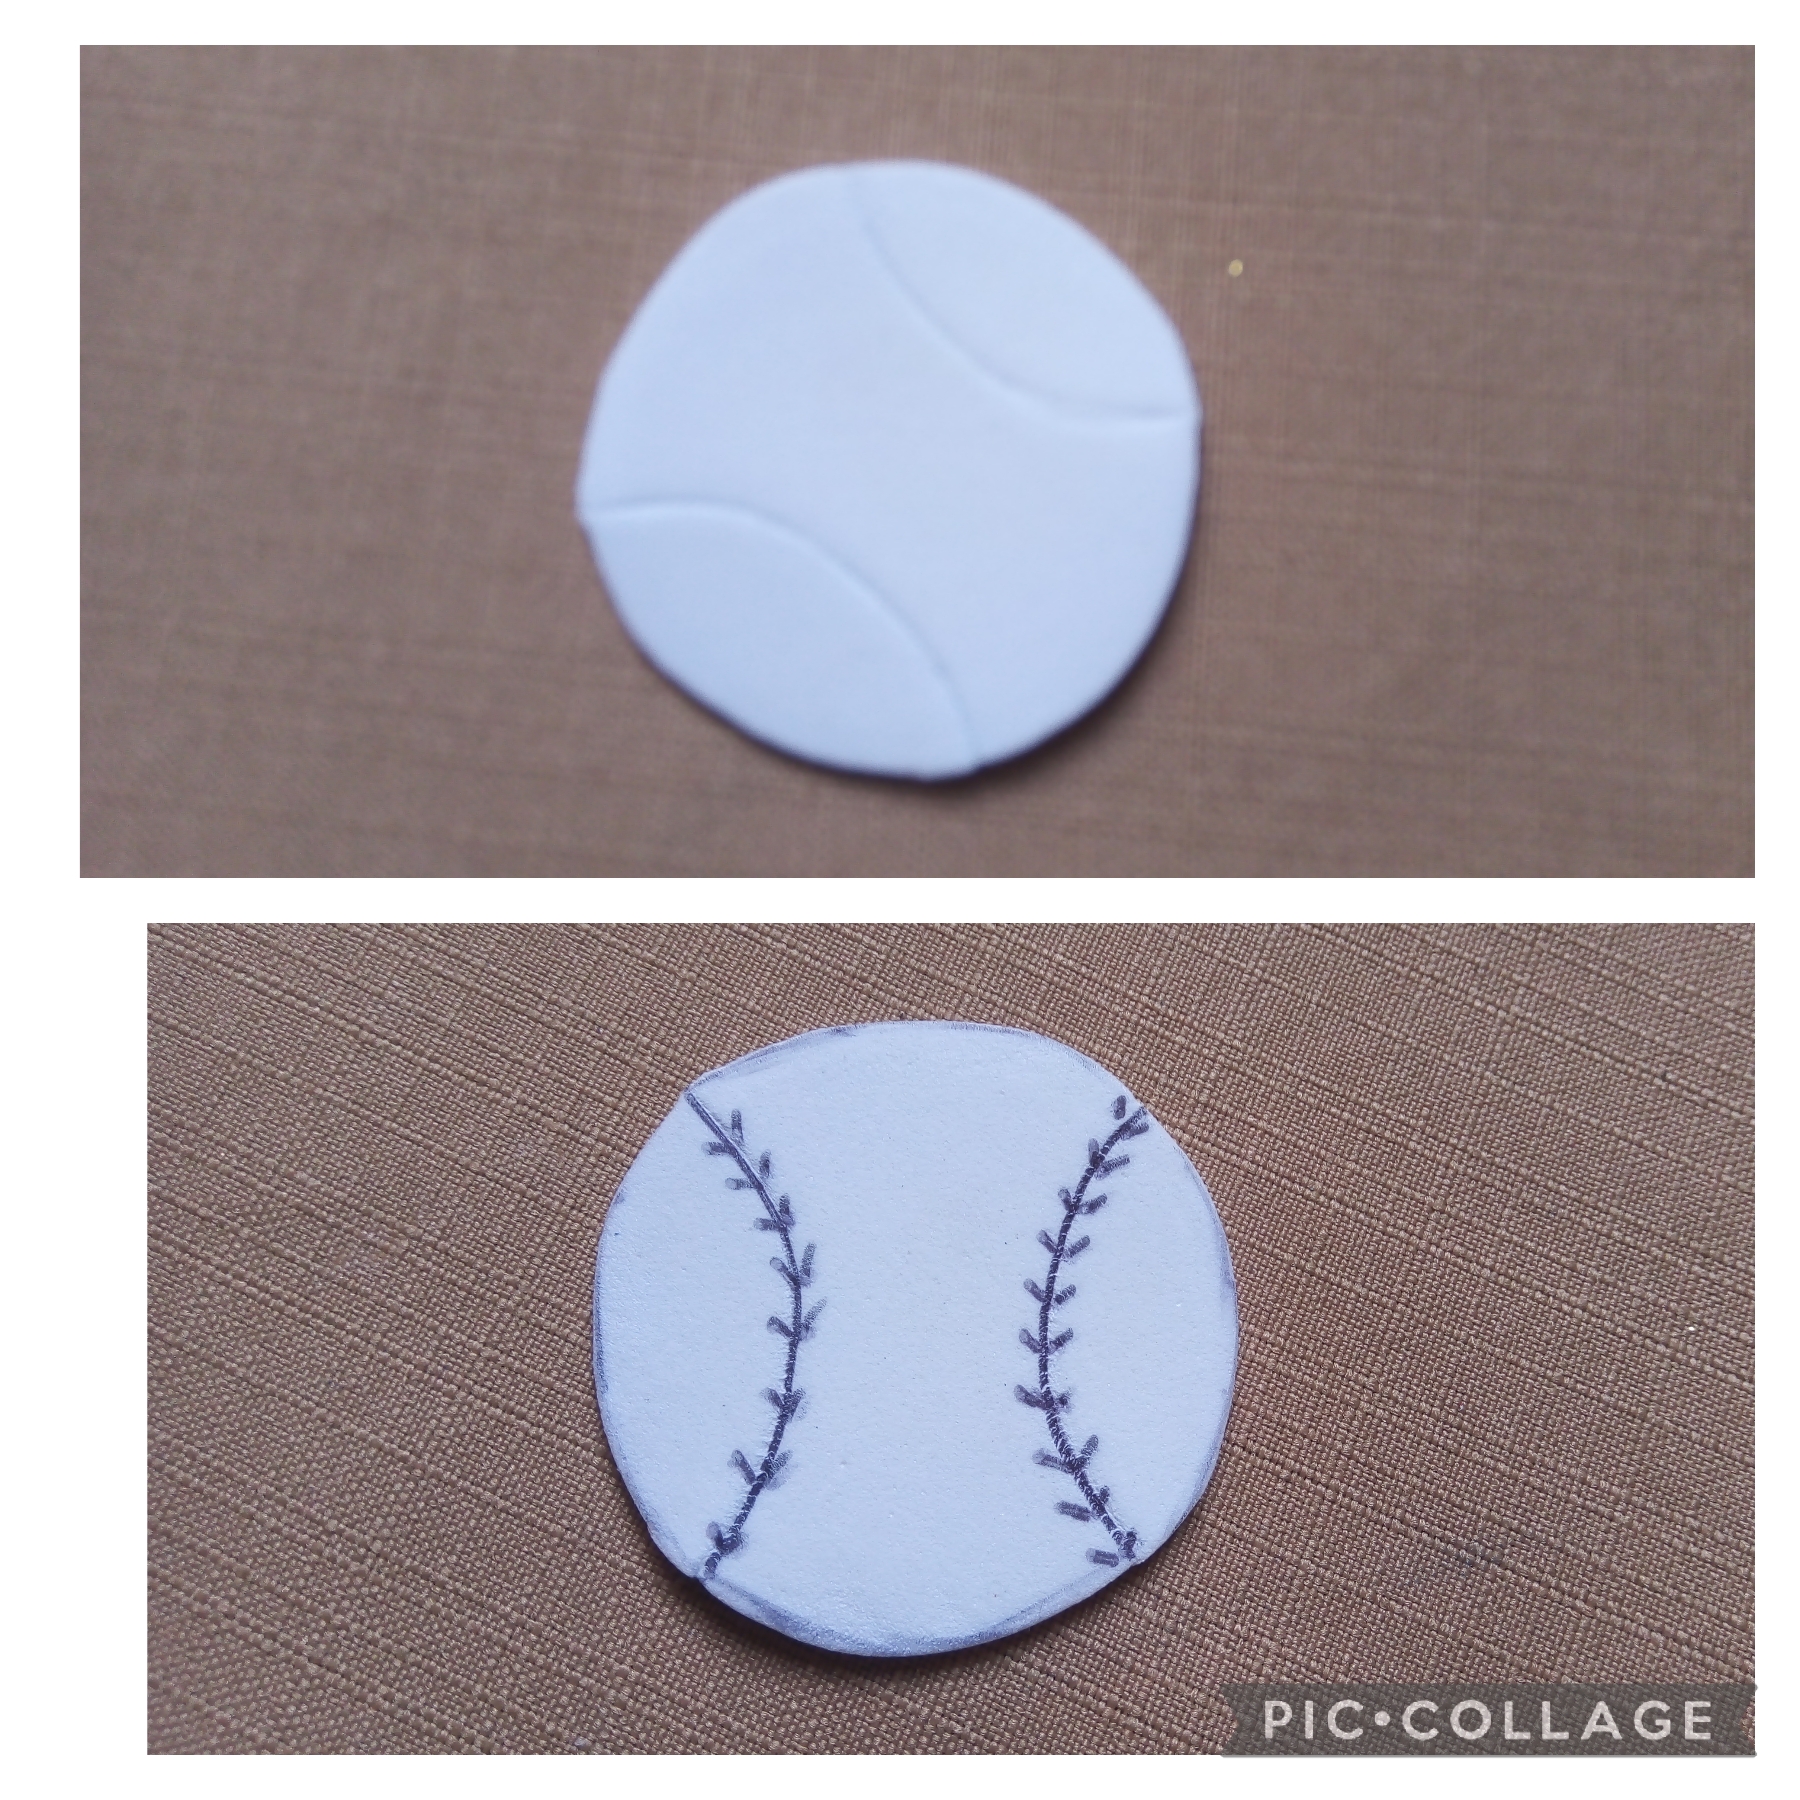
En este paso con foamis blanco elaboró la figura de una pelota, luego con marcador negro la decoro, uso la plancha para termoformarla y luego la pegó con silicon al guante.
THIRD STEP:
In this step with white foamis he elaborated the figure of a ball, then with a black marker he decorated it, he used the iron to thermoform it and then he glued it to the glove with silicone.
CUARTO PASO:
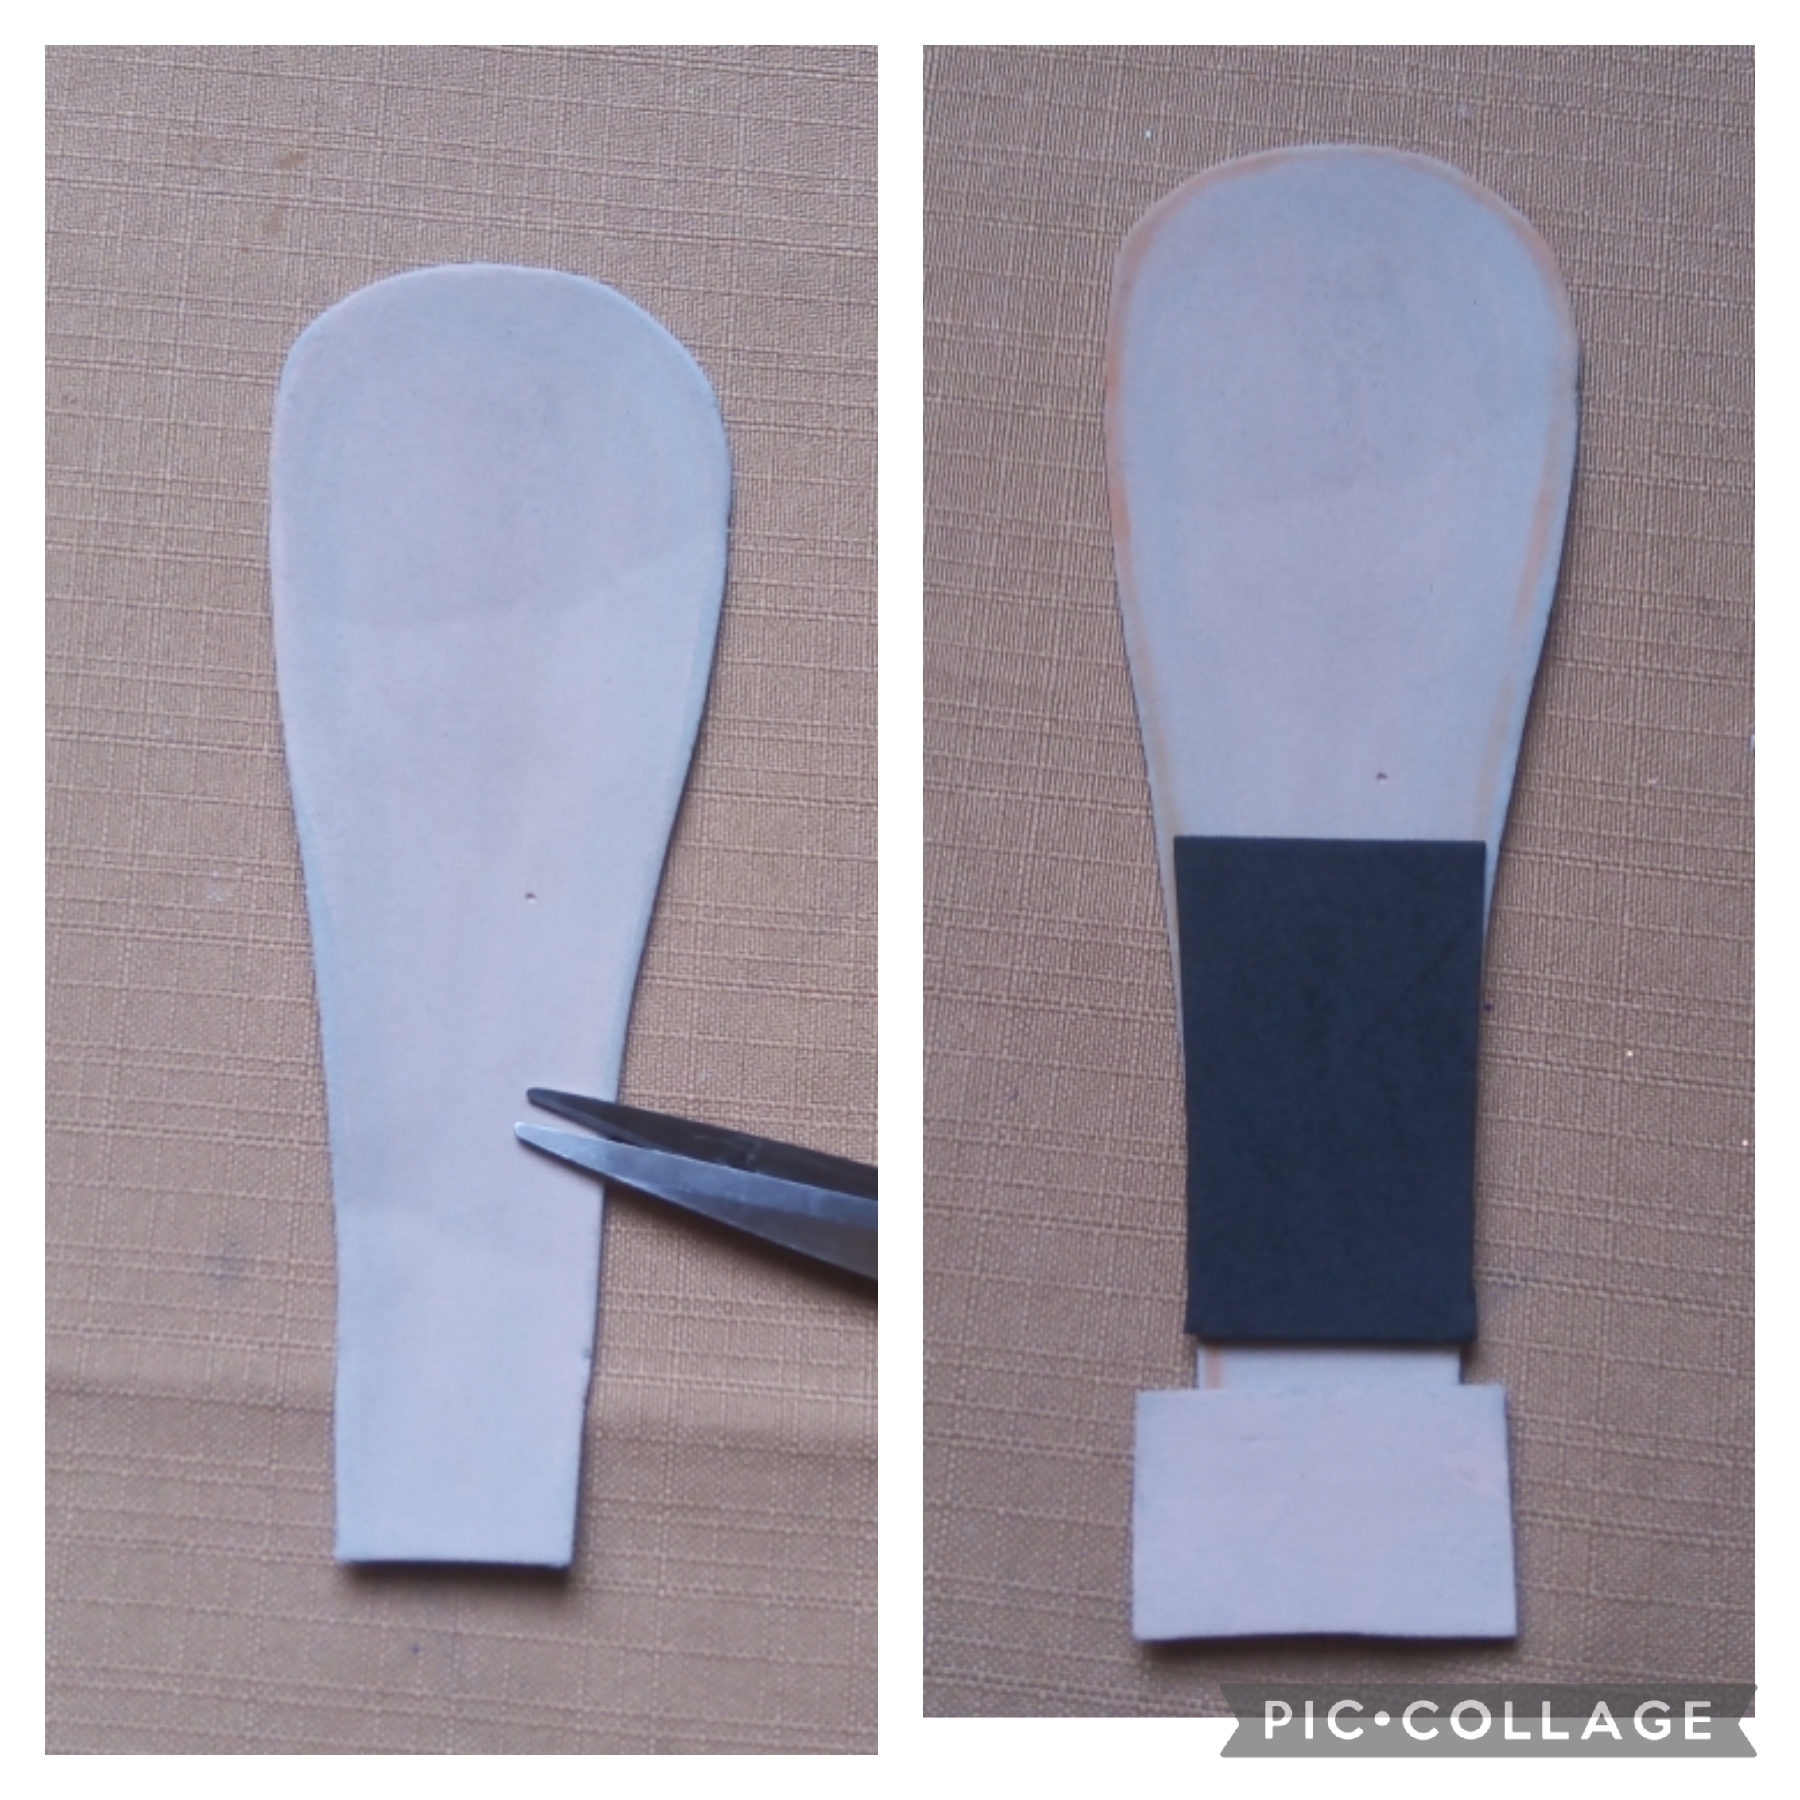
En este paso elaboraré el bate, para ello corto la forma con foamis beige, y decoro con un trozo de foamis negro.
FOURTH STEP:
In this step I will make the bat, for this I cut the shape with beige foamis, and decorate with a piece of black foamis.
QUINTO PASO:
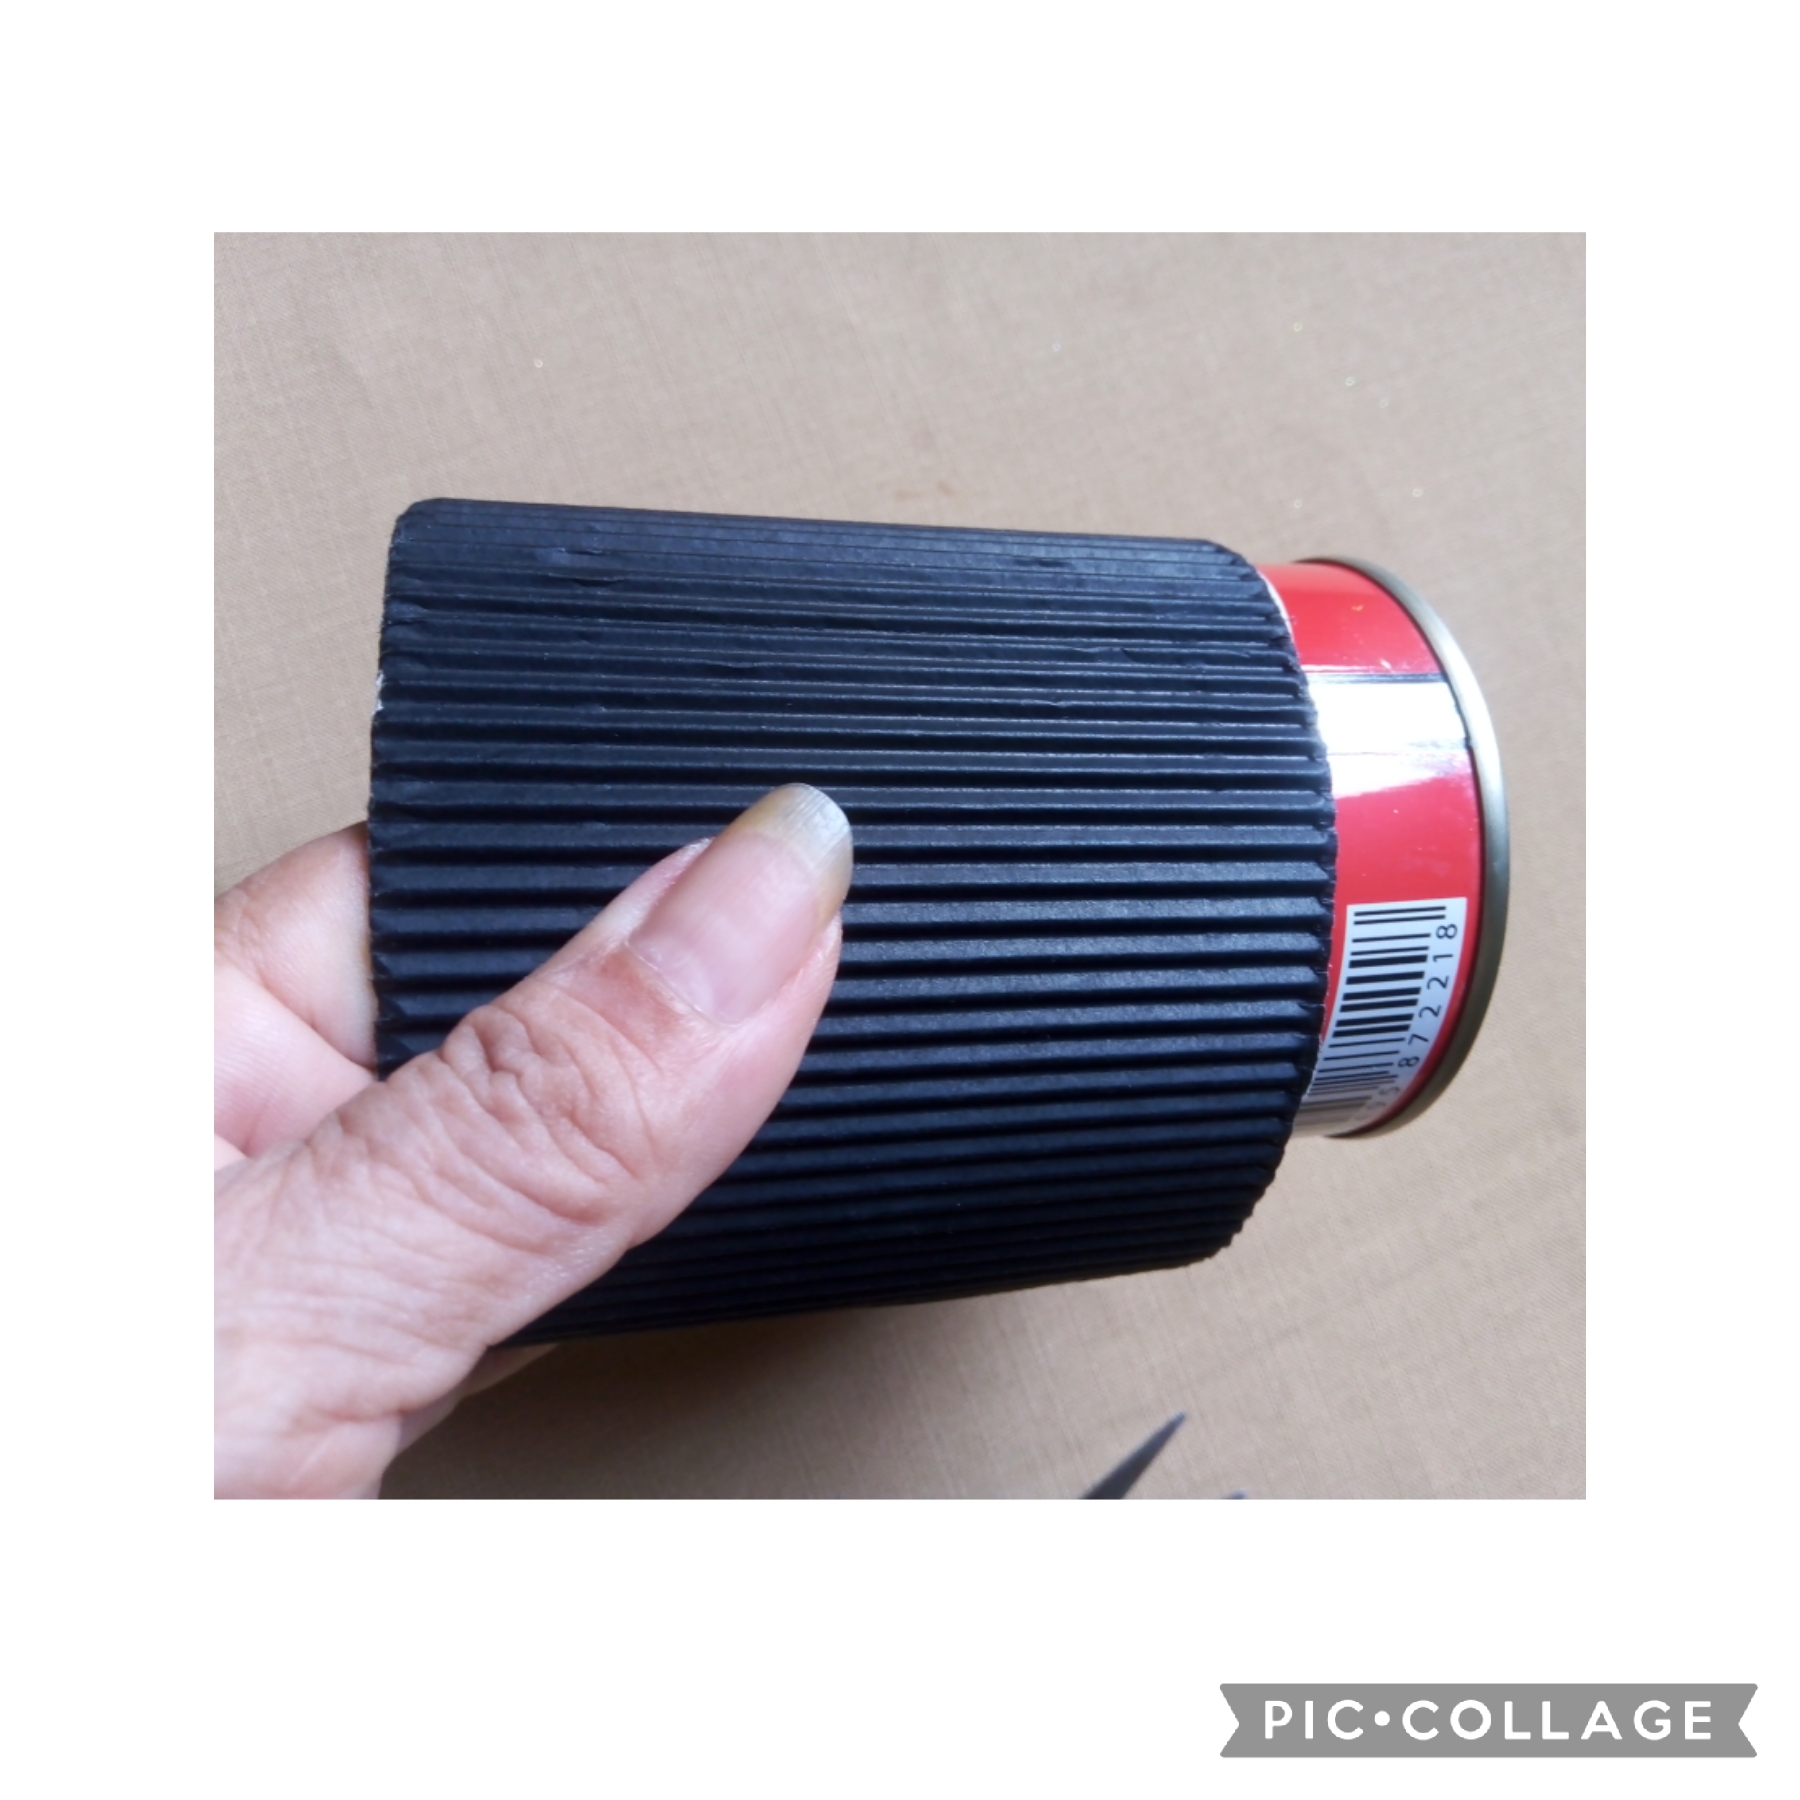
Ahora tomo la latica de conservas vacía y con el cartón corrugado negro la forro, luego con la punta dorada decoro el borde.
FIFTH STEP:
Now I take the empty canning can and with the black corrugated cardboard I cover it, then with the golden tip I decorate the edge.
SEXTO PASO:
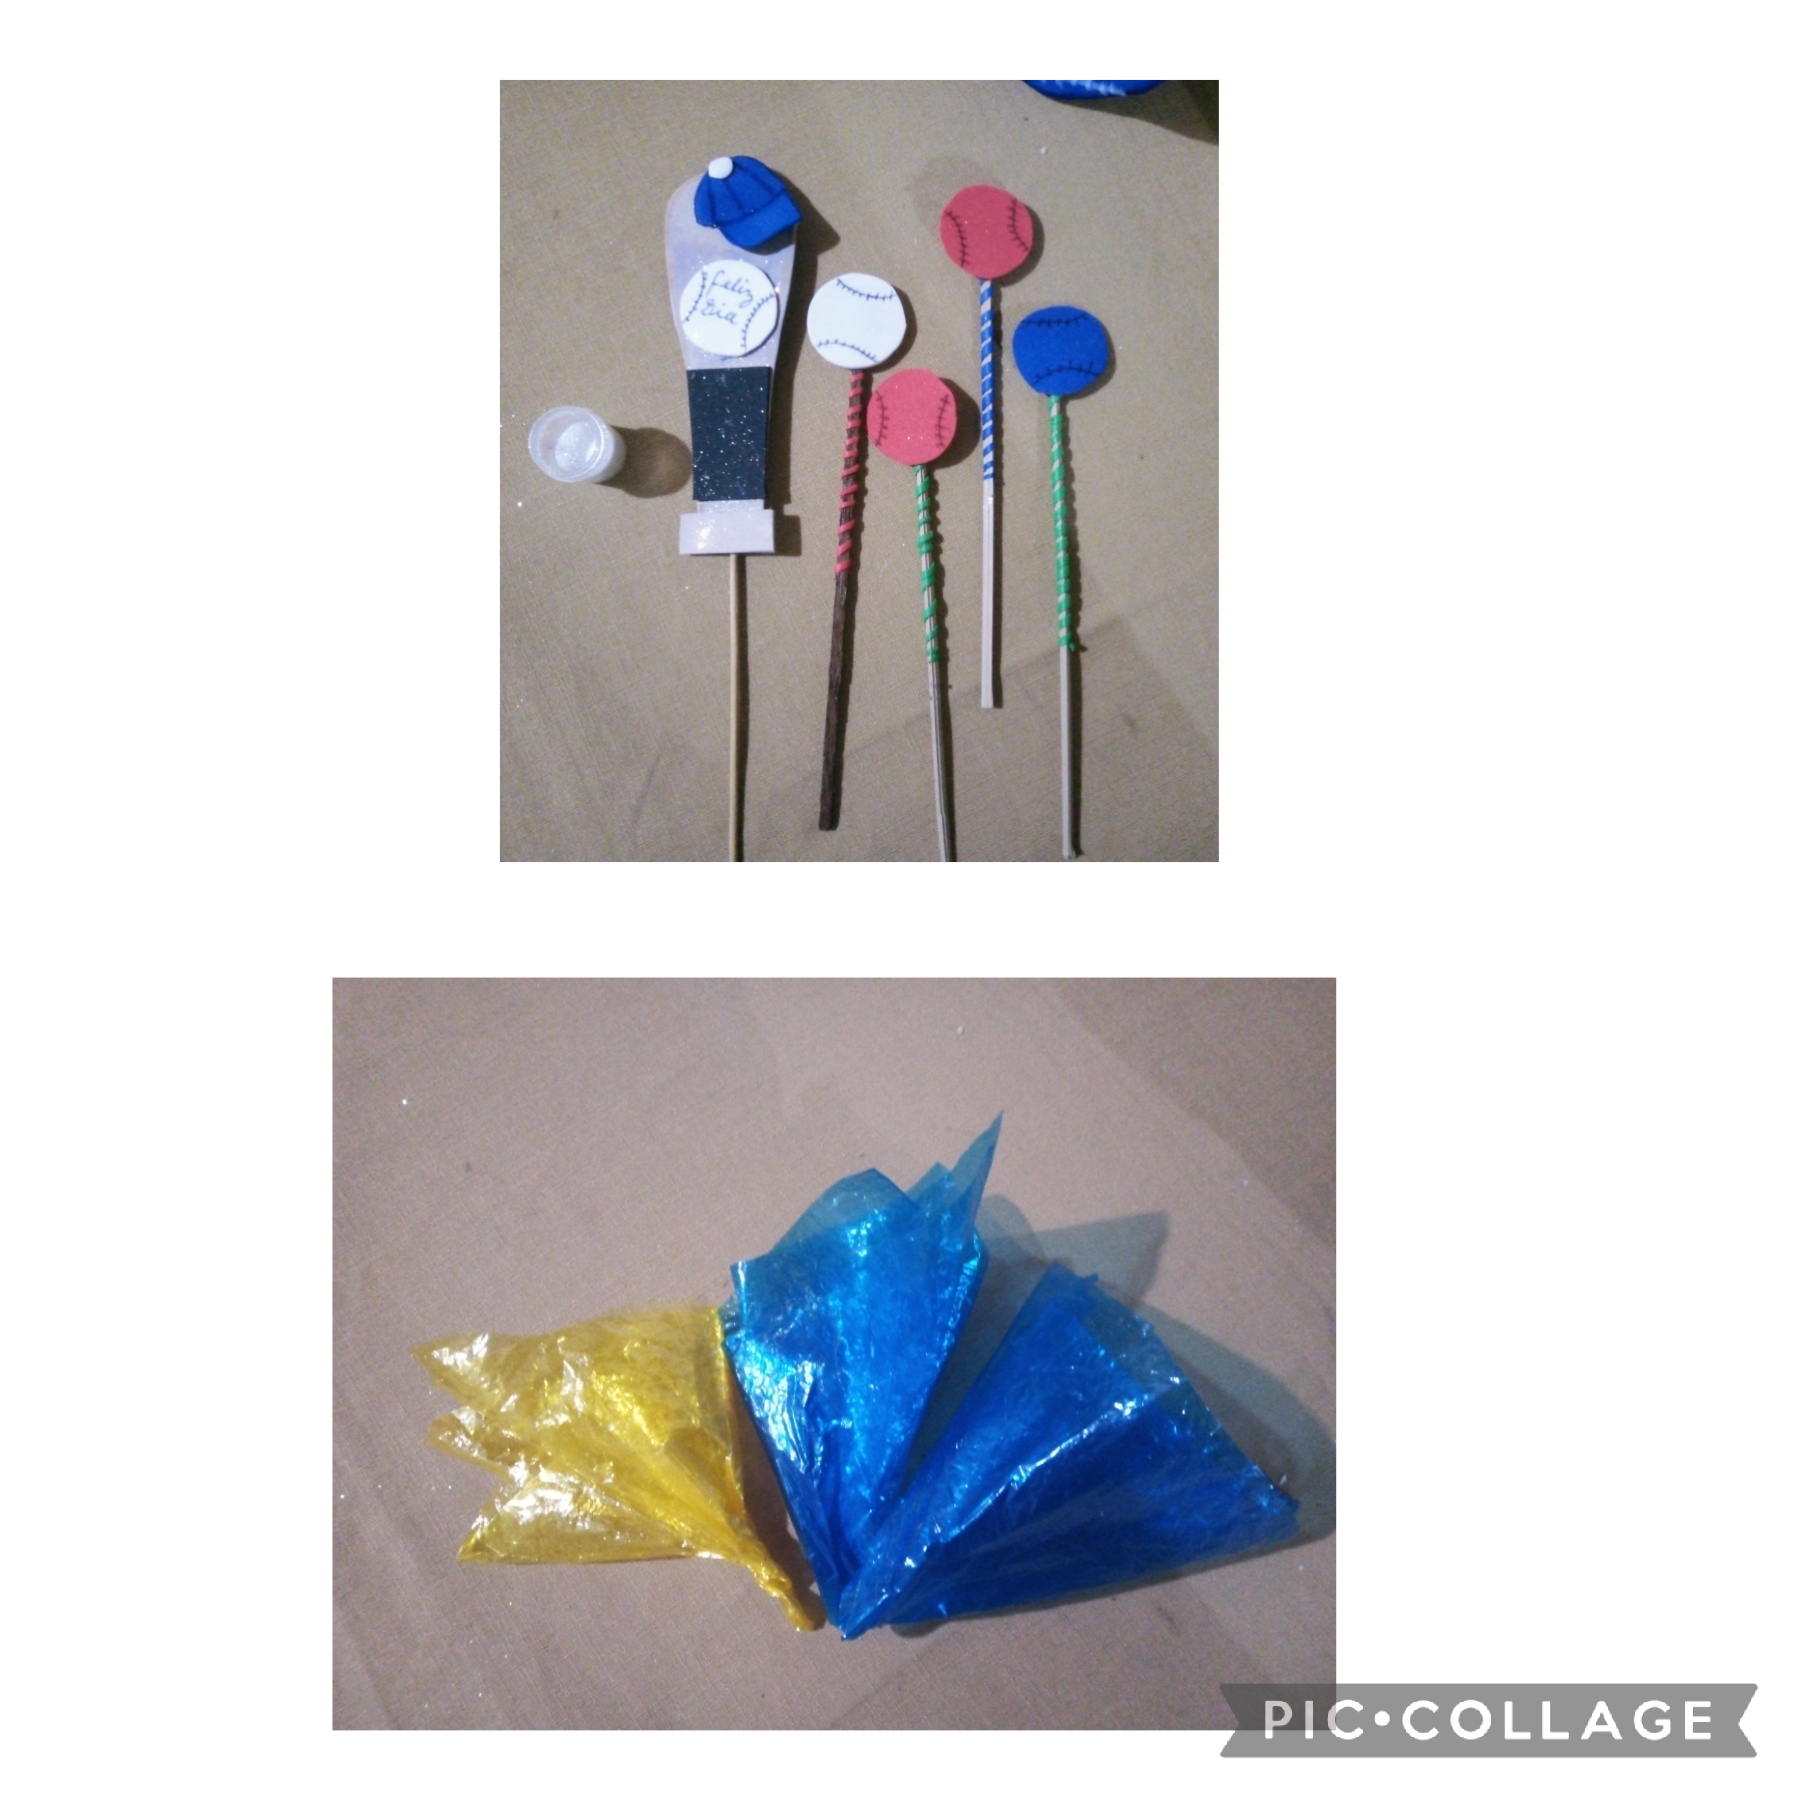
Ahora decoro el bate, colocándole una gorra en la parte superior; una pelota en el centro con la leyenda de "Feliz Día", también hago varias pelotas pequeñas y doblo unos pañuelitos para decorar (ver fotos)
STEP SIX:
Now I decorate the bat, putting a cap on top; a ball in the center with the legend "Happy Day", I also make several small balls and fold some handkerchiefs to decorate (see photos)
SÉPTIMO PASO;
En este paso pegó el guante a la lata decorada, coloco el bate las pelotas que coloqué en palitos de altura, caramelos, y termino la decoración con pañuelos de papel celofán azul y amarillo dentro de la lata y así va quedando.
SEVENTH STEP;
In this step, I glued the glove to the decorated can, I placed the bat with the balls that I placed on tall sticks, candies, and I finished the decoration with blue and yellow cellophane paper tissues inside the can and that's how it goes.
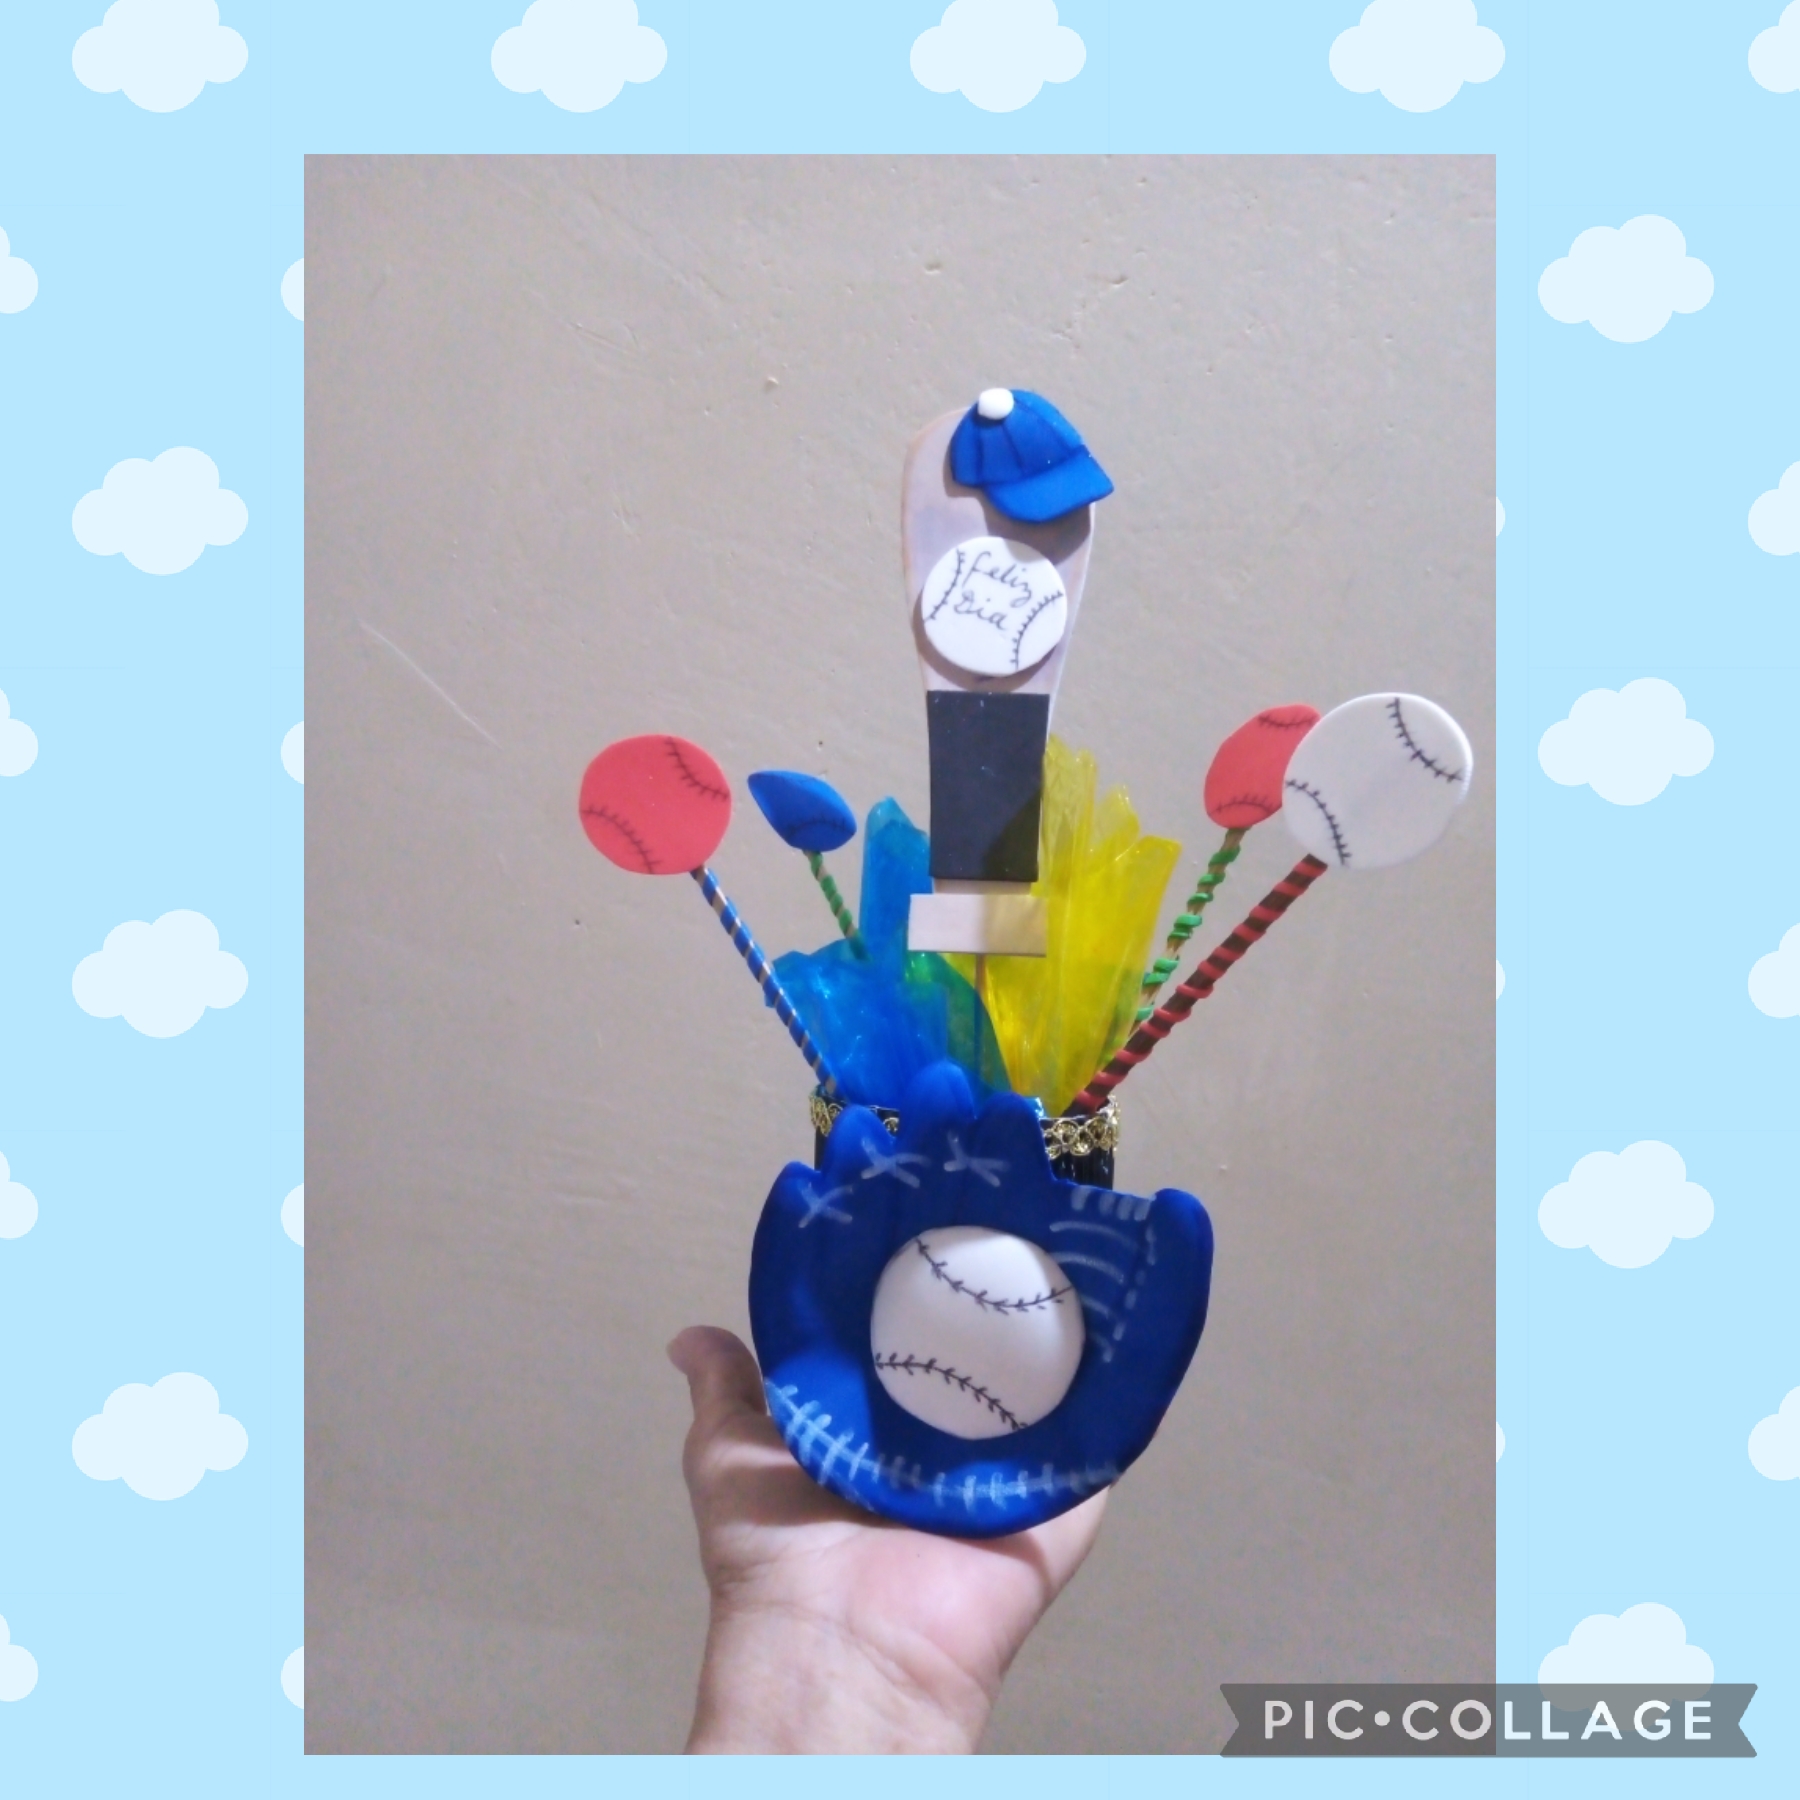
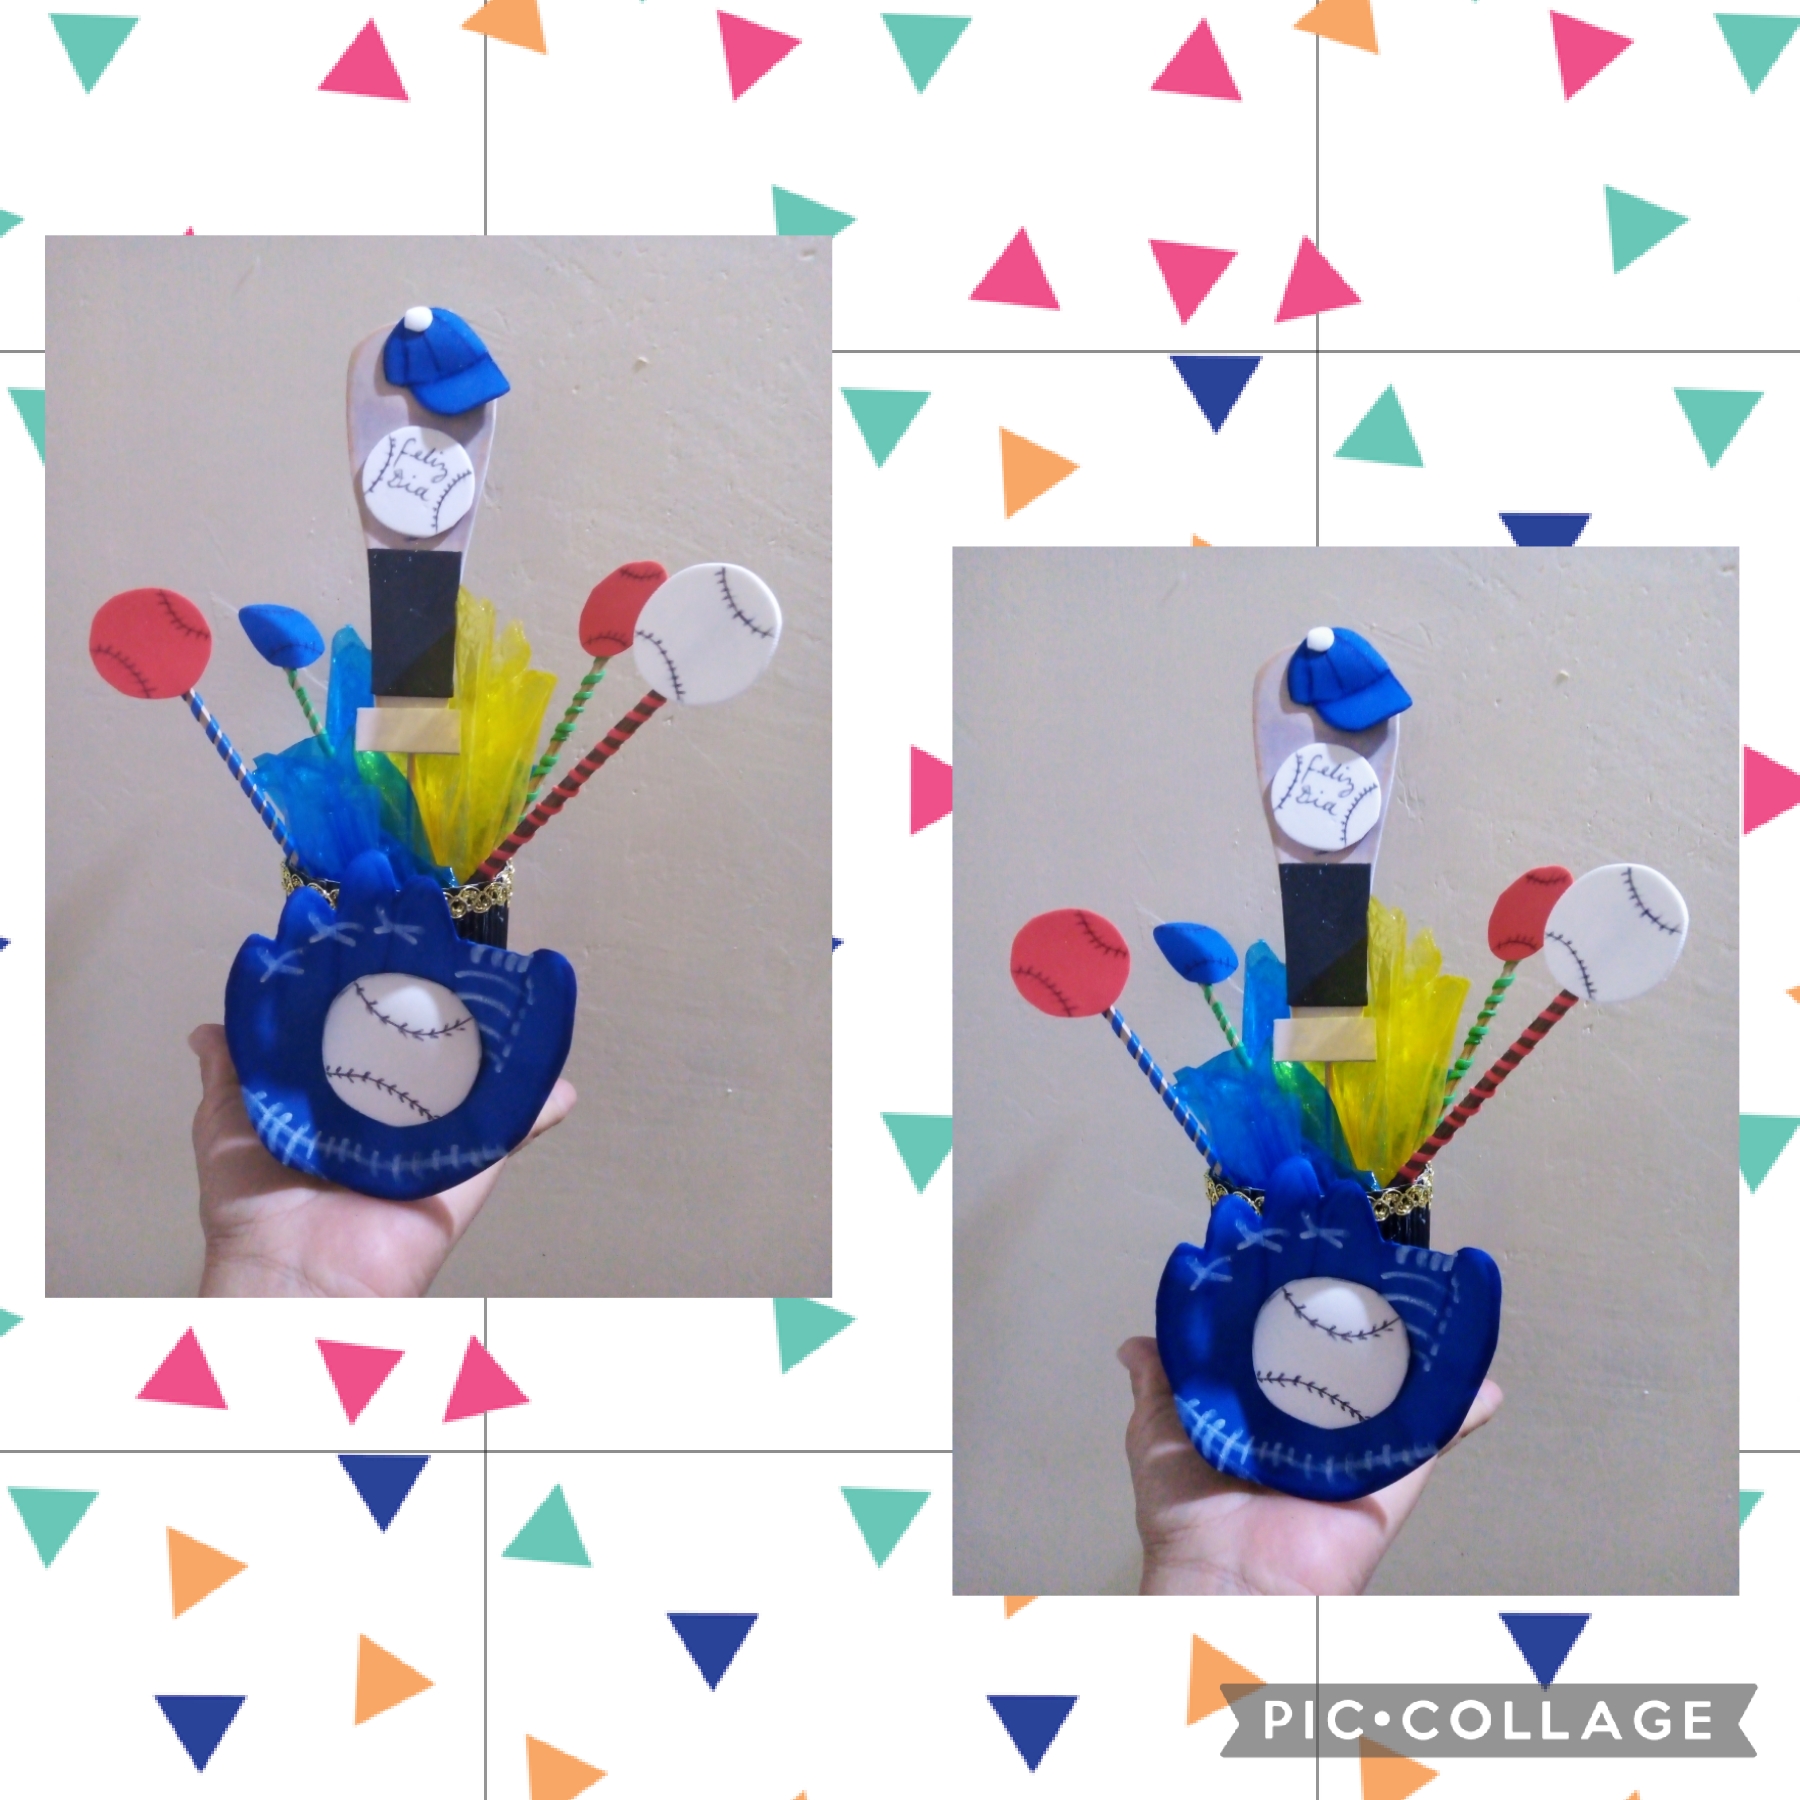
Mis queridos creativos este es el resultado final de mi manualidad la realice con mucho cariño para mi yerno, espero que les guste y me digan sus comentarios.
Gracias por apoyar mis publicaciones y nos vemos en la próxima manualidad.
My dear creatives, this is the final result of my craft, I made it with love for my son-in-law, I hope you like it and tell me your comments.
Thank you for supporting my posts and see you in the next craft
Las imágenes de este tutorial son de mi propiedad las fotos fueron tomadas con mi celular Motorola E6 y las edite con una aplicación gratis del mismo.
Para traducir texto usé geogle traduuctor
The images in this tutorial are my property, the photos were taken with my Motorola E6 cell phone and I edited them with a free application of the same.
To translate text I used geogle translator

Nice tutorial
Thanks You.
🎆🎇🎉🎊🌧️💐✨🌾🌱🌹🌙🌿🍃🥀⚡🌺☘️🍀🌈🌷⭐🪴🌵🌸🌟💮🌴🌳💫☀️💮☔🌲🌳🌍🌌🌠☄️🏵️🐝🌻🌼🍄🐞🦋💙☕💜🍍🎆🎇🎉🎊
Te quedó precioso...me encantan los pequeños detalles.... Gracias por compartir.
🎆🎇🎉🎊🌧️💐✨🌾🌱🌹🌙🌿🍃🥀⚡🌺☘️🍀🌈🌷⭐🪴🌵🌸🌟💮🌴🌳💫☀️💮☔🌲🌳🌍🌌🌠☄️🏵️🐝🌻🌼🍄🐞🦋💙☕💜🍍🎆🎇🎉🎊