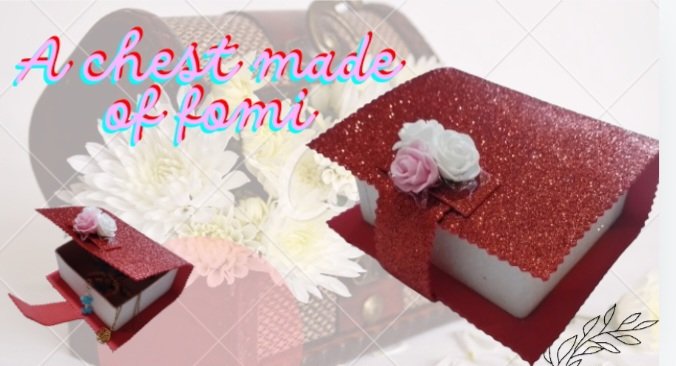
Hello, creative friends, I was organizing my clothes, since I have them all over the place and I thought of making a chest to keep them in, so I don't run the risk of losing them. So I'm going to show you the chest I made in the shape of a book. It's a bit simple, but it turned out very nice.
Hola, amigos creativos, estaba organizando mis prendas, ya que las tengo muy regadas y se me ocurrió hacer un cofre para guardarlas, así no corro el riesgo de que estas se me extravíen. Así que a con continuación les voy a mostrar el cofre que me hice en forma de un libro. Es un poco sencillo, pero quedó muy bonito.

Materials
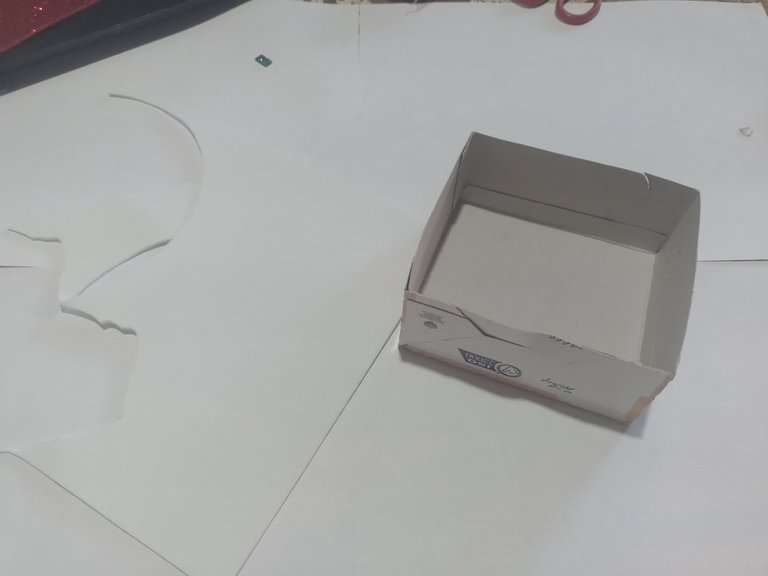
- A medium cardboard box.
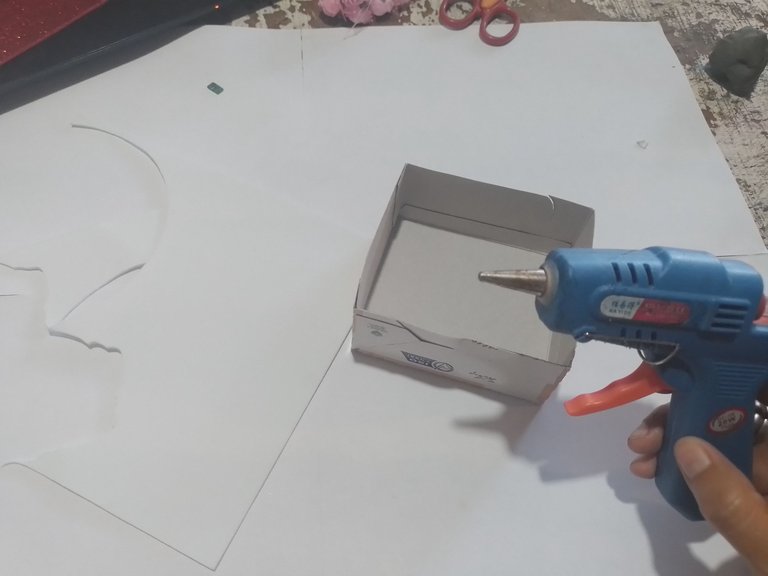
- Silicone gun.
- Fomis of different colors.
- Small flowers.
- Scissors.
Materiales
- Una caja de cartón mediana.
- Pistola de silicona.
- Fomis de diferentes colores.
- Flores pequeñas.
- Tijeras.
|
|
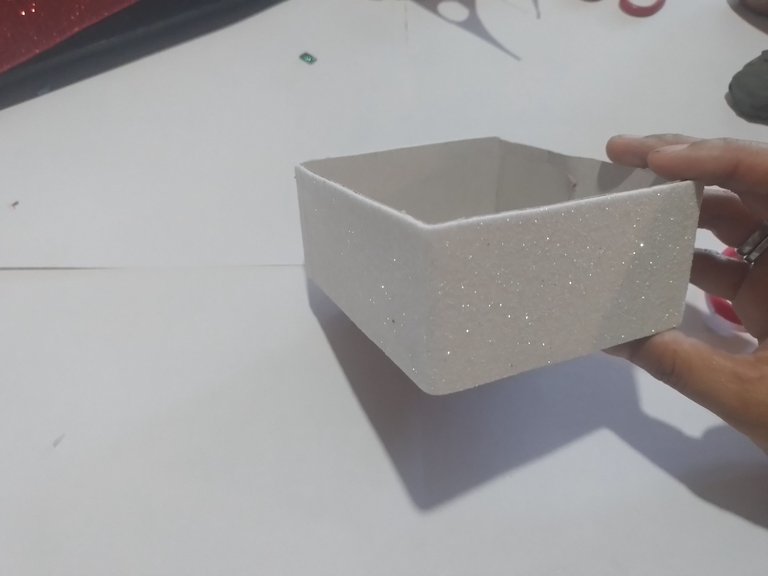
Step 1- Glue three of the edges of the box on a white glitter fomi.
Paso 1- Pegamos tres de los bordes de la caja en un fomi de brillo blanco.
|
|
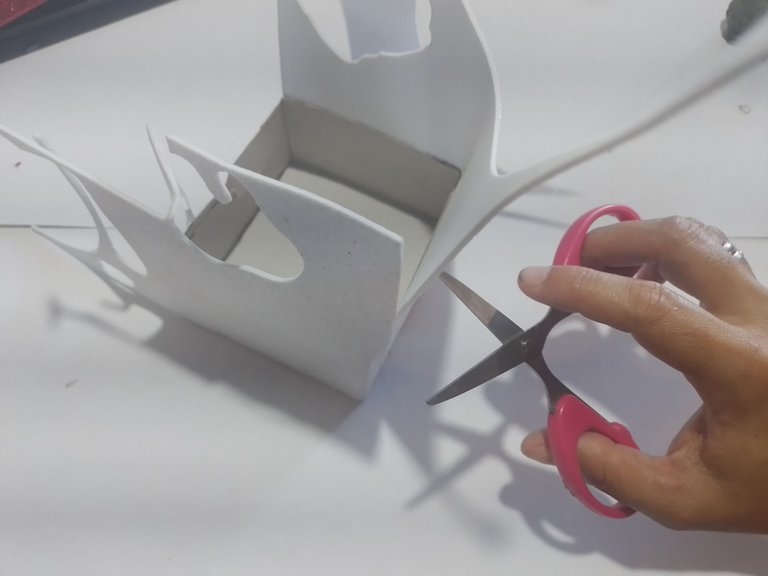
Step 2- With the scissors we cut off the excess from the top.
Paso 2- Con la tijera recortamos el sobrante de arriba.
|
|
|
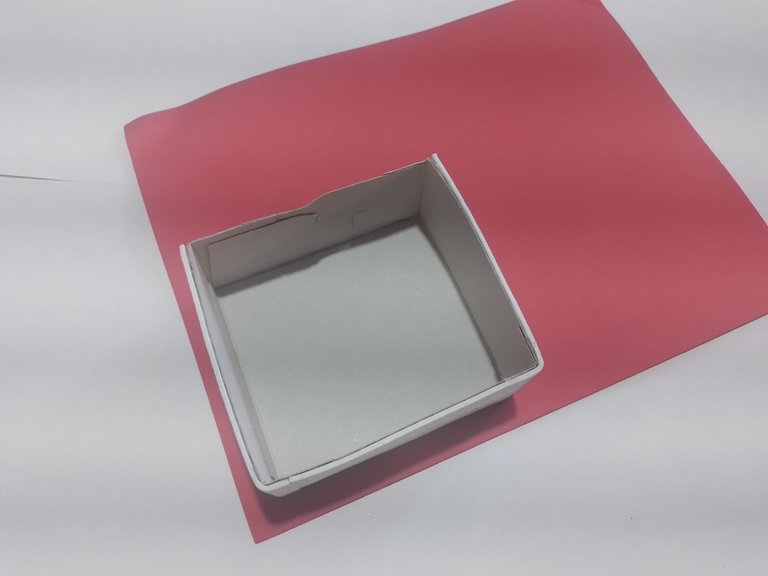
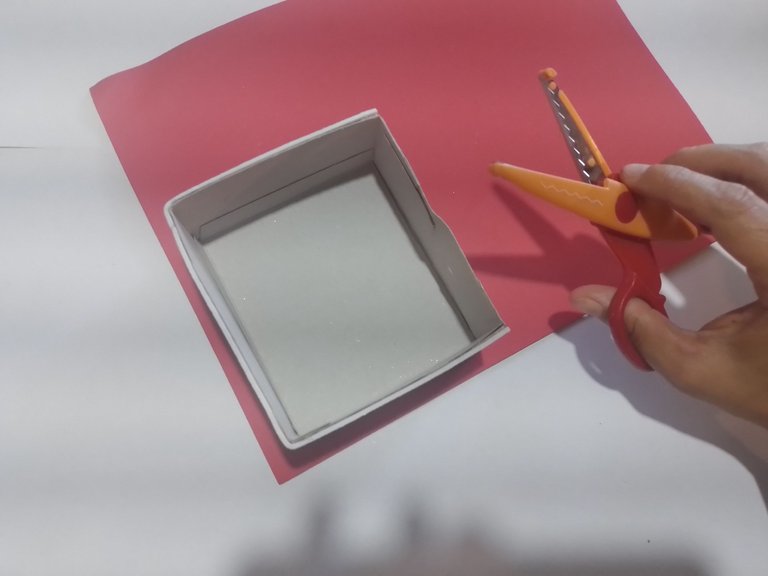
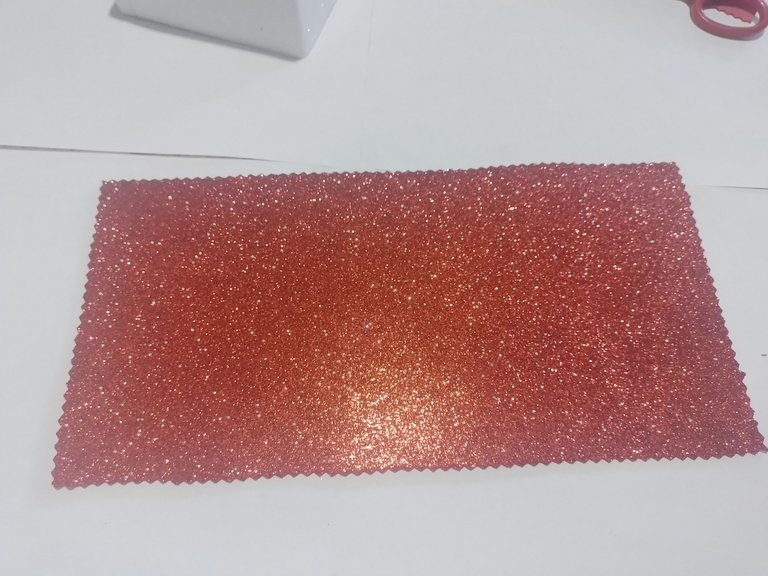
Step 3- Mark a large rectangle on the top of the red fomi with the box and cut them out with the scissors.
Paso 3- Marcamos con la cajita un rectángulo grande arriba del fomi rojo y los recortamos con la tijera de forma.
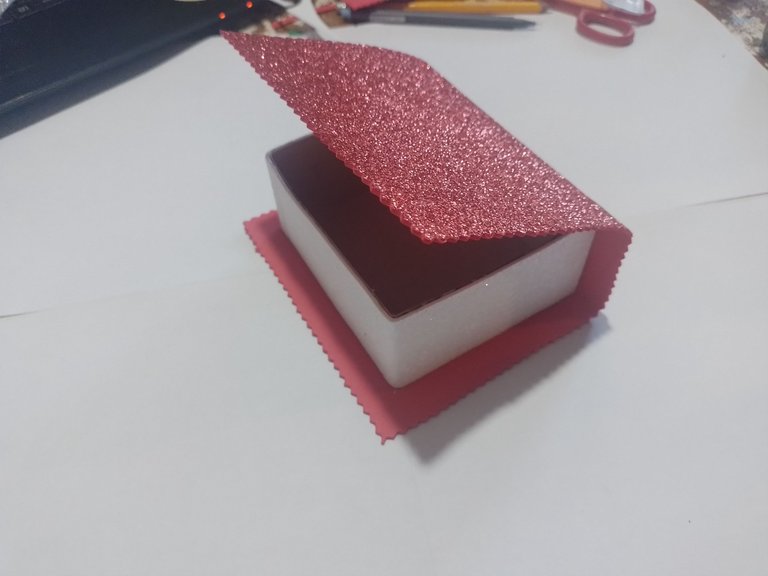
Step 4- Measure the rectangle more or less in half and glue the box in the shape of a book.
Paso 4- Medimos el rectángulo más meno por la mitad y pegamos la cajita en forma de un libro.
|
|
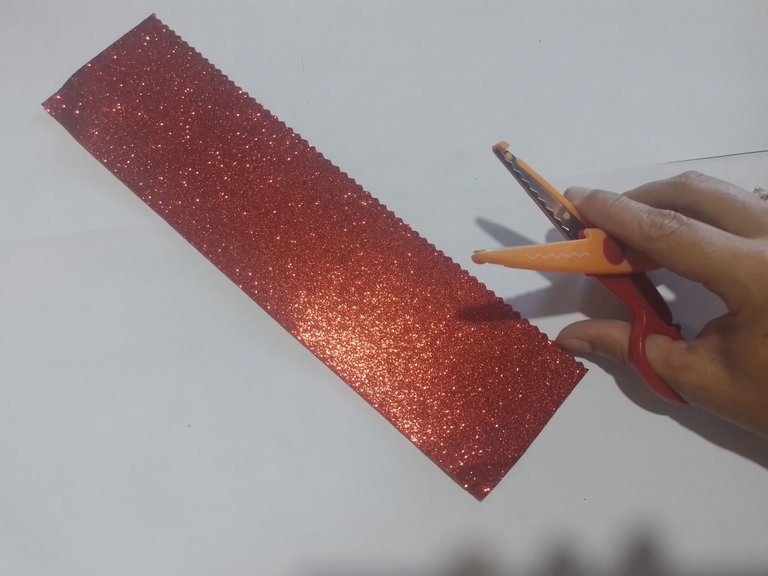
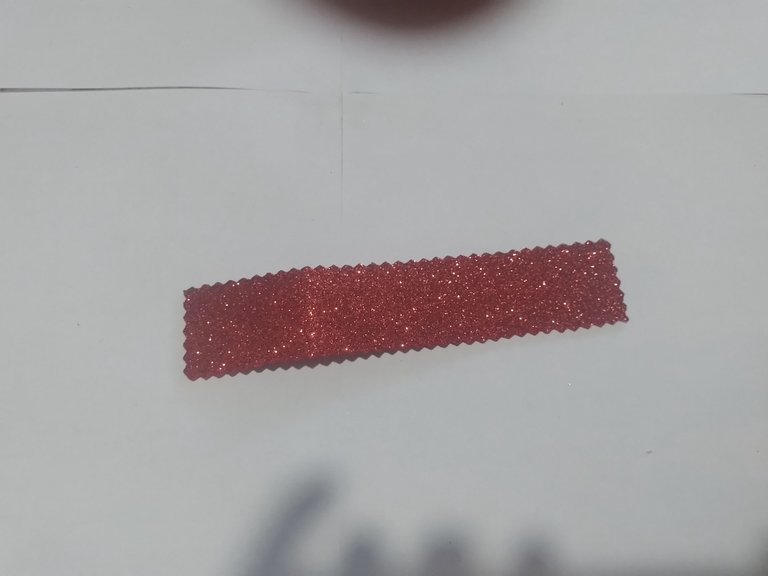
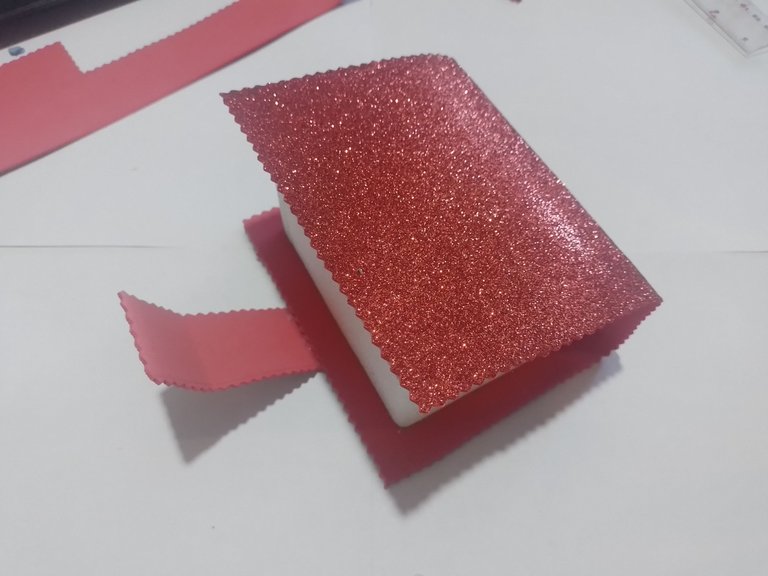
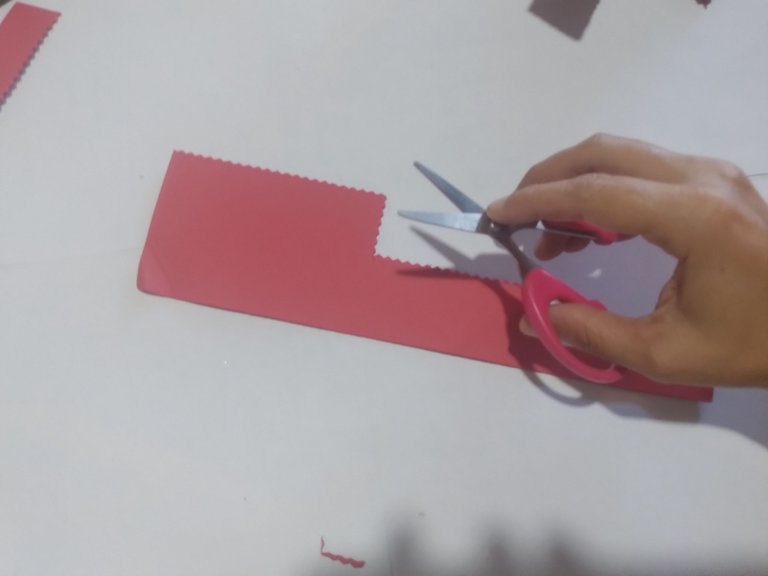
Step 5- Then we cut out a smaller rectangle with the shape scissors.
Paso 5- Luego recortamos con la tijera de forma un rectángulo más pequeño.
|
|
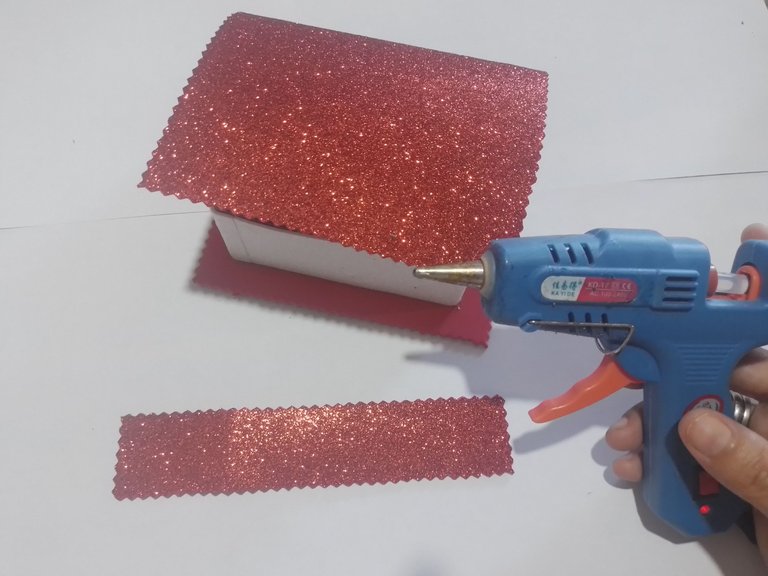
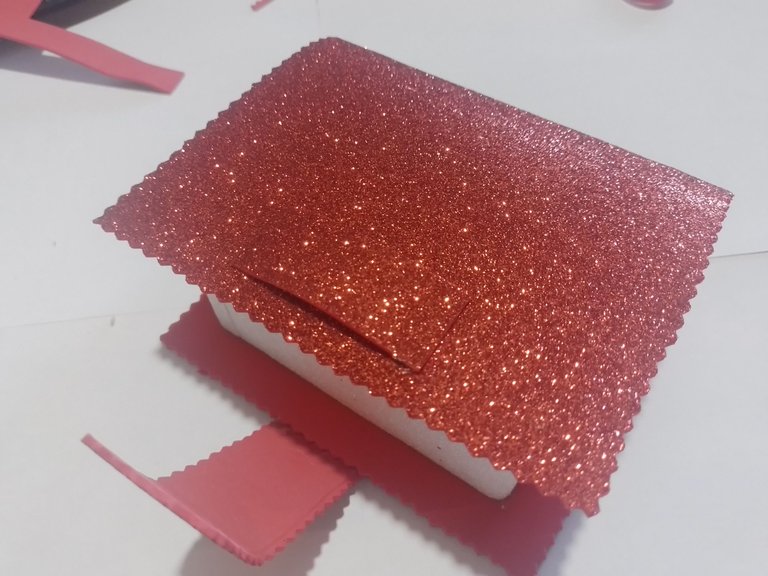
Step 6- We glue a piece of the smaller rectangle to the bottom of the box and fold it upwards, leaving an excess.
Paso 6- El rectángulo más pequeño lo pegamos un pedazo en la parte de abajo del cofre y lo doblamos hacia arriba, quedándonos un sobrante.
|
|
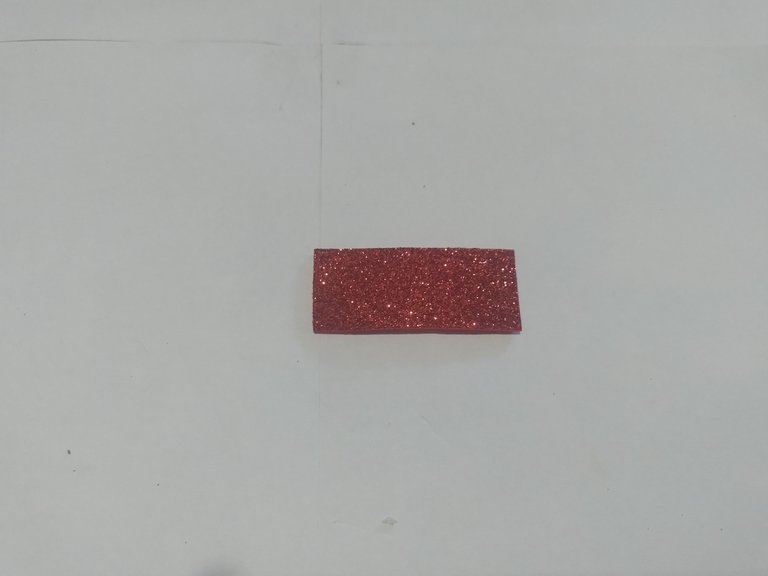
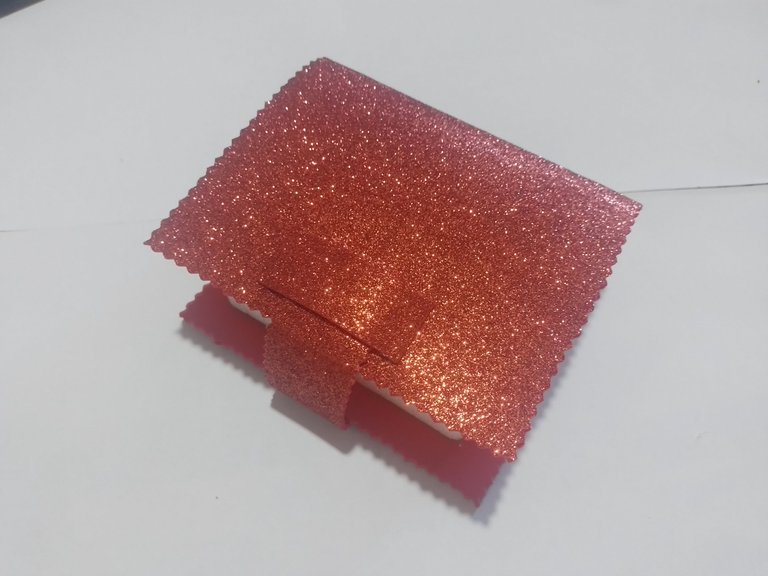
Step 7- We cut another rectangle again, but even smaller, but this time with the normal scissors.
Paso 7- Volvemos a recortar otro rectángulo, pero aún mas pequeño, pero está con la tijera normal.
|
|
|
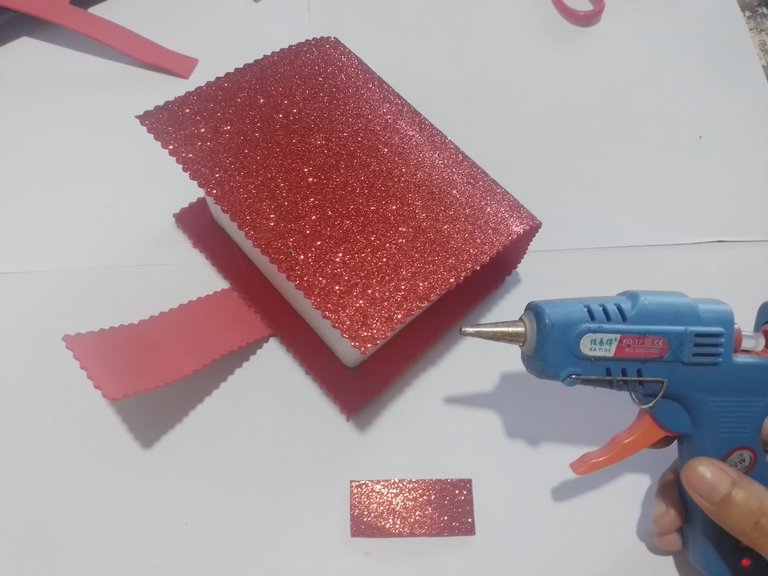
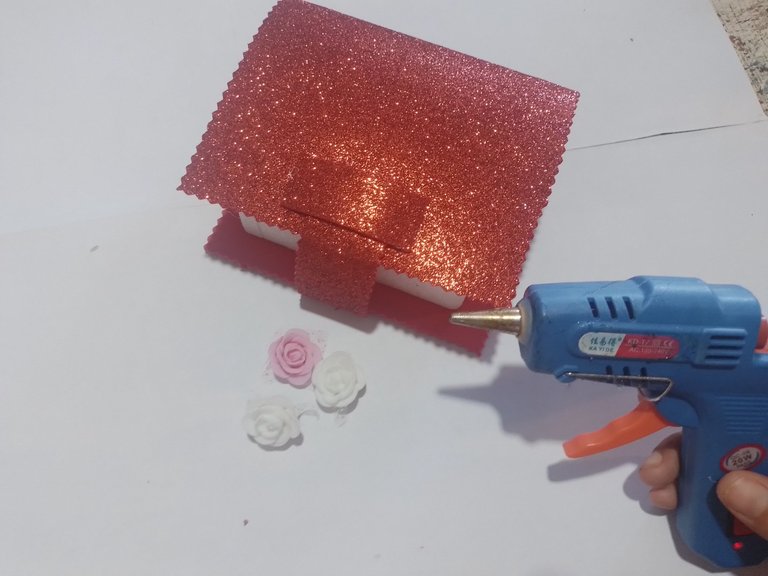
Step 8- We glue that piece of fomi on the top, leaving the middle without silicone so that the piece cut out before enters into this and we whistle closure.
Paso 8- Pegamos ese trozo de fomi en la parte de arriba, dejando el medio sin silicona para que el trozo antes recortado entre en este y nos silba de cierre.
|
|
|
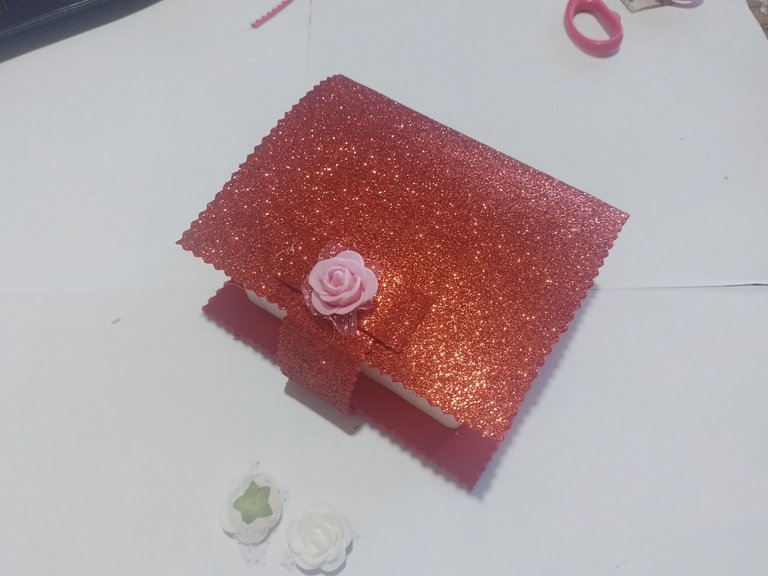
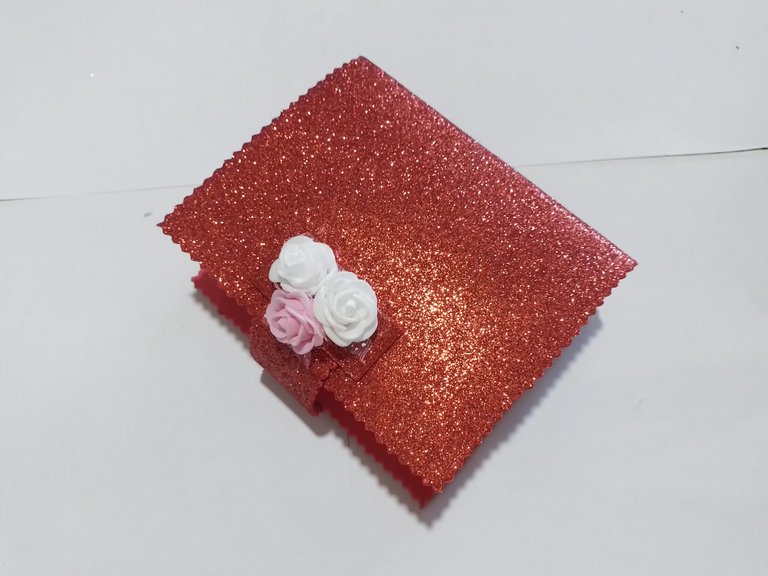
Step 9- And finally, to decorate it, we glued three little flowers on the top of the closure to make it look pretty.
Paso 9- Y por último, para decorarla, le pegamos tres florecitas en la parte de arriba del cierre para que este quede bonito.
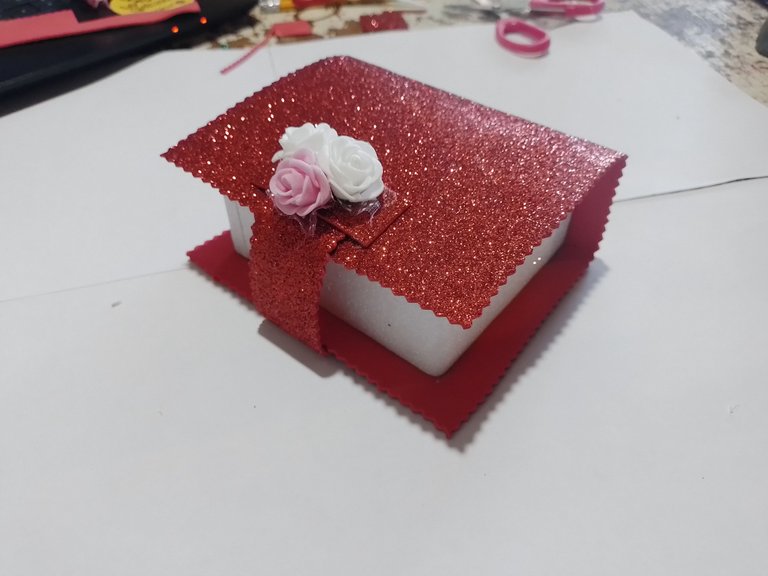
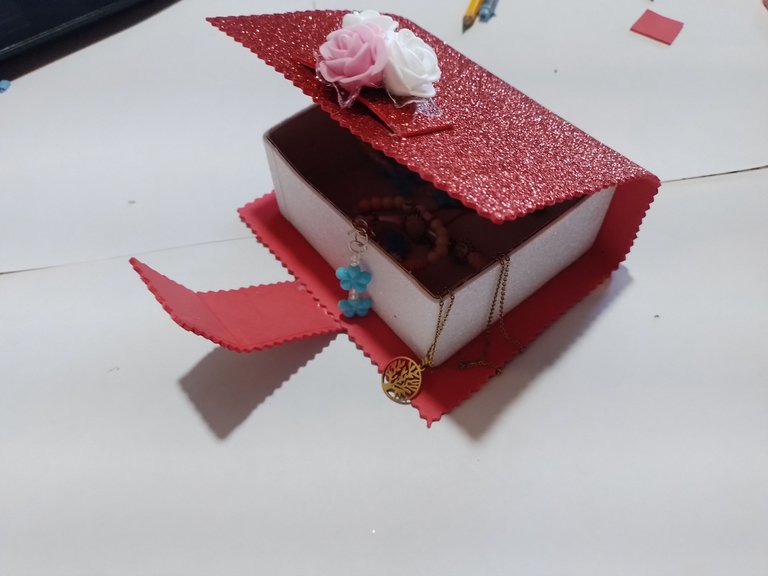
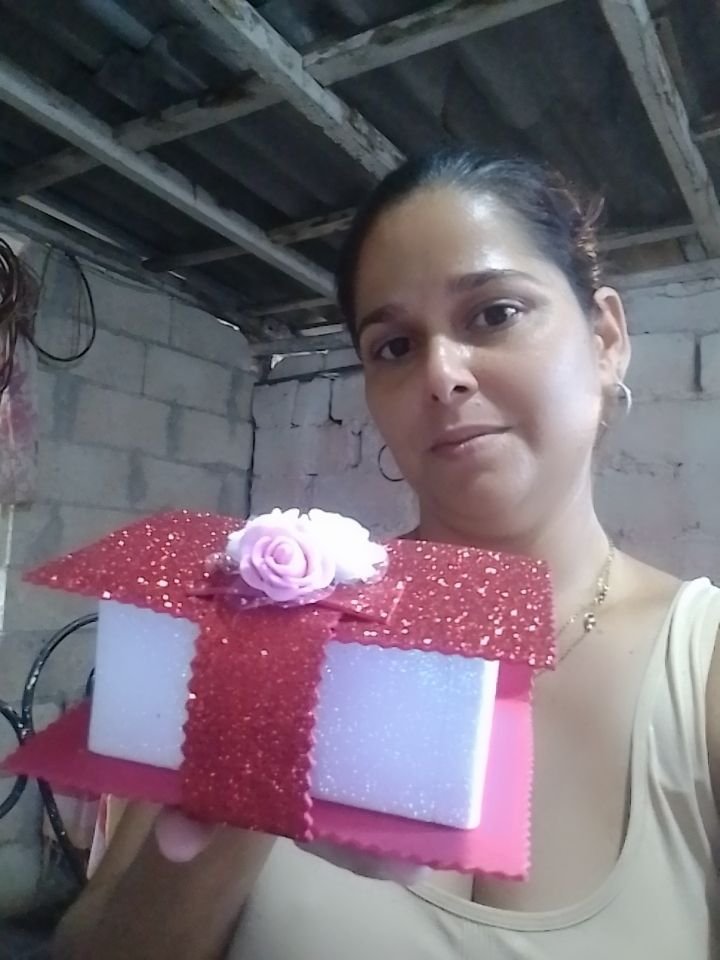
So we got the chest, I hope you liked it and give you new ideas in your creations.
Así nos quedó el cofre, espero que les haya gustado y les den nuevas ideas en sus creaciones.
Cover made in Canva
Translated by DeepL
It looks pretty cool. Good to see how you made this one. Nice work! Keep it up!
Gracias
Congratulations @norychacon! You have completed the following achievement on the Hive blockchain And have been rewarded with New badge(s)
Your next payout target is 500 HP.
The unit is Hive Power equivalent because post and comment rewards can be split into HP and HBD
You can view your badges on your board and compare yourself to others in the Ranking
If you no longer want to receive notifications, reply to this comment with the word
STOPCheck out our last posts: