
Hello creative friends, my cousin's birthday is coming up and I didn't know what I could give her and I remembered that she is a stomatologist and I thought of making her a personalized pencil holder with a theme related to her specialty.
Hola amigos creativos, se acerca el cumpleaños de mi prima y no sabía qué le podía regalar y me acordé de que ella es estomatóloga y se me ocurrió hacerle un portalápiz personalizado con una temática relacionada con su especialidad.
Soon I will show you the beautiful pencil holder I made with the theme of a stomatologist. I hope you like the result.
En breve le mostraré el bello portalápiz que realicé con la temática de una estomatóloga. Espero que les guste el resultado.
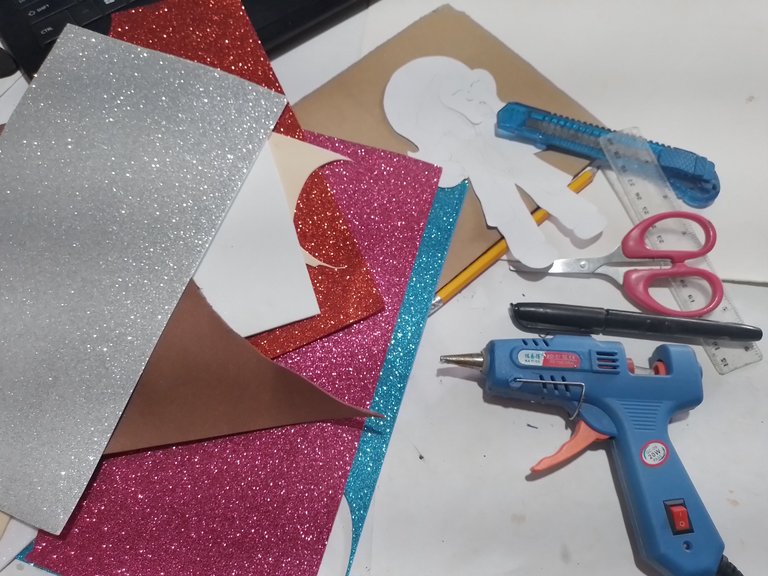
Materials
- Cardboard.
- Fomi of different colors.
- Silicone gun.
- Permanent markers.
- Scissors.
- Ruler.
- Cutter.
- Two medium size flowers.
- Pencil.
- Paper molds.
- White cardboard
Materiales
- Cartón.
- Fomi de baros colores.
- Pistola de silicona.
- Marcadores permanentes.
- Tijera.
- Regla.
- Cúter.
- Dos flores medianas.
- Lápiz.
- Moldes de papel.
- Cartulina blanca
Step by step, Paso a paso

|

|
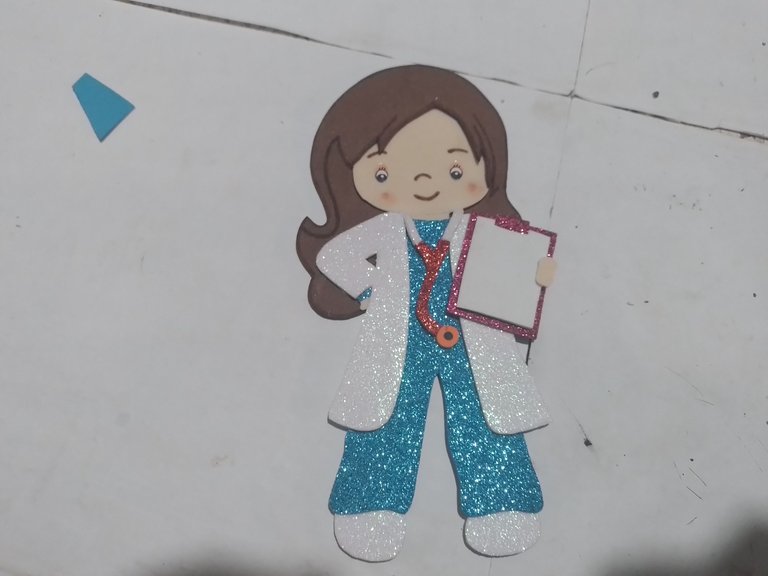
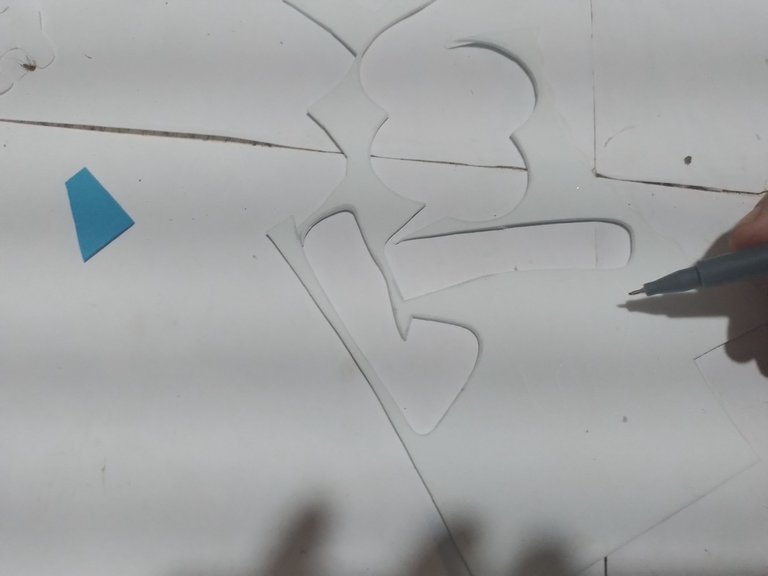
Step 1- First, we mark the doctor with the paper molds and cut out all the parts.Glue all the parts where they correspond.
Paso 1- Primeramente, marcamos con los moldes de papel la doctora y recortamos todas las partes.Pegamos todas las partes donde correspondan.

|
|
Step 2- With the permanent marker we make the details of the face and hair.
Paso 2- Con el marcador permanente hacemos los detalles de la cara y el pelo.
|

|
|
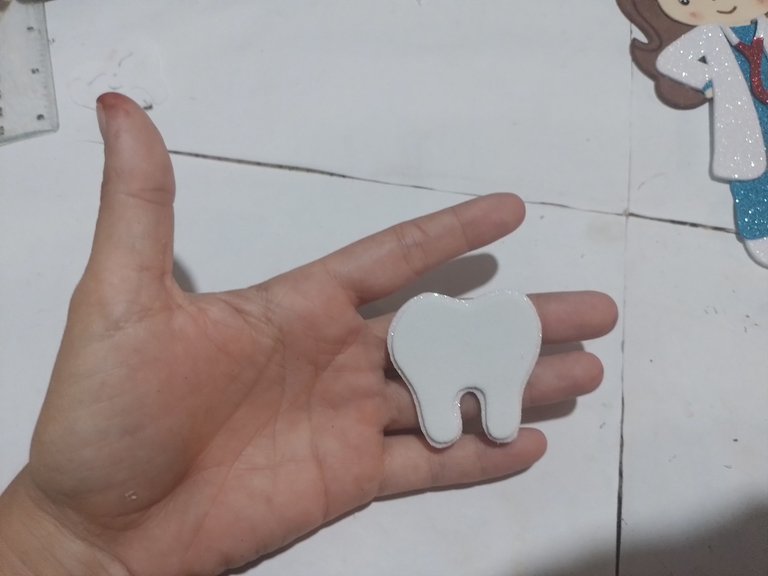
Step 3- On a piece of white fomi we mark a little molar and cut it out.
Paso 3- En un trozo de fomi blanco marcamos una muelita y la recortamos.

Step 4- With the permanent marker we mark the details and glue a small heart on one side.
Paso 4- Con el marcador permanente marcamos los detalles y le pegamos un corazón pequeño a un lado.
|
|

|

|
|

|
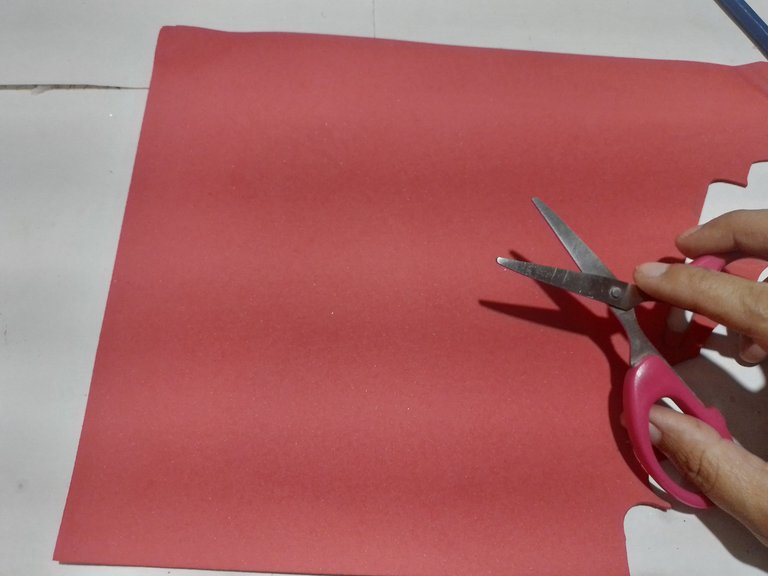
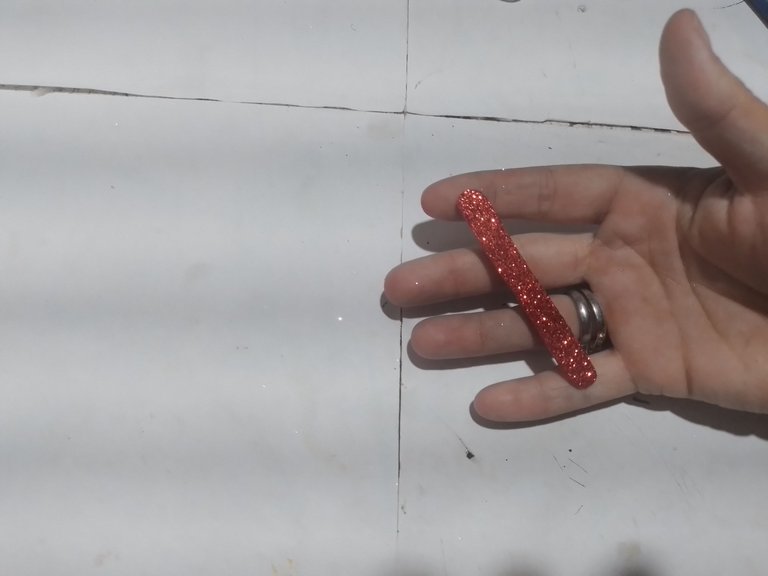
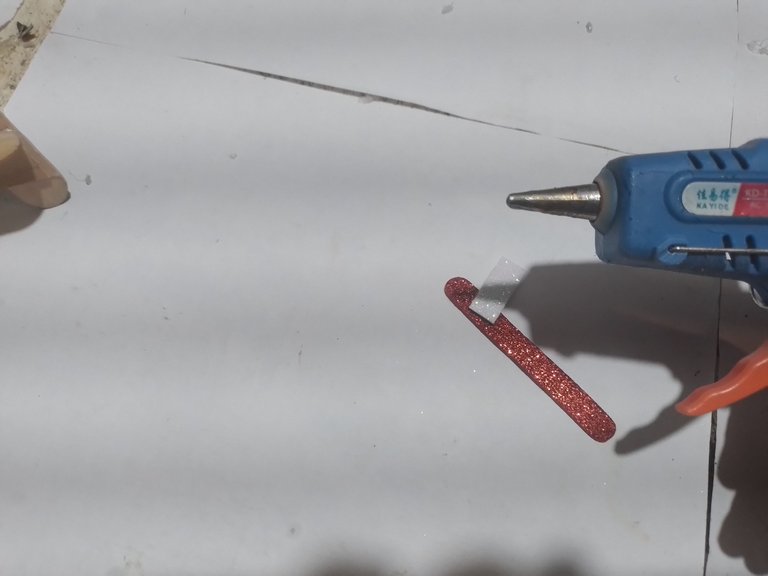
Step 5- On the red fomi we mark a small strip and cut it out, and with a small piece of white fomi we make a rectangle and glue it with the small piece of the red strip to form a toothbrush.
Paso 5- En el fomi rojo marcamos una tira pequeña y la recortamos, y con un pedacito de fomi blanco asemos un rectángulo y lo pegamos con el pedacito de tirita roja para formar un cepillo de diente.

|

|
|
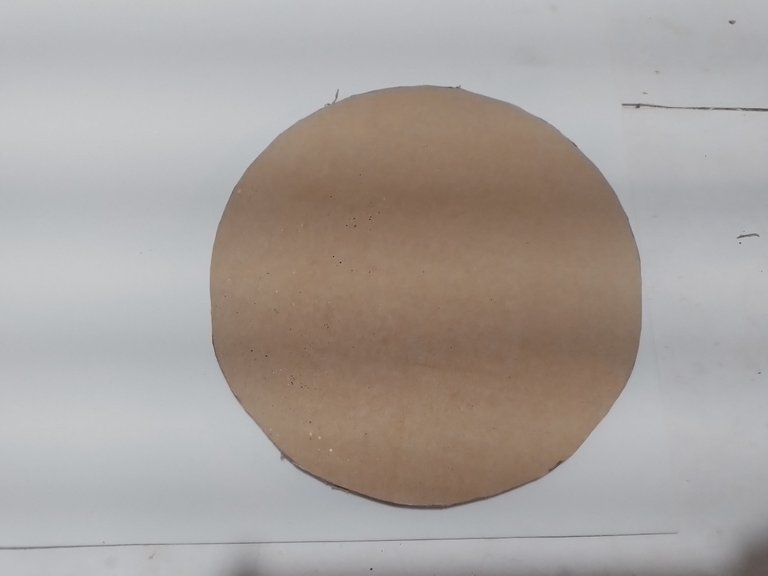
Step 6- With the compass we mark a circle on the cardboard and cut it out.
Paso 6- Con el compás marcamos un círculo en el cartón y lo recortamos.

|

|
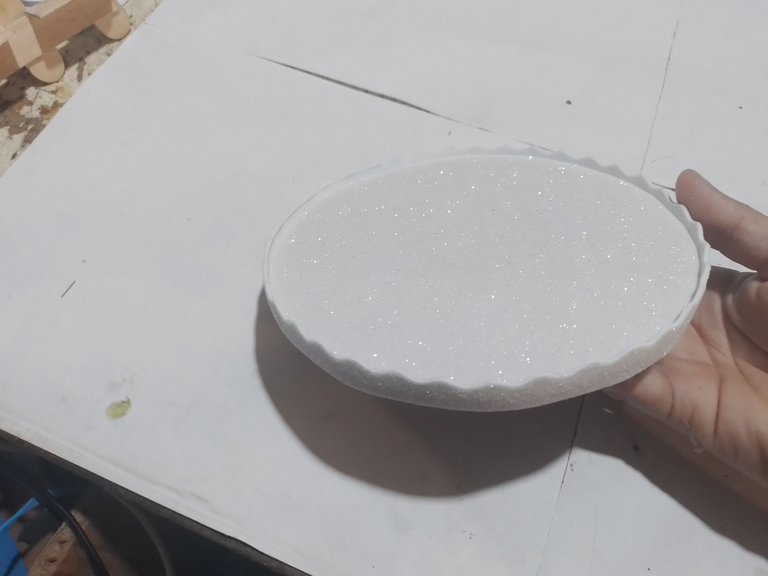
Step 7- We glue one side of the cardboard circle on a white fomi and cut it out.
Paso 7- Pegamos una cara del círculo de cartón en un fomi blanco y lo recortamos.

|
|

|
|
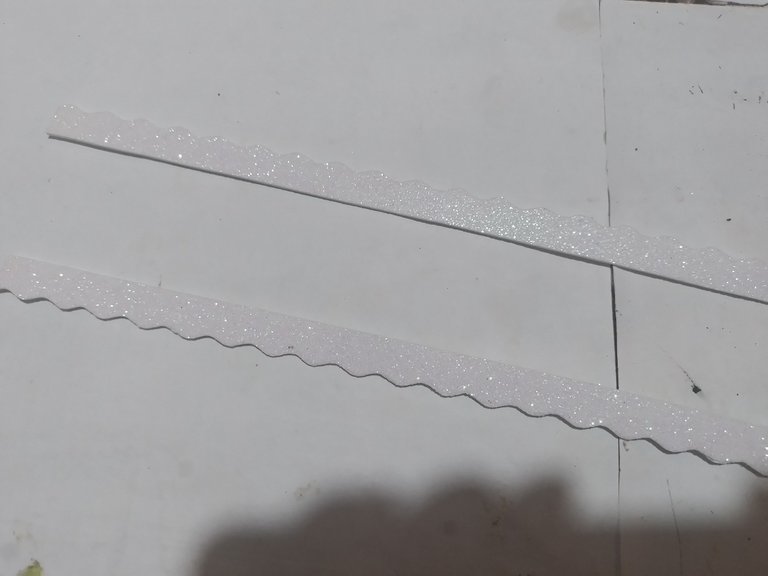
Step 8- Then cut out two strips of white fomi and glue them all around the cardboard circle.
Paso 8- Luego recortamos dos tiras de fomi blanco y las pegamos por todo el contorno del círculo de cartón.

|

|

|
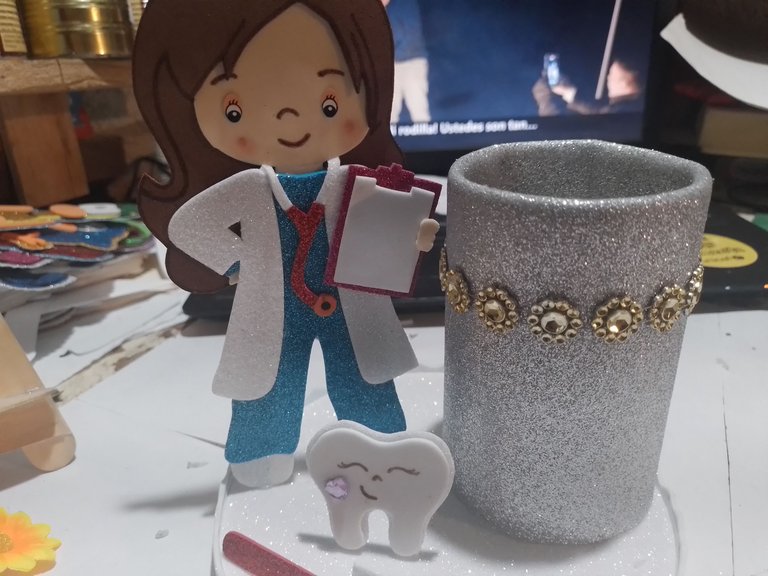
Step 9- In a white cardboard cut out a large rectangle and glue it forming a cylinder and with the silver fomi we cover it.
Paso 9- En una cartulina blanca recortamos un rectángulo grande y lo pegamos formando un cilindro y con el fomi plateado lo forramos.

|

|
|
Step 10- We glue all the decorations on top of the circle we made earlier. First we glue the cylinder, then the doctor and, finally, the tooth and the brush.
Paso 10- Vamos pegando todos los adornos encima del círculo que realizamos anteriormente. Primero pegamos el cilindro, después la doctora y, de último, la muela y el cepillo.

Step 11- To finish, we glue the two little flowers in front of the cylinder, and a decorative strip.
Paso 11- Para terminar, pegamos las dos florecitas delante del cilindro, y una tira decorativa.
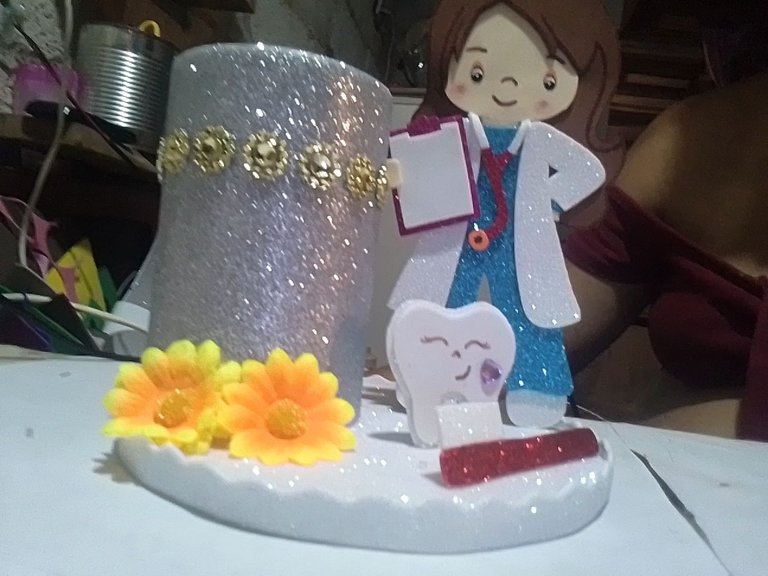
And so we got this beautiful pencil toothbrush holder, which my cousin loved. I hope you liked it.
Y así nos quedó este bello y cepillo de diente portalápiz, el cual le encantó a mi prima. Espero que les haya gustado.
Cover made in Canva
Translated by DeepL
Que bello quedó ese portalapiz, tu prima será la envidia del resto de las estomatólogas, que chulería.
Gracias mima
Muy bonito amiga, me encantó 💞💞💞
Gracias amiga
Los portalápices son muy útiles en la oficina o en el área de trabajo, sobre todo los que tienen esta decoración y atiendes a niños, a ellos les encanta.
Escrito por lionsaturbix / Written by lionsaturbix
¡¡¡Buen trabajo!!! Gracias por publicar tu excelente contenido en Hive Diy.
Gracias por el apoyo
that looks beautiful, you are amazing.
Gracias
Congratulations @norychacon! You have completed the following achievement on the Hive blockchain And have been rewarded with New badge(s)
Your next target is to reach 3750 upvotes.
You can view your badges on your board and compare yourself to others in the Ranking
If you no longer want to receive notifications, reply to this comment with the word
STOPCheck out our last posts:
Gracias
¡Eso es genial @norychacon! ¡Estás haciendo un gran trabajo en Hive! ¡Seguimos animándote para tu próxima meta!
Notamos que extrañamos su apoyo a nuestra propuesta. Ayúdenos a continuar brindando gamificación, entretenimiento y diversión a la cadena de bloques de Hive. ¡Consulte nuestra propuesta de financiamiento y considere apoyarnos!
Gracias!