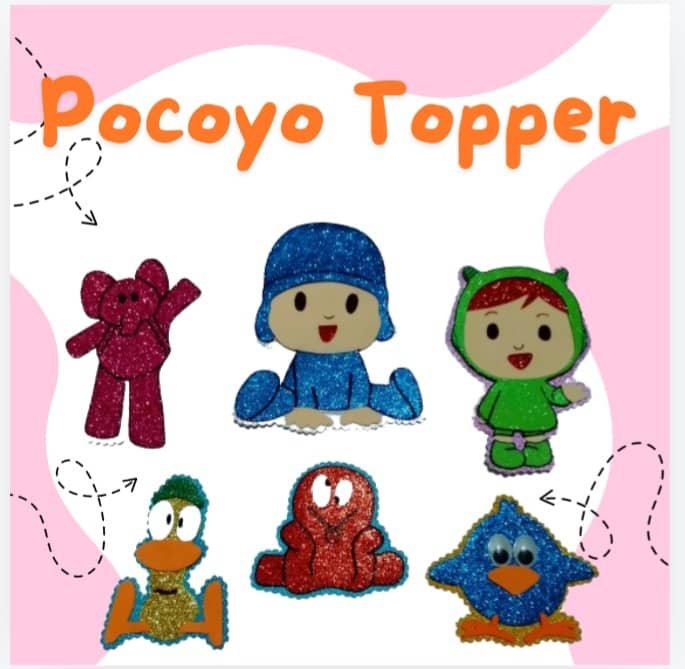
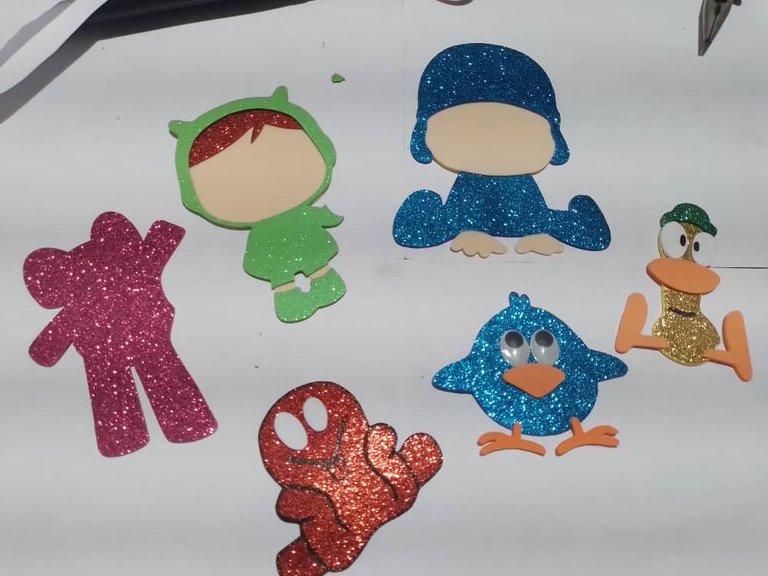
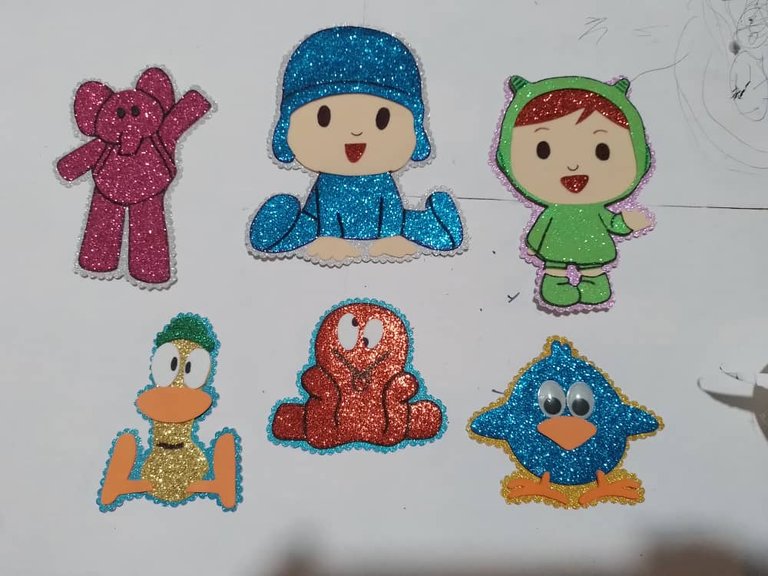
Hello creative friends, my friend's first birthday is coming up and I want to give her something and I thought of making her the topper for the birthday cake and she had told me that she wanted to celebrate the birthday with the theme of the pocoyo dolls so I got down to work and I want to show you how the characters made in fomi of these beautiful dolls turned out.
Hola amigos creativos, se acerca el primer añito del niño de mi amiga y le quiero regalar algo y se me ocurrió hacerle el topper de la torta del cumpleaño y ella me había comentado que quería celebrar el cumple con la temática de los muñes de pocoyo así que me puse manos a las obras y les quiero mostrar como quedaron los personajes hechos en fomi de estos bellos muñequitos.
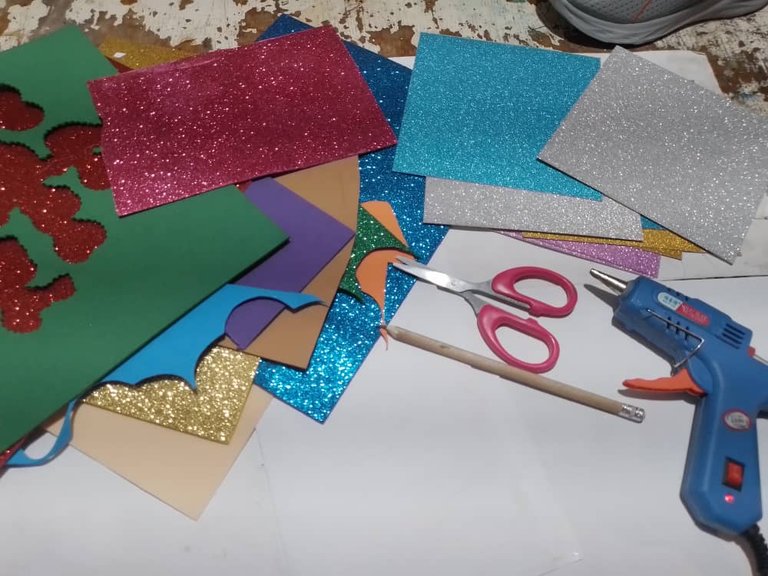
Materials
- Silicone gun
- Fomi of various colors.
- Glitter cardboard
- Paper mold of the dolls.
- Scissors
- Pencil
- Permanent marker
Materiales
- Pistola de silicona
- Fomi de barios colores.
- Cartulina de brillo
- Molde de papel de los muñequitos
- Tijeras
- Lápiz
- Marcador permanente
Step by step, Paso a paso
|
|
|
|
|
|
|
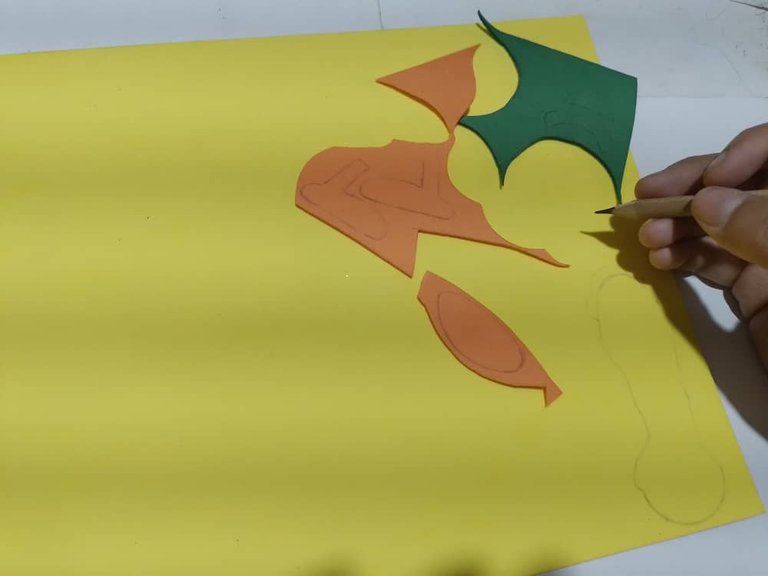
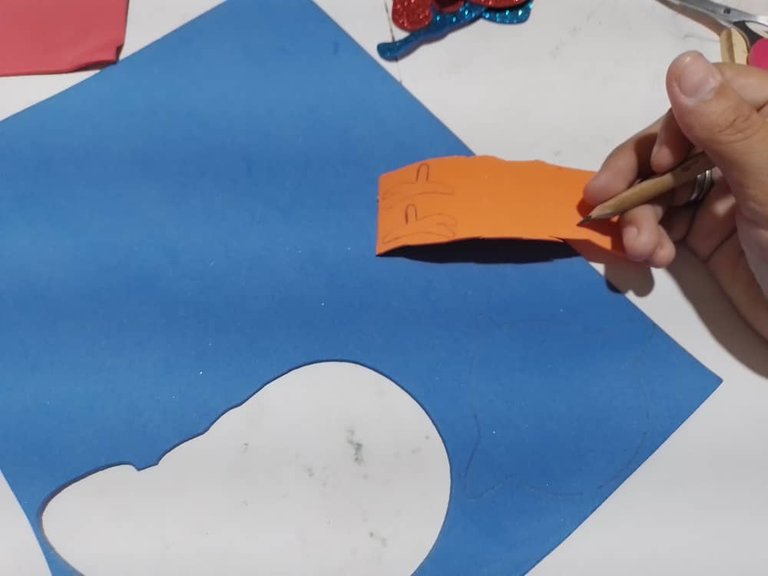
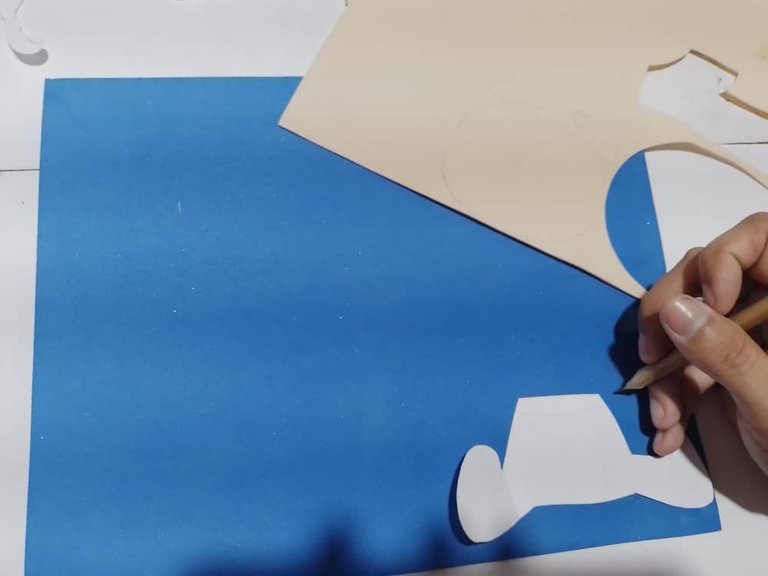
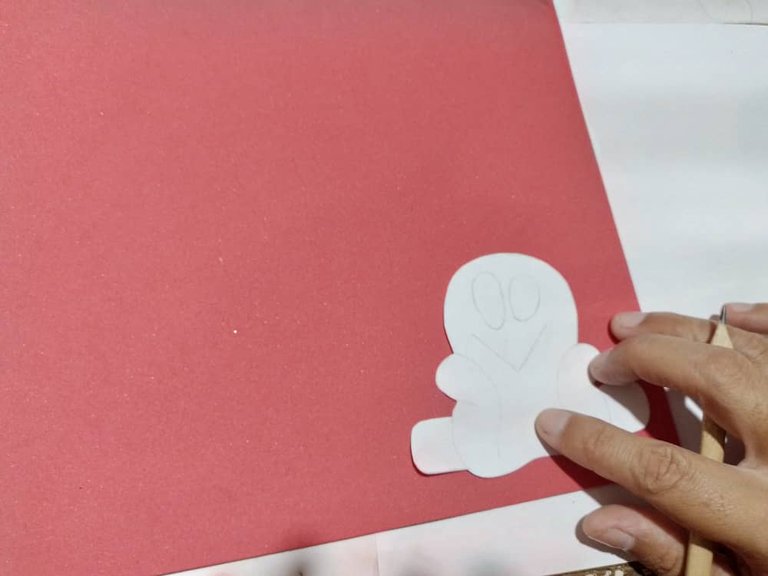
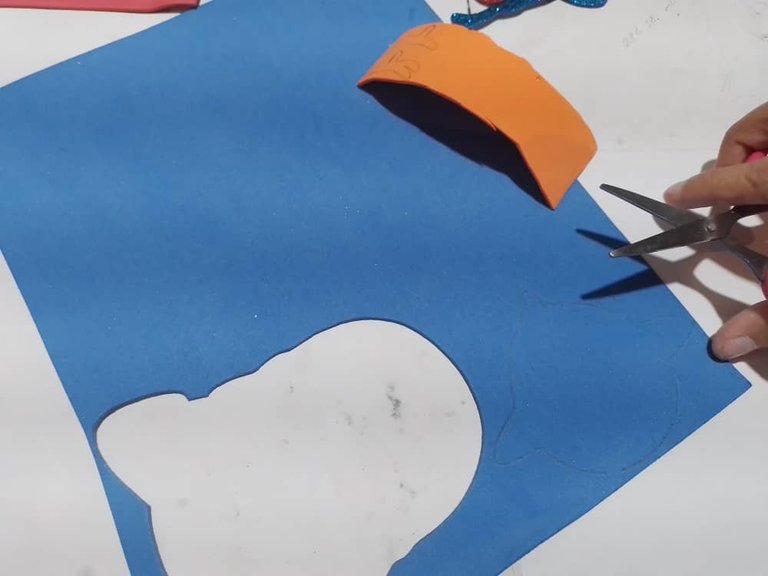
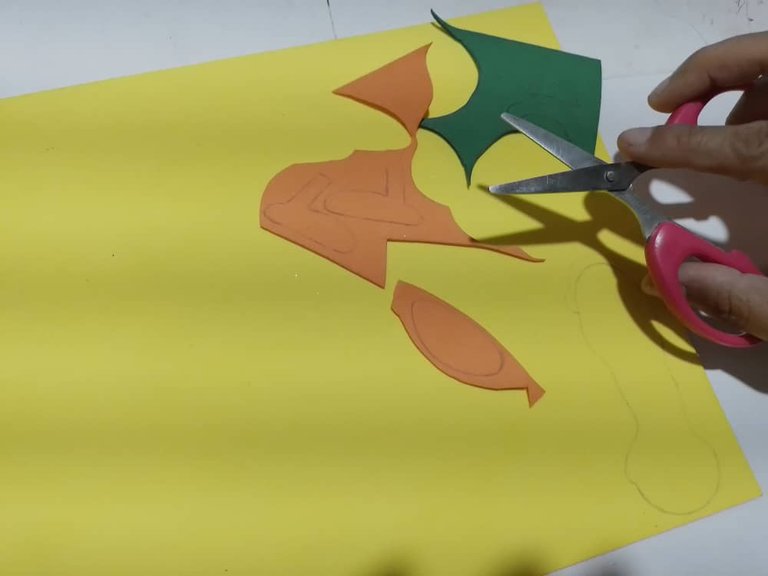
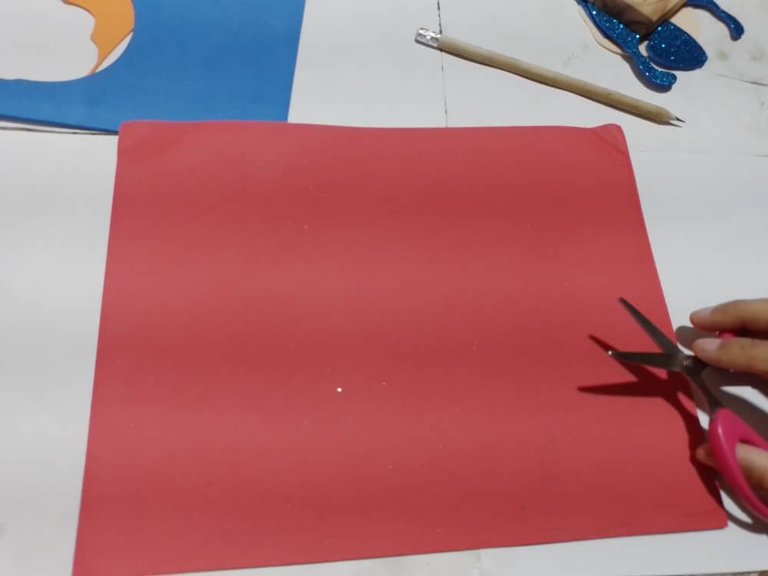
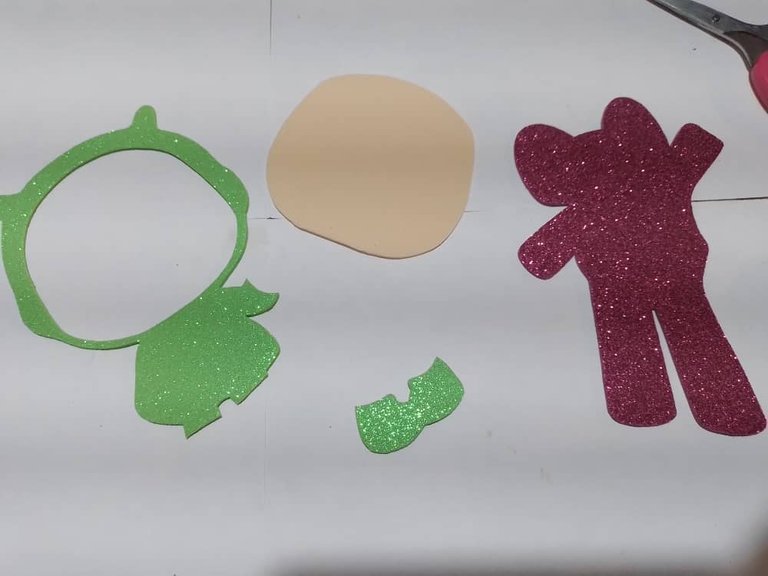
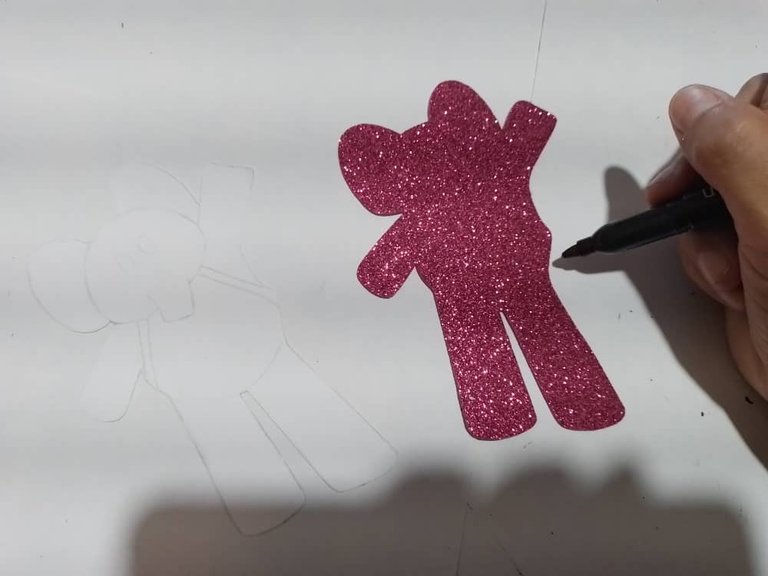
Step 1- First, we mark with the paper molds of the dolls on the fomi, each part in the corresponding color. And we cut them out.
Paso 1- Primeramente, marcamos con los moldes hechos de papel de los muñequitos encima del fomi, cada parte en el color correspondiente. Y los vamos recortando.
|
|
|
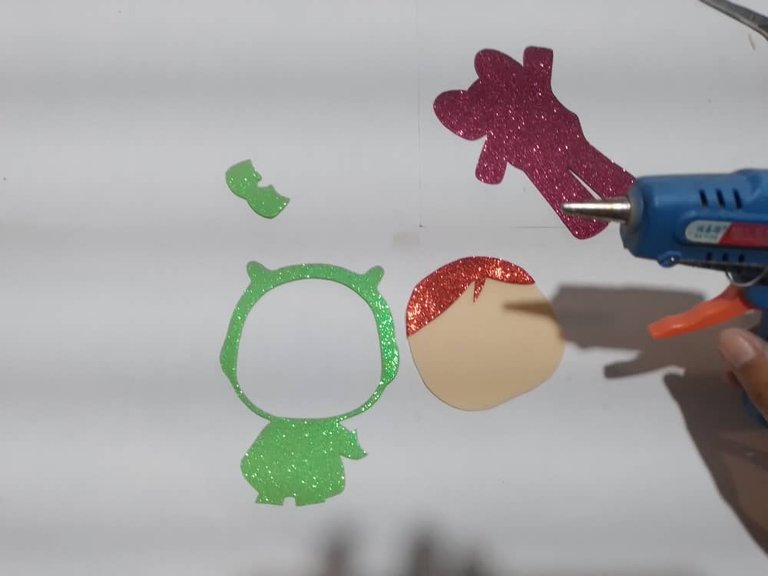
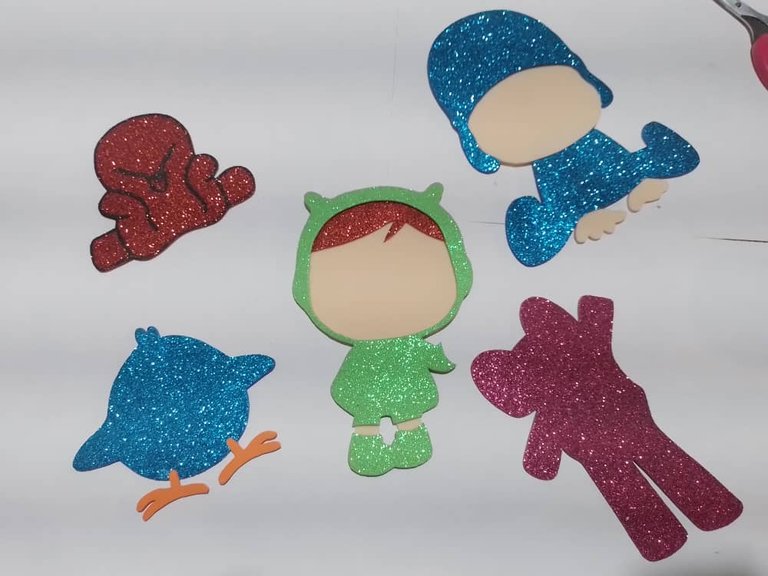
Step 2- Then we glue the parts where they correspond to form the animations.
Paso 2- Luego vamos pegando las partes donde corresponden para ir formando los animados.
Step 4- For those who don't have their black eyes, we roast them with white fomi and for others we put crazy eyes.
Paso 4- A los que no lleven sus ojitos negros se los asemos con fomi blanco y a otros le ponemos ojitos locos.
|
|
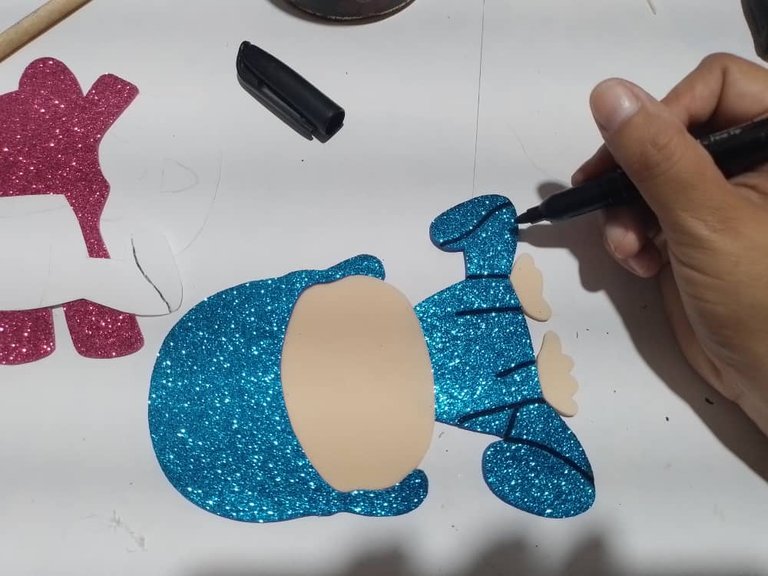
Step 3- With the black marker we mark the details and the edges of the animated ones that need it. Since it is not necessary to go over the contour of all the dolls.
Paso 3- Con el marcador negro marcamos los detalles y los bordes de los animados que lo necesiten. Ya que no es necesario repasar el contorno de todos los muñes.

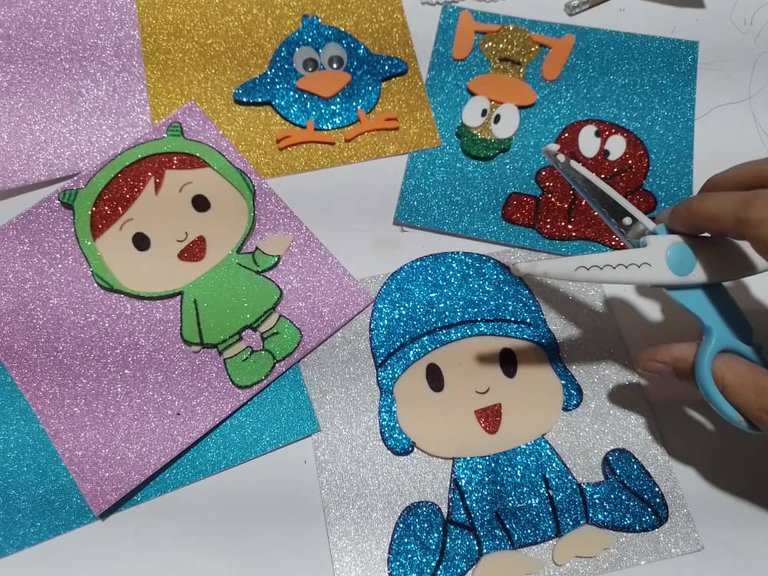
Step 5- after finishing the details with the marker, we glue them on top of the glitter cardboard.
Paso 5- después de haber terminado los detalles con el marcador, los pegamos encima de la cartulina de brillo.
|
|
Step 6- With the shape scissors, we cut them all around the contour to make them more beautiful.
Paso 6- Con la tijera de forma, los recortamos por todo el contorno para que nos queden más bonitos.
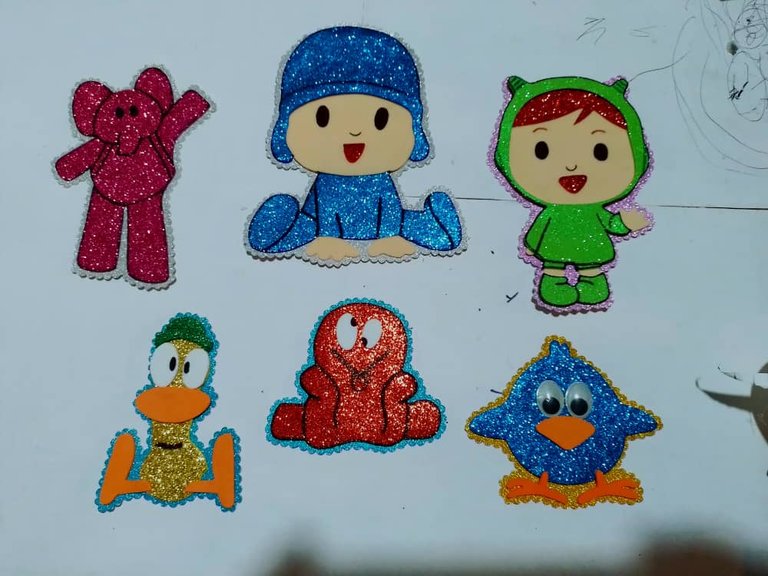
And this is how we got the final result and I thought they were very nice, my friend is sure going to like the surprise I have for her, I hope you liked it too.
Y así nos quedó el resultado final y me parecieron muy bonitos, mi amiga de seguro le va a gustar la sorpresa que le tengo, espero a ustedes les haya gustado también.
Cover made in Canva
Translated by DeepL
Congratulations @norychacon! You have completed the following achievement on the Hive blockchain And have been rewarded with New badge(s)
Your next target is to reach 200 comments.
You can view your badges on your board and compare yourself to others in the Ranking
If you no longer want to receive notifications, reply to this comment with the word
STOPCheck out our last posts:
Gracias
¡Eso es perfecto @norychacon! ¡Eres un verdadero profesional de Hive! ¡Adelante hacia esa nueva meta!
Notamos que extrañamos su apoyo a nuestra propuesta. Ayúdenos a continuar brindando gamificación, entretenimiento y diversión a la cadena de bloques de Hive. ¡Consulte nuestra propuesta de financiamiento y considere apoyarnos!
Gracias!
Estan muy bellos y divertidos estos pequeños topper, te felicito
Gracias
Qué bellezas, eran los favoritos de mi hija, se ven geniales estos clásicos de pocoyo me encantan.
Gracias me alegro que les haya gustado