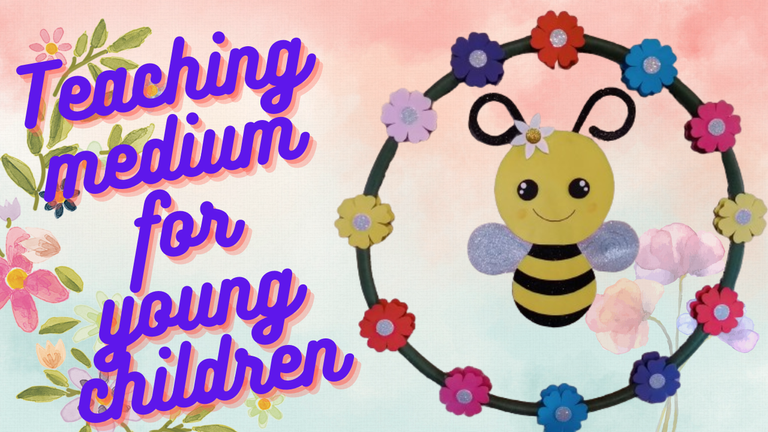
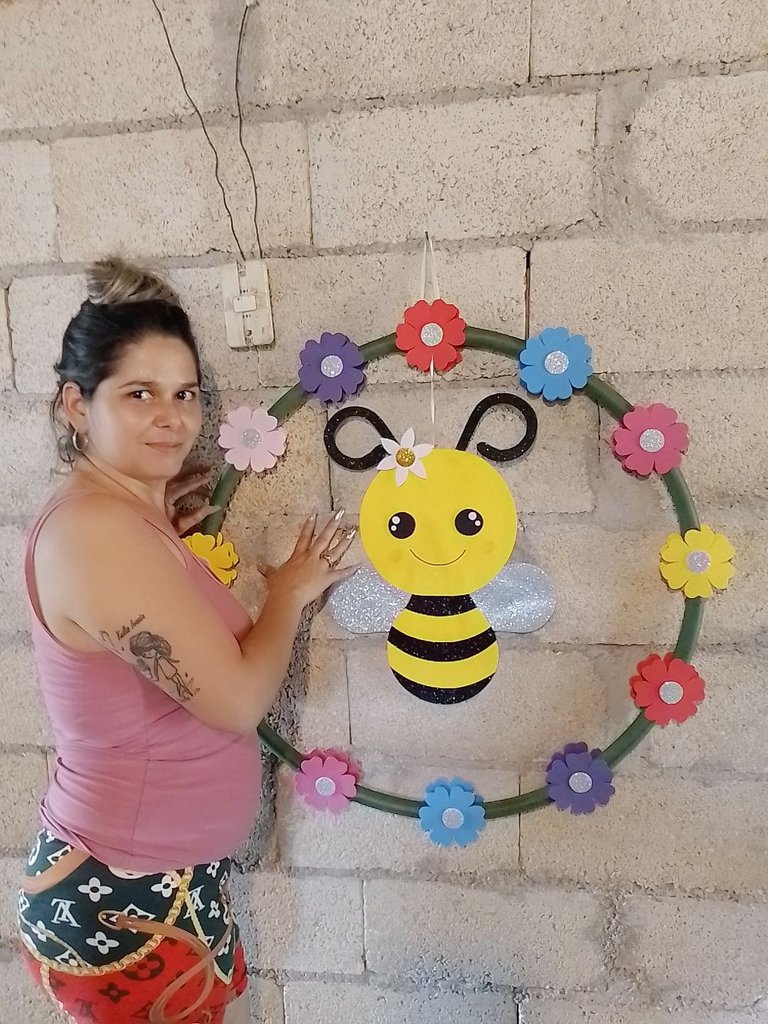
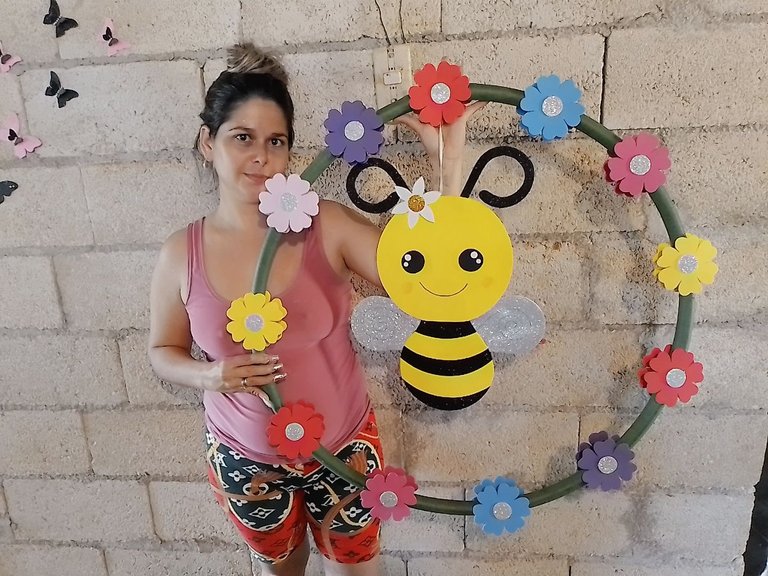
Hello creative friends, today I'm going to show you how I made this nature-related teaching aid that a friend of mine asked me to teach her little students at the pioneer palace.
Hola amigos creativos, hoy les voy a mostrar como hice este medio de enseñanza relacionado con la naturaleza que una amiga me pidió para darle clases a sus alumnos pequeños en el palacio de pioneros.
Children should be taught from an early age to take care of nature and to love it, since it provides us with many benefits and food, and that is how the idea of this beautiful teaching tool was born.
A los niños desde pequeños debemos enseñarle a cuidar la naturaleza y amarla, ya que ella nos brinda muchos beneficios y alimentos y así fue como nació la idea de este bello medio de enseñanza.
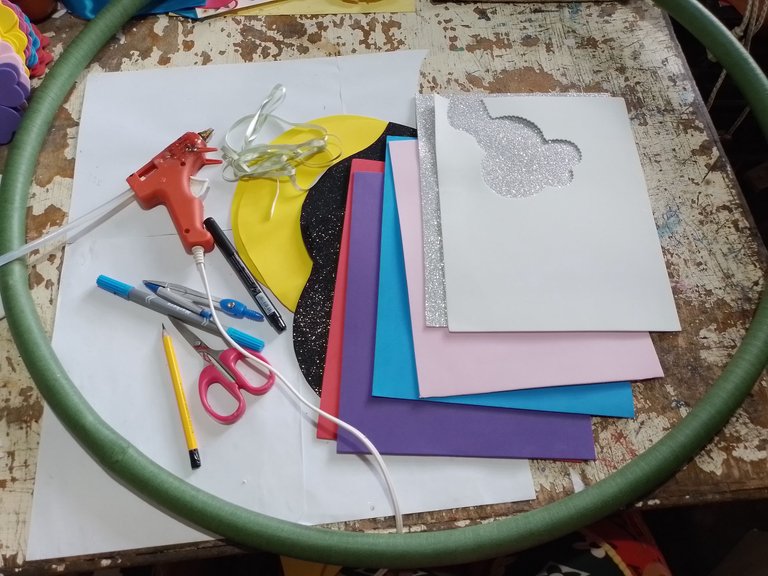
Materials
- A round ring
- silicone gun
- silicone sticks
- plain foami in light and strong pink, white, blue, mauve, red, yellow.
- silver, black, gold colored glitter foami
- black and blue permanent marker
- marking pencil
- compass
- a piece of thin tape
- a flower mold
Materiales
- un aro redondo
- pistola de silicona
- barras de silicona
- foami liso de color rosado claro y fuerte, blanco, azul, malva, rojo, amarillo.
- foami de brillo de color plateado, negro, dorado
- marcador permanente negro y azul
- lápiz para marcar
- compás
- una pedazo de cinta fina
- un molde de flor
step by step, paso a paso
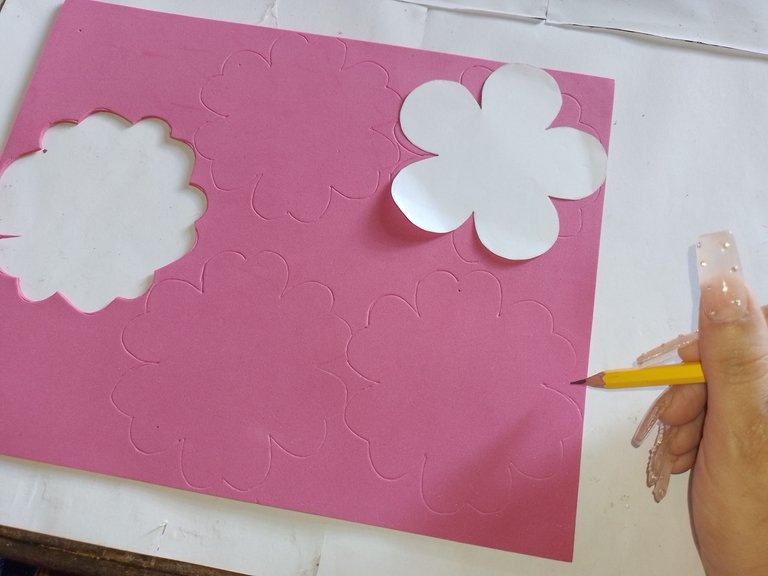
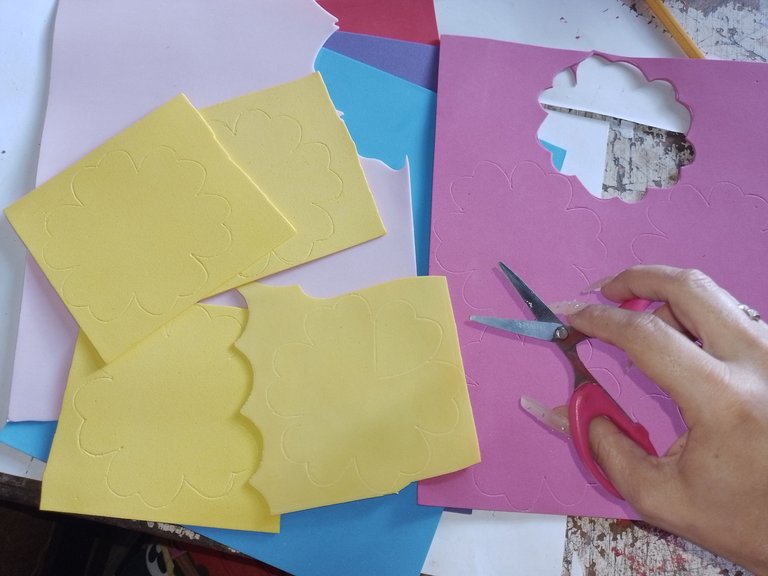
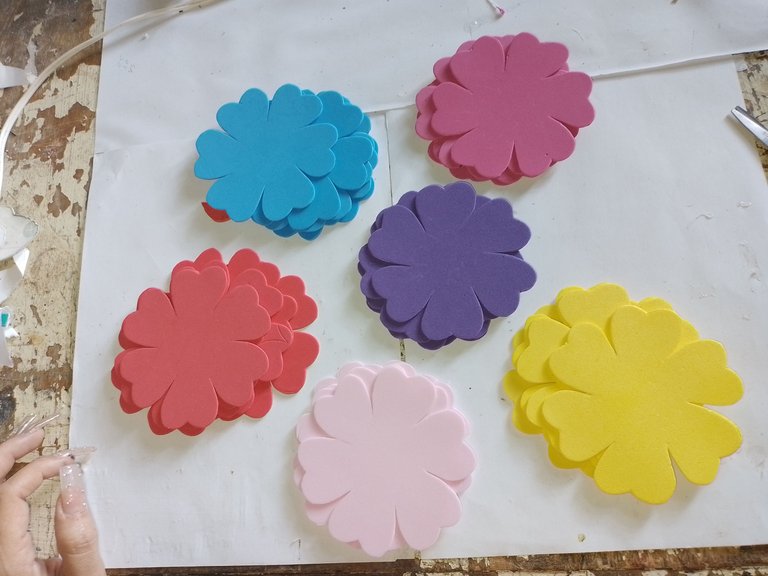
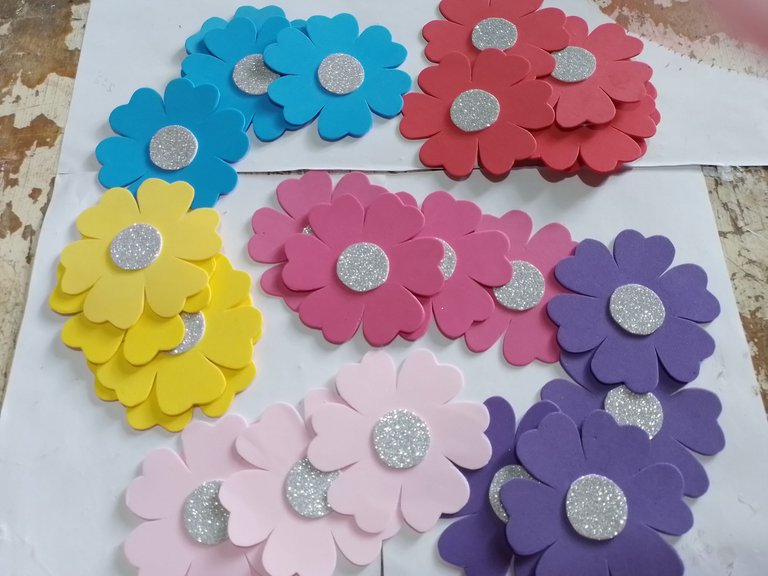
Step 1- First, we mark 24 flowers of different colors on the plain foami, and cut them out.
Paso 1- Primeramente, marcamos 24 flores de distintos colores en el foami liso, y las recortamos.
|
|
|
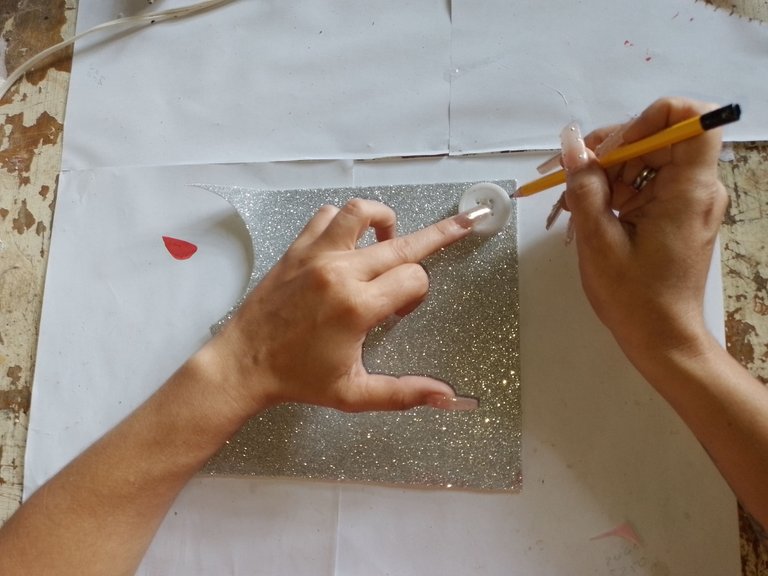
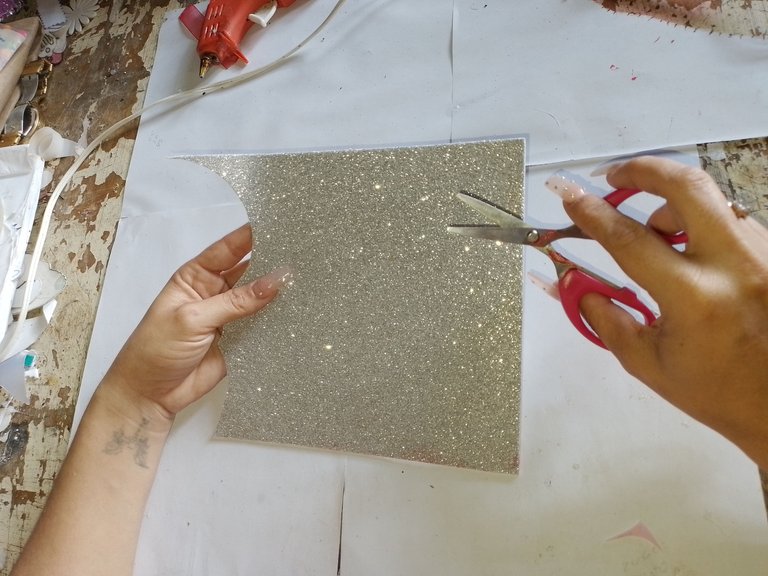
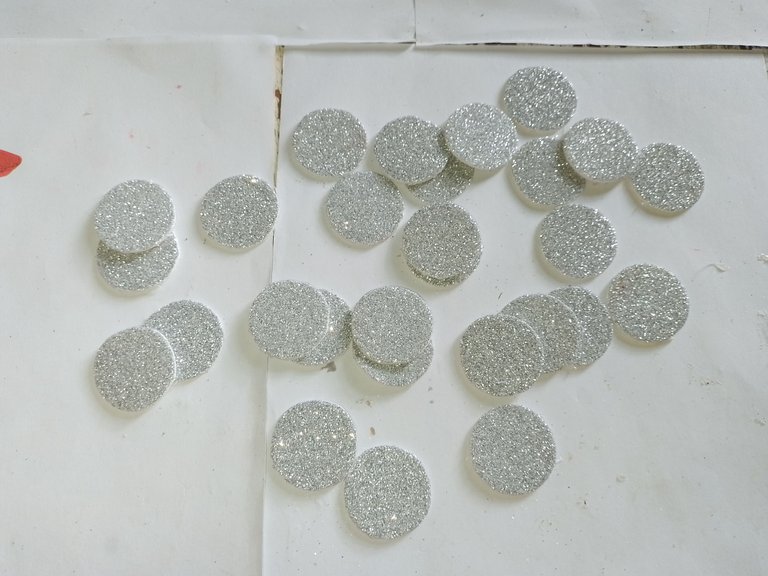
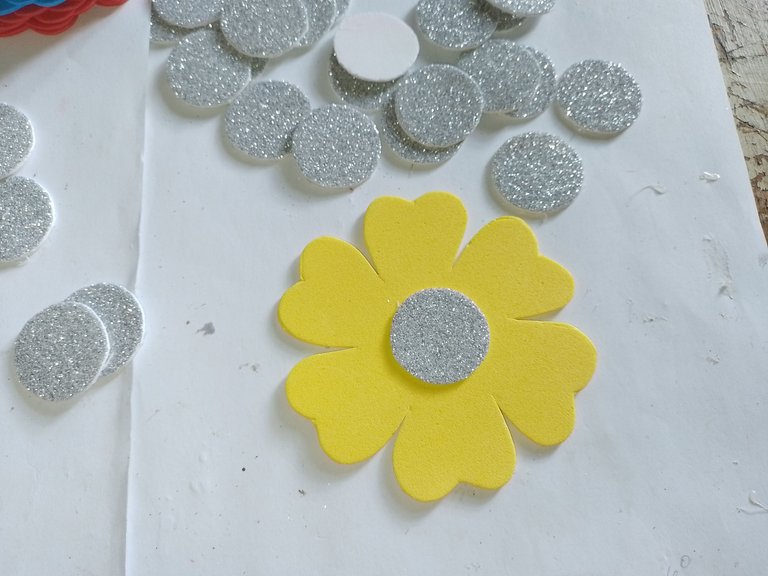
Step 2- then we mark and cut out 24 small circles on the silver foami and glue them in the center of each flower.
Paso 2- luego marcamos y recortamos 24 círculos pequeños en el foami plateado y los pegamos en el centro de cada flor.
|
|
|
|
|
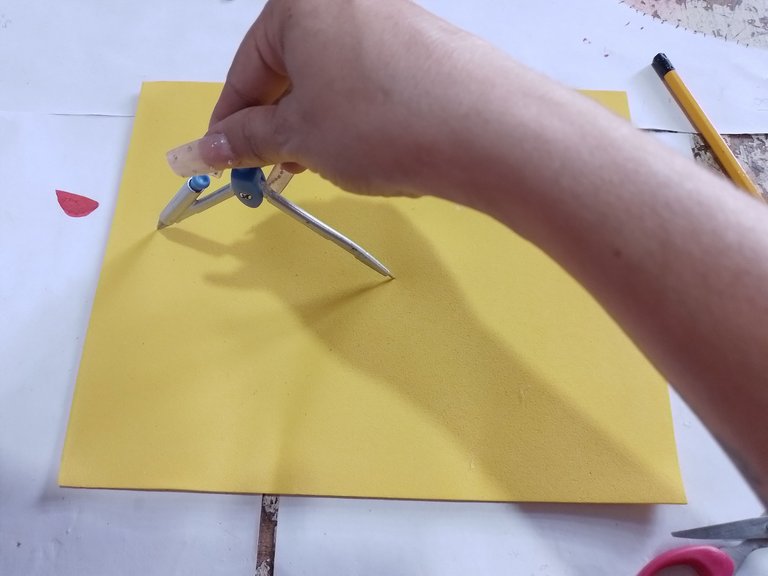
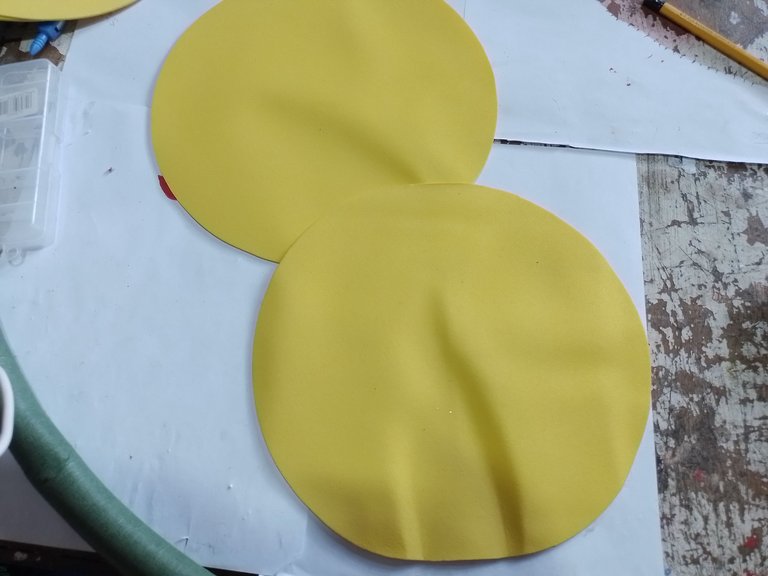
Step 3-Now we make the little bee and for this we need to mark two large circles with the compass on the plain yellow foami and cut it out and put it to one side.
Paso 3-Ahora pasamos hacer la abejita y para esto necesitamos marcar dos circulo grande con el compas en el foami liso de color amarillo y lo recortamos y lo ponemos a un lado.
|
|
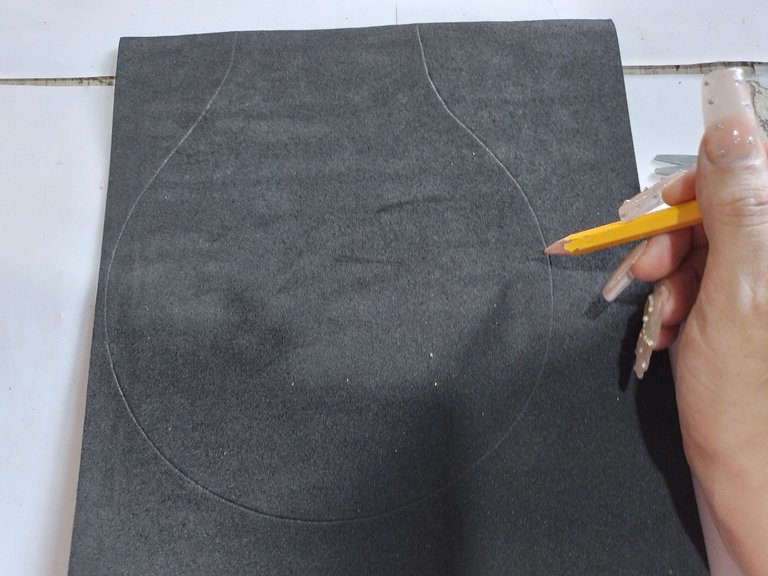
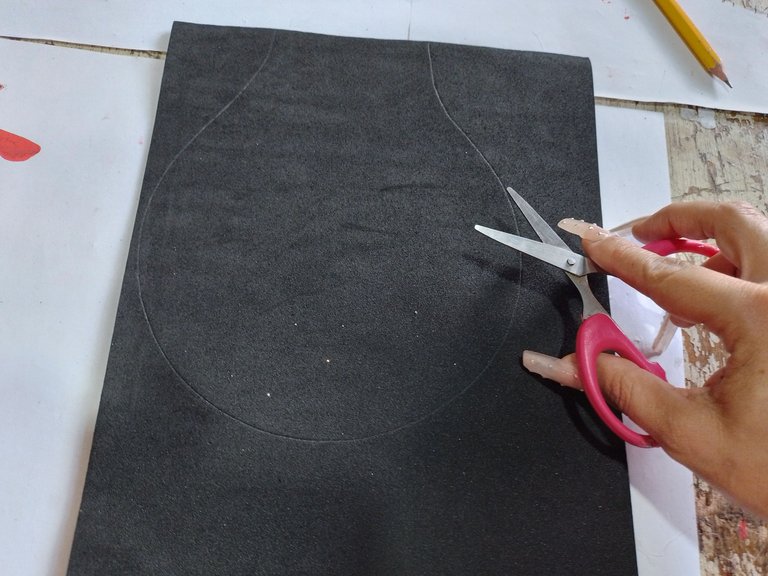
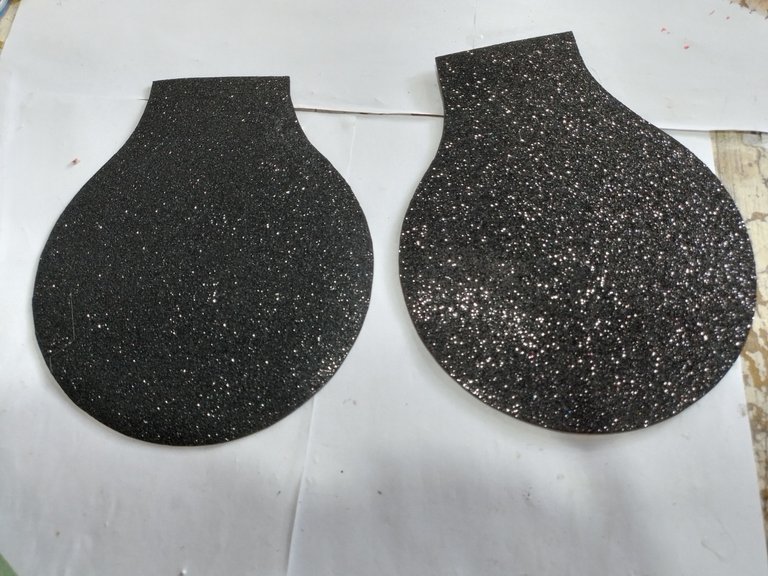
Step 4- Next we mark two smaller circles than the previous one, on the black glitter foami and with the pencil we mark on one side of the circle two straight lines to be the neck of the bee. And we cut it out
Paso 4- Seguidamente marcamos dos círculo más pequeño que el anterior, en el foami de brillo de color negro y con el lápiz le marcamos en un lado del círculo dos rectas para que sea el cuello de la abeja. Y lo recortamos
|
|
|
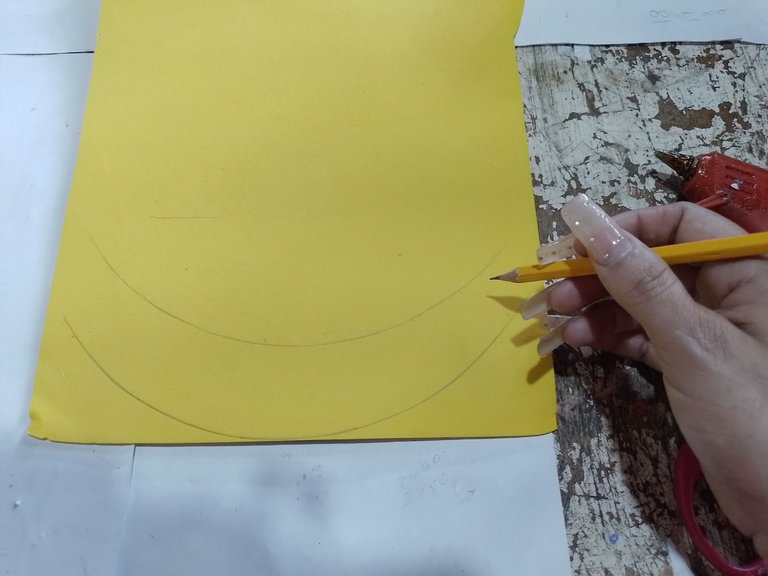
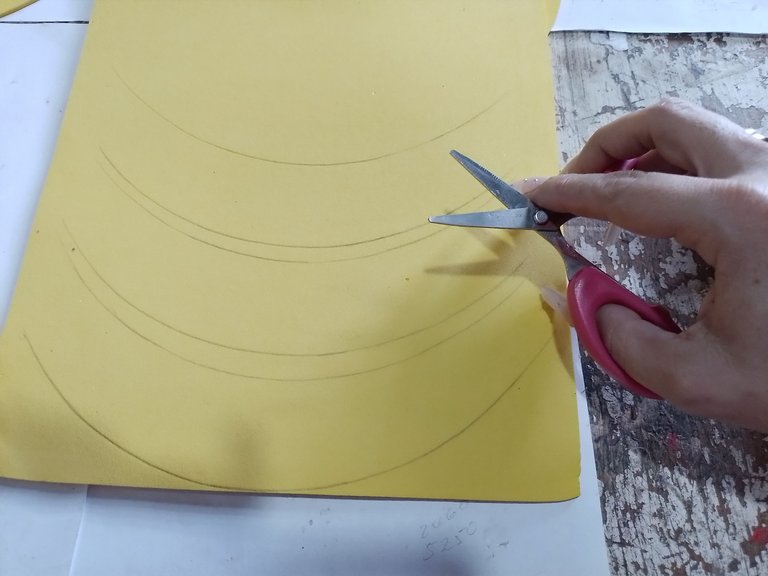
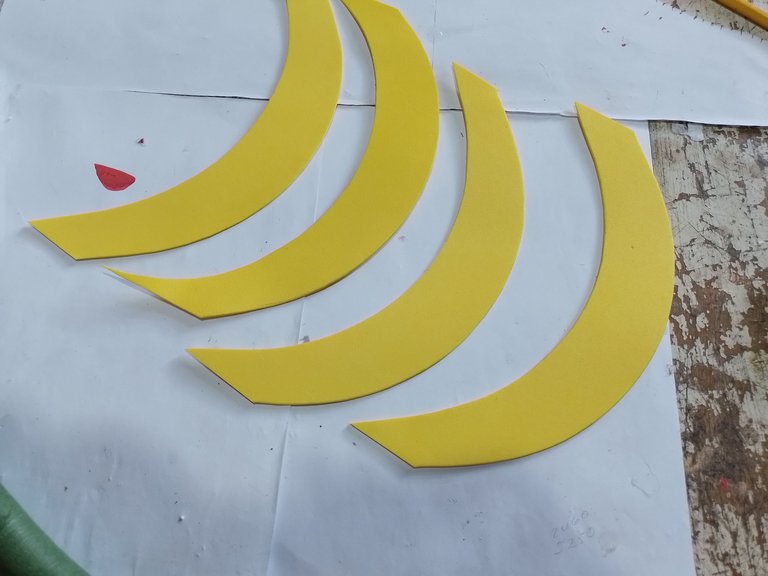
Step 5- With another plain yellow foami we mark some curved lines and cut them in this way that we show you.
Paso 5- Con otro foami liso amarillo marcamos unas líneas curvas y las recortamos de esta manera que les mostramos.
|
|
|
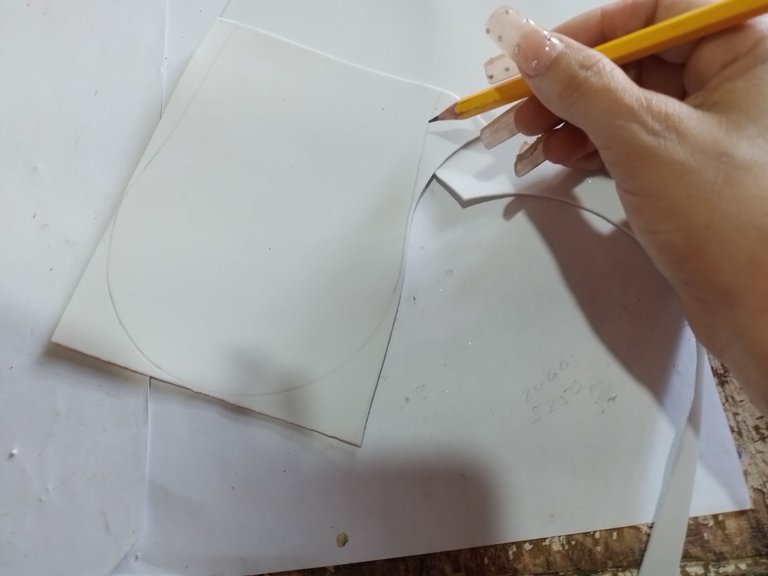
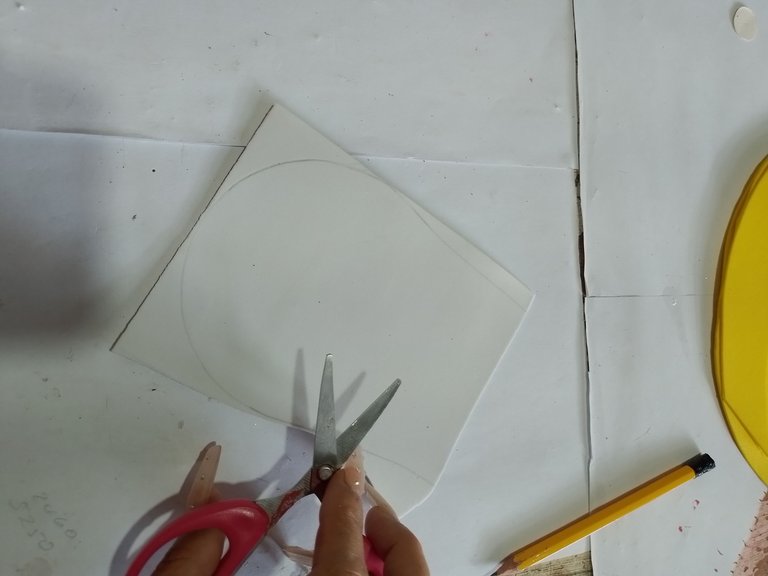
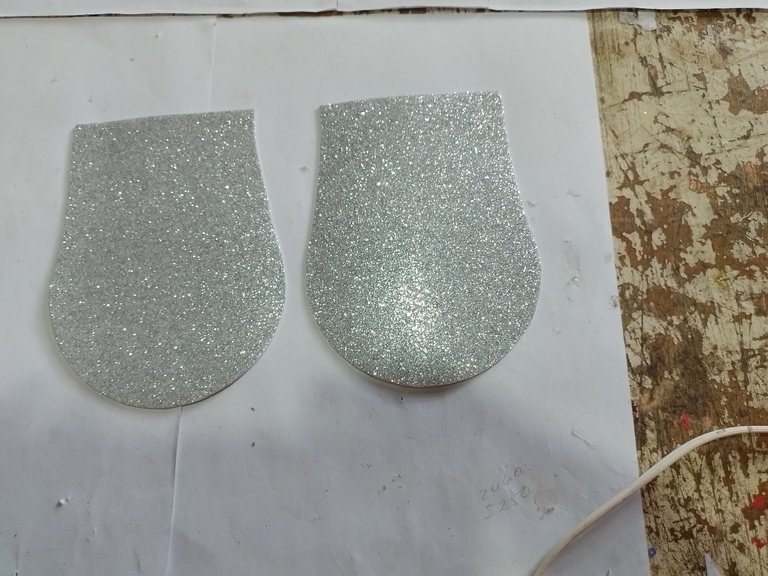
Step 6- On the silver foami we mark 4 circles of 10 cm with the compass and with the pencil we make two straight lines on one side of each circle to form the wings.
Paso 6- En el foami plateado marcamos 4 círculos de 10 cm con el compás y con el lápiz le hacemos dos rectas a un lado de cada círculo para que estas conformen las alas.
|
|
|
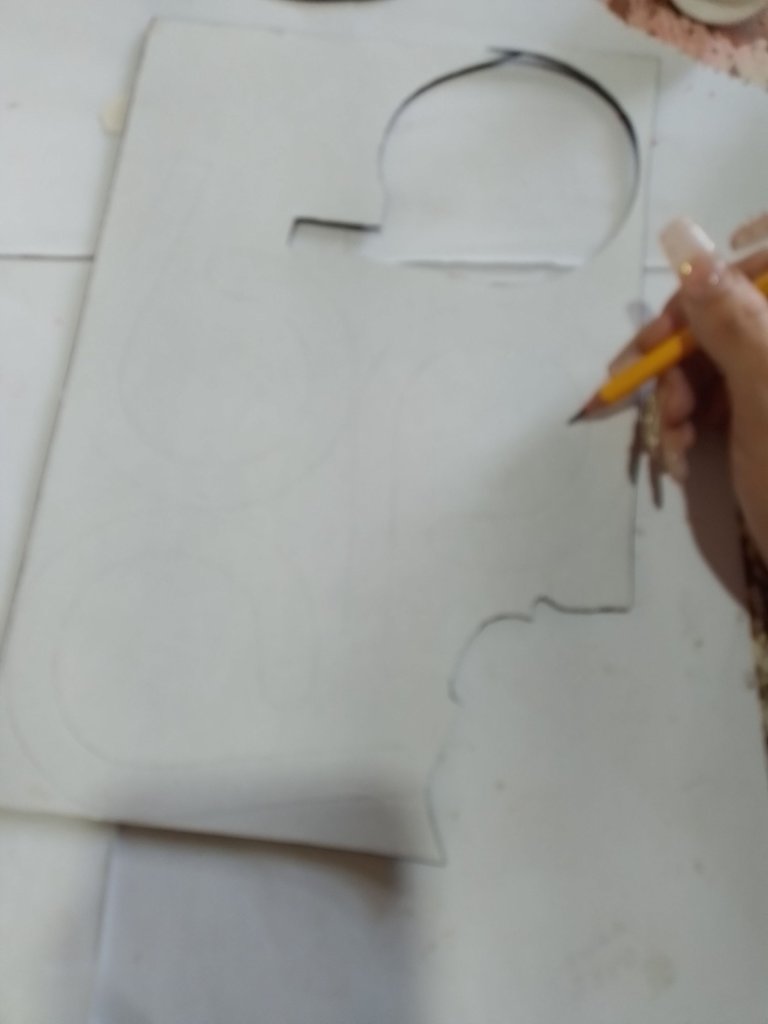
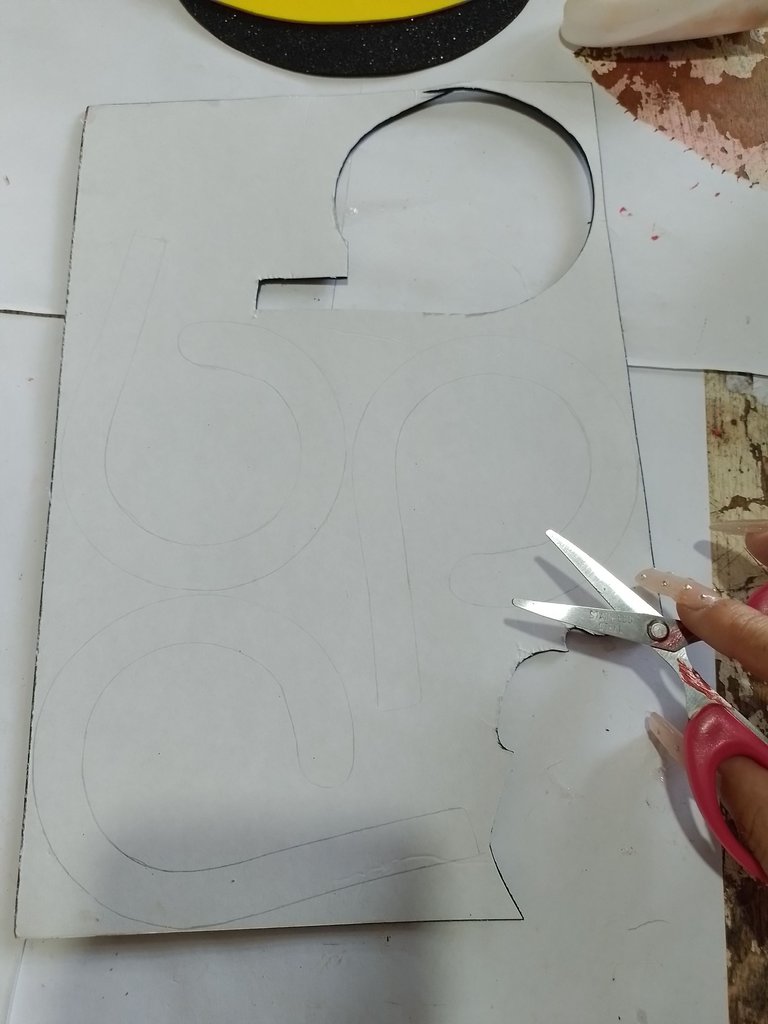
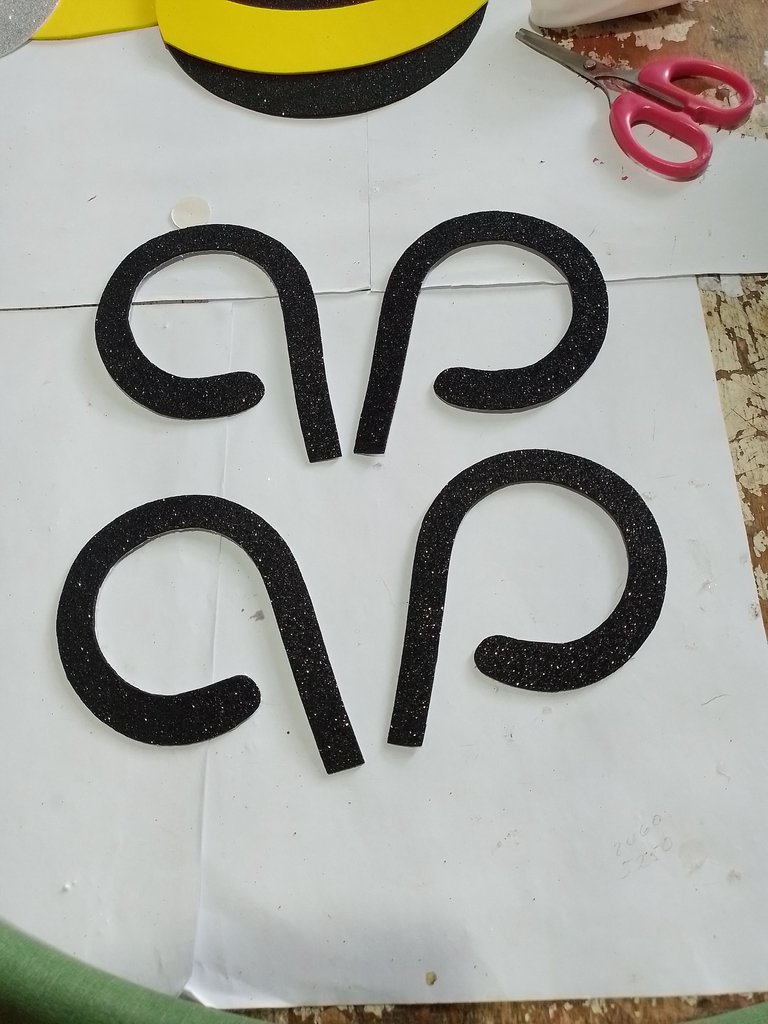
Step 7- On the black glitter foami we mark 4 antennas and cut them out.
Paso 7- En el foami de brillo de color negro marcamos 4 antenas y las recortamos.
|
|
|
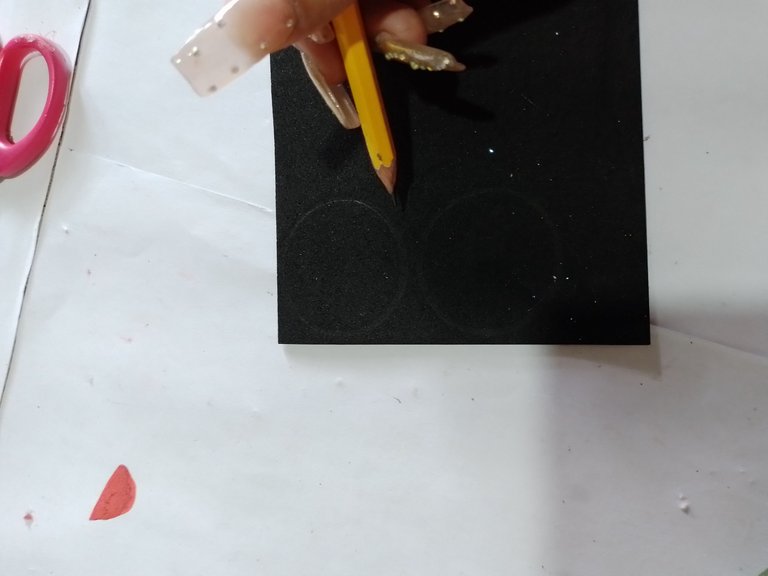
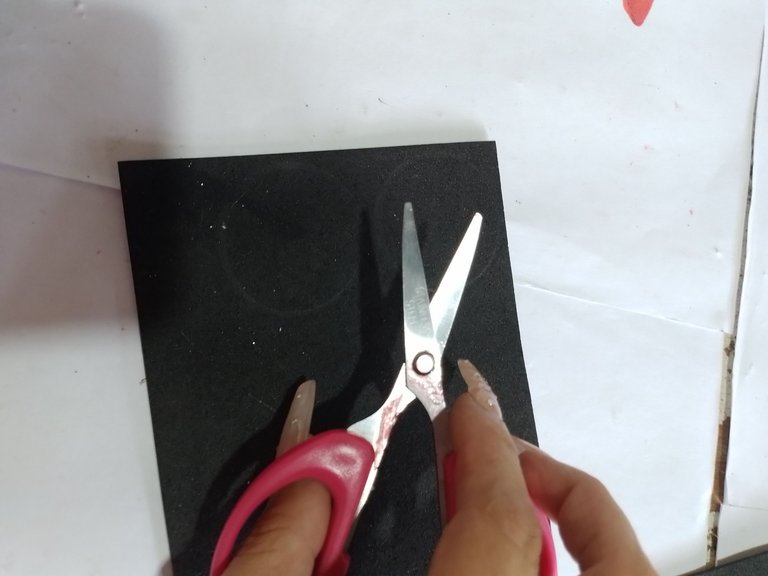
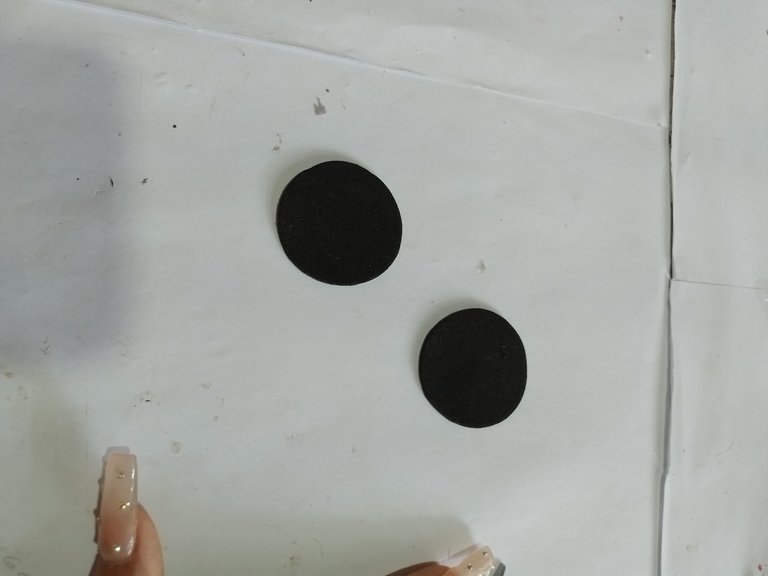
Step 8- On the plain black foami we mark and cut out two small circles of 4 cm for the eyes.
Paso 8- En el foami liso negro marcamos y recortamos dos círculos pequeños de 4 cm para los ojos.
|
|
|
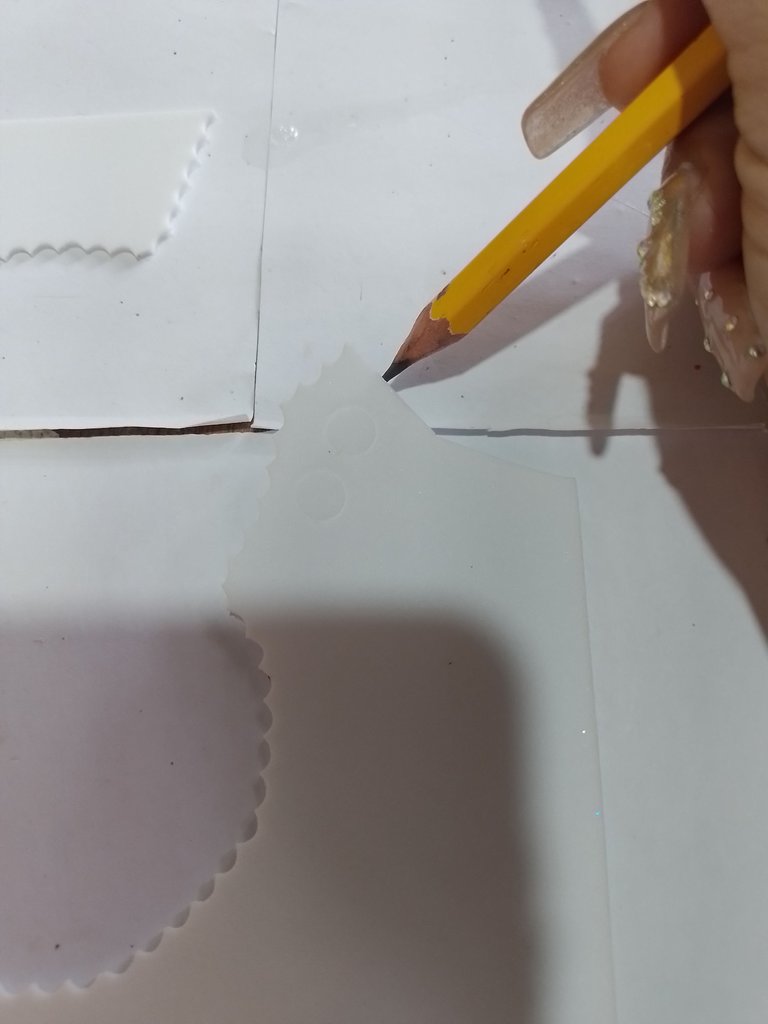
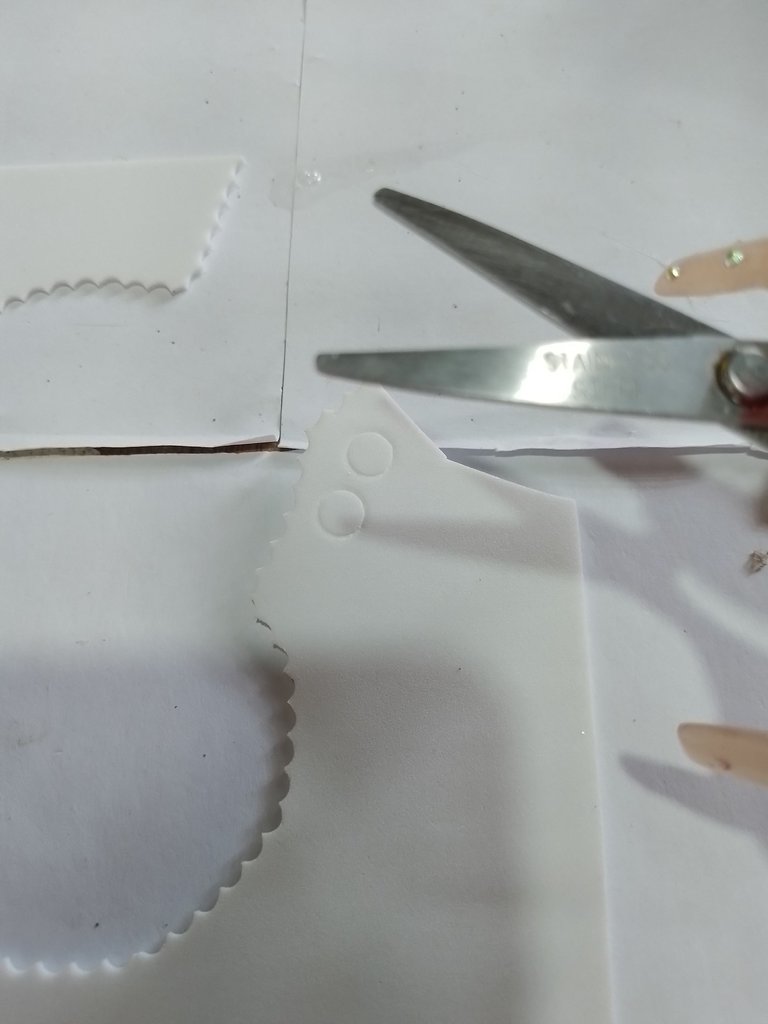
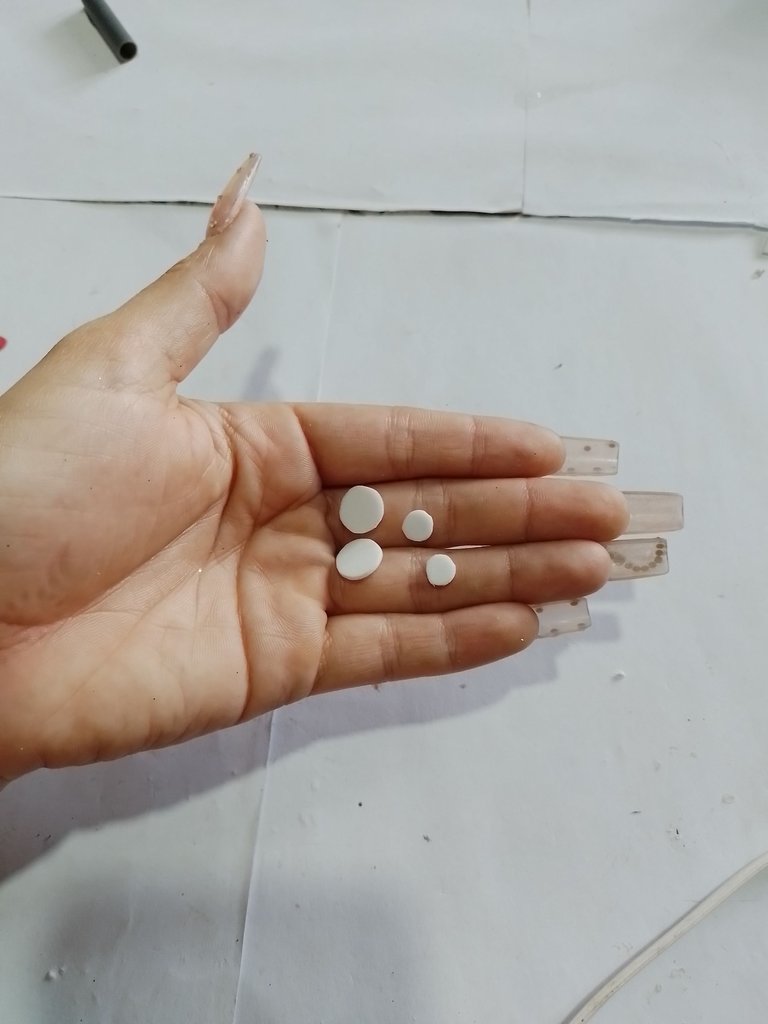
Step 9- On the plain white foami we mark 4 small circles, two of 1 cm and two more of 0.5 cm and cut them out.
Paso 9- En el foami liso blanco marcamos 4 círculos pequeños dos de 1 cm y dos más de 0.5 cm y los recortamos.
|
|
|
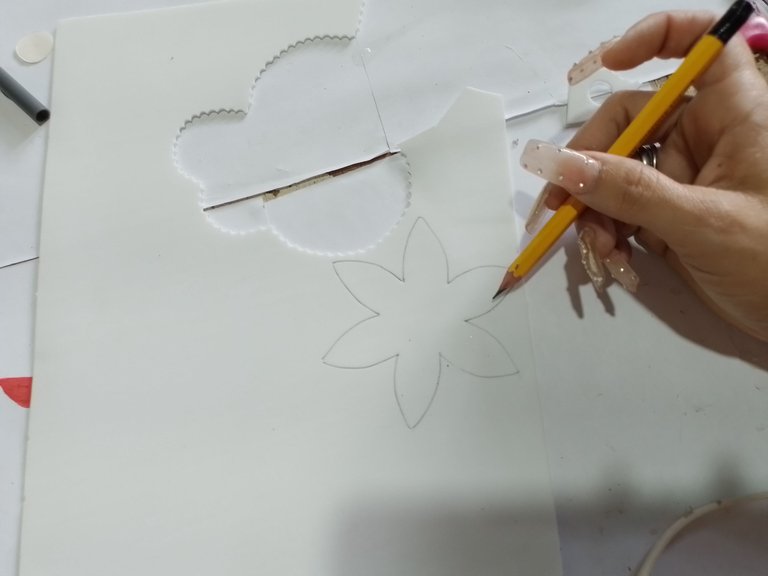
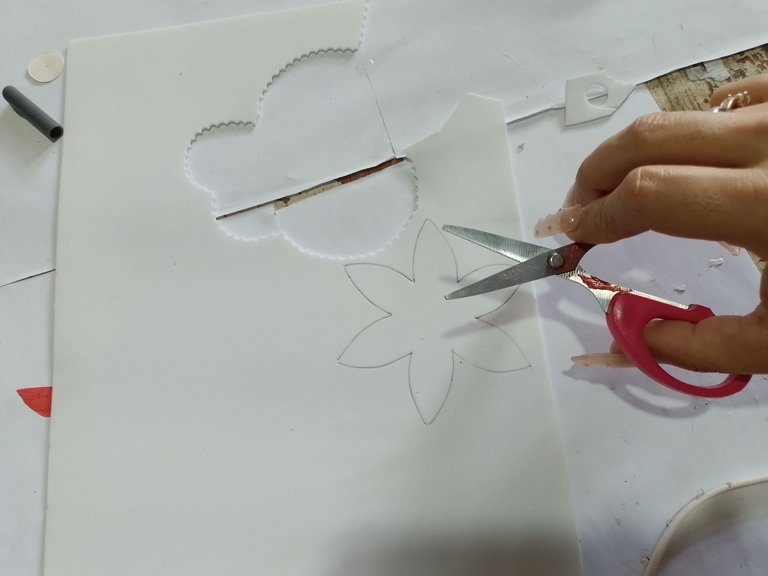
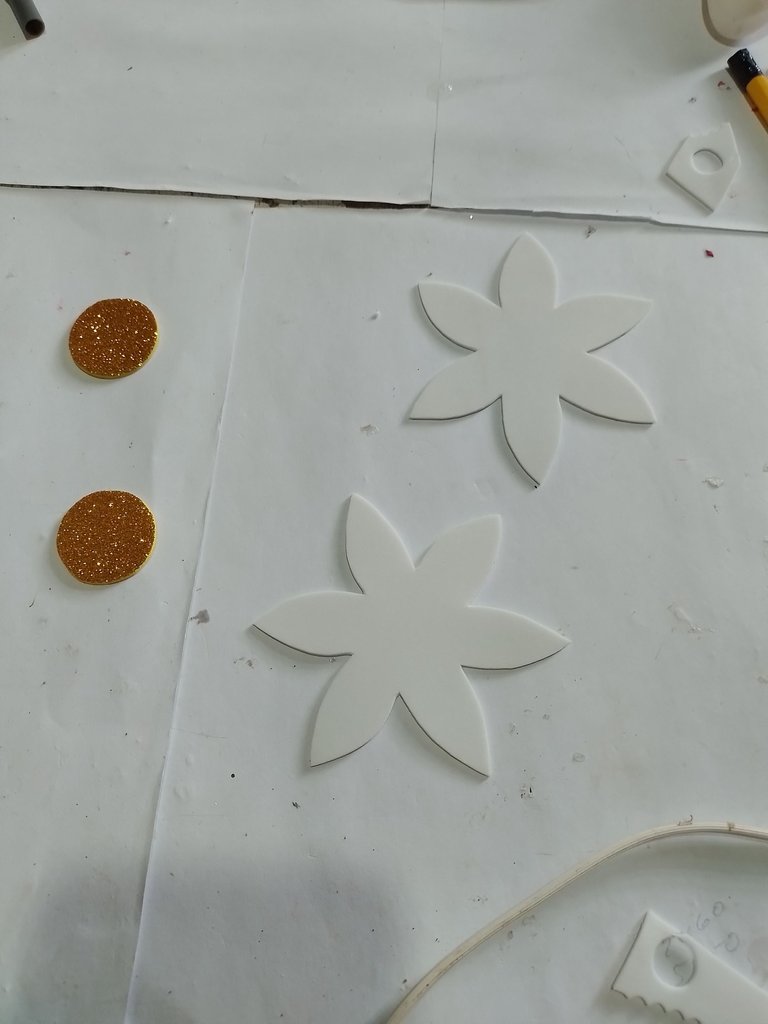
Step 10- On the plain white foami we mark two flowers and cut them out.
Paso 10- En el foami liso blanco marcamos dos flores y las recortamos.
|
|
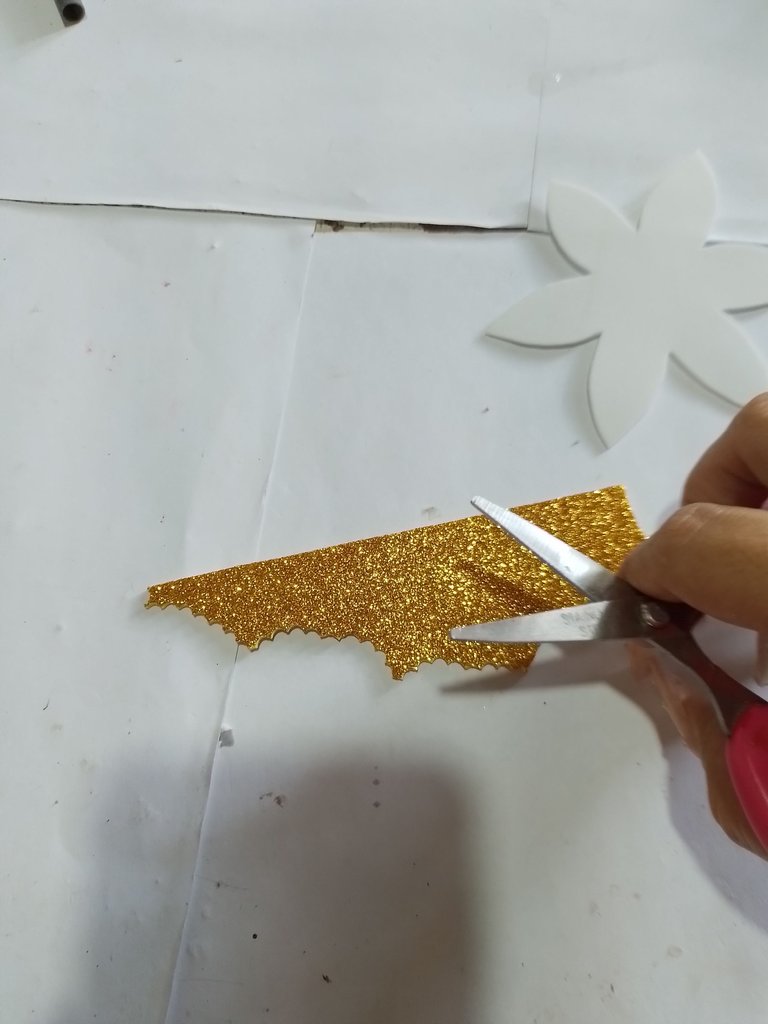
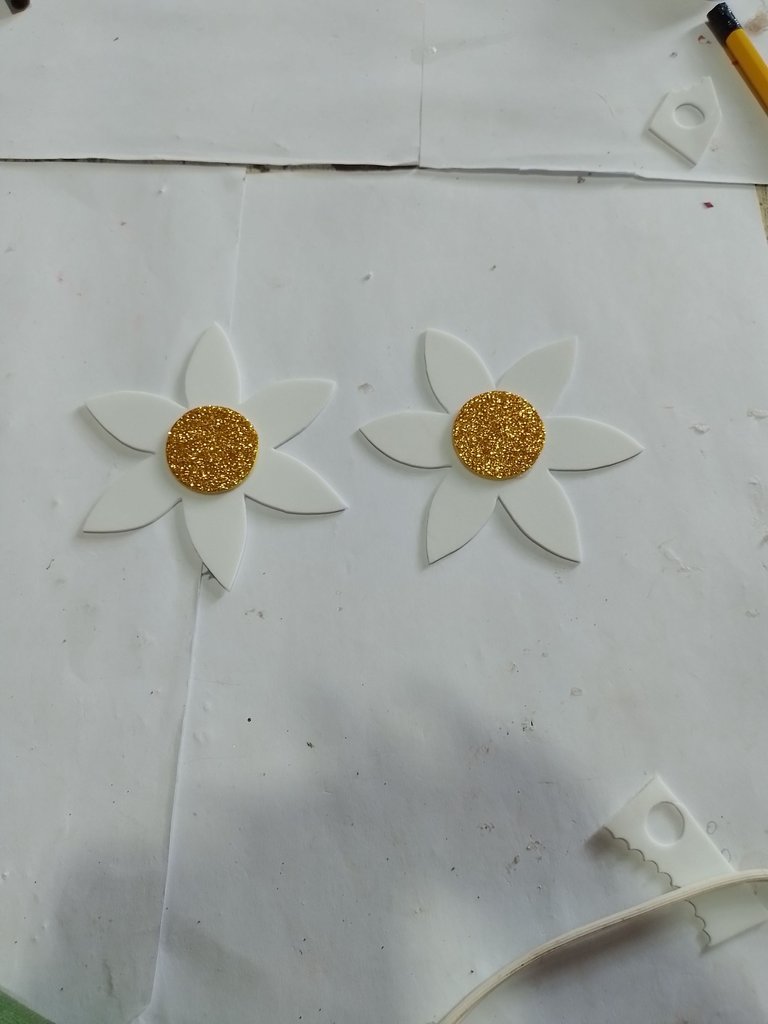
Step 11- We mark two small circles of 2 cm on the gold foami and cut them out and then glue them in the center of the white flower.
Paso 11- Marcamos dos círculos pequeños de 2 cm en el foami dorado y las recortamos y luego las pegamos en el centro de la flor blanca.
|
|
|
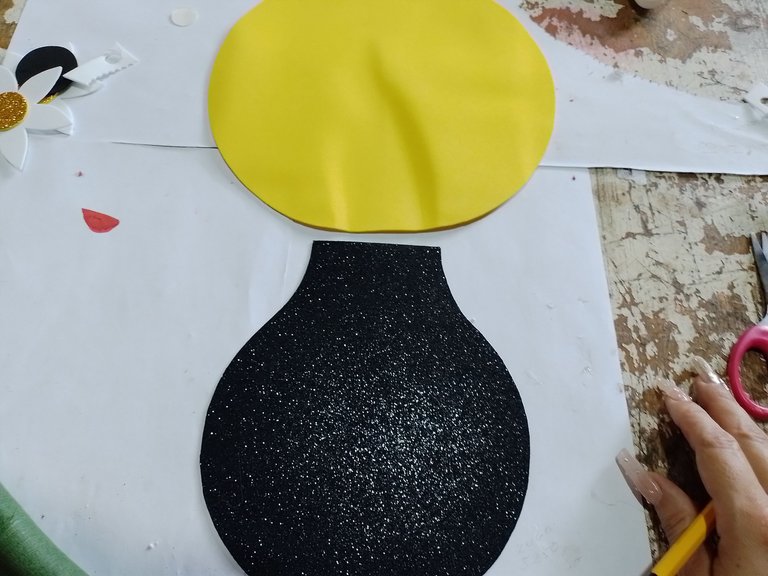
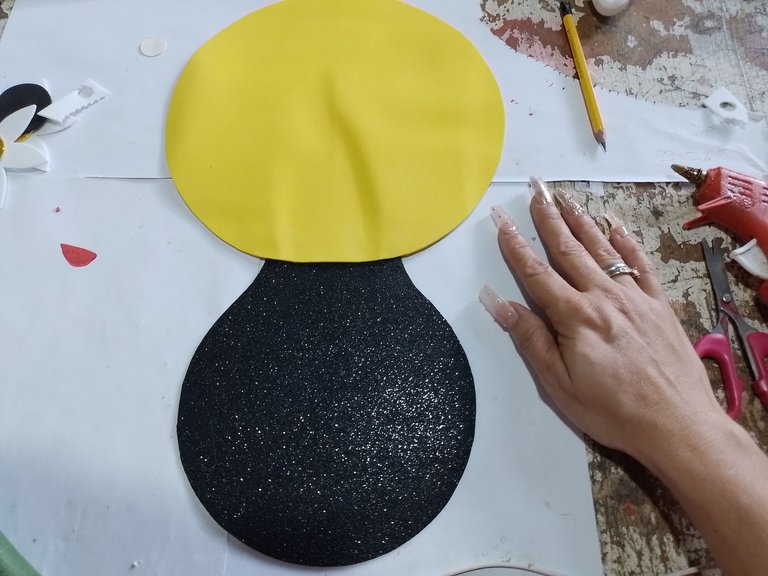
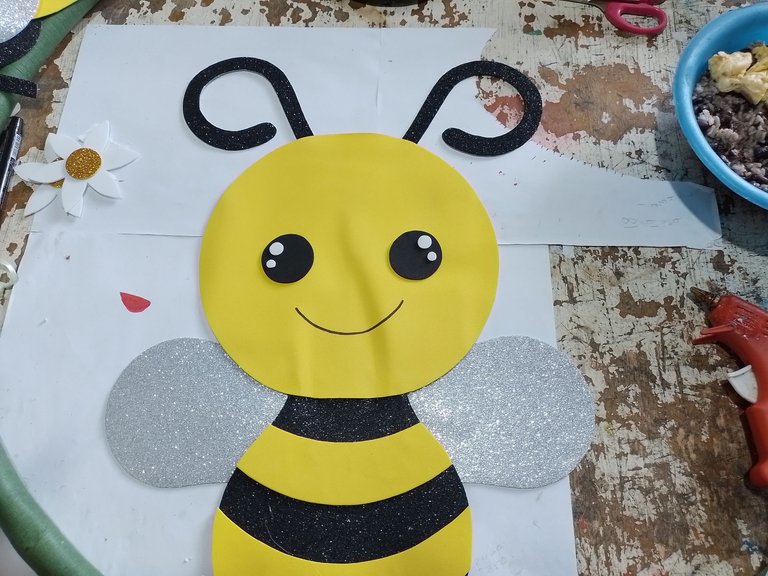
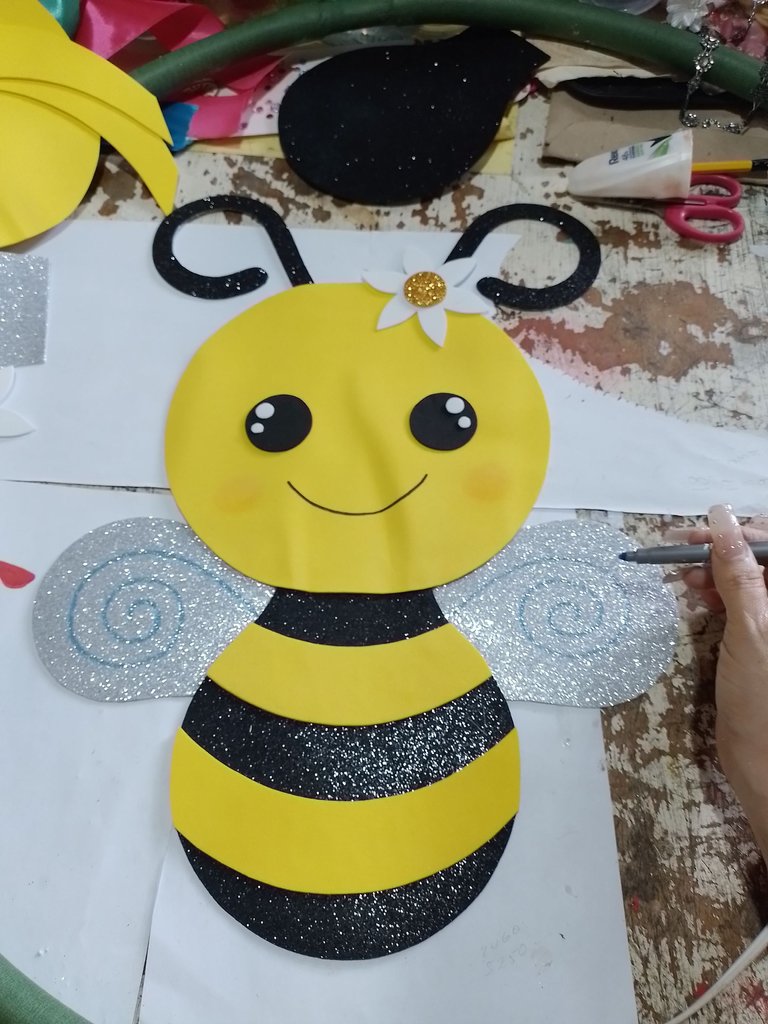
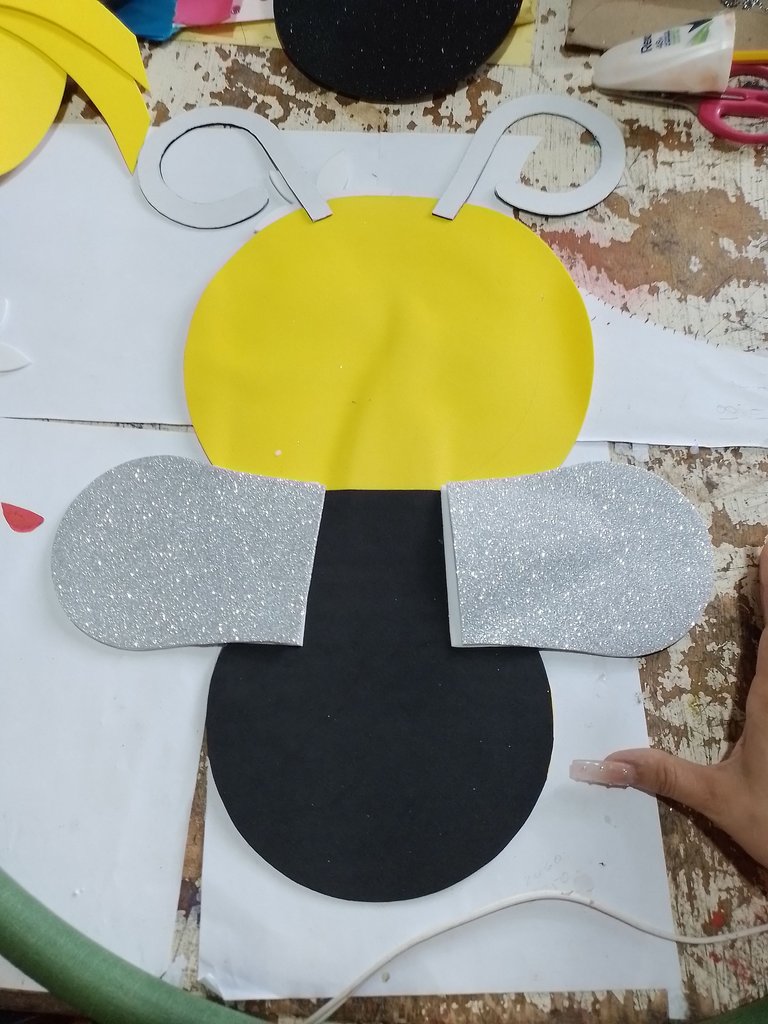
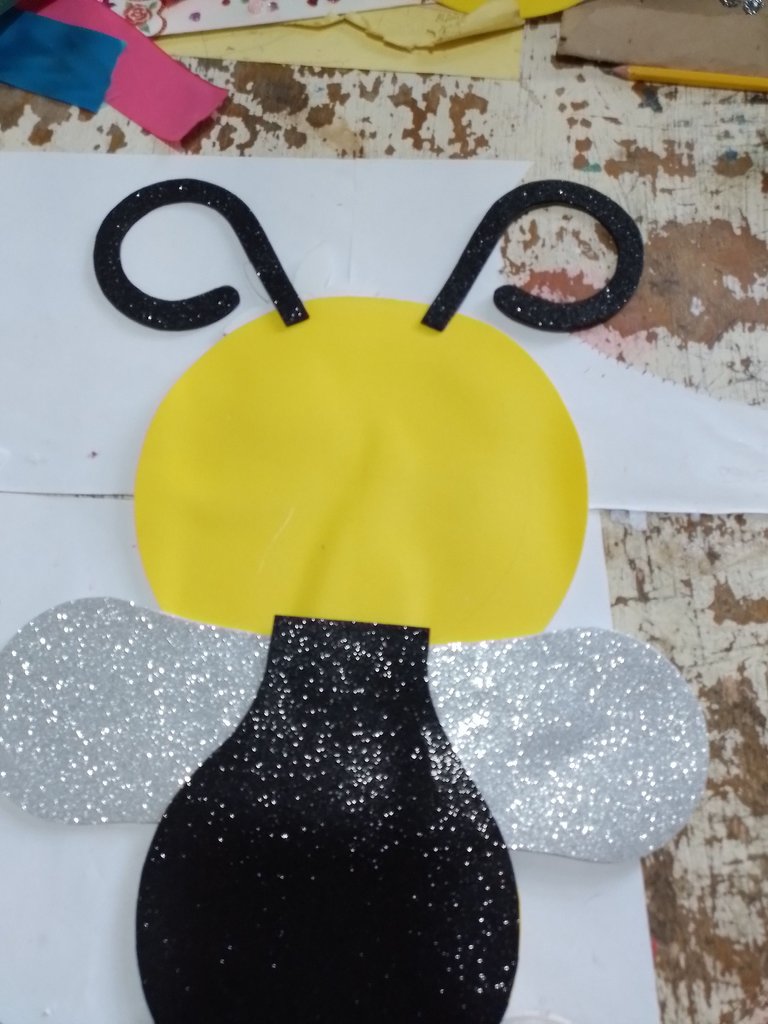
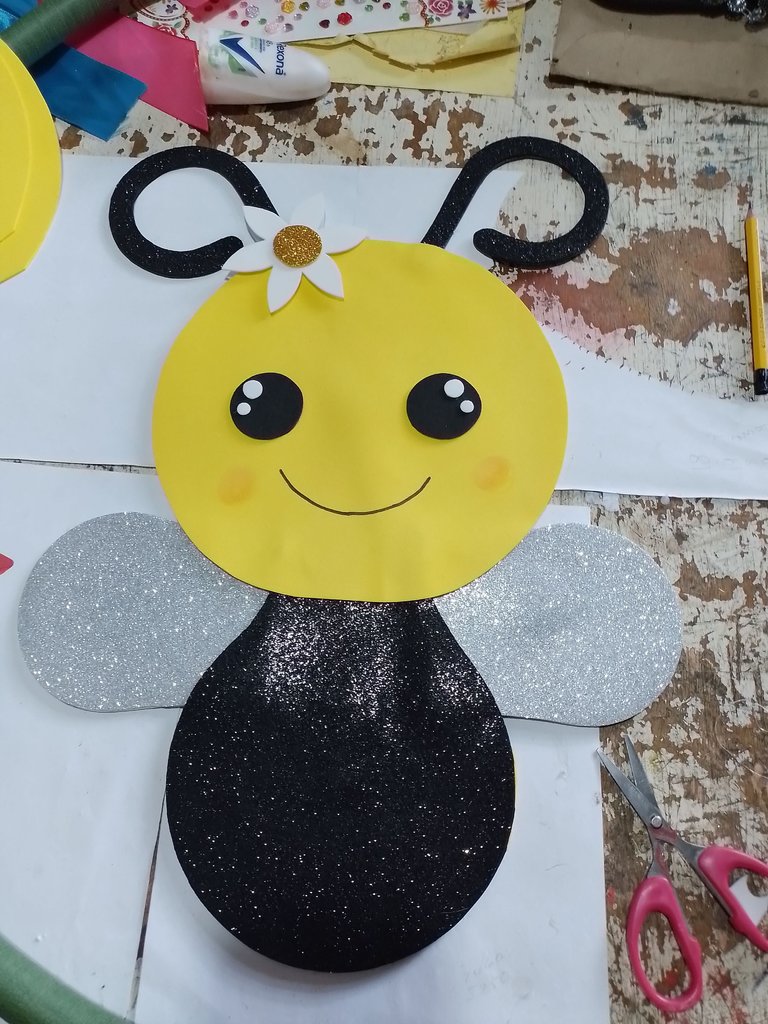
Step 12- Now that we have all the parts of the bee cut out, we move on to assemble the first bee, first we glue the larger circle that is the head on top of the black glitter piece.
Paso 12- Ya teniendo todas las partes de la abeja recortadas, pasamos a montar la primera abeja, primeramente pegamos el círculo más grande q es la cabeza encima de la pieza negra de brillo.
|
|
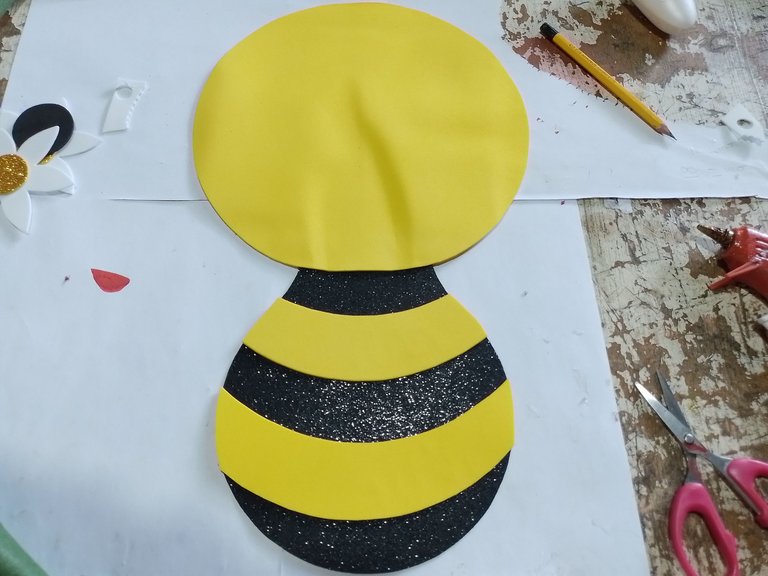
Step 13- The yellow curved strips that we cut out are glued on top of the body.
Paso 13- Las tiras curvas que recortamos de color amarillo las pegamos encima del cuerpo.
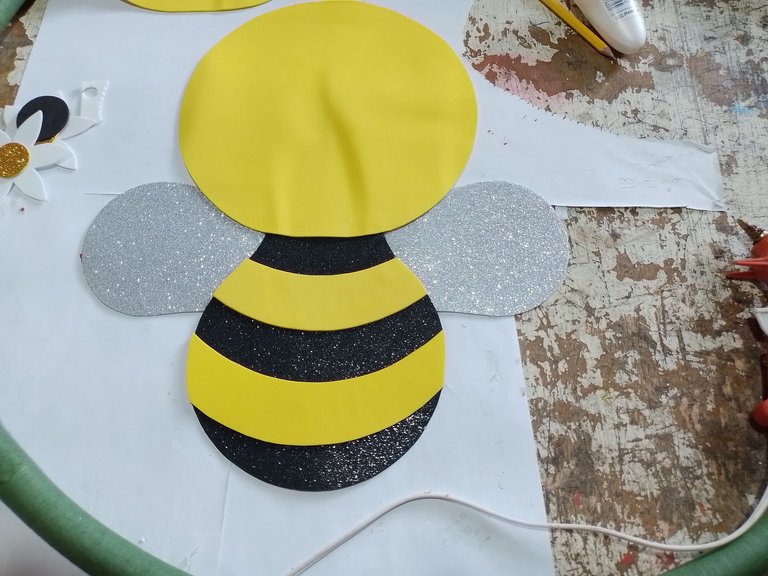
Step 14- Next we glue the wings to the side of the body.
Paso 14- A continuación pegamos las alas al lateral del cuerpo.
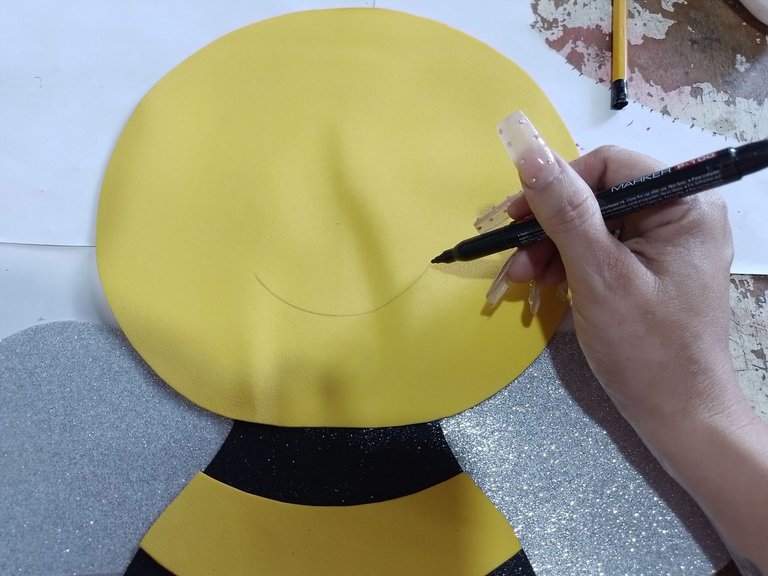
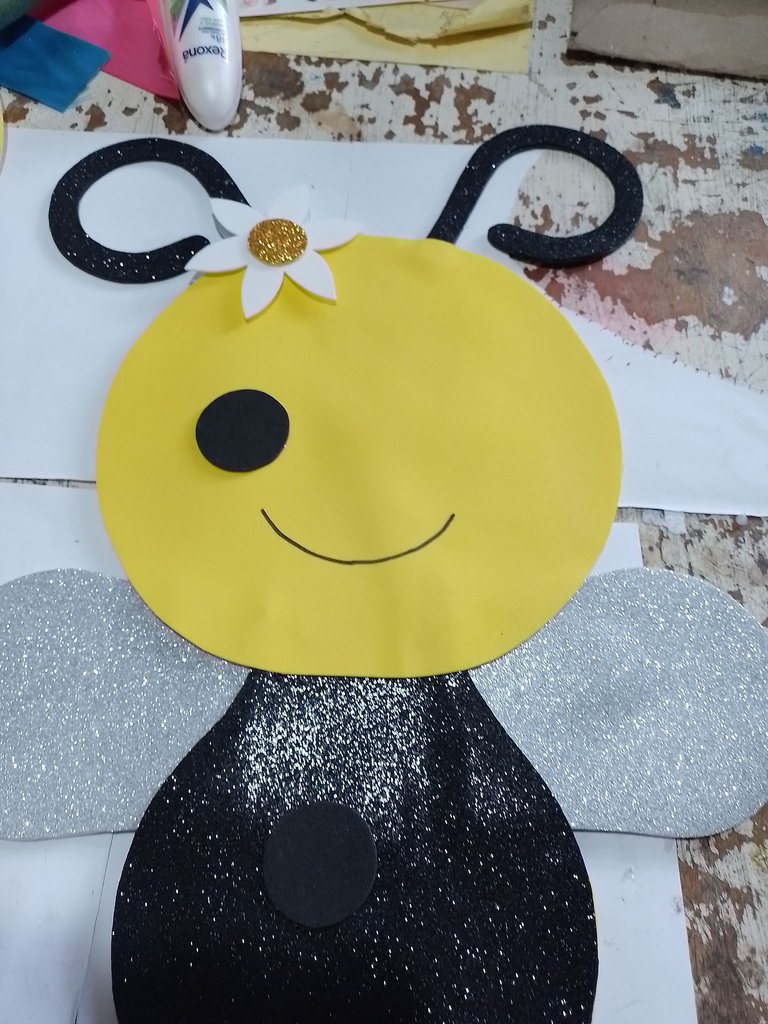
Step 15- With the black permanent marker we paint the mouth on the lower part of the head.
Paso 15- Con el marcador permanente negro le pintamos la boca en la parte inferior de la cabeza.
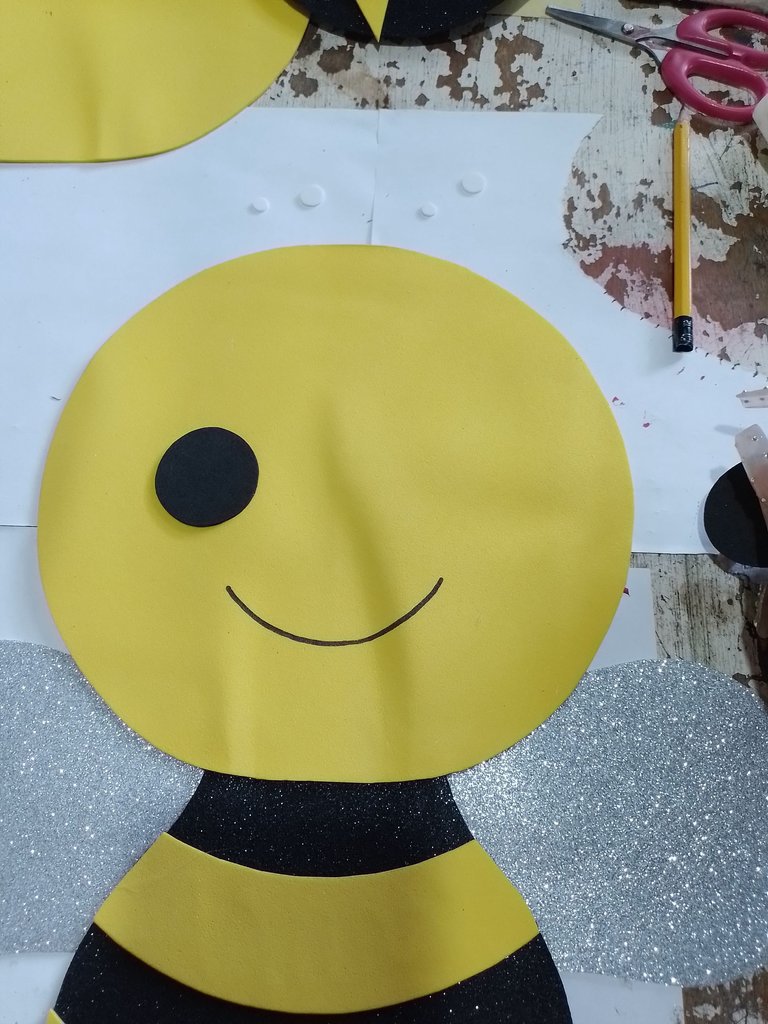
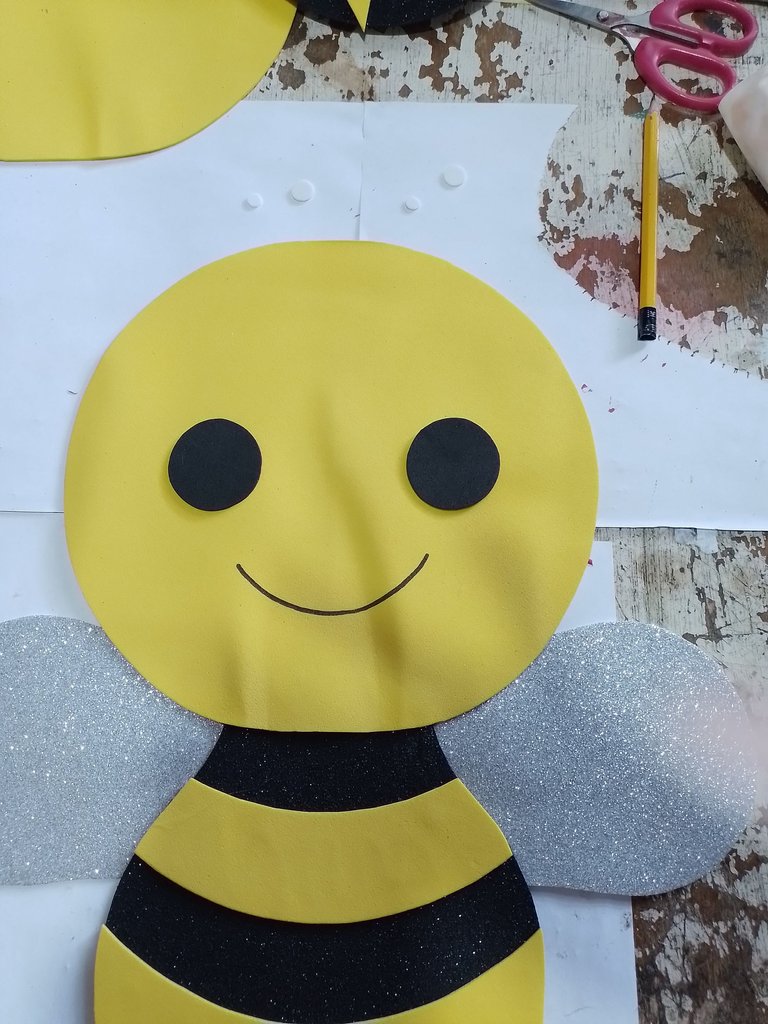
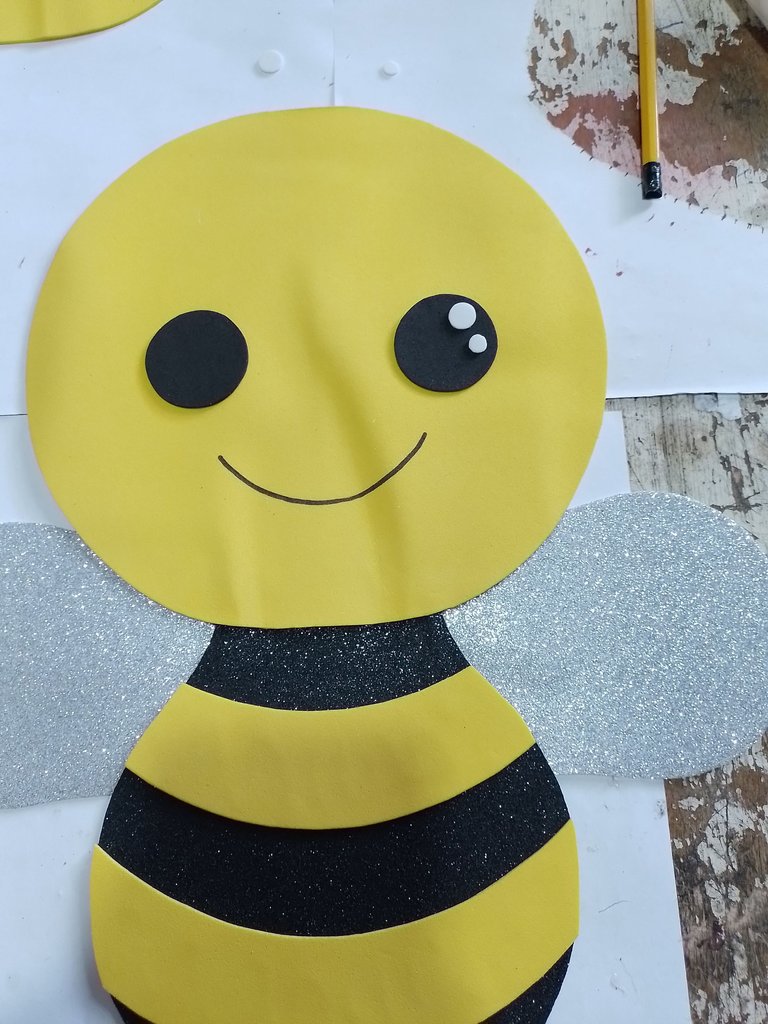
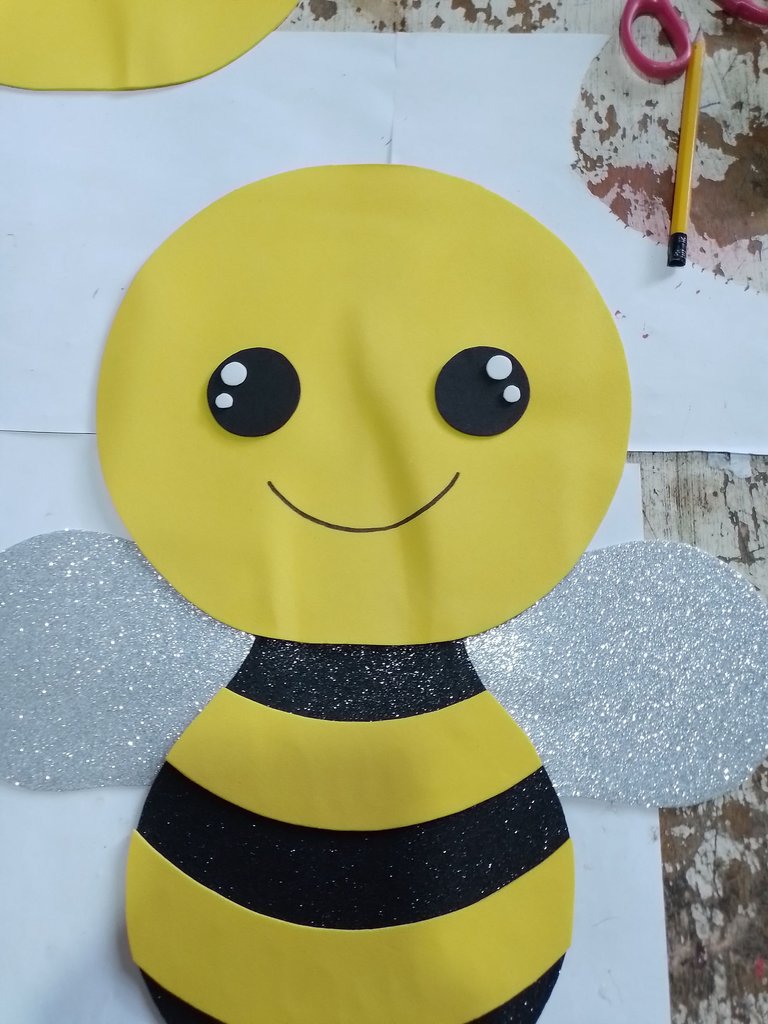
Step 16- Then we glue the two small circles on the top of the mouth, these will be the eyes and for the brightness of these we glue the small circles that we cut out previously.
Paso 16- Luego le pegamos los dos círculos pequeños en la parte de arriba de la boca, estos serán los ojos y para el brillo de estos le pegamos los círculos pequeños que recortamos anteriormente.
|
|
|
|
Step 17- Then we glue the antennae we made on top of the bee's head.
Paso 17- Luego pegamos las antenas que hicimos encima de la cabeza de la abeja.
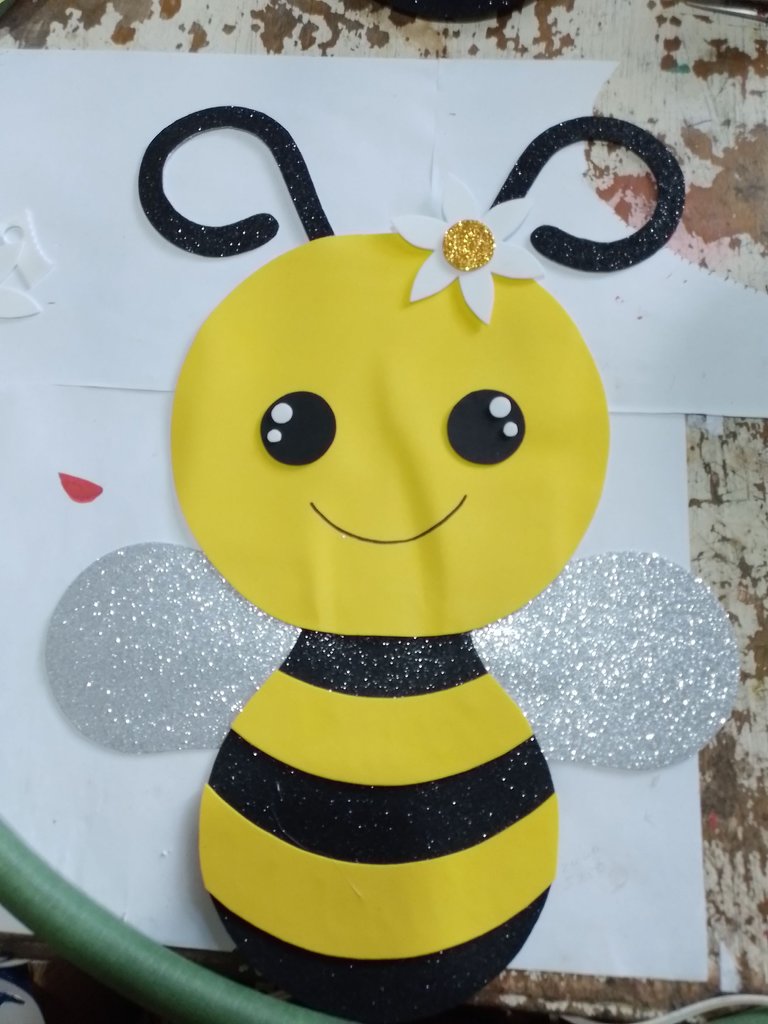
Step 18- The bench flower we made is glued to the top of the head near an antenna.
Paso 18- La flor banca que hicimos la pegamos en la parte de arriba de la cabeza cerca de una antena.
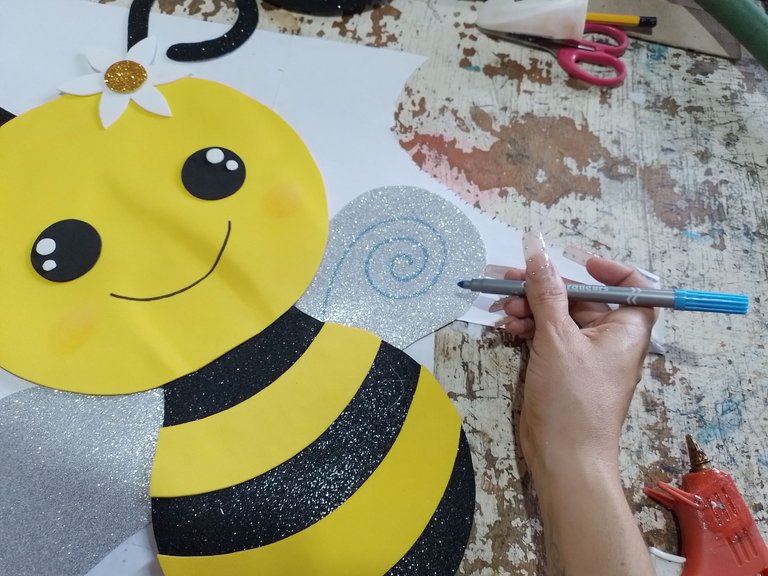
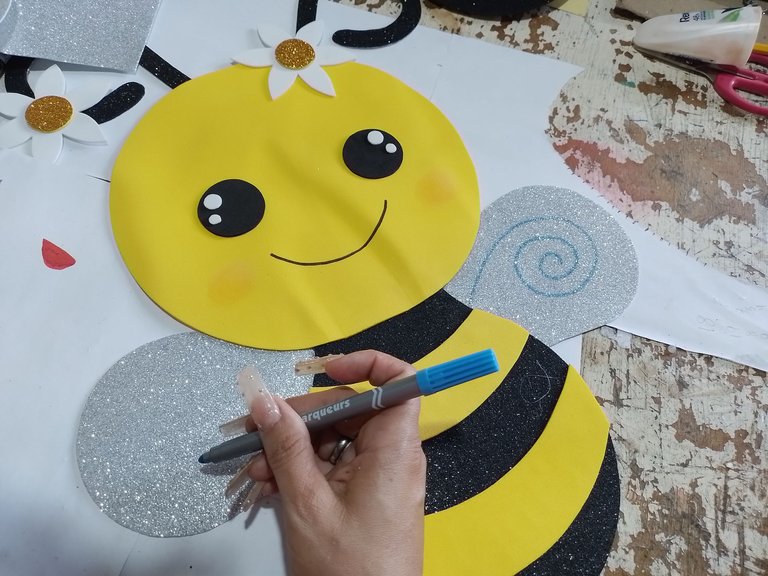
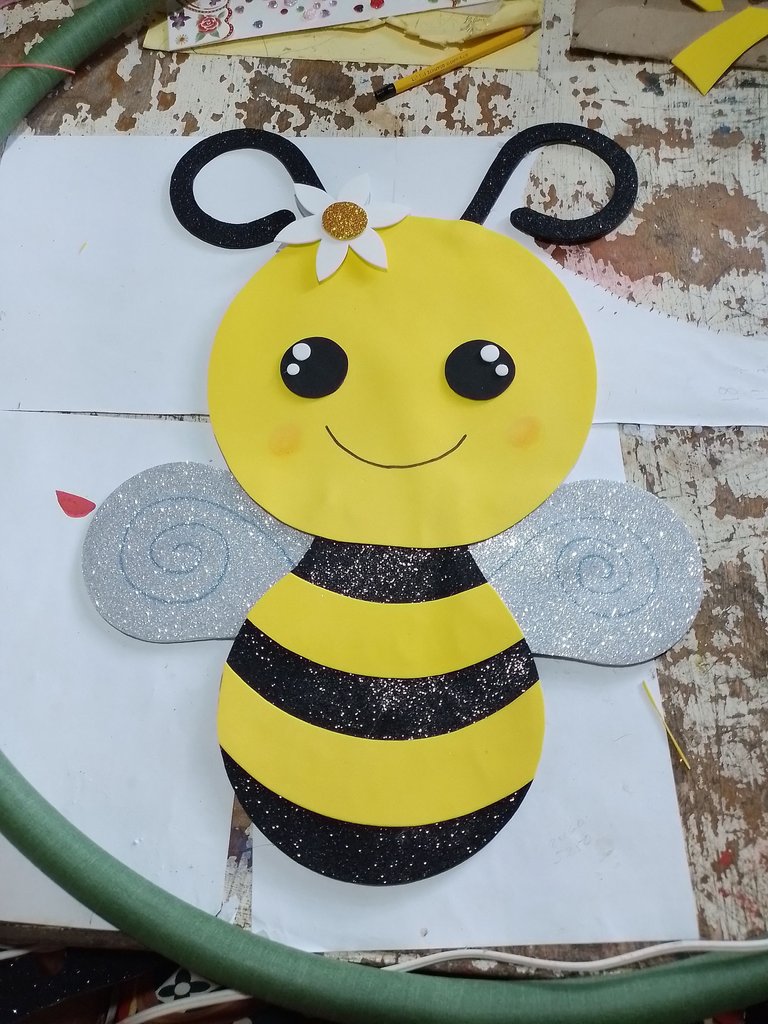
Step 19- With the blue marker we make the details on the wings.
Paso 19- Con el marcador de color azul le hacemos los detalles en las alas.
|
|
Step 20- Once the first bee is finished, we glue the second one and we glue it on the back of the first one we made.
Paso 20- Ya terminada la primera abeja pasamos a pegar la segunda y la pegamos por la parte de atrás de la primera que hicimos.
|
|
|
|
|
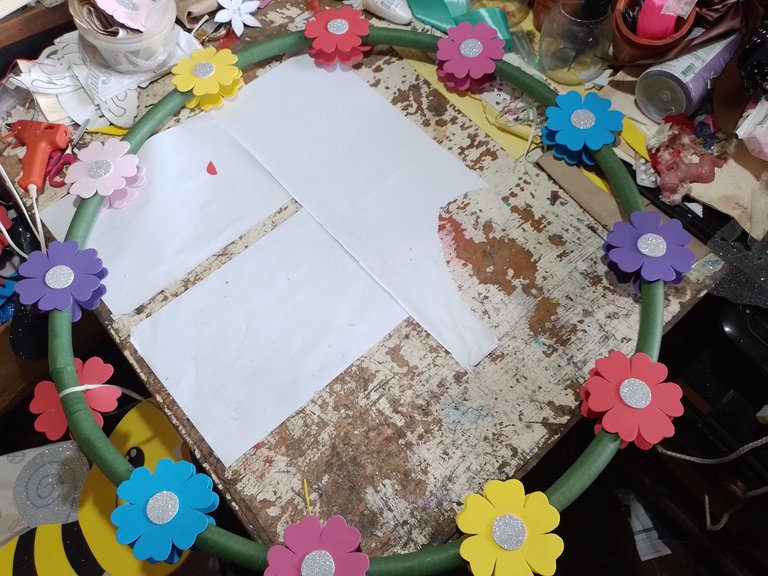
Step 21- In the hoop we glue the flowers that we made at the beginning of the steps, and between each flower we leave a space. And then repeat the same process on the back of the hoop, matching each flower with the previous one.
Paso 21- En el aro vamos pegando por el borde las flores que hicimos en el comienzo de los pasos, y entre flor y flor dejamos un espacio. Y luego repetimos el mismo proceso por la parte de atrás del aro coincidiendo cada flor con la anterior.
Step 22-After gluing all the flowers with the thin ribbon we glue it on top of the head of the bee and hang it on the top of the hoop and leave an excess of ribbon to be able to hang the hoop in the desired place.
Paso 22-Ya pegadas todas la flores con la cinta fina la pegamos encima de la cabeza de la abeja y la guindamos en la parte de arriba del aro y dejamos un sobrante de cinta para poder guindar el aro en el lugar deseado.
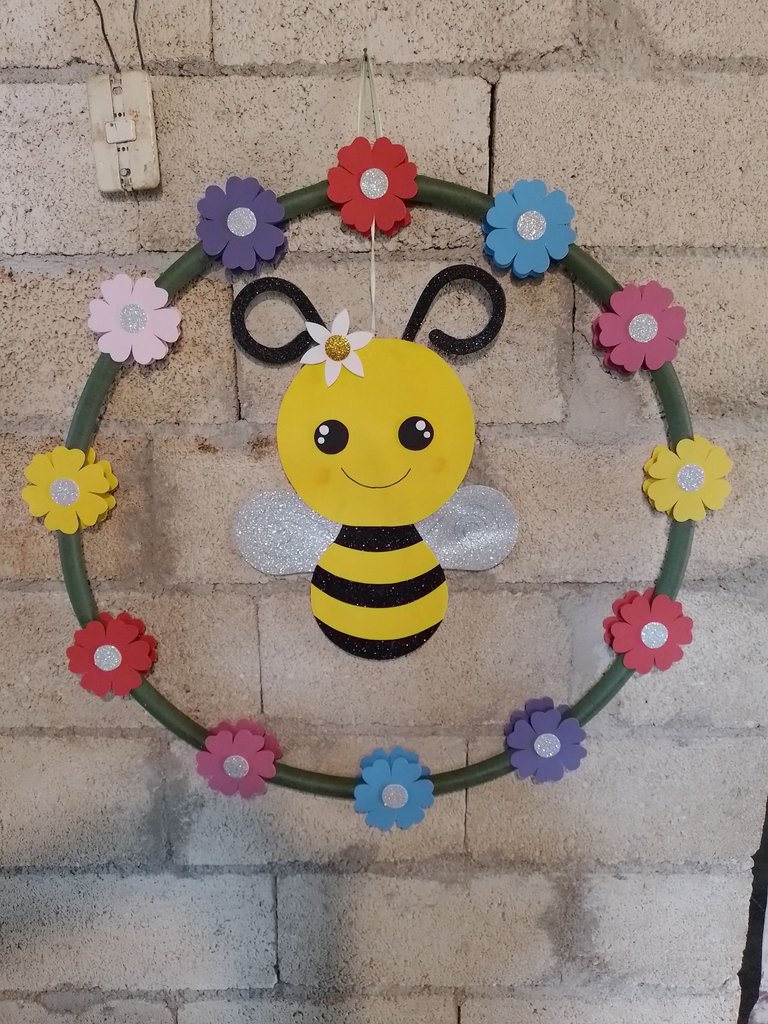
I hope you like the result and that it will help you in your crafts.
Espero les guste el resultado y les ayude en sus manualidades.
Cover made in Canva
Translated by DeepL
Que linda y simpática abejita, hiciste un buen trabajo, te quedó hermoso todo 😊
Gracias por el apoyo
Bello trabajo, me gustó mucho el resultado final.
Gracias
Congratulations @norychacon! You have completed the following achievement on the Hive blockchain And have been rewarded with New badge(s)
Your next target is to reach 1500 upvotes.
You can view your badges on your board and compare yourself to others in the Ranking
If you no longer want to receive notifications, reply to this comment with the word
STOPTo support your work, I also upvoted your post!
Gracias por el apoyo
¡Eso es genial @norychacon! ¡Estamos emocionados de ver tu progreso en Hive! ¡Estamos ansiosos por verte lograr el próximo!
Notamos que extrañamos su apoyo a nuestra propuesta. Ayúdenos a continuar brindando gamificación, entretenimiento y diversión a la cadena de bloques de Hive. ¡Consulte nuestra propuesta de financiamiento y considere apoyarnos!
Todo lo que necesita hacer es hacer clic en el botón "soporte" en esta página: https://peakd.com/proposals/248.
Gracias!
Gracias por todo
Una linda y creativa forma de enseñar la importancia de la naturaleza y de estos animalitos como son las abejas, ellas son vida, sin ellas, no existiria nada en el planeta por eso es muy importante respetarlas y cuidarlas ❤️
Esta muy lindo 😍
Gracias
Me encanta! Aparte de ser un tutorial bien detallado
Gracias por el apoyo