Buenos días amigos de Hive, en especial los de la comunidad Hive DIY, es mi primer post en esta comunidad, me gusta mucho el Arte Gráfico y hoy quiero compartir con ustedes el paso a paso de cómo convertir una foto a caricatura...
Good morning friends of Hive, especially those of the Hive DIY community, it's my first post in this community, I really like Graphic Art and today I want to share with you the step by step of how to convert a photo to caricature.
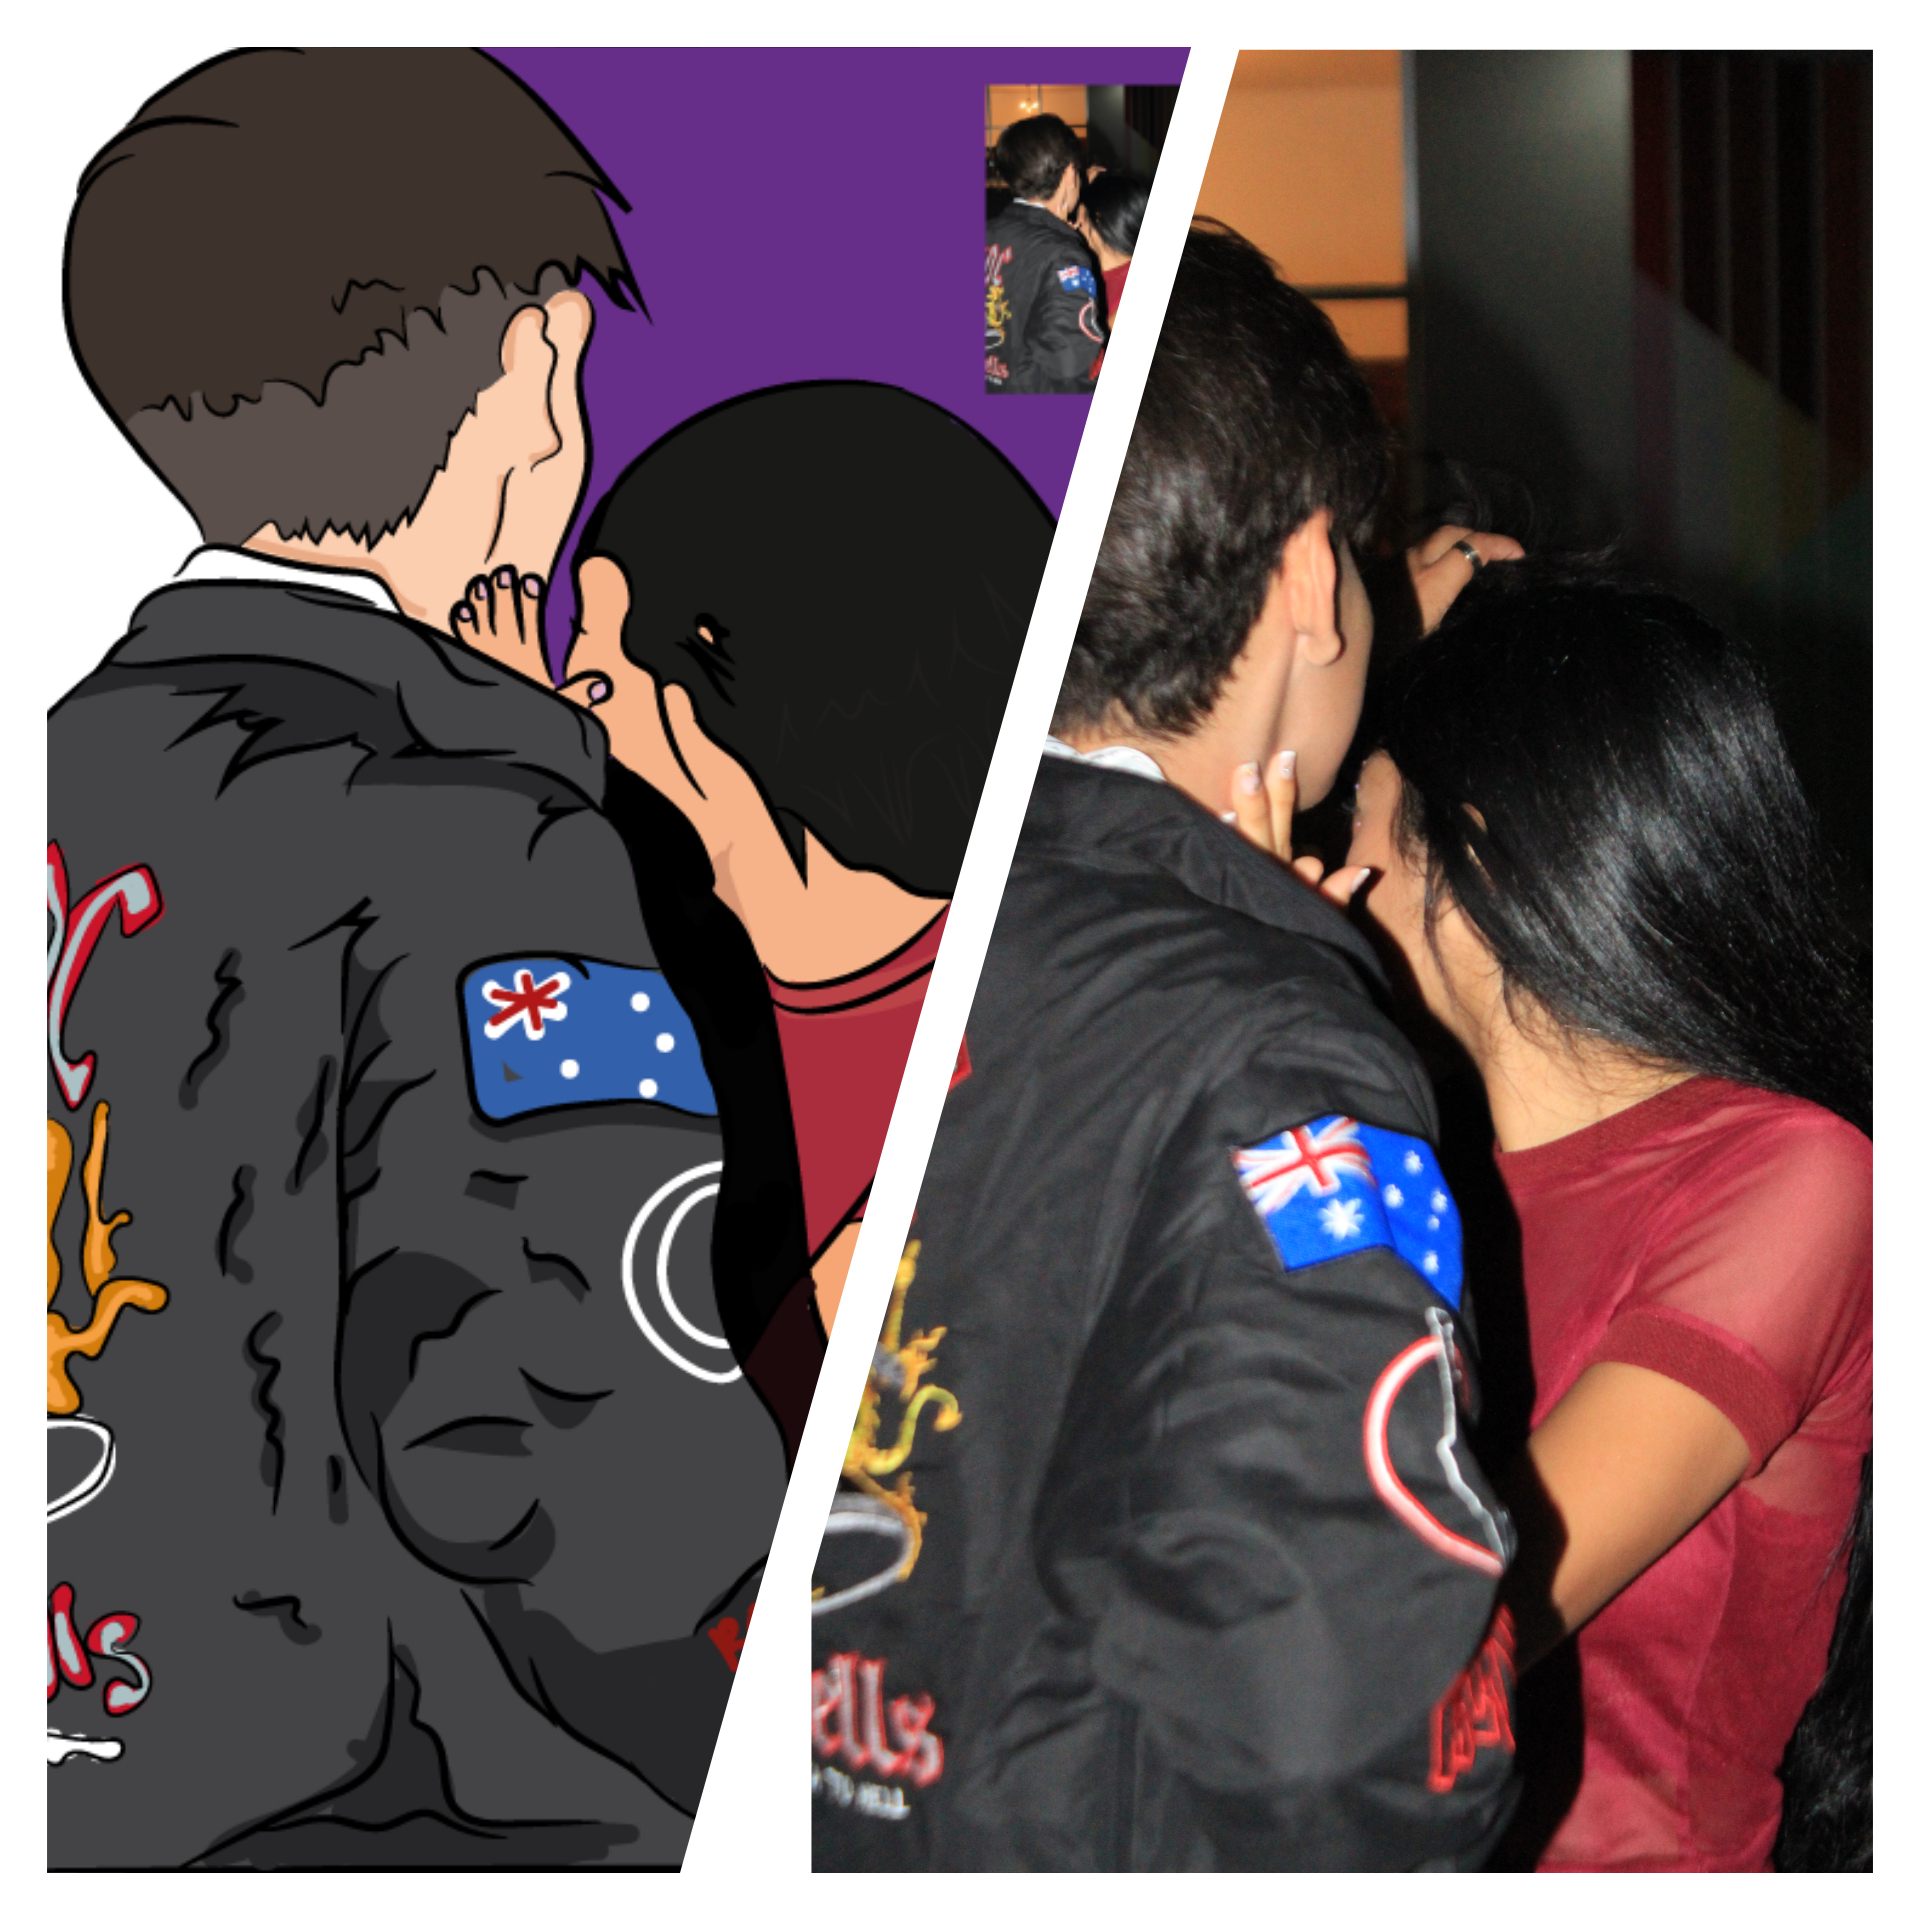
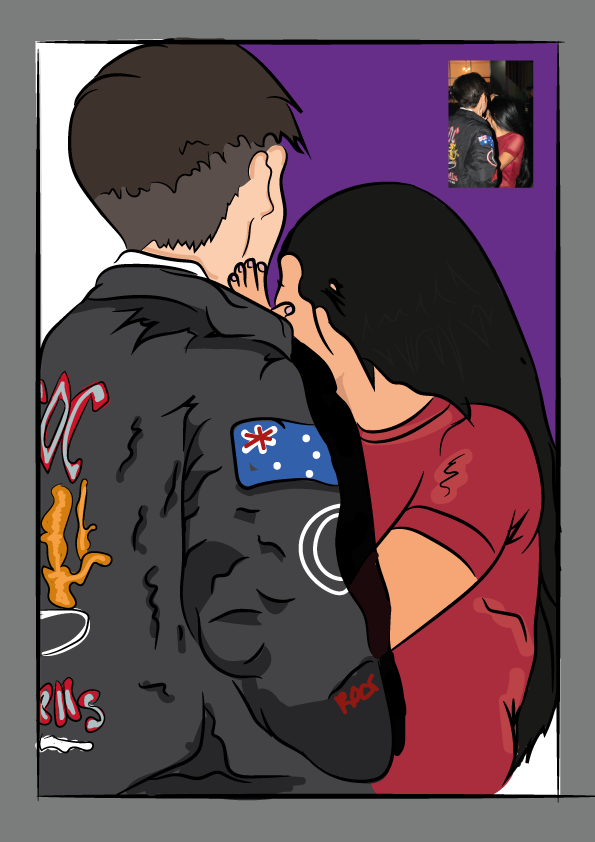
En este caso utilicé esta foto con mi novia, considero que es un detalle muy bonito que pueden usar de fondo de pantalla tanto para los Teléfonos celulares como para las PC.
In this case I used this photo with my girlfriend, I think it is a very nice detail that can be used as a wallpaper for both cell phones and PCs.
Y bueno manos a la obra:
And well, let's get to work:
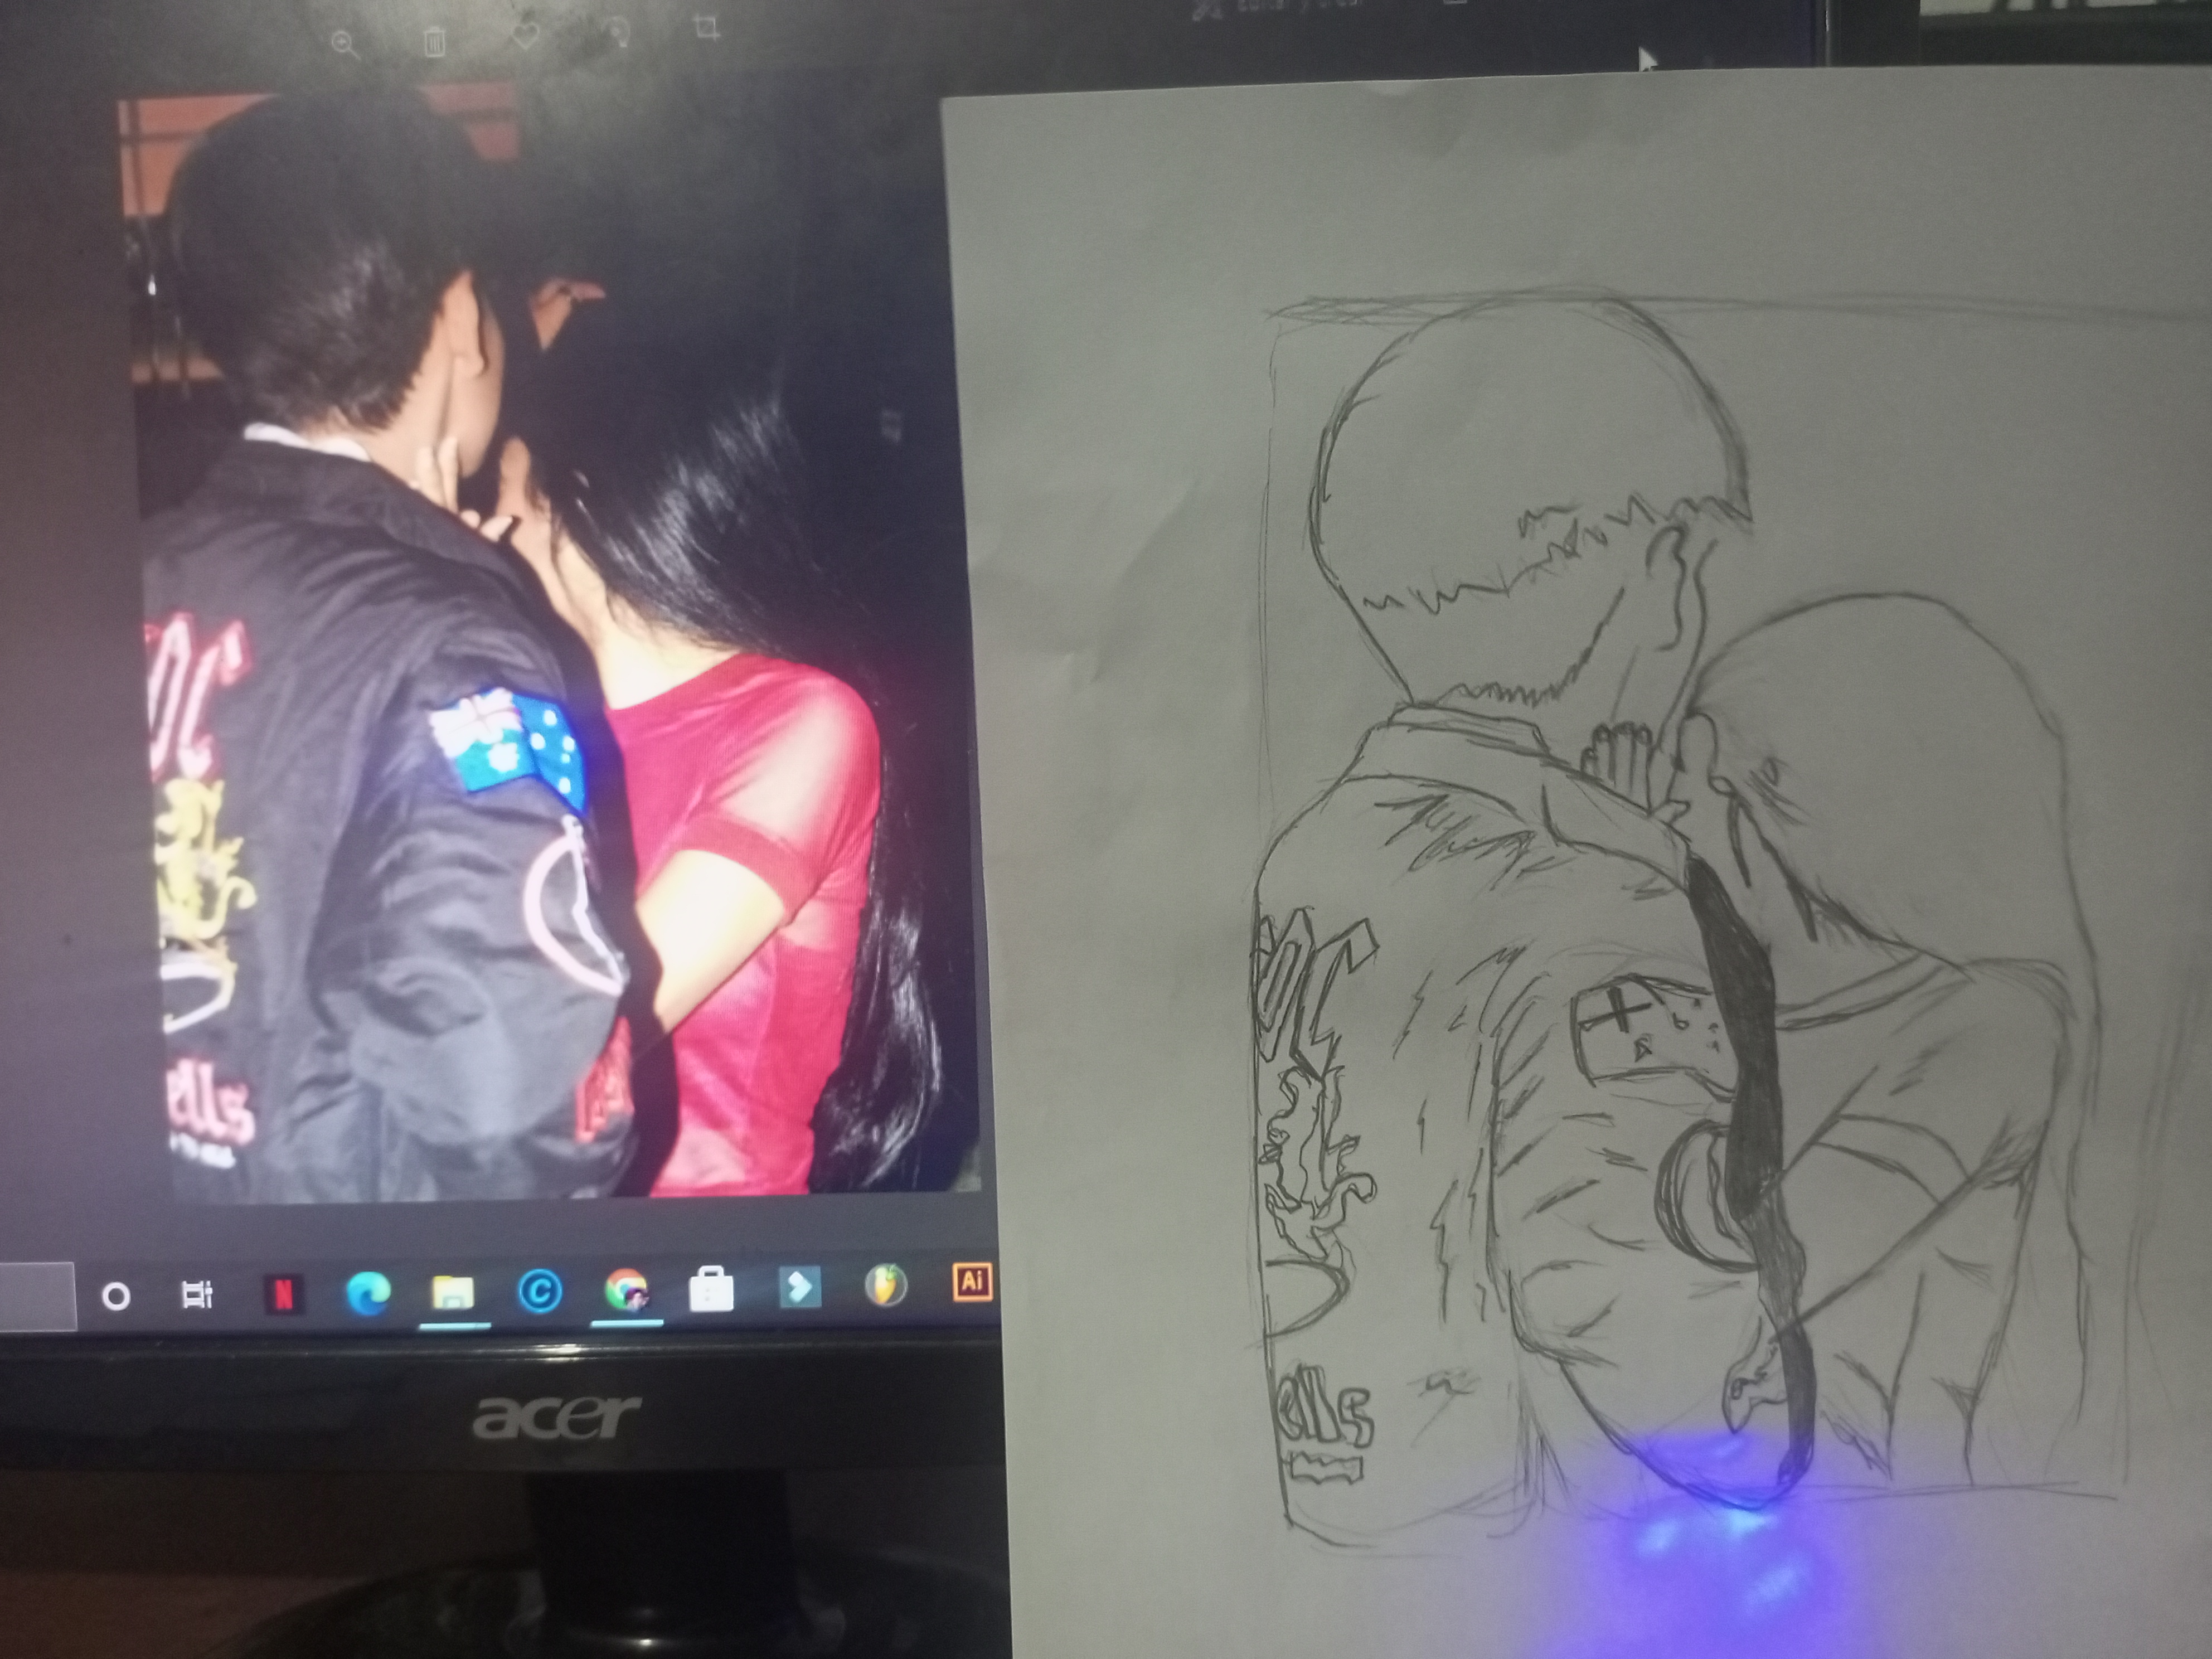
✓ Primer paso: Lo primero es; hacer un boceto de nuestra foto... No importa que no quede perfecto pero vamos a intentar dibujar todas las líneas que veamos...
First step: The first thing is; make a sketch of our photo... It doesn't matter if it's not perfect but we're going to try to draw all the lines we see.

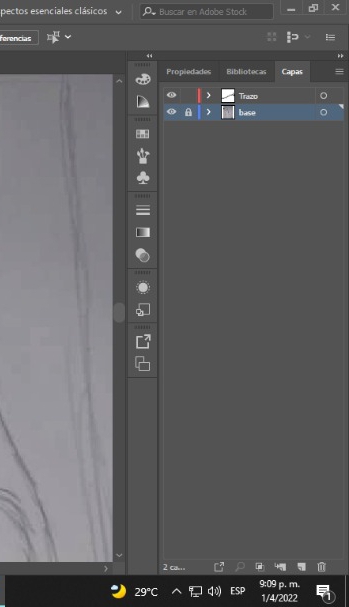
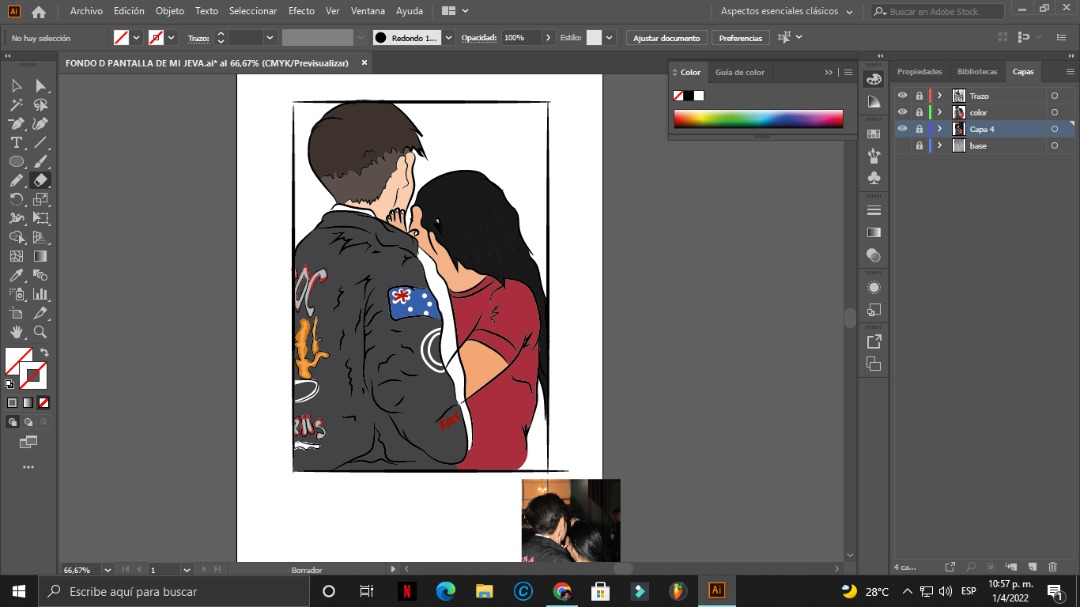
✓Segundo paso: Ahora vamos a abrir nuestro programa de edición favorito, en mi caso utilizo "Adobe Illustrator", y copiamos la imagen. (La vamos a bloquear en una capa llamada "Base").
✓Second step: Now we are going to open our favorite editing program, in my case I use "Adobe Illustrator", and copy the image. (We're going to lock it to a layer called "Base").
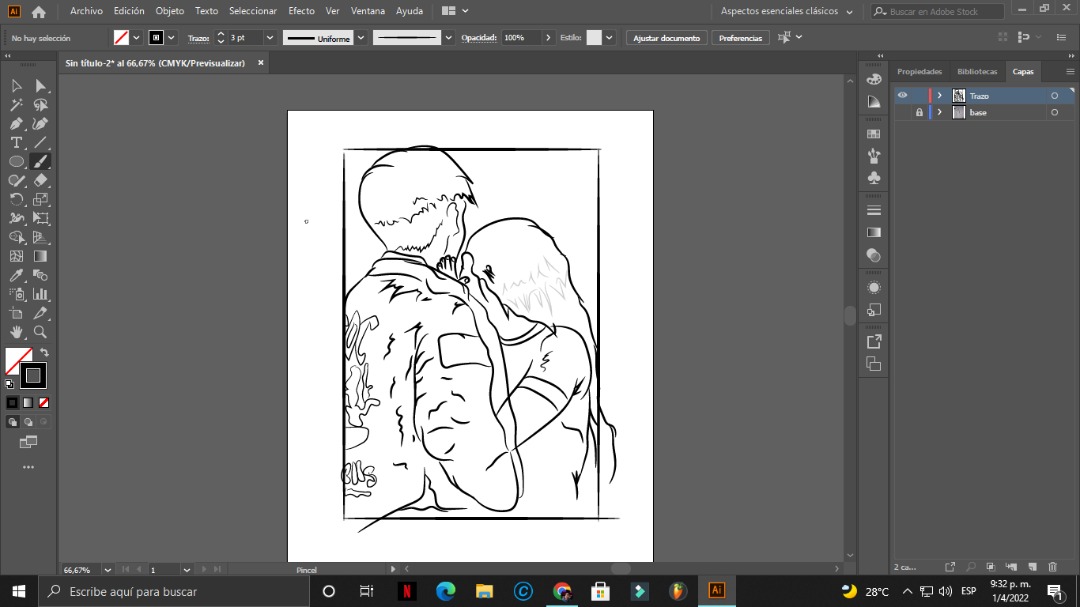
✓Tercer paso: Creamos una capa llamada "Trazos" y procedemos a calcar todas las líneas de nuestro boceto, en esta oportunidad utilicé un pincel artístico creado por mí, si quieren que haga otro post explicando cómo hacer pinceles artísticos en "adobe Illustrator" dejenmelo saber en los comentarios.
✓Third step: We create a layer called "Strokes" and proceed to trace all the lines of our sketch, this time I used an artistic brush created by me, if you want me to do another post explaining how to make artistic brushes in "adobe Illustrator" let me know know in the comments.
✓Cuarto paso: Una vez, hayamos marcado todas las líneas... Procedemos a crear una nueva capa llamada color, en la cual vamos a empezar a pintar todo nuestro boceto.
(Un tip que les doy es que si quieren mantener los colores originales de la foto. Utilicen la herramienta cuenta gotas para tomar el color exacto de cada cosa en la imágen).
✓Fourth step: Once we have marked all the lines... We proceed to create a new layer called color, in which we are going to start painting our entire sketch.
(A tip I give you is that if you want to keep the original colors of the photo, use the eyedropper tool to take the exact color of each thing in the image).
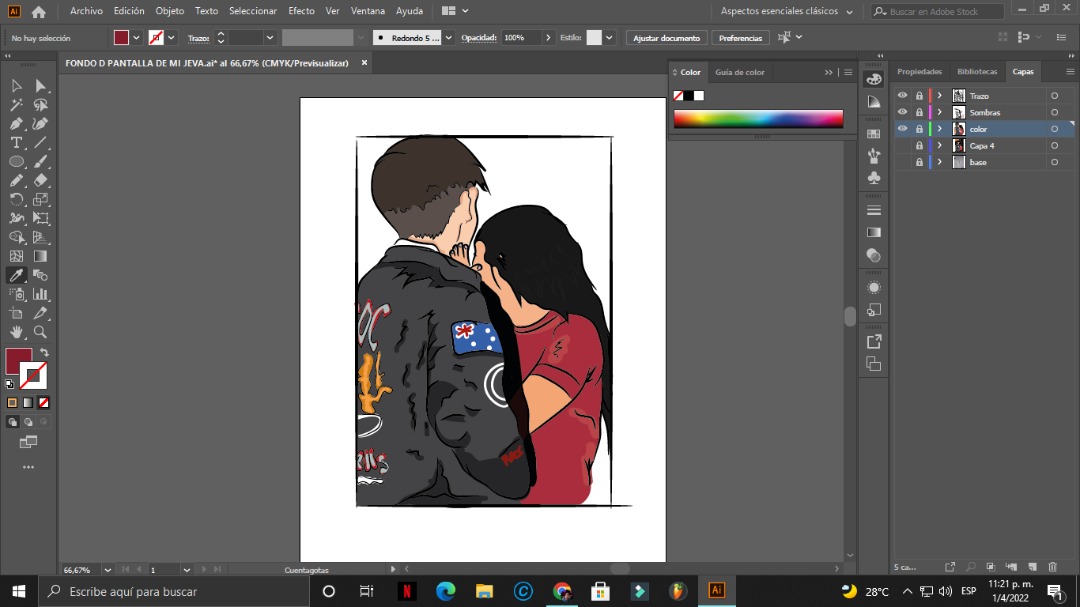
✓Quinto Paso: Por último, vamos a crear una capa llamada sombras, esta es la parte más divertida, ya que aquí procederemos a pintar cada sombra del dibujo.
✓Fifth Step: Finally, we are going to create a layer called shadows, this is the funniest part, since here we will proceed to paint each shadow of the drawing.
Y eso es todo amigos aquí está el resultado final:
And that's all folks here is the end result:
Gracias a todos por su atención espero les haya gustado esta digitalización de boceto, no olviden dejarme sus recomendaciones en los comentarios... Los quiero mucho ❤️
Thank you all for your attention, I hope you liked this sketch digitization, don't forget to leave me your recommendations in the comments... I love you so much ❤️
Que hermoso dibujo amigo!! Muy buen trabajo, felicidades!🥰❤️
Congratulations @ocuartamusic! You have completed the following achievement on the Hive blockchain and have been rewarded with new badge(s):
Your next target is to reach 50 upvotes.
Your next target is to reach 200 replies.
You can view your badges on your board and compare yourself to others in the Ranking
If you no longer want to receive notifications, reply to this comment with the word
STOPTo support your work, I also upvoted your post!
Check out the last post from @hivebuzz:
Support the HiveBuzz project. Vote for our proposal!
Muy lindo. Te quedó muy bien. Felicidades. Gracias por compartir.🤗💖