Hola amigos de HiveDiy, me encuentro por segunda vez en esta Comunidad presentando una manualidad que realicé para ayudar a mi hijo a aprovechar los materiales en desuso que tenemos en casa, los cuales con un poco de creatividad podemos darles una segunda oportunidad. Cuando publiqué aquí la primera vez, les dije que no acostumbro hacer este tipo de publicaciones, pero que es por falta de tiempo y que espero empezar a mostrar la otra faceta de mi vena creativa. En esta ocasión quiero compartir un trabajo que quizás parezca sencillo, pero si es para mi hijo es muy especial. Además este será un contenido para beneficio de los niños, lo que también me entusiasma.
Antes de continuar, les digo que me encuentro como una principiante dando los primeros pasos en Hive pero esto va ser así mientras recupero mi antiguo ritmo en la plataforma. Para quienes no entienden de que hablo y las razones de mi falta de actividad consecuente en mi blog, pueden visitar el enlace.
Como mi hijo Alan (@alandesign) ha presentado mejoría en la parte visual, gracias a Dios y al tratamiento médico, éste adelanto en su salud me ha permitido sacar algo de tiempo para ir retomando la acción en mi trabajo y vida online. Es por ello que me atrevo a presentar una actividad que hicimos juntos en nuestra casa. Se trata de una raqueta de ping pong con algunos materiales reciclables y fáciles de conseguir.
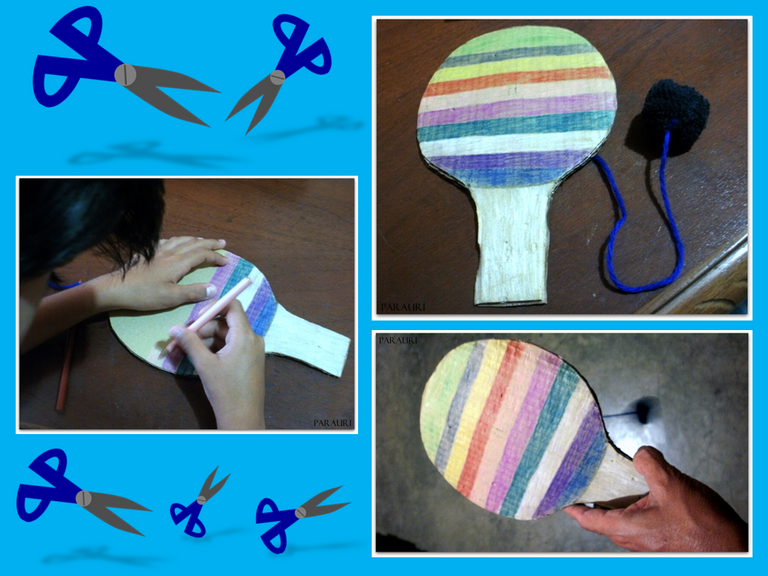
Alan es mi hijo menor, es un niño de 10 años muy dispuesto y creativo así que no tiene problemas para colaborar en algunas manualidades, aunque en esta ocasión yo me enfoqué a orientarlo para que aprenda. Sin embargo, parece que yo estaba tan o más entusiasmada que mi hijo en el proyecto de la raqueta y es porque soy de las que se emocionan cuando hay que medir, trazar y recortar 😊

Bien, conozcamos la lista de materiales:
Materiales
- Cartón grande (de cajas en desuso)
- Un Calcetín viejo (en desuso)
- Revista (en desuso)
- Pegamento para papel o silicón líquido.
- Creyones y marcadores de colores.
- Estambre del color que tengan.
- Herramienta para perforar.
- Hilo y aguja.
- Tijera.
- Lápiz.
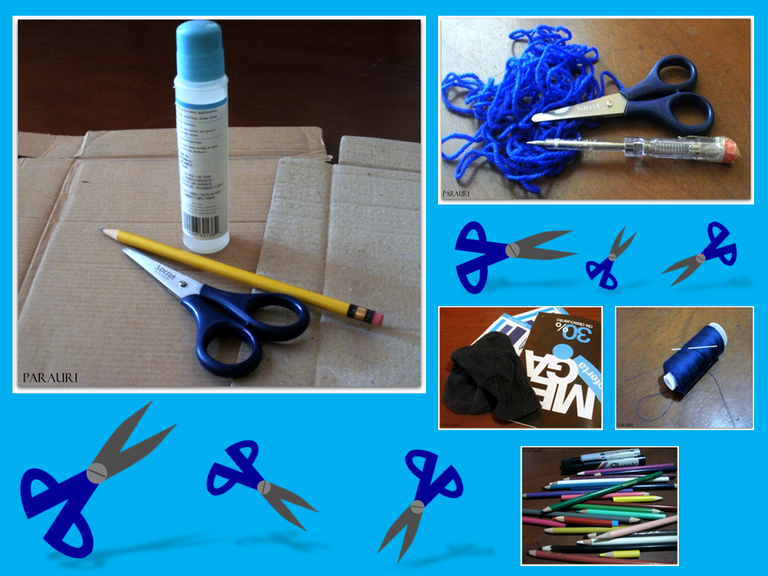
Como se han dado cuenta son materiales muy sencillos y fáciles de conseguir dentro de nuestras cosas en casa, incluso entre los útiles escolares de nuestros hijos.
Bueno, amigas y amigos que me leen, yo estoy esperando pacientemente por ustedes para que cuando tengan los materiales ubicados procedamos todos juntos a la realización de esta actividad y mi hijo Alan también está a mi lado entusiasmado mientras hago este tutorial para Hive.
A mi señal arrancamos todos juntos para la realización de la raqueta de ping pong:
¡Manos a la obra!🙋

Procedimiento
Paso 1
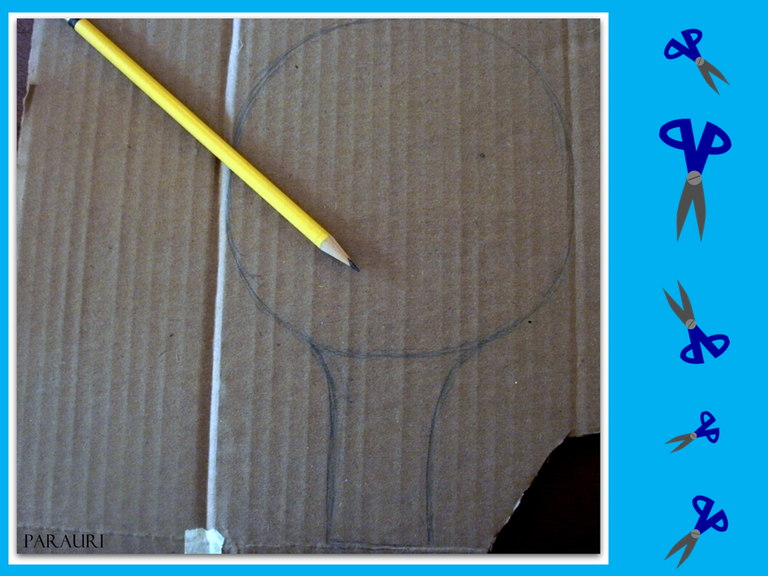
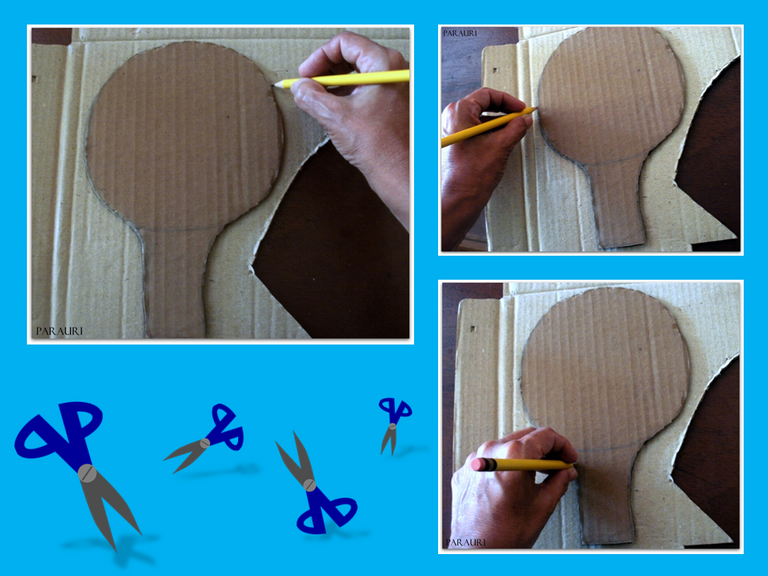
Con el lápiz dibujar sobre el cartón la forma de la raqueta de ping pong. Usando el lápiz con trazo suave para no perforar el cartón.
Paso 2
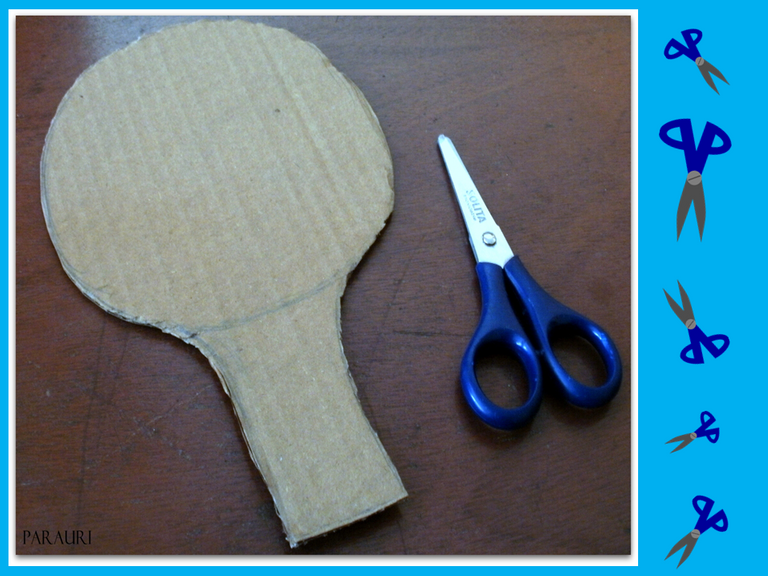
Con la tijera, recortar la figura de la raqueta.
Paso 3
Usar como molde la primera silueta de raqueta para dibujar y recortar una segunda figura.
Paso 4
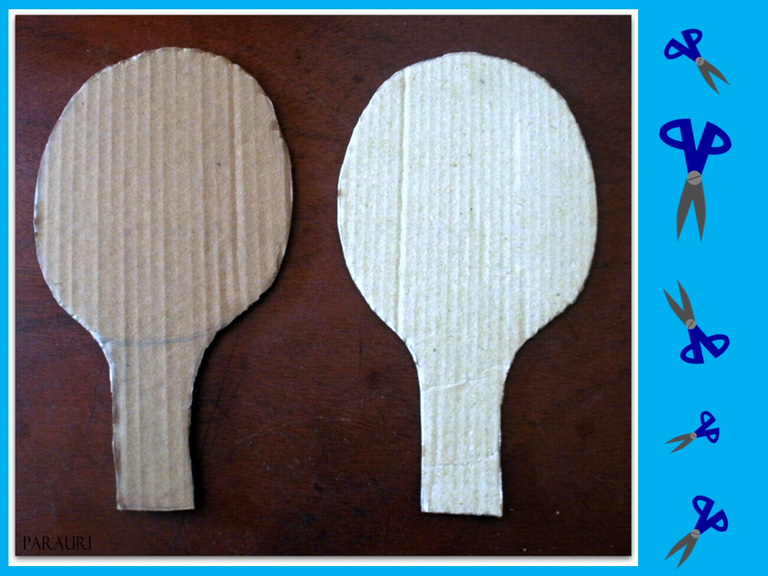
Listas las dos siluetas de cartón, éstas serán las dos caras de nuestra raqueta.
Paso 5
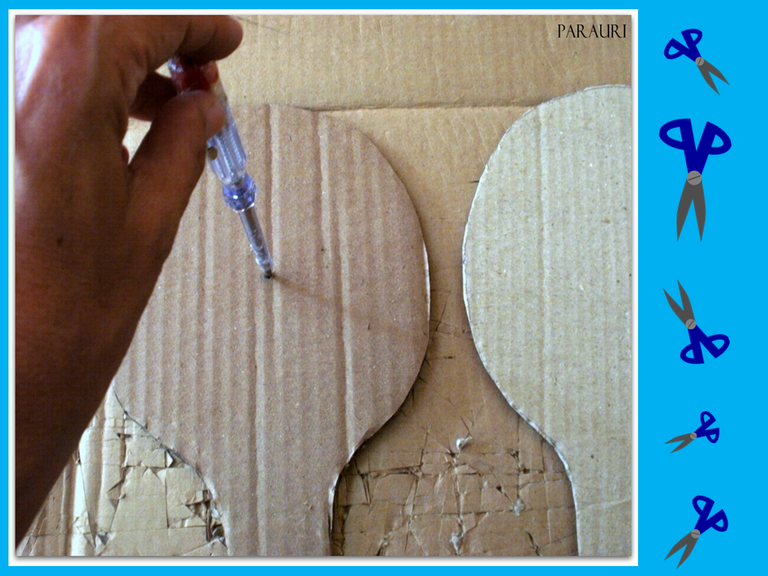
Con la herramienta para perforar, hacer un orificio en el centro de una de las siluetas de cartón.
Paso 6
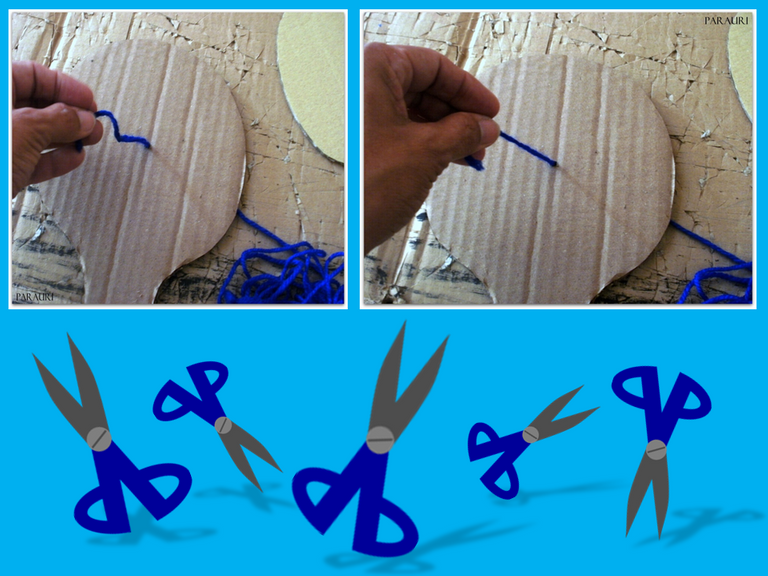
Pasar el estambre por el orificio, sin cortarlo aún.
Paso 7
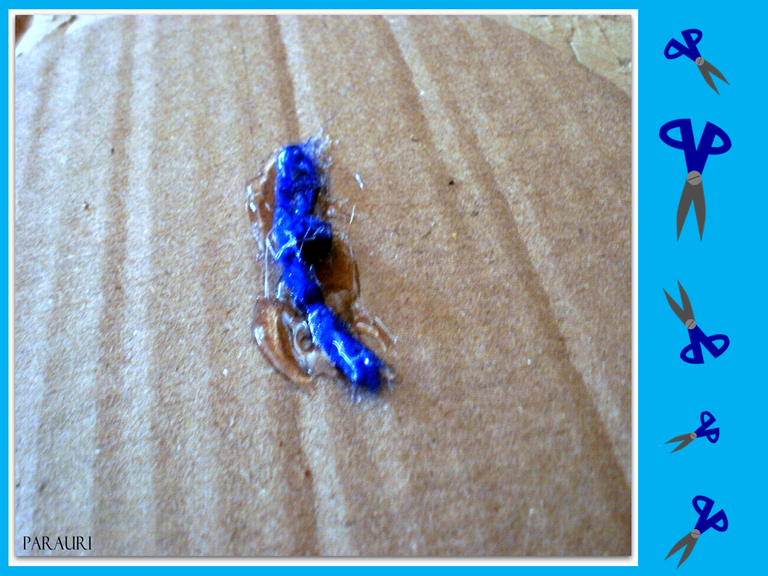
Hacerle un nudo al estambre y fijarlo al cartón con pegamento.
Paso 8
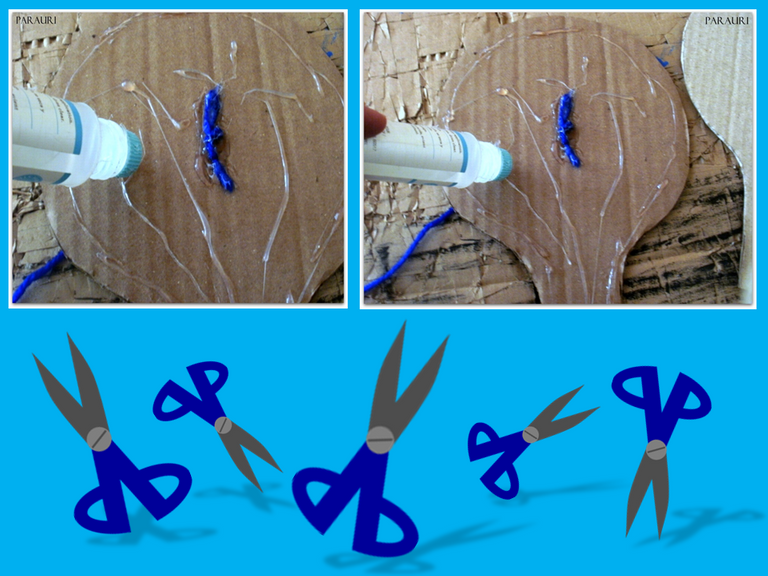
Colocar pegamento a toda la forma de la raqueta para unirla con la segunda silueta de cartón.
Paso 9
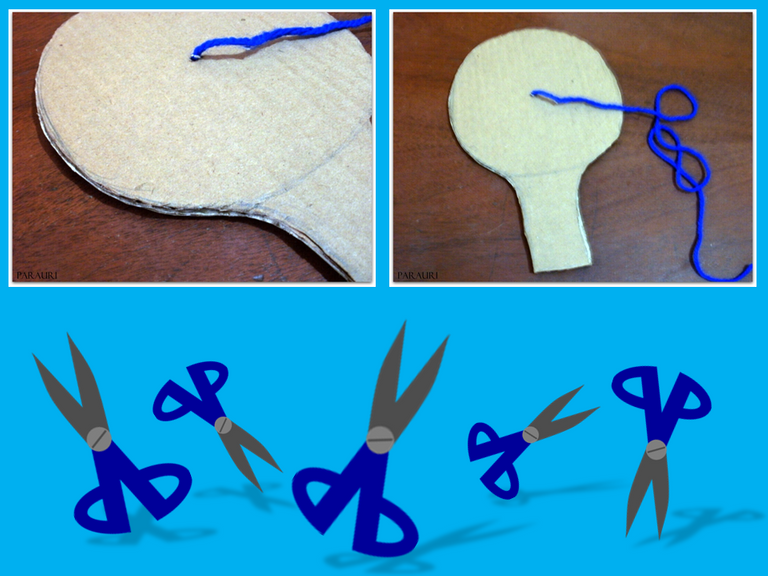
Mientras se endurece el pegamento que une las dos caras de nuestra raqueta, podemos pasar a construir la pelotica.
Paso 10
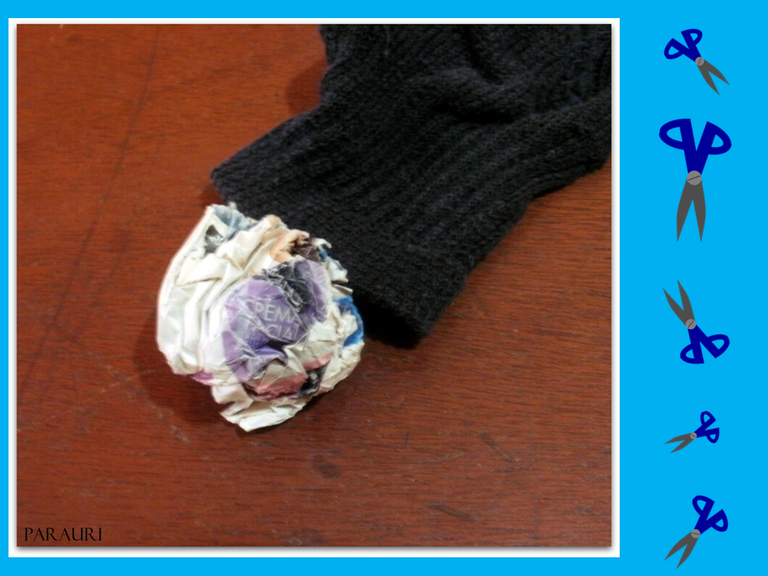
Agarrar una o dos páginas de la revista en desuso (dependiendo del tamaño de la revista puede ser una o dos páginas) y arrugar formando una pequeña bola que meteremos dentro del calcetín viejo en desuso.
Paso 11
Con la mano ajustar la bola de papel dentro del calcetín para dar forma a la pelotica de la raqueta.
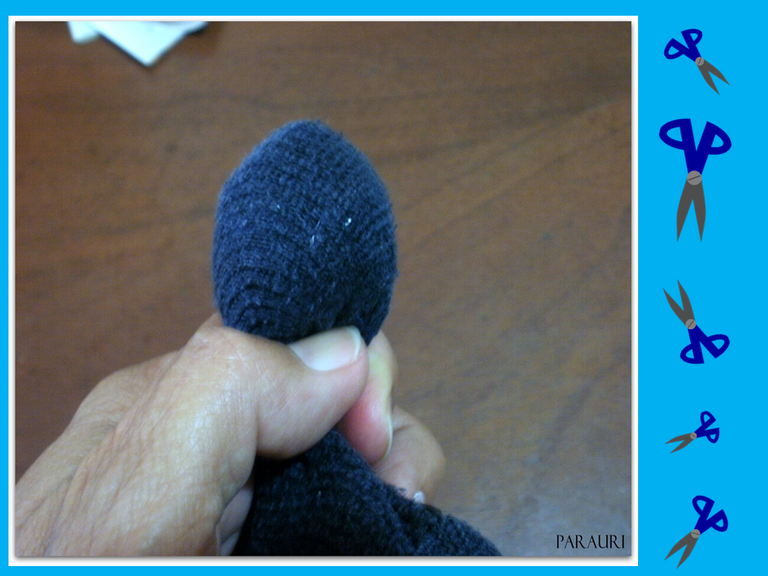
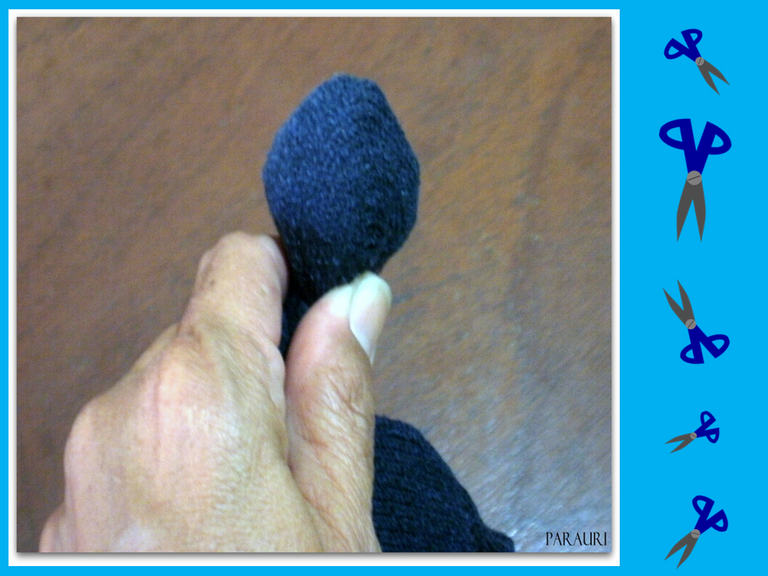
Paso 12
Con la tijera cortar el sobrante del calcetín.
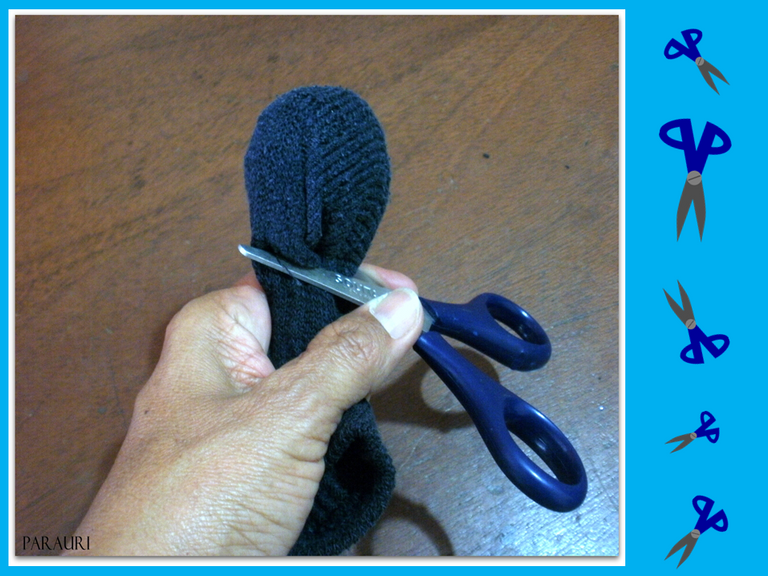
Paso 13
Ya tenemos el forro para la pelotica.
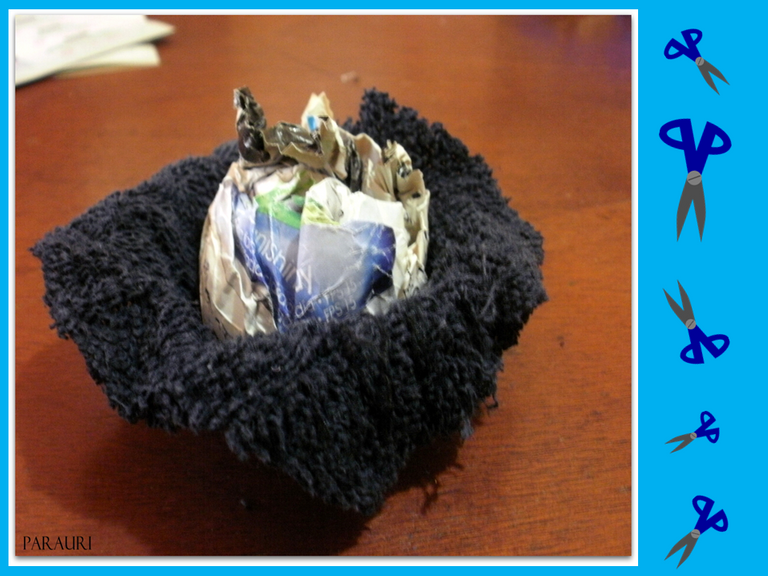
Paso 14
Antes de forrar con tela la bola de papel, hay que amarrarla con el estambre que está unido a la raqueta. Asegúrense de ajustar bien la bolita con varios amarres para darle firmeza y para que no pierda la forma. Otra cosa, aquí si podrás cortar el estambre así que deja una distancia aproximada de 25 cm entre la bolita y la raqueta.
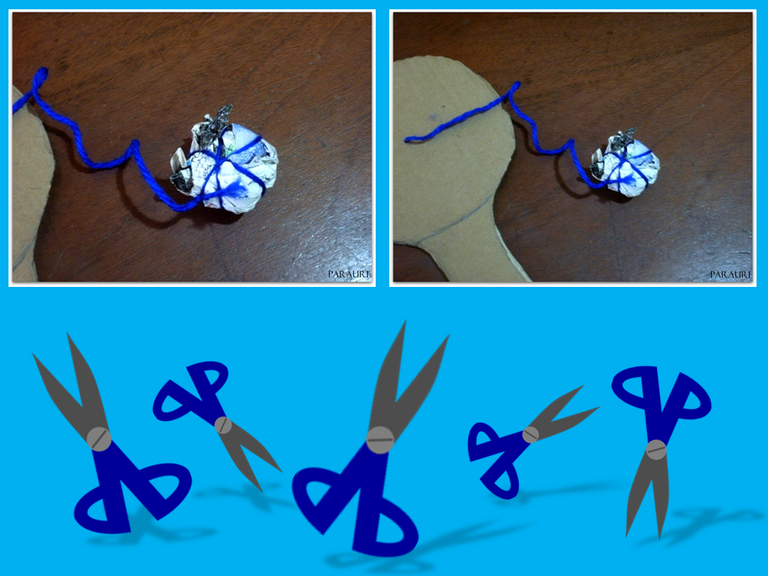
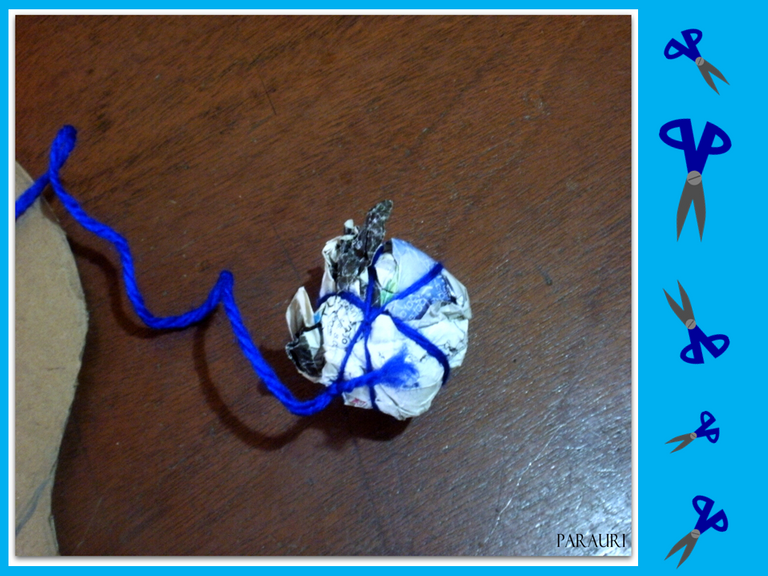
Paso 15
Envolver la bola de papel con el forro de tela y con la aguja e hilo coser para fijar el envoltorio, dándole mejor forma a la pelotica.
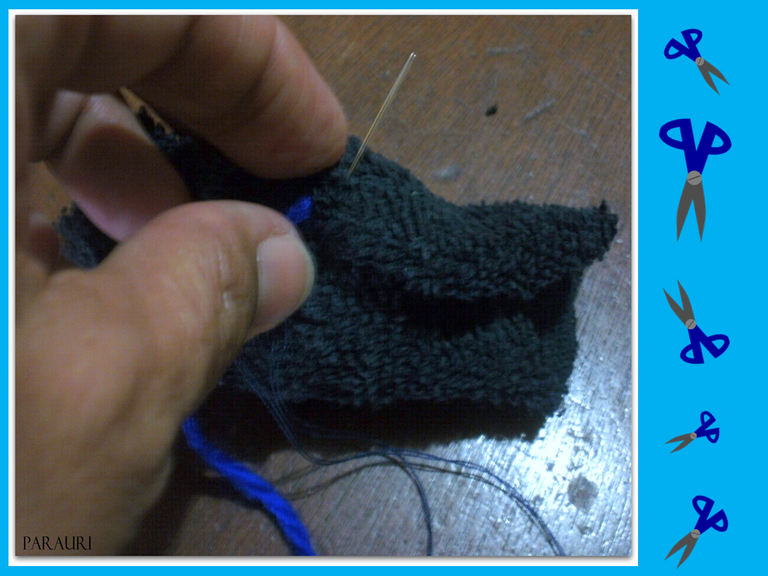
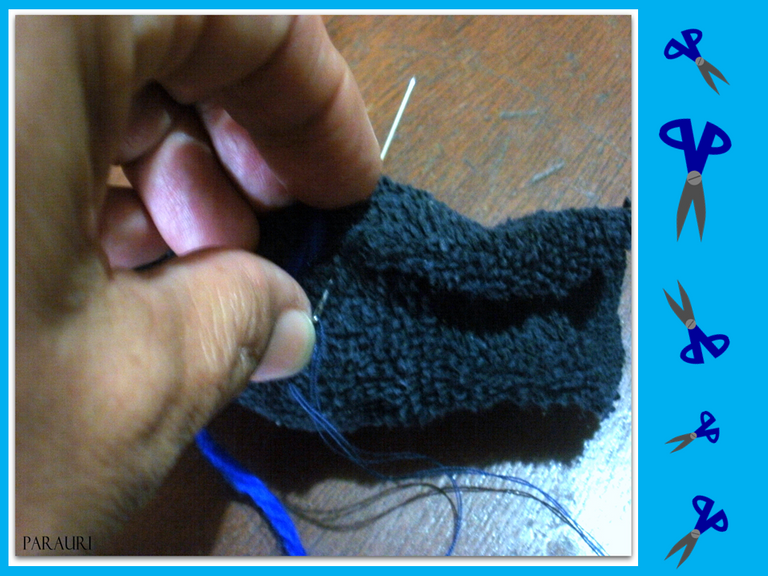
Paso 16
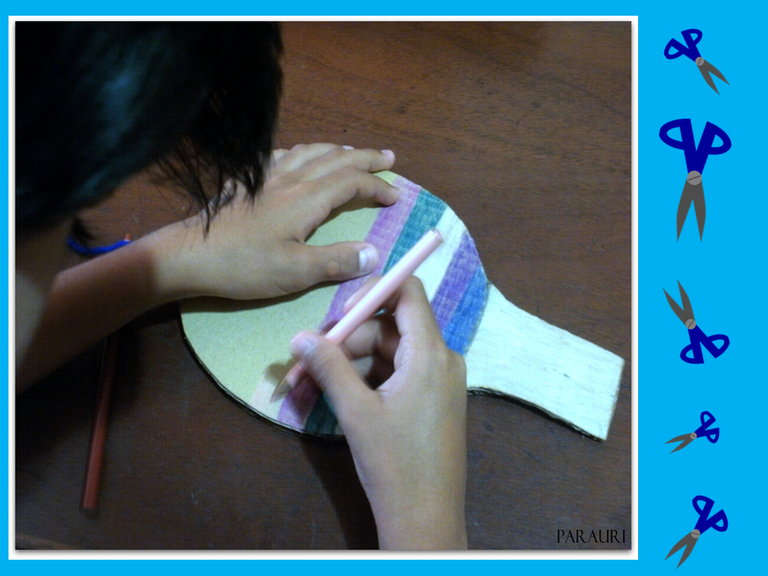
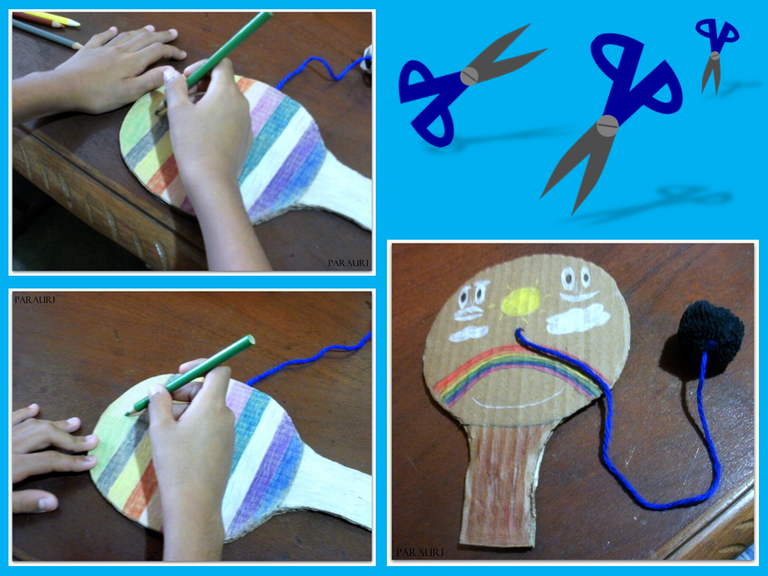
Llegó el momento de decorar la raqueta usando los creyones y marcadores de colores. Alan está encargado de esta parte del trabajo y decora ambas caras de la raqueta a su gusto.
Paso 17
Ahora pruebo la raqueta de ping-pong para verificar si es funcional.
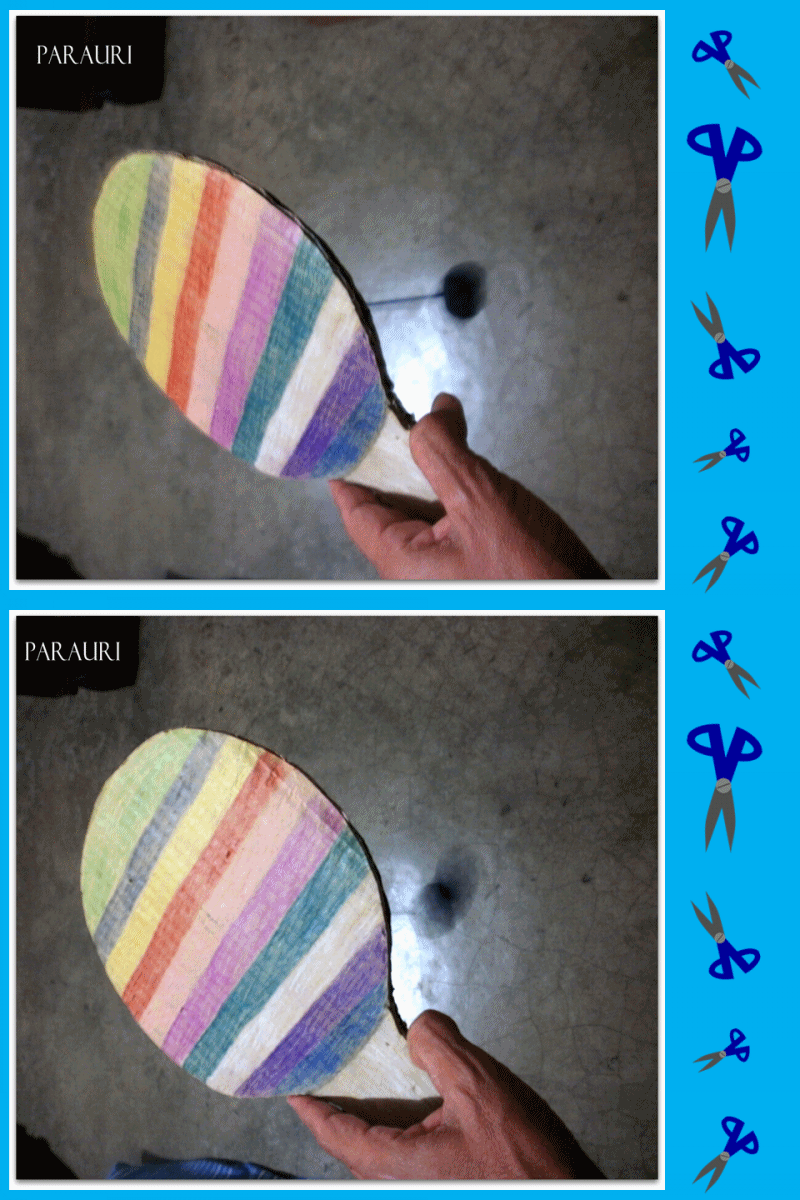
Está lista nuestra raqueta de ping pong 🏓
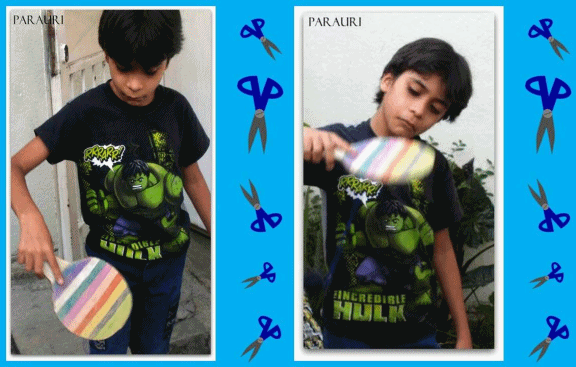
Alan quiere probar la raqueta. Está impaciente por usarla, aunque allí se ve claramente que el largo del estambre es mayor que la medida que les recomendé. Yo les sugiero que dejen el hilo de estambre más corto, como les dije en el paso 14.
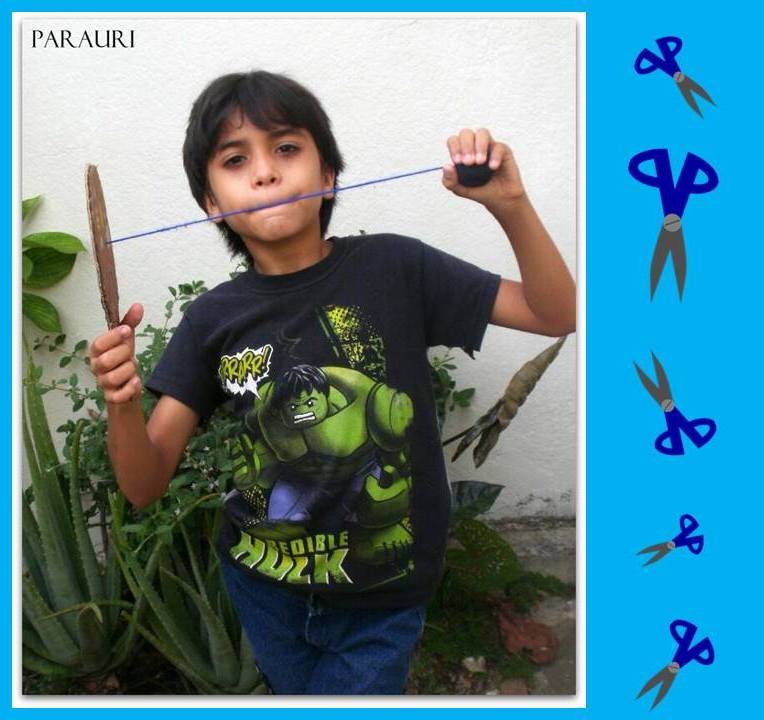
Miren la raqueta de ping pong en acción en manos de Alan.
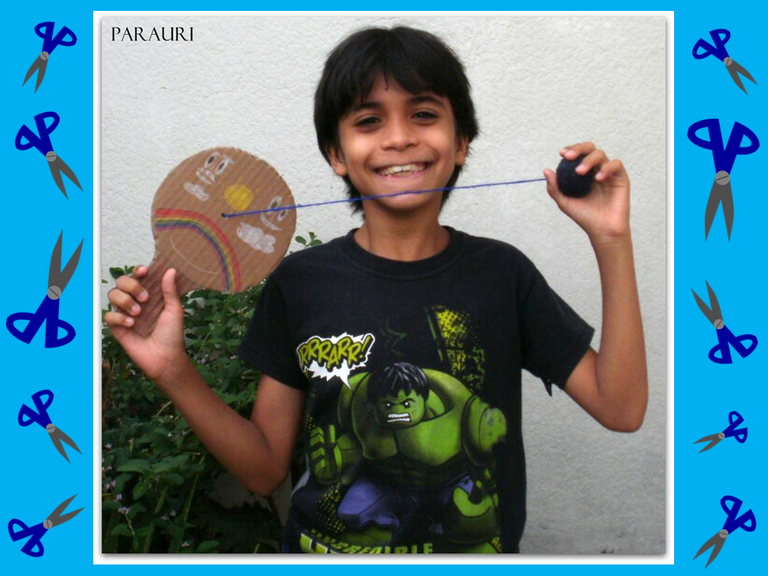
Mi hijo está feliz con su raqueta de ping pong, me gusta verlo con su sonrisa plena.
Deseo que hayan disfrutado la elaboración de esta raqueta de ping pong, usando la creatividad con ayuda del reciclaje para la diversión de los niños.

Hello friends of HiveDiy, I am here for the second time in this Community presenting a craft I made to help my son to take advantage of the unused materials we have at home, which with a little creativity we can give them a second chance. When I published here the first time, I told you that I don't usually do this kind of publications, but it is due to lack of time and I hope to start showing the other side of my creative vein. This time I want to share a work that may seem simple, but if it is for my son it is very special. Besides this will be a content for the benefit of children, which also excites me.
Before I continue, I tell you that I am a beginner taking the first steps in Hive but this will be so while I recover my old rhythm in the platform. For those who don't understand what I'm talking about and the reasons for my lack of consistent activity on my blog, you can visit the link.
As my son Alan (@alandesign) has shown improvement in his eyesight, thanks to God and medical treatment, this improvement in his health has allowed me to take some time to resume my work and online life. That is why I dare to present an activity that we did together in our house. It is a ping pong racket with some recyclable and easily available materials.

Alan is my youngest son, he is a very willing and creative 10 year old so he has no problem collaborating in some crafts, although this time I focused on guiding him to learn. However, it seems that I was as or more excited than my son about the racquet project and it's because I'm the type that gets excited when there's measuring, tracing and cutting 😊.

Okay, let's get to know the materials list:
Materials
- Large cardboard (from disused boxes).
- An old sock (in disuse)
- Magazine (unused)
- Paper glue or liquid silicone.
- Colored crayons and markers.
- Yarn of any color you have.
- Punching tool.
- Thread and needle.
- Scissors.
- Pencil.

As you have noticed they are very simple and easy to get materials within our things at home, even among the school supplies of our children.
Well, friends who read me, I am patiently waiting for you so that when you have the materials located we all proceed together to the realization of this activity and my son Alan is also by my side excited while I do this tutorial for Hive.
On my signal we all start together for the realization of the ping pong racket:
Let's get to work!🙋

Procedure
Step 1
Draw the shape of the ping pong racket on the cardboard with the pencil. Using the pencil with a soft stroke so as not to puncture the cardboard.

Step 2
Using the scissors, cut out the racquet figure.

Step 3
Use the first racquet silhouette as a mold to draw and cut out a second figure.

Step 4
Ready the two cardboard silhouettes, these will be the two sides of our racquet.

Step 5
Using the punch tool, make a hole in the center of one of the cardboard silhouettes.

Step 6
Pass the stamen through the hole, without cutting it yet.

Step 7
Tie a knot in the yarn and attach it to the cardboard with glue.

Step 8
Apply glue to the entire racquet shape to attach it to the second cardboard silhouette.

Step 9
While the glue that joins the two sides of our racquet hardens, we can move on to building the ball.

Step 10
Take one or two pages of the unused magazine (depending on the size of the magazine it can be one or two pages) and crumple it into a small ball and put it inside the old unused sock.

Step 11
With your hand adjust the paper ball inside the sock to shape the ball of the racquet.


Step 12
With the scissors cut off the excess sock.

Step 13
Now we have the lining for the ball.

Step 14
Before lining the paper ball with fabric, tie it with the yarn that is attached to the racquet. Be sure to tighten the ball well with several ties to give it firmness and so that it does not lose its shape. Another thing, here you will be able to cut the yarn so leave a distance of approximately 25 cm between the ball and the racquet.


Step 15
Wrap the paper ball with the cloth liner and with the needle and thread sew to fix the wrapping, giving the ball a better shape.


Step 16
It was time to decorate the racquet using the crayons and colored markers. Alan is in charge of this part of the job and decorates both sides of the racquet to his liking.


Step 17
I now test the ping-pong racket to verify if it is functional.

Our ping pong racket is ready 🏓
Alan wants to try the racket. He can't wait to use it, although it's clear there that the length of the yarn is longer than the measurement I recommended. I suggest you leave the worsted yarn shorter, as I told you in step 14.

Look at the ping pong racket in action in Alan's hands.

My son is happy with his ping pong racket, I like to see him with his full smile.

I wish you enjoyed making this ping pong racket, using creativity with the help of recycling for kids fun.

De @parauri para el mundo ♥
¡Suscríbete! / Subscribe!
C/ Mundo Autismo

Síguenos en Twitter


Hi @parauri
Do you know you could have used #diy tag for this post to earn some BUIDL tokens in addition to Hive crypto?
In case you are not aware, read this post to know the types of content, among others, you could post using #diy tag.
You could also use the #diy tag when you share content showcasing your DIY skills.
When you use #diy tag your posts will also appear on https://built-it.io website, giving you wider exposure.
Because most people are not aware of the potential of BUIDL token, it can still be bought at very cheap price now.
If you are selling any diy products, then you can also use #forsale tag to earn LIST tokens. You can use #forsale tag, regardless of where plyou are selling the products, be it on https:hivelist.store or elsewhere.
Hope that helps.
Thank you very much @iworld for the information. I appreciate it, I'll keep an eye out for future posts.
@tipu curate 6
Upvoted 👌 (Mana: 0/55) Liquid rewards.
Muy agradecida @magdiel7.
Un abrazo virtual ❤️
Congratulations @parauri! You have completed the following achievement on the Hive blockchain and have been rewarded with new badge(s):
Your next target is to reach 21000 upvotes.
You can view your badges on your board and compare yourself to others in the Ranking
If you no longer want to receive notifications, reply to this comment with the word
STOPHi friends @hivebuzz, thank you very much.
A virtual hug ❤️
You're welcome @parauri, it's well deserved! Congrats on your constant involvement on Hive 😊👍🌹
Hola, @parauri
Compartir con tu hijo en la elaboración de la actividad en beneficios. Te permite desarrollar las lazos emocionales, lenguaje, motricidad, conceptos y atención. Gracias por compartir esta experiencia y la sonrisa de tu hijo lo dice todo.
Abrazos!
Gracias @amandaj por enriquecer mi publicación con tus palabras que resaltan beneficios importantes y que tu como docente lo reflejas muy bien, excelente, me encanta eso. Pronto compartiré más buenas experiencias con mi hijo.
Mi abrazo virtual 🌻
Dear @parauri,
Your support for the current Hive Authentication Services proposal (#194) is much appreciated but it will expire in a few days!
May I ask you to review and support the new proposal (https://peakd.com/me/proposals/240) so I can continue to improve and maintain this service?
You can support the new proposal (#240) on Peakd, Ecency,
Thank you!
Done. It's a pleasure to contribute.
A virtual hug ❤️
Muchas gracias por su apoyo @parauri, es muy apreciado. 👍
Un abrazo 🤗❤️