Hi, Hivers! How’s 2025 been going so far? For me, it’s been good, and I’m taking it slow. Slow and steady is the watchword.
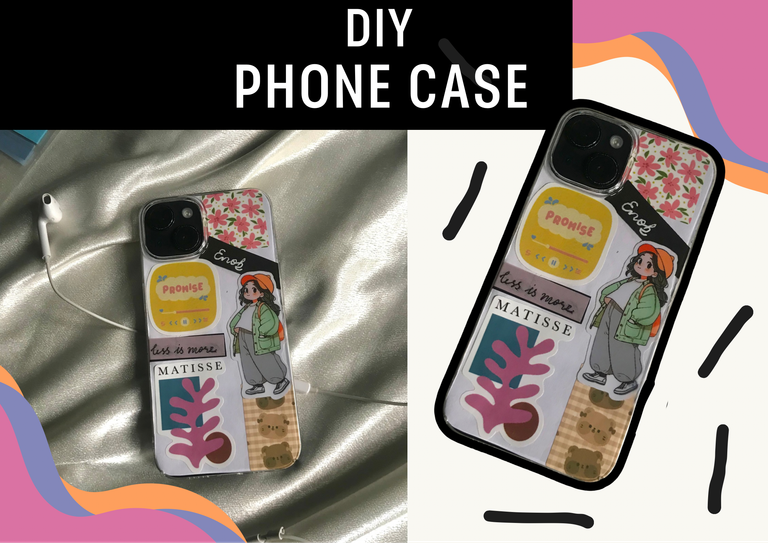
I’m here with something creative, a DIY project I undertook a few days ago. It’s a clear phone case decoration and personalization.
Like I always do, I’ll give the backstory. I’ve loved clear cases with cute designs that look like it was ‘scrapbooked’, so when I ordered phone cases from Aliexpress the last time, I included a clear phone case because I didn’t have one. Recently, I wanted to change my phone case. I had used the other two phone cases I got, and I wanted something new, so I decided it was time to finally be a clear phone case girly. By the way, it was a plastic one and not a silicon one.
Now, my phone is in the colour, Midnight black, which is actually a dark blue colour. I wanted a white background for the scrapbook look — that’s what I loved about the clear phone cases! I’d seen videos of people using white paper to do the decoration and placing it at the back of the phone before putting the phone case. That was the plan, so I got working!
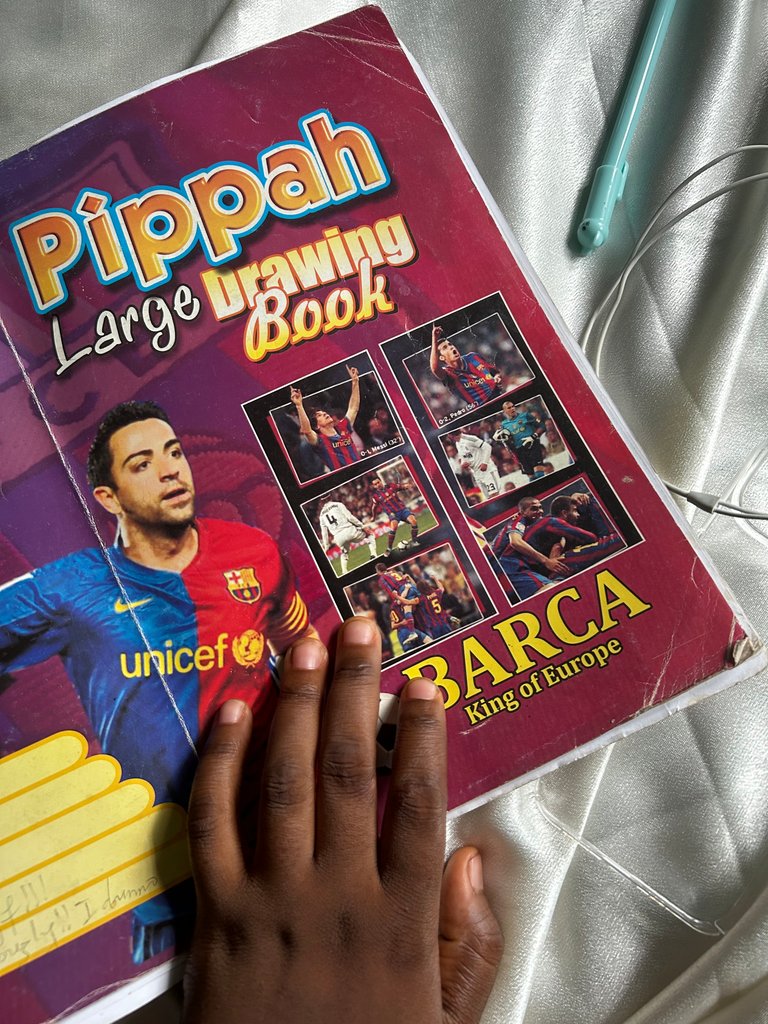
First things first, I needed a white plain sheet. I didn’t find any, then I remembered this old drawing book.
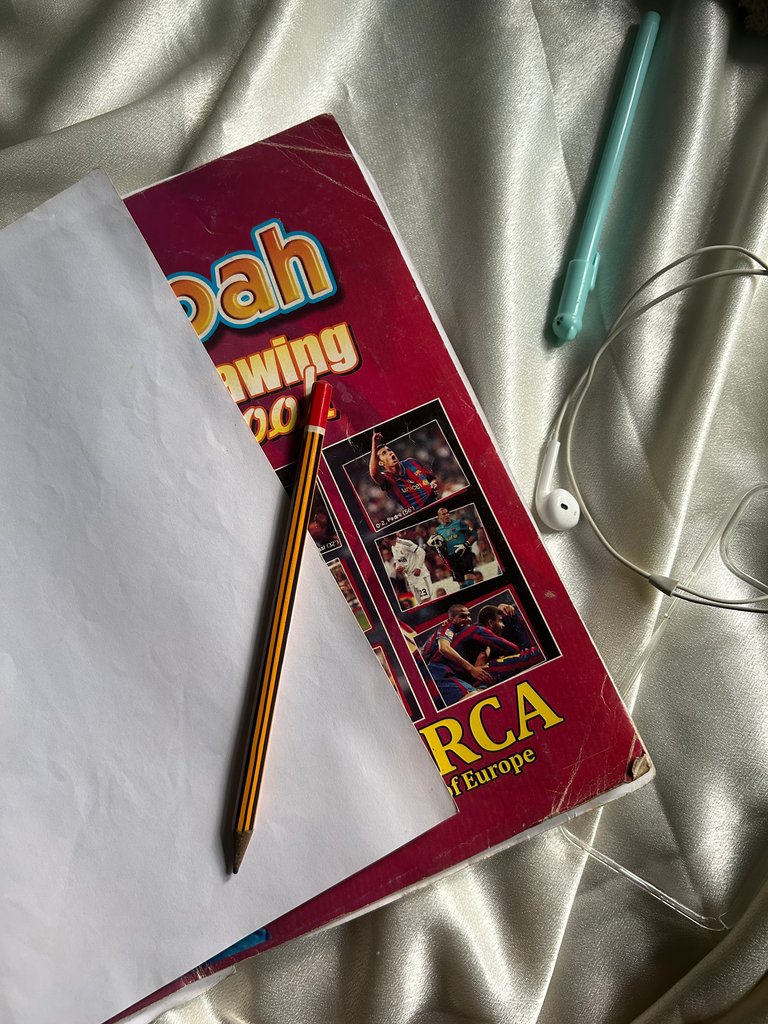
Ha! And there were free pages. Lucky me! I cut a rectangle first of all before I proceeded to draw the outline of the phone case with a pencil.
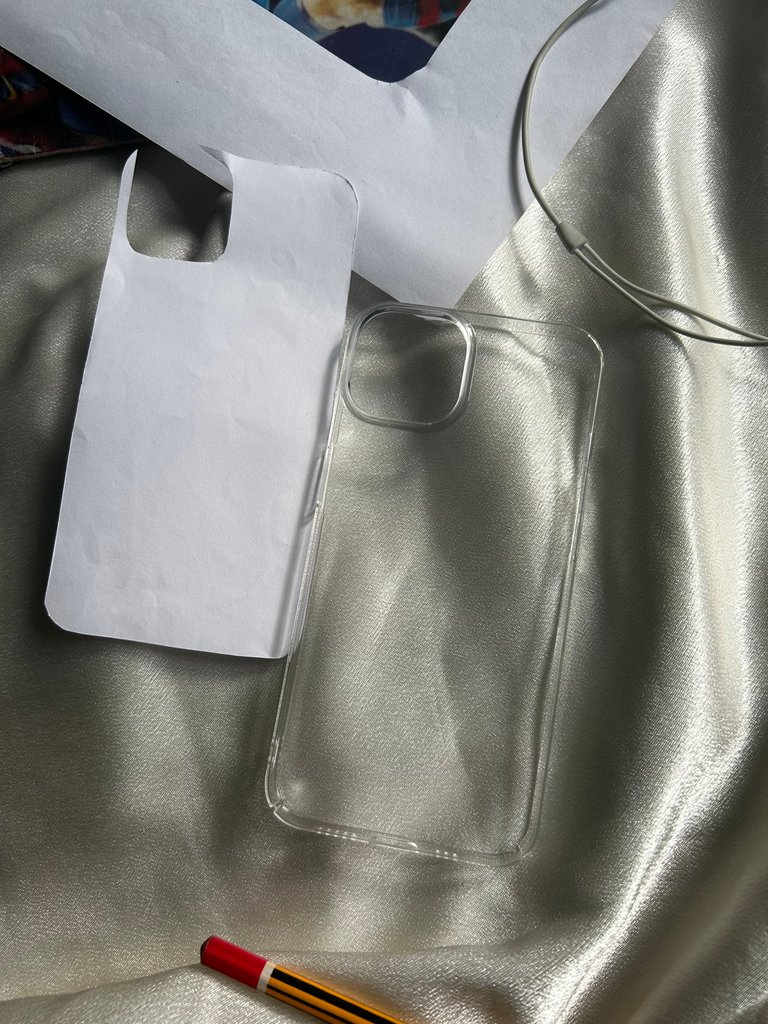
I simply placed the phone case on the sheet and drew round the edges with a pencil. Well, that was a mistake because I should have drawn the outline of my phone instead so it would be the exact fit. Nevertheless, it wasn’t bad. All I had to do was reduce the size a bit. Next, I cut out the space for the camera. My paper was ready for designing!
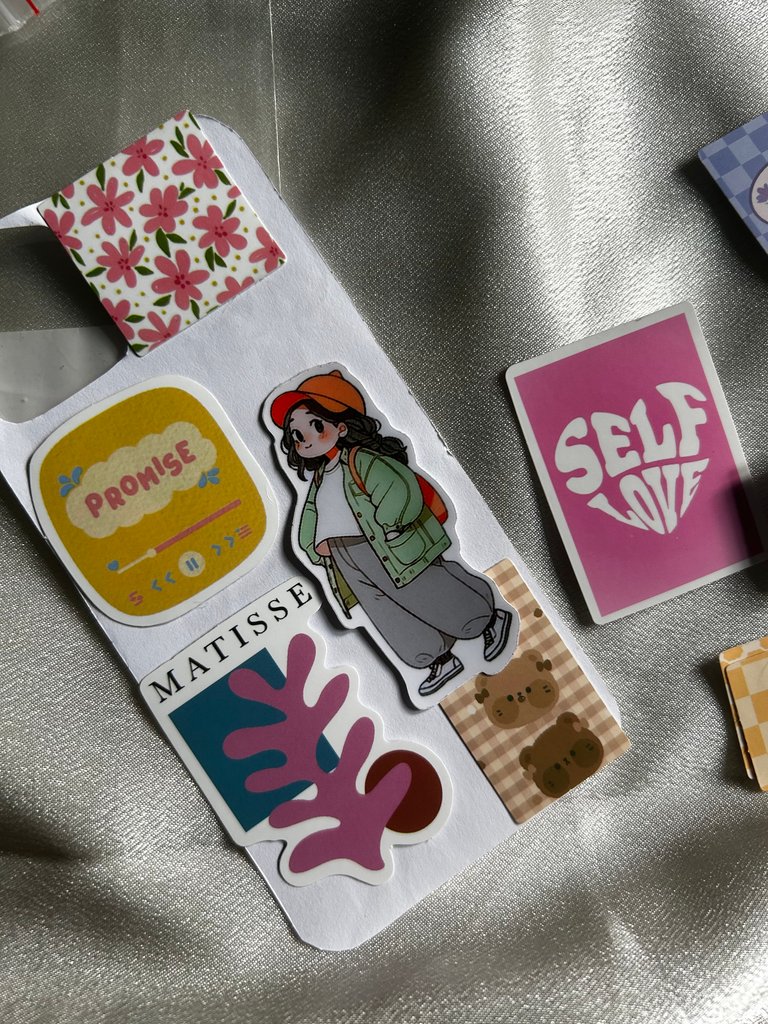
What next? Stickers! Stickers! Stickers! I got a few girly stickers and bookish stickers and decided to see how they’d look together. While they looked good, I knew that wasn’t what I was going for.

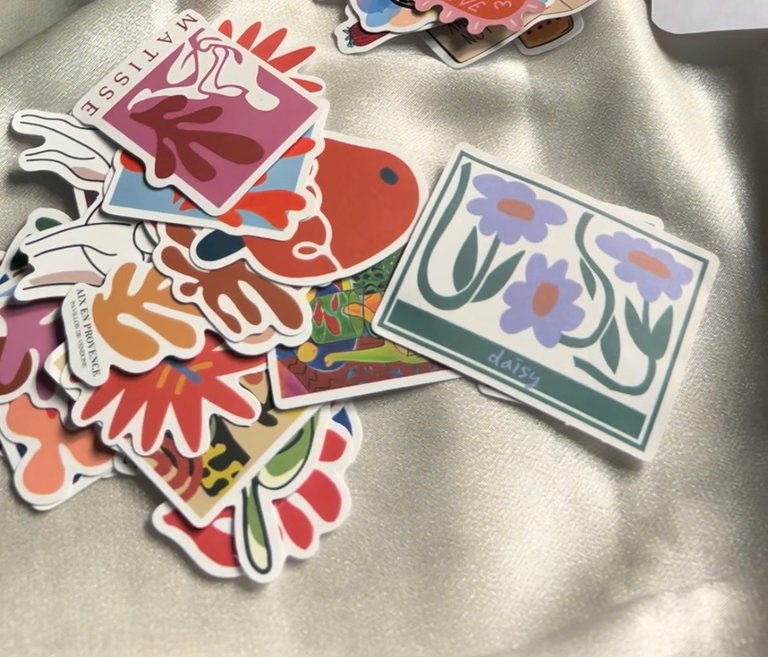
I decided to get my sticker stash and piece together a better combination.


After going through my sticker stash, I remembered I had more stickers elsewhere and got those ones out as well. These ones were mostly abstract stickers.
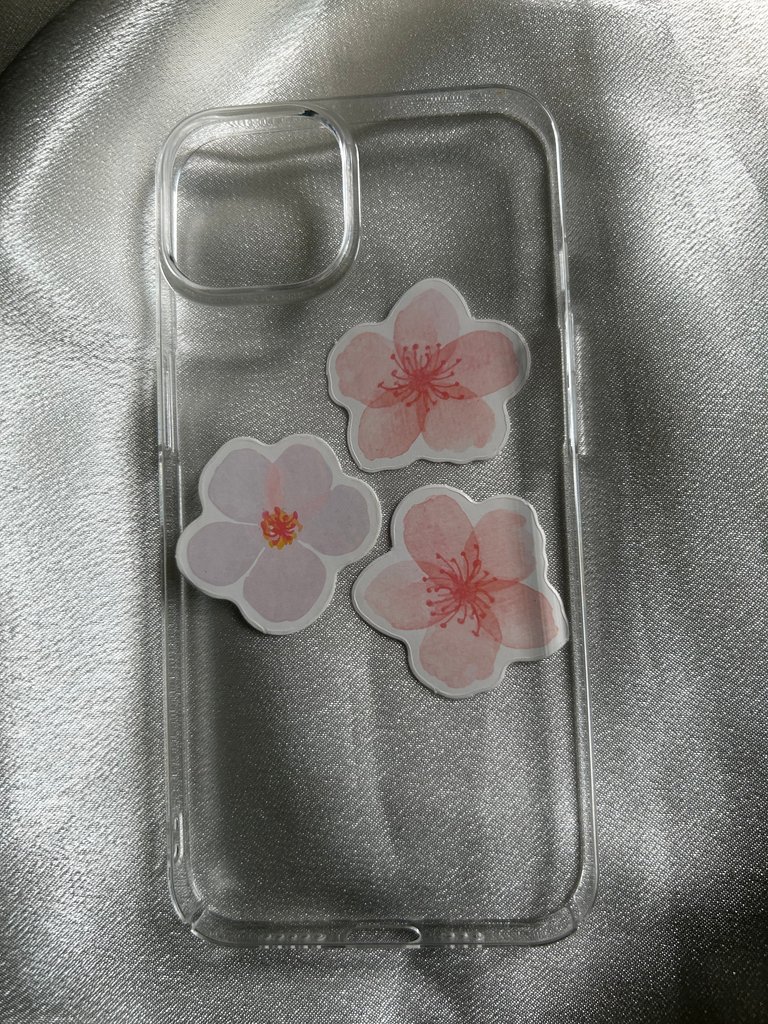
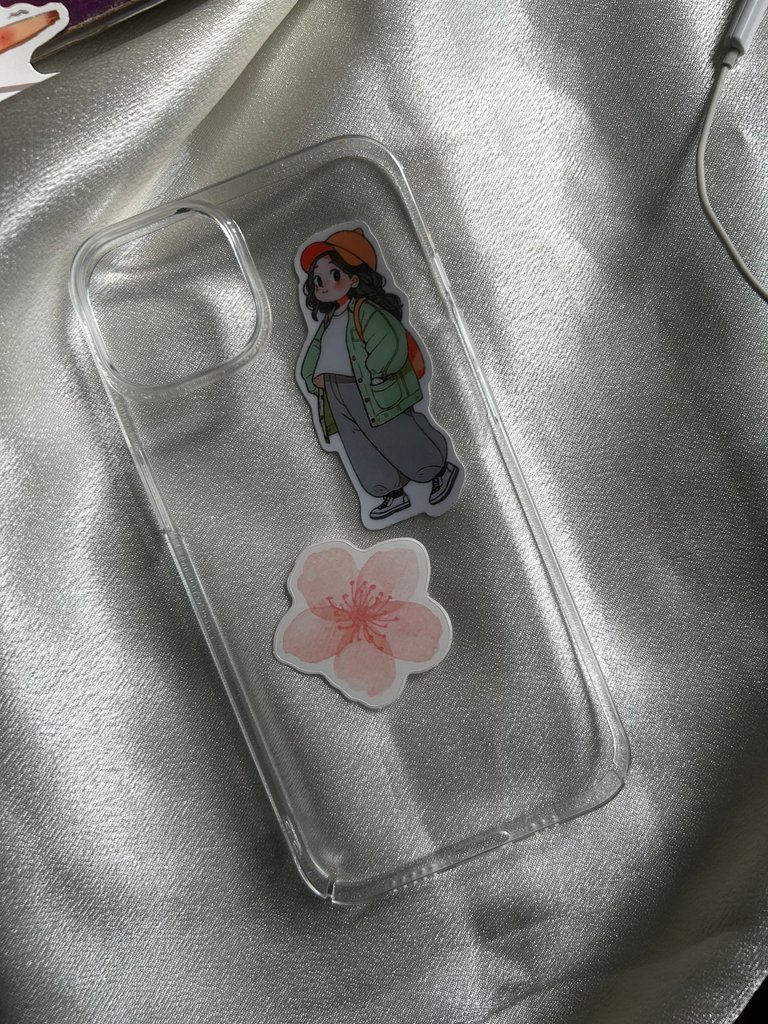
I spent some time choosing which ones I’d use. After that, I had to settle on their positions on the paper. Finally, I got the perfect arrangement after switching the stickers around for a while.
Something was missing though. I just felt it. Then, I scrolled on Pinterest for a bit to get ideas. What I found that caught my eye was a black strip of paper that had a white write-up. I loved the look. Luckily, I had black embossed paper at home.
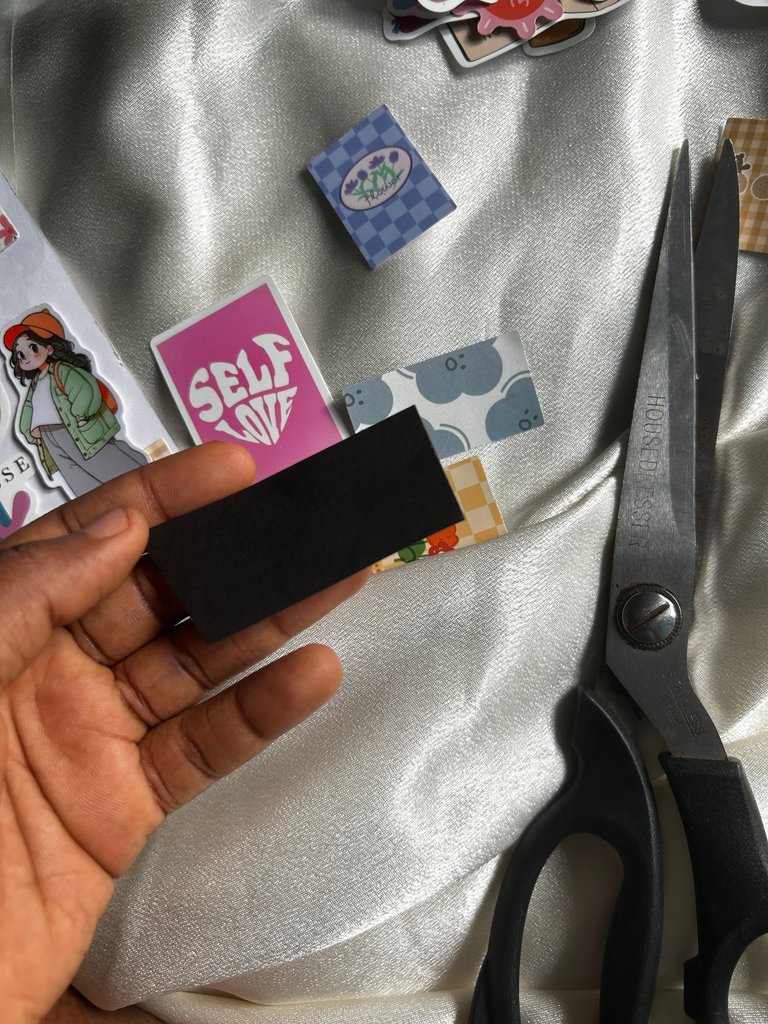
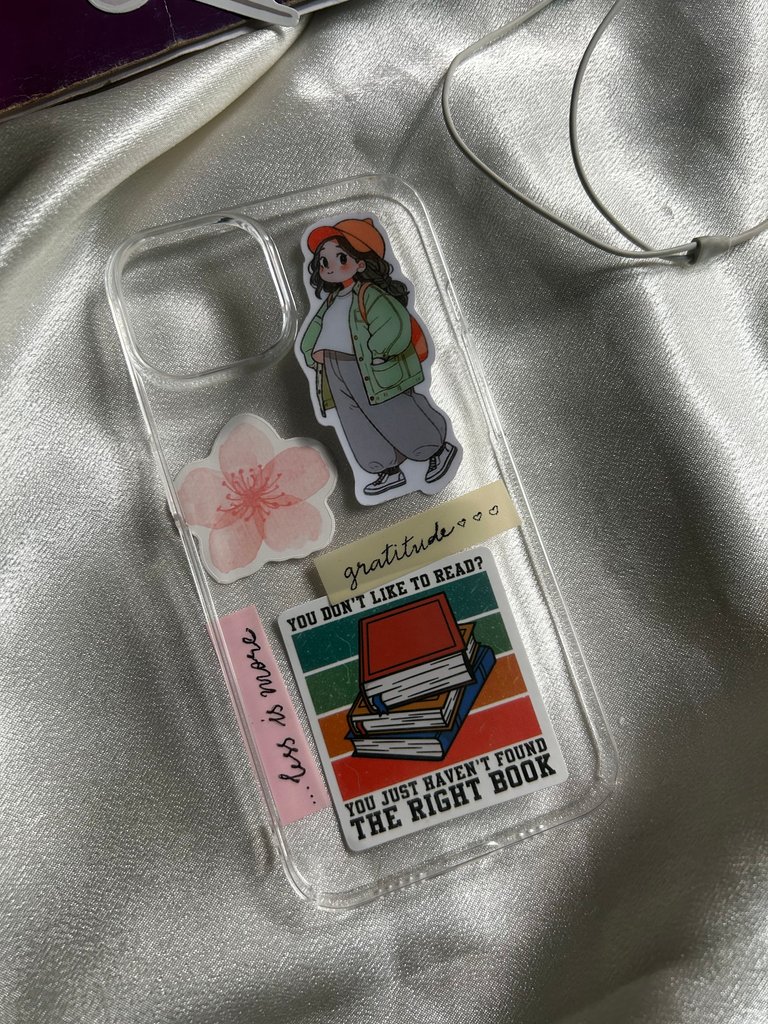
I cut a small strip, then wrote my name in cursive with a white pen. It was now time to paste the stickers and the embossed paper. It was the easiest part because I already knew where everything would go.
In a minute, I was done. I checked it out. It didn’t look put together enough. There was a white space I needed to fill so I decided to use the embossed paper again, but this time in order for the strip that had my name to stand out, I’d do something different with the embossed strip I’d be using this time around. I decided to paste an annotation tab with a short quote on it. I settled for my fave, Less is more. Apparently, my pen and the annotation tab do not go well together so the write-up got smudged. I didn’t mind much. I used it the way it was. Now, I was really done! It looked perfect finally.
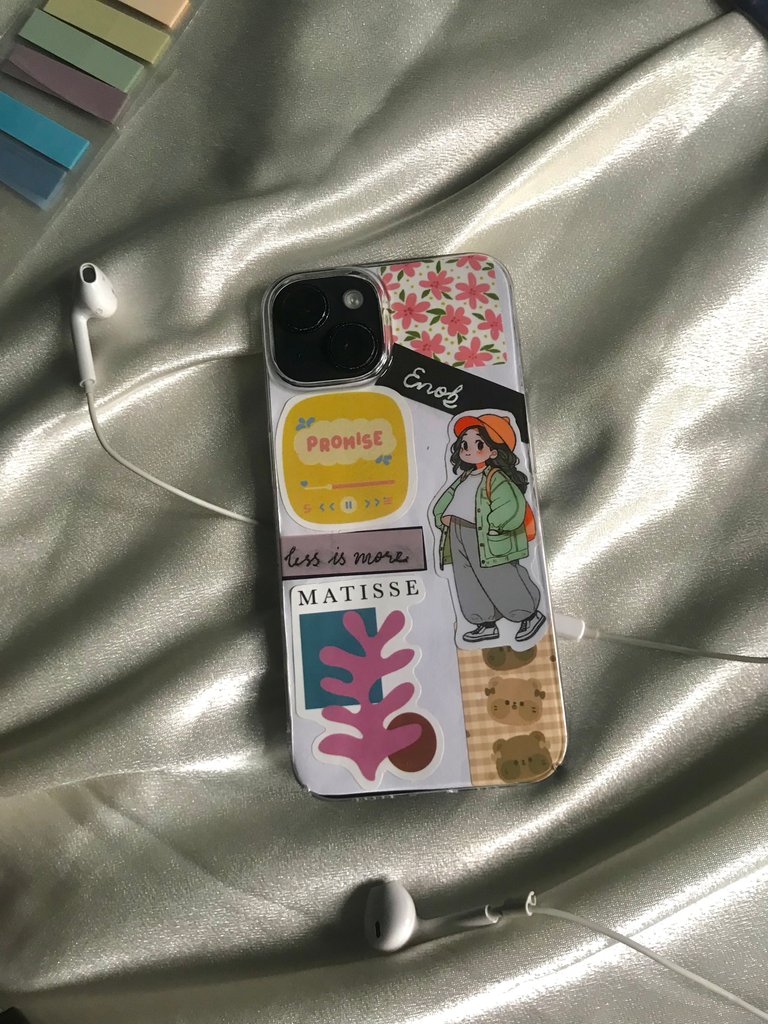
What do you think? Does it look good?
Also, is it something you’d try? Let me know what other stuff you’d add (photos, magazine cutouts…) if you were to make yours.
Que linda decoración para la funda de este teléfono.
Awn, thank you😊
Very beautiful, you have done something extraordinary
😊Awn, thank you so much.
Yes you're welcome♥️
It's super cool! with a mix of cute stickers!