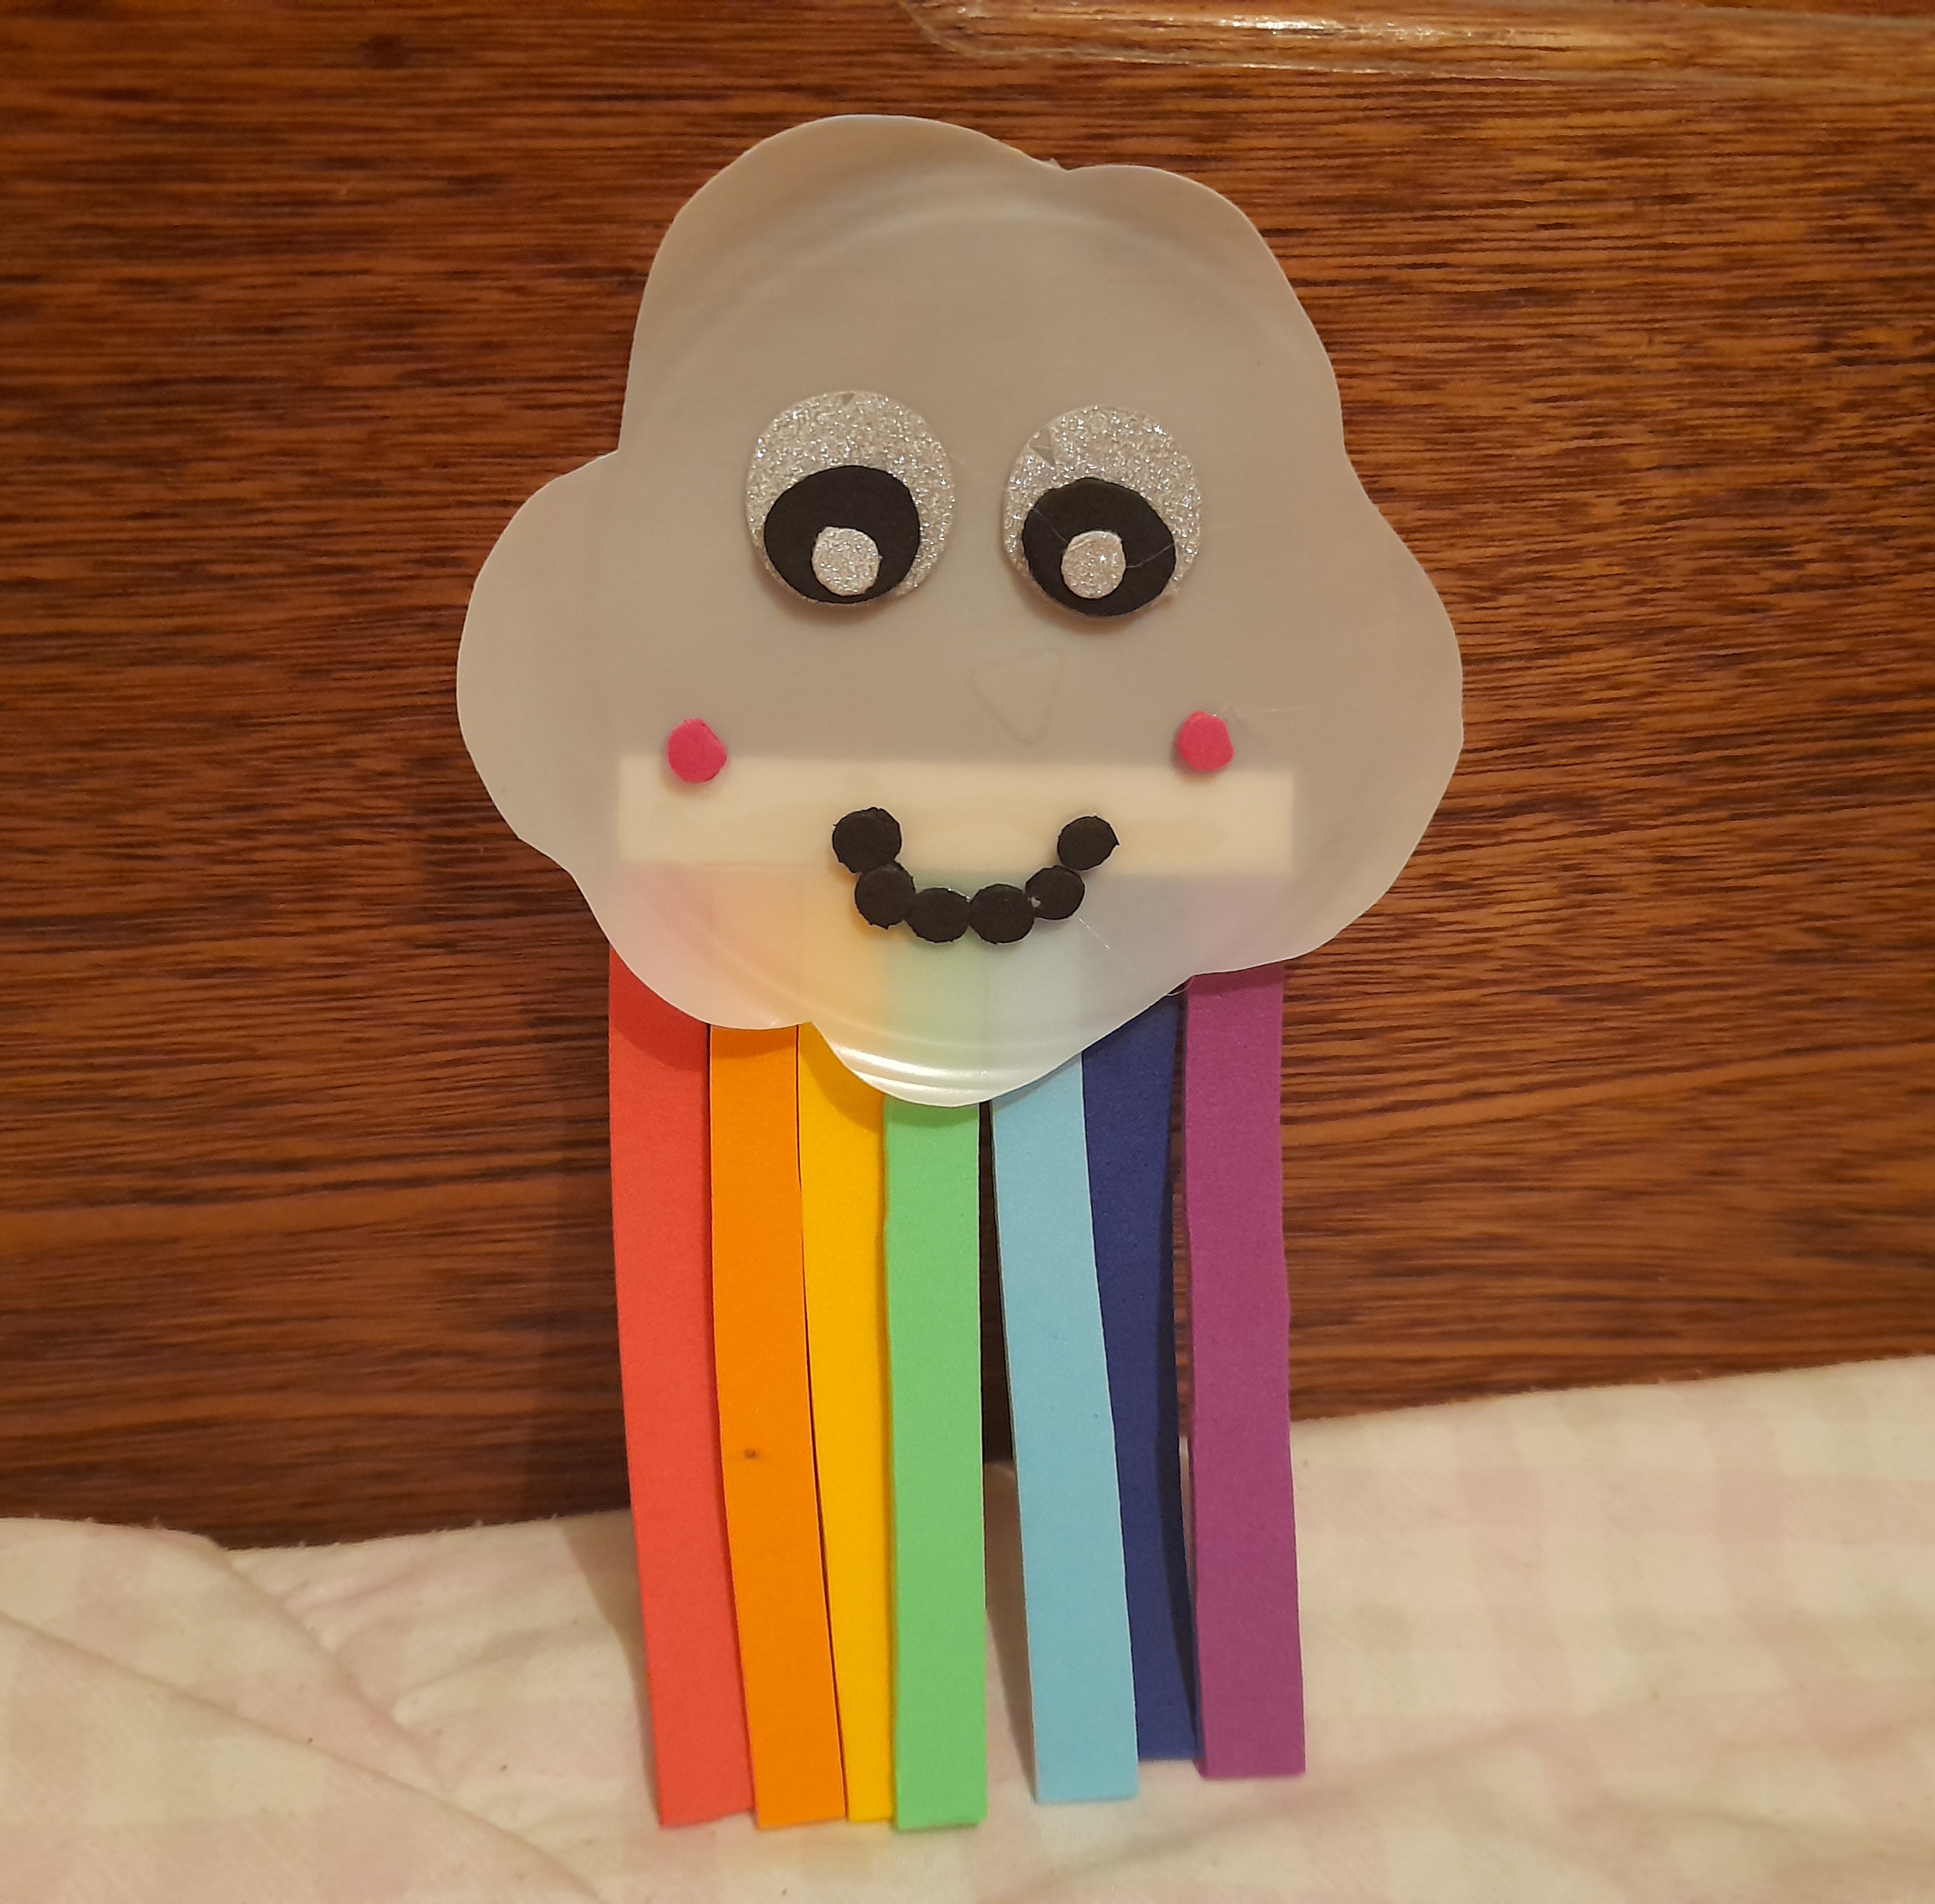
Hola querida comunidad hivers espero se encuentren bien hoy les quiero enseñar como elaborar una pequeña y linda nube arcoiris para decorar el cuarto de las mas pequeñas de la casa para darle mas color y diversión
Asi que si quieren saber como elaborarlo sigan mis pasos hasta el final
Hello dear community hivers I hope you are well today I want to teach you how to make a cute little rainbow cloud to decorate the room of the smallest of the house to give it more color and fun
So if you want to know how to make it, follow my steps until the end
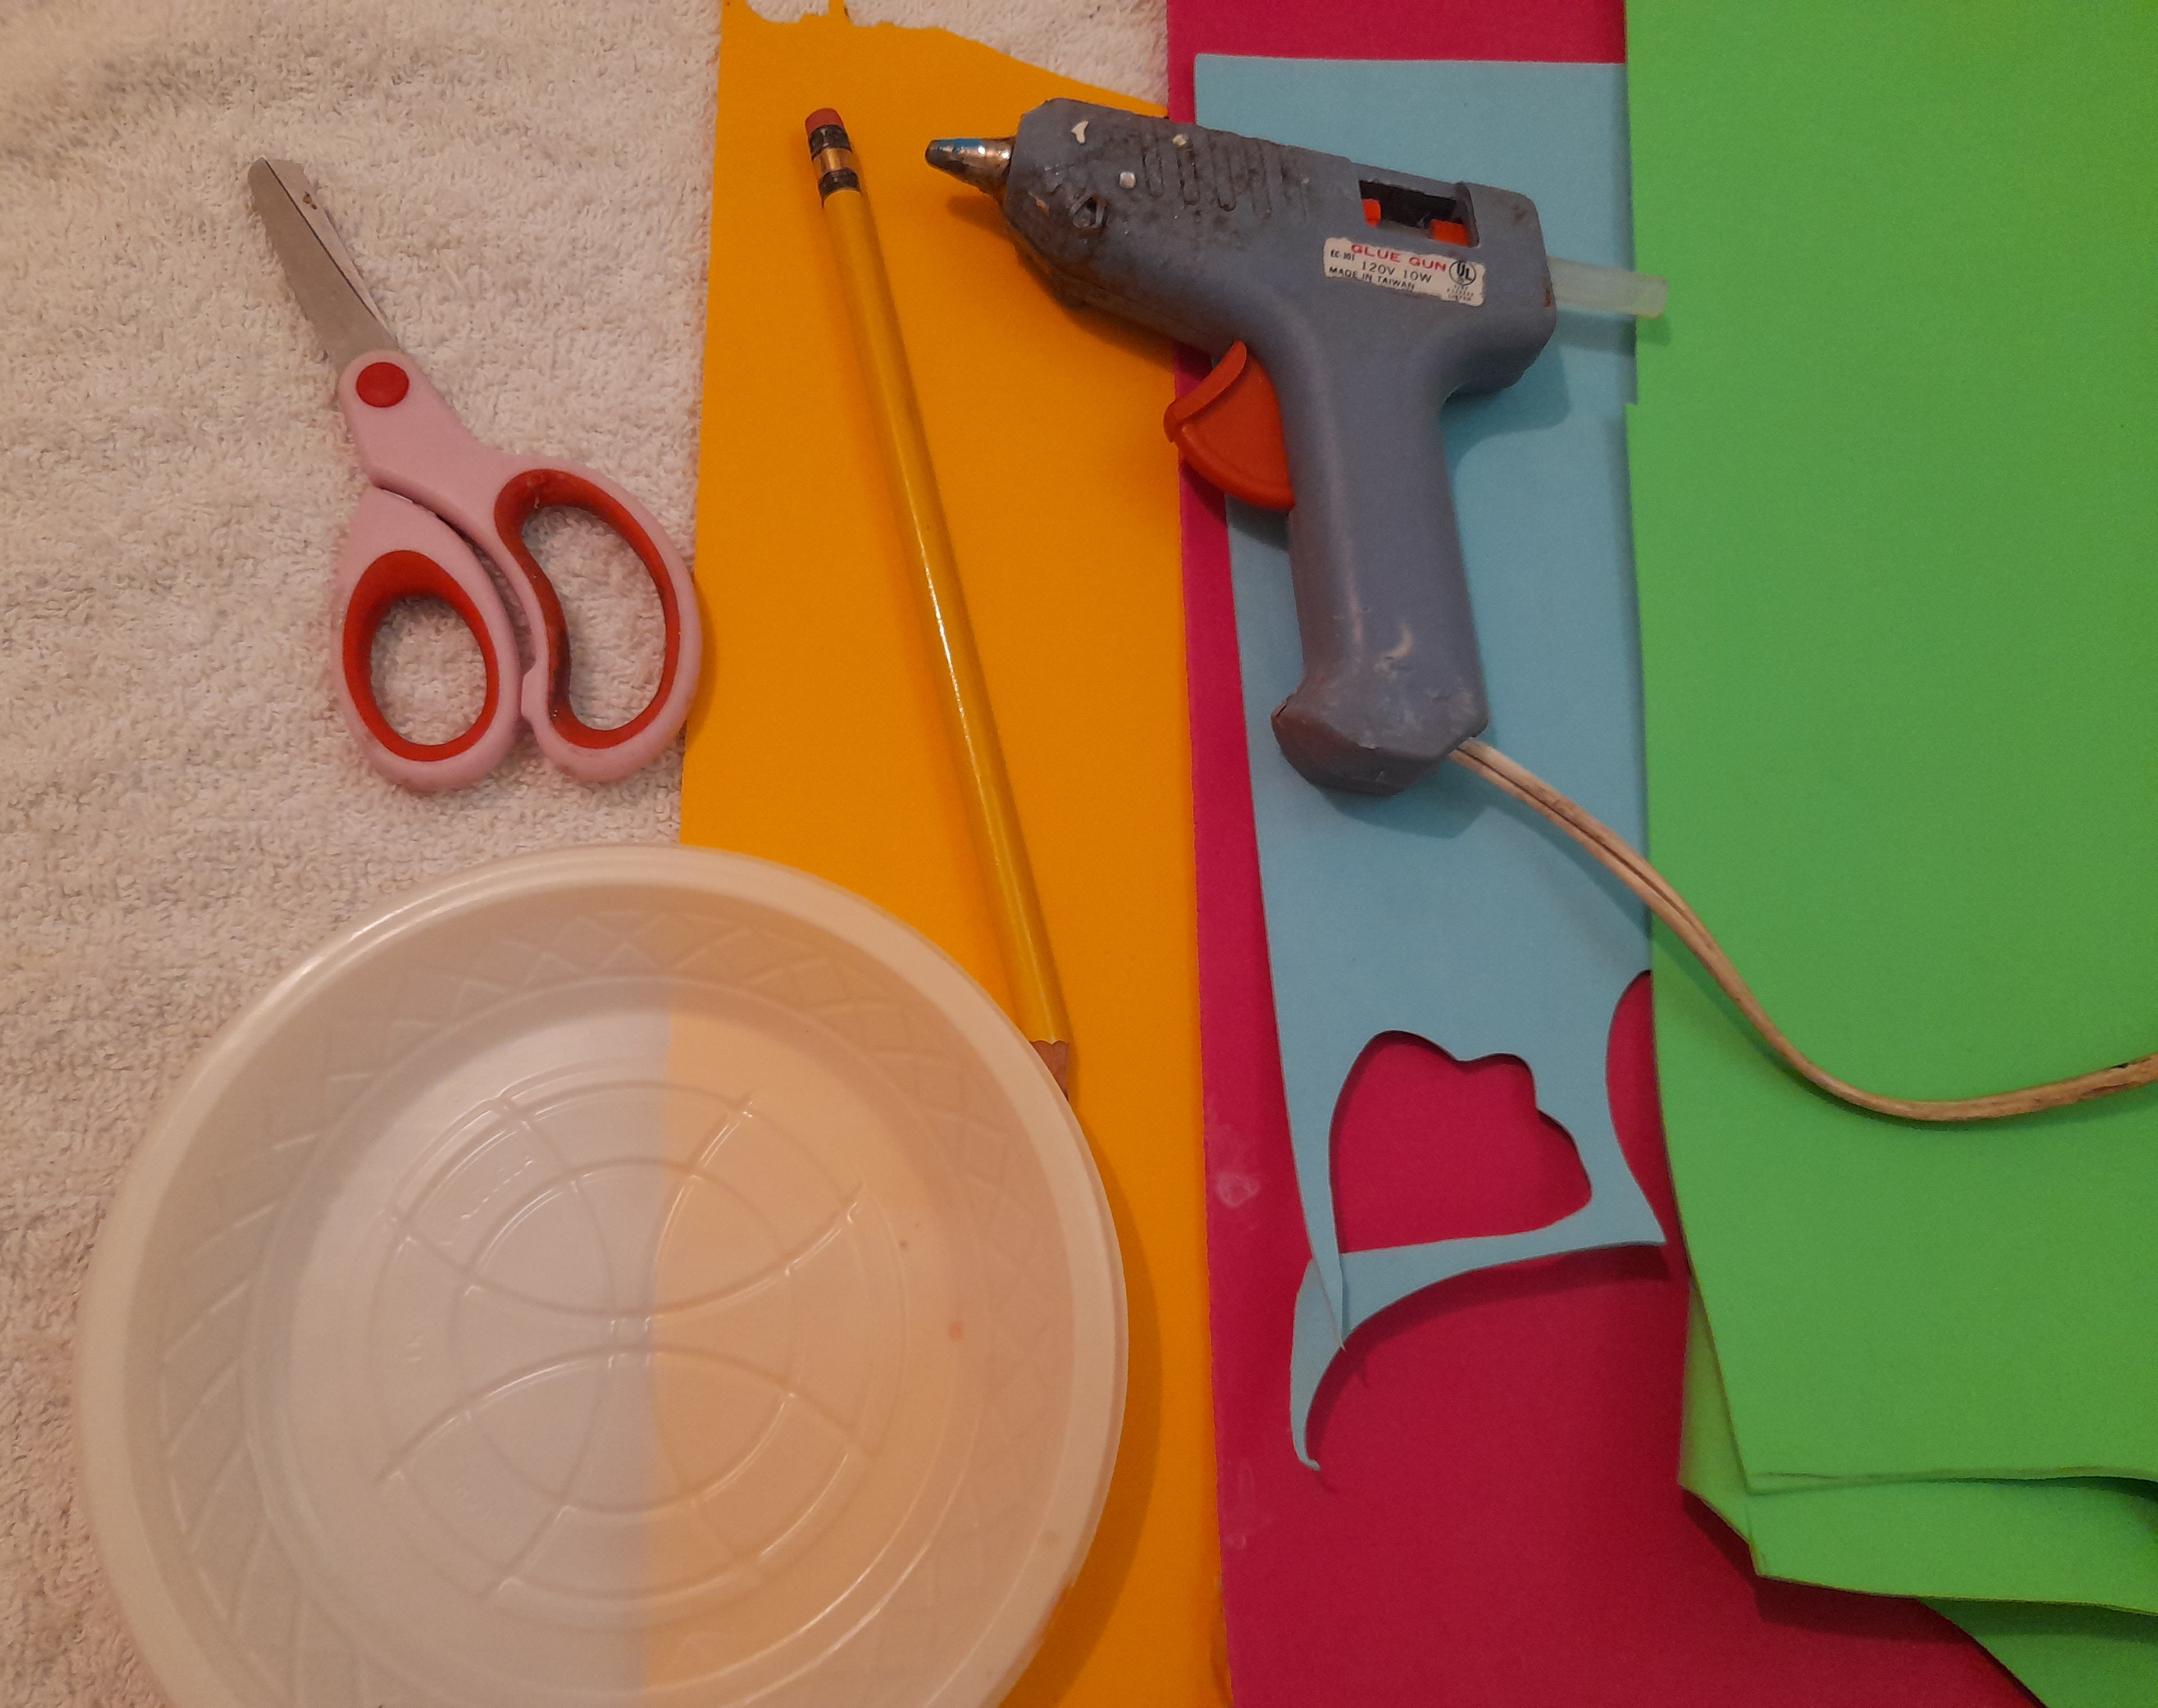
Materiales :
.Plato plástico
.Foami de muchos colores
.Silicon
.Tijera
.Lápiz
.Abre huecos
Materials :
.Plastic plate
.Foami of many colors
.Silicon
.Scissor
.Pencil
.Open holes
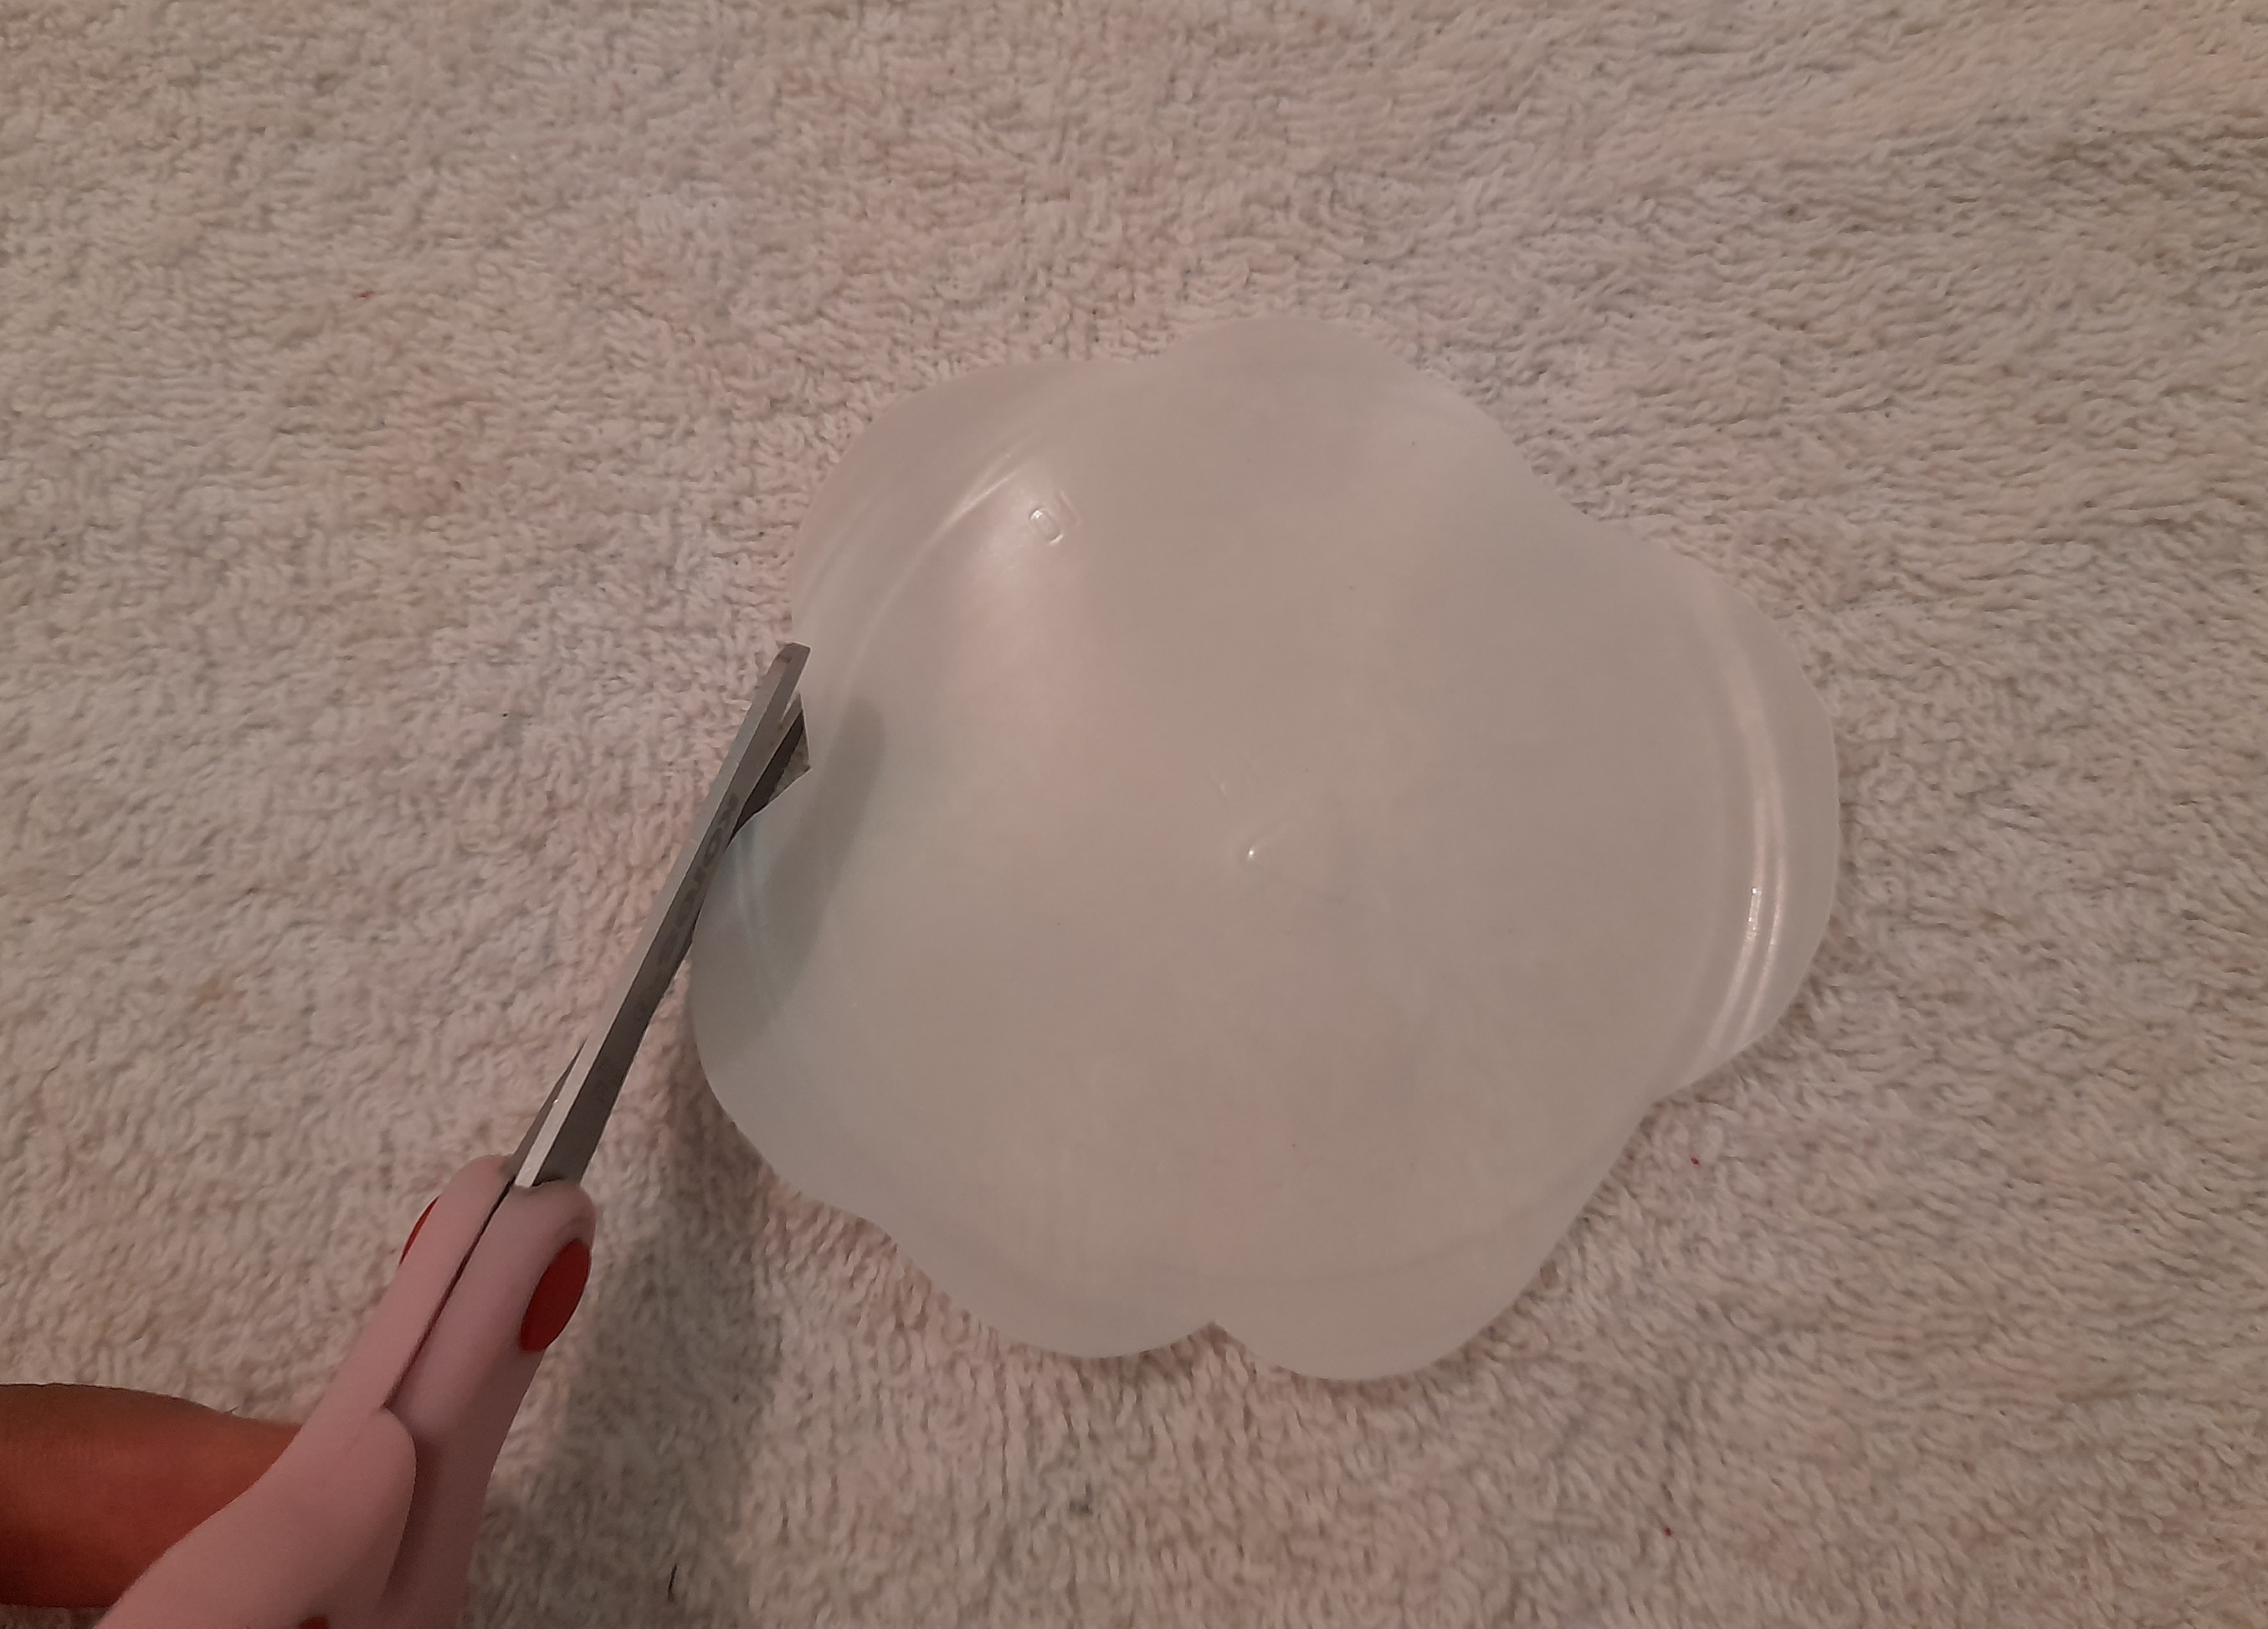
Paso 1 : Lo primero que haremos será recortar la parte de adentro del plato plástico en forma de nube
Step 1: The first thing we will do is cut the inside of the plastic plate in the shape of a cloud
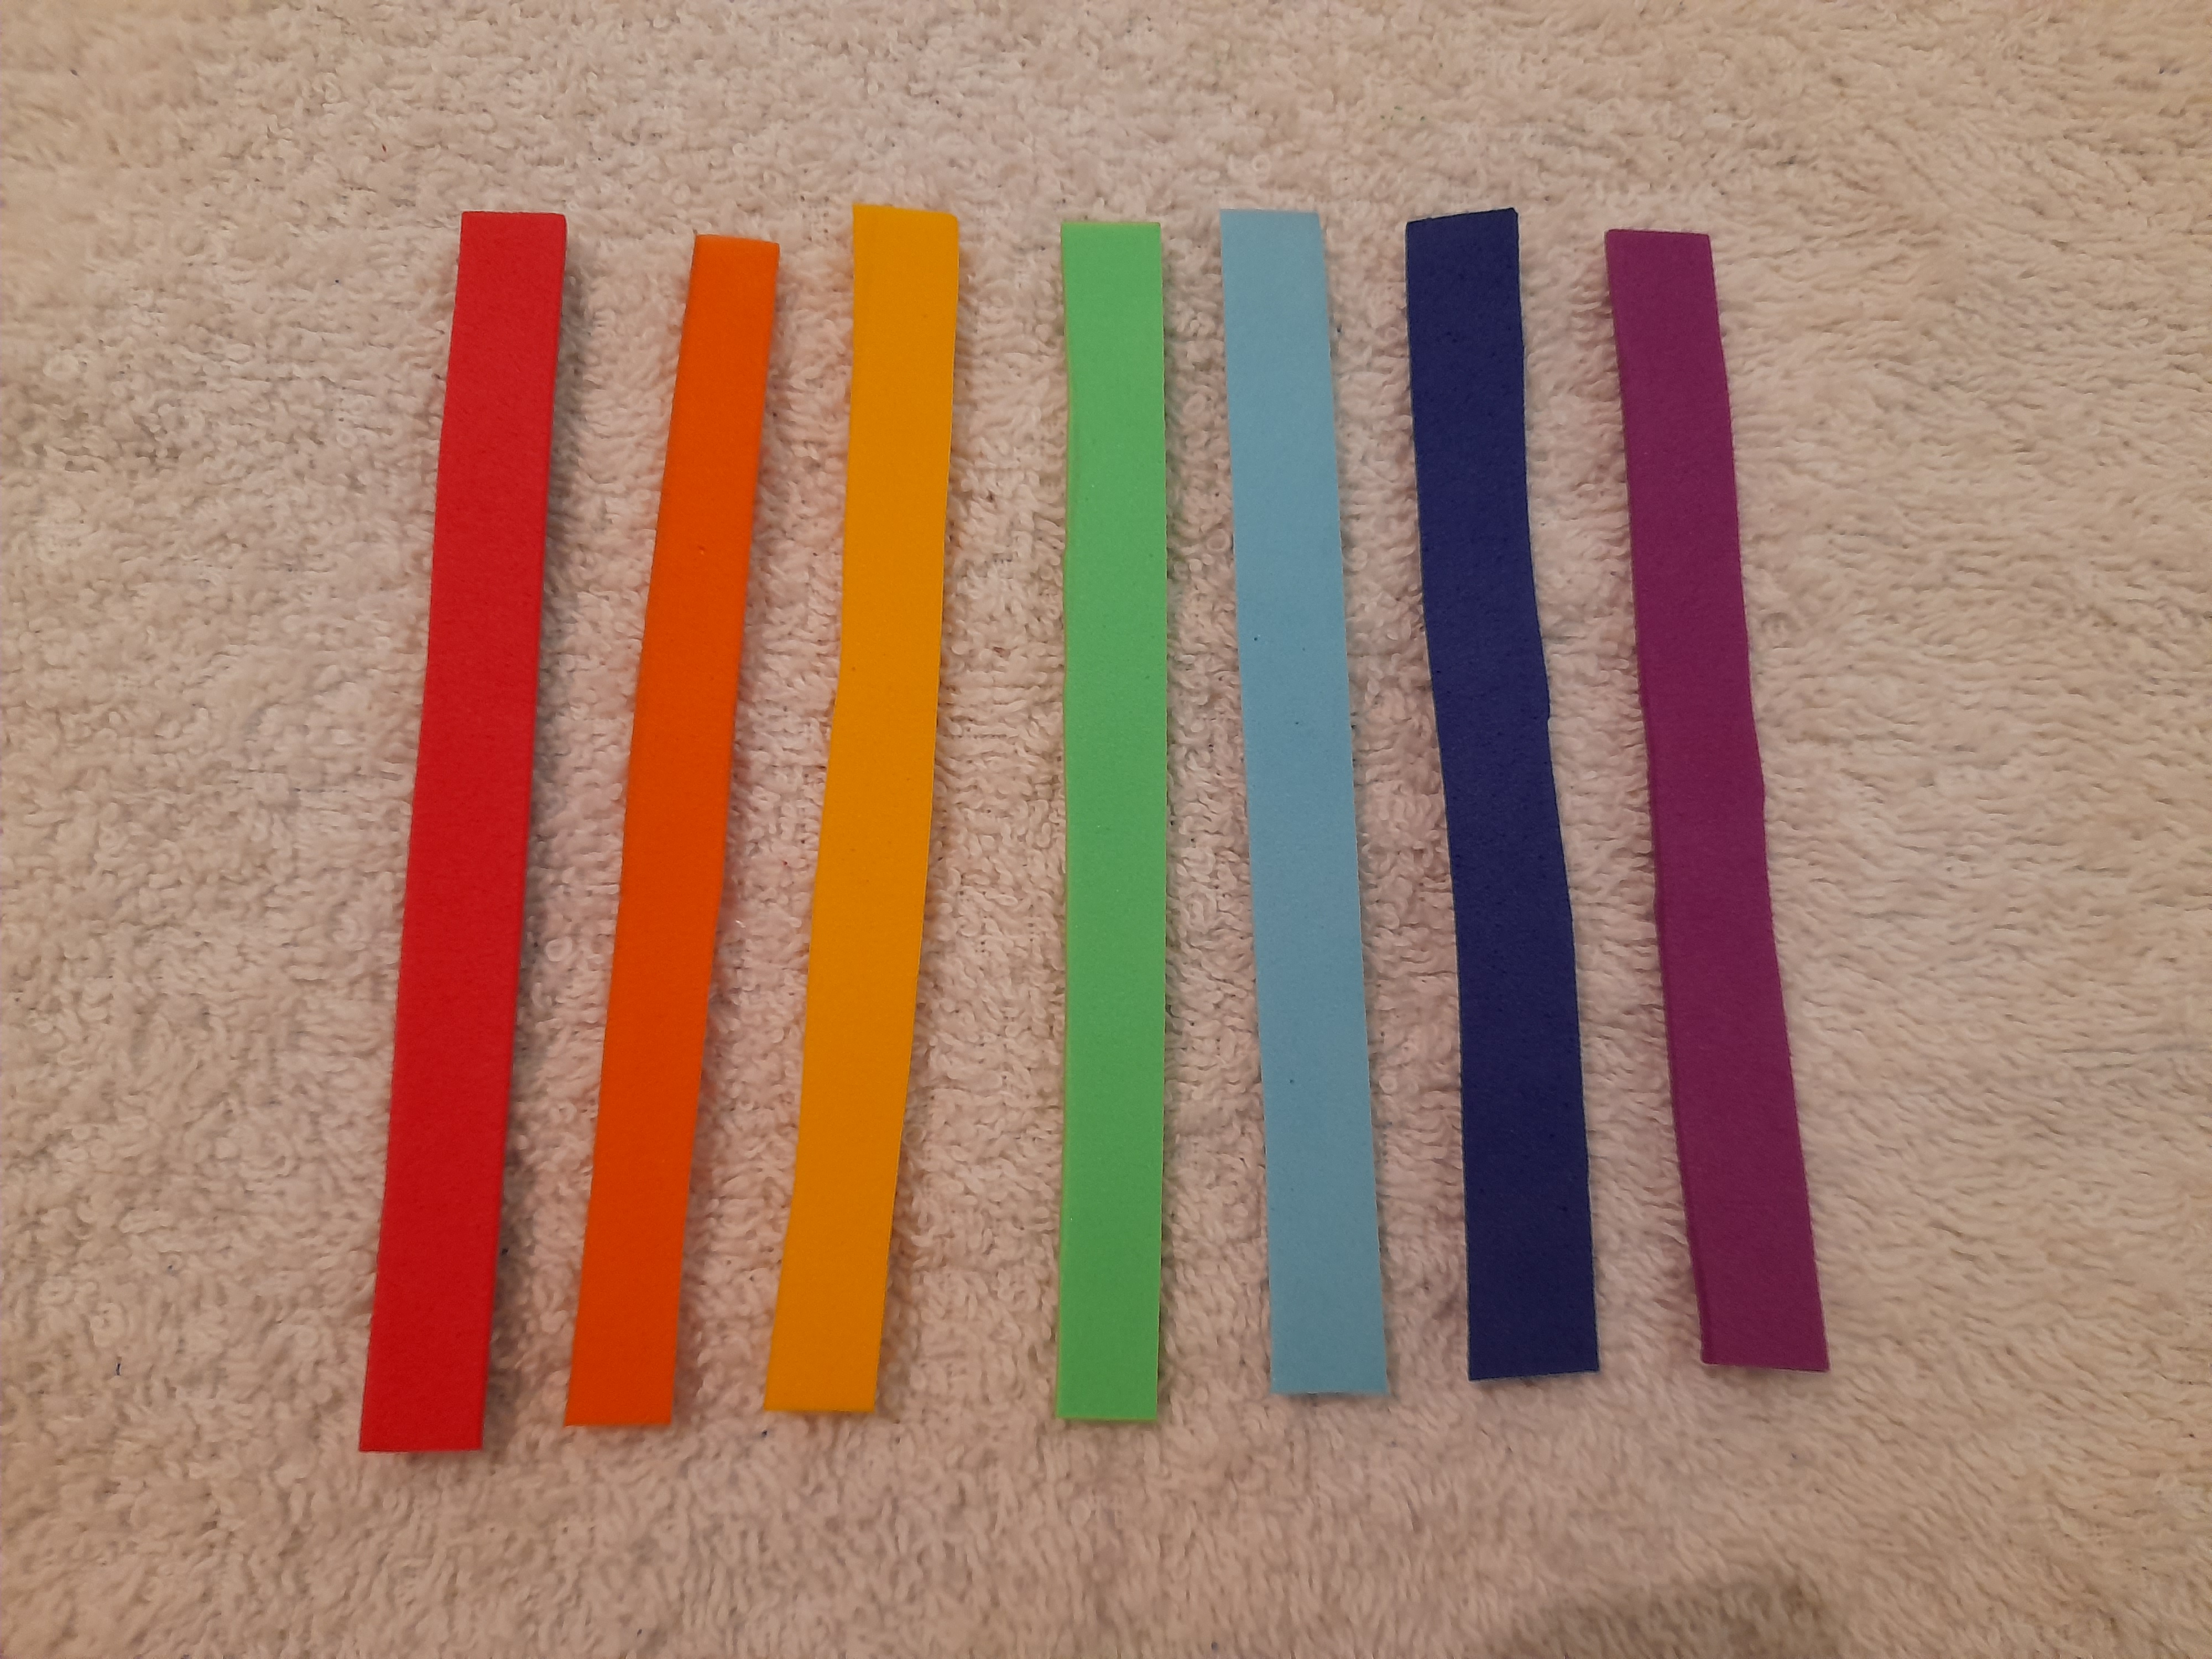
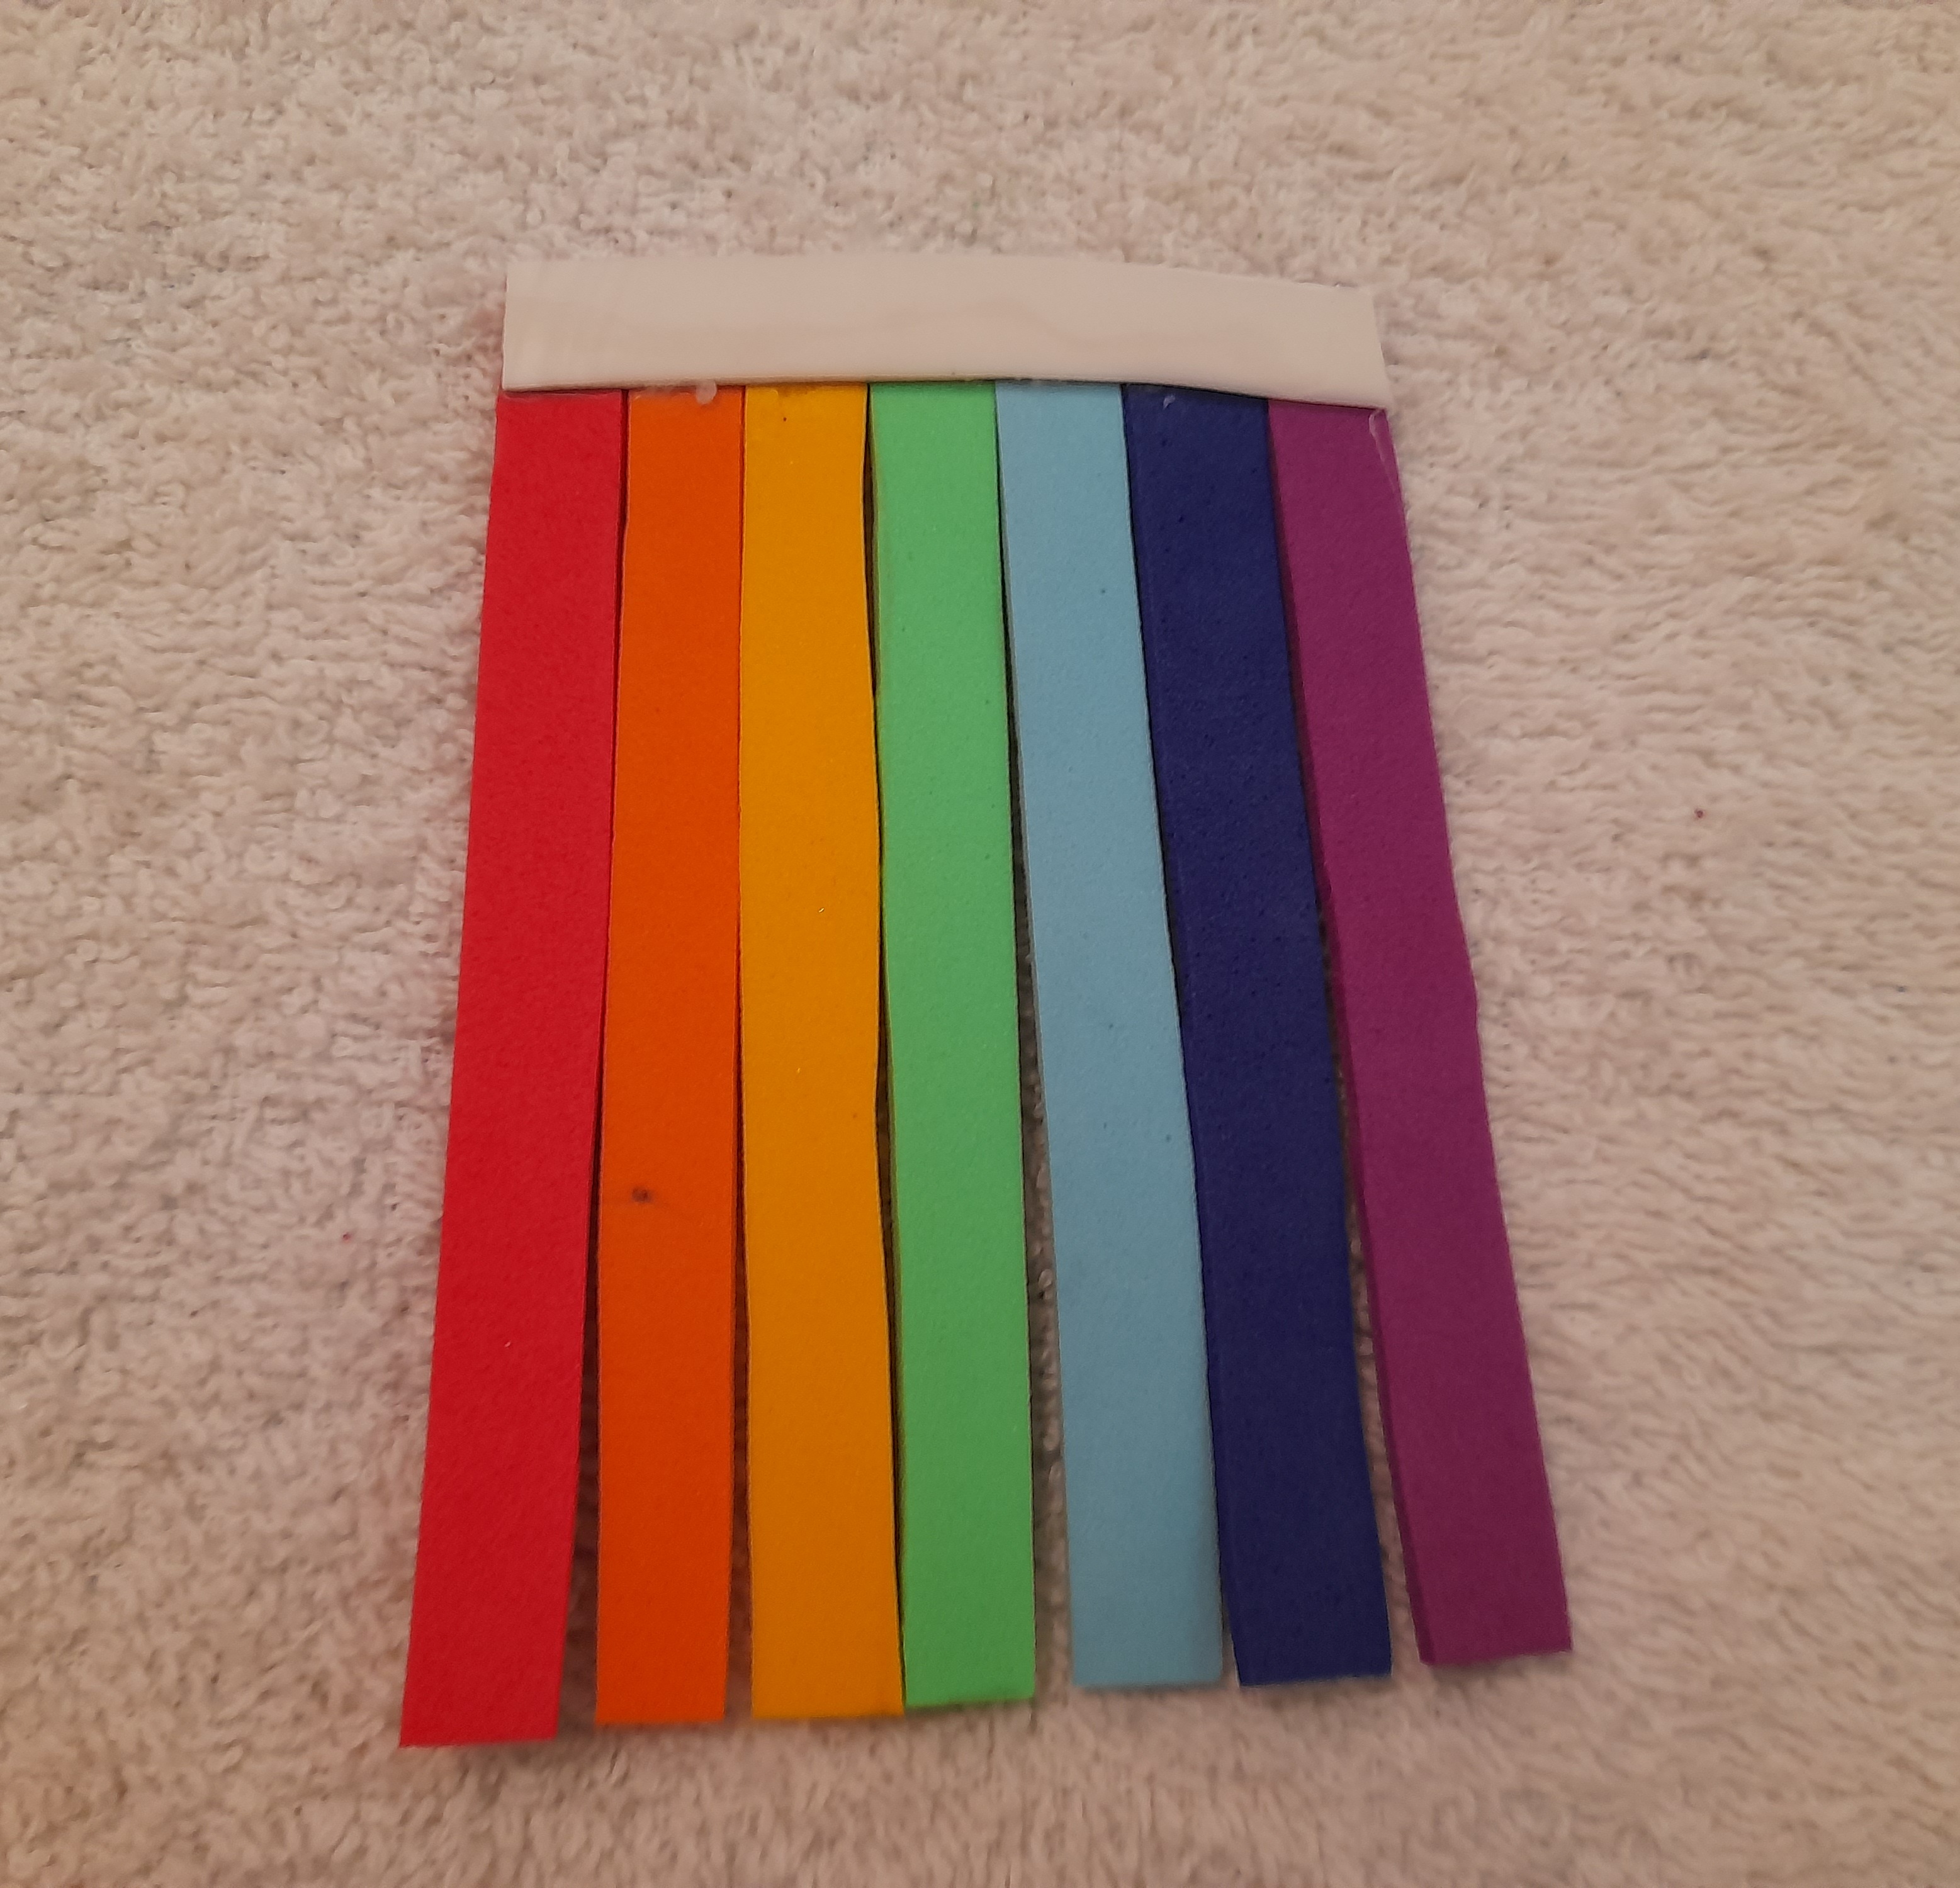
Paso 2 : Luego vamos a recortar 7 tiras de colores como las del arcoiris
Step 2: Then we are going to cut 7 colored strips like those of the rainbow
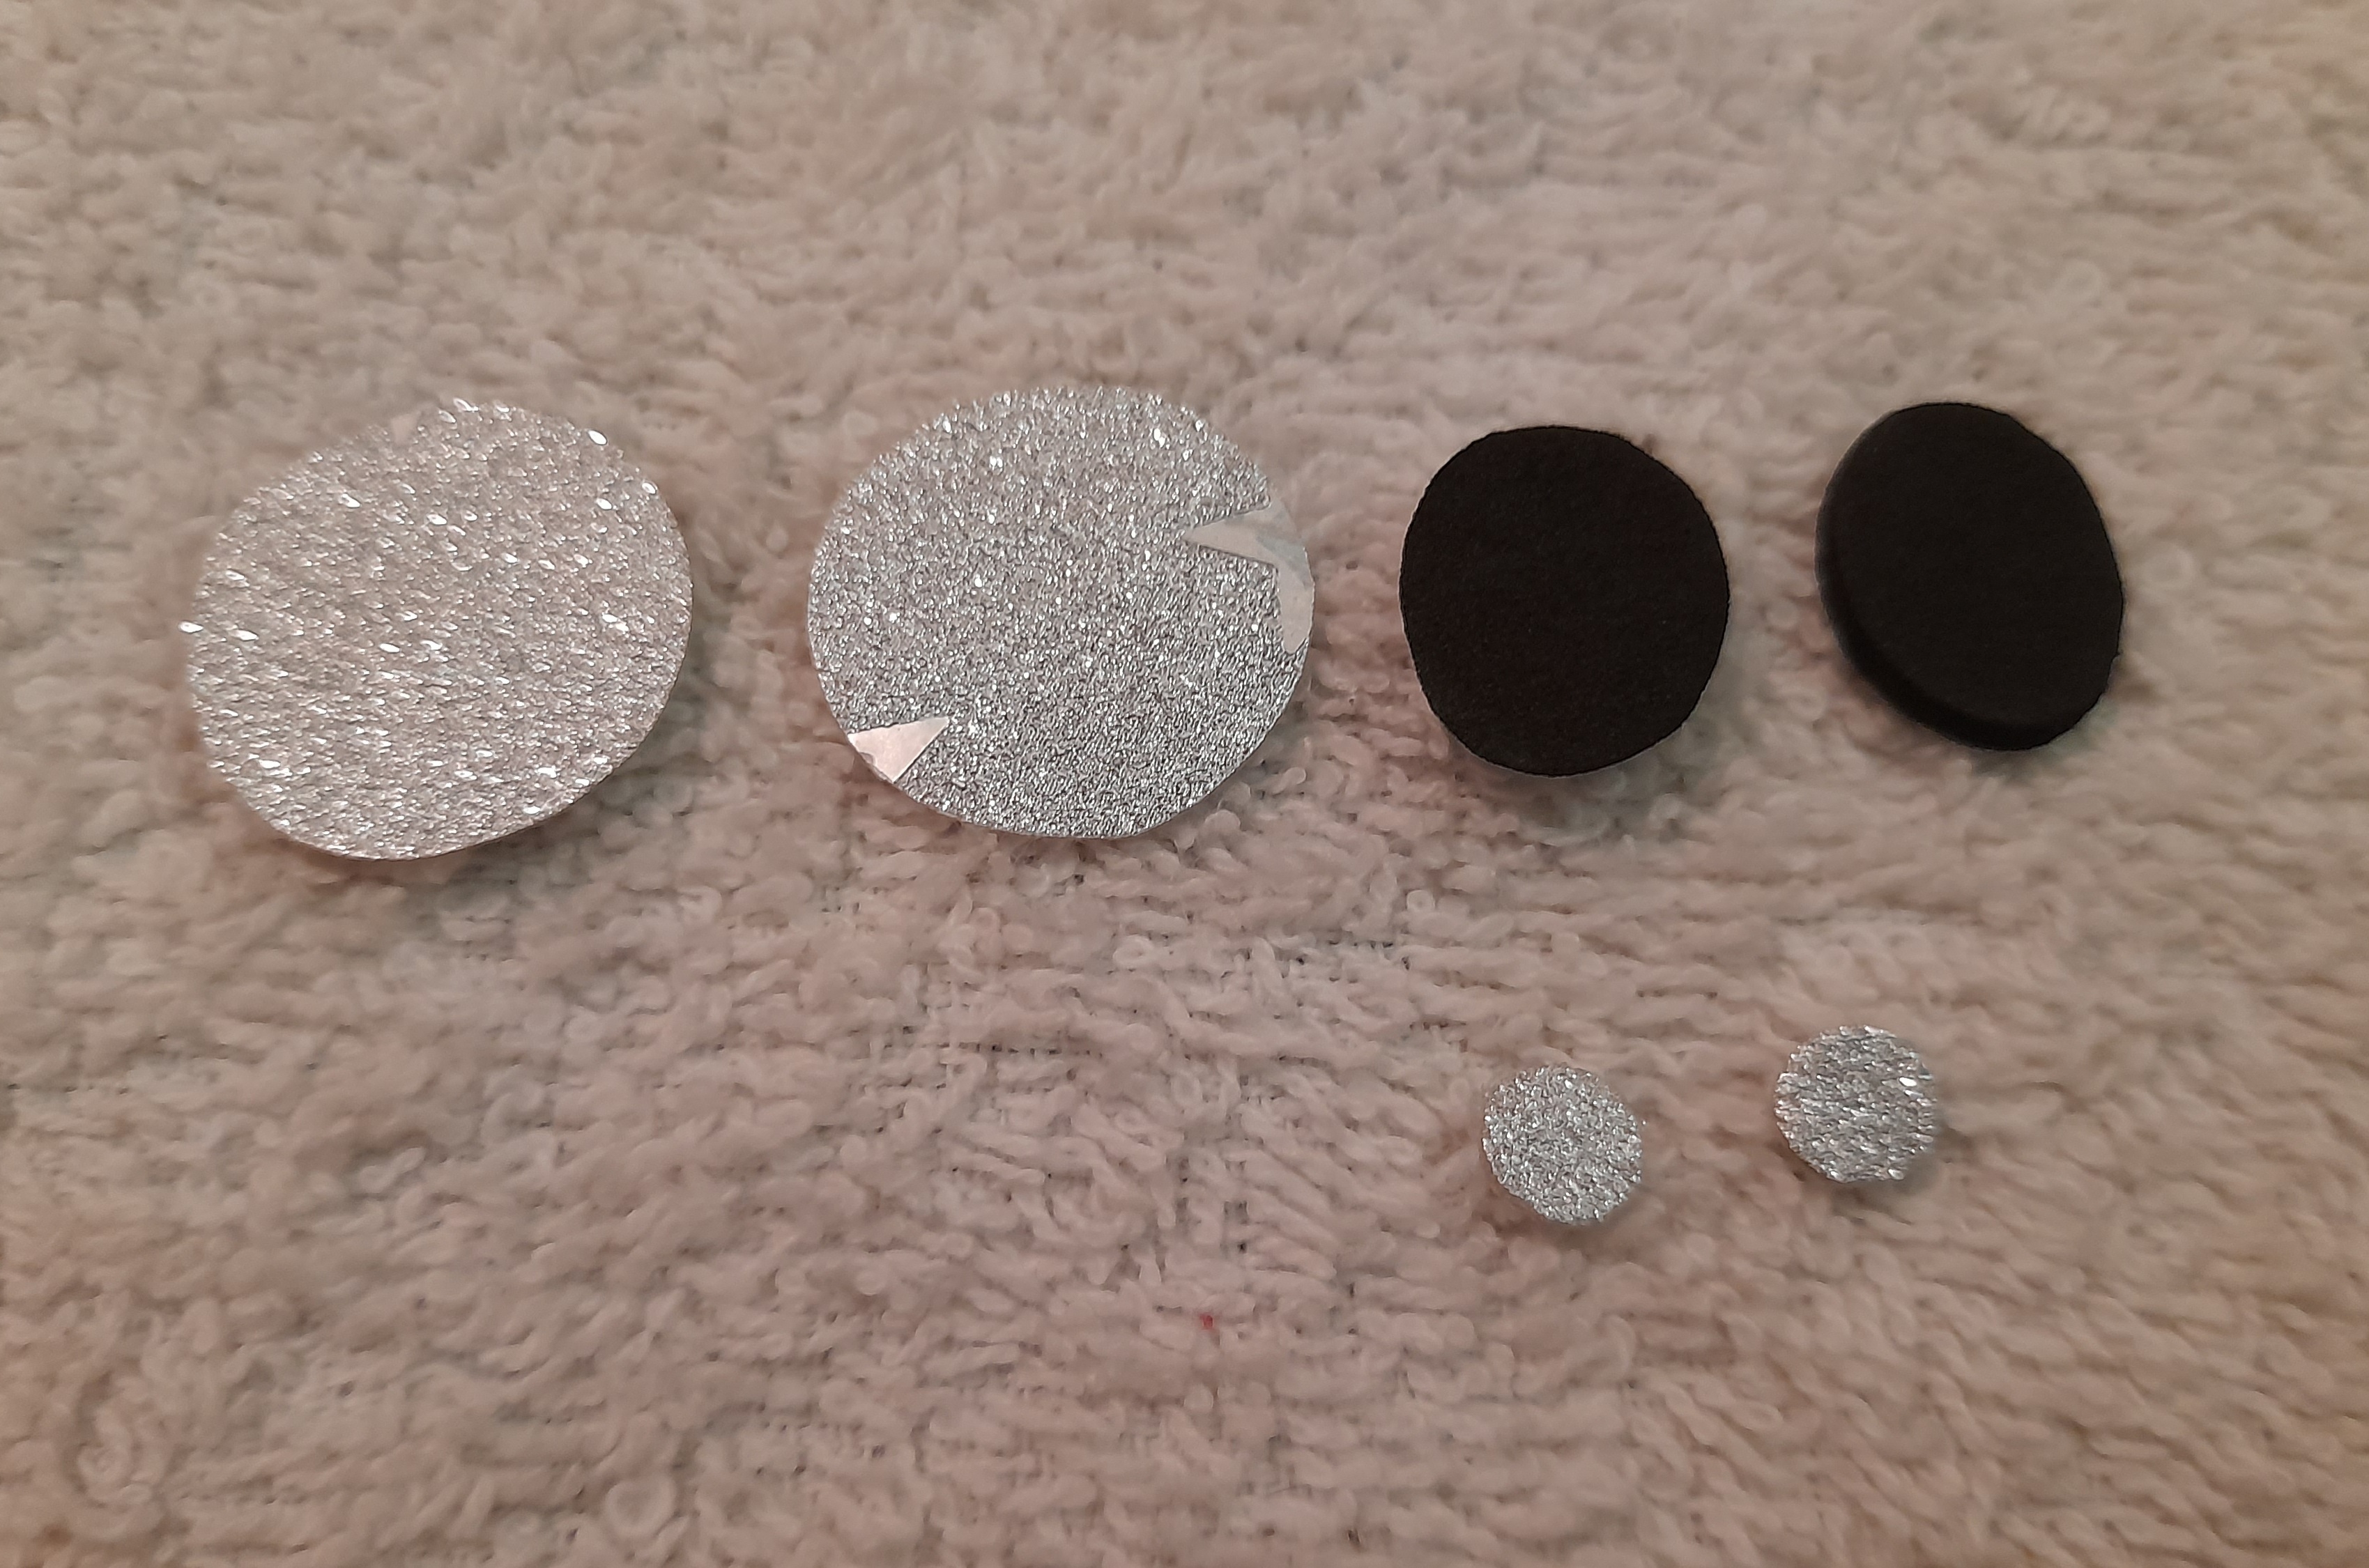
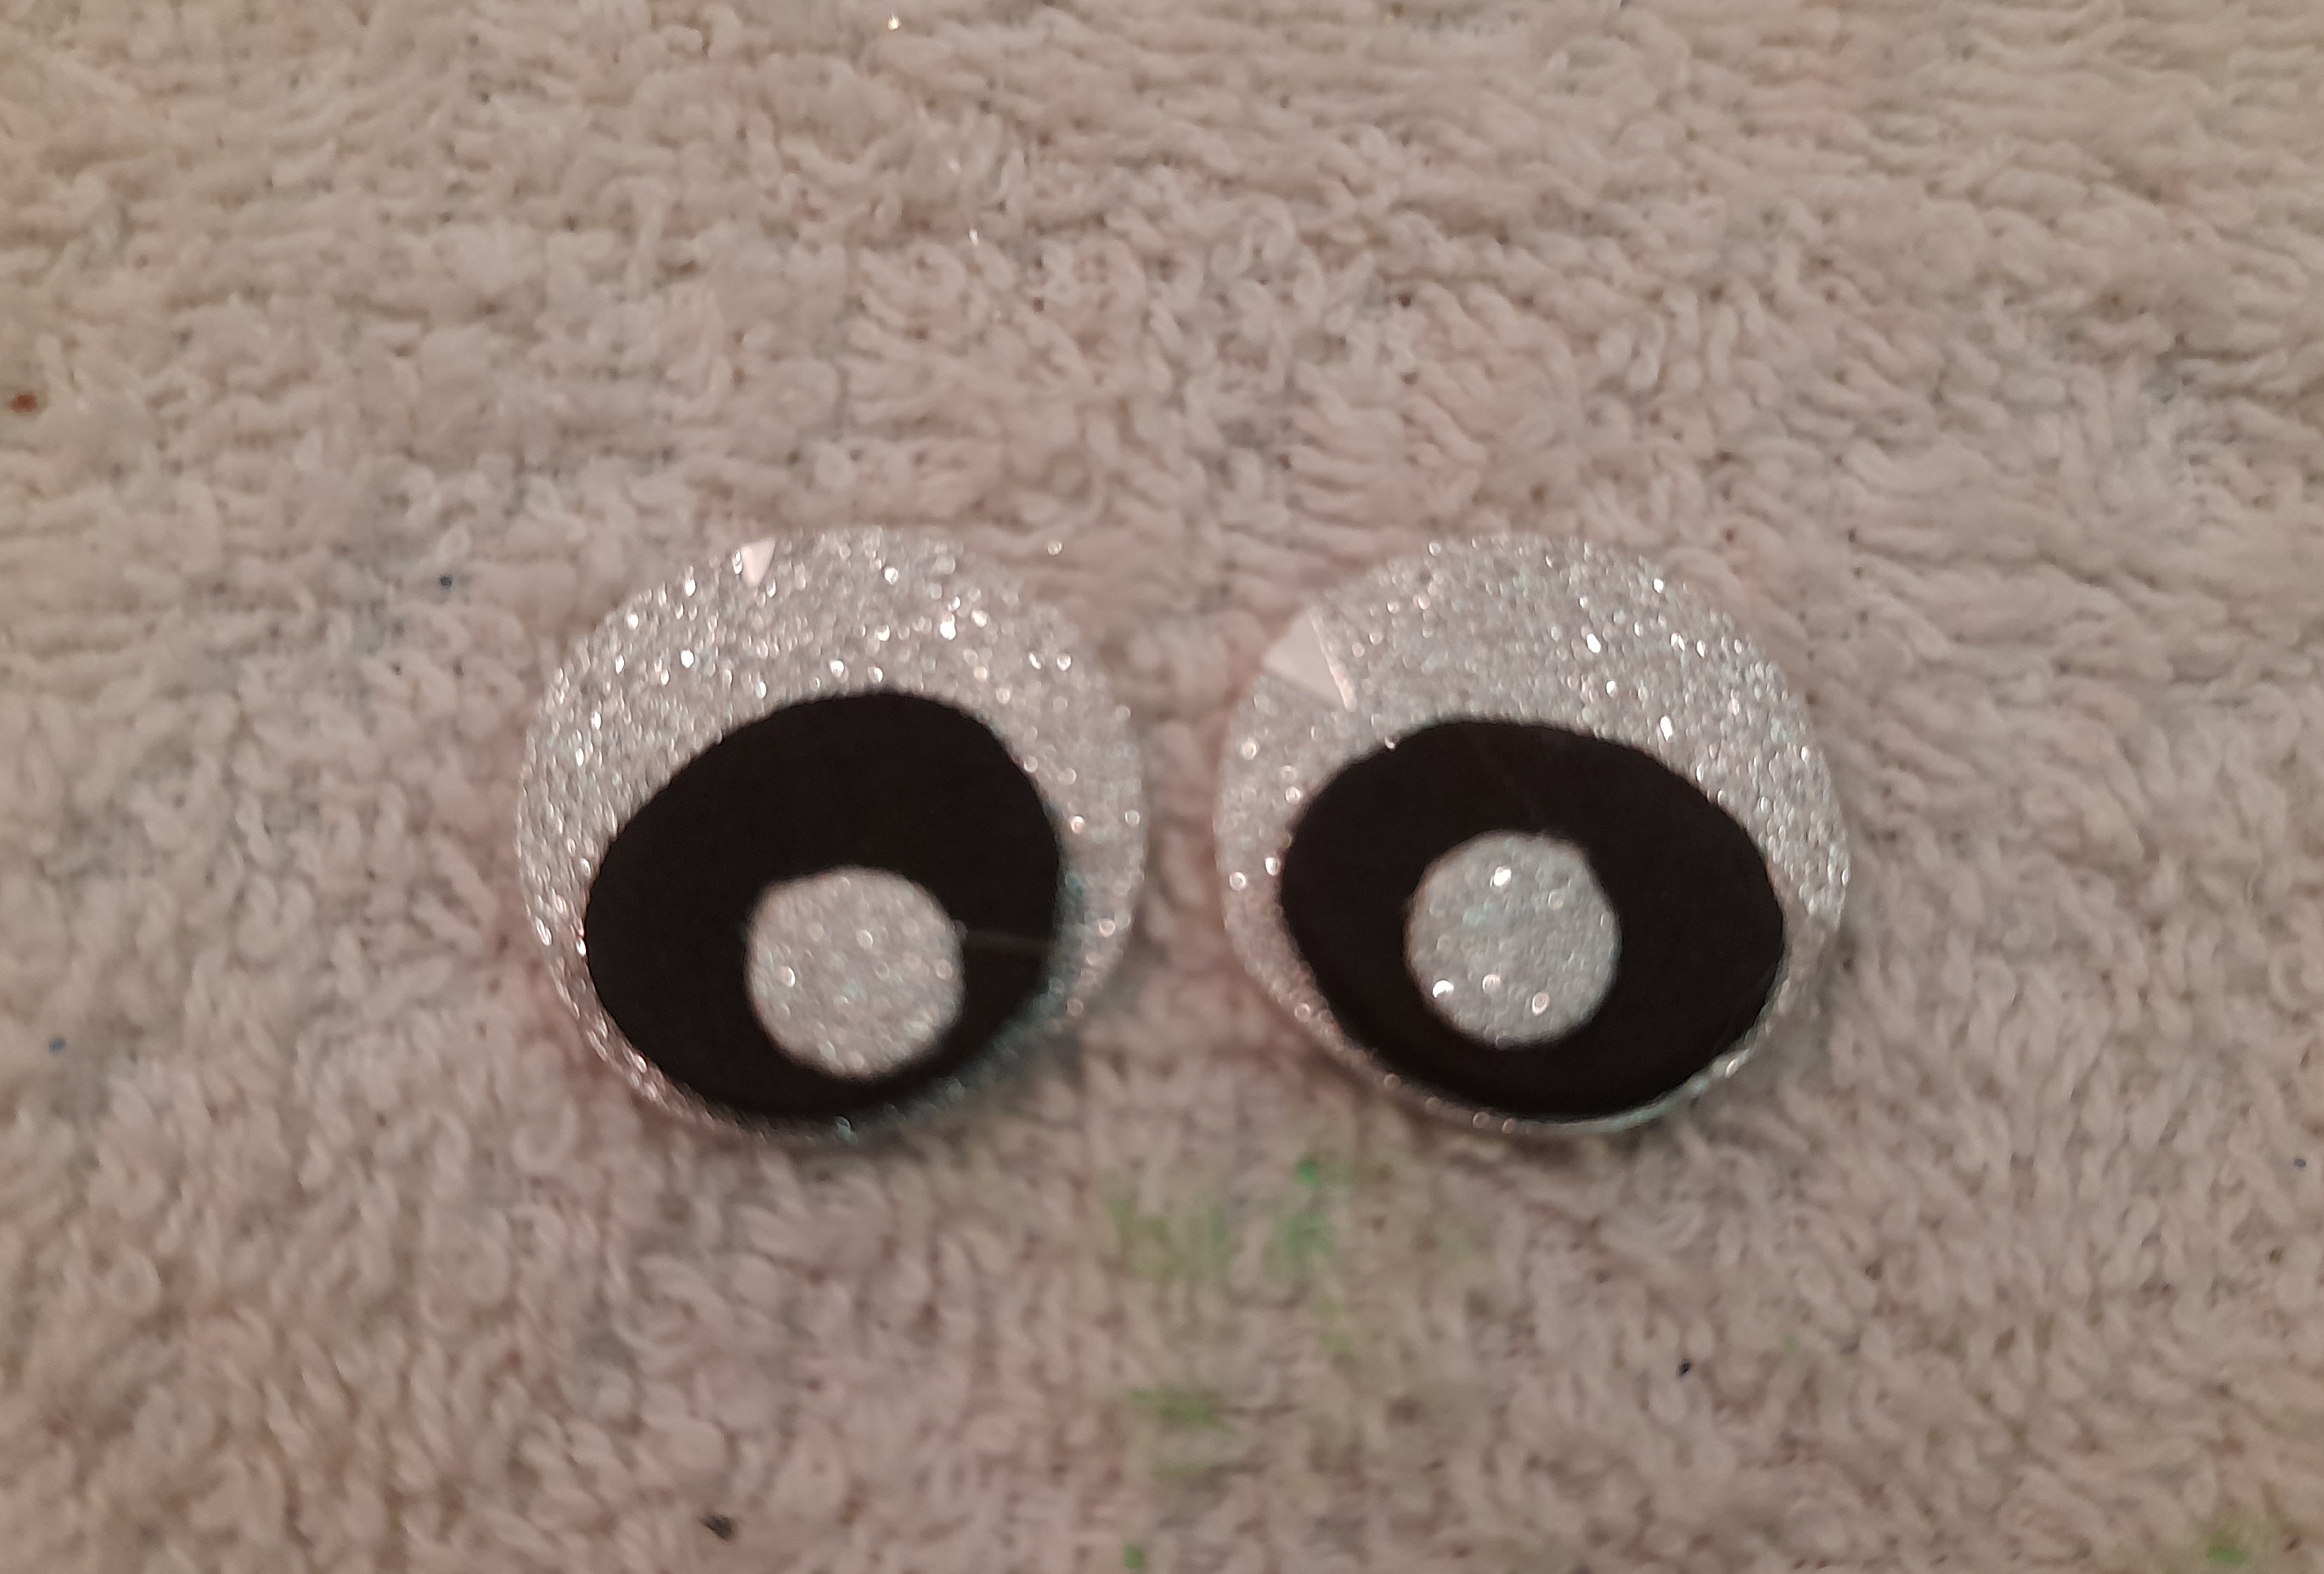
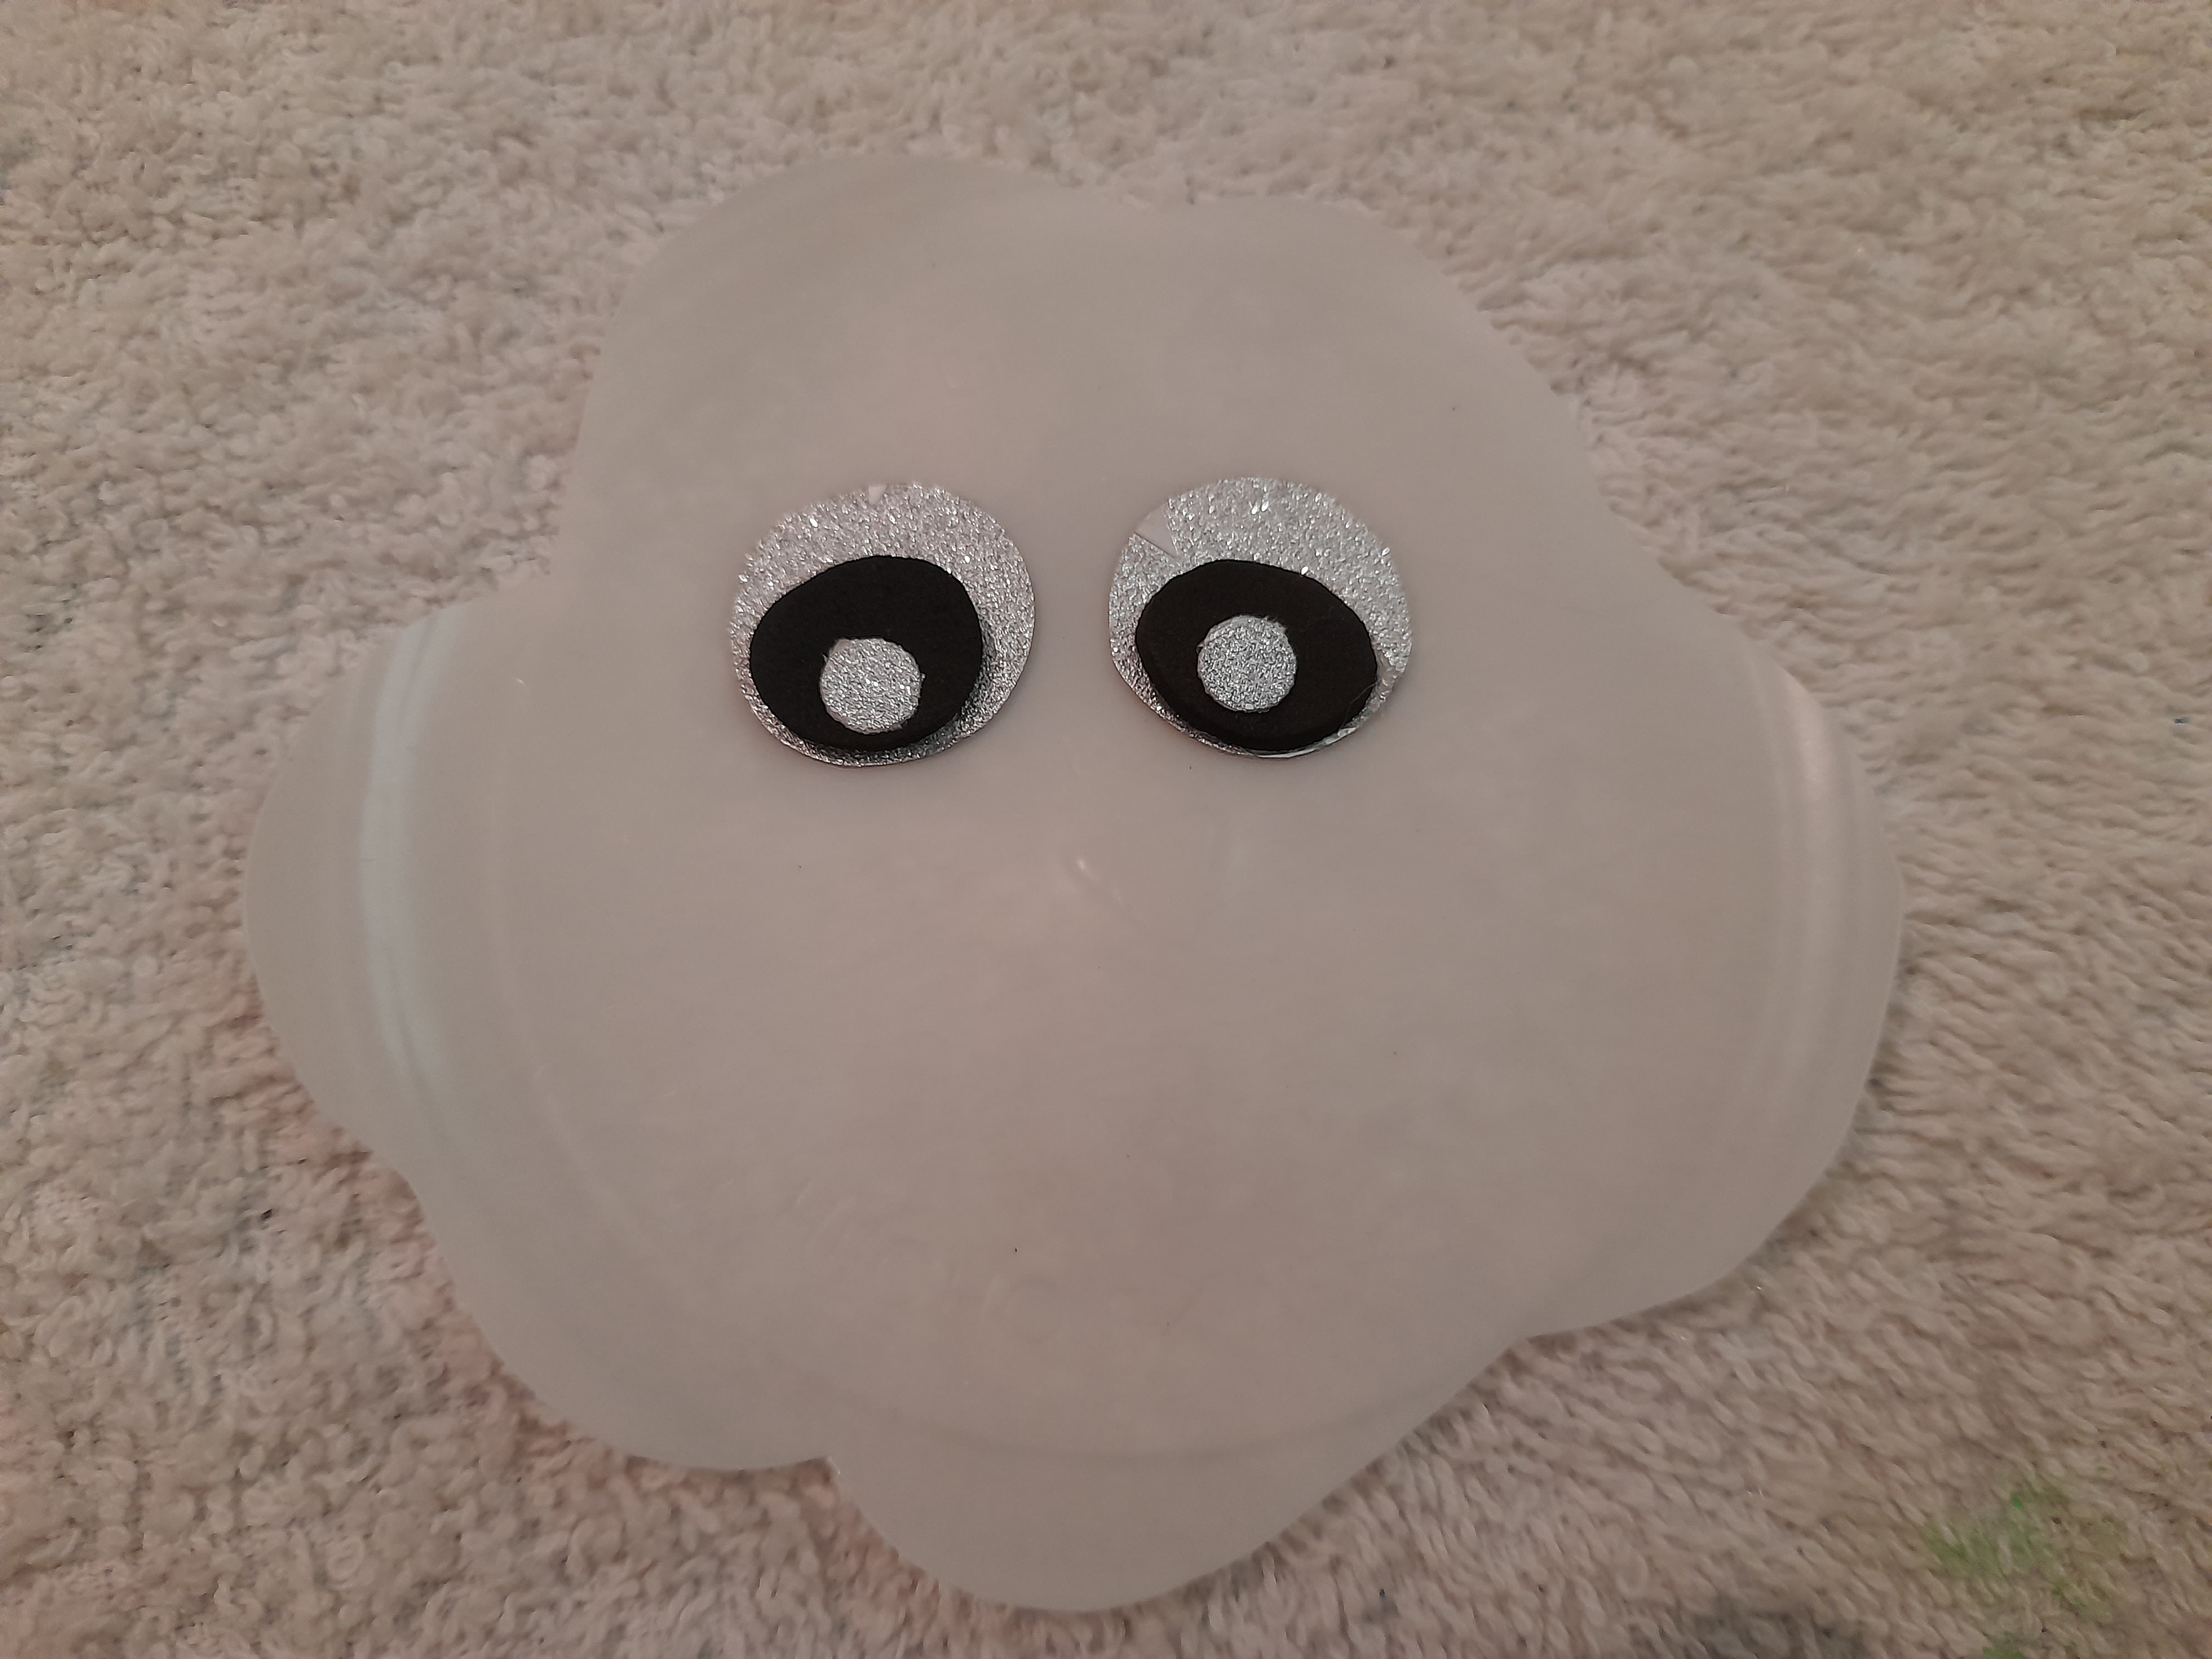
Paso 3 : Ahora recortamos y pegamos en foami los ojos de nuestra pequeña nube como muestra la imagen
Step 3: Now we cut out and paste the eyes of our little cloud in foami as shown in the image
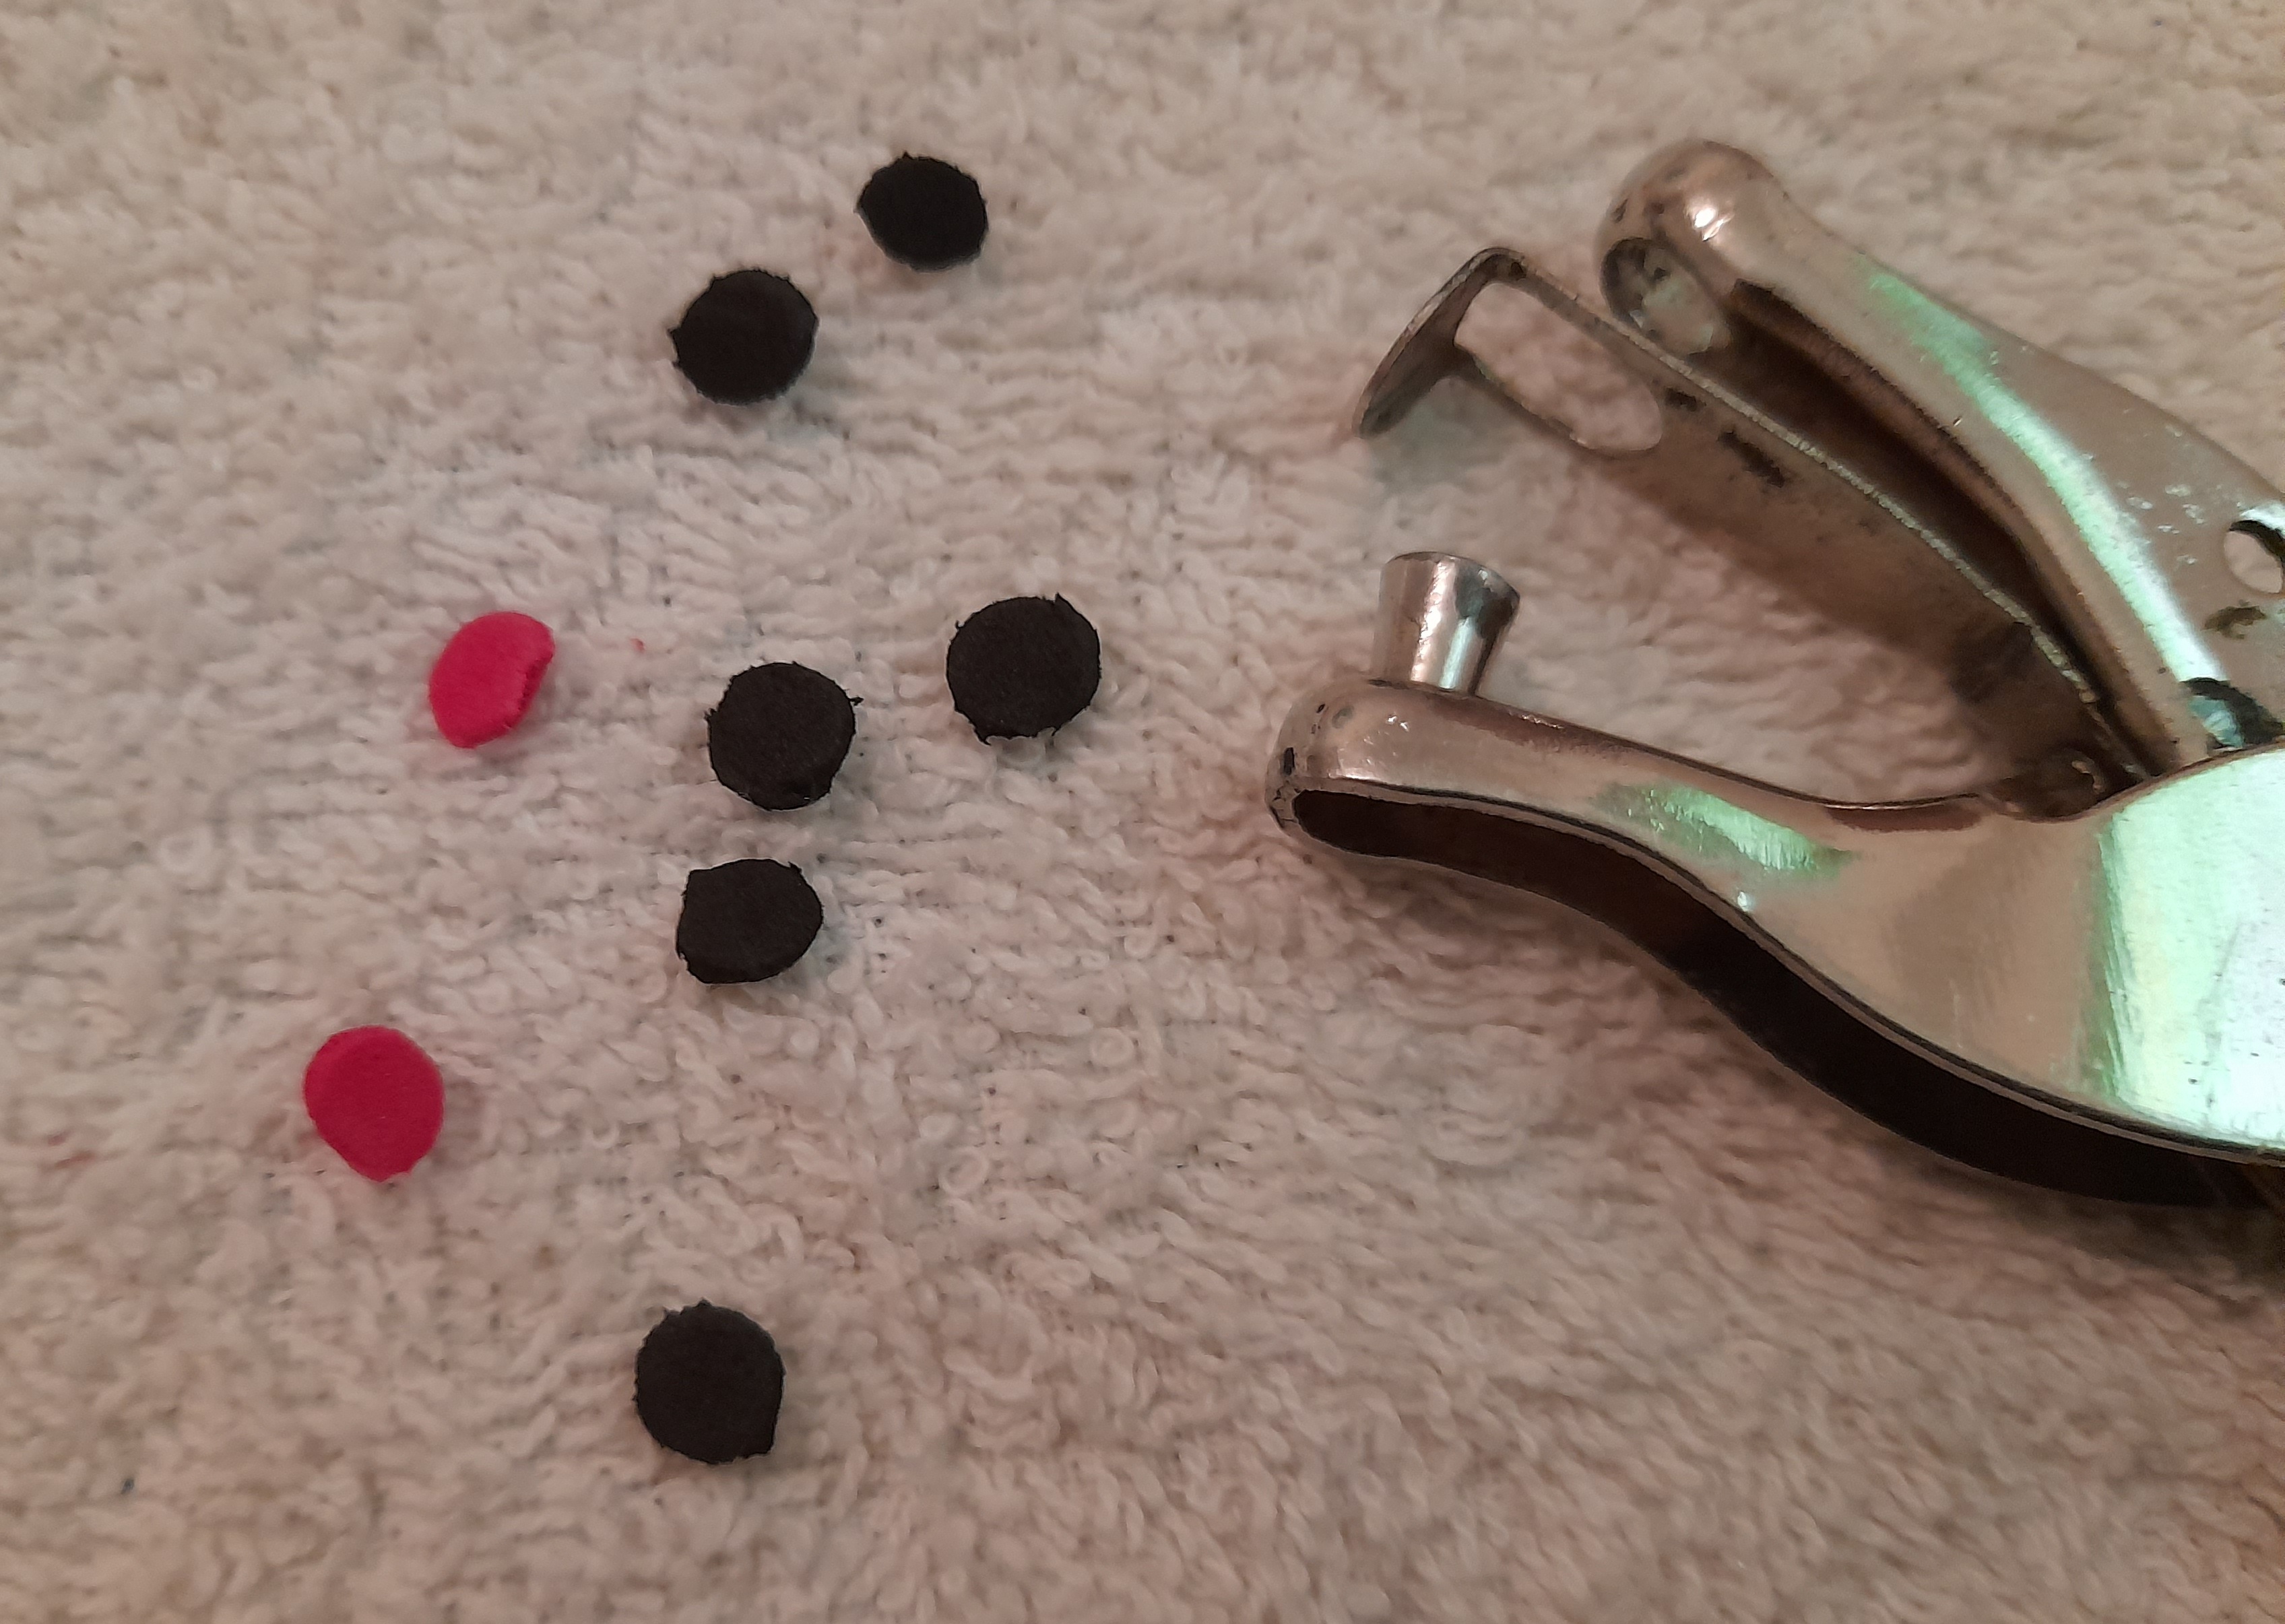
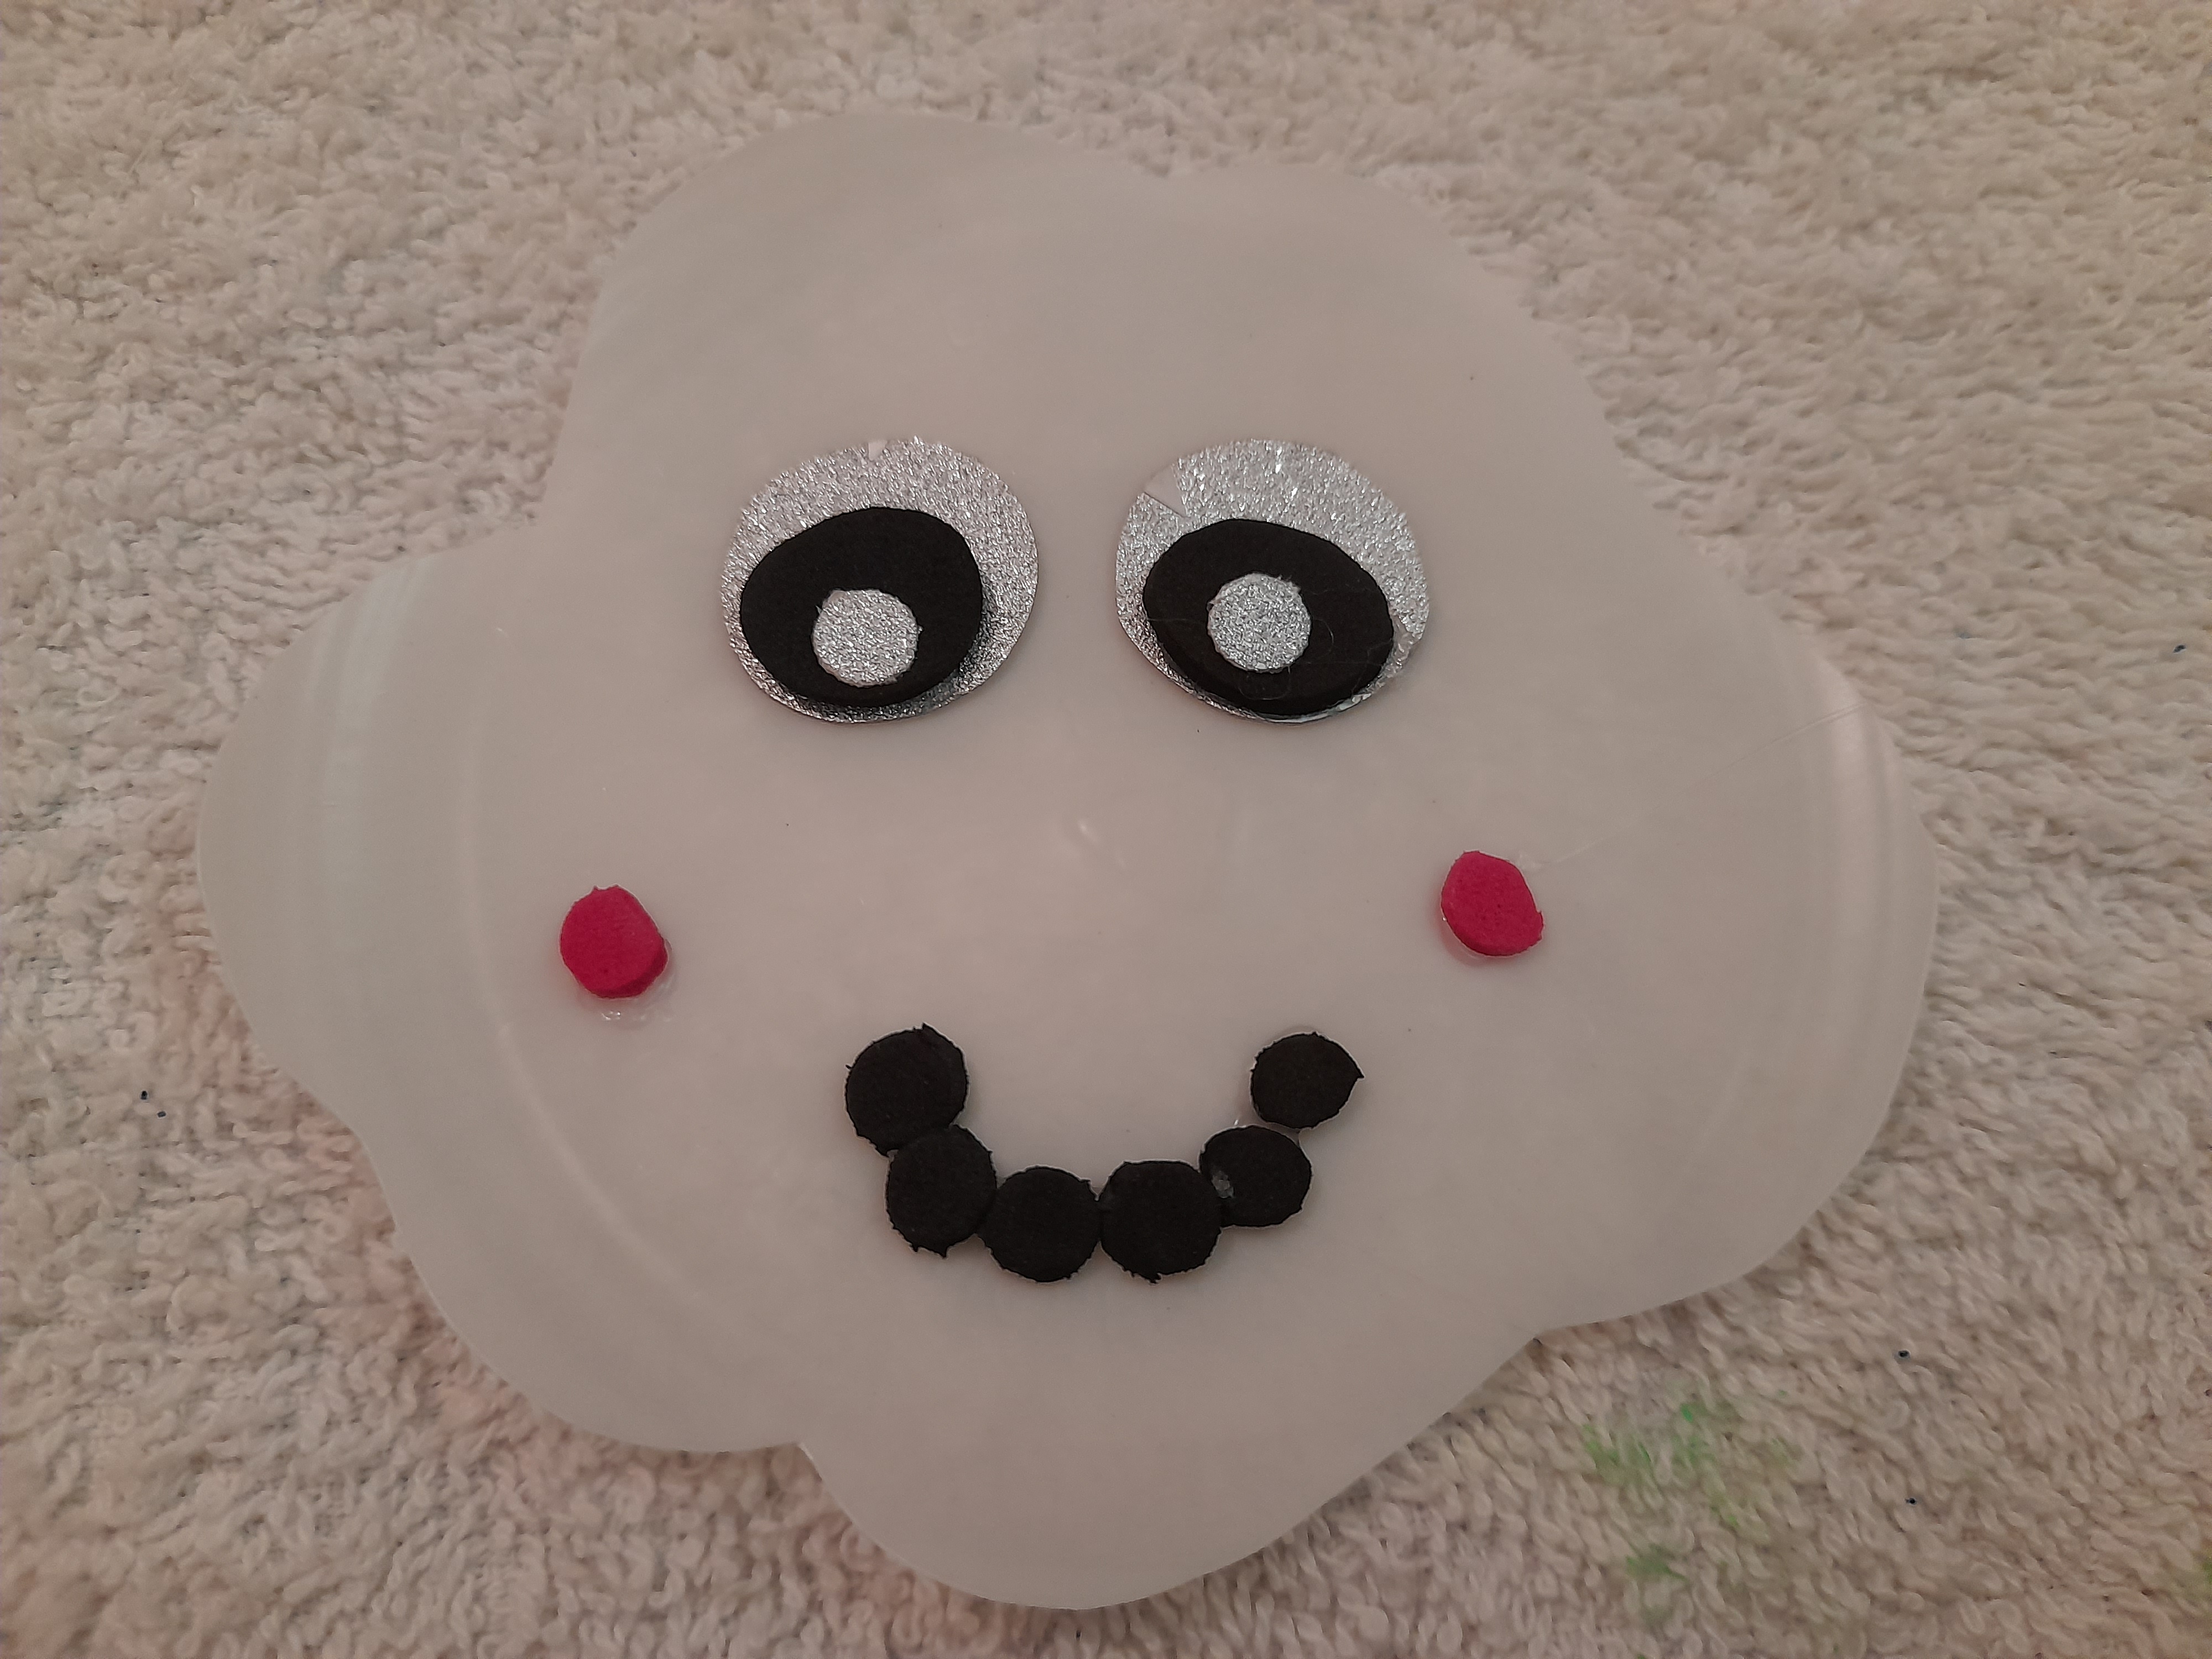
Paso 4 : Después con nuestro abre huecos haremos unos círculos negros y otros rosado para formar la cara
Step 4: Then with our hole opener we will make some black circles and others pink to form the face
Paso 5 : Nuestro siguiente paso será formar la cara de la nube comenzando con los ojos luego con la boca y mejillas
Step 5: Our next step will be to form the face of the cloud starting with the eyes then with the mouth and cheeks
Paso 6 : Para finalizar uniremos todas las tiras de colores para pegarlas juntan en el orden del arcoiris y pegamos a la nube como muestra la imagen
Step 6: To finish we will join all the colored strips to glue them together in the order of the rainbow and stick to the cloud as the image shows
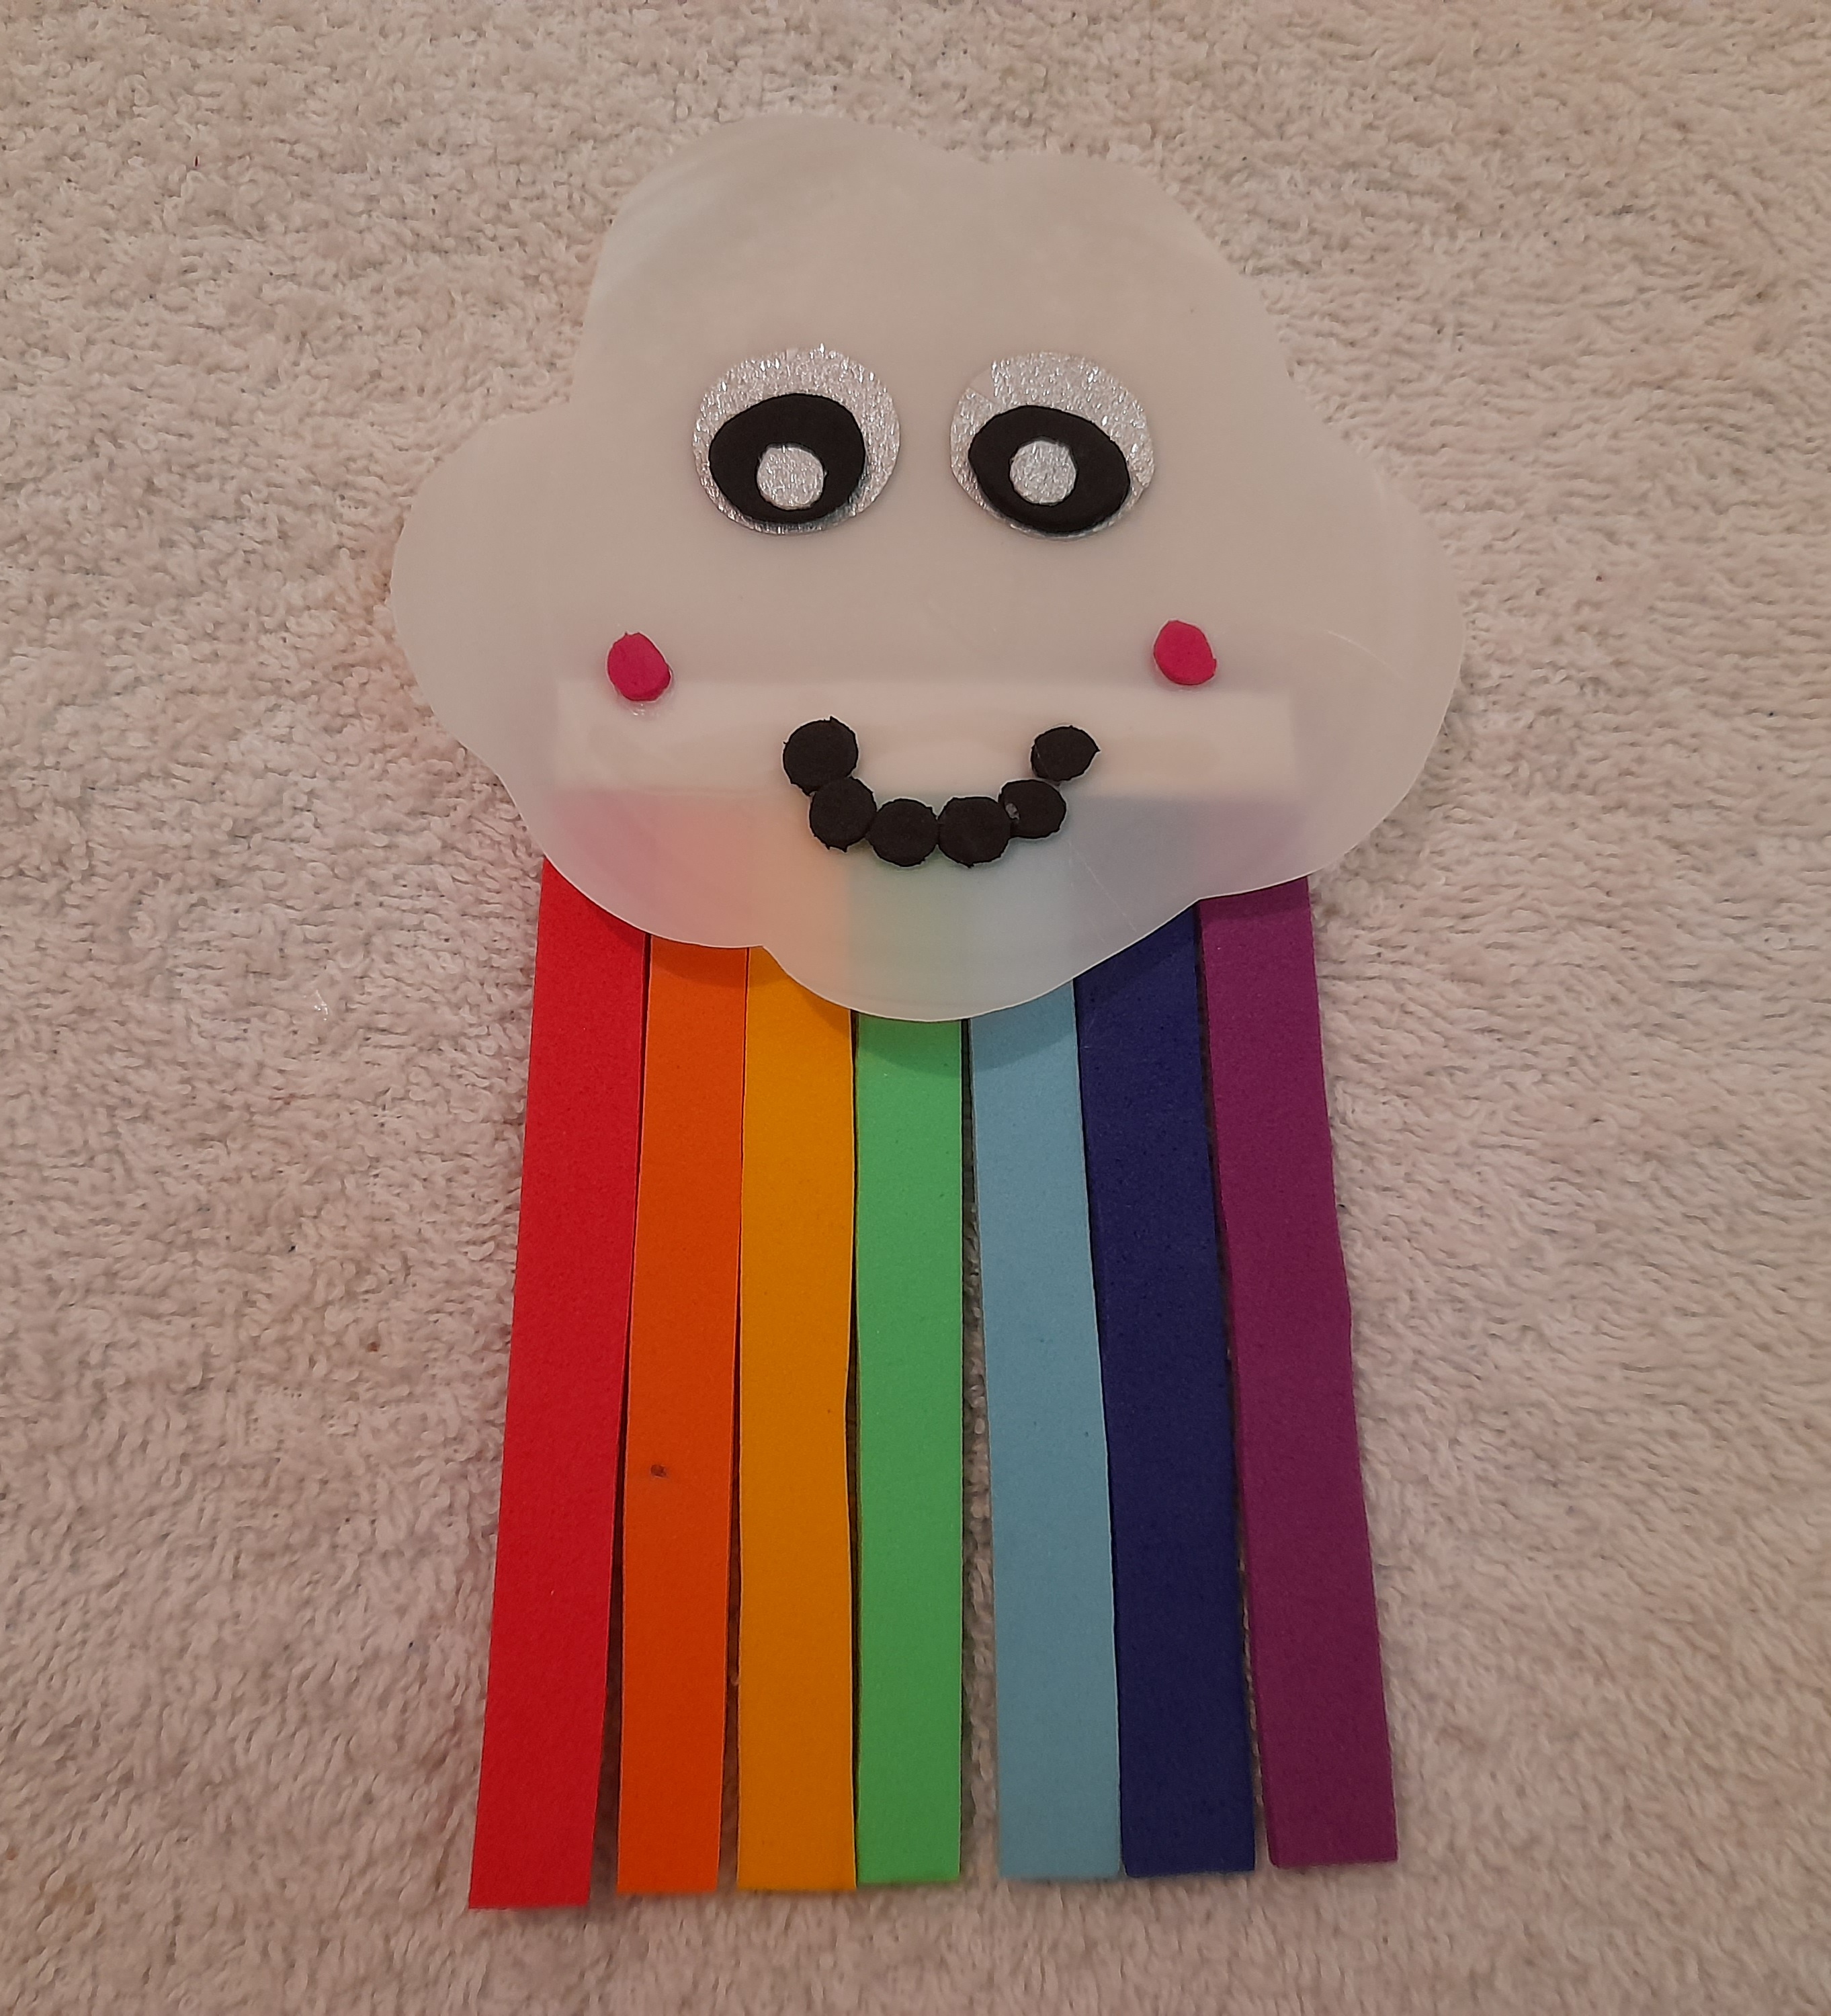
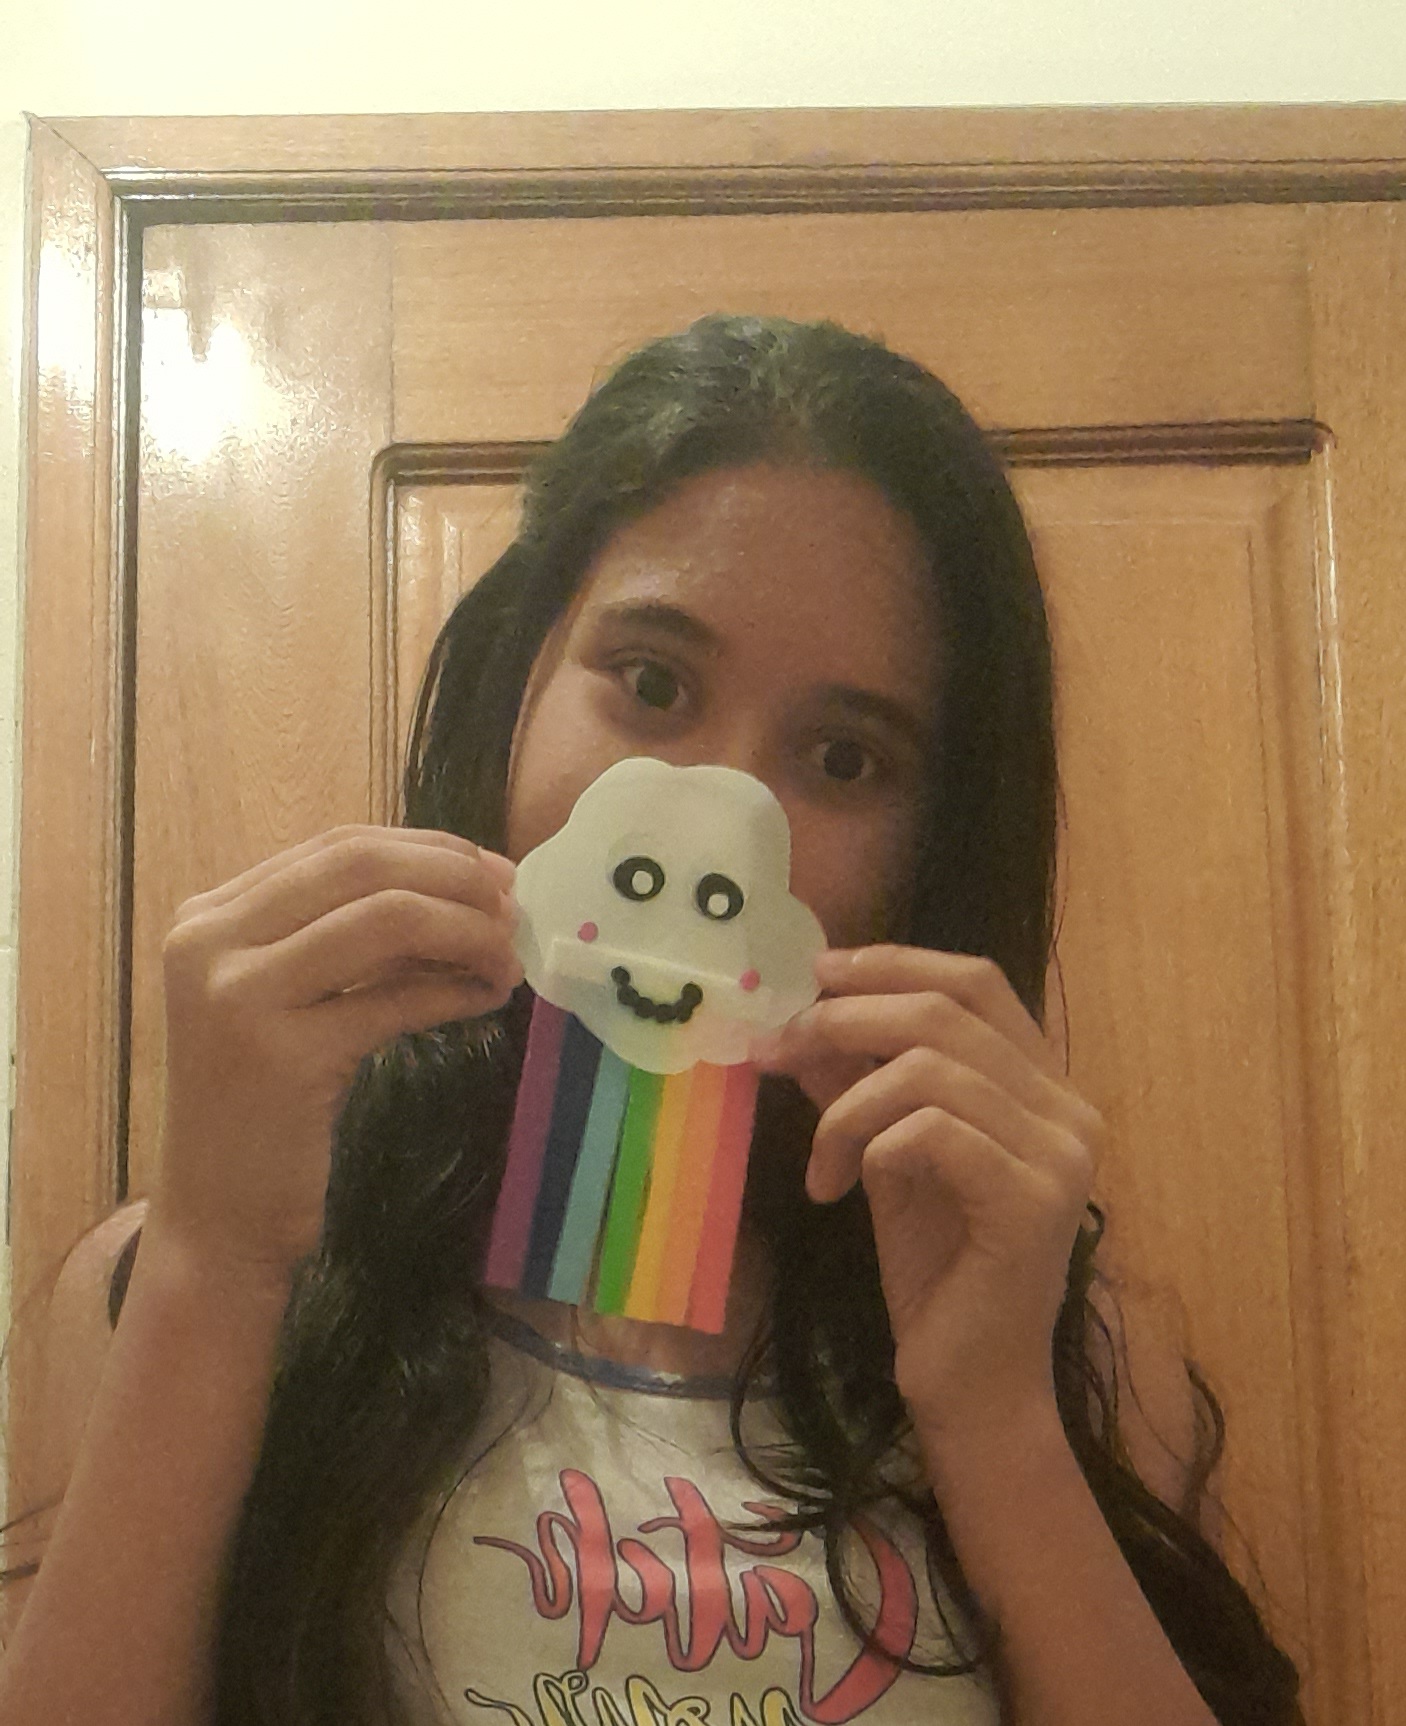
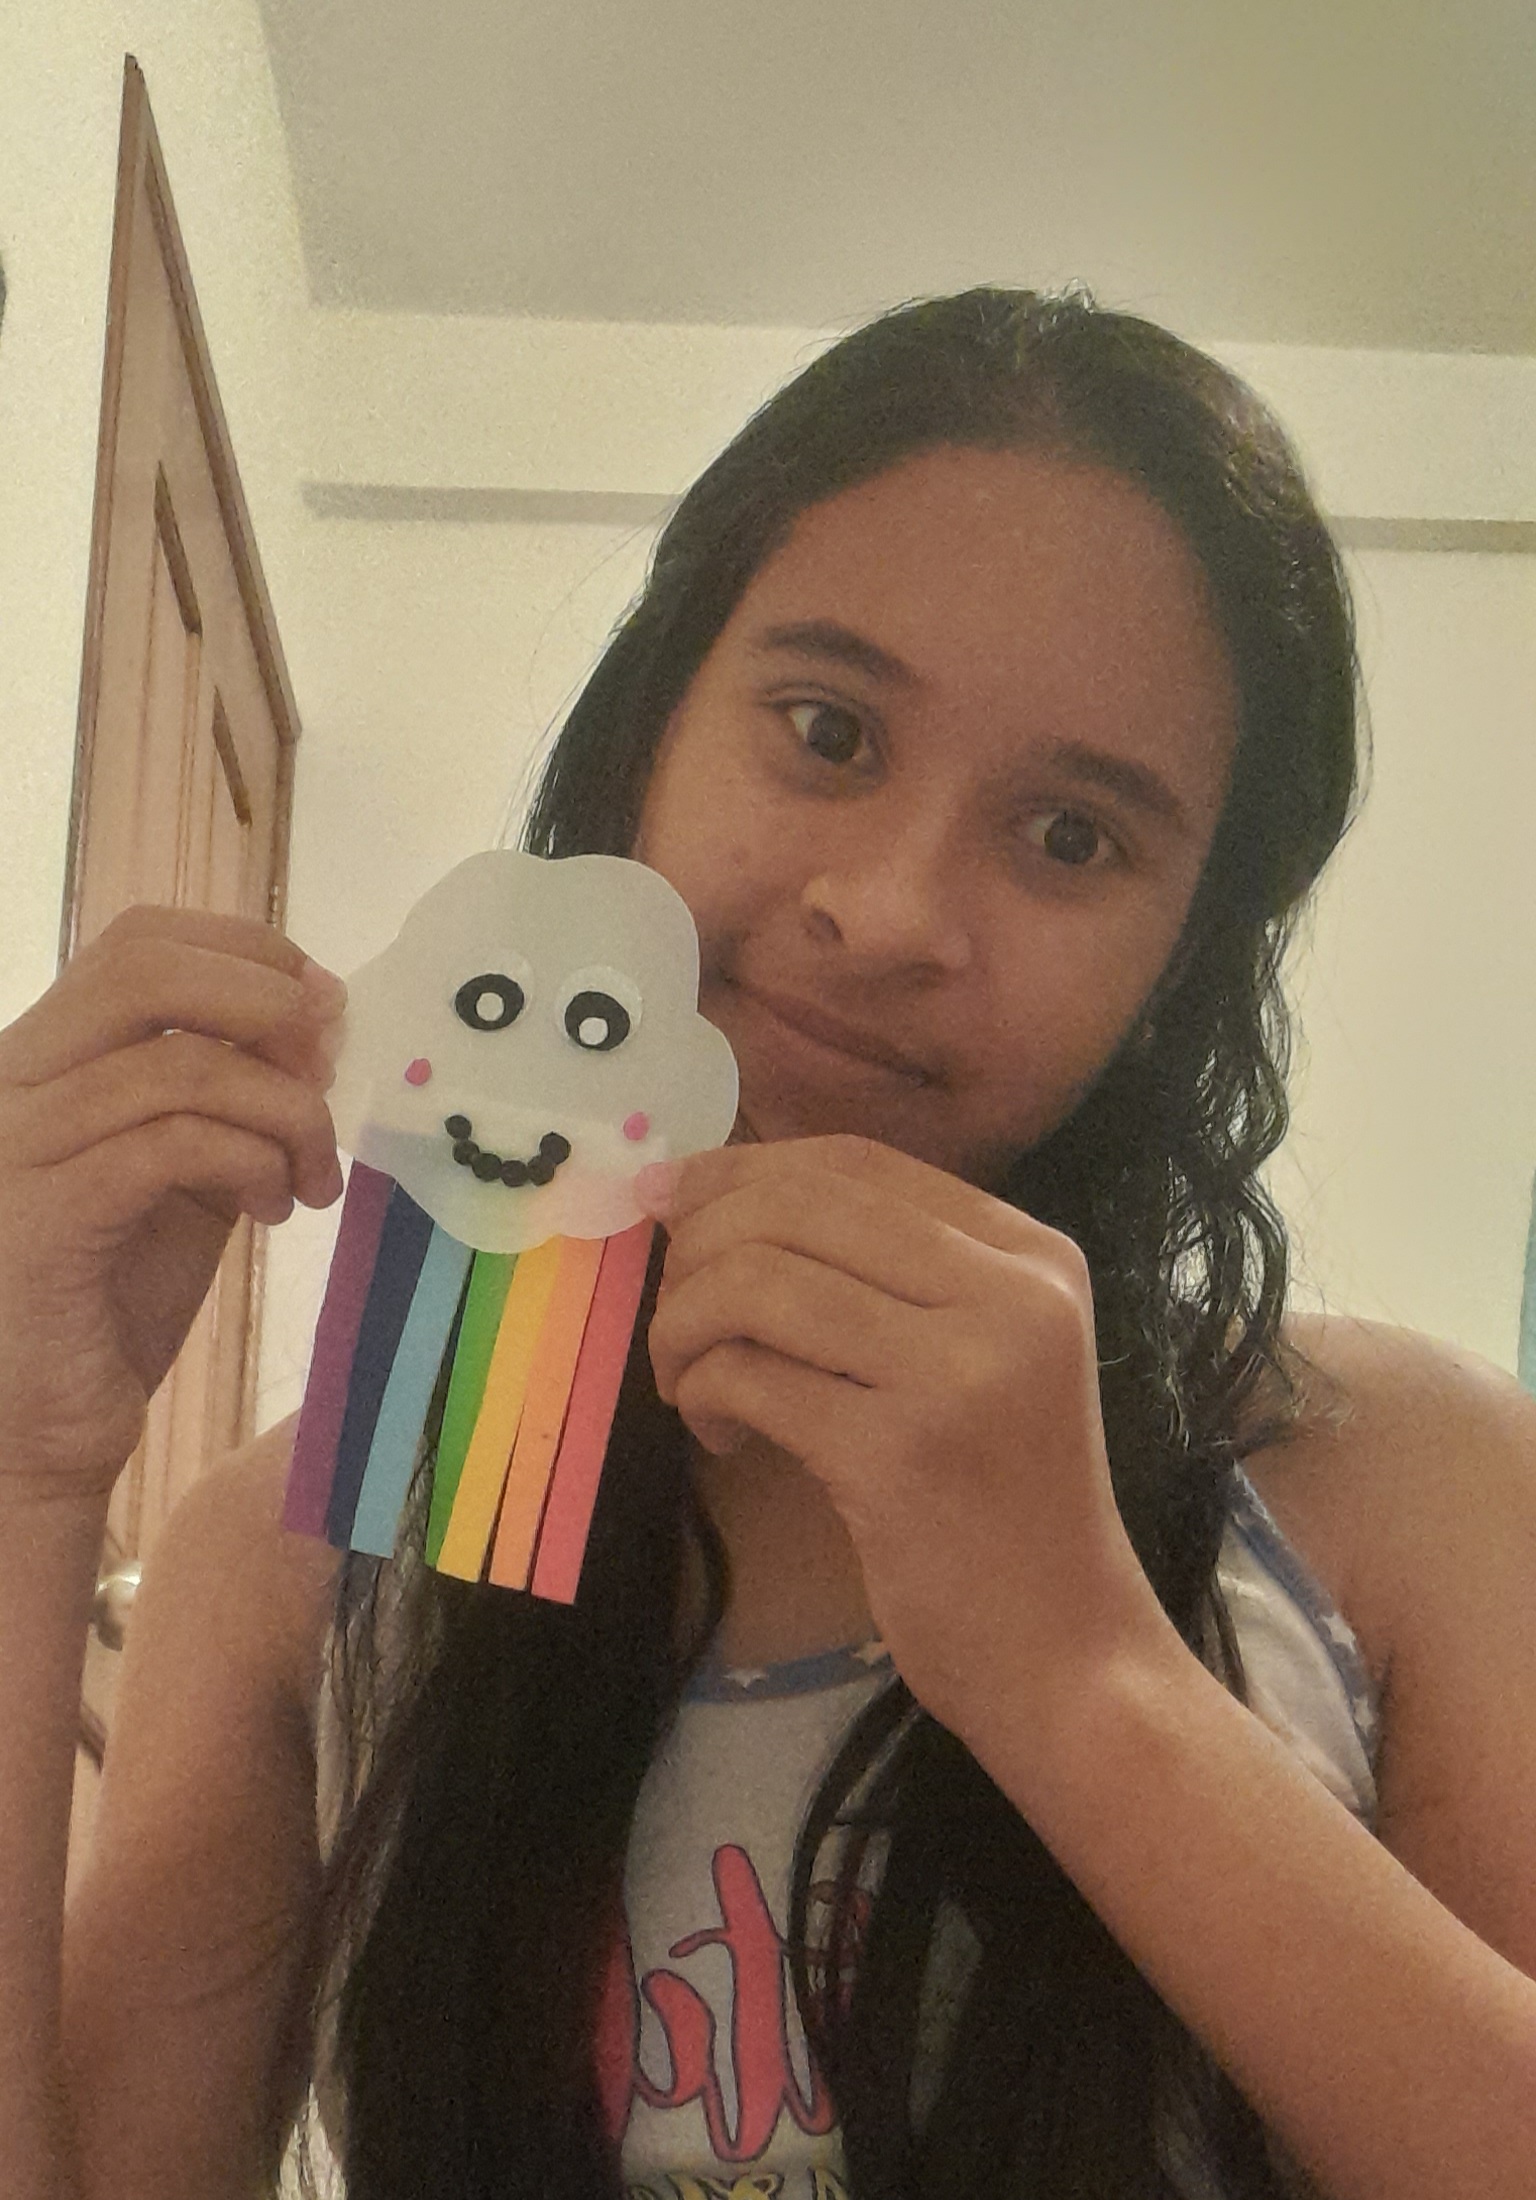
Así que listo amigos aqui tenemos terminada nuestra linda nube espero se animen a realizarla y fue un placer compartir con ustedes nos vemos hasta mi próxima manualidad.
So ready friends here we have finished our beautiful cloud I hope you are encouraged to do it and it was a pleasure to share with you, see you until my next craft.
@pitau bellisima tu nube.
Gracias @mariaced 🙂