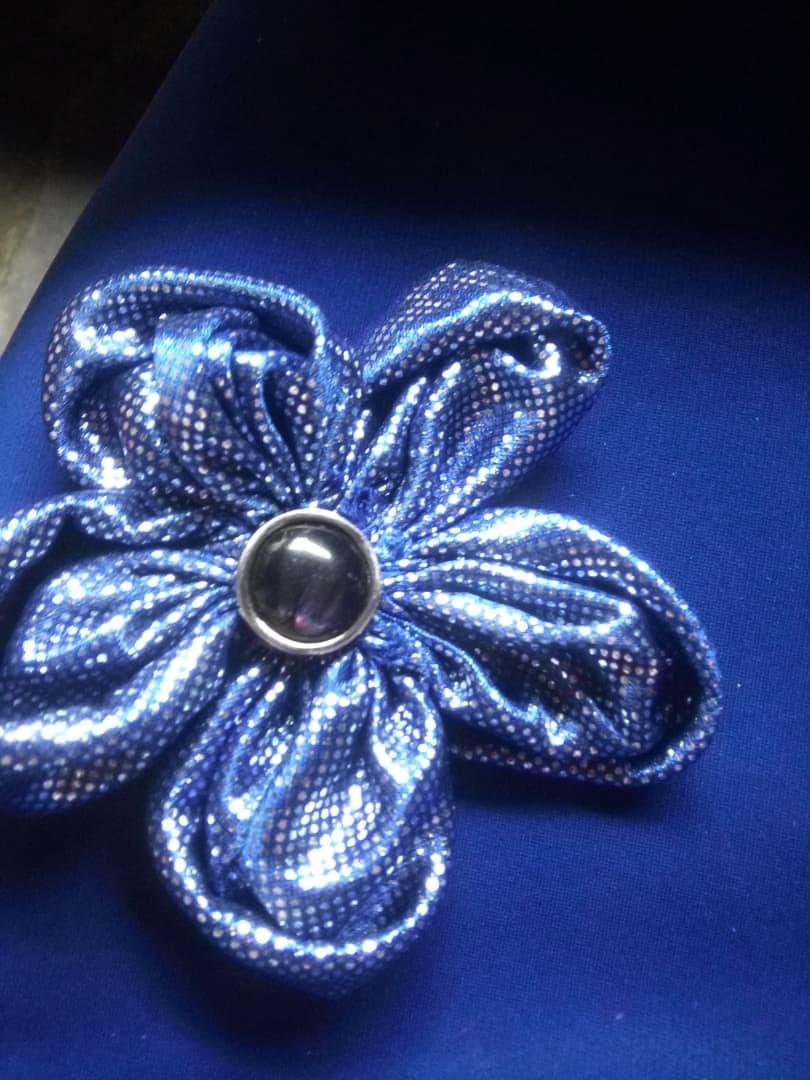
As a seamstress, I made this flower tag from the remaining small pieces of clothes that was left over from a commissioned work after sewing a cloth for a customer. This flower tag can be attached to your hair band, on your dress, bags or your foot wears etc.
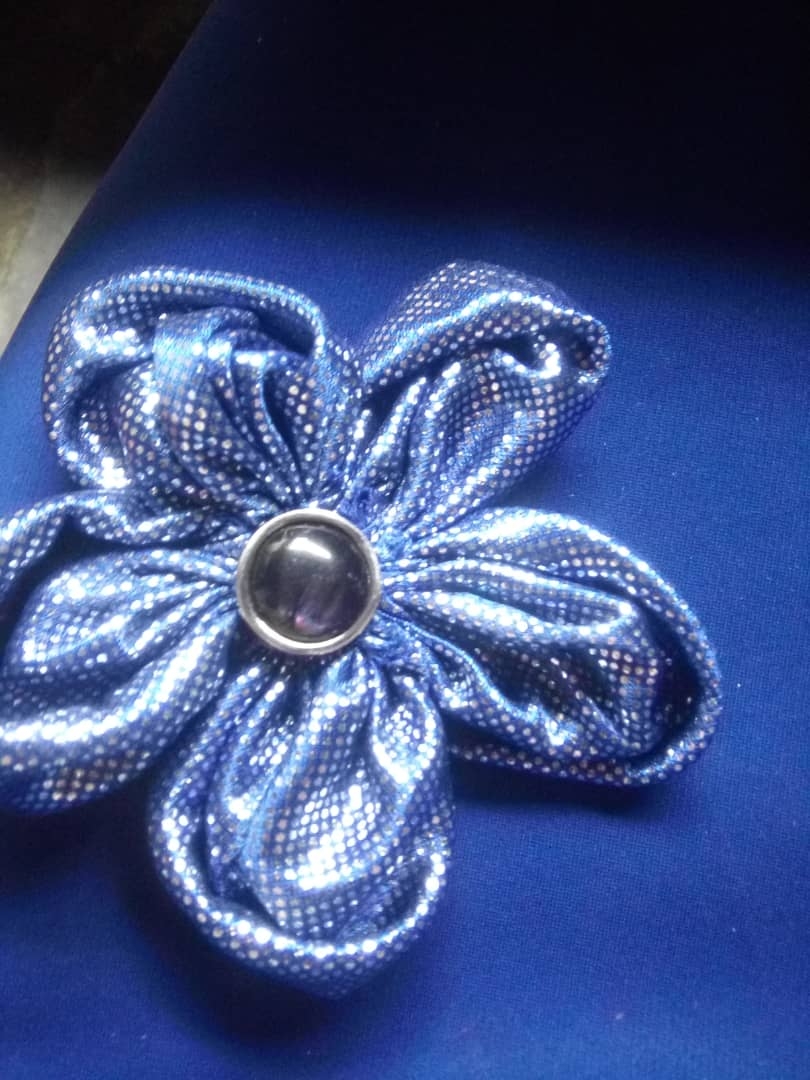
I'll like to explain to you how i did this flower tag in details, so some of us who dont know will also learn.
List of equipment used:
Fabric of your choice
A needle
A glue
A piece of button
A measuring tape and
A chalk
Here are the steps and how i created it:
Step1:
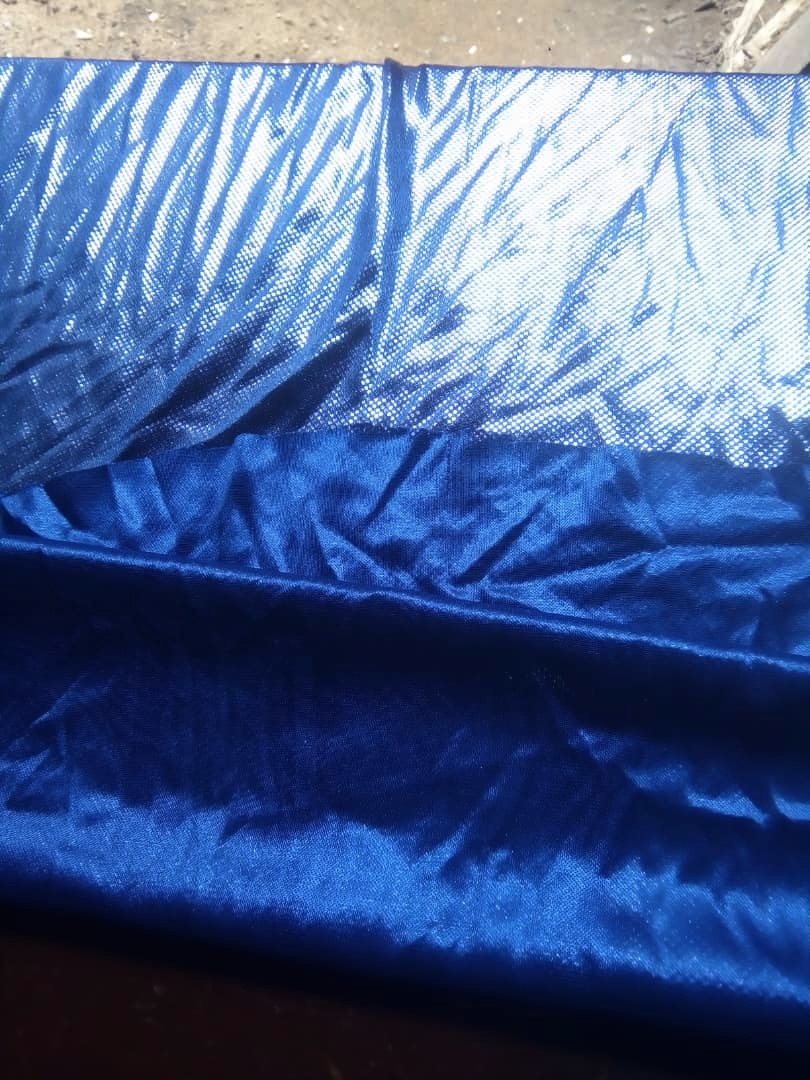
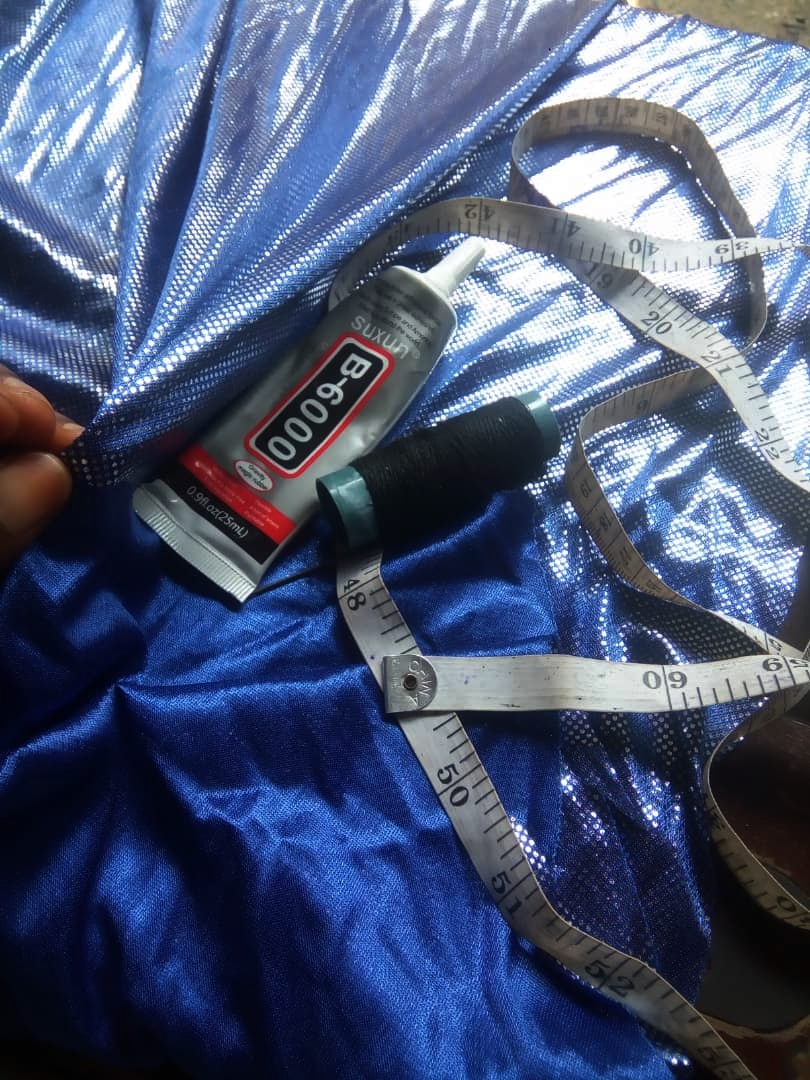
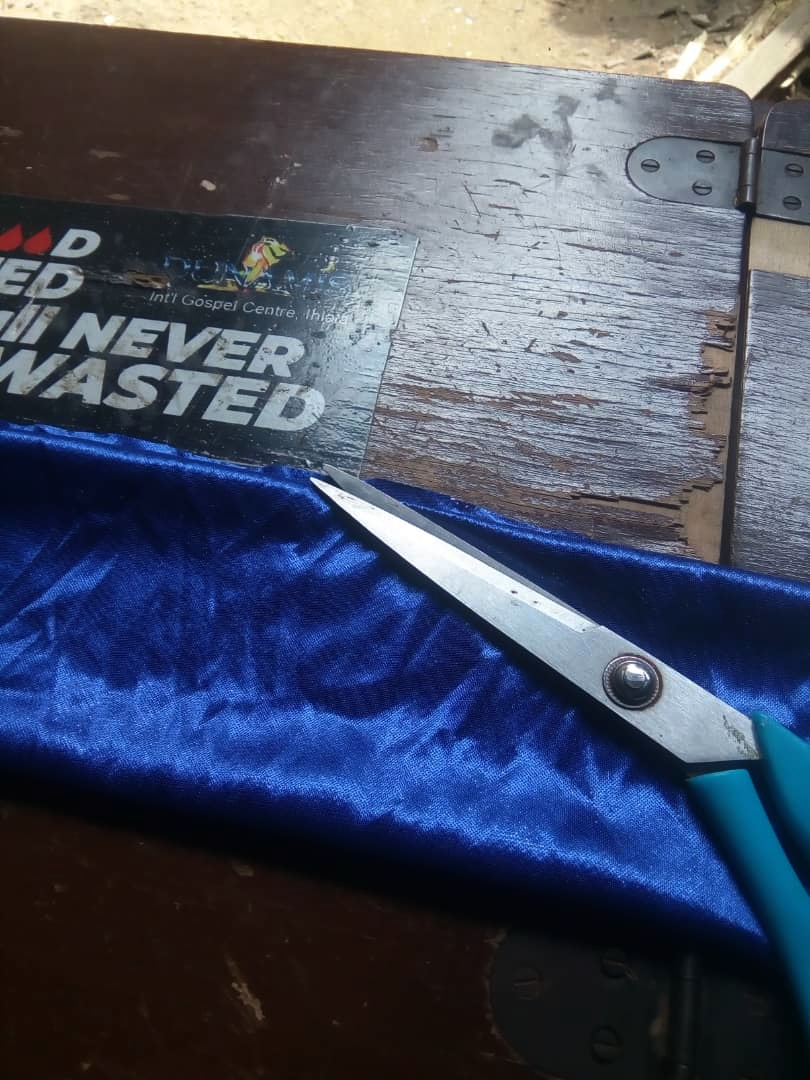
Firstly put your fabric into two measure out 4 inches horizontally and vertically.
Step2:
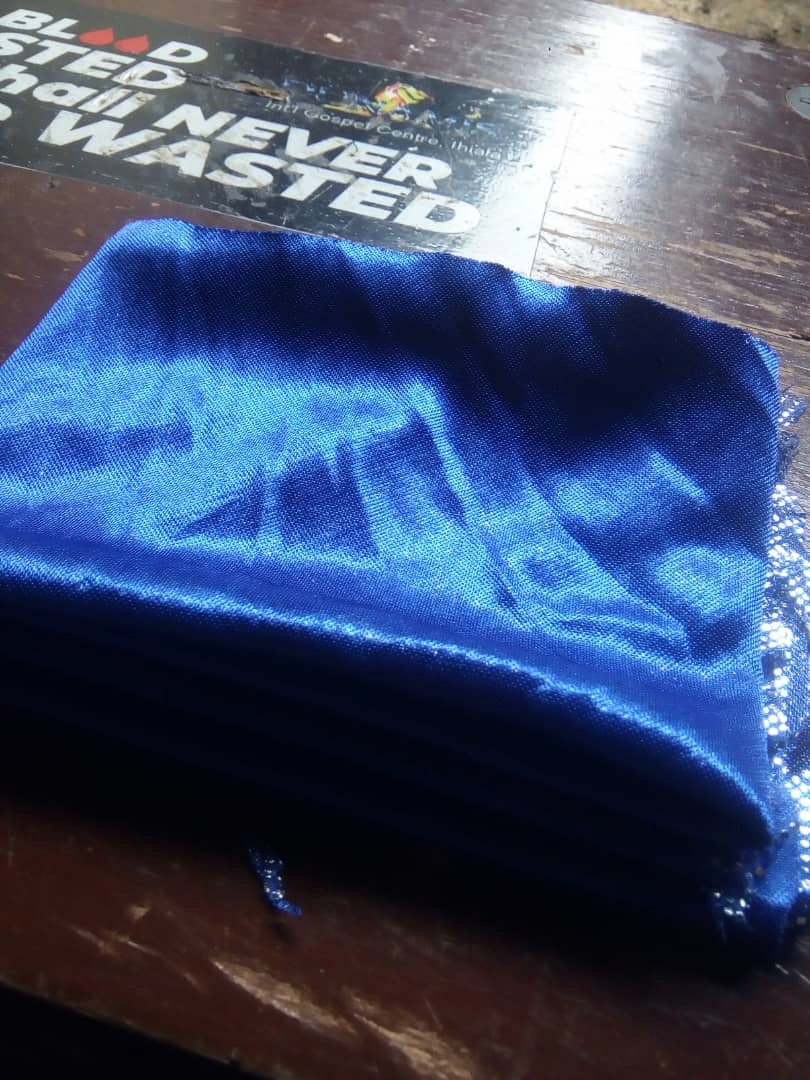
Mark them out and cut it. After the materials will have a square shape
Step3:
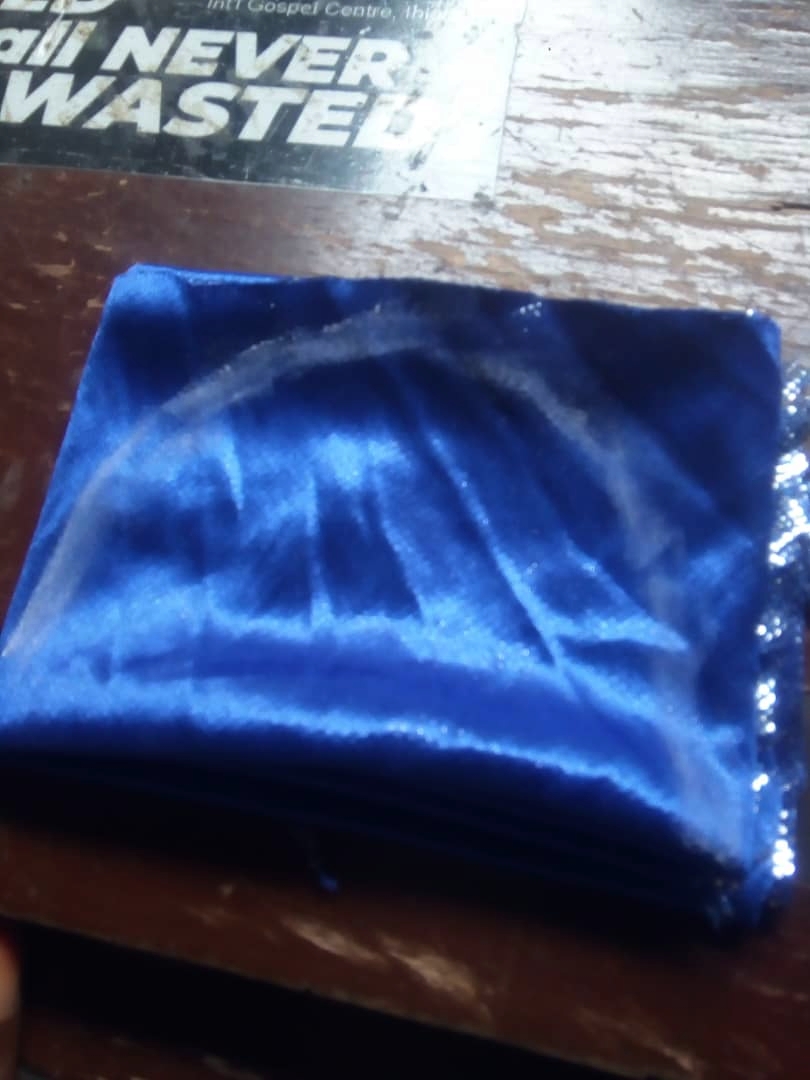
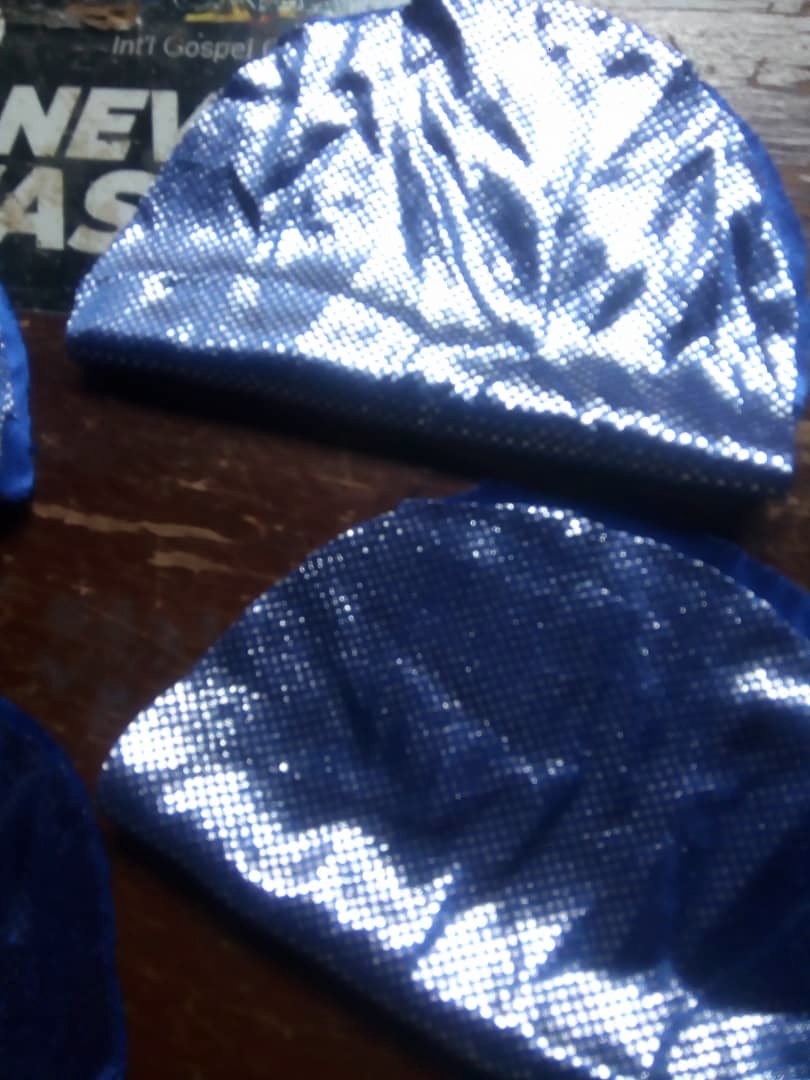
On the square shaped materials you cut out, Mark a C curve on it using chalk and cut from one side of the material to the other and cut it.
Step4:
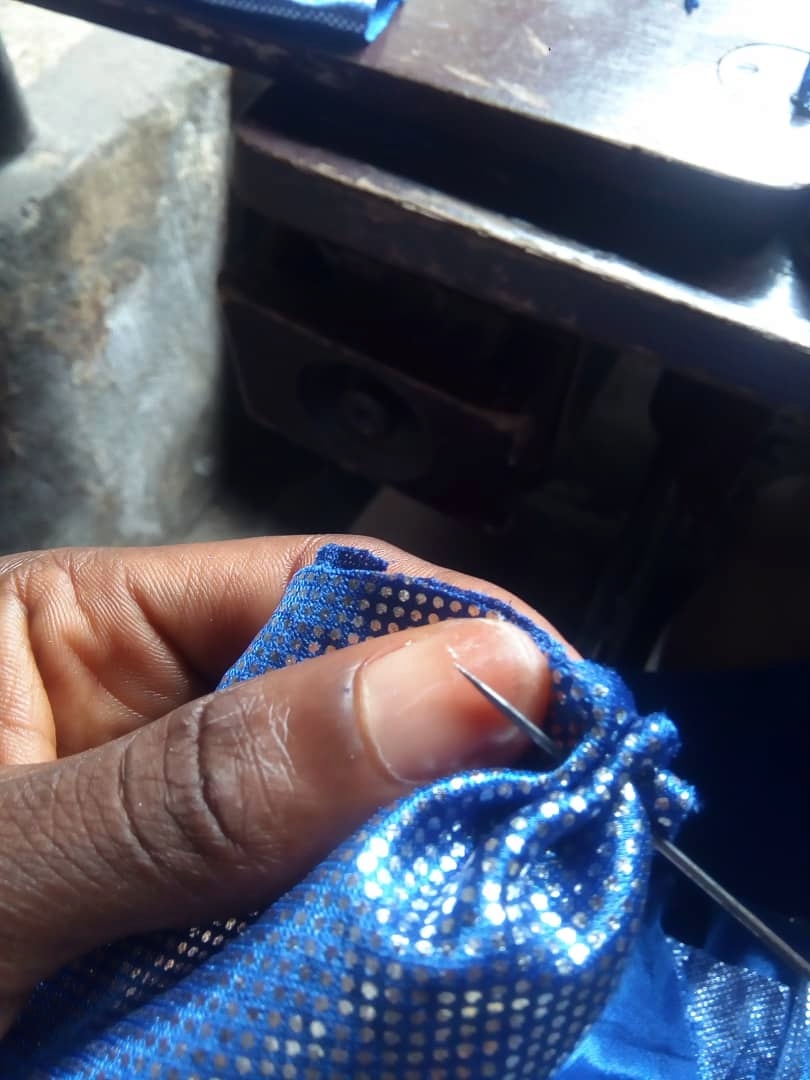
Use your thread and needle and gather the rough edge together (the rough edge has the C-curve).
Do this to as many materials as you want for your DIY.
Step5:
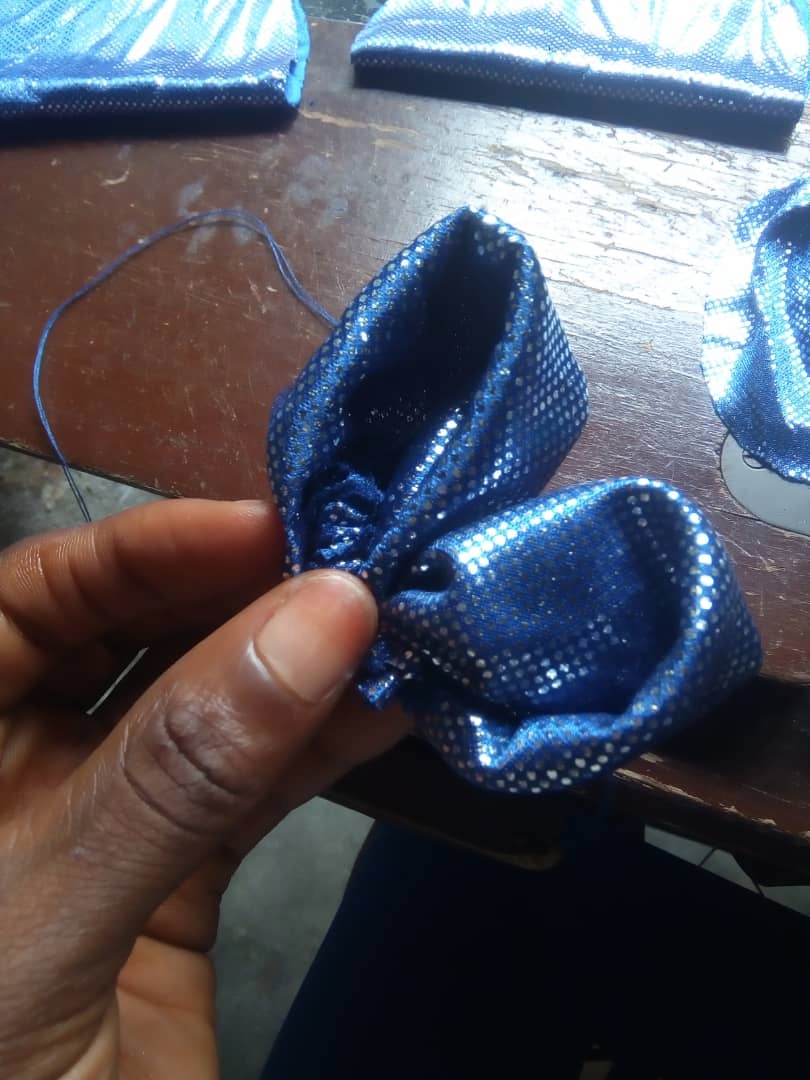
Gather them all together then hold the first one you did with the last one you did together giving it a round shape.
Step6:
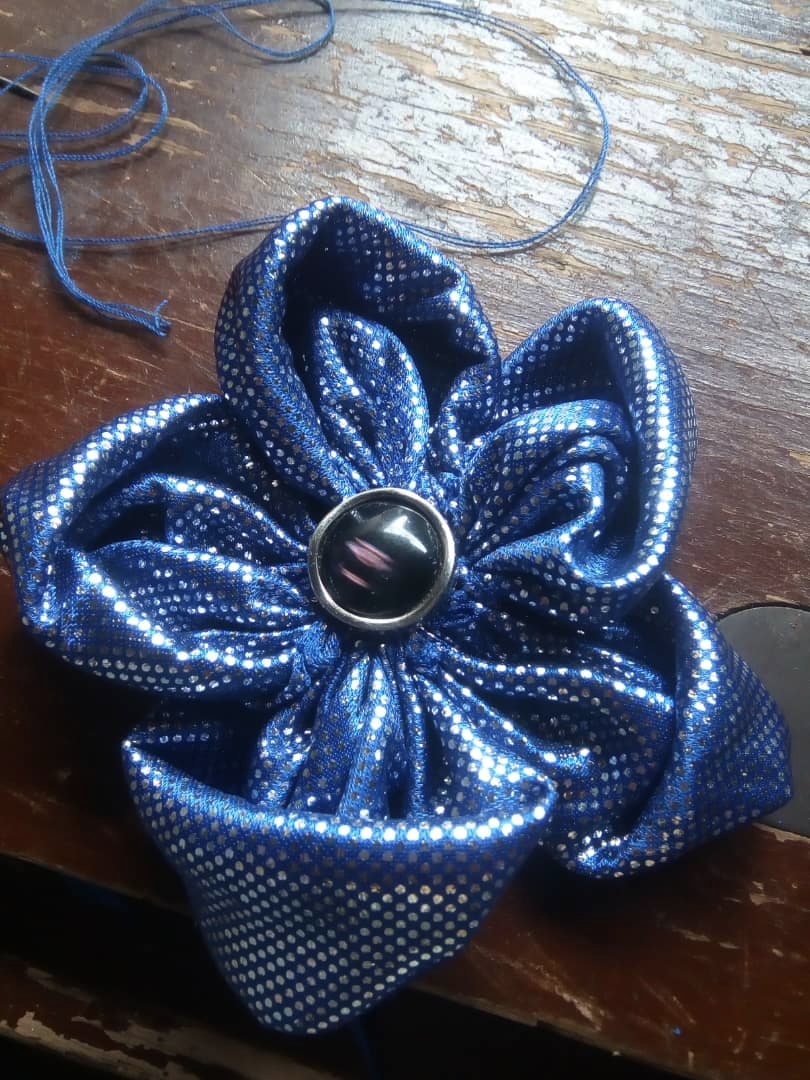

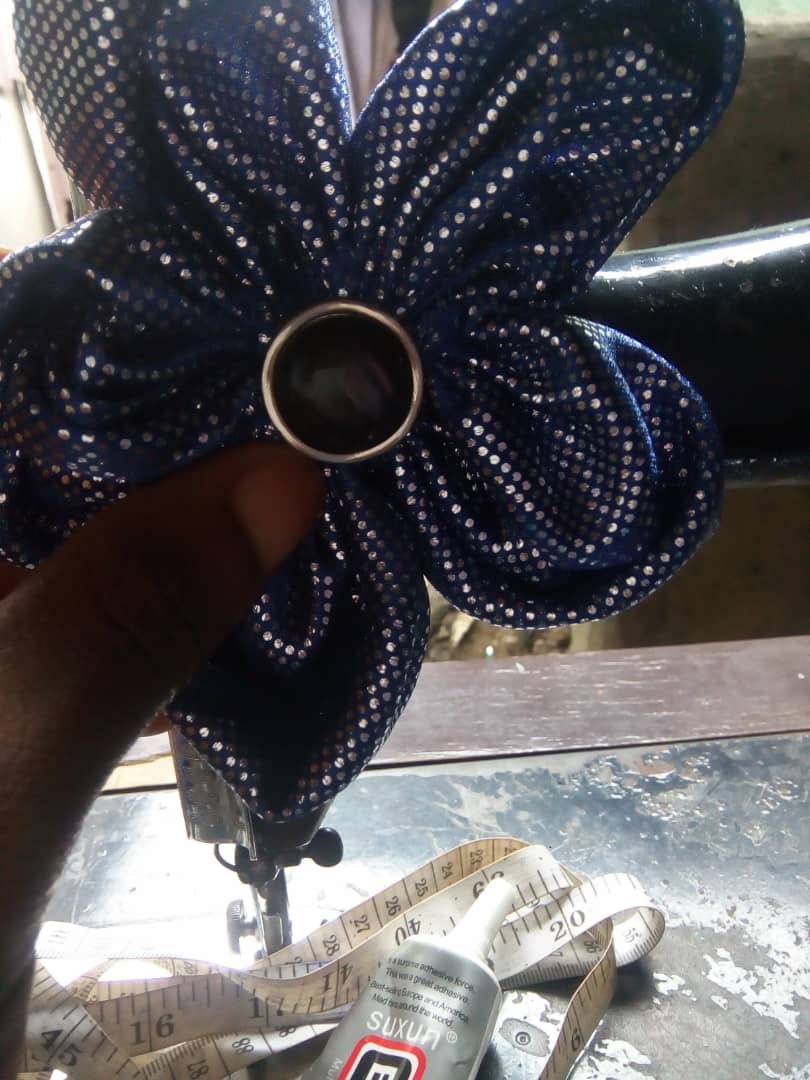
Find a fancy button or any desirable fancy material of your choice and glue to the middle then you're done.
CONGRATULATIONS!
Como costurera que soy, hice esta etiqueta de flor con los pequeños trozos de ropa que sobraron de un trabajo por encargo después de coser una tela para un cliente. Esta etiqueta de flor se puede colocar en la banda para el cabello, en el vestido, en el bolso o en el calzado, etc.
Me gustaría explicarte cómo hice esta etiqueta de flor en detalle, para que algunos de nosotros que no lo sepamos también aprendamos.
Lista de equipos utilizados:
Tela de tu elección
una aguja
un pegamento
un pedazo de boton
Una cinta métrica y
una tiza.
Aquí están los pasos y cómo lo creé:
Paso 1:
En primer lugar, coloque la tela en dos y mida 4 pulgadas horizontal y verticalmente.
Paso 2:
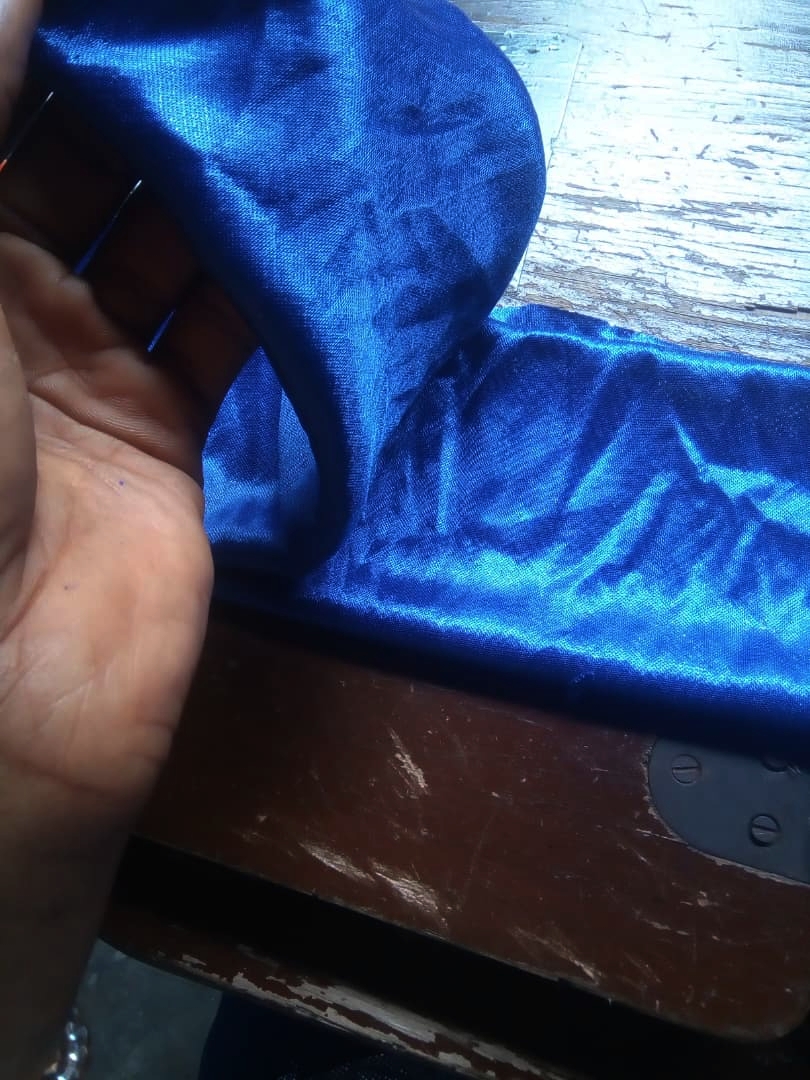
Márcalos y córtalos. Después los materiales tendrán forma cuadrada.
Paso 3:
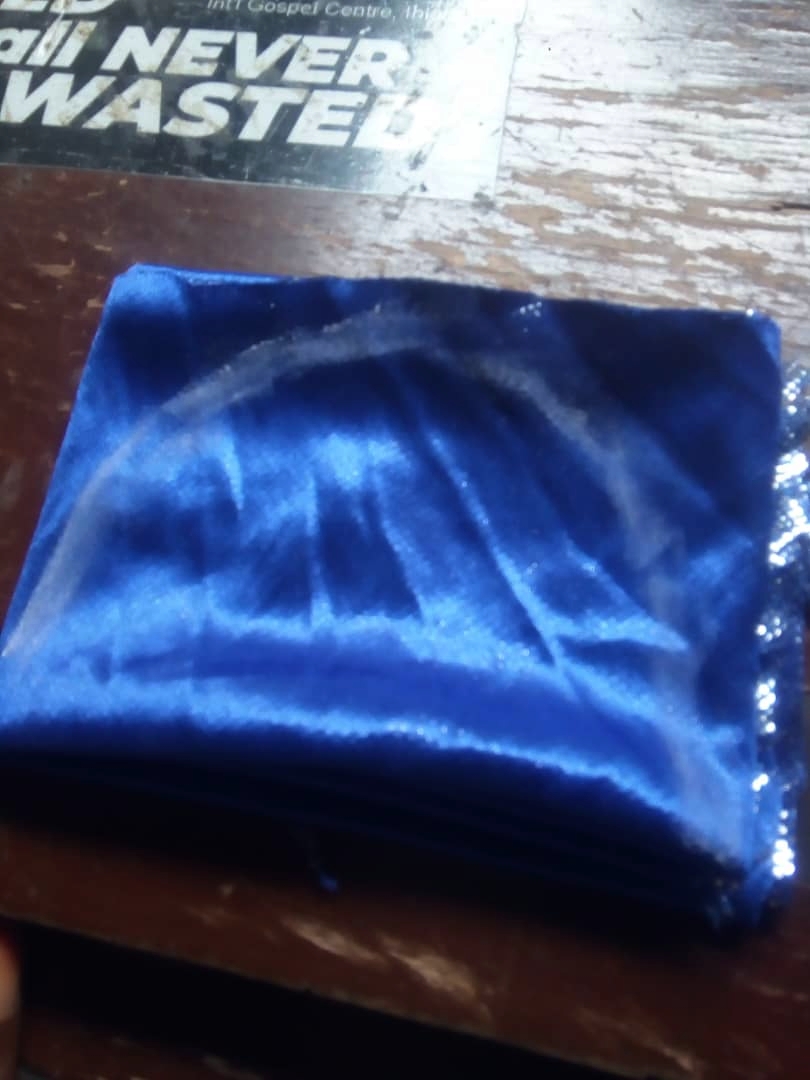
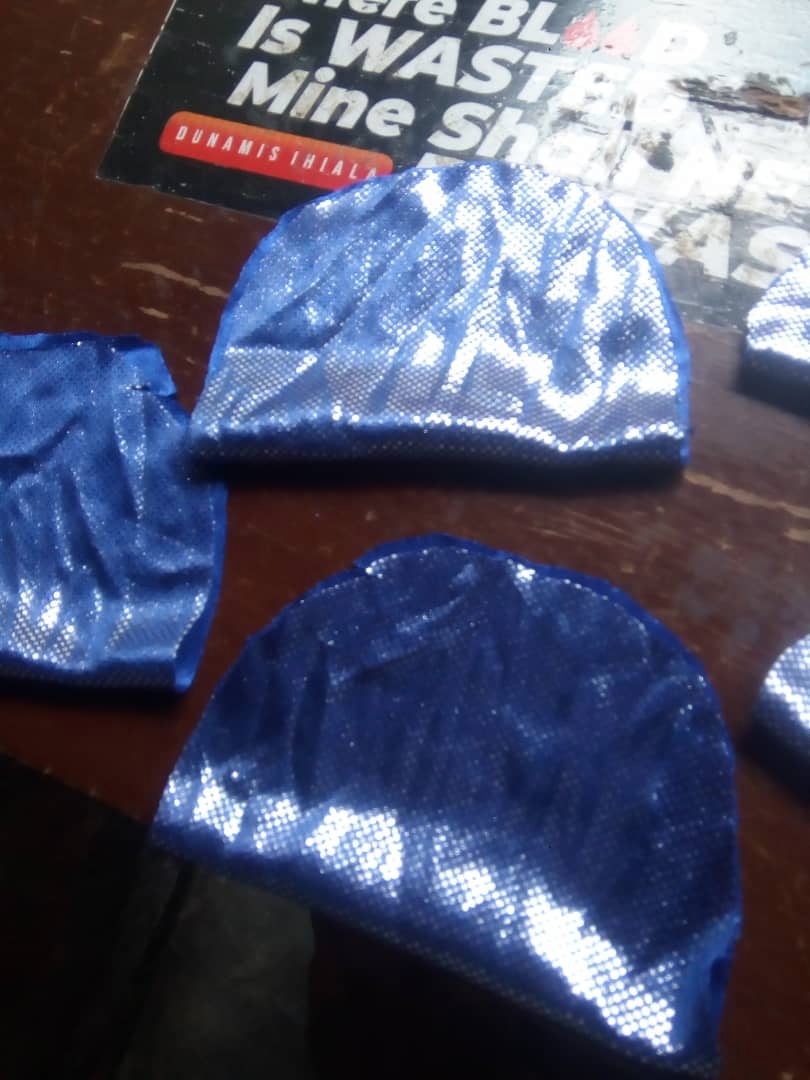
En los materiales de forma cuadrada que corte, marque una curva en C con tiza y corte de un lado del material al otro y córtalo.
Paso 4:

Utilice el hilo y la aguja y junte el borde áspero (el borde áspero tiene la curva en C).
Haz esto con tantos materiales como quieras para tu bricolaje.
Paso 5:
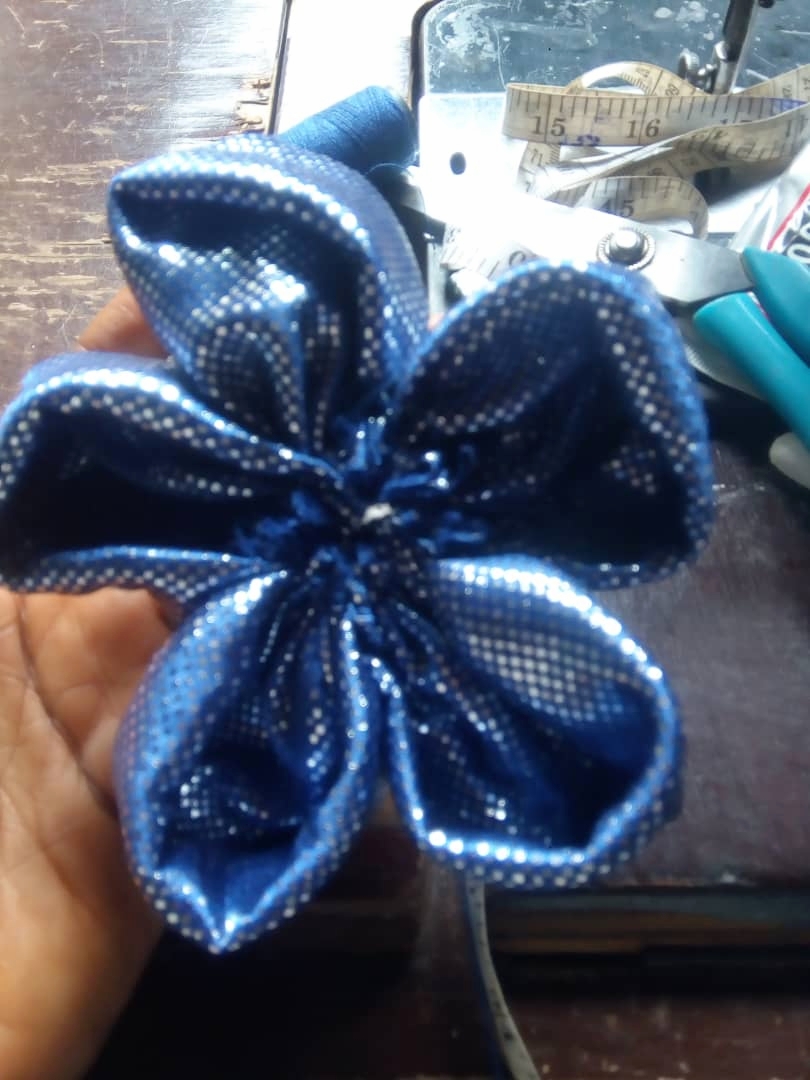
Reúnelos todos y luego junta el primero que hiciste con el último que hiciste juntos dándole forma redonda.
Paso 6:
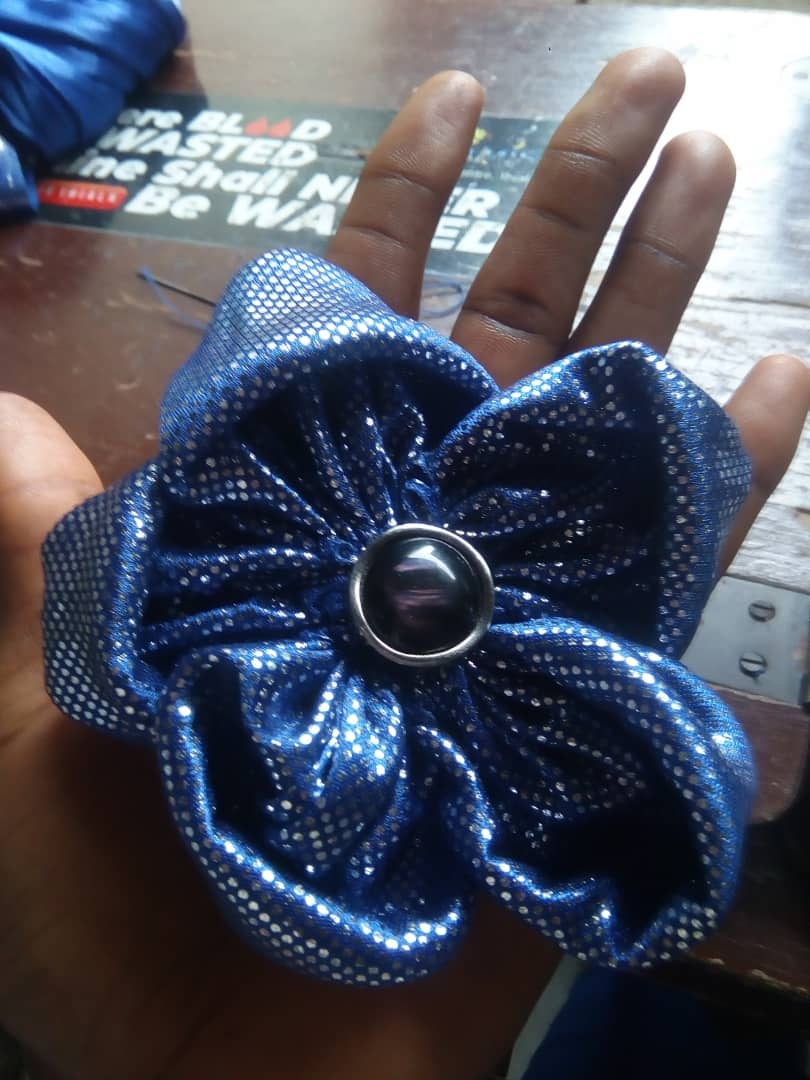

Busque un botón elegante o cualquier material elegante que desee y péguelo en el medio y listo.
¡FELICIDADES!
This is nice, I love your creativity, thanks for sharing.
Wooow! Thank you ♥
Congratulations @princess303! You have completed the following achievement on the Hive blockchain And have been rewarded with New badge(s)
Your next payout target is 100 HP.
The unit is Hive Power equivalent because post and comment rewards can be split into HP and HBD
You can view your badges on your board and compare yourself to others in the Ranking
If you no longer want to receive notifications, reply to this comment with the word
STOP