Esp
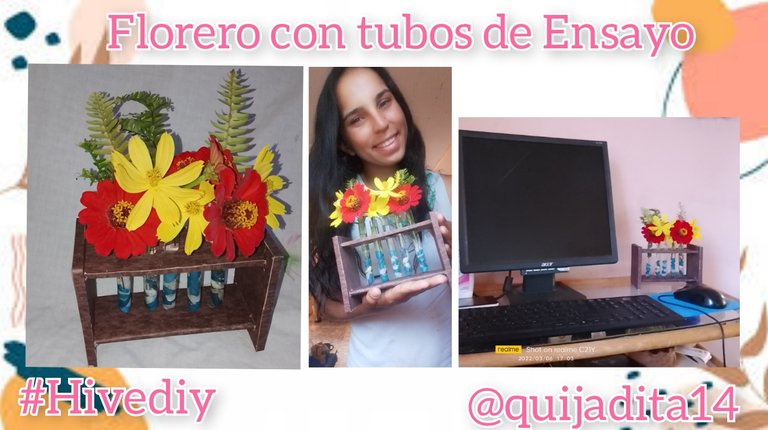
Cómo están amigos artesanos ? Hoy les traigo un hermoso florero realizado con tubos de ensayo estos no solo se pueden utilizar para colectar sangre o para la parte química, también le podemos dar un uso en nuestros hogares ayudándonos a decorar nuestra mesa o rincón de la casa, acá les muestro como lo realice y los materiales que utilice.🧪
Eng
How are you artisan friends? Today I bring you a beautiful vase made with test tubes, these can not only be used to collect blood or for the chemical part, we can also use them in our homes by helping us decorate our table or corner of the house, here I show you how you make it and the materials you use.💐
Esp
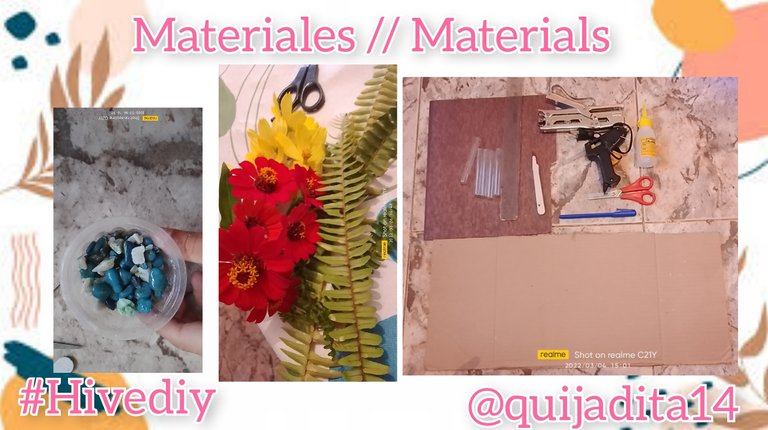
🧪Cartón
🧪Pega
🧪Tijera
🧪Regla
🧪Bolígrafo
🧪Bisturí para manualidades
🧪Grapadora o pistola de silicón
🧪 5 Tubos de ensayo
🧪 Carpeta marrón
🧪 Flores
🧪Piedras decorativas
Eng
💐 Paperboard
💐Job
💐Scissors
💐Ruler
💐Ballpoint
💐 Scalpel for crafts
💐Stapler or glue gun
💐5 test tubes
💐brown folder
💐Flowers
💐 Decorative stones
Esp
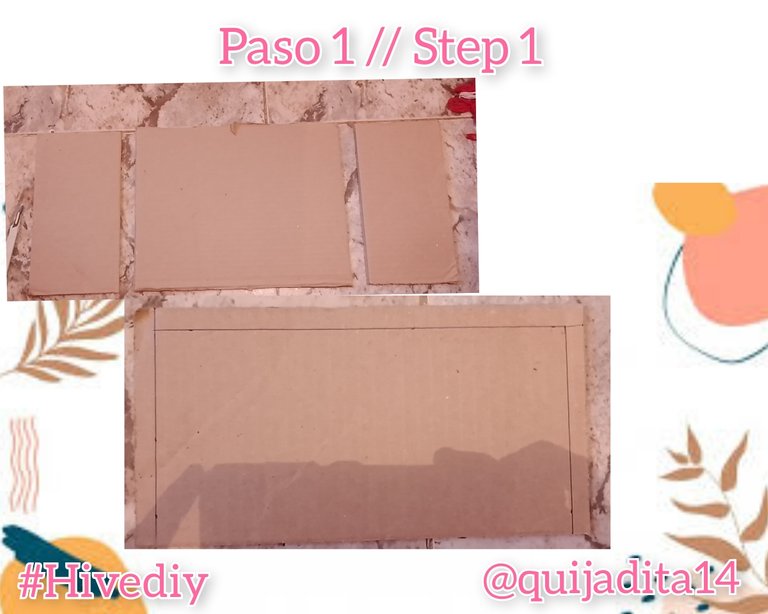
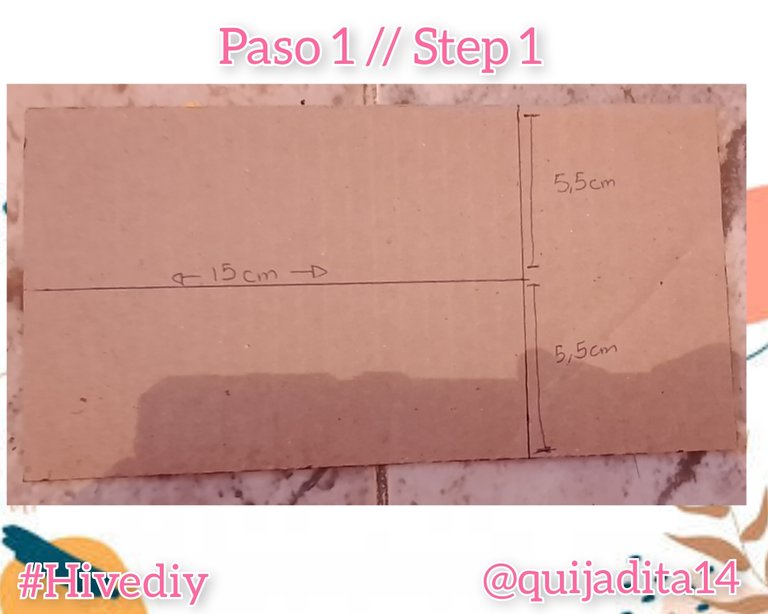
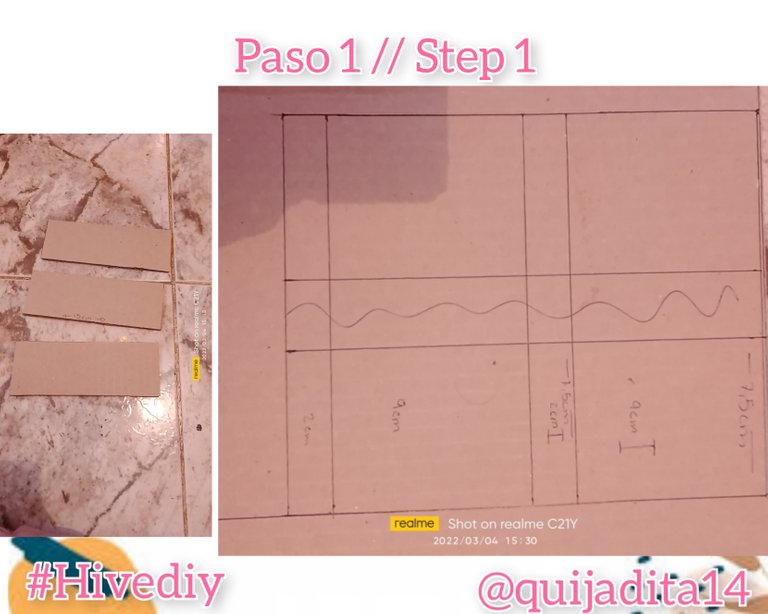
🧪Para comenzar tomamos el cartón más grande y en cada uno de sus bordes marcamos 1 centímetro, recortamos el centímetro marcado, luego dividimos el cartón en 3 piezas de 15 centímetros de largo y 5,5 centímetro de ancho, (en este cartón no me alcanzó para las tres piezas es por ello que tuve que realizar la tercera pieza en otro cartón) recortamos las piezas y retiramos el cartón que nos sobra.
Eng
💐To begin we take the largest cardboard and on each of its edges we mark 1 centimeter, we cut out the marked centimeter, then we divide the cardboard into 3 pieces 15 centimeters long and 5.5 centimeters wide, (in this cardboard we do not I had enough for the three pieces that is why I had to make the third piece in another cardboard) we cut the pieces and remove the cardboard that is left over.
Esp
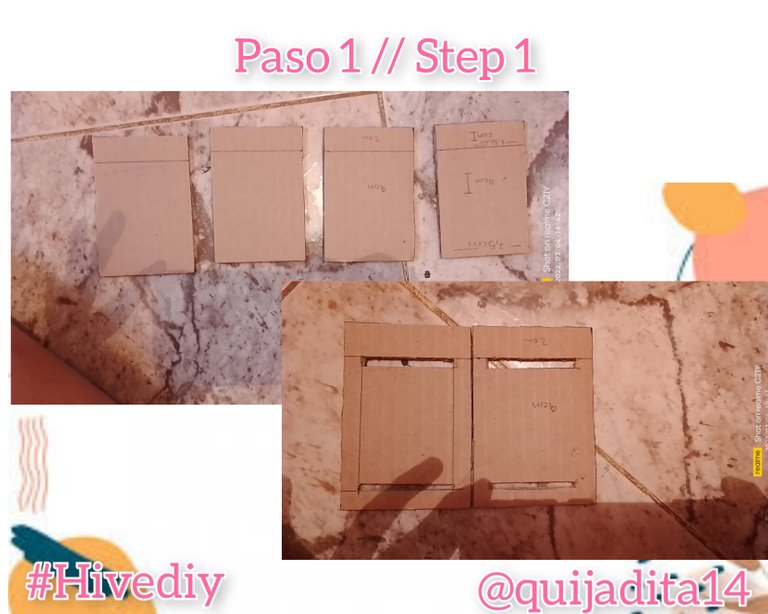
🧪Tomamos otro cartón de dónde sacamos 4 piezas de 11 centímetros de largo y 7,5 centímetros de ancho, marcaremos 2 centímetros dentro de los 11 centímetros que ya marcamos y recortamos las piezas, le hacemos a partir de los 2 centímetros una ranura en la parte súper del cartón de 0,3 milímetros de ancho y en la parte inferior dejamos 1 centímetro y le hacemos una ranura de 0,6 milímetros, estás ranuras solo se las realizamos a dos de nuestras piezas dejando las otras dos completas.
Eng
💐We take another cardboard from which we take 4 pieces of 11 centimeters long and 7.5 centimeters wide, we will mark 2 centimeters within the 11 centimeters that we already marked and cut out the pieces, we make a groove from the 2 centimeters in the part Super cardboard 0.3 millimeters wide and in the lower part we leave 1 centimeter and make a 0.6 millimeter slot, these slots are only made in two of our pieces, leaving the other two complete.
Esp
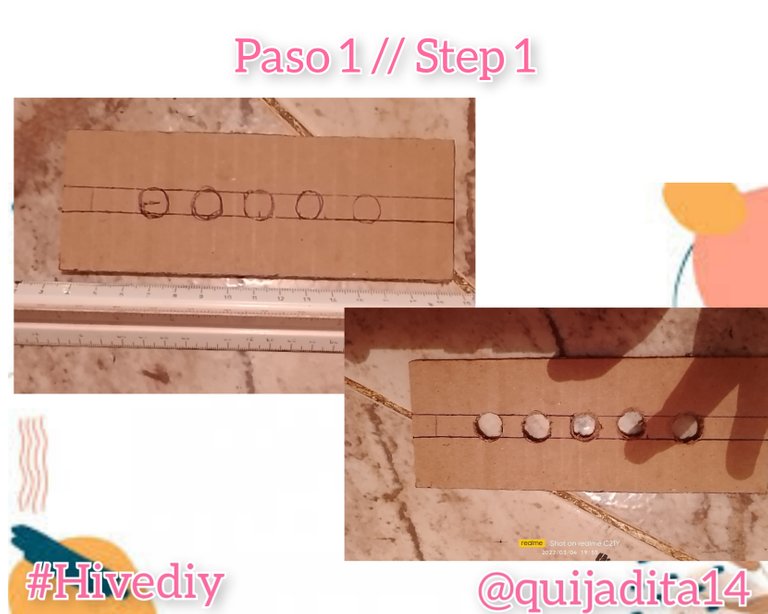
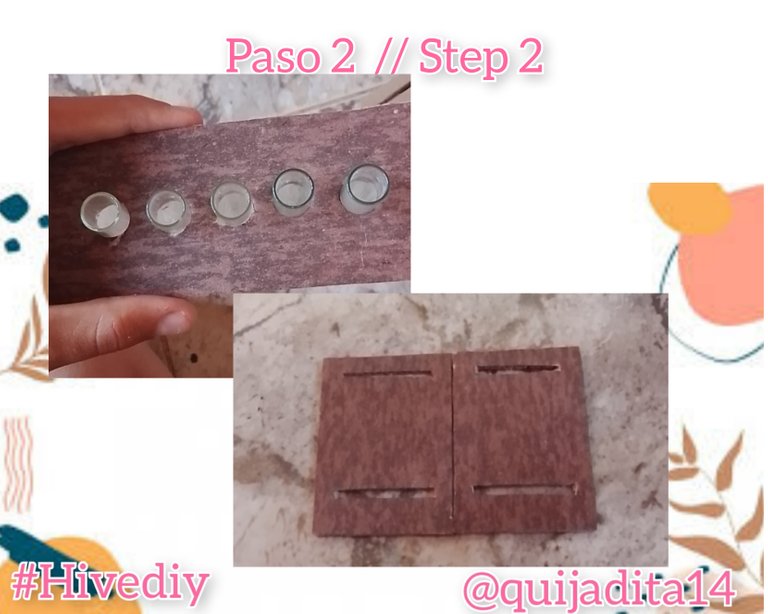
🧪Luego procedemos a tomar una pieza de 15 centímetros por 5,5 centímetros y con ayuda de una regla iremos midiendo y ubicando los hoyos para los tubos de ensayo, tomamos el bisturí y sacaremos la forma de círculo para que los tubos queden fijados en el cartón.
Eng
💐Then we proceed to take a piece of 15 centimeters by 5.5 centimeters and with the help of a ruler we will measure and locate the holes for the test tubes, we take the scalpel and we will make the circle shape so that the tubes are fixed on the cardboard .
Esp
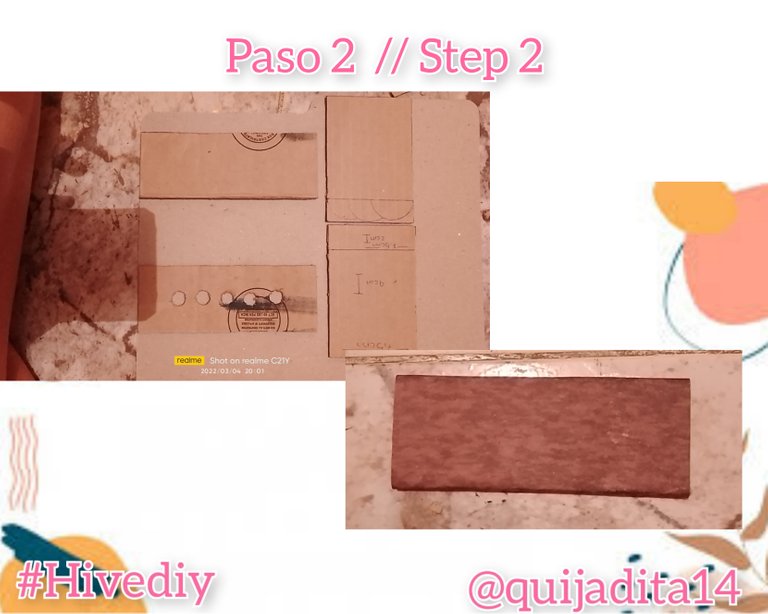
🧪 Tomamos 2 piezas de 15 centímetros por 5, 5 centímetros y las pegamos con silicón una sobre otra para hacerla más gruesa, tomamos las piezas a la cuales se le realizaron las aberturas y las fijamos con silicón caliente a las otras piezas de su mismo tamaño que no poseen abertura, actuando estás como una tapa. Una vez seca comenzamos a forrar todas nuestras piezas con la carpeta, esto le dará la impresión que está base está realizada con madera, pueden tomar los tubos de ensayo e intentar introducirlos por los hoyos para darle una forma más redonda.
Eng
💐We take 2 pieces of 15 centimeters by 5.5 centimeters and we glue them with silicone one on top of the other to make it thicker, we take the pieces to which the openings were made and we fix them with hot silicone to the other pieces of the same size that do not have an opening, acting as a lid. Once dry we begin to cover all our pieces with the folder, this will give you the impression that this base is made of wood, you can take the test tubes and try to insert them through the holes to give it a more round shape.
Esp
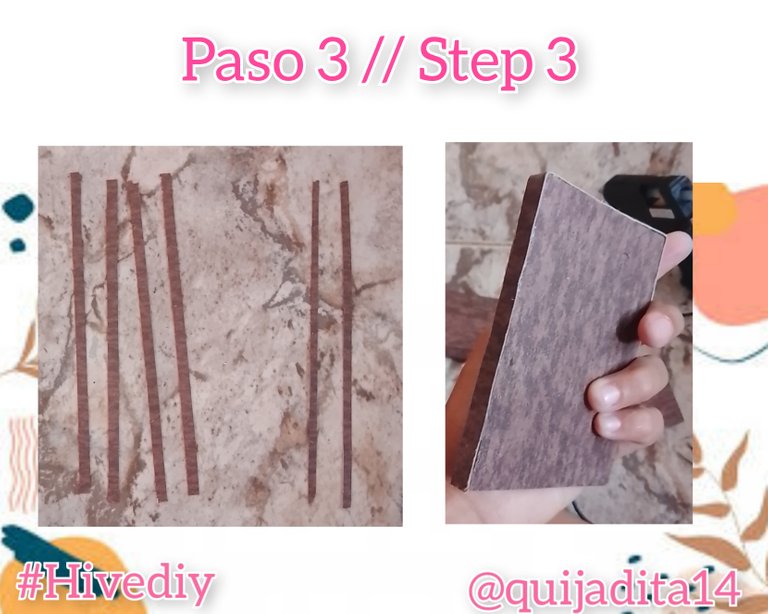
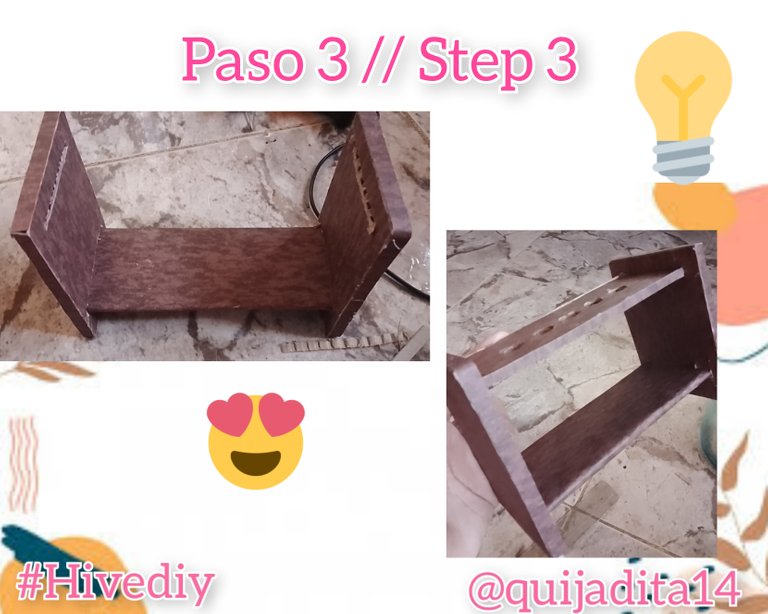
🧪Con ayuda de la regla recortamos tres tiras de 0,3 milímetros de ancho y 20 centímetros de largo, y tres tiras de 0,6 milímetros de ancho y 20 centímetros de largo para cubrir todas las esquinas de nuestras piezas, la cual fijamos con el silicón. Una vez terminado de cubrir todas las esquinas comenzamos armar nuestra base, colocando las dos con aberturas en los laterales, de forma horizontal colocamos las de 15 centímetros por 5,5 centímetros, y en la parte superior colocamos la que posee los hoyos para los tubos de ensayo, estás piezas deben encajar perfectamente en las aberturas realizadas anteriormente y las fijamos con silicón para que no se muevan o se desarme.
Eng
💐With the help of the ruler we cut three strips of 0.3 millimeters wide and 20 centimeters long, and three strips of 0.6 millimeters wide and 20 centimeters long to cover all the corners of our pieces, which we fix with the silicone. Once we have finished covering all the corners we begin to assemble our base, placing the two with openings on the sides, horizontally we place the 15 centimeters by 5.5 centimeters, and in the upper part we place the one with the holes for the tubes test, these pieces must fit perfectly in the openings made previously and we fix them with silicone so that they do not move or disarm.
Esp
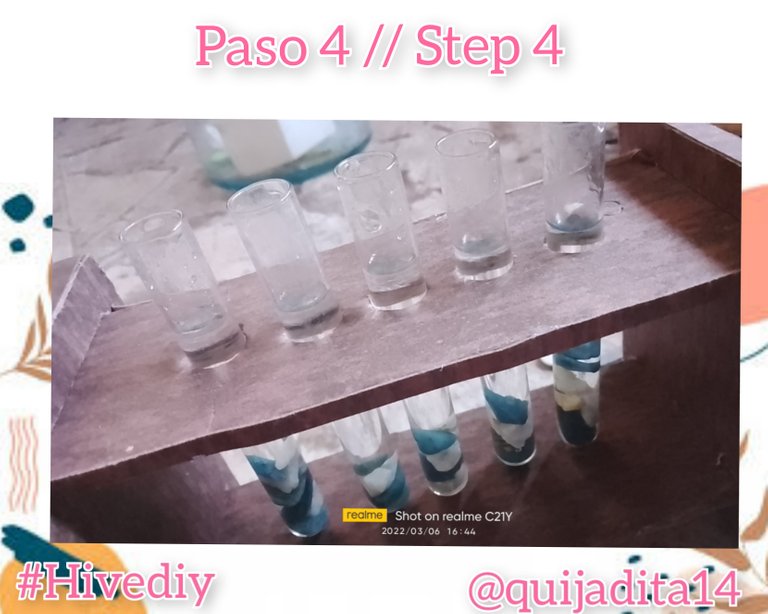
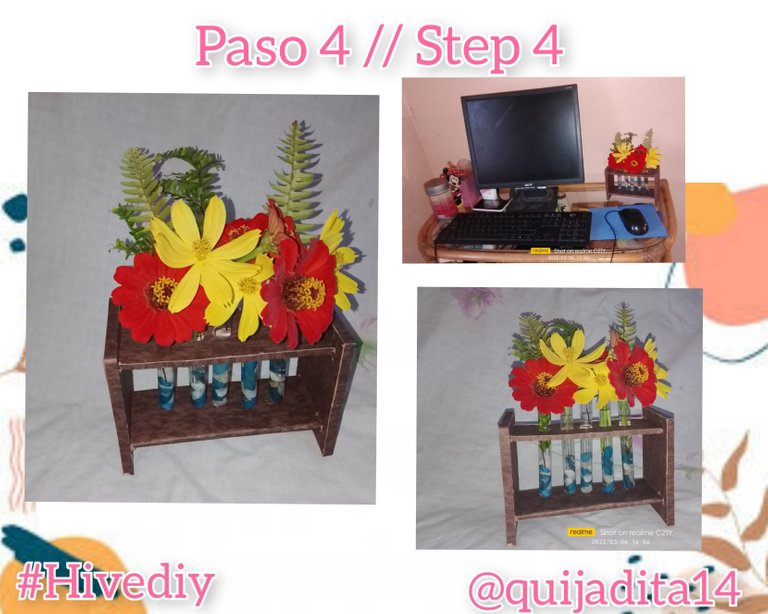
🧪Colocamos los tubos de ensayo en la base, colocamos piedras dentro de ellos y agua, recortamos las flores y las vamos a ubicar de forma ordenada en los tubos de ensayo, asegúrese que el agua llegué al pie de la flor y que las piedras no maltraten a la flor para que está pueda permanecer un largo tiempo en nuestro hermoso florero de tubos de ensayo y ya solo nos queda ubicarlo en algún espacio vacío de nuestro hogar y listo hemos terminado.
Eng
💐We place the test tubes at the base, we place stones inside them and water, we cut out the flowers and we are going to place them in an orderly way in the test tubes, make sure that the water reaches the foot of the flower and that the stones do not mistreat the flower so that it can remain a long time in our beautiful test tube vase and we only have to place it in some empty space in our home and that's it, we're done.
Esp
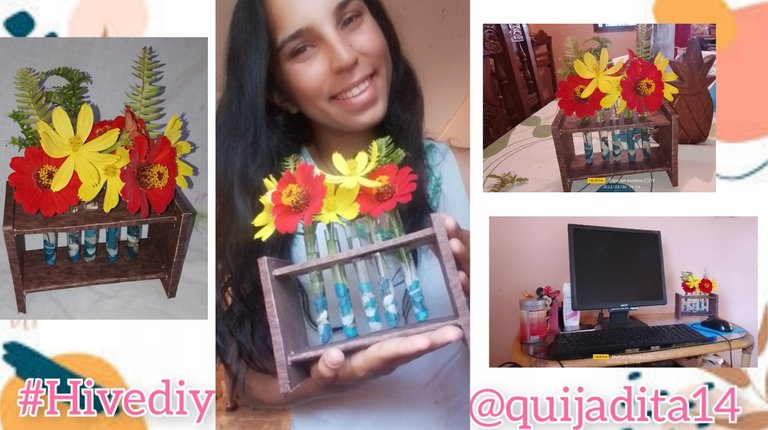
🧪Es muy importante tener en su espacio de trabajo algún tipo de mata, florero o fuente que contenga agua o colores ya que de cierta forma cuando uno se encuentra bajo estrés lo visualiza y encuentra cierta paz, es por ello que ví conveniente compartir con ustedes está linda forma de tener un florero en nuestro escritorio, tan interesante como nosotros.
Eng
💐It is very important to have in your work space some kind of bush, vase or fountain that contains water or colors because in a certain way when you are under stress you visualize it and find some peace, that is why I saw it convenient to share with you this cute way to have a vase on our desk, as interesting as we are.


Esp
🧪Las fotos fueron tomadas con un Realme C21Y, editadas en inCollage y el texto fue traducido al ingles a través de Google translator
Eng
💐The photos were taken with a Realme C21Y, edited in inCollage and the text was translated into English through Google translator
Quedo muy bonito el arreglo que realizaste con los tubos de ensayo
Gracias amigo 💐😘
Congratulations @quijadita14! You have completed the following achievement on the Hive blockchain and have been rewarded with new badge(s):
Your next target is to reach 1750 upvotes.
You can view your badges on your board and compare yourself to others in the Ranking
If you no longer want to receive notifications, reply to this comment with the word
STOPCheck out the last post from @hivebuzz:
Support the HiveBuzz project. Vote for our proposal!
Your content has been voted as a part of Encouragement program. Keep up the good work!
Use Ecency daily to boost your growth on platform!
Support Ecency
Vote for new Proposal
Delegate HP and earn more