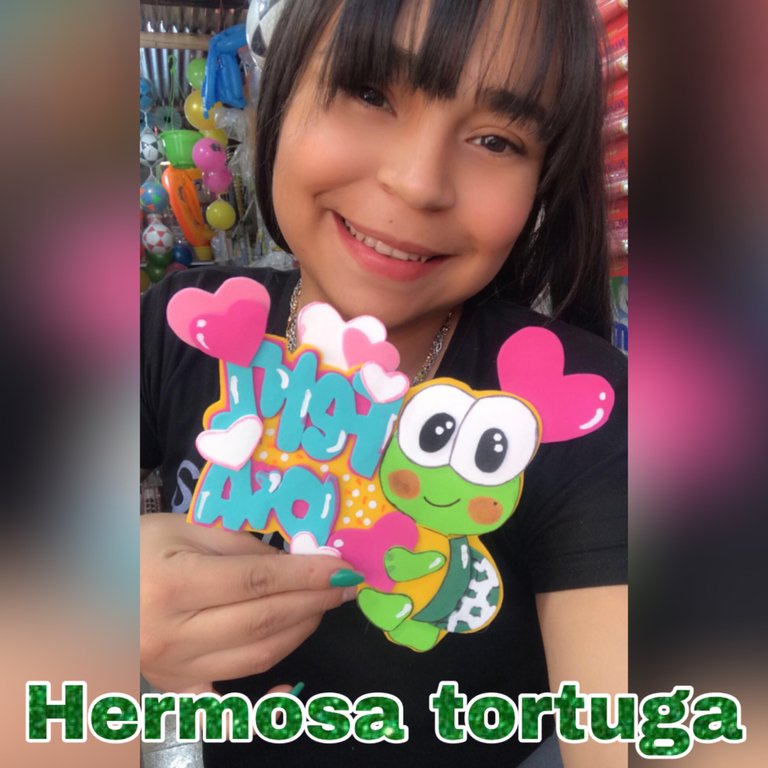
Un cordial saludo a todos los integrantes de esta hermosa comunidad HIVE DIY espero y se encuentren bien con la bendición de Dios, hoy me encuentro con ustedes para mostrarle la elaboración de una hermosa tortuga para regalar en ocaciones especiales, ya que se acerca el día de las madres seria un detalle muy lindo, yo en este caso le regale a mi tía ya que es una persona muy especial para mi siempre ha estado ha mi lado y se lo merece, bueno amigos sin mas nada que decir espero y les guste les invito a ver el paso a paso
A warm greeting to all members of this beautiful community HIVE DIY I hope you are well with God's blessing, today I am with you to show you the elaboration of a beautiful turtle to give away on special occasions, since Mother's Day is approaching it would be a very nice detail, I in this case I gave to my aunt because she is a very special person for me has always been by my side and deserves it, well friends without more to say I hope you like it and I invite you to see the step by step
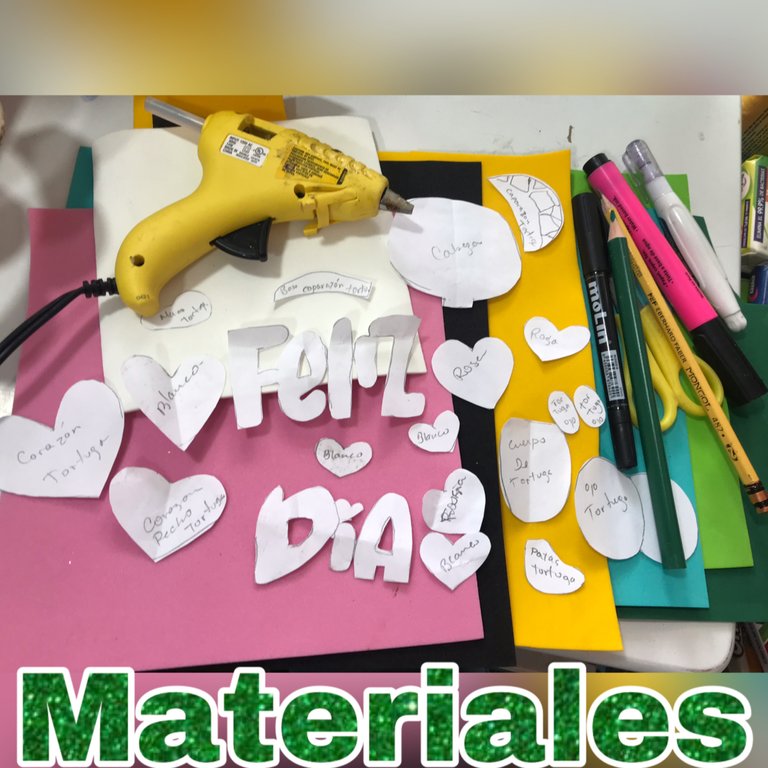
MATERIALES A UTILIZAR
• foami verde claro, verde oscuro, amarillo, fucsia, rosado, blanco y turquesa
• tijera
• lápiz
• pistola de silicon
• marcador negro
• corrector
• resaltador
• patrones de la tortuga
MATERIALS TO BE USED
- light green, dark green, yellow, fuchsia, pink, white and turquoise foami
- scissors
- pencil
- silicone gun
- black marker
- concealer
- highlighter
- turtle patterns
AHORA SI AMIGOS MANOS A LA OBRA
NOW IF FRIENDS, LET'S GET TO WORK
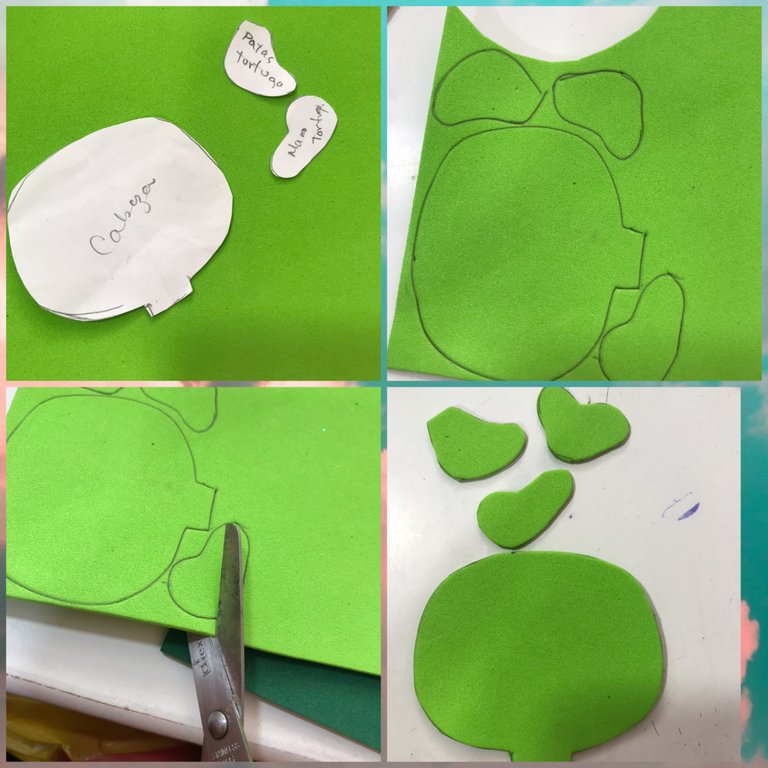
Primero marcamos y recortamos en el foami verde claro la cara de la tortuga, las piernas o pies y los brazos
First, we mark and cut out the turtle's face, legs or feet and arms on the light green foami
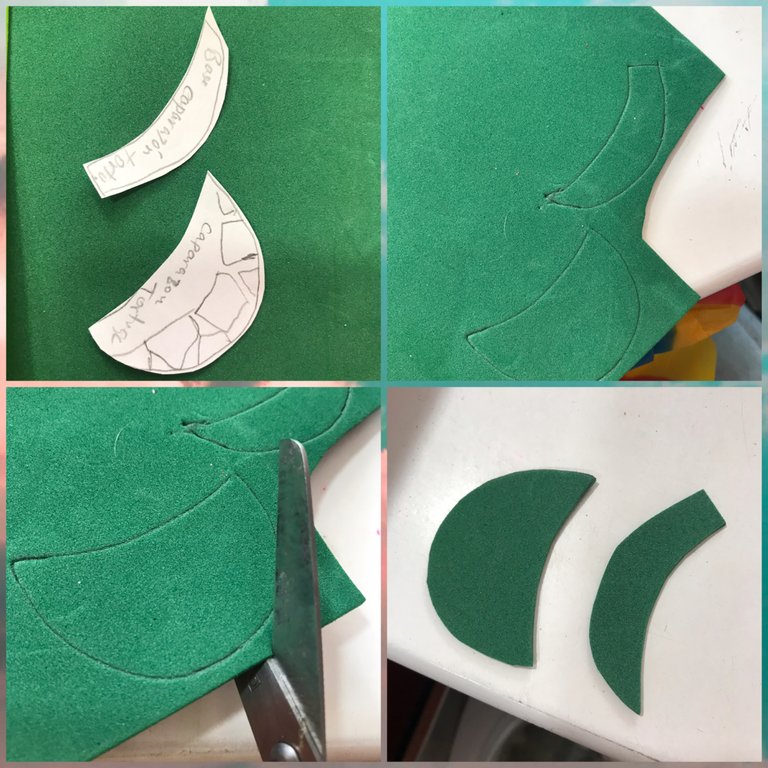
Marcamos y recortamos en el foami verde oscuro el caparazón de la tortuga y el borde del caparazón de la tortuga
We mark and cut out the turtle shell and the edge of the turtle shell on the dark green foami
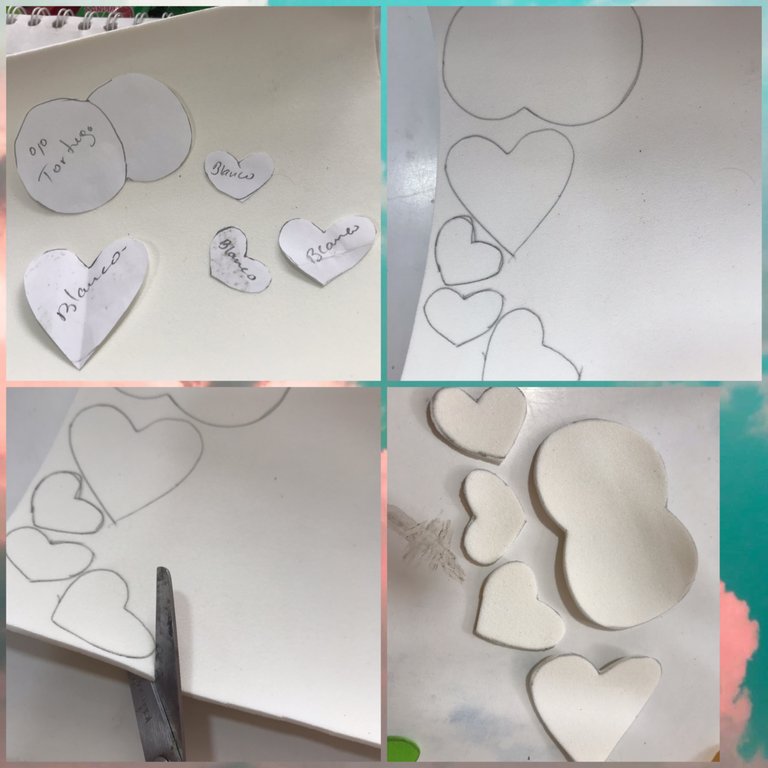
Marcamos y recortamos en el foami blanco los ojos de la tortuga y los corazones de distintos tamaños que nos ayudarán a adornar nuestra tortuga
We mark and cut out the turtle's eyes and the hearts of different sizes that will help us to decorate our turtle on the white foami
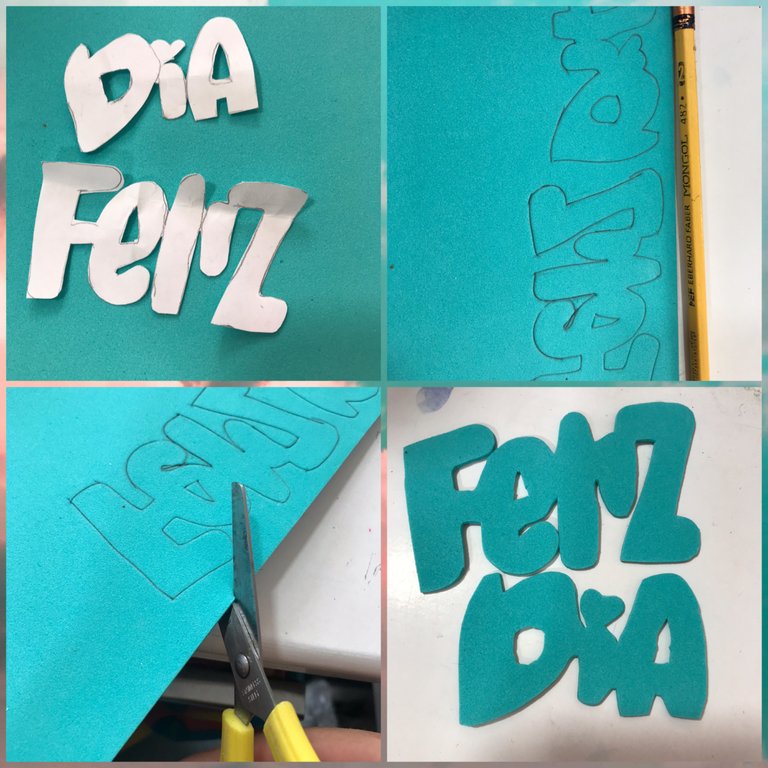
Marcamos y recortamos en el foami turquesa la palabra feliz día
We mark and cut out the word happy day on the turquoise foami
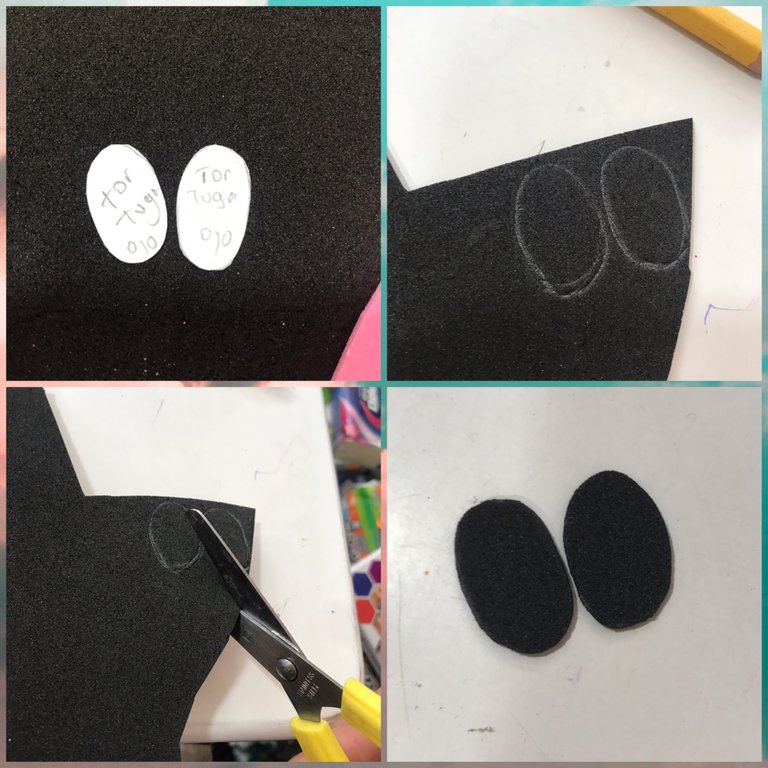
Marcamos y recortamos en el foami negro los fondo de los ojos de la tortuguita
We mark and cut out the bottom of the turtle's eyes on the black foami
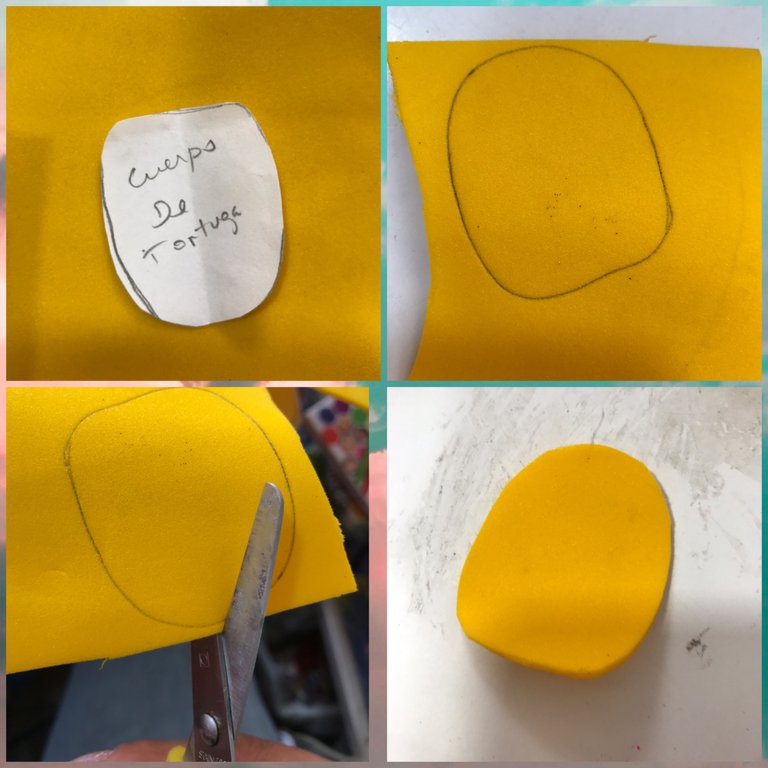
Marcamos y recortamos en el foami amarillo el cuerpo de la tortuga
We mark and cut out the turtle's body on the yellow foami
Marcamos y recortamos en el foami rosado los corazones que nos ayudarán a adornar la palabra feliz día
We mark and cut out on the pink foami the hearts that will help us to decorate the word "happy day"
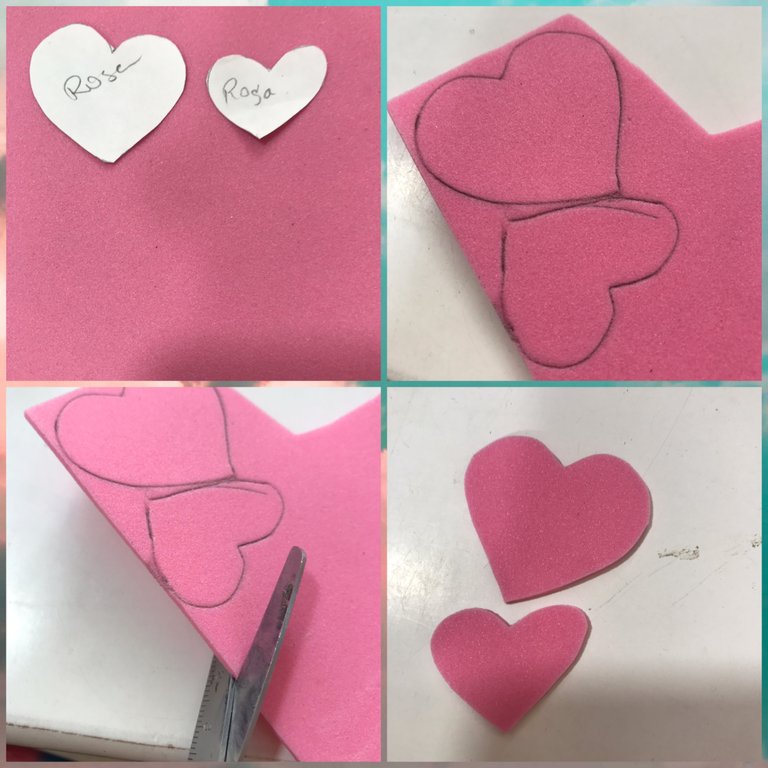
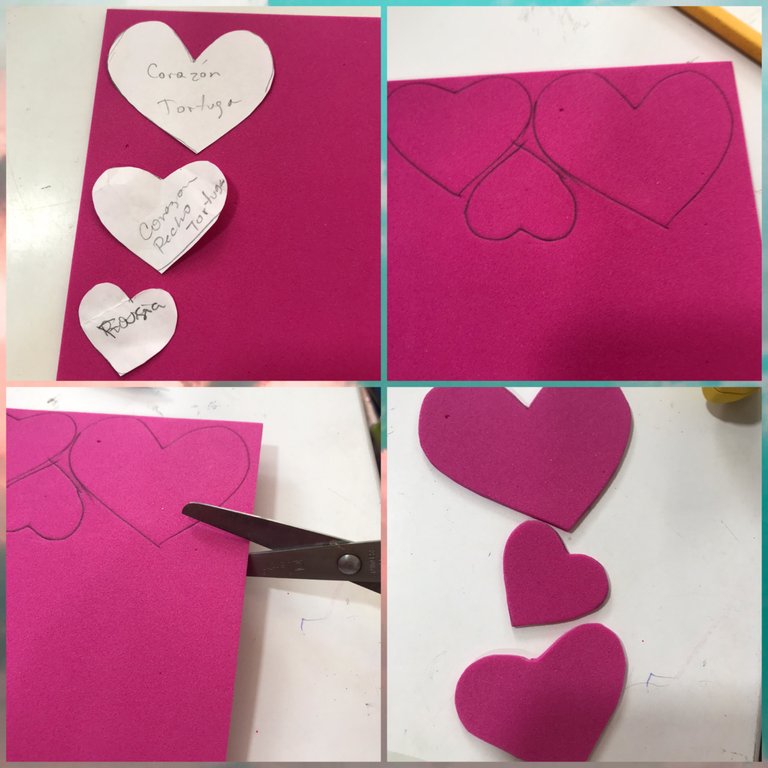
Marcamos y recortamos en el foami fucsia los corazones que nos ayudarán a adornar la tortuguita
We mark and cut out the hearts on the fuchsia foami that will help us to decorate the turtle
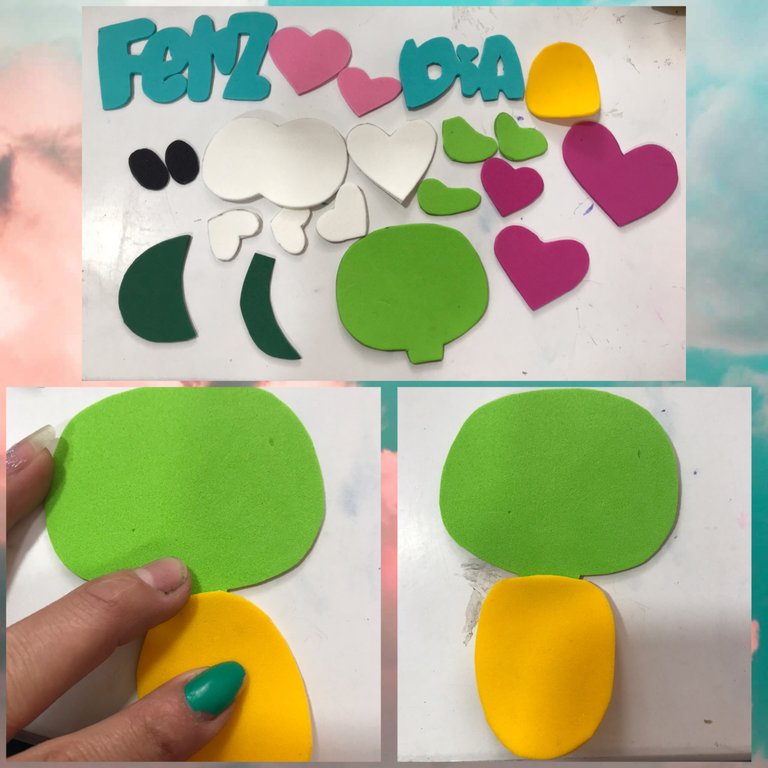
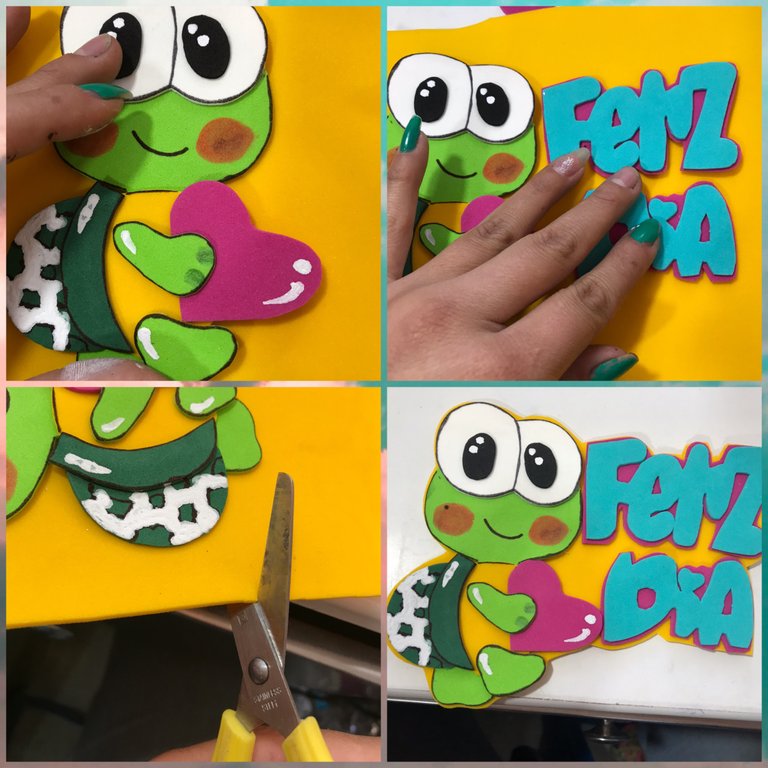
Ya que estén cortados todos los patrones empezamos a pegar la cabeza del cuerpo
Once all the patterns are cut, we start gluing the head of the body
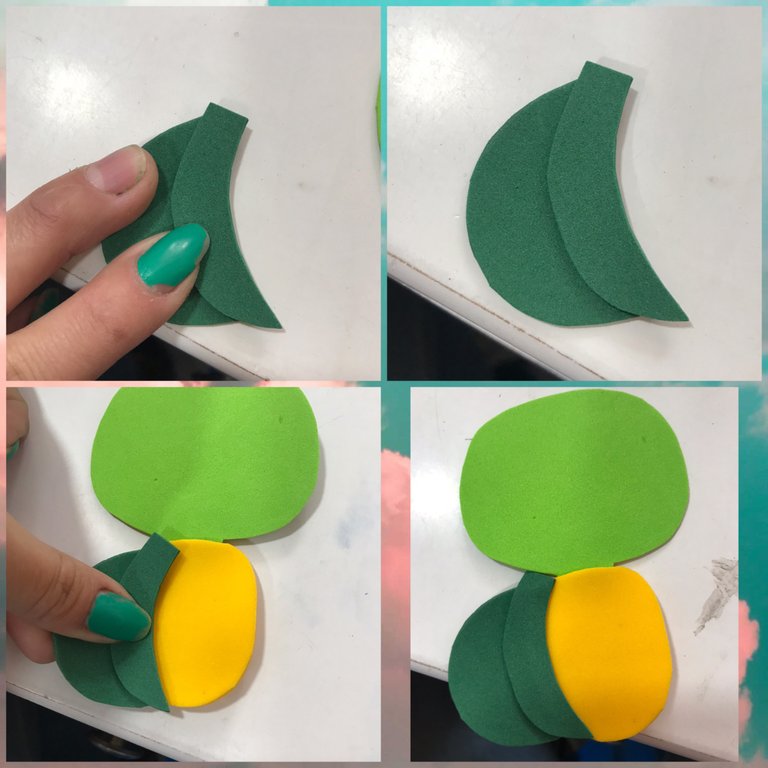
Armamos el caparazón de la torta pegamos el borde del caparazón al caparazón y luego que ya esté lista lo vamos a pegar en el lado izquierdo del cuerpo de la tortuga
We assemble the shell of the cake, glue the edge of the shell to the shell and after it is ready we will glue it to the left side of the turtle's body
Pegaremos los ojos en la cabeza de la tortuga y luego pegaremos el fondo de los ojos a los ojos
We glue the eyes to the head of the turtle and then glue the bottom of the eyes to the eyes
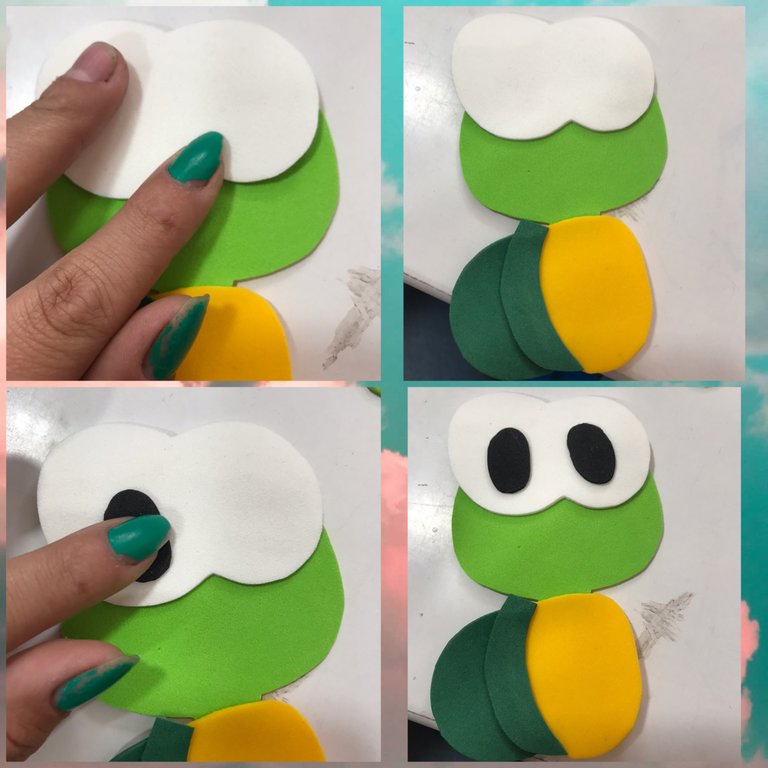
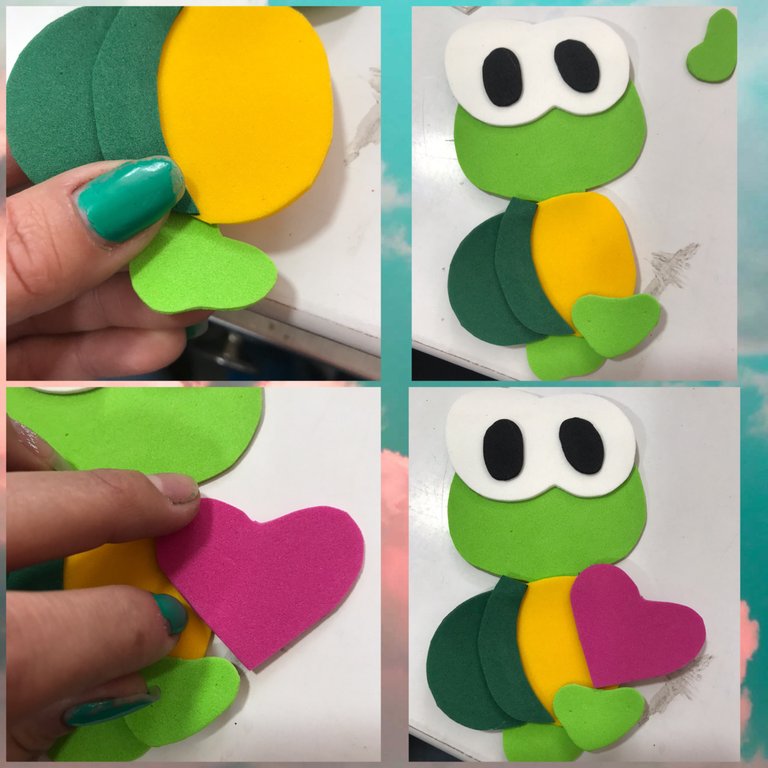
Ahora pegaremos las piernas o pies de la torta en la parte de abajo y luego pegaremos un corazón fucsia en el lado derecho del cuerpo de la tortuga
Now we will glue the legs or feet of the cake on the bottom and then we will glue a fuchsia heart on the right side of the turtle's body
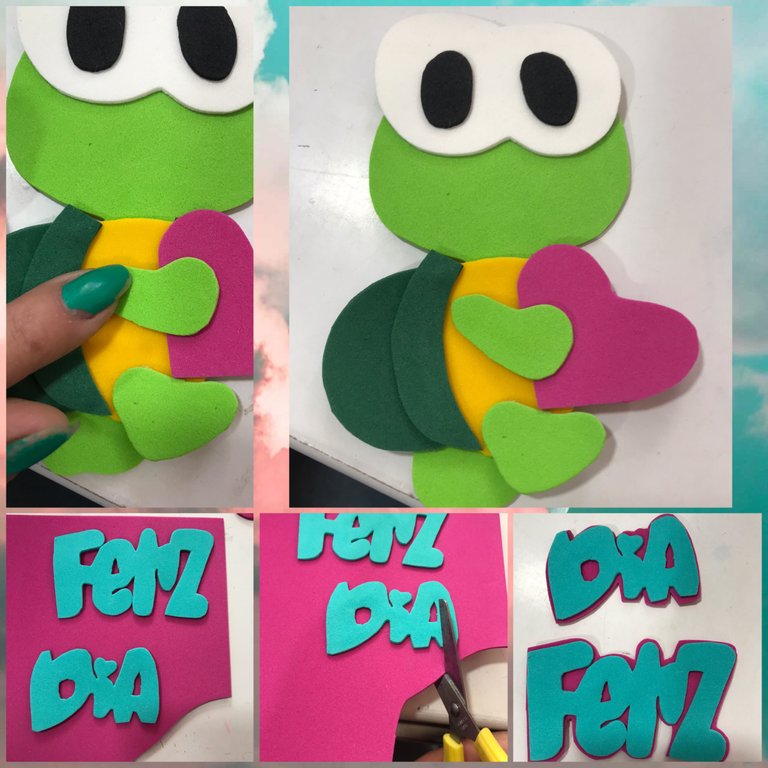
Pegaremos el brazo al cuerpo de la tortuga, pegaremos la palabra feliz día a el foami fucsia y luego recortamos dejando un borde visible
Glue the arm to the turtle's body, glue the word happy day to the fuchsia foami and then cut out leaving a visible border
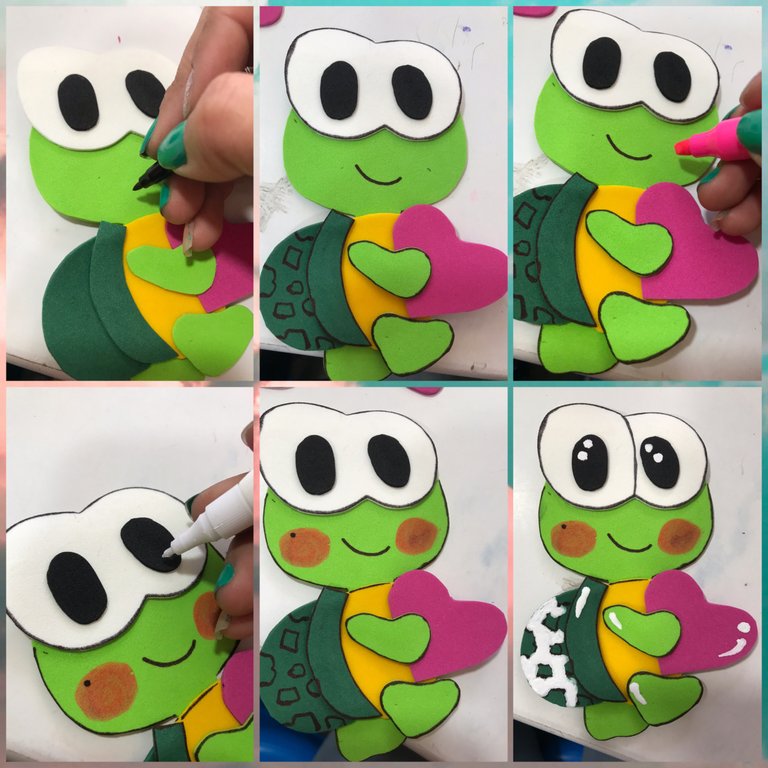
Con el marcador negro le aremos la boca a la tortuga, le pasaremos a todo el borde de la tortuga y le aremos una línea en los ojos, con el corrector le aremos los puntos blancos a los ojos, le pasaremos a el caparazón de la tortuga y le aremos líneas a la los brazos y piernas con el resultador fucsia le aremos las mejillas a la tortuga
With the black marker we will make the mouth of the turtle, we will pass to all the edge of the turtle and we will make a line in the eyes, with the corrector we will make the white dots to the eyes, we will pass to the shell of the turtle and we will make lines to the arms and legs with the fuchsia marker we will make the cheeks of the turtle
Ahora pegaremos la tortuga A el foami amarillo y luego al lado de la tortuga pegaremos la palabra feliz día y recortamos dejando un borde visible
Now we glue the turtle A to the yellow foami and then next to the turtle we glue the word happy day and cut it out leaving a visible border
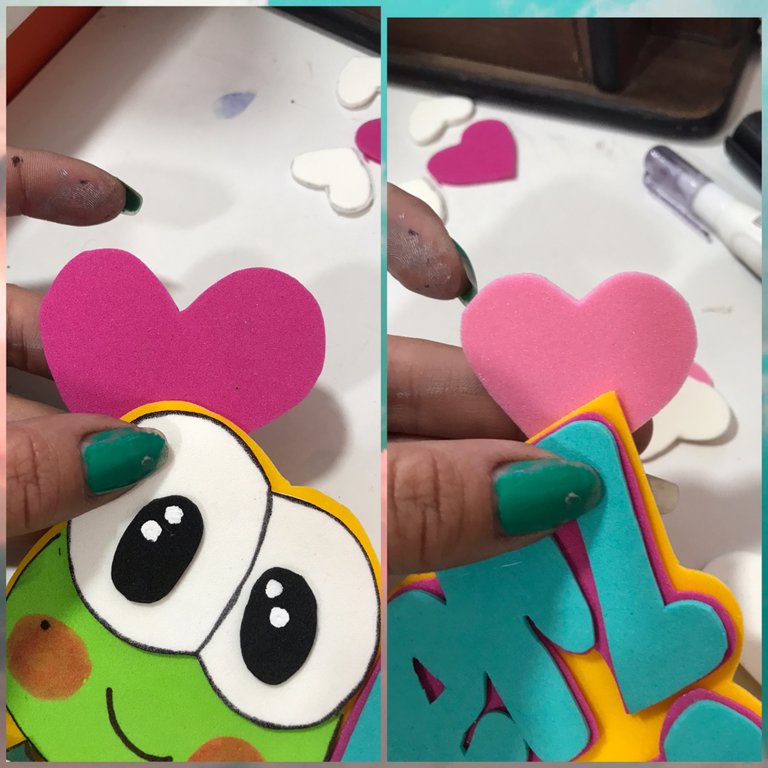
Para finalizar pegaremos los corazones en distintos espacios para resaltar la tortuga y la palabra feliz día y con el corrector le pasaremos a la palabra feliz día y en los corazones para darles los últimos retoques
Finally, we will paste the hearts in different spaces to highlight the turtle and the word "happy day" and with the corrector we will apply the word "happy day" and the hearts to give them the finishing touches
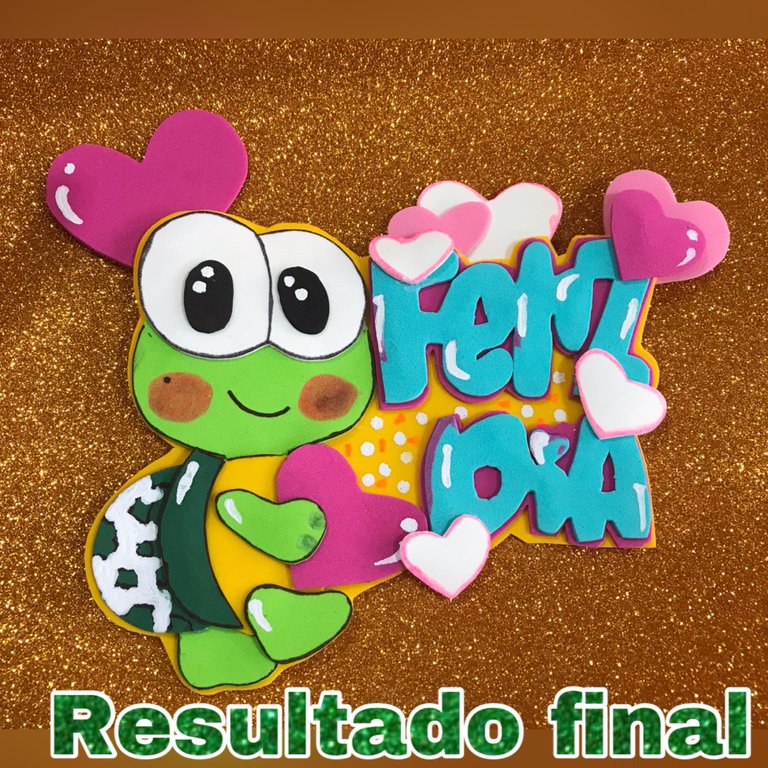
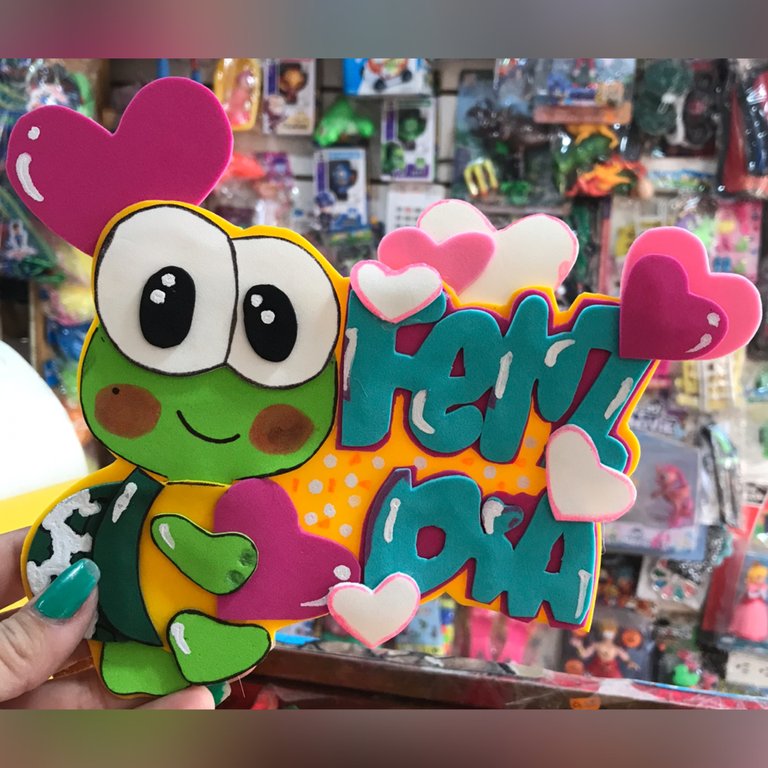
RESULTADO FINAL
FINAL RESULT
ESPERO Y LES HALLA GUSTADO MI TRABAJO AMIGOS QUE DIOS LOS BENDIGA SIEMPRE HASTA LA PRÓXIMA OPORTUNIDAD
I HOPE YOU LIKED MY WORK MY FRIENDS, MAY GOD BLESS YOU ALWAYS UNTIL THE NEXT OPPORTUNITY
Una preciosa tortuguita. Muy detallado este tutorial.
¡Cuánta creatividad! 🥰¡Gracias por compartir con nosotros este hermoso tutorial!** Me súper encantó ¡Saludos y bendiciones para tí!**💗
Me alegra que te halla gustado amiga
Saludos y bendiciones para ti También ❤️
Que hermosa manualidad, cada detalle que hiciste quedó muy bonito.
Saludos.
Gracias amiga saludos para ti igual ❤️
Great work. The finishing looks cool.
Que bonito amiga, tiene muchos detalles 💓