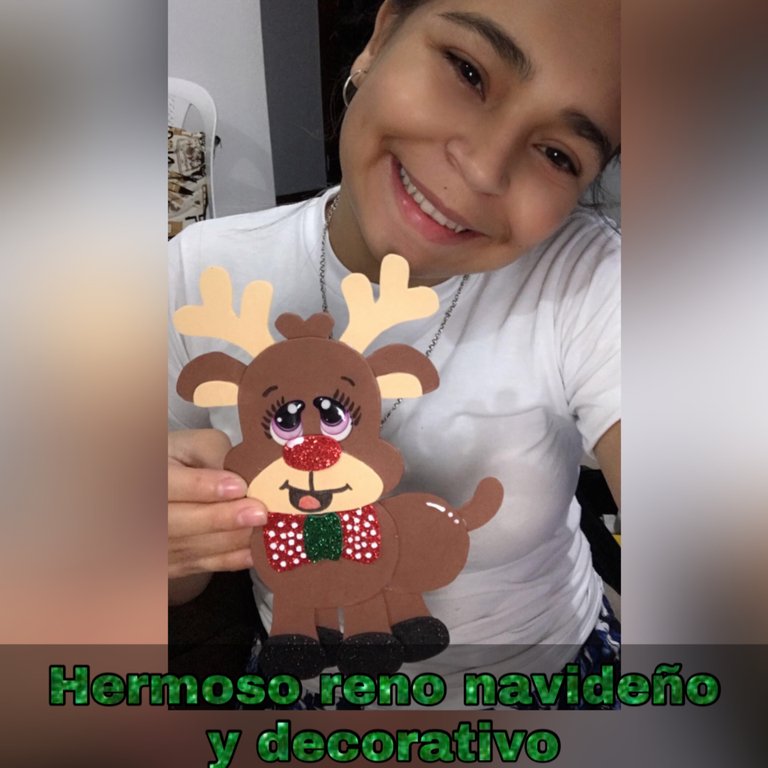
Un cordial saludo a todos los integrantes de esta hermosa comunidad de HIVE DIY espero y se encuentren bien con la bendición de Dios hoy les vengo a mostrar cómo hacer un hermoso reno decorativo esta muy fácil de hacer espero y les guste amigos les invito a ver el paso a paso
A cordial greeting to all the members of this beautiful community of HIVE DIY I hope and are well with God's blessing today I come to show you how to make a beautiful decorative reindeer is very easy to do I hope you like it friends I invite you to see the step by step
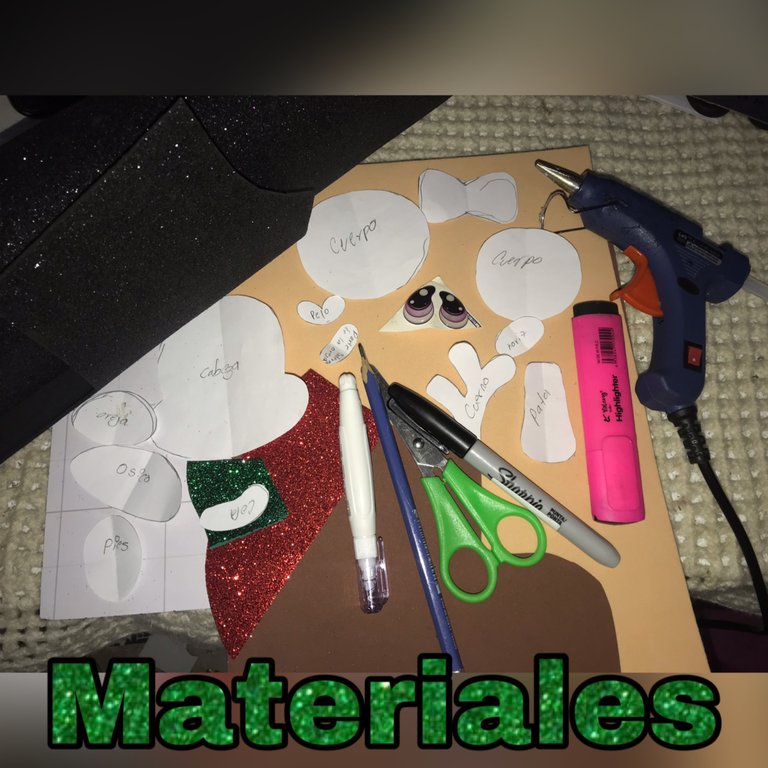
MATERIALES
• foami escarchado negro, rojo y verde
• ojos plásticos
• foami marrón oscuro y marrón claro
• marcador negro
• resaltador fucsia
• corrector
• patrones del reno
• pistola de silicon
• tijera
• lápiz
MATERIALS
- black, red and green frosted foami
- plastic eyes
- dark brown and light brown foami
- black marker
- fuchsia highlighter
- concealer
- reindeer patterns
- silicone gun
- scissors
- pencil
AHORA SI MANOS A LA OBRA AMIGOS
NOW LET'S GET DOWN TO WORK, MY FRIENDS
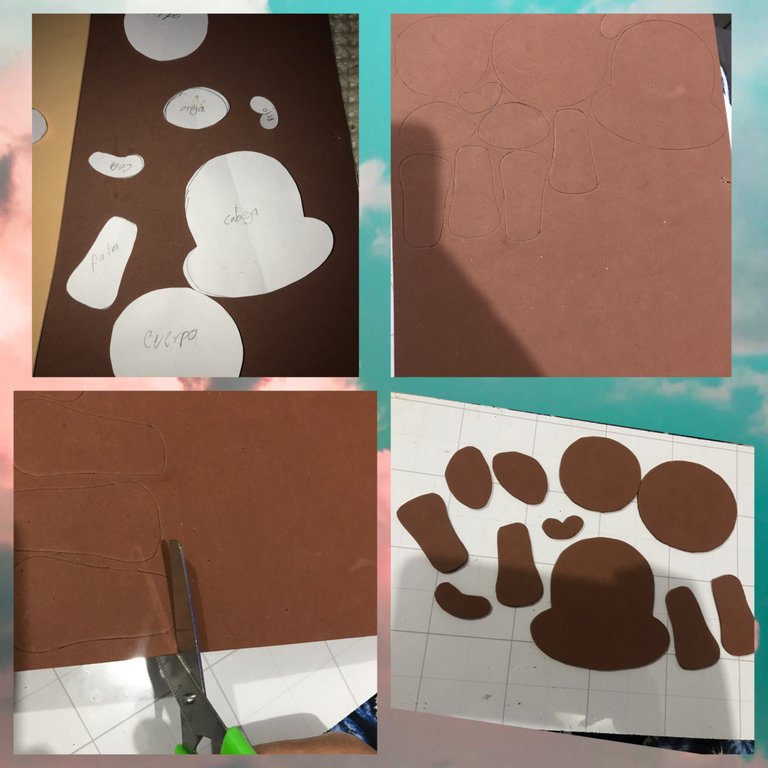
Primero marcamos y recortamos en el foami marrón oscuro la cabeza, cuerpo, patas, cola, oreja y pelo
First, we mark and cut out the head, body, legs, tail, ears and hair on the dark brown foami
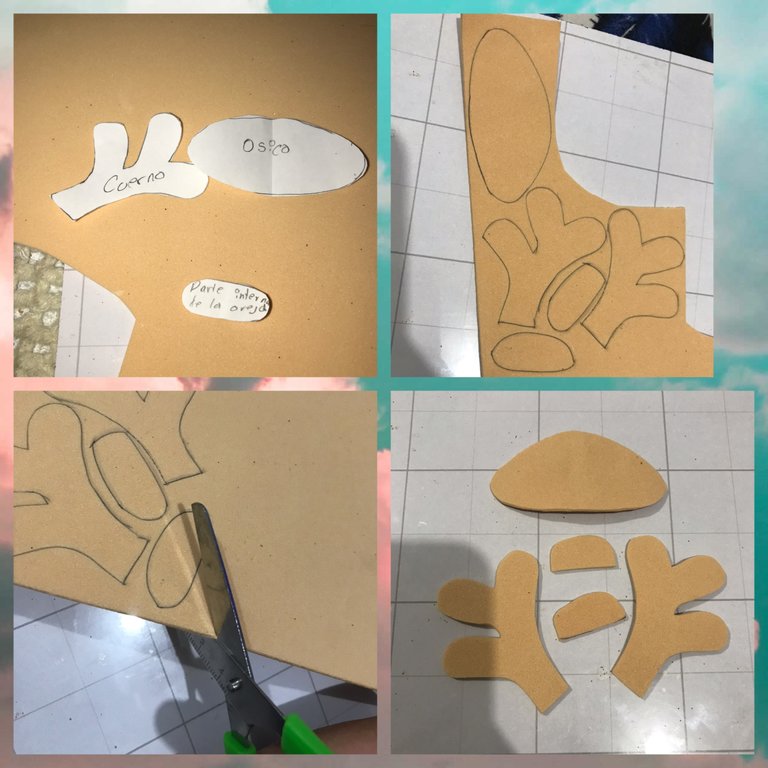
Marcamos y recortamos en el foami marrón claro el fondo de la oreja, los cuernos y la trompa
We mark and cut out on the light brown foami the bottom of the ear, the horns and the horn
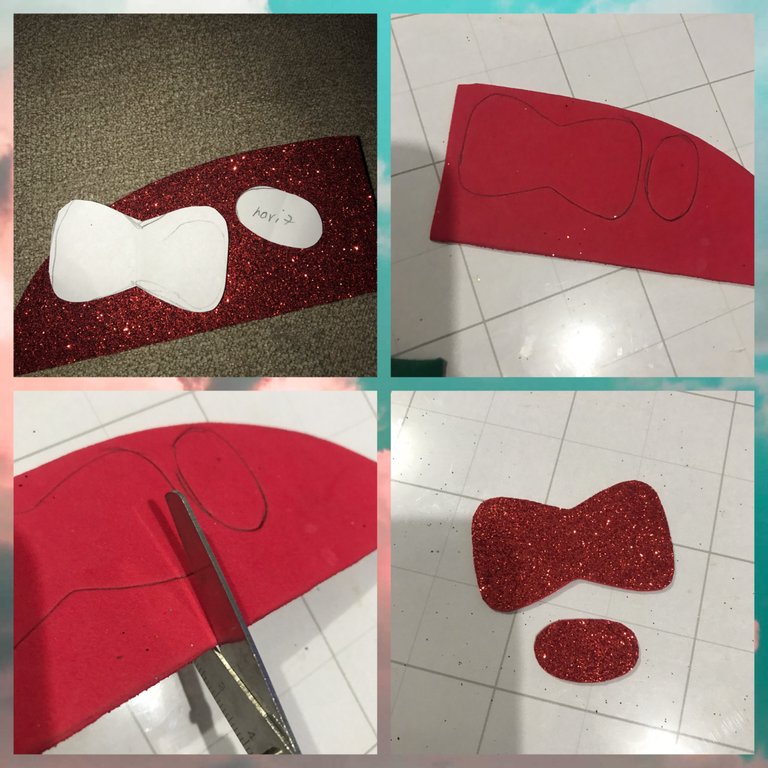
Marcamos y recortamos en el foami escarchado rojo el moño y la nariz del renito
We mark and cut out on the red frosted foami the bow and the nose of the tadpole
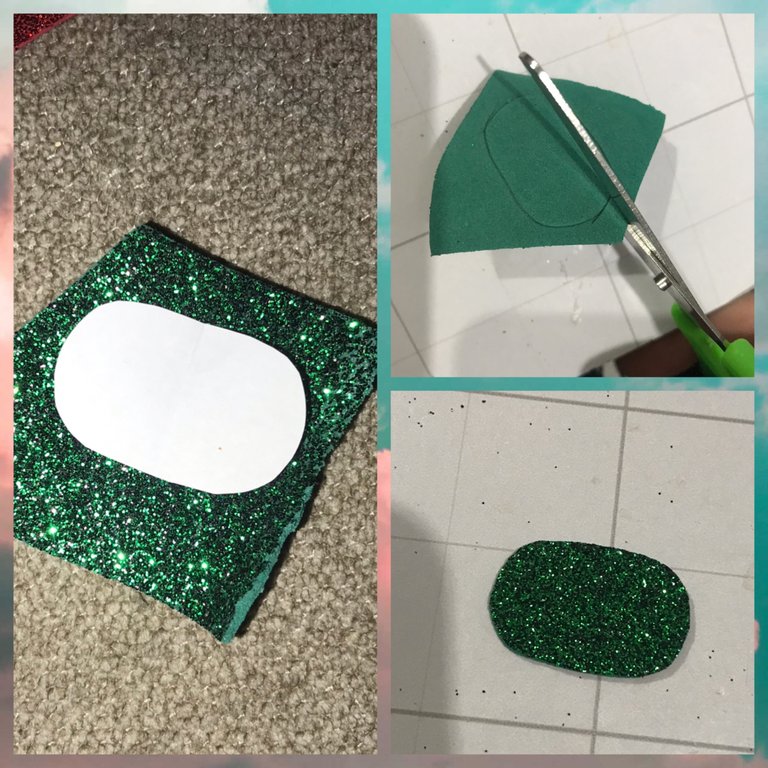
Marcamos y recortamos en el foami escarchado verde el centro del moño
We mark and cut out the center of the bow on the green frosted foami
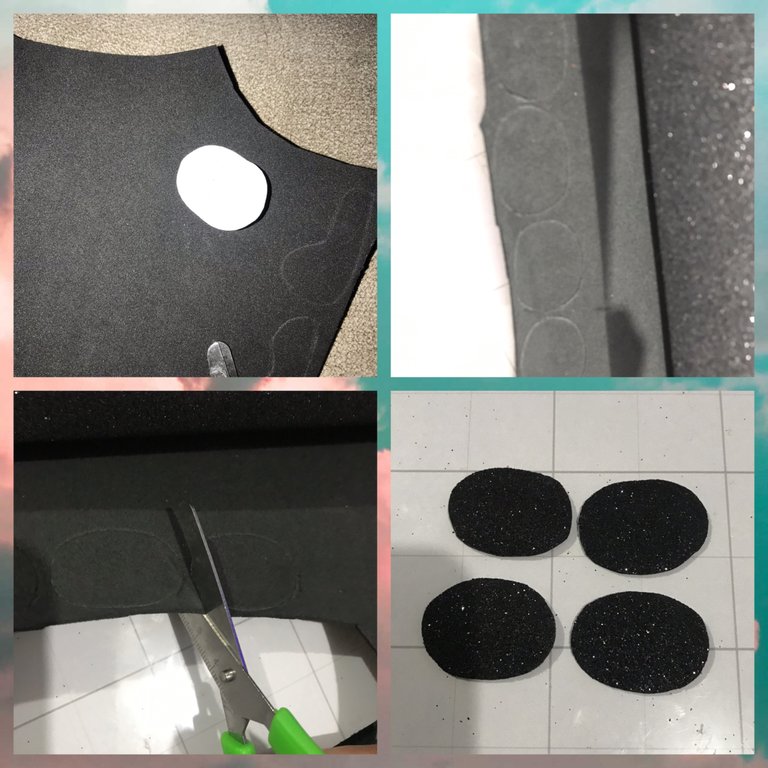
Marcamos y recortamos en el foami escarchado negro los pies del reno
We mark and cut out the reindeer's feet on the black frosted foami
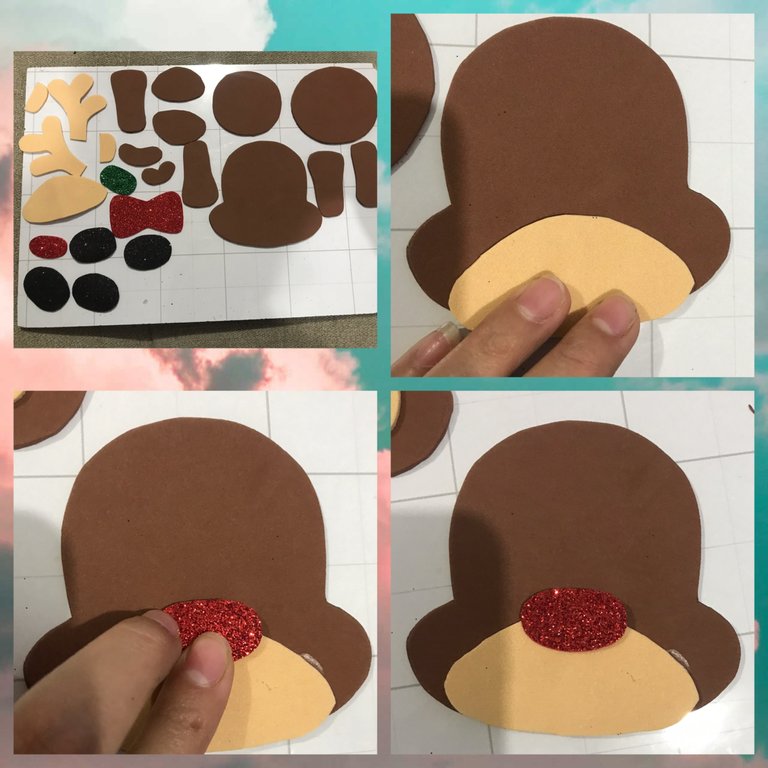
Ya que estén cortados todos los patrones empezamos a pegar la trompa de la cabeza y arriba de la trompa pegamos la nariz
Once all the patterns are cut, we start gluing the trunk of the head and on top of the trunk we glue the nose
Pegamos el fondo de las orejas a las orejas y luego vamos a pegar en la cabeza
We glue the bottom of the ears to the ears and then we will glue on the head
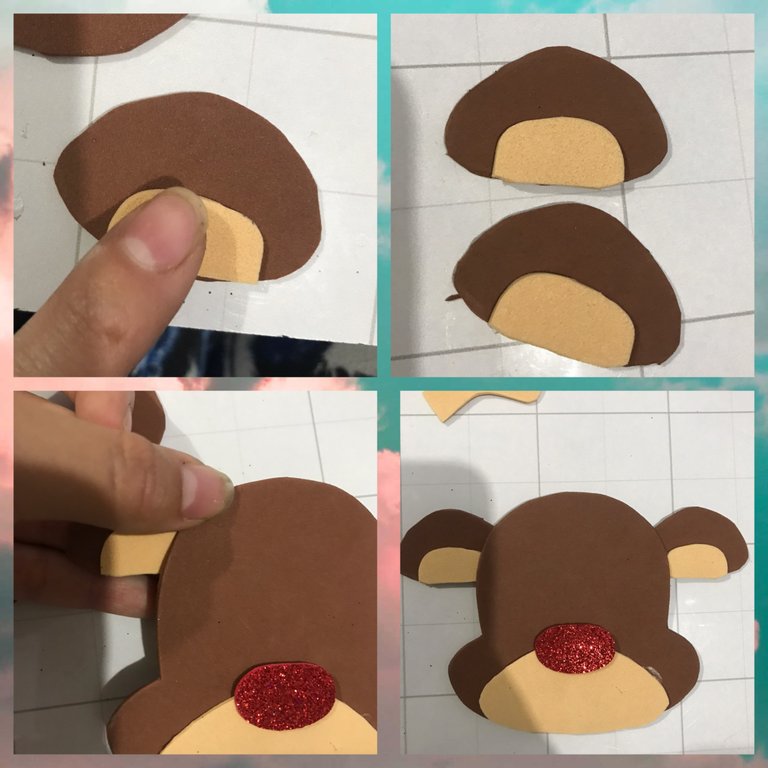
Ahora pegamos los cuerpos en la cabeza al lado de las orejas y en el centro de los cuernos pegamos el pelo
Now we glue the bodies on the head next to the ears and in the center of the horns we glue the hair
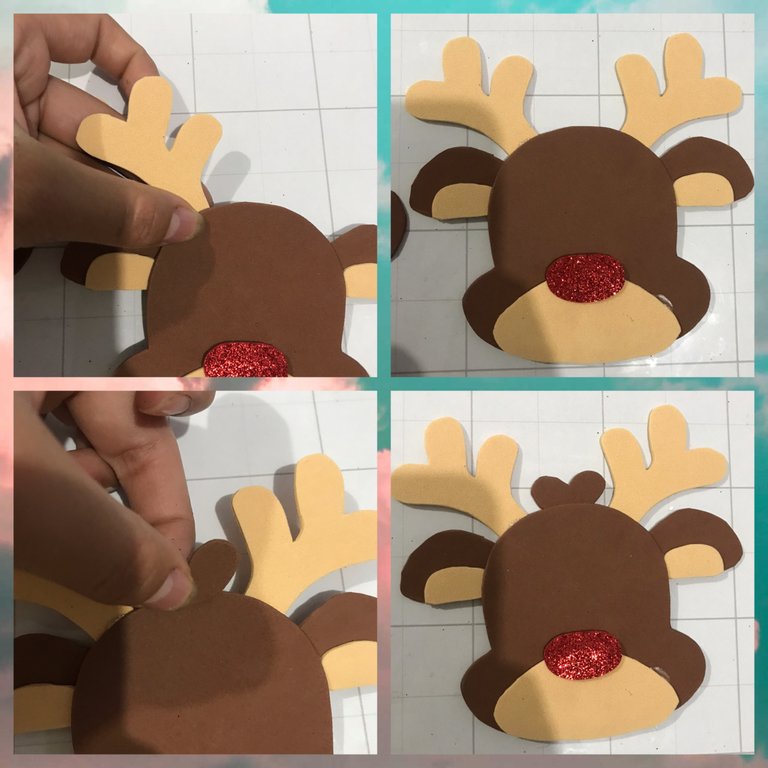
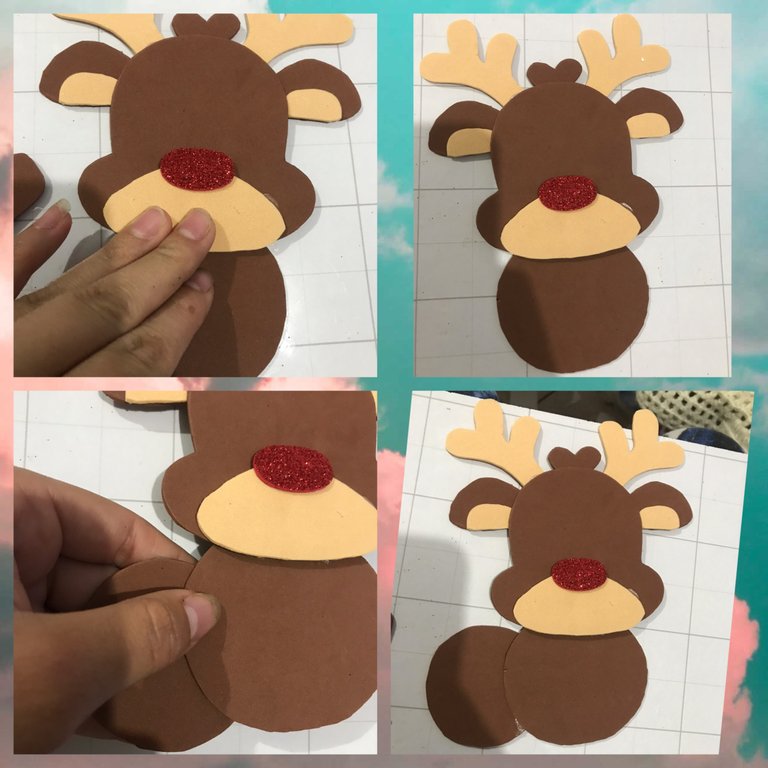
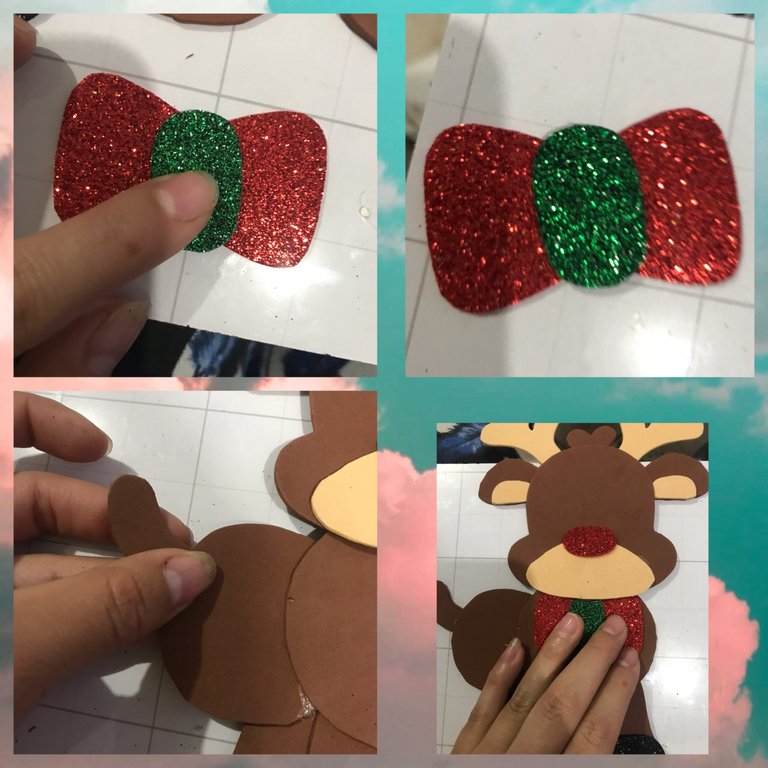
Ahora pegamos bien las partes del cuerpo del reno
Now we glue the parts of the reindeer's body well together
Pegamos los pies de las piernas del reno, luego que ya estén armados pegamos en el cuerpo del reno
Glue the feet to the reindeer's legs, then glue them to the reindeer's body
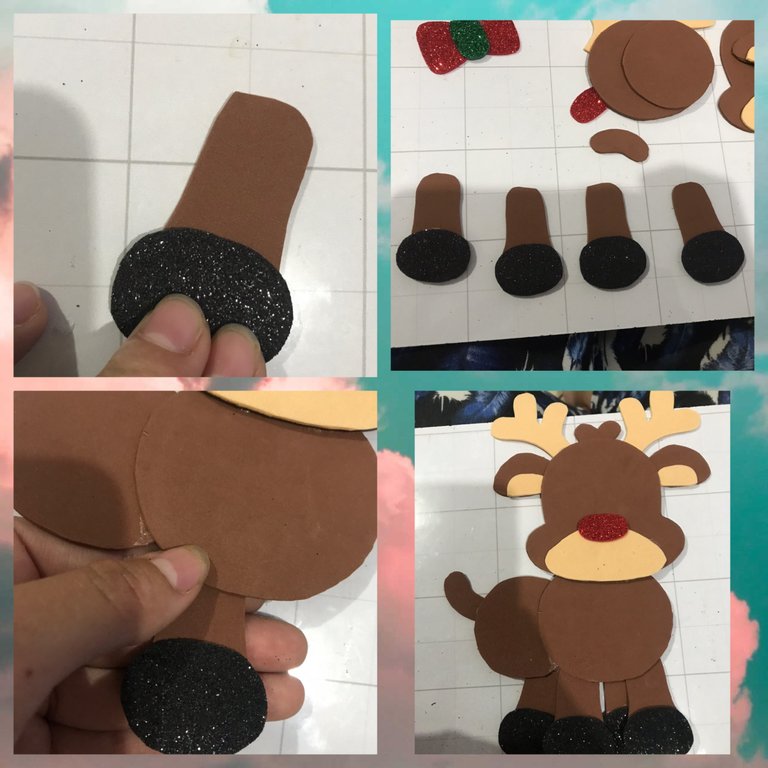
Armamos el moño del renito y pegamos en la parte trasera del reno la colita y pegamos el moño ya armado en el cuello
We assemble the reindeer's bow and glue the tail on the back of the reindeer and glue the assembled bow on the neck
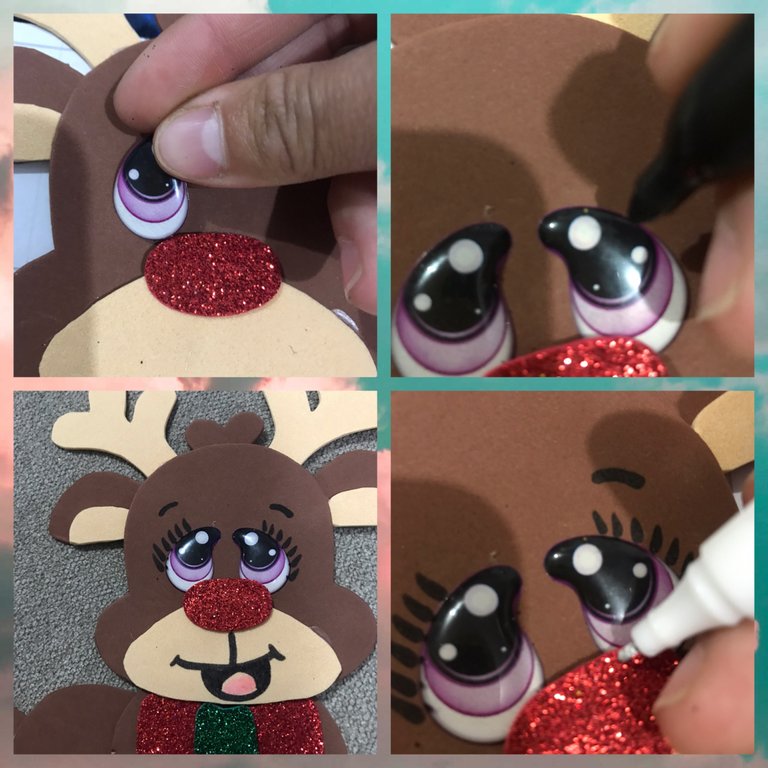
Para finalizar pegamos los ojos plásticos en la cara del renito, con el marcador negro le aremos las pestañas, las cejas y la boca, con el corrector le aremos unos puntos blancos a él moño, la nariz y al cuerpo
To finish, we glue the plastic eyes on the face of the little boy, with the black marker we will make the eyelashes, eyebrows and mouth, with the concealer we will make some white dots on the bow, the nose and the body
AHORA SI AMIGOS LES MUESTRO EL RESULTADO FINAL
NOW IF FRIENDS I SHOW YOU THE FINAL RESULT
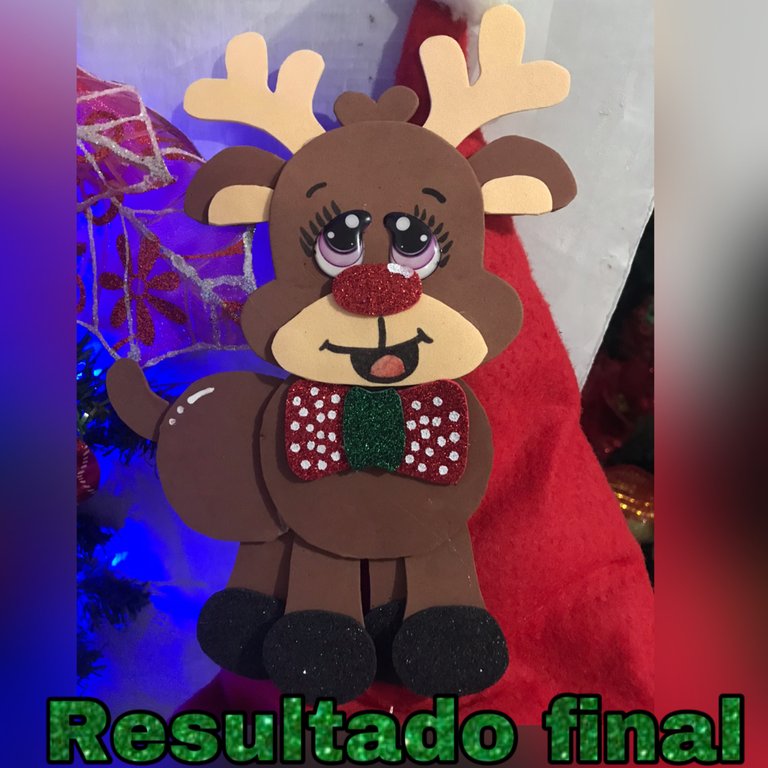
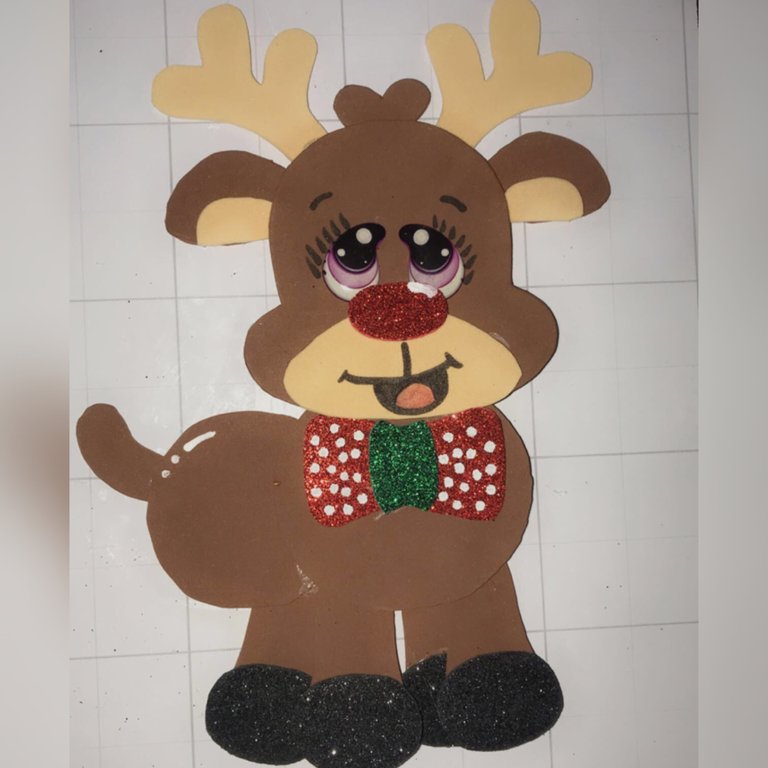
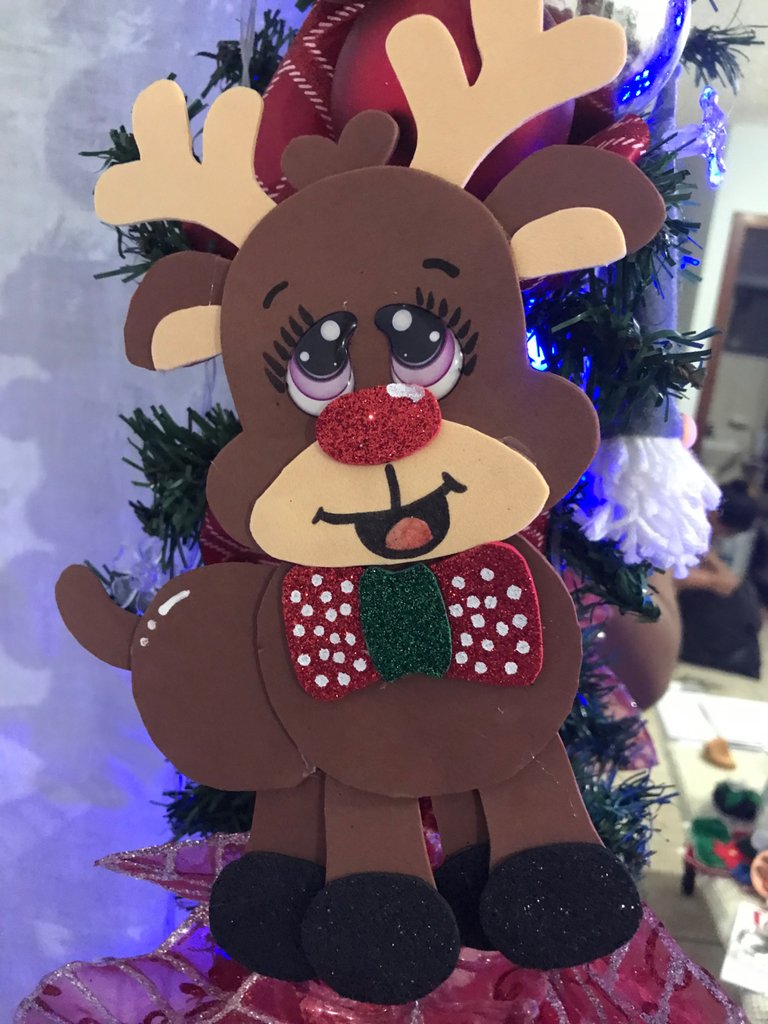
ESPERO Y LES HALLA GUSTADO MI TRABAJO AMIGOS LA VERDAD ES QUE LE PUSE MUCHO EMPEZÓ PARA QUE SEA DE SU AGRADO HASTA LA PRÓXIMA OPORTUNIDAD QUE DIOS LOS BENDIGA SIEMPRE
I HOPE YOU LIKED MY WORK, MY FRIENDS, THE TRUTH IS THAT I PUT A LOT OF EFFORT TO MAKE IT TO YOUR LIKING UNTIL THE NEXT OPPORTUNITY, MAY GOD BLESS YOU ALWAYS
Yo con que me voy a animar a hacer esta manualidad porque son materiales accesibles y tu explicación está muy detallada con sus fotos y todo. Me encantó este reno navideño. Muchas gracias por compartir el procedimiento y por supuesto el resultado final.
Muchas gracias amiga, si está muy fácil de hacer espero y te animes hacerlo y nos muestres a todos ☺️
Que hermoso acabado amiga, la cara es super tierna tiene una mirada que hace que llevemos la cabeza a un lado ajaja pensando pero que tierno, gracias por compartir tu creación.
Muchas gracias amiga, jajaja si esos ojos que matan
Te quedo super hermoso amiga. me encanta la mirada del reno
Qué bonito te quedó!!! ✨✨ la mirada es muy tierna!! parece un reno bebé!!! te felicito!!!🌼🌸🌺