Hola tengan buenas noches amigos de la comunidad hivediy , abrazo caluroso desde la distancia, hoy quiero compartirles la restauración de un viejo organizador plástico en uno hermoso con mariposas brillantes, algo que llamará la atención de nuestras pequeñas, es sencillo y brillante a la vez
Hello have a good evening friends of the hivediy community, warm embrace from afar, today I want to share with you the restoration of an old plastic organizer in a beautiful one with shiny butterflies, something that will catch the attention of our little ones, it is simple and bright at the same time.

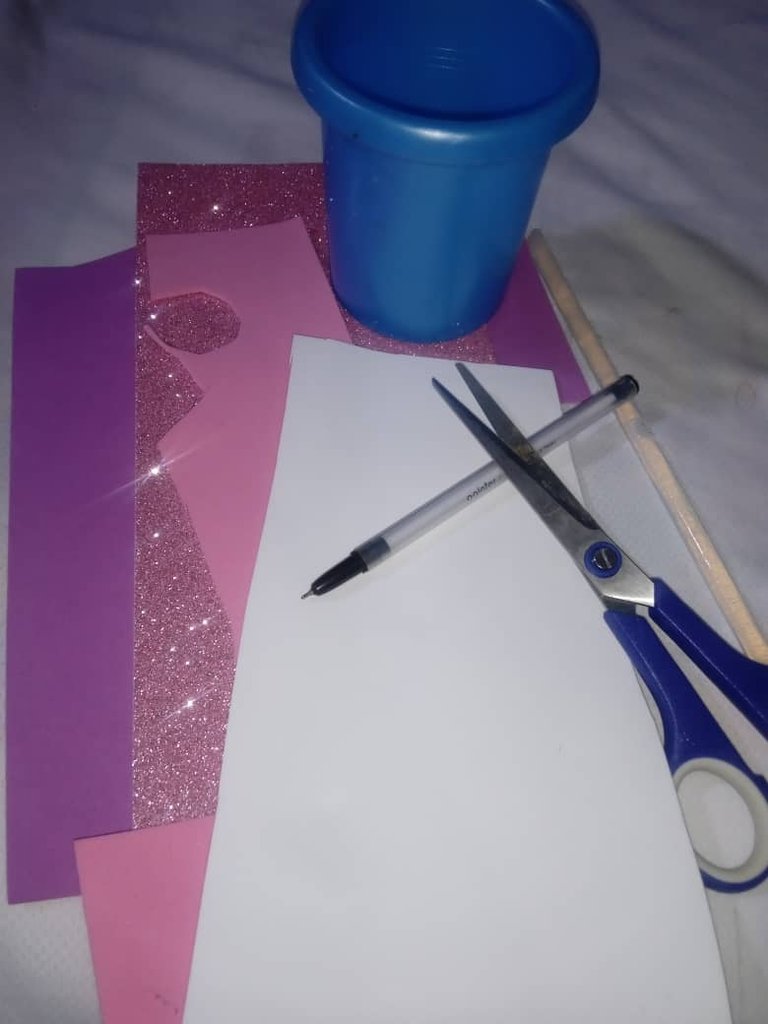
Materiales qué utilicé para la restauración del organizador:
-Envase plástico
-Foamis
-Tijera
-Silicon
-Lapiz
-Papel
Materials I used for the restoration of the organizer:
-Plastic container
-Foamis
-Scissors
-Silicon
-Pencil
-Paper
Pasos para realizar nuestro organizador:
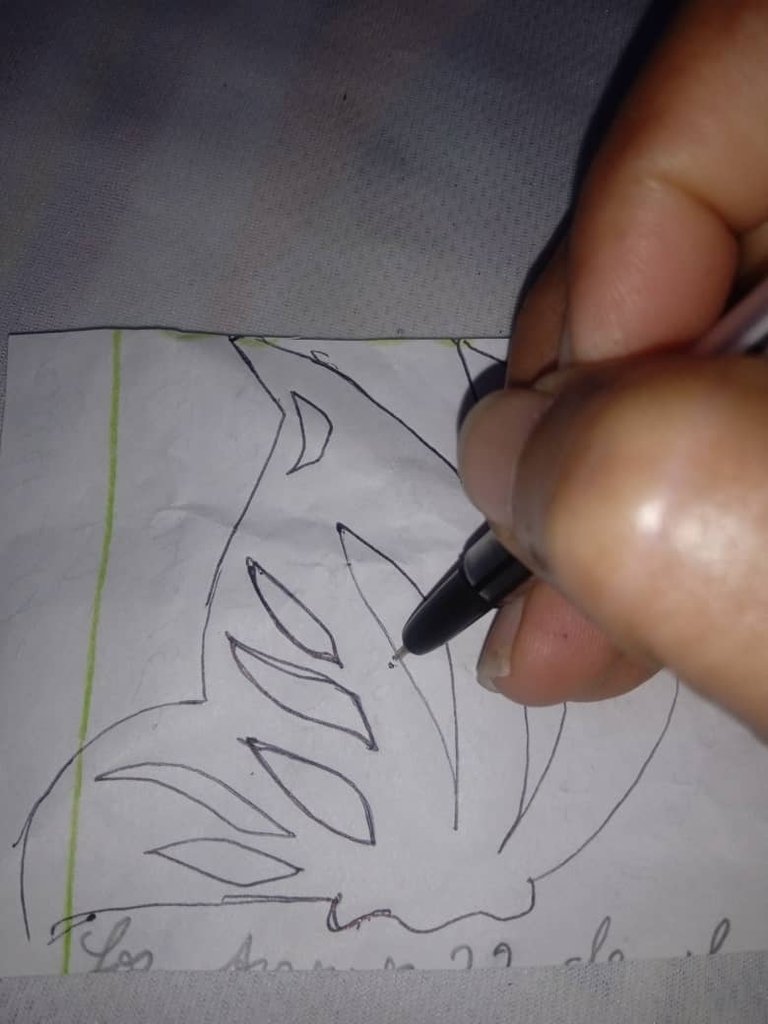
Paso 1: comenzaremos dibujando dos mariposas en nuestro papel , una diferente a la otra , una que este abierta como volando , la otra como si estuviera de lado posando
Steps to make our organizer:
Step 1: we will start by drawing two butterflies on our paper , one different from the other , one that is open like flying , the other like it is on its side posing.
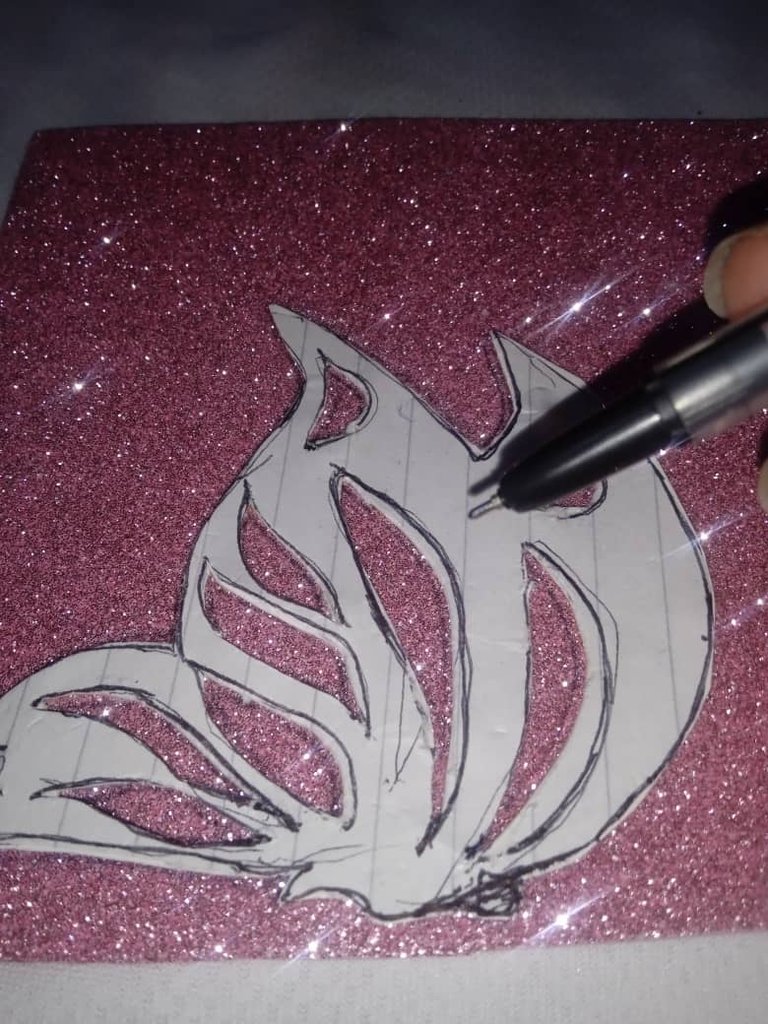
Paso 2: a continuación vamos a comenzar marcando las mariposas, inicié con la mariposa más grande , está debemos marcar las silueta de las cuales vamos a recortar para que sus alas se vean de dos tonos
Step 2: next we will start marking the butterflies, I started with the bigger butterfly, this one we must mark the silhouette of which we will cut out so that its wings look two-tone.
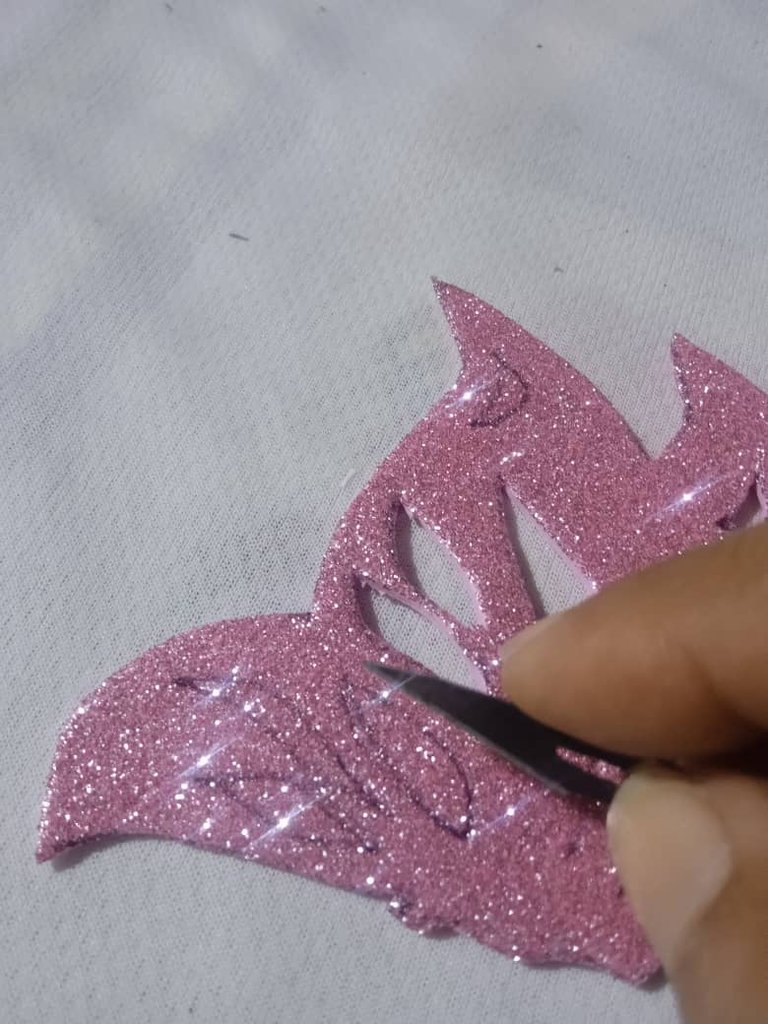
Paso 3: luego que marque la mariposa con la ayuda de un bisturí comencé a sacarlas , sacando con cuidado las partes del centro de sus alas , también pueden utilizar una tijera solo que me gusta trabajar asi
Step 3: after marking the butterfly with the help of a scalpel I began to remove them, carefully removing the parts of the center of their wings, you can also use a scissors but I like to work this way.
Paso 4: cuando tengamos lista la mariposa vamos a pegar en la parte de abajo otra mariposa para que sea la base de la otra y se note dos tonos distintos
Step 4: when we have the butterfly ready we are going to glue another butterfly on the bottom to be the base of the other and notice two different shades.

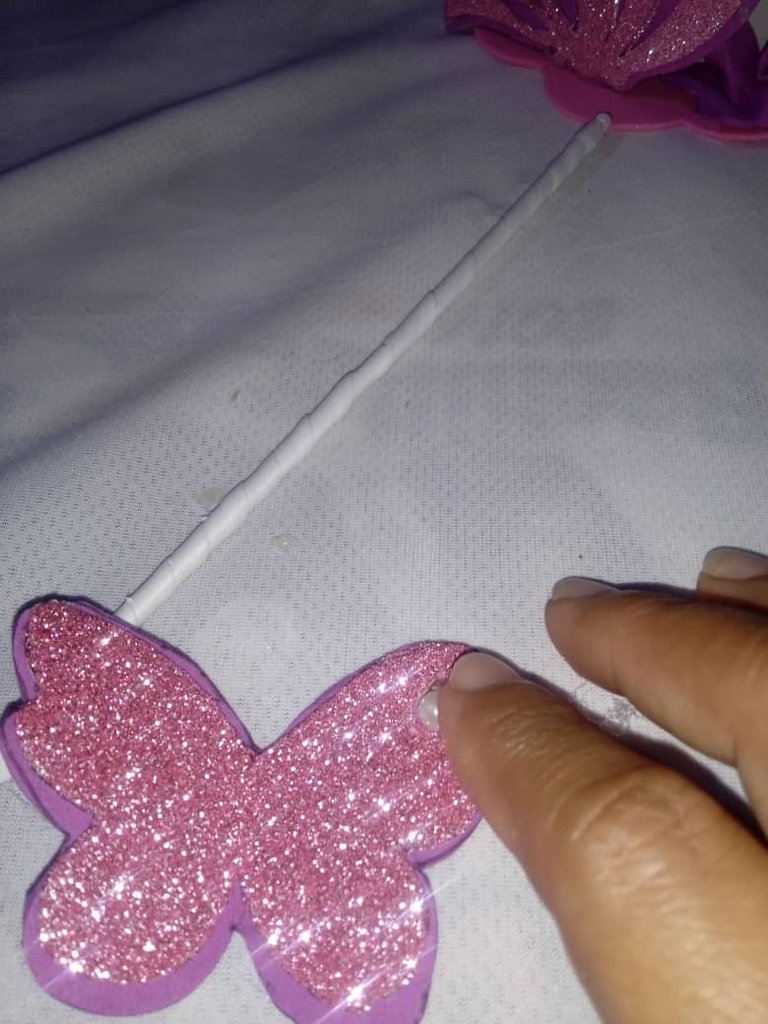
Paso 5: luego vamos a decorar una palito de altura color blanco y de la misma manera vamos a pegar a la mariposa más pequeña una base distinta , en sus alas también vamos a pegar unas perlas plásticas
Step 5: then we will decorate a white stick and in the same way we will glue to the smaller butterfly a different base, in its wings we will also glue some plastic beads.
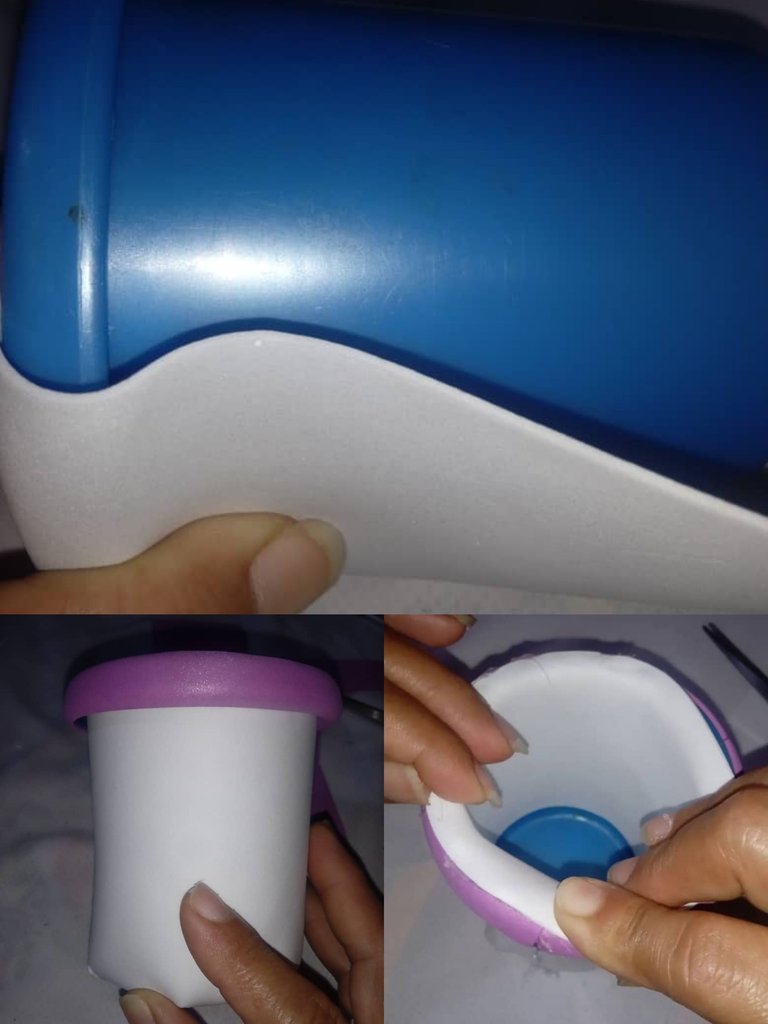
Paso 6 : en este sexto paso vamos a continuar cubriendo el organizador plástico, tomaremos en foamis color blanco lo pegaremos alrededor del envase , luego procedemos pegando unos bordes morado claro y por último decoramos el fondo del organizador con el mismo foamis color blanco que usamos para la parte de afuera
Step 6: in this sixth step we will continue covering the plastic organizer, we will take white foamis and glue it around the container, then we will proceed by gluing some light purple borders and finally we will decorate the bottom of the organizer with the same white foamis that we used for the outside.
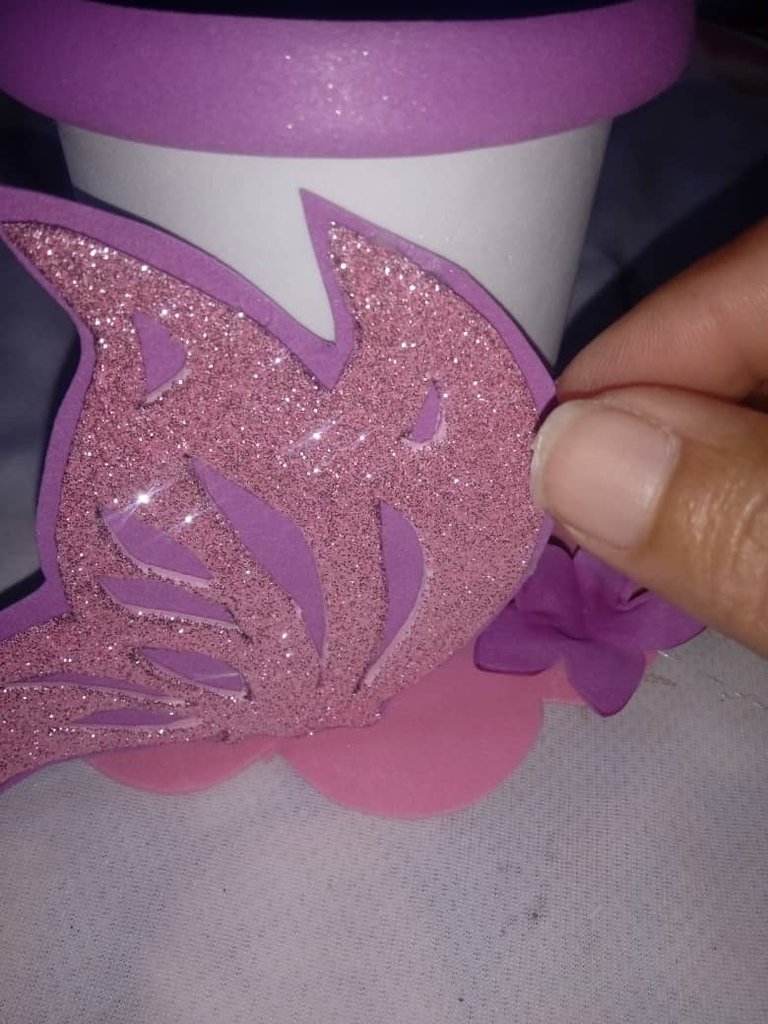
Paso 7: por último vamos a continuar tomando la mariposa y la pegaremos a la parte de abajo , en la parte de adentro vamos a pegar un palito de altura decorado con la mariposa finalizando nuestro organizador
Step 7: finally we will continue taking the butterfly and glue it to the bottom, on the inside we will glue a tall stick decorated with the butterfly to finish our organizer.
Así fue como realicé la restauración de un viejo organizador, ideal para las amantes a las mariposas, con tan pocos pasos y simples materiales, agradezco por su atención hasta la próxima amigos
Restauración de un viejo organizador
This is how I made the restoration of an old organizer, ideal for butterfly lovers, with so few steps and simple materials, thank you for your attention until next time friends.
Restoration of an old organizar
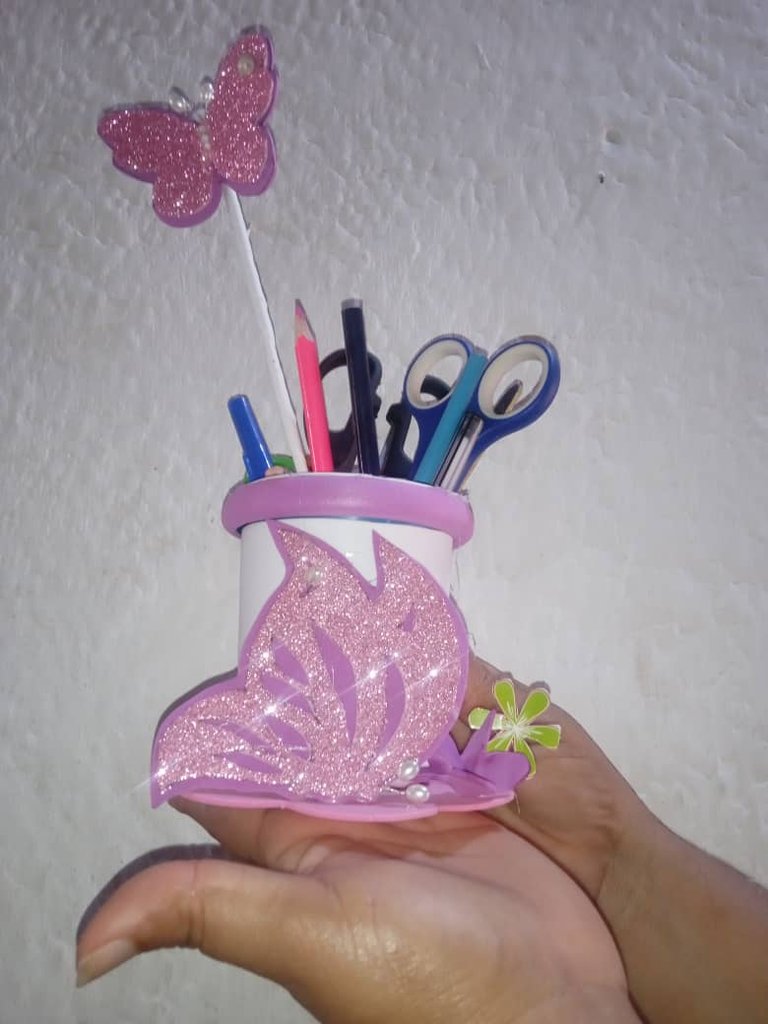
That's cute and practical, and I'm sure that you'll find it handy and convenient to store and organise your stuff:)
Thanks Friends
Muy hermoso tu organizador te felicito gracias por la idea par restaurar los míos, feliz día
Gracias amiga