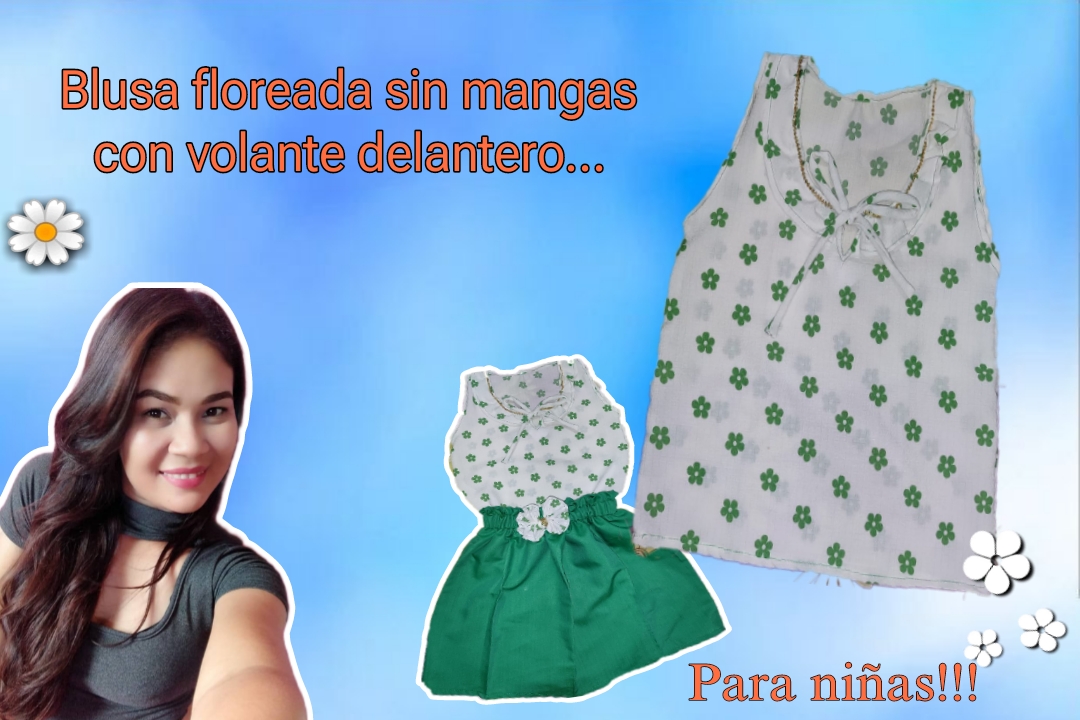
Bonita noche tenga toda la comunidad de artesanos, espero estén bien!!! Les doy la bienvenida y las gracias por estar acá compartiendo conmigo este espacio donde te muestro el paso a paso para realizar una linda blusita de tela floreada para niñas sin mangas, que tiene un bonito volante delantero muy moderno, además de sus decoraciones de encaje dorado que le aportan brillo y belleza.
Días atrás debía hacer un regalo de cumpleaños para mi sobrina y al principio solo pensé en hacerle una falda, pero no sentía que fuera suficiente...No se por que razón, pero soy de las personas que si hago una prenda, tengo que hacer todo completo, por ejemplo, si hago una camisa tengo que hacer un pantalón, si hago un vestido tengo que hacerle los accesorios, en este caso hice una falda y la complemente con esta blusita🤭, por eso la sencillez que tiene, no se si son manías mías, pero siempre pienso que falta algo, hasta que no veo el outfit completo no me quedo tranquila..En cada trabajo me gusta mucho dar todo mi esfuerzo para que se note el amor con que lo hago, así que por eso, llevé acabo este proyecto que hoy tengo el gusto d mostrarte como lo hice.
Nice night have the entire community of artisans, I hope you are well!!! I welcome you and thank you for being here sharing with me this space where I show you the step by step to make a beautiful floral fabric blouse for girls without sleeves, which has a beautiful, very modern front ruffle, in addition to its gold lace decorations that give it shine and beauty.
A few days ago I had to make a birthday present for my niece and at first I only thought about making her a skirt, but I didn't feel like it was enough...I don't know why, but I'm one of those people that if I make a garment, I have to make everything complete, for example, if I make a shirt I have to make pants, if I make a dress I have to make the accessories, in this case I made a skirt and complemented it with this blouse🤭, for That's how simple it is, I don't know. Yes, they are my quirks, but I always think that something is missing, until I see the complete outfit I don't stay calm. In each job I really like to give all my effort so that the love with which I do it can be seen, so that's why , I carried out this project that today I have the pleasure of showing you how I did it.
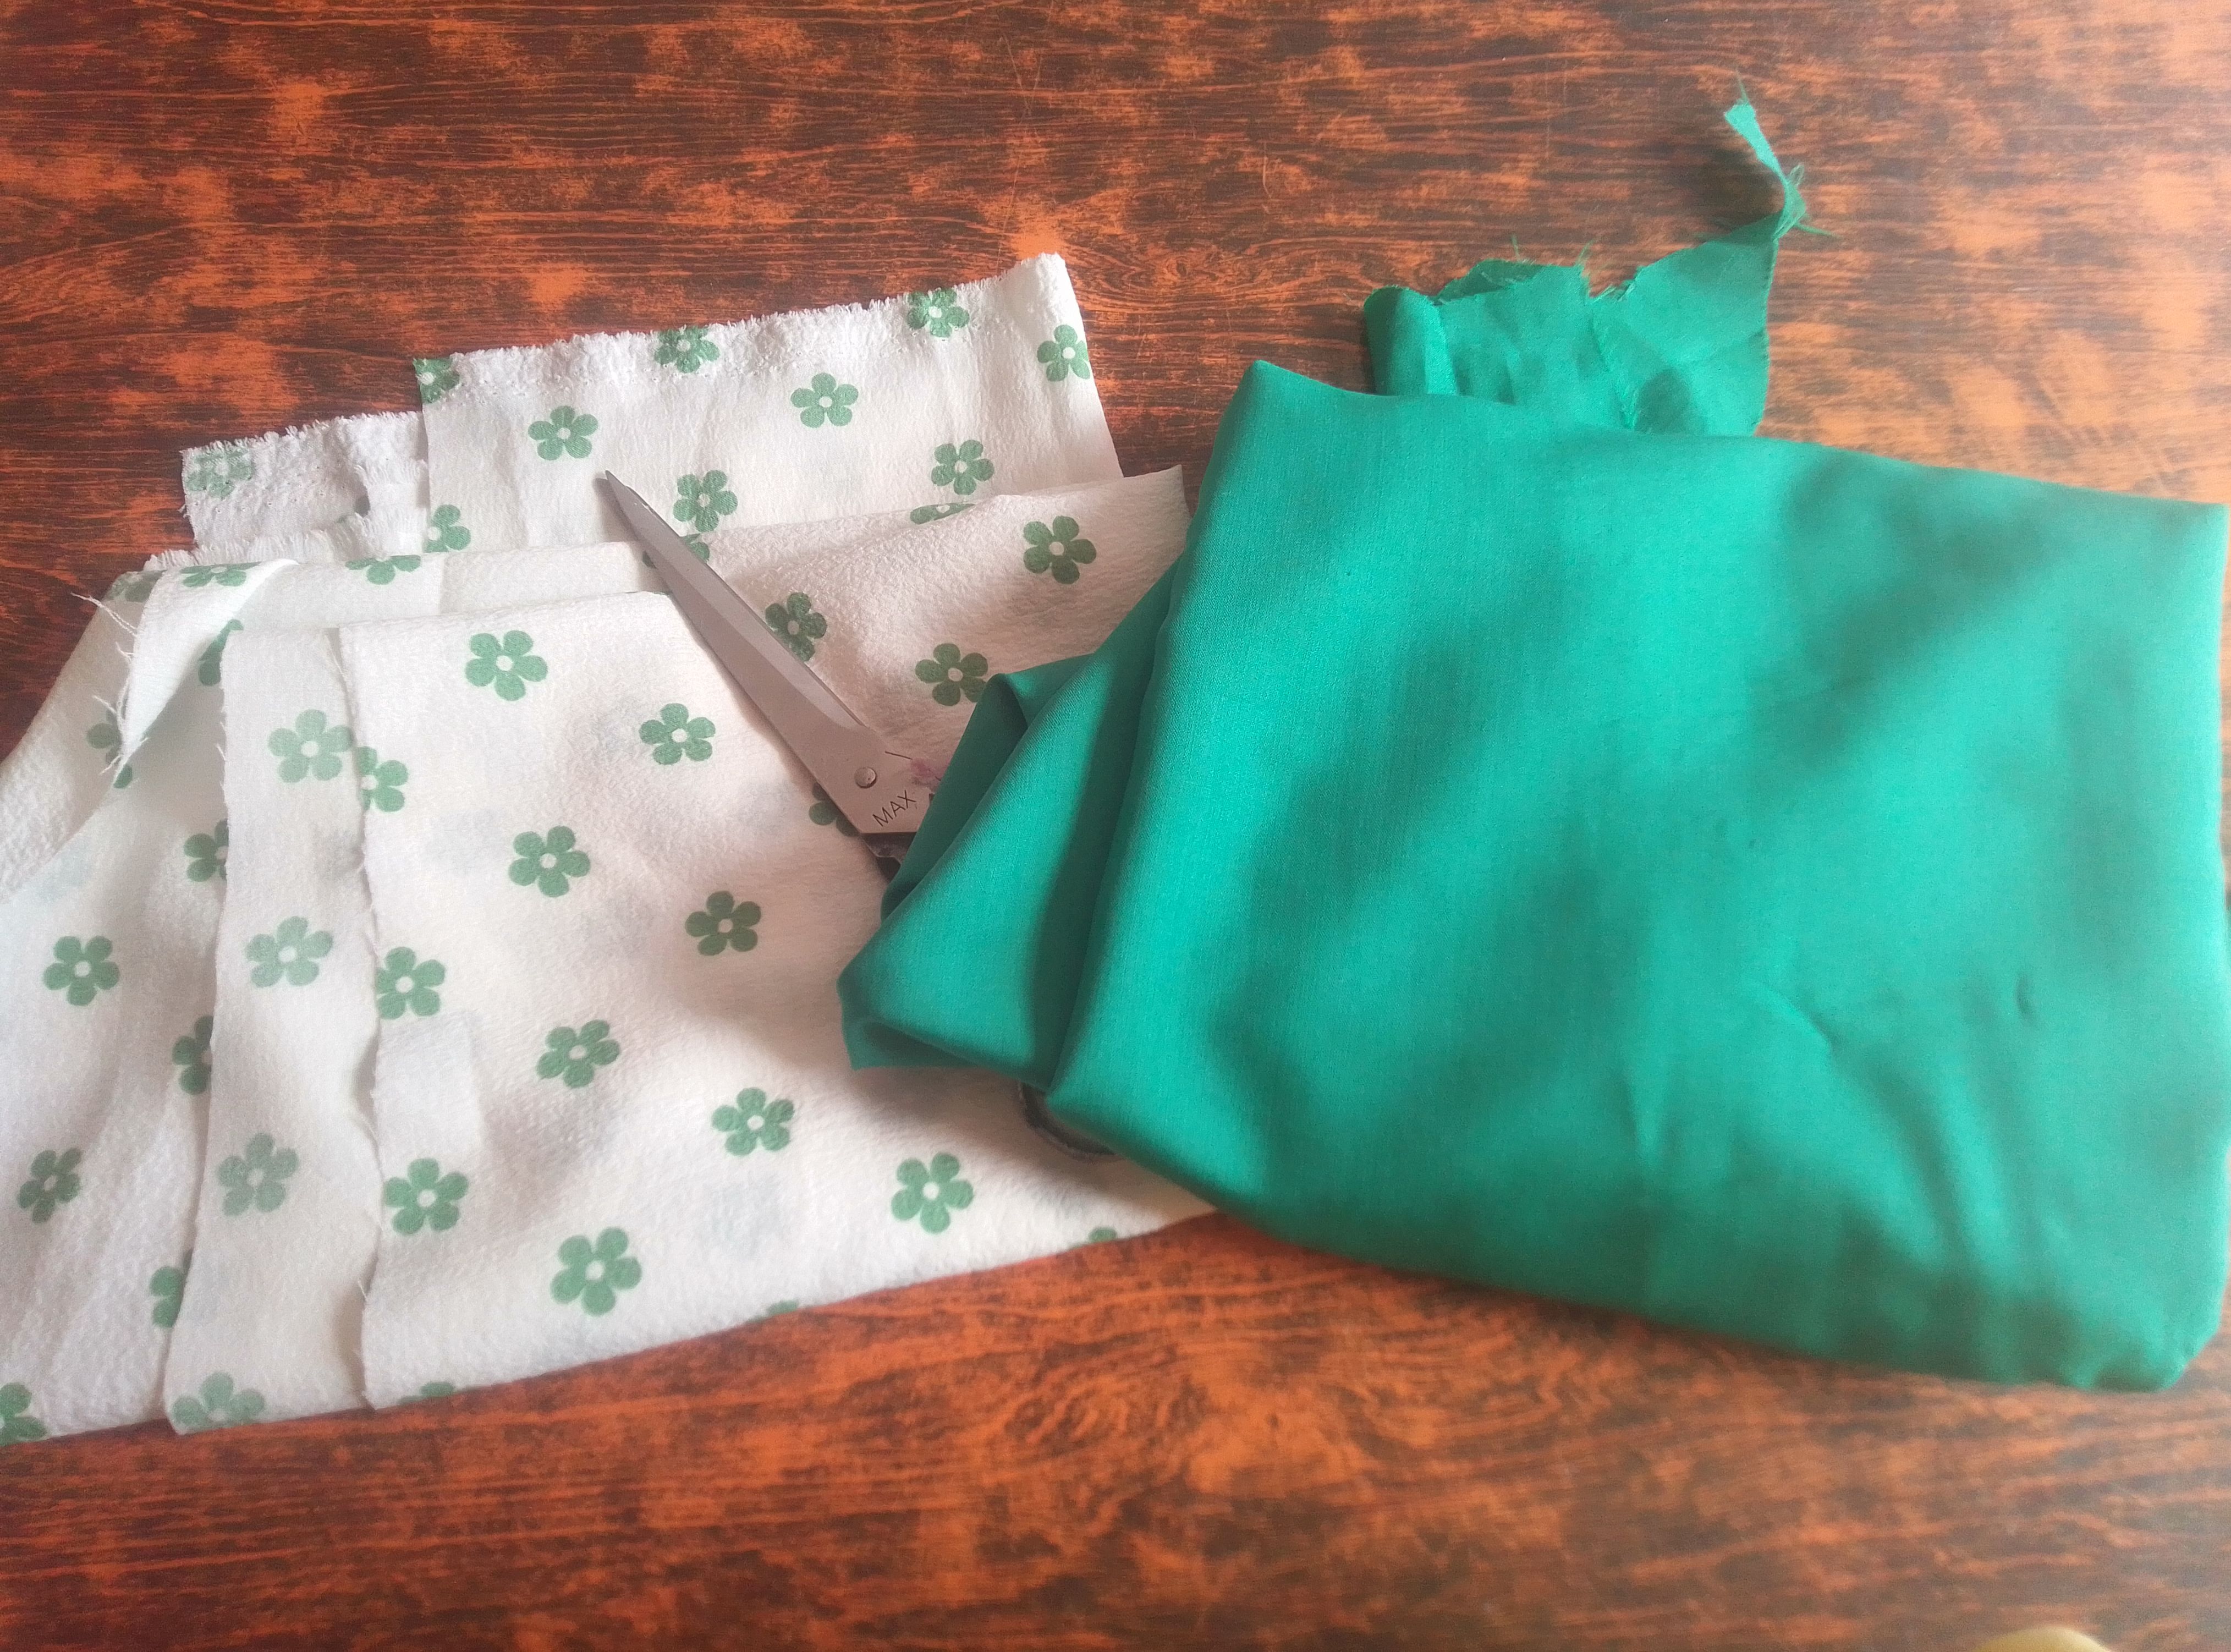
Materiales que necesitas:
Materiales que necesitas:
Materials you need:
✓ Tela rayón crepe estampada.
✓Hilo y aguja.
✓ Máquina de coser.
✓ Encaje dorado.
✓Tijeras.
✓ Printed rayon crepe fabric.
✓Thread and needle.
✓ Sewing machine.
✓ Golden lace.
✓Scissors.
PROCEDIMIENTO
PROCEDIMIENTO
🌟Paso 01
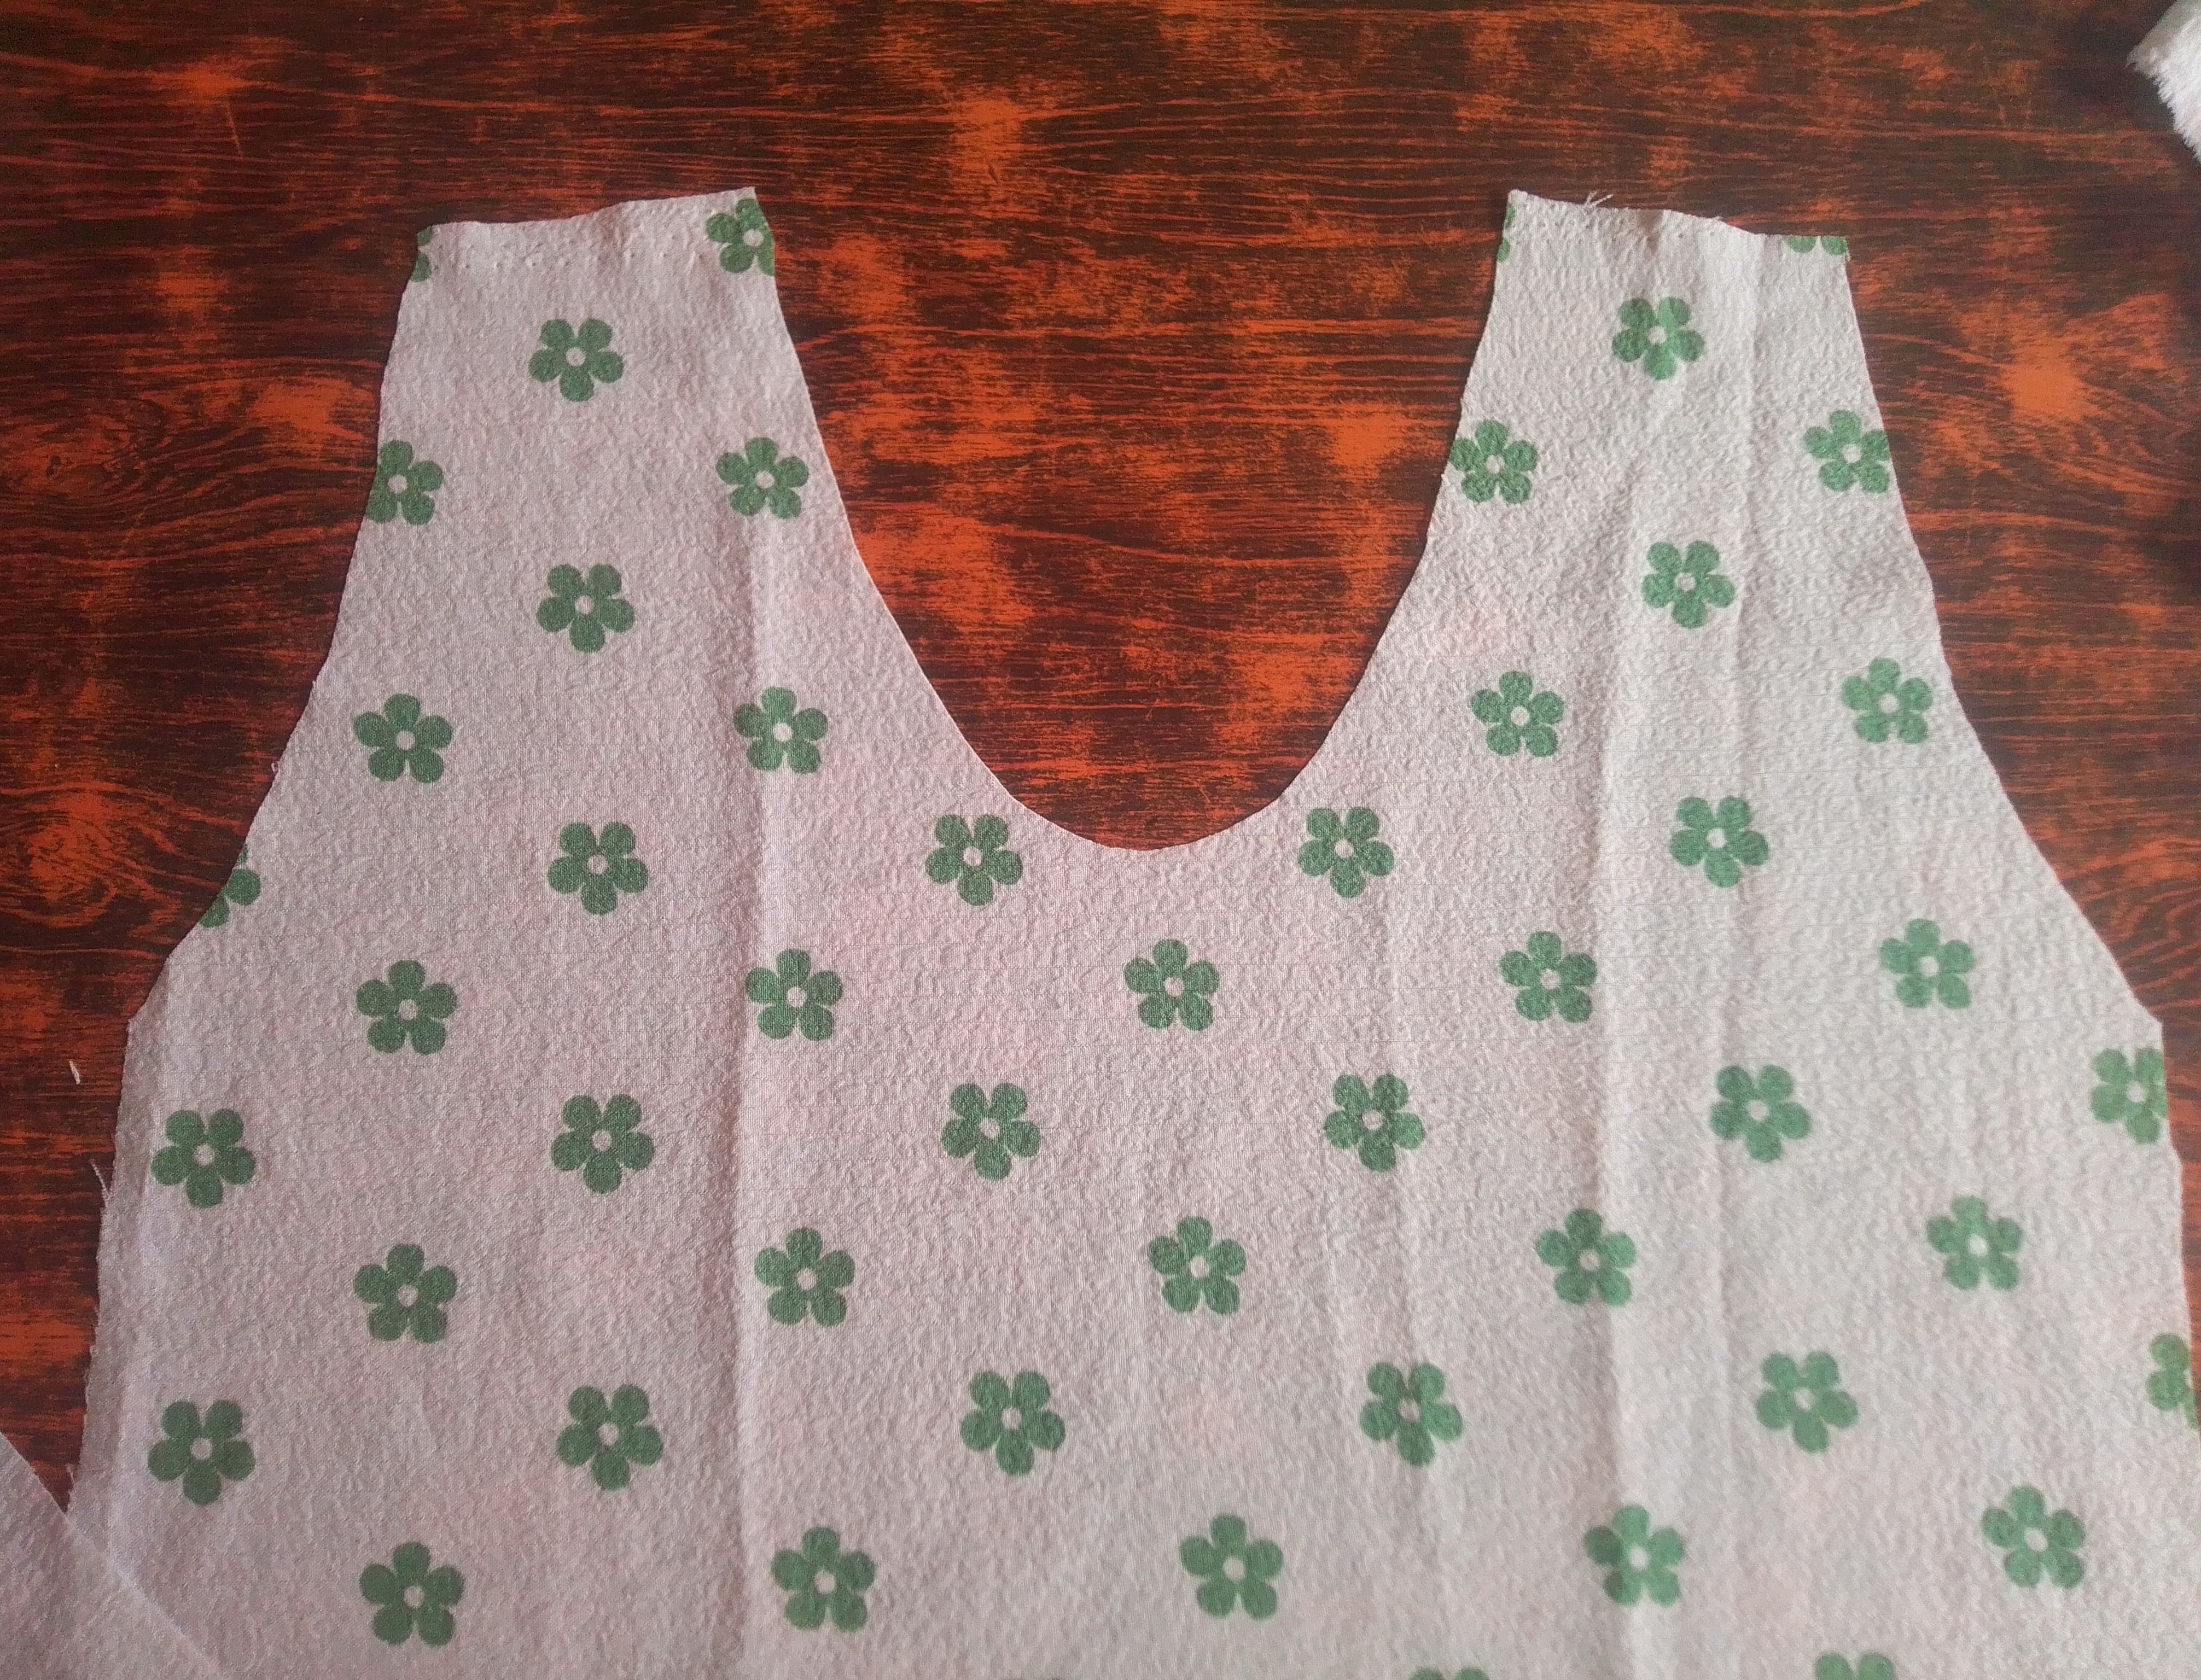
Voy a comenzar cortando las partes d ella blusita utilizando una camisa molde a la que estire muy bien sobre la tela y corte todo el contorno incluyendo la forma y tamaño de la sisa. Al cuello si le di una dormida más pronunciada semicircular hacia abajo.. Con una tira larga de la misma tela voy a hacer un cordon y voy a cortar un trozo de tela para ubicarlo en la parte delantera en derecho de la tela junto al cordon que hicimos.
🌟Step 01
I am going to start by cutting the parts of the blouse using a shirt template that I stretch very well over the fabric and cut the entire contour including the shape and size of the armhole. I did give the neck a more pronounced semicircular downward slit. With a long strip of the same fabric I am going to make a cord and I am going to cut a piece of fabric to place it on the front right side of the fabric next to the cord that we did.

🌟Paso 02
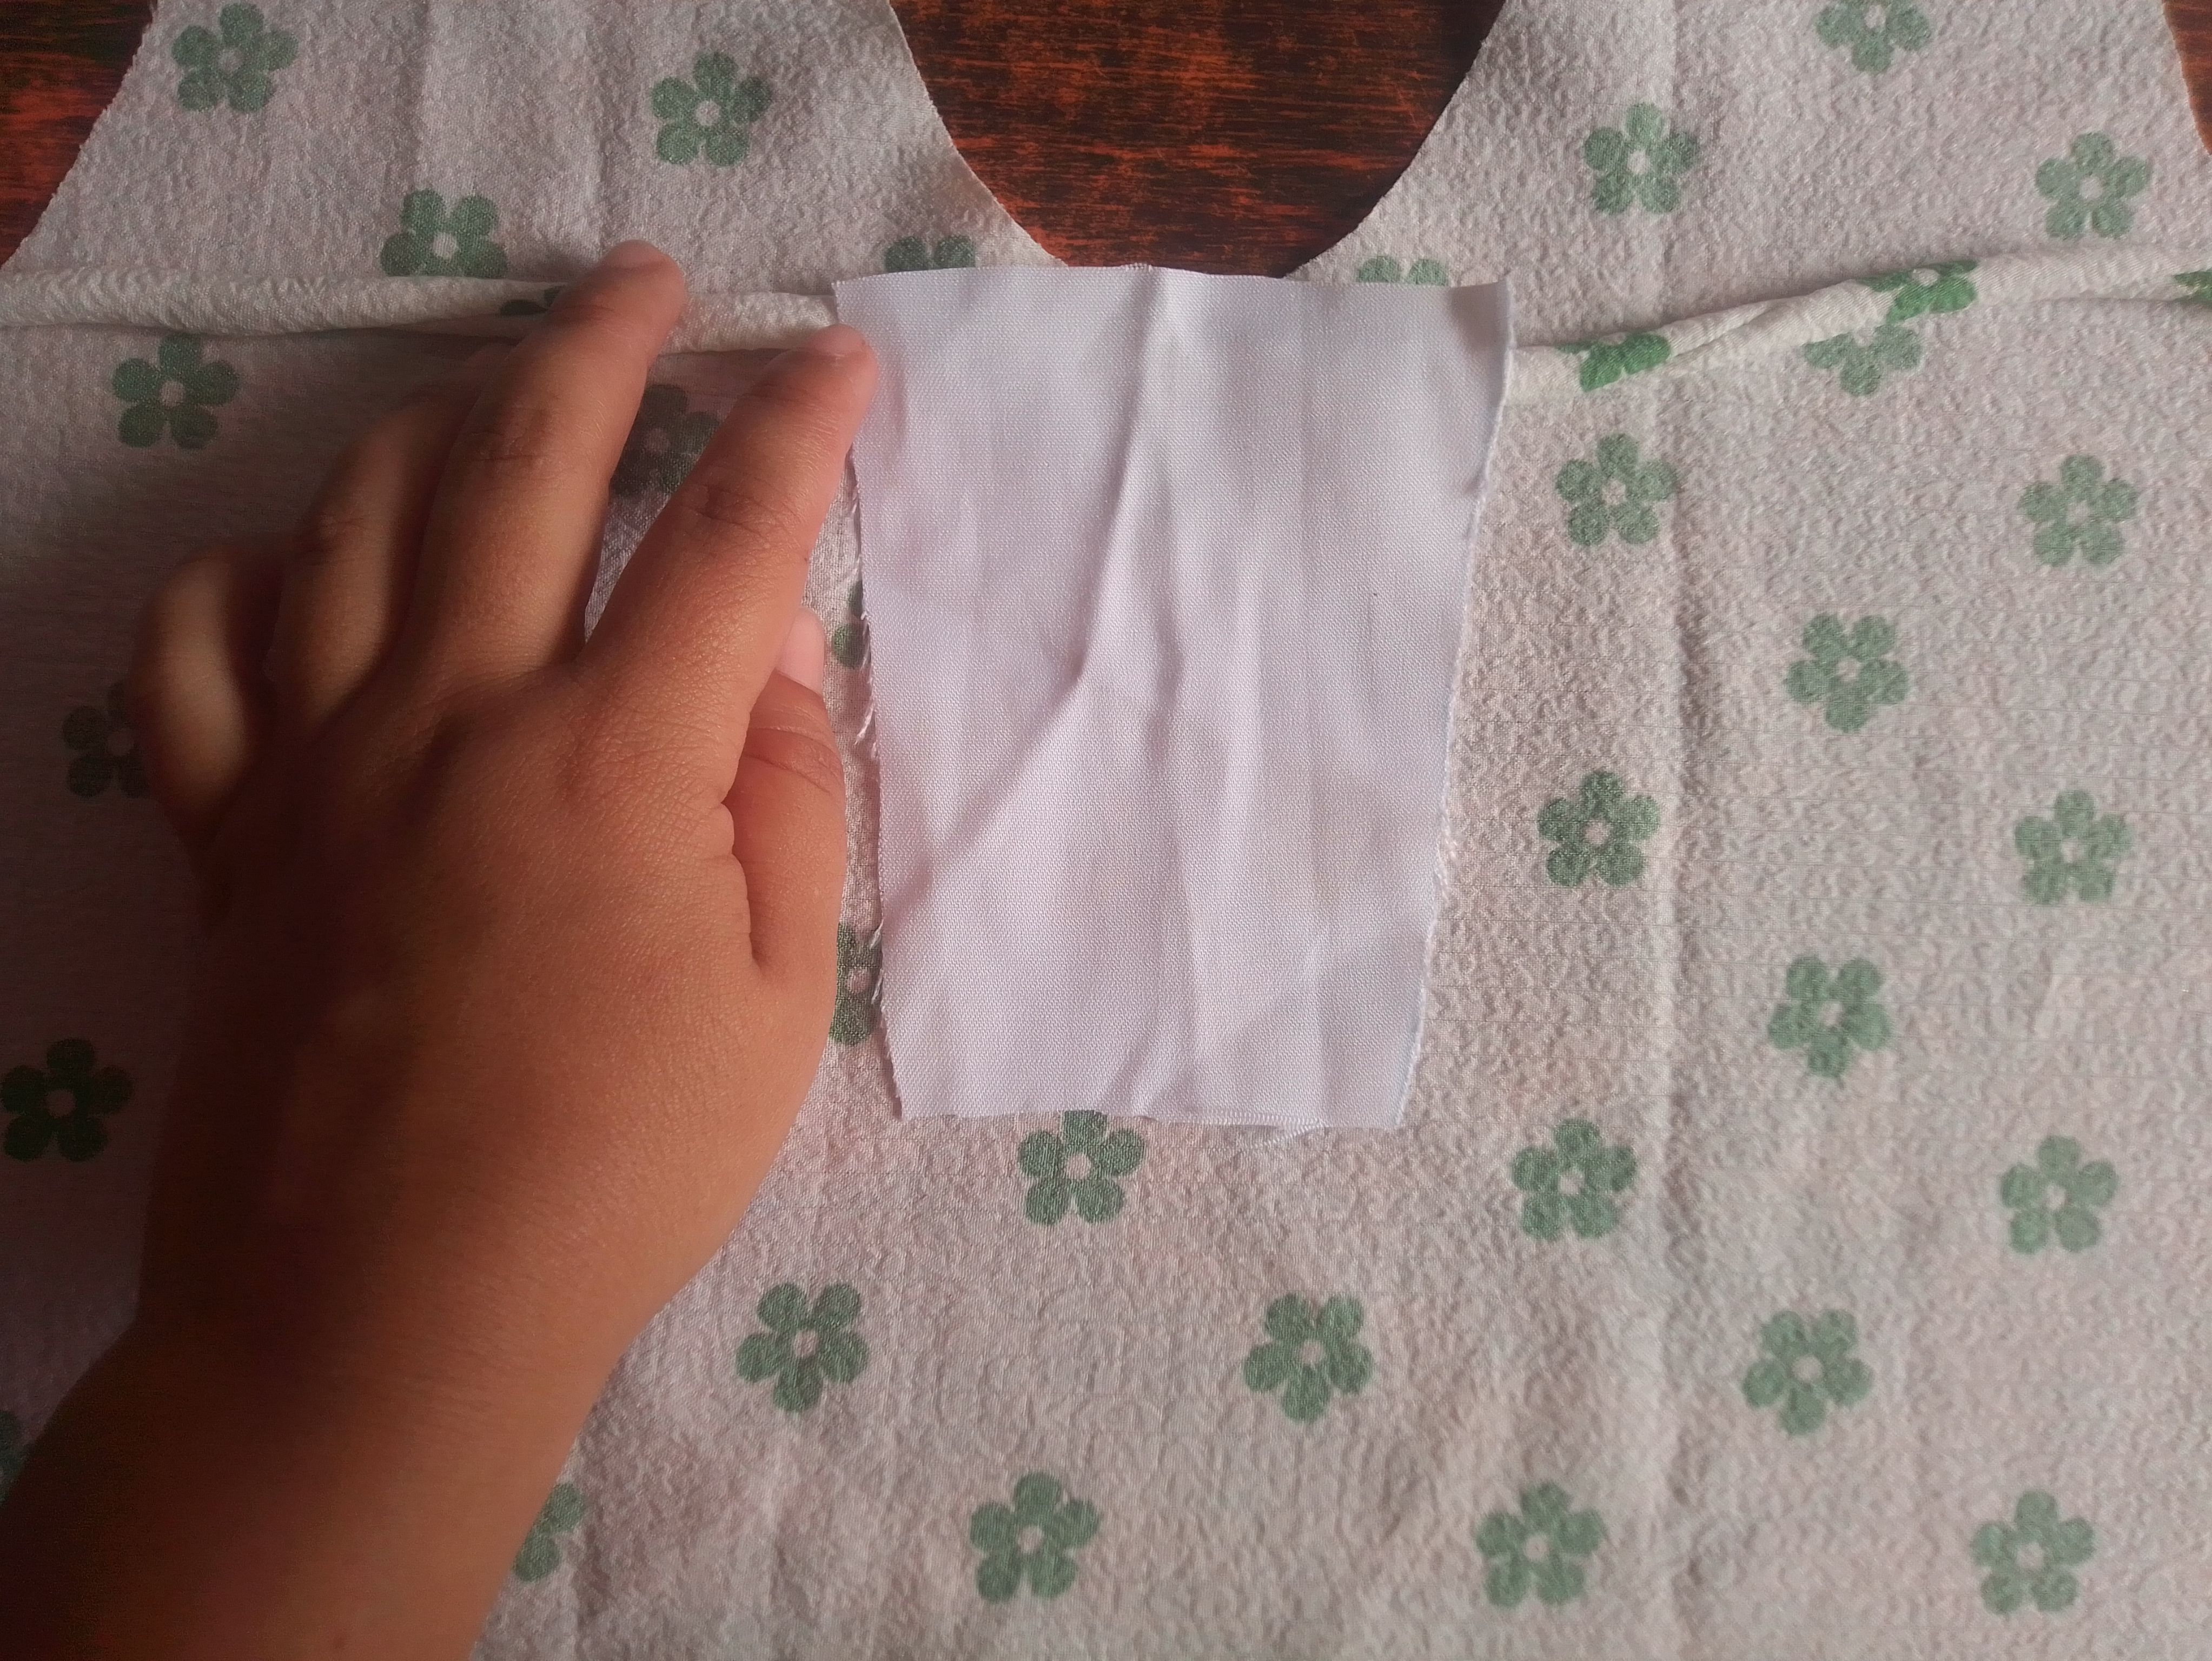
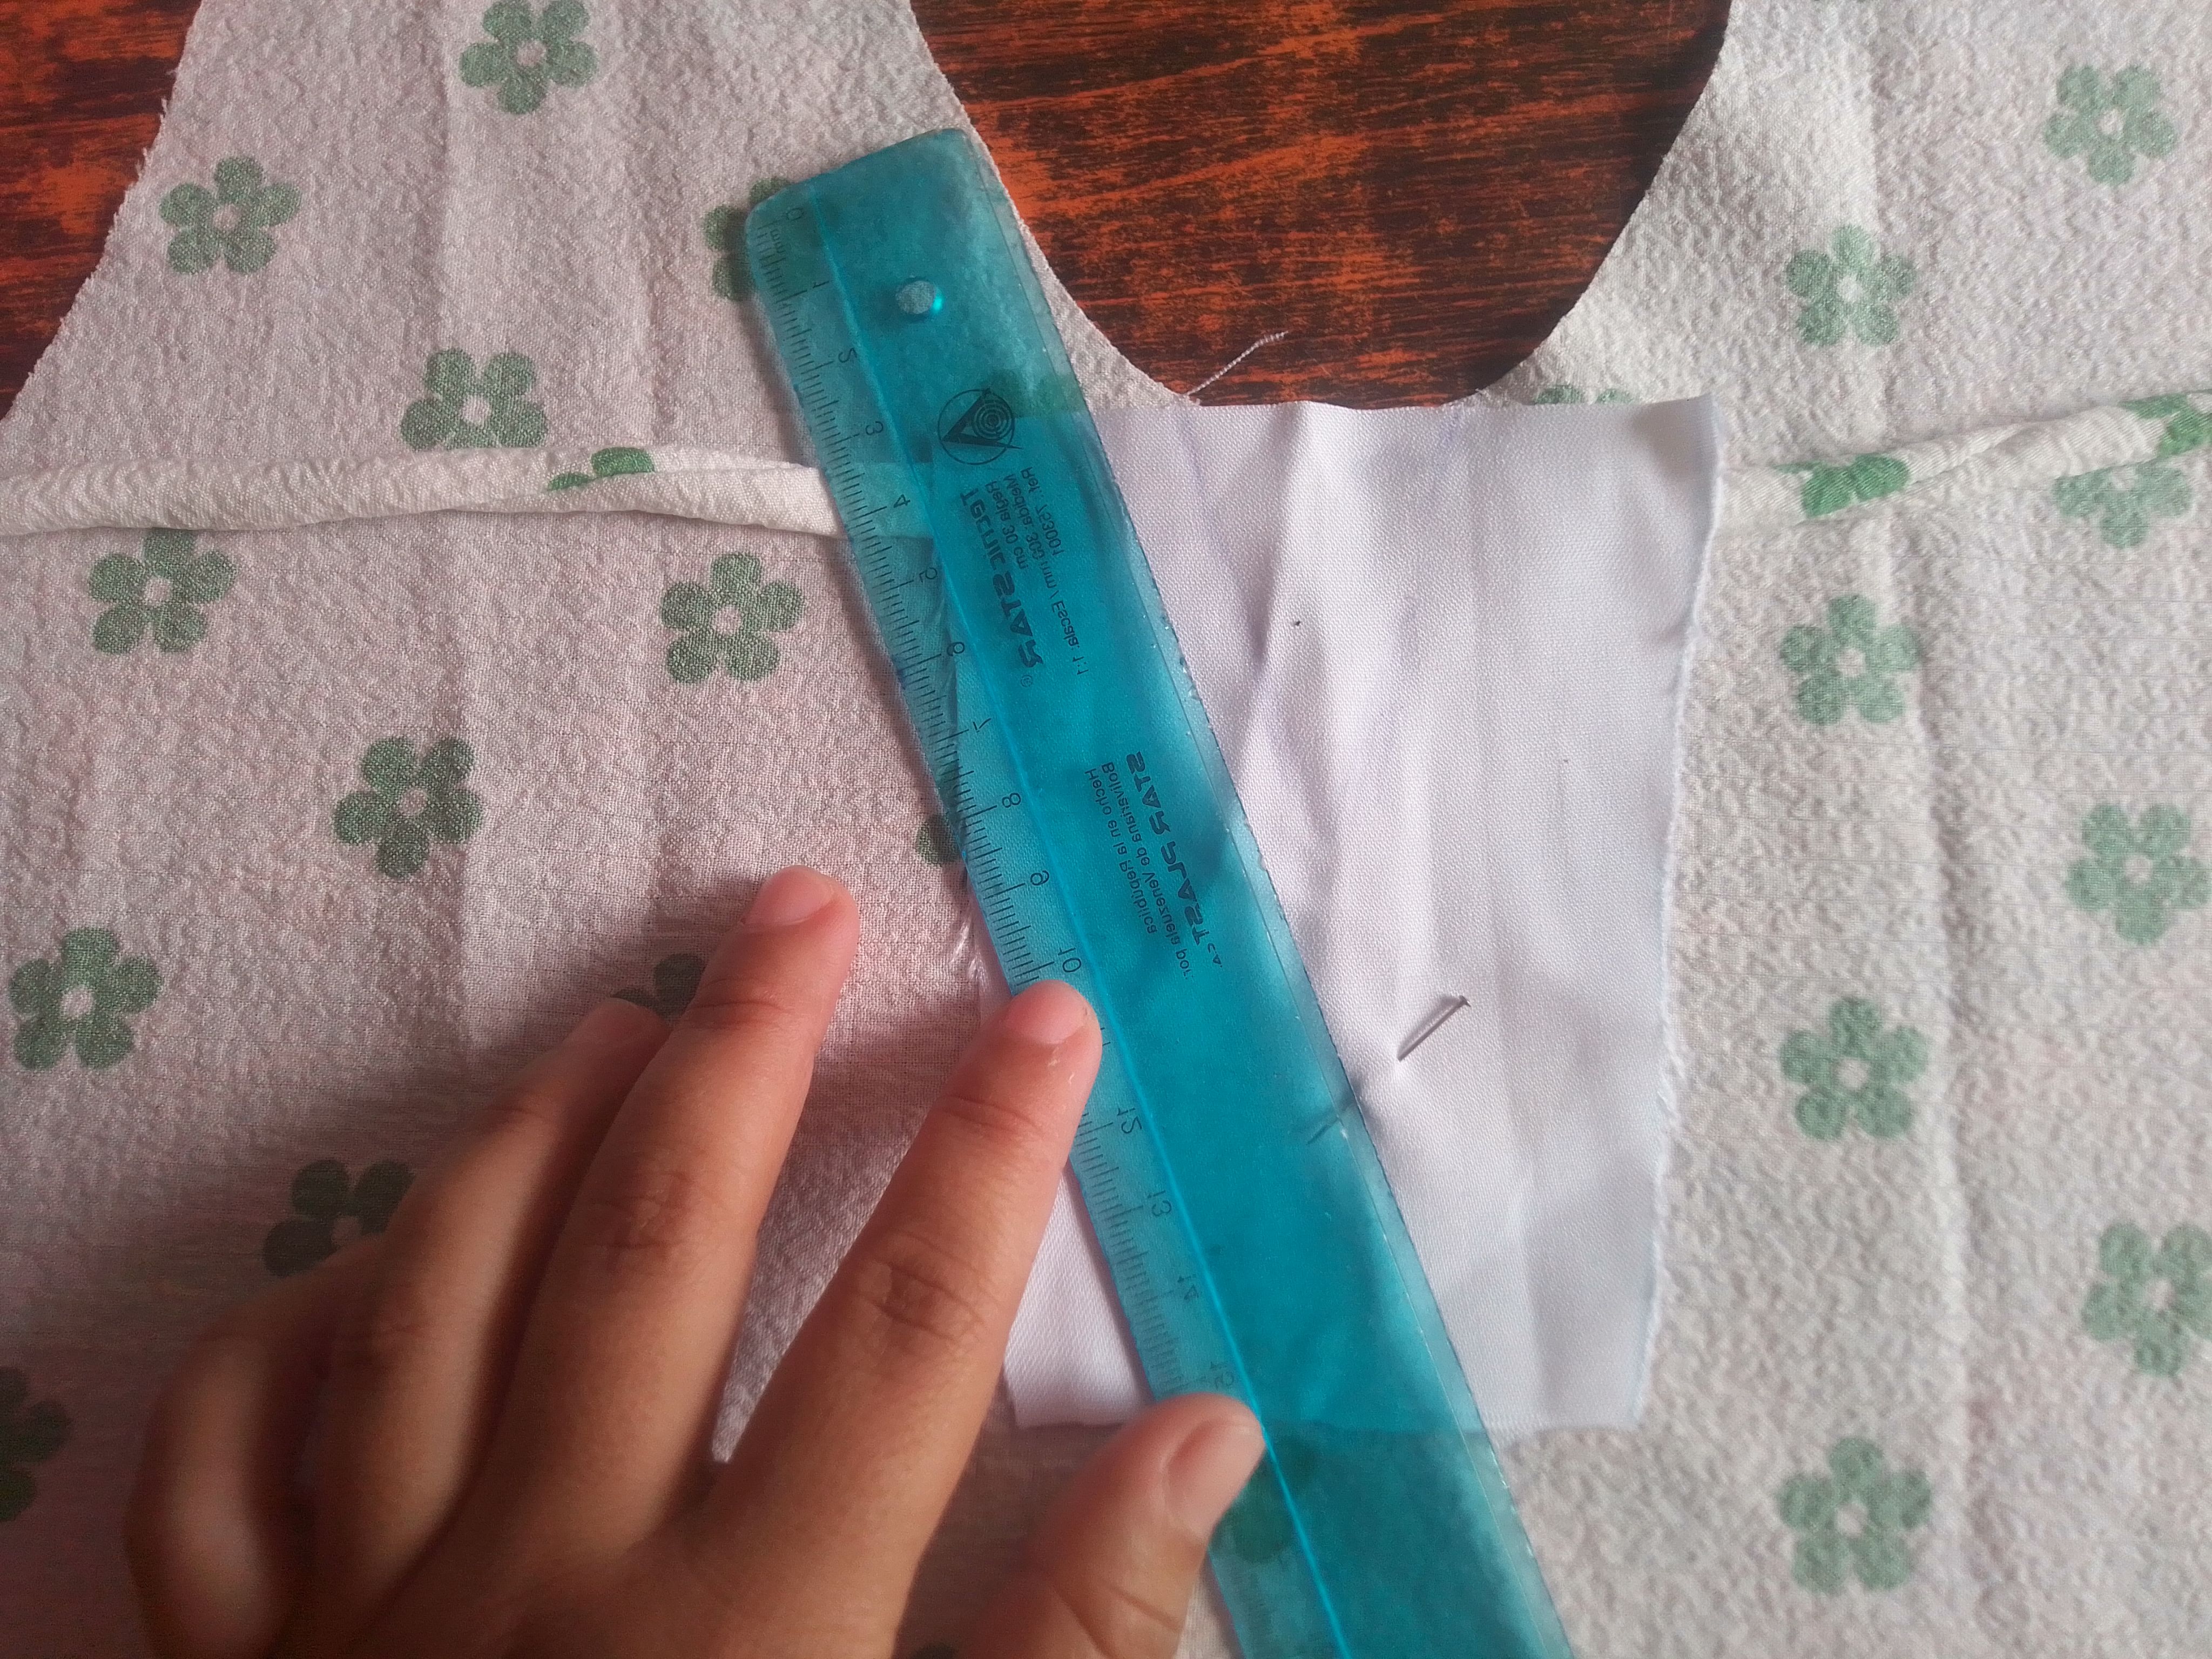
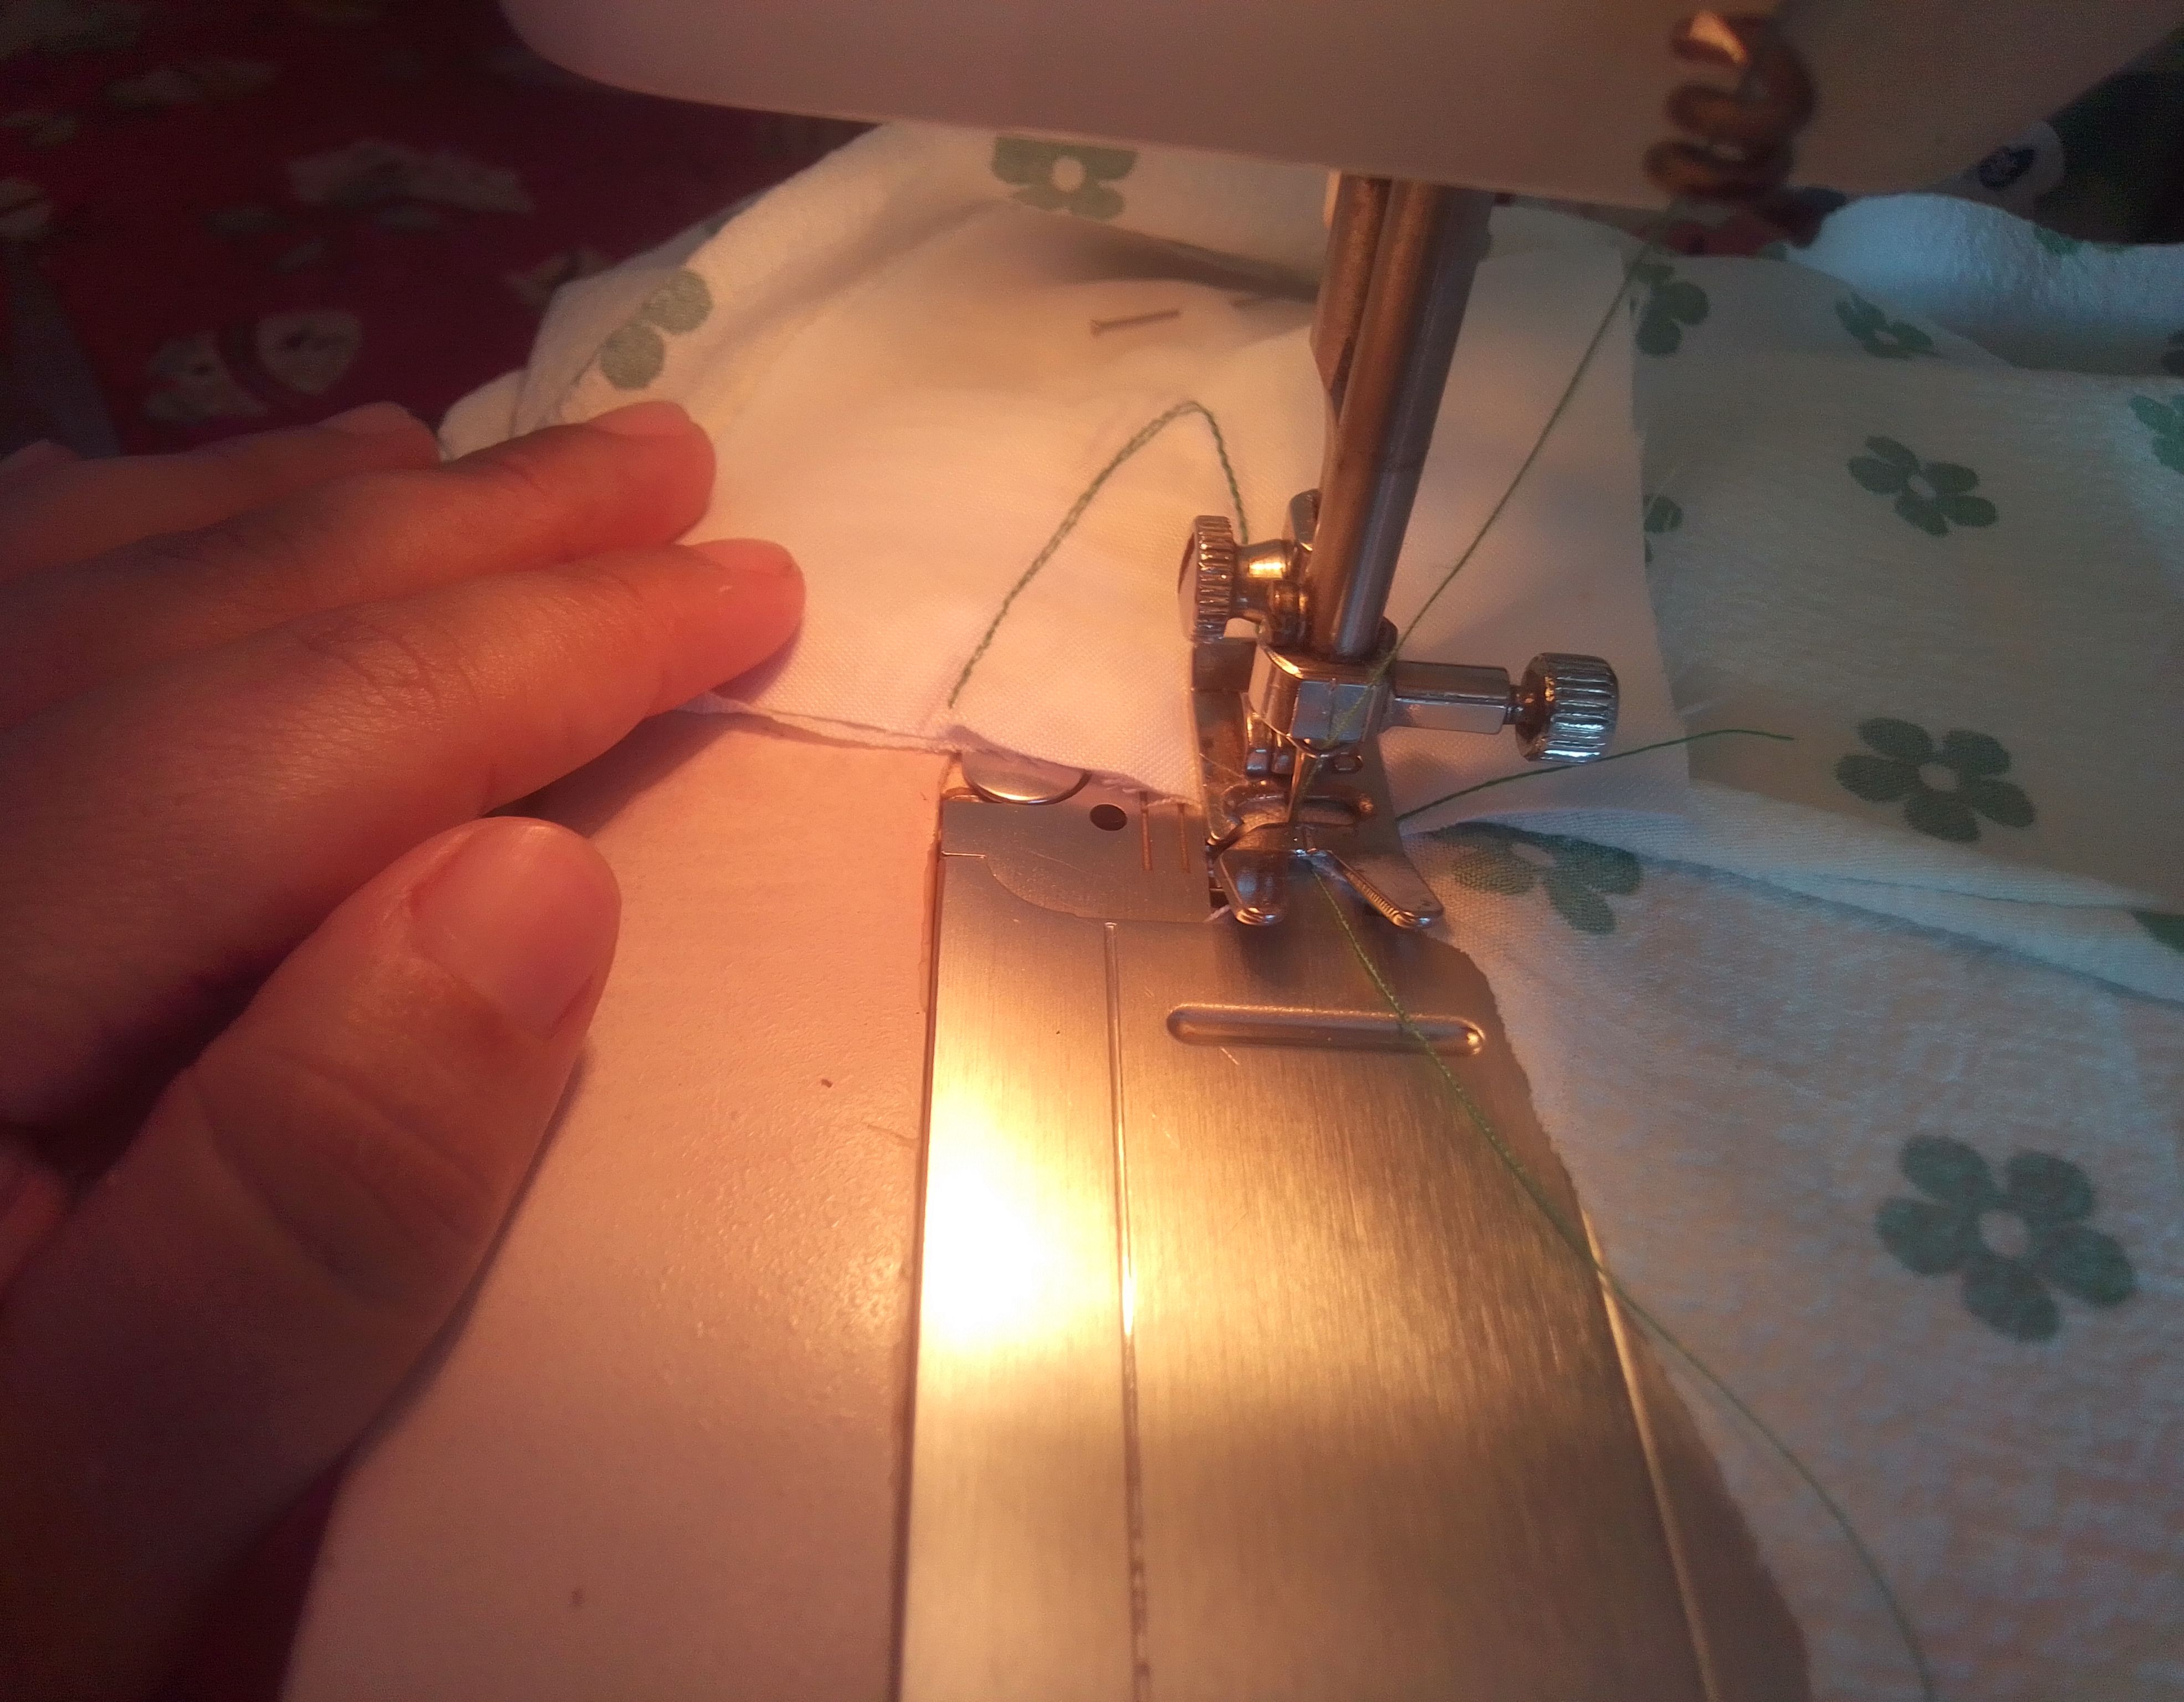
Voy a sujetar con alfileres en el centro para que no se mueva, y voy a dibujar una forma triángular, luego voy a coser dicha forma.
🌟Step 02
I'm going to pin it in the center so it doesn't move, and I'm going to draw a triangular shape, then I'm going to sew said shape.
🌟Paso 03
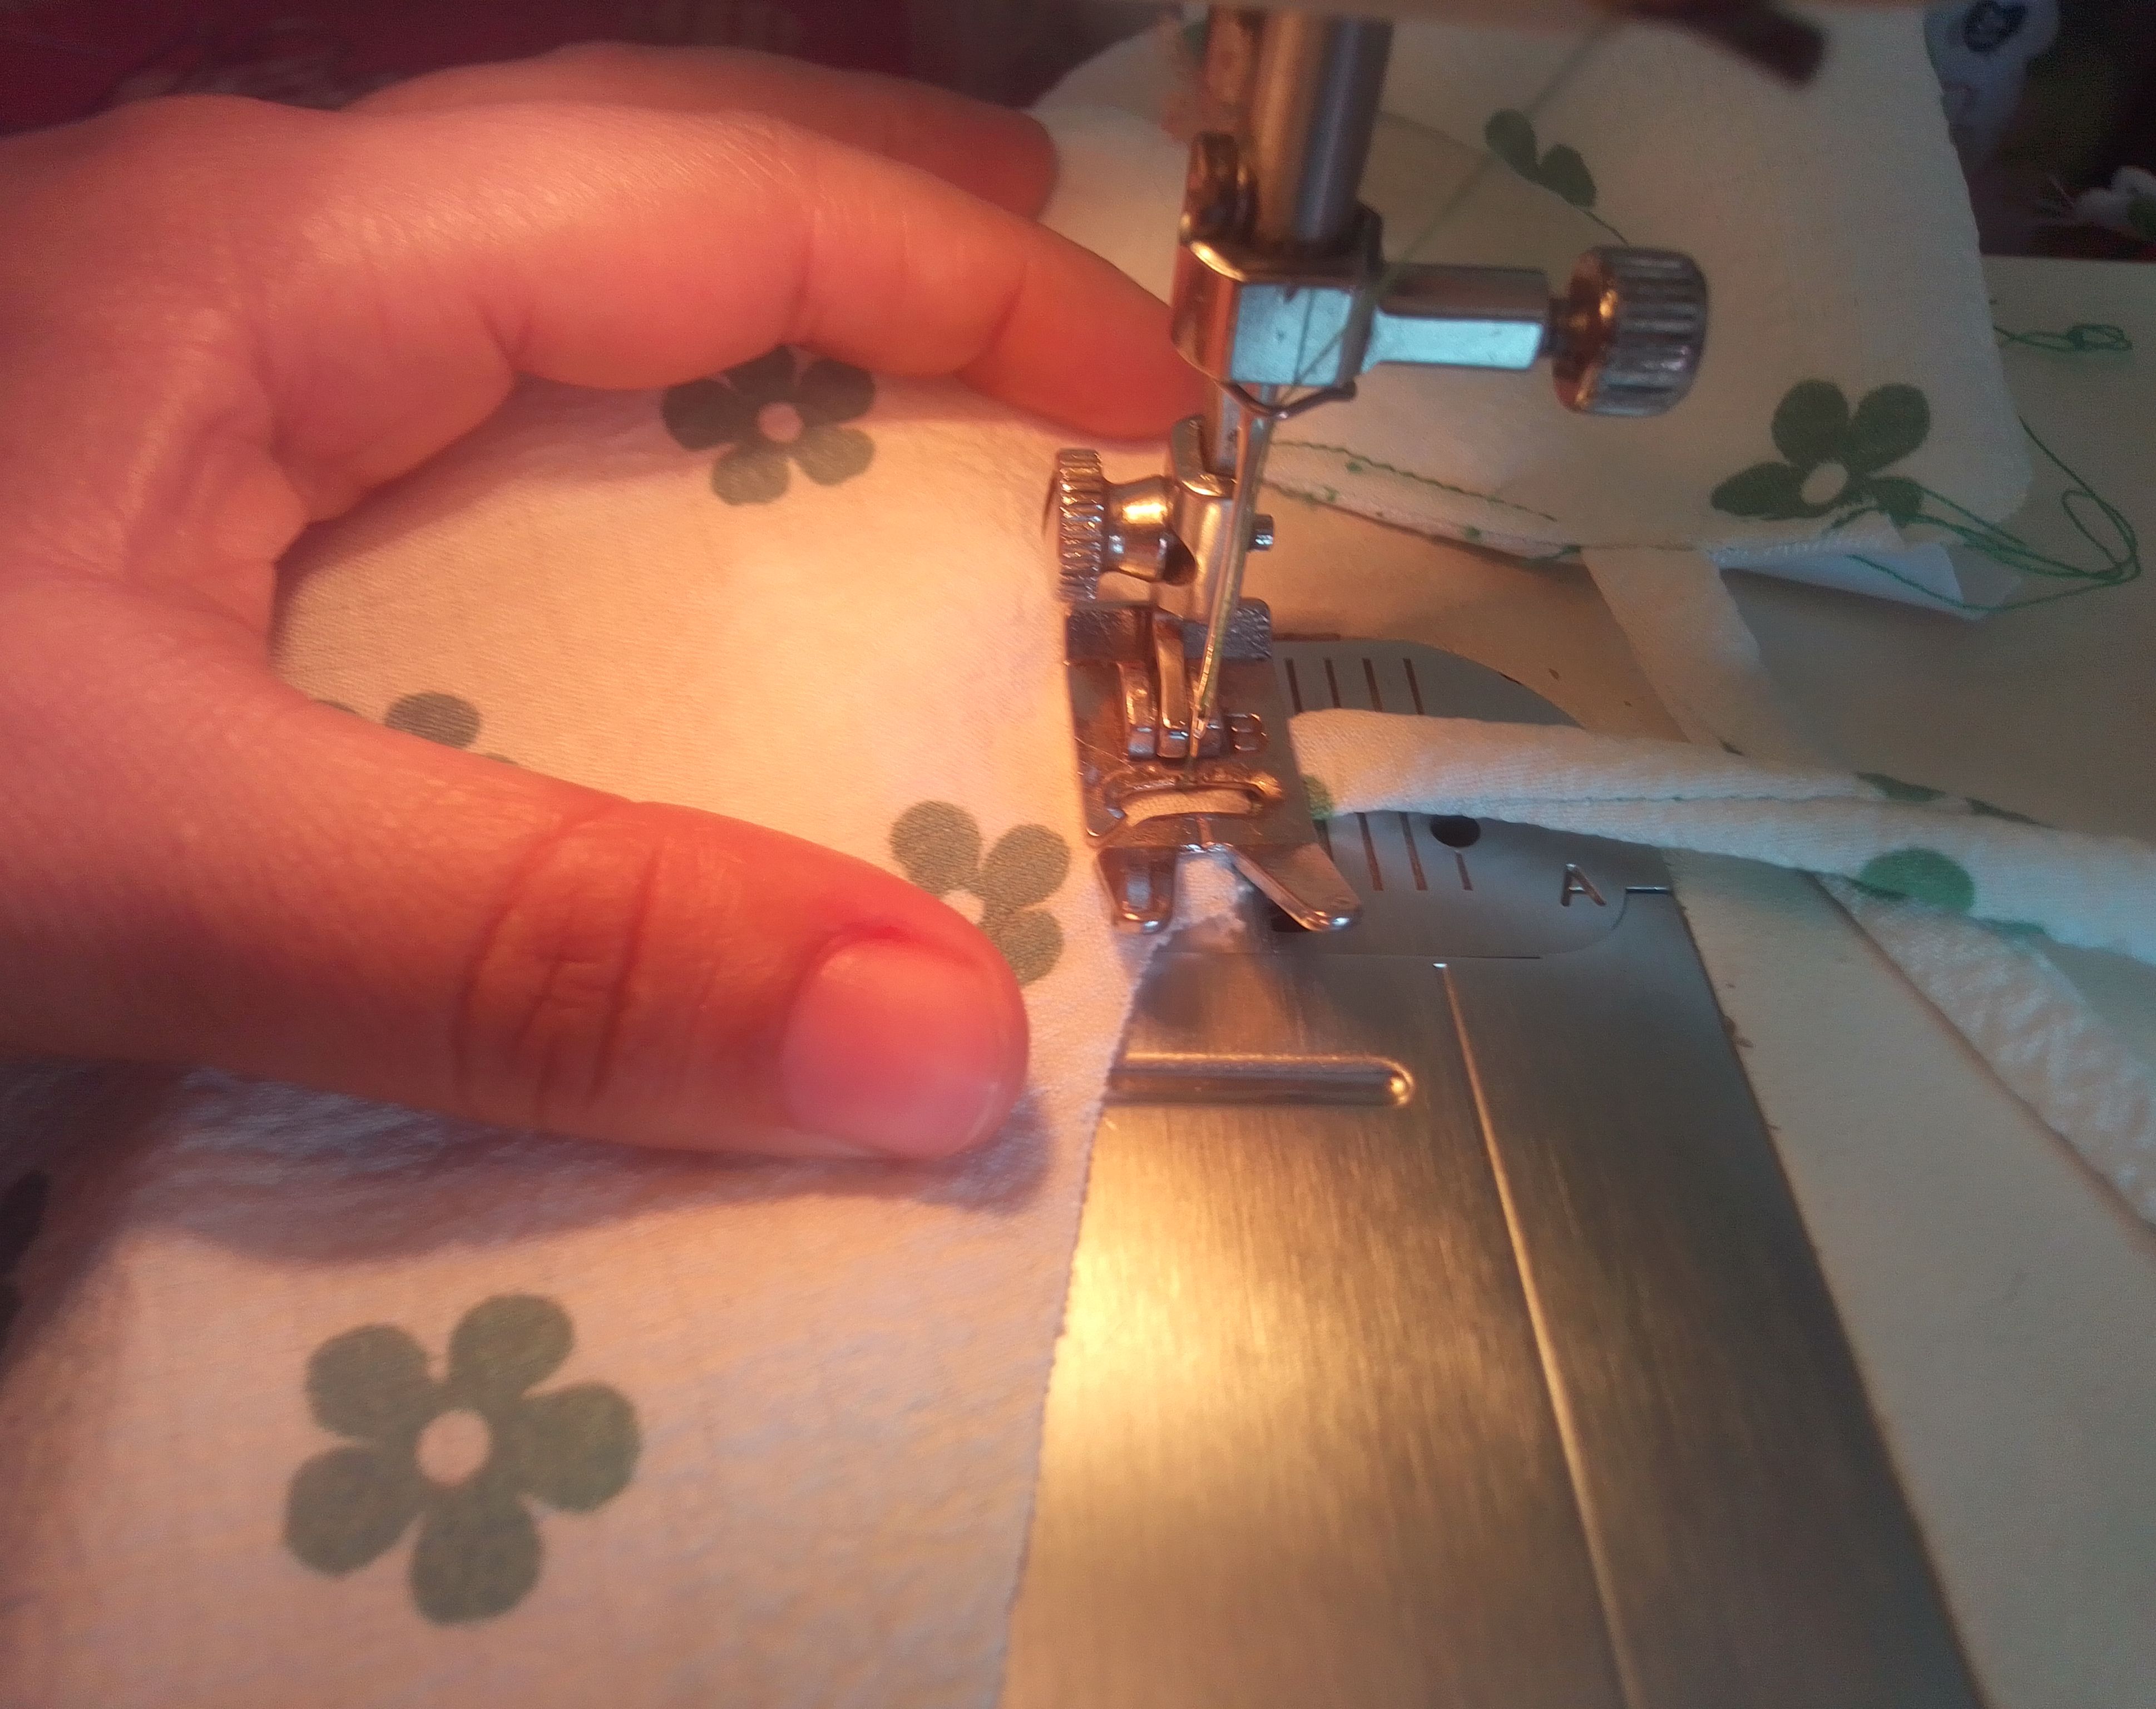
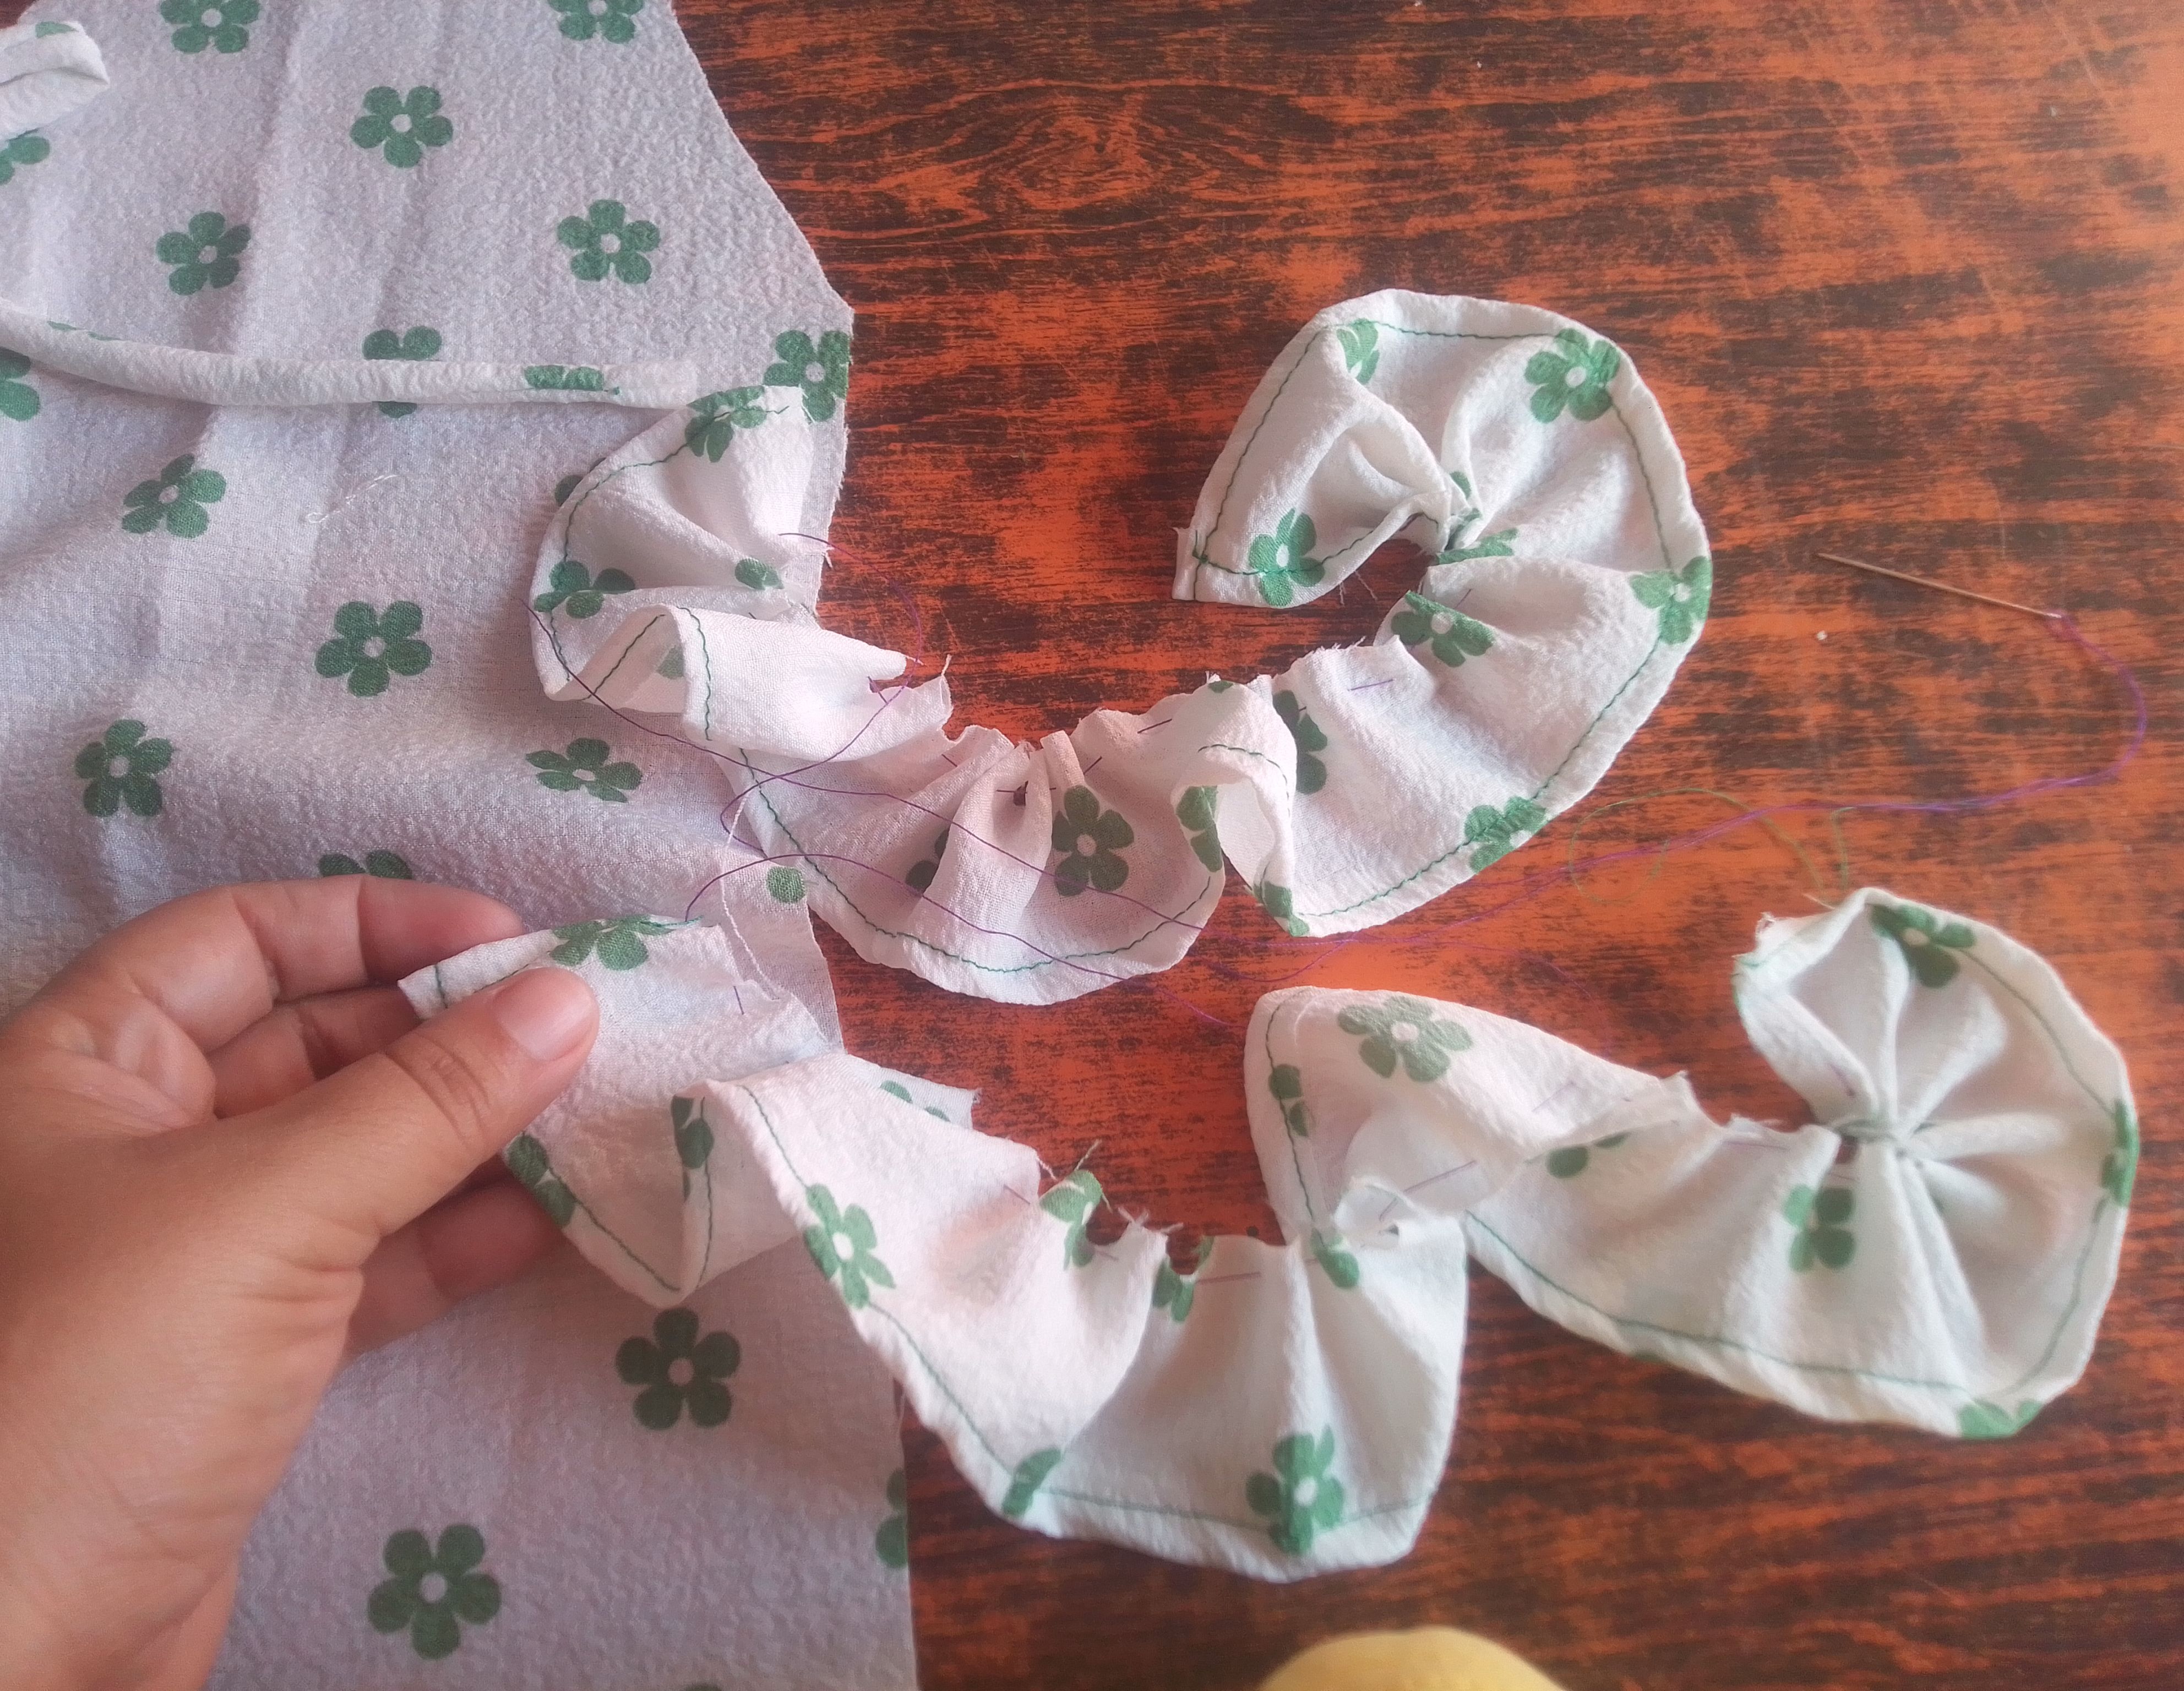
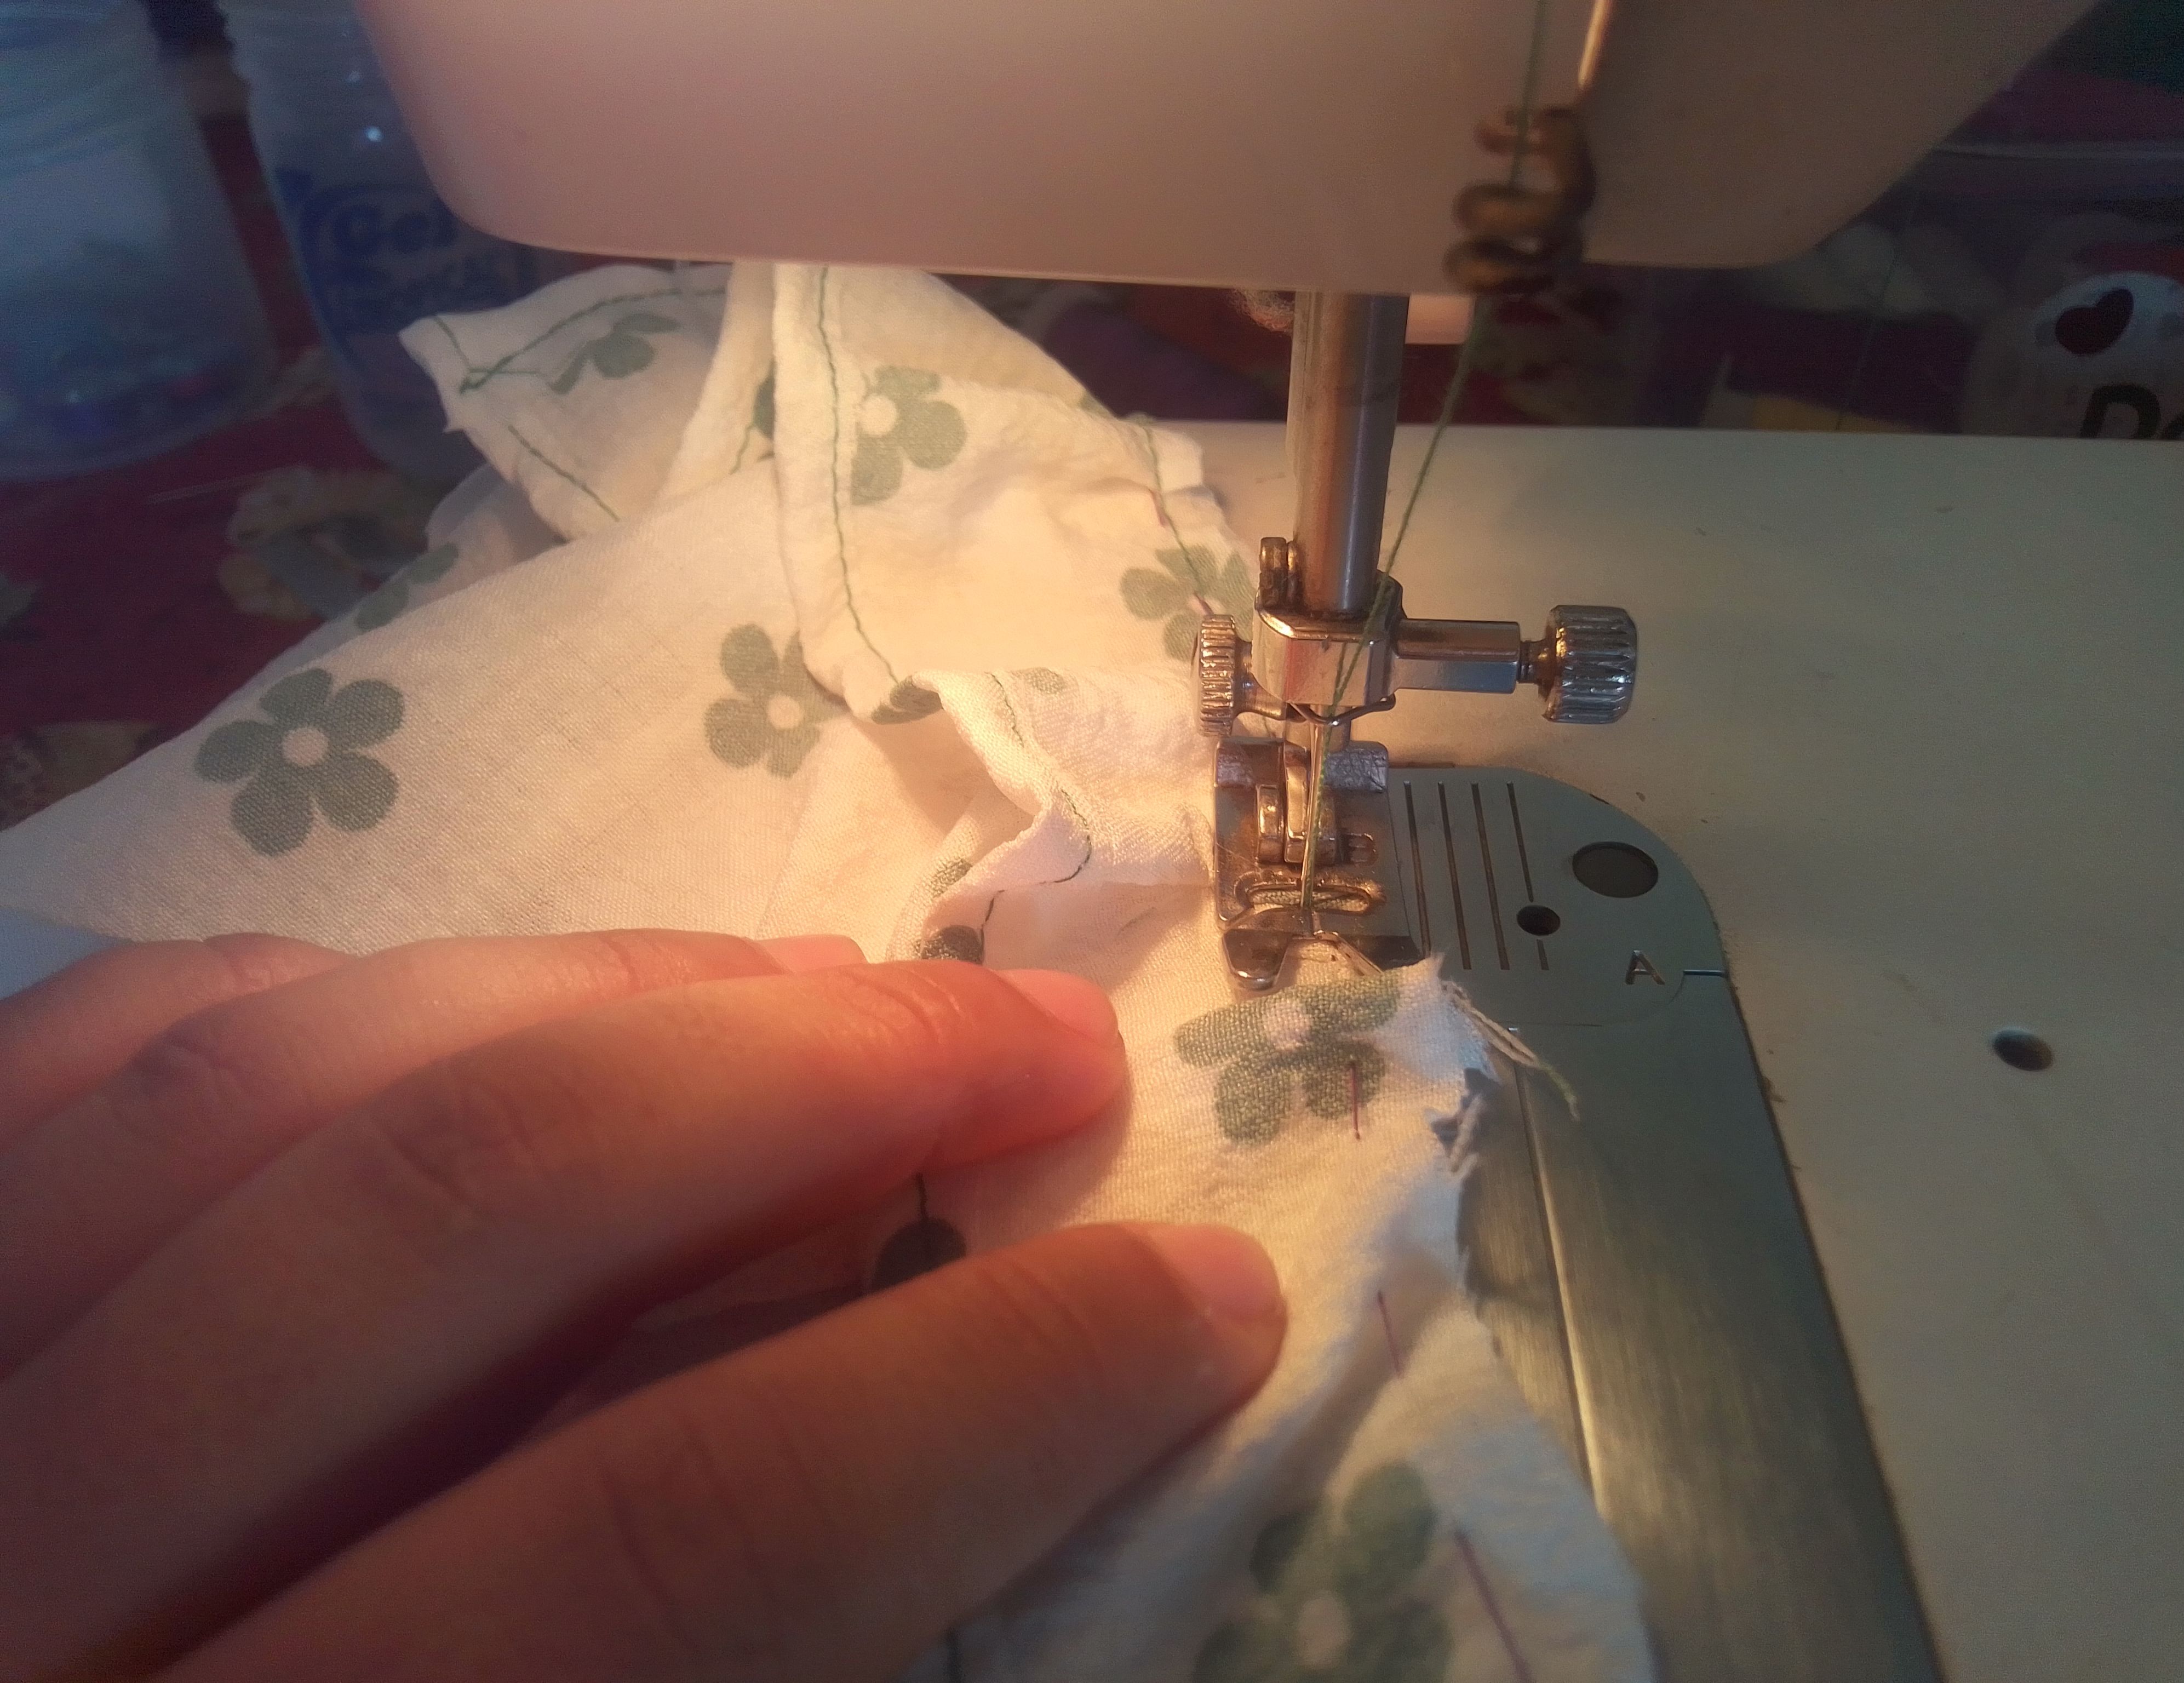
Ahora realizó un corte en el centro con esta forma y giramos la sobre tela hacia atrás para crear un pespunte por toda la orilla. Con unas tira de tela vamos a formar el volante, arruchandola al tamaño del cuello y haciendo un dobladillo del otro extremo. Está la ubico del lado contrario de la tela y hago costura recta.
🌟Step 03
Now we made a cut in the center with this shape and we turned the fabric back to create a stitch along the entire edge. With some strips of fabric we are going to form the ruffle, bunching it up to the size of the neck and hemming the other end. I place it on the opposite side of the fabric and sew straight.
🌟Paso 04
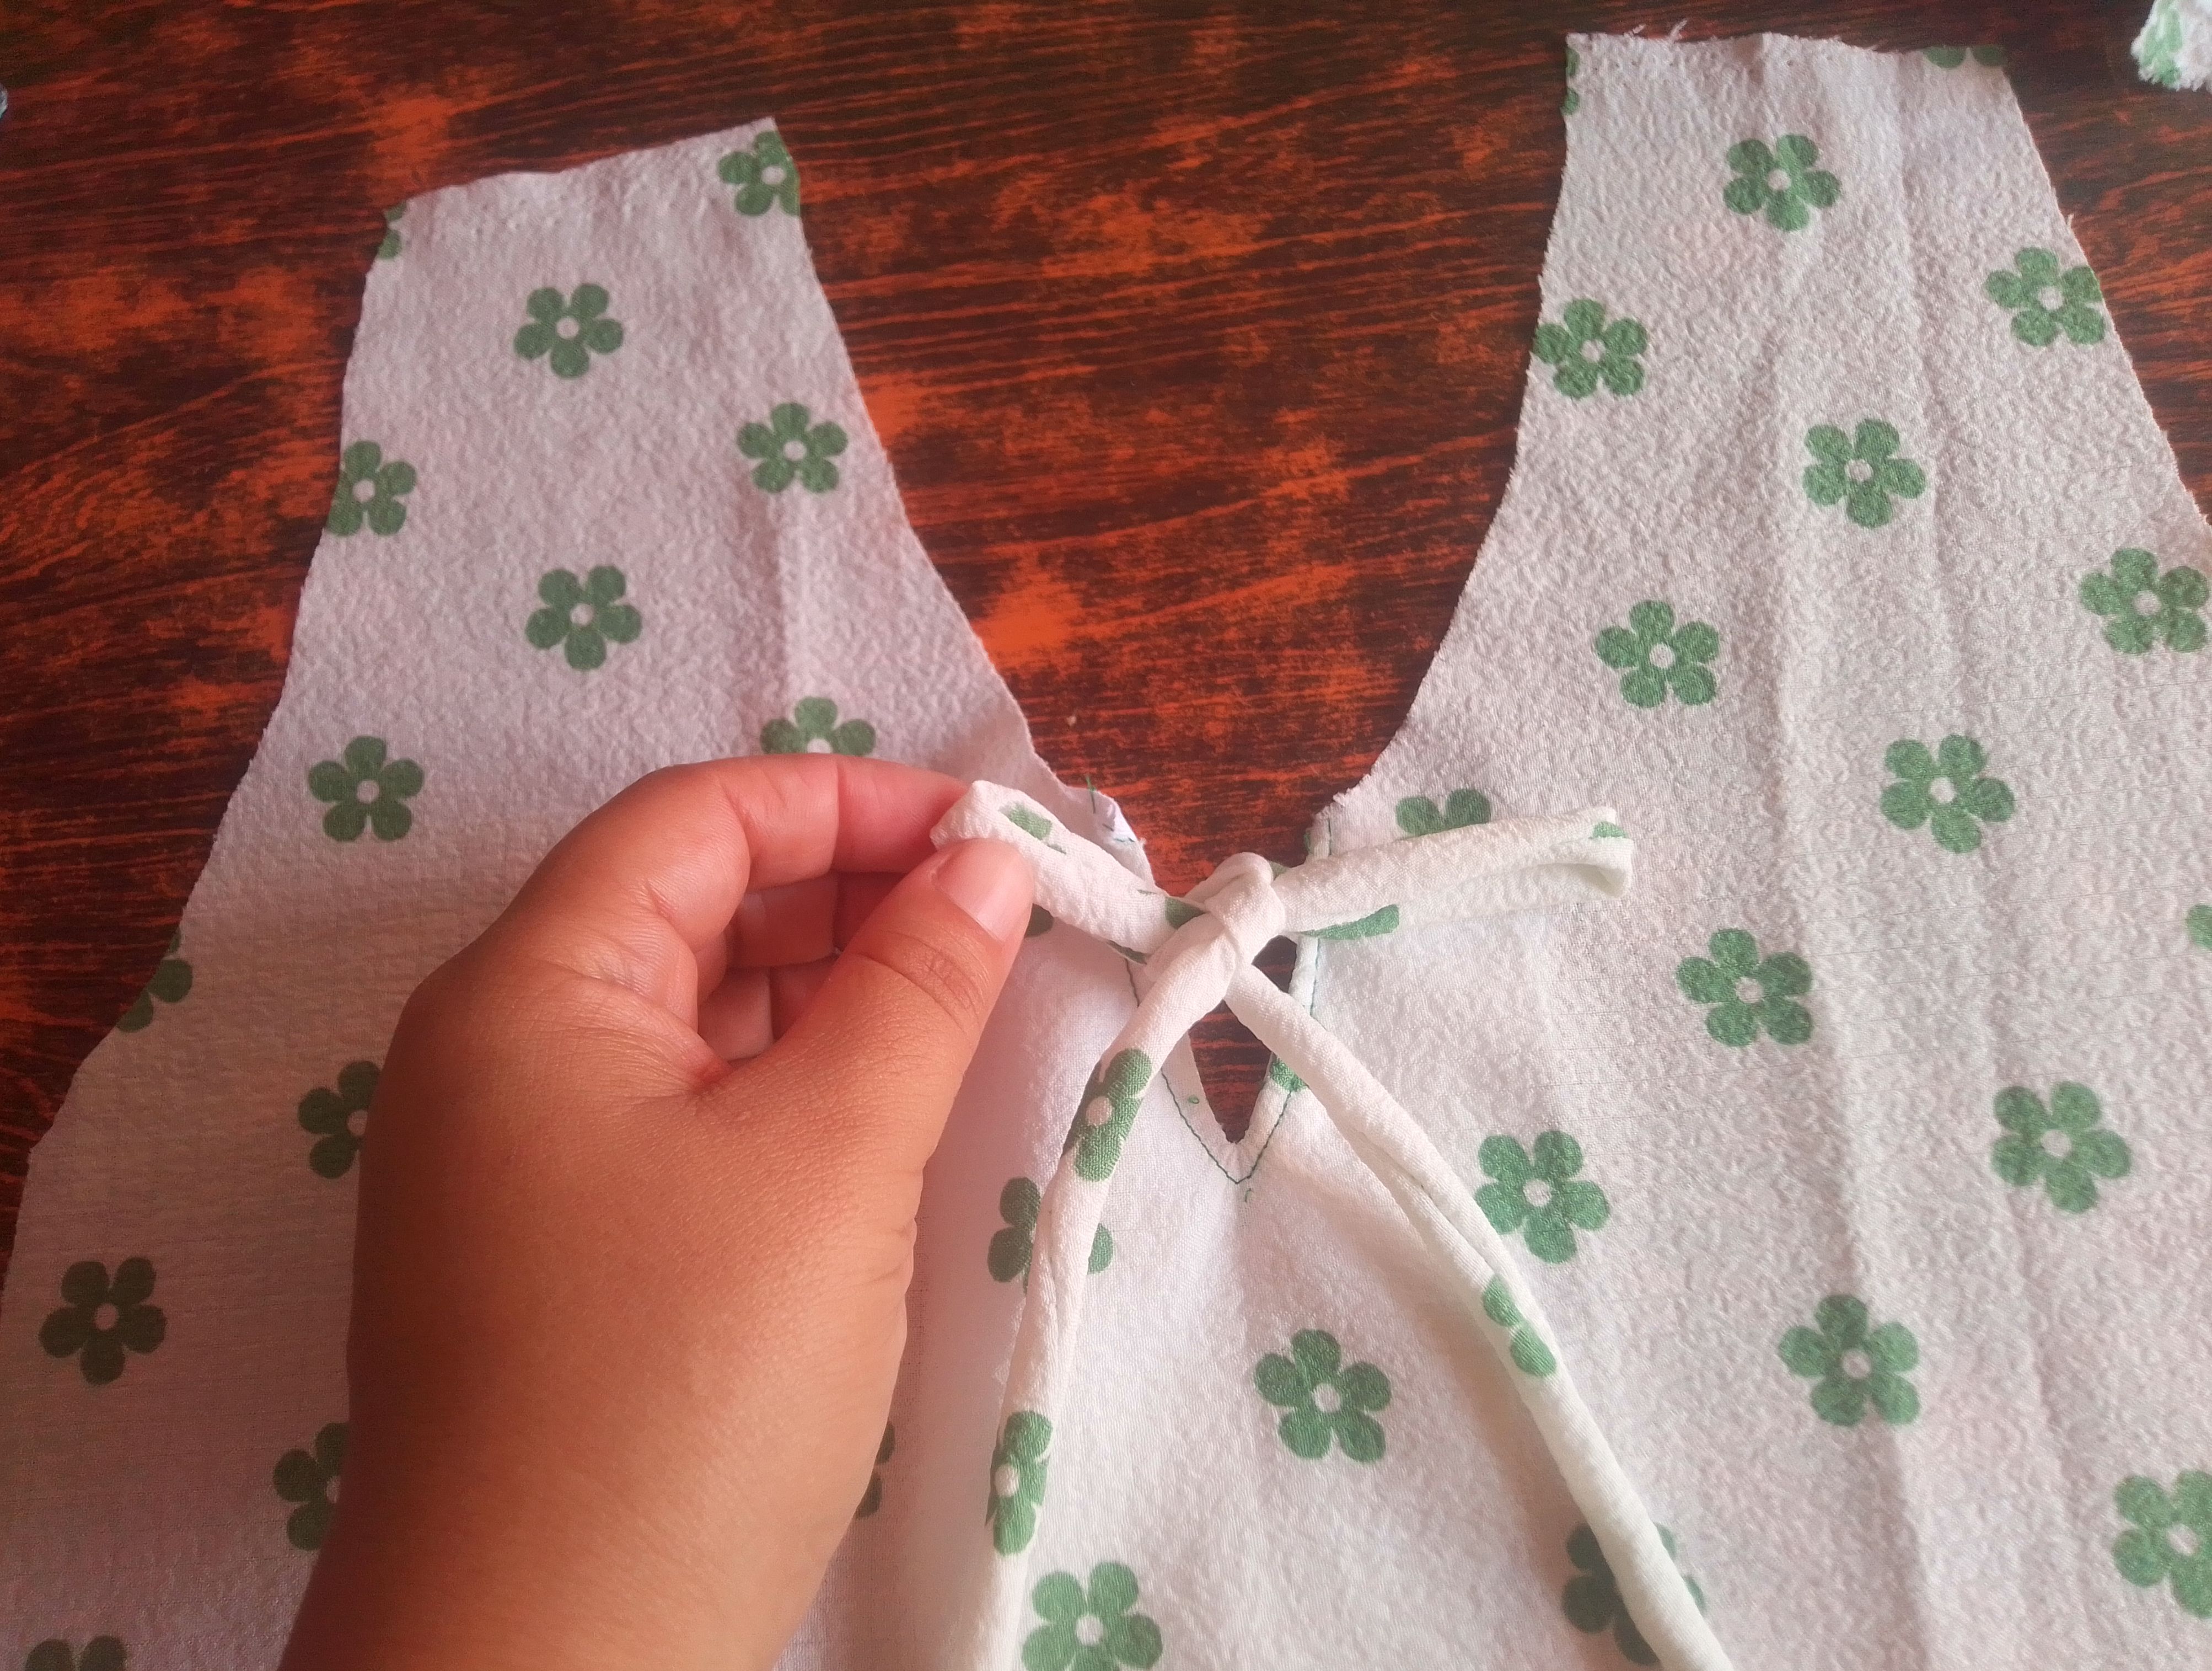
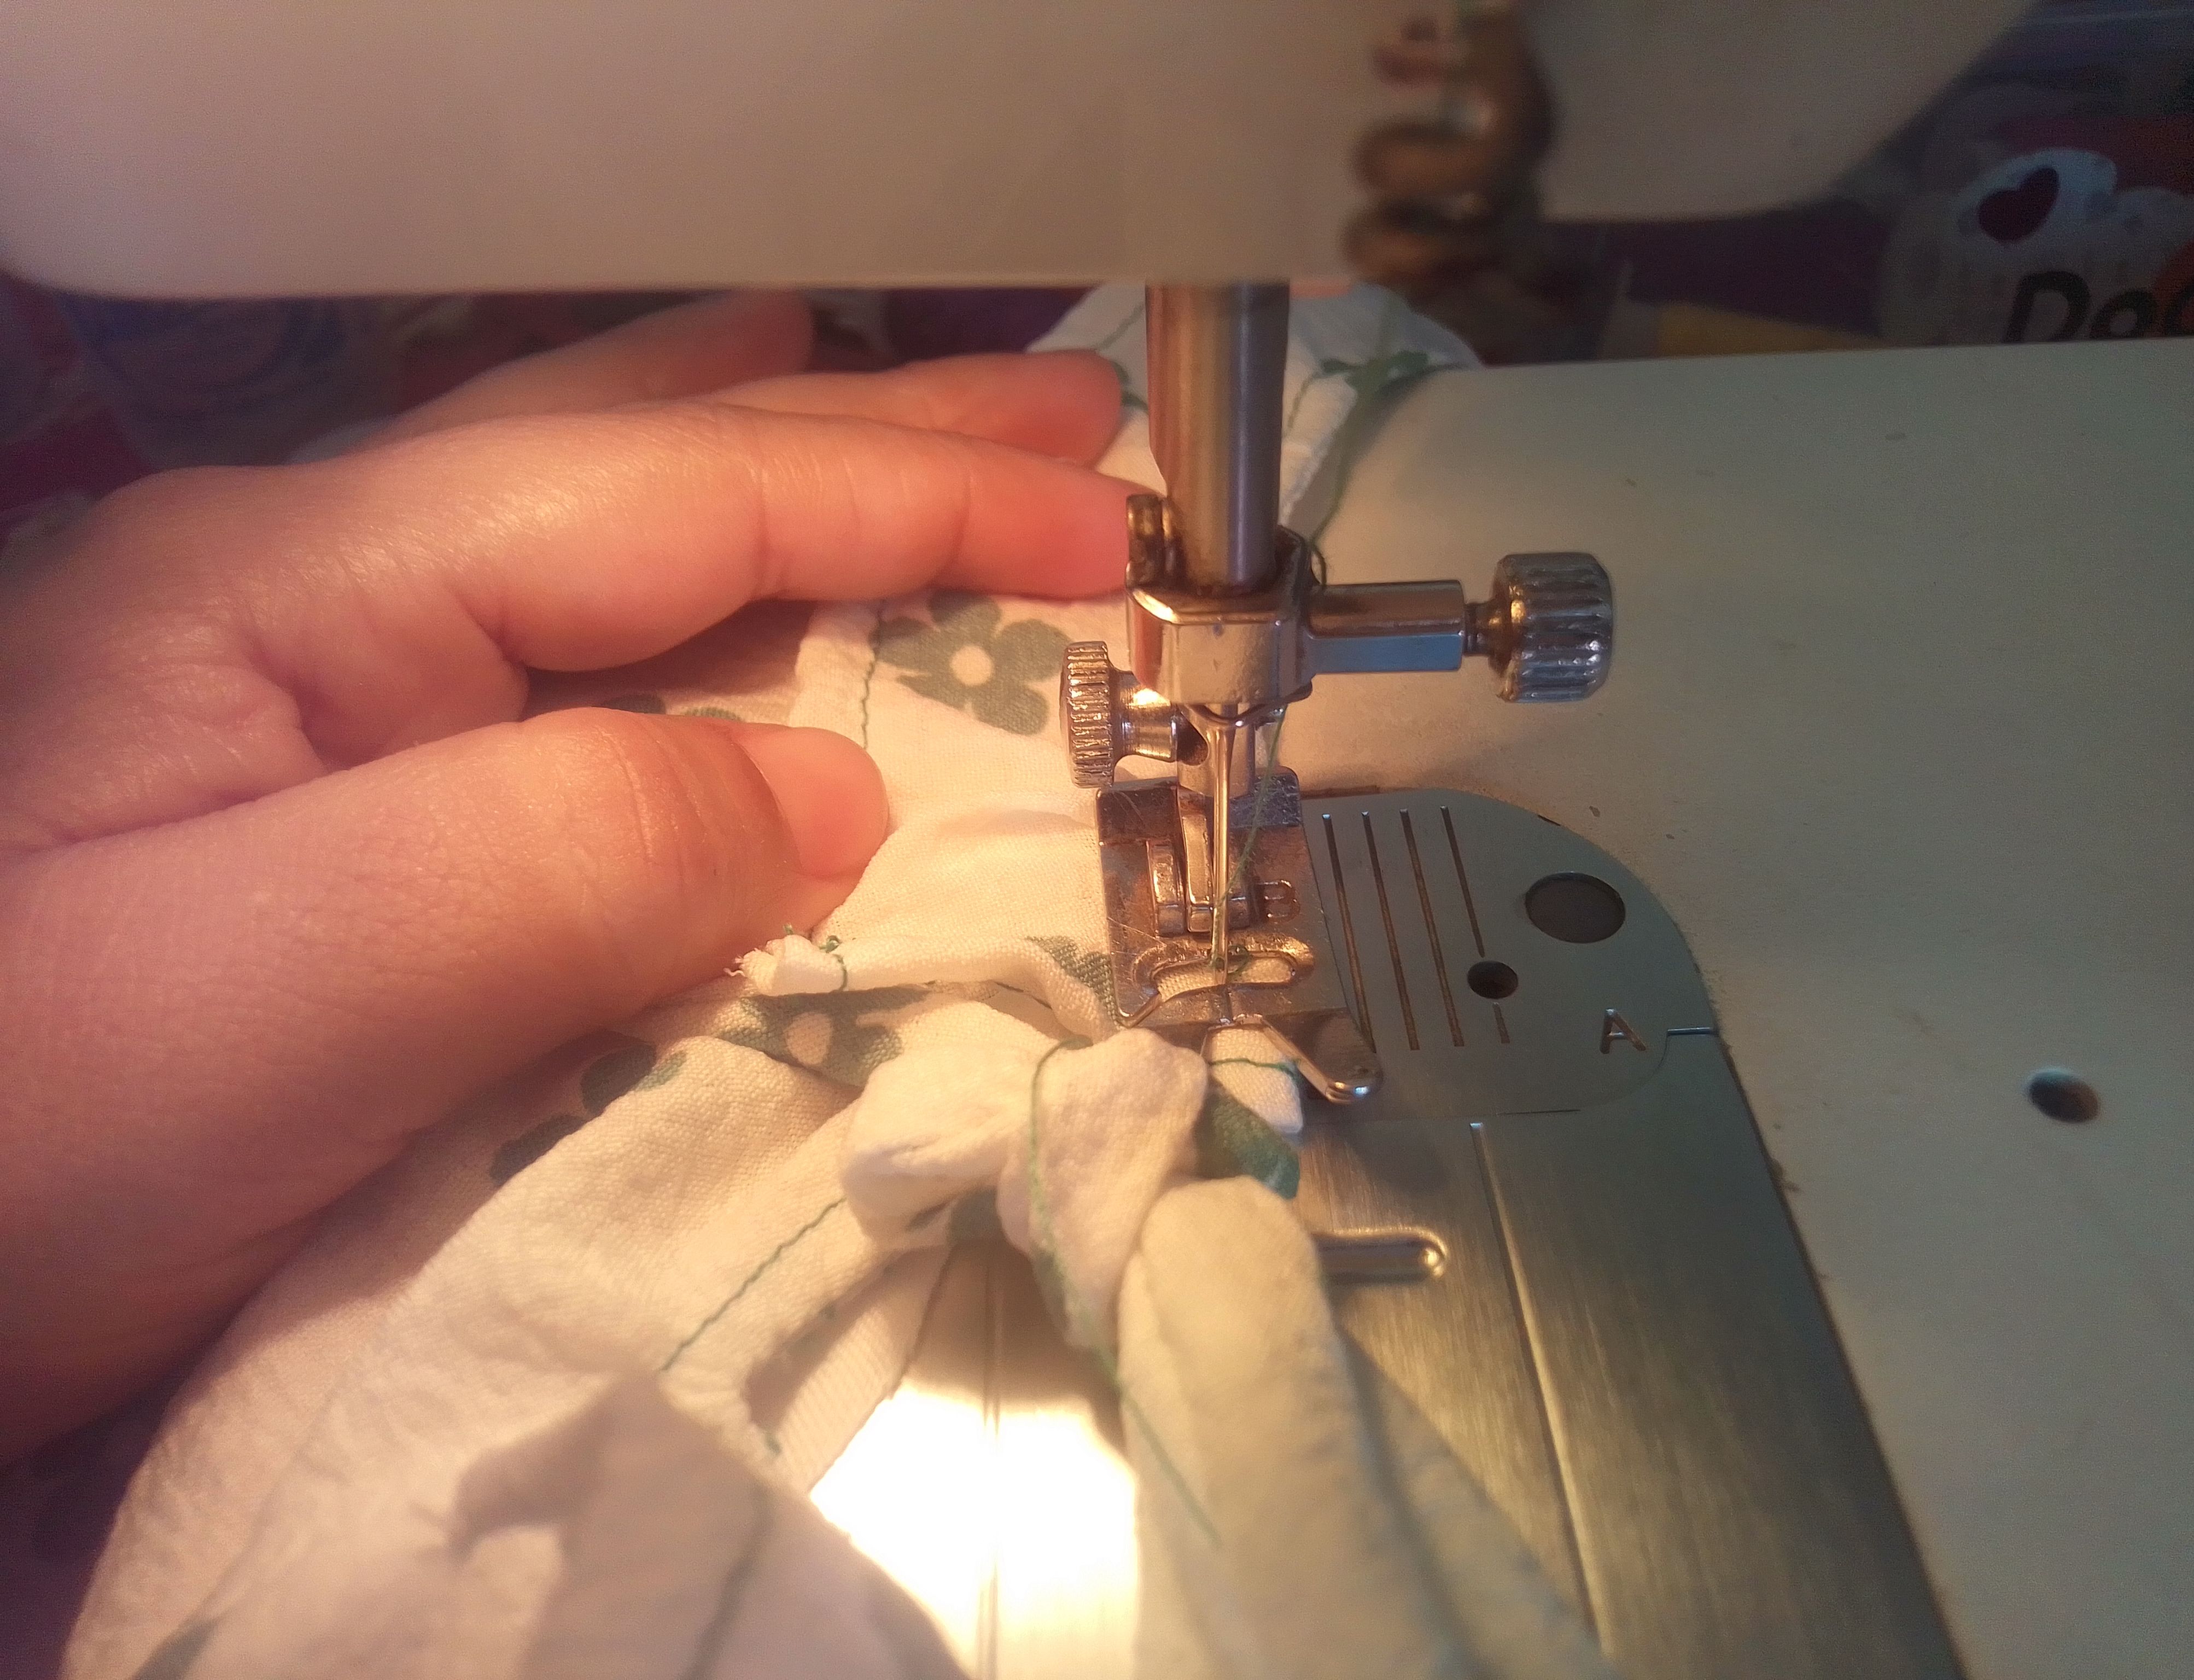
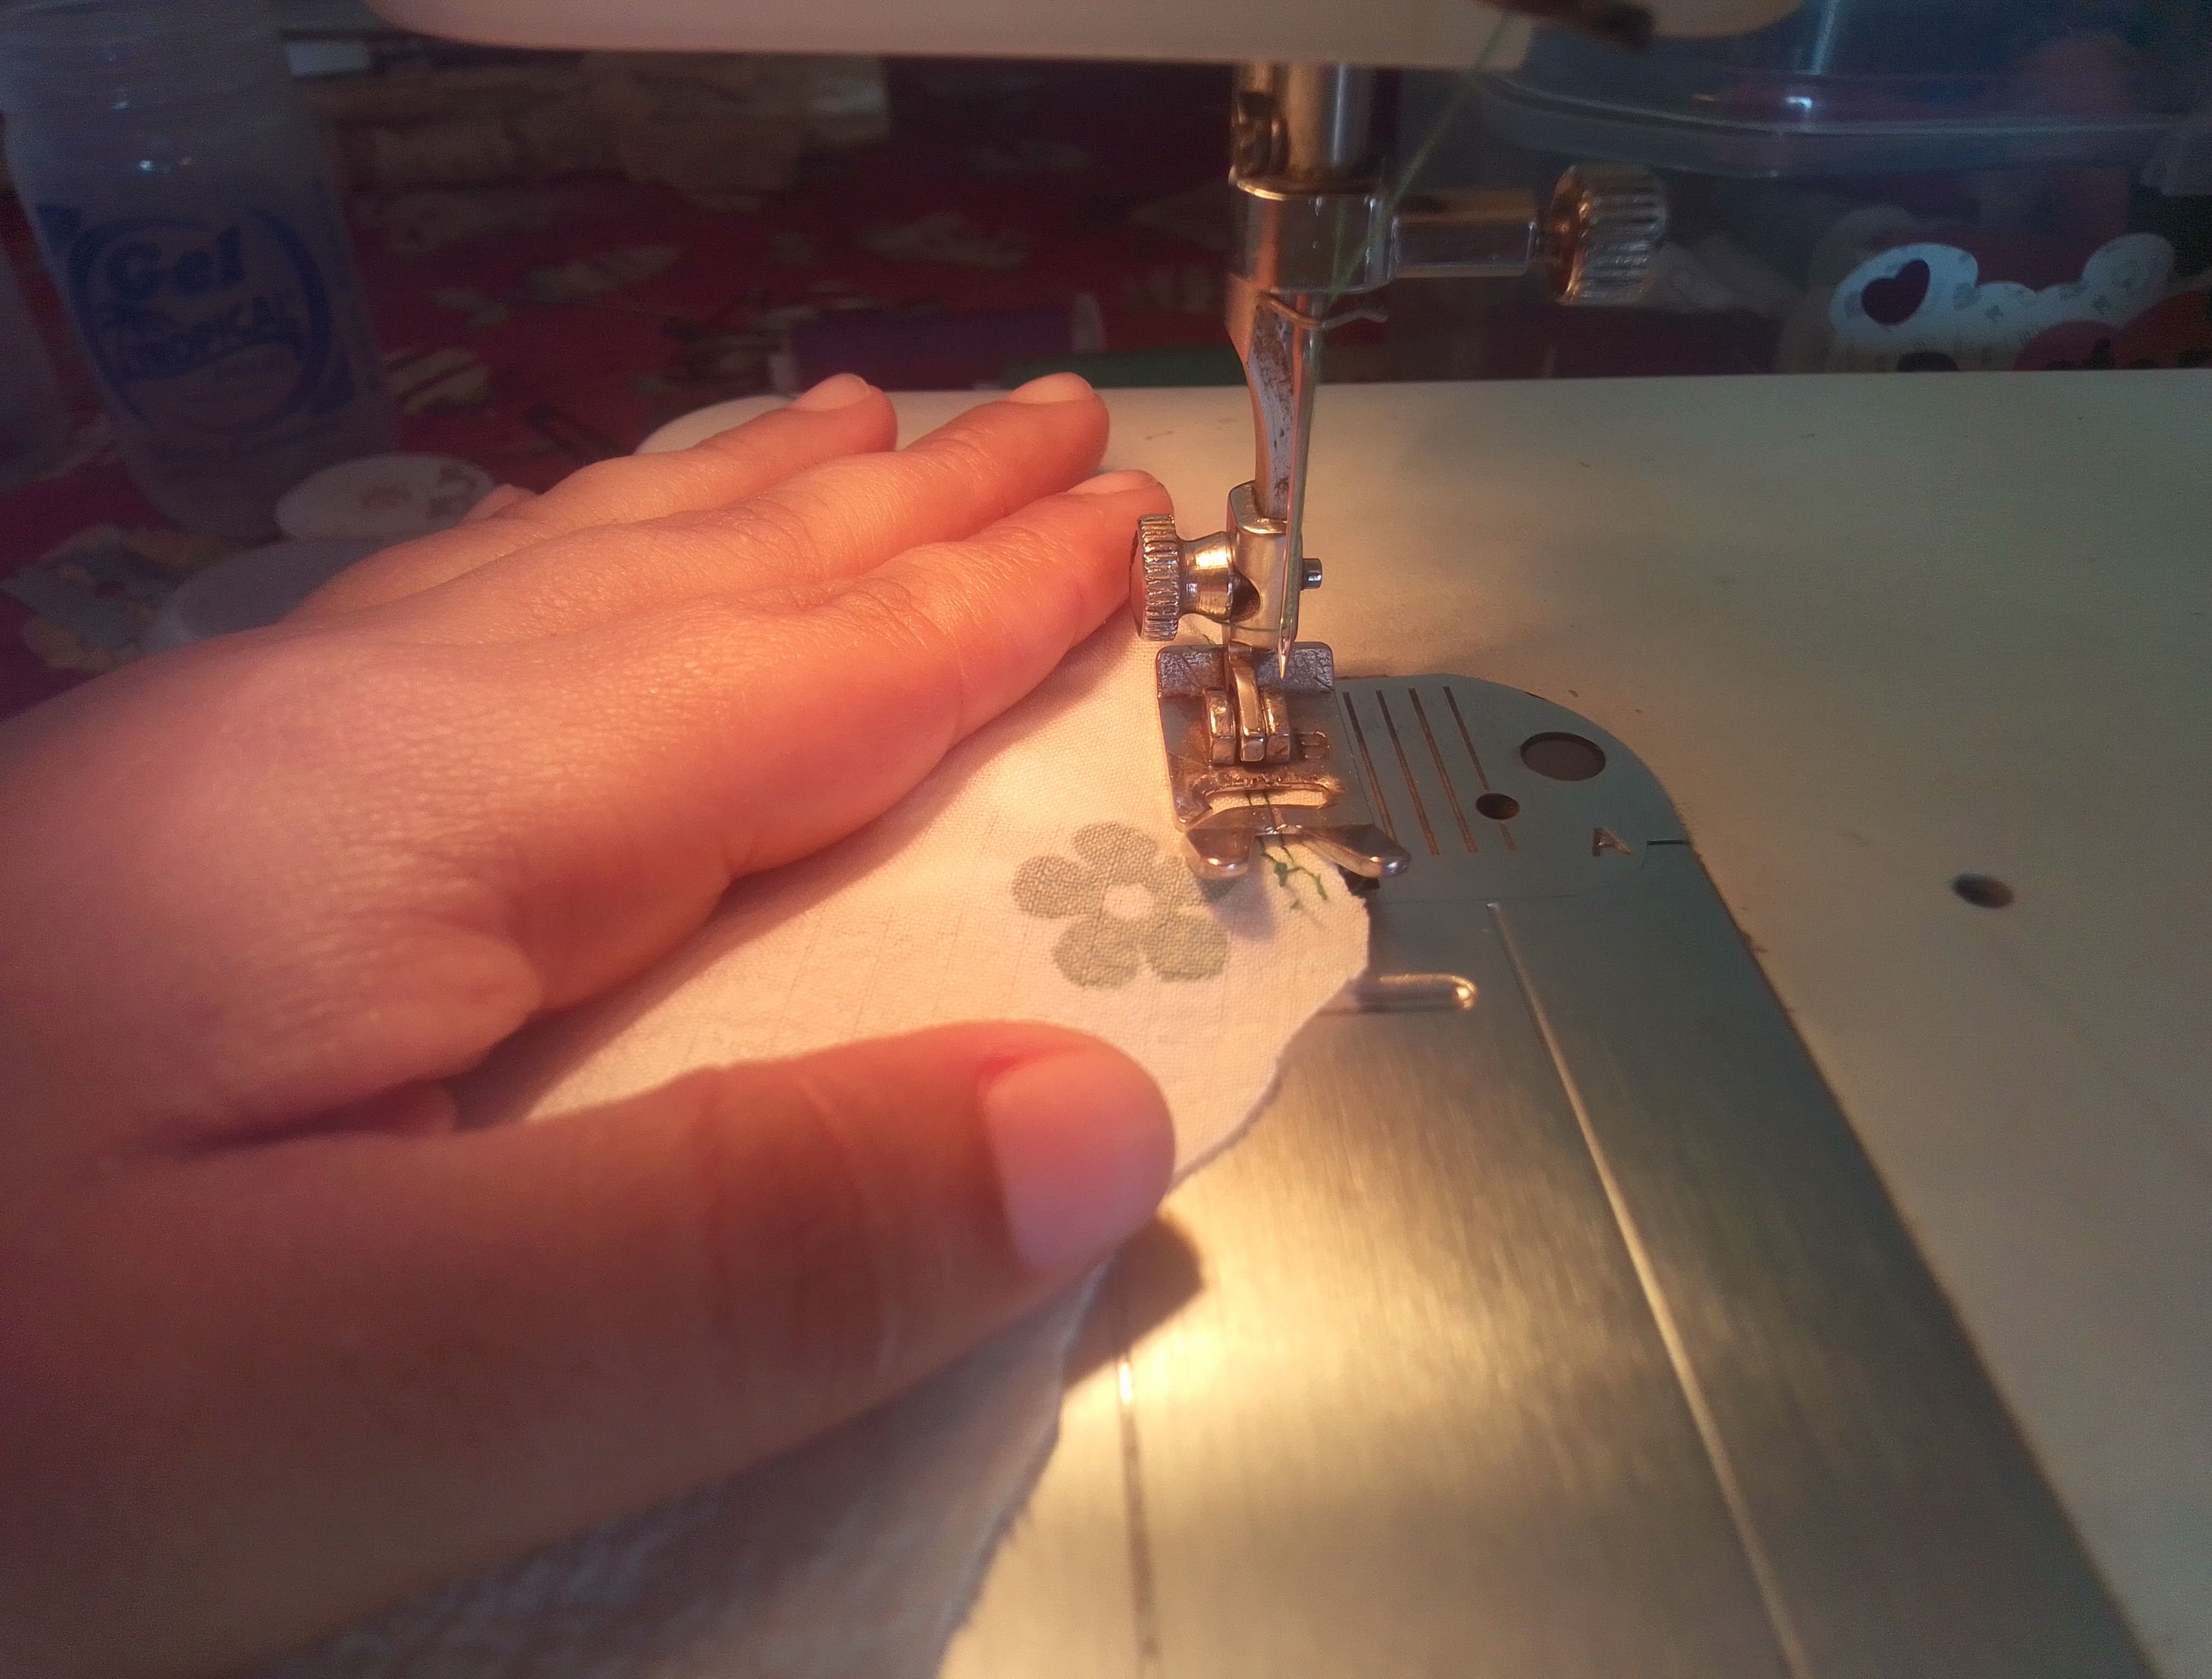
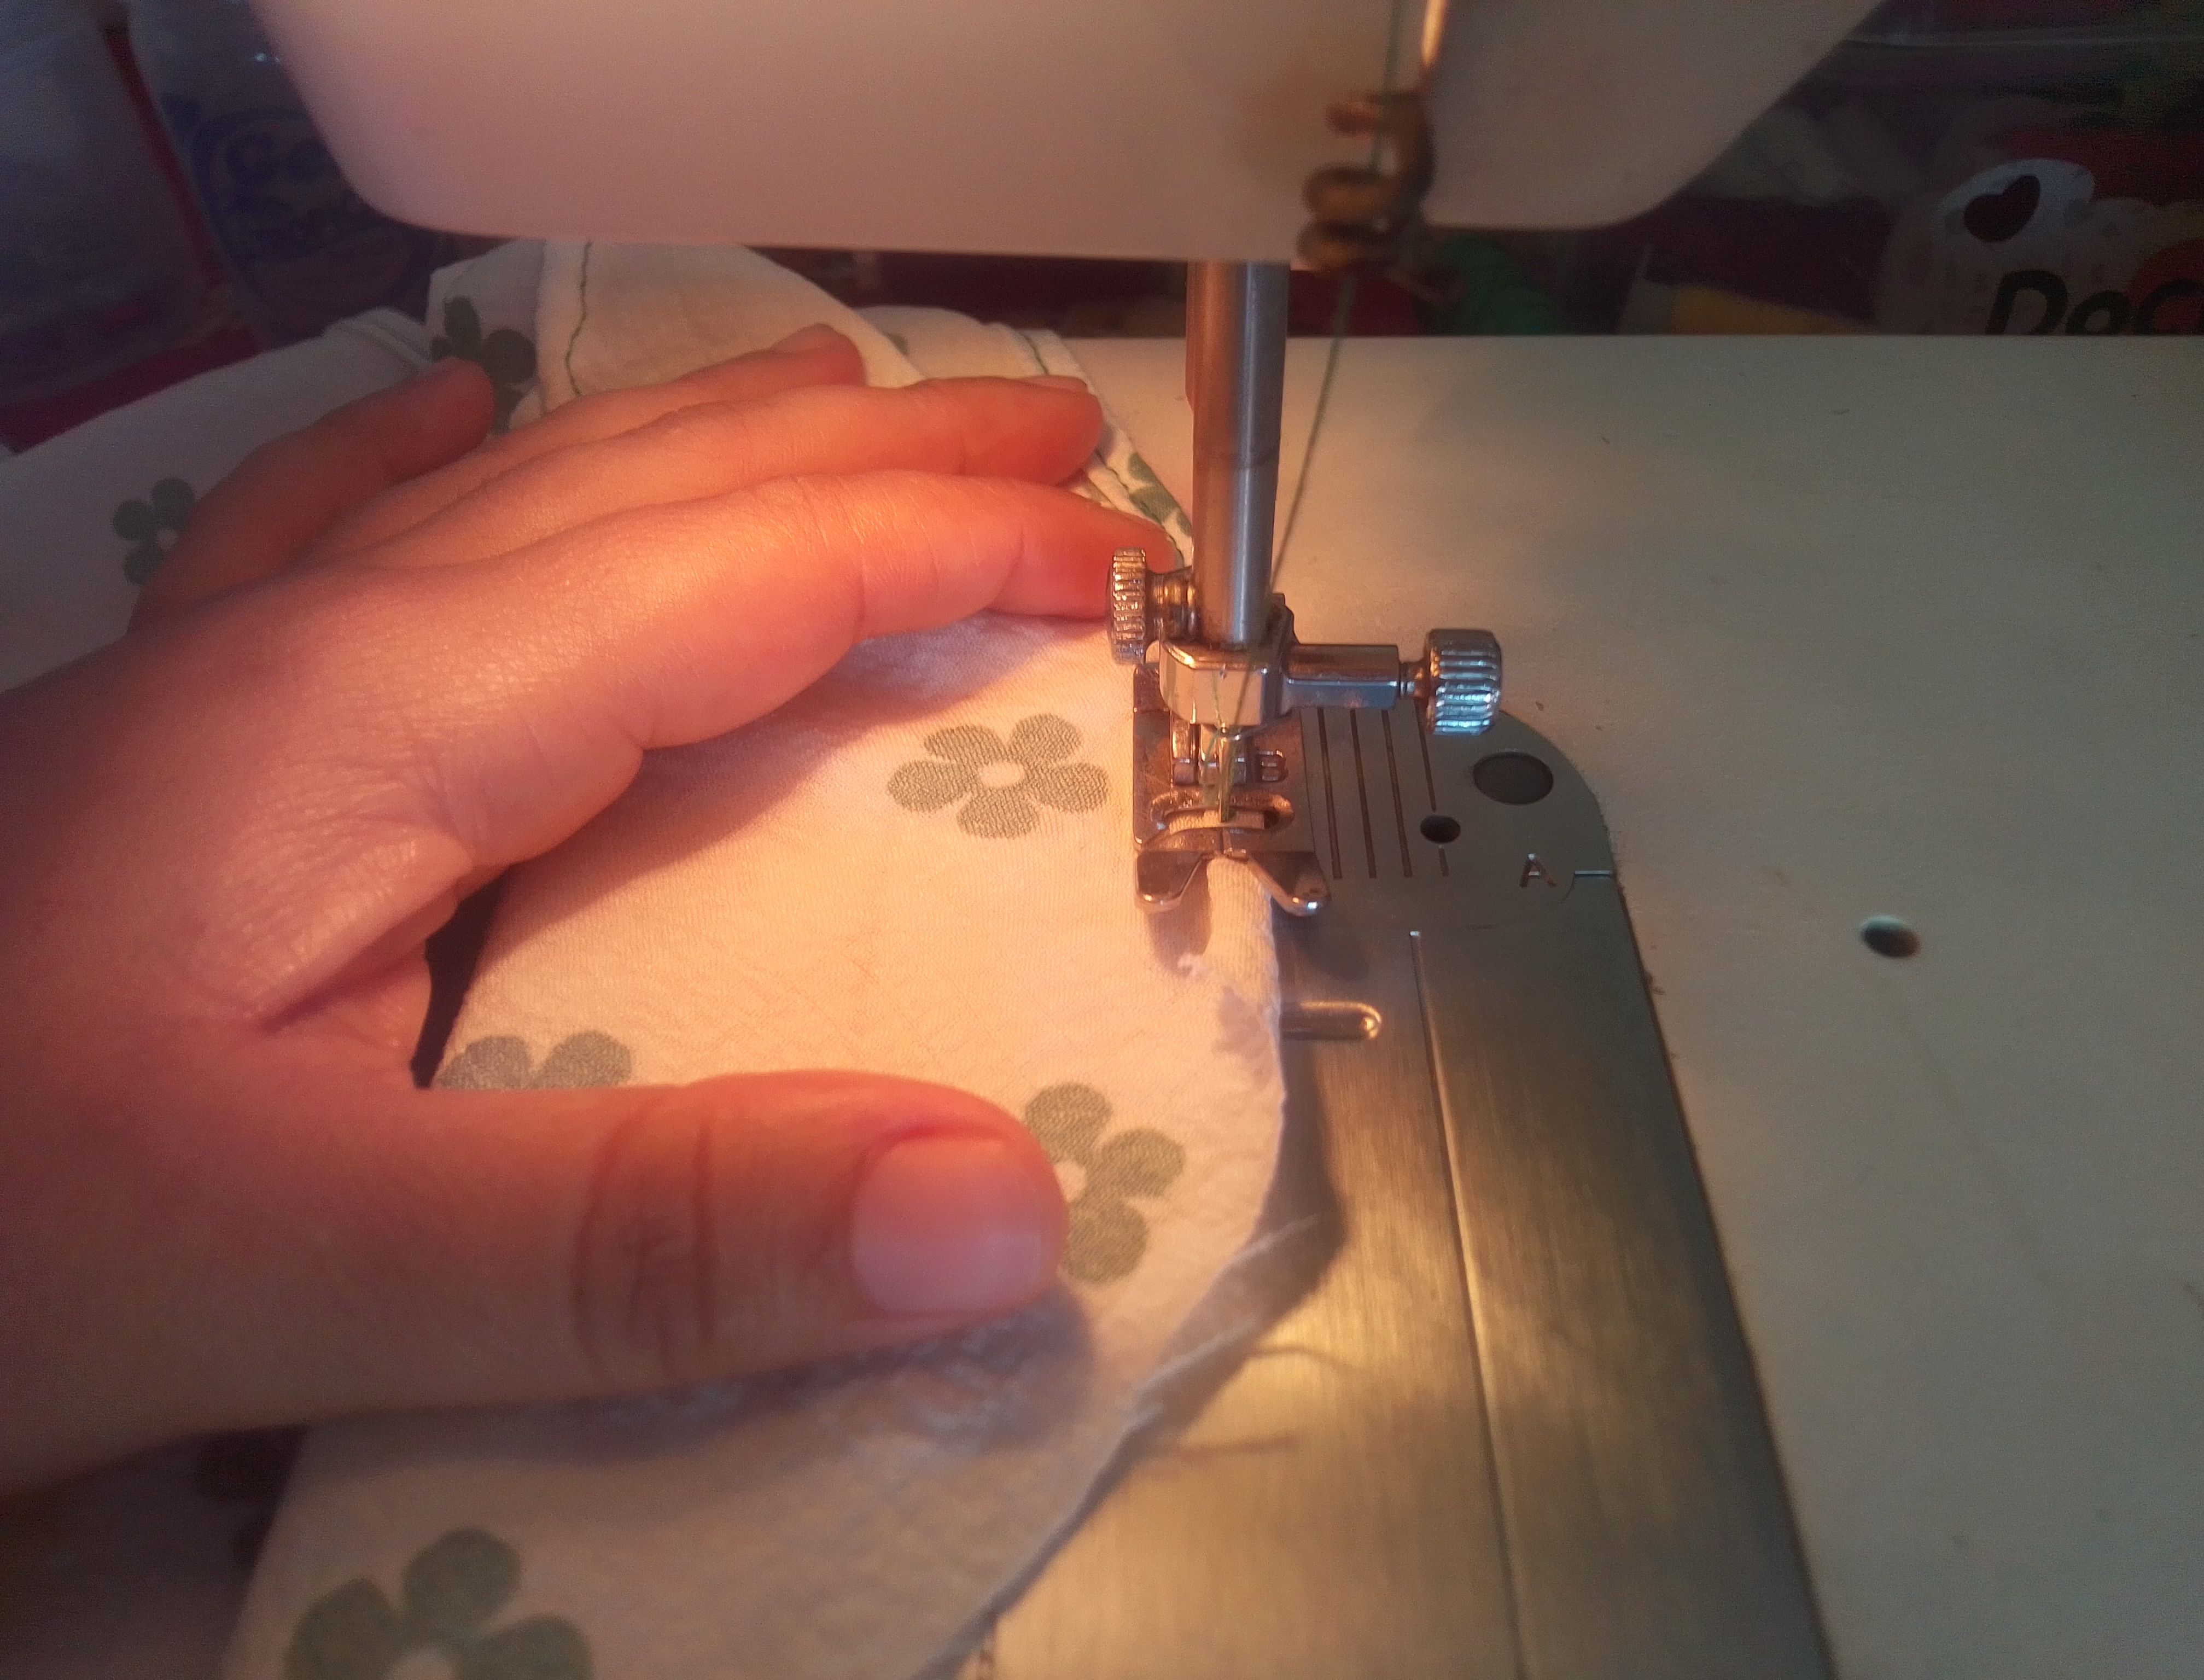
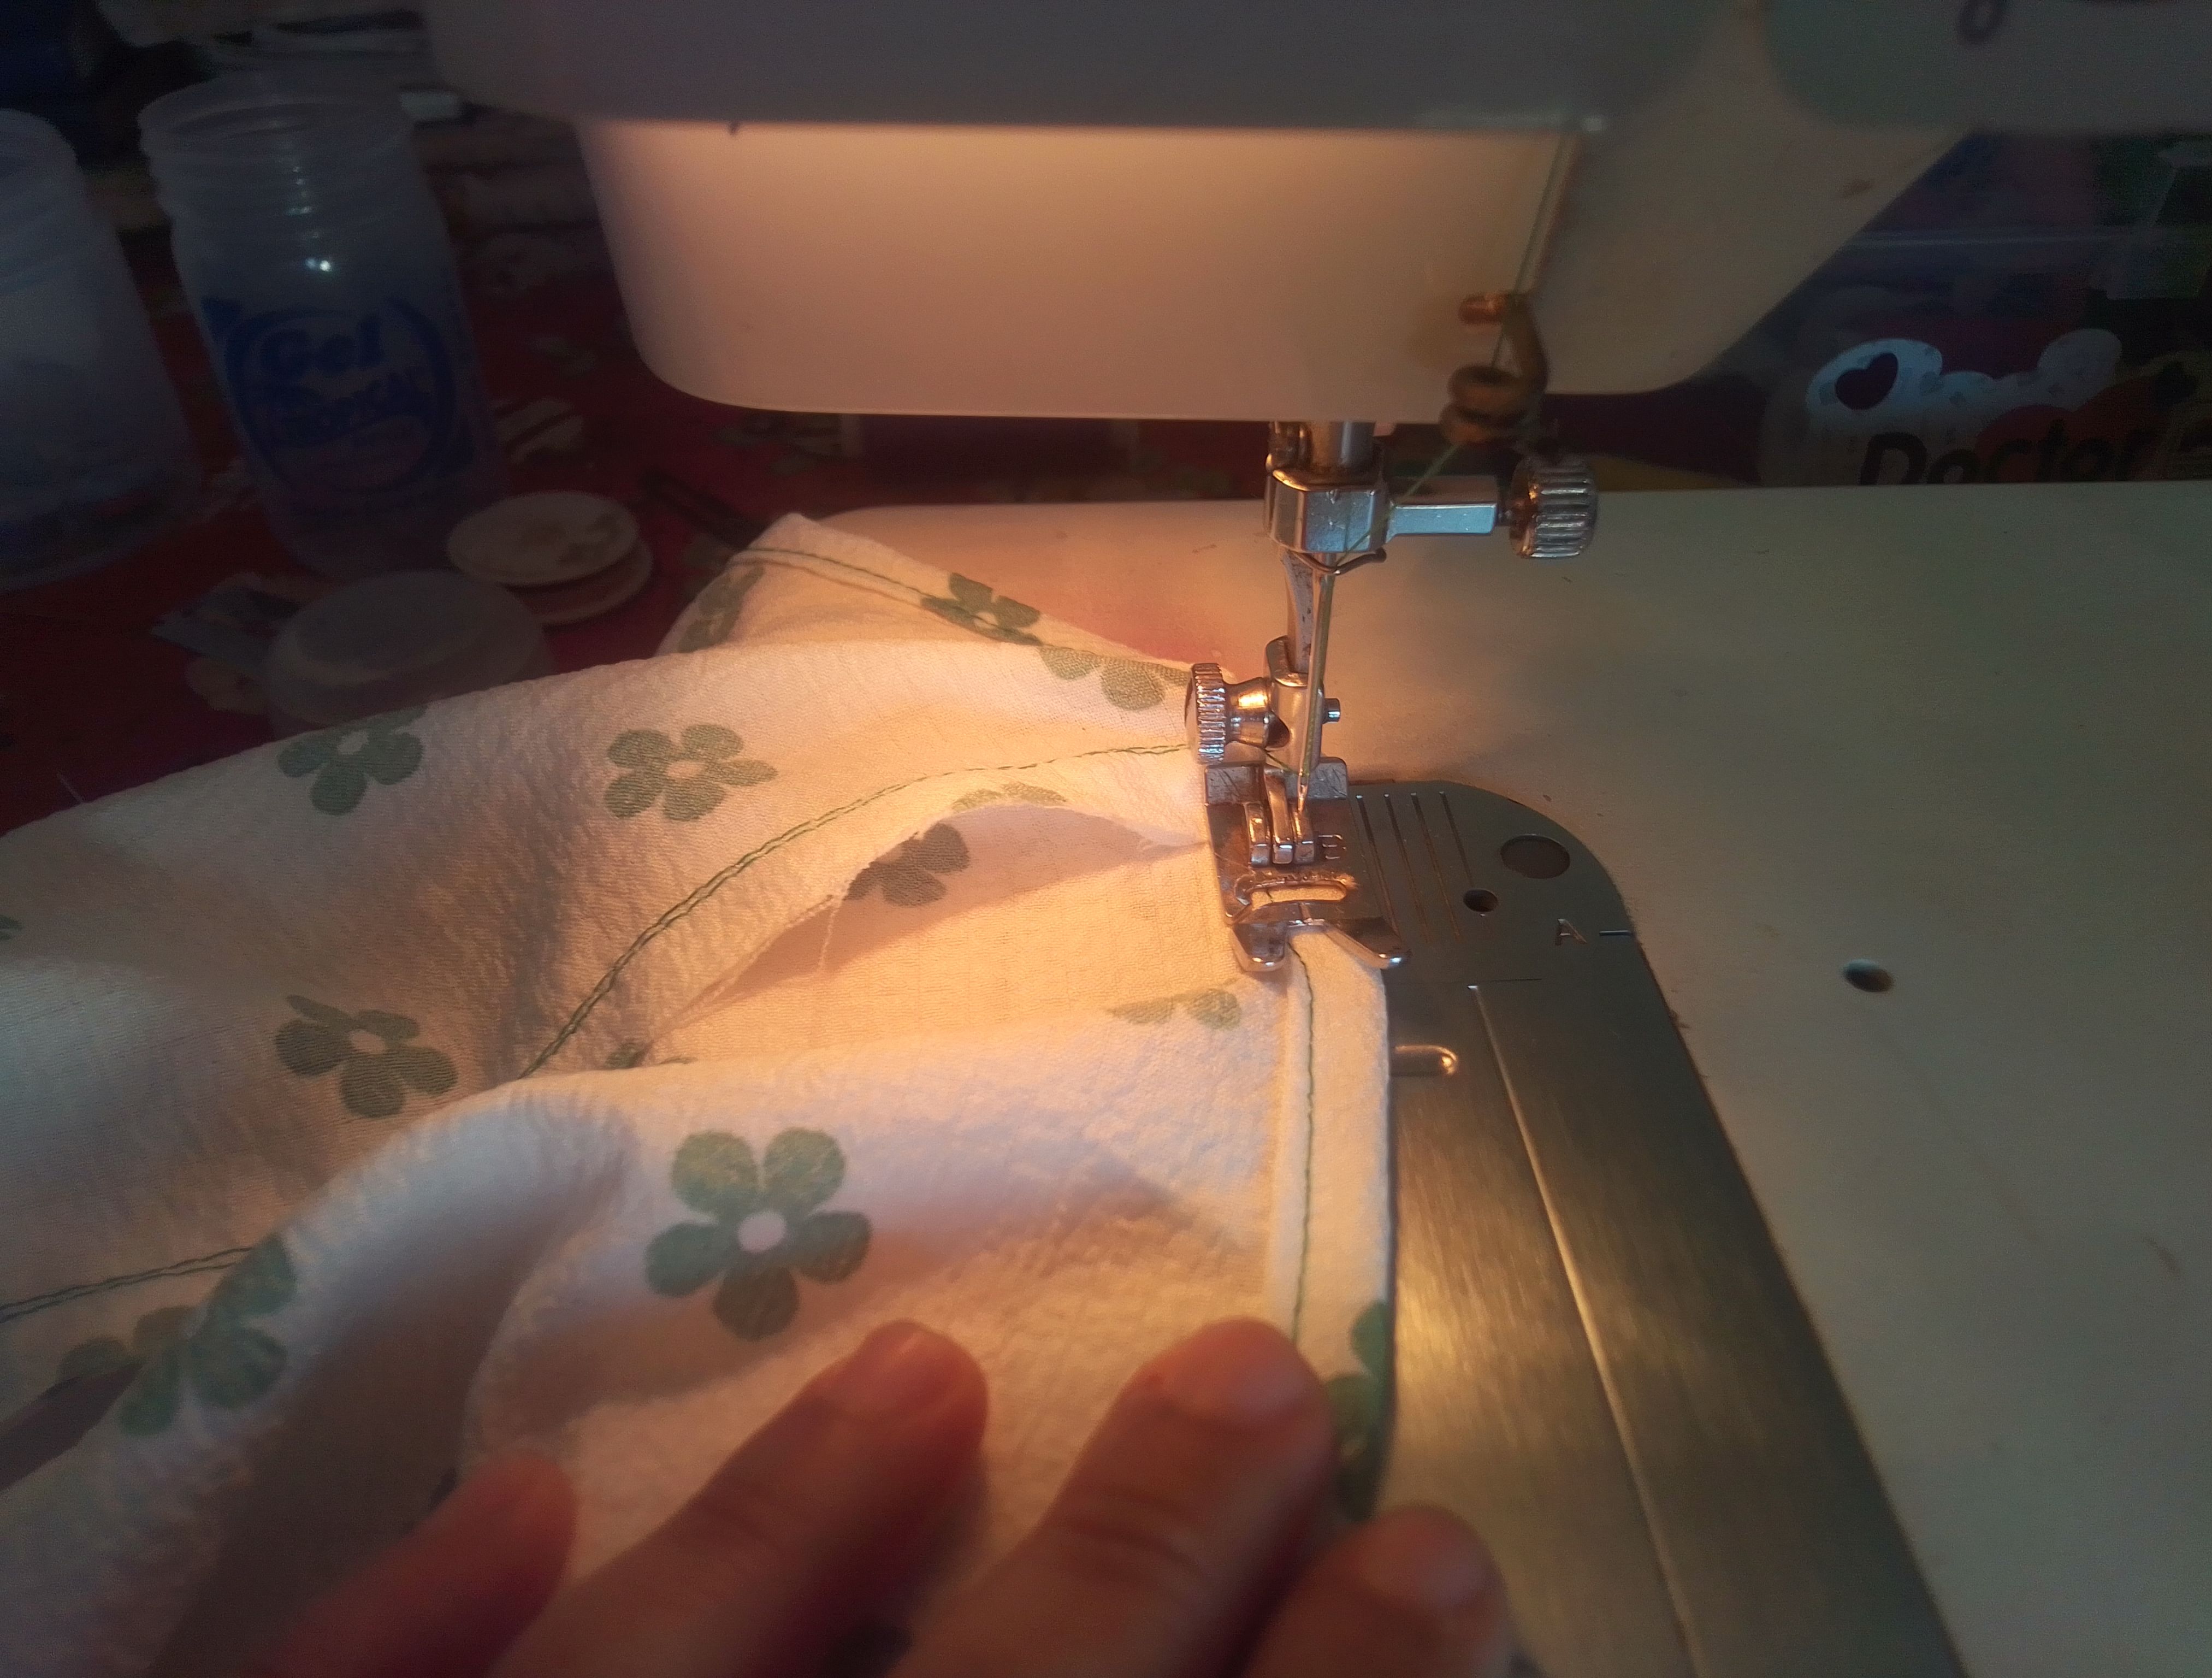
Giramos el volante hacia el lado derecho de la tela y realizó un pespunte mantenimiento el fruncido. Repito el paso con el otro volante del otro lado del cuello. Luego voy a unir los hombros y realizó dobladillo en el cuello trasero y en ambas sisa.
🌟Step 04
We turned the steering wheel to the right side of the fabric and backstitched the gathering. I repeat the step with the other ruffle on the other side of the neck. Then I will join the shoulders and hem the back neck and both armholes.
🌟Paso 05
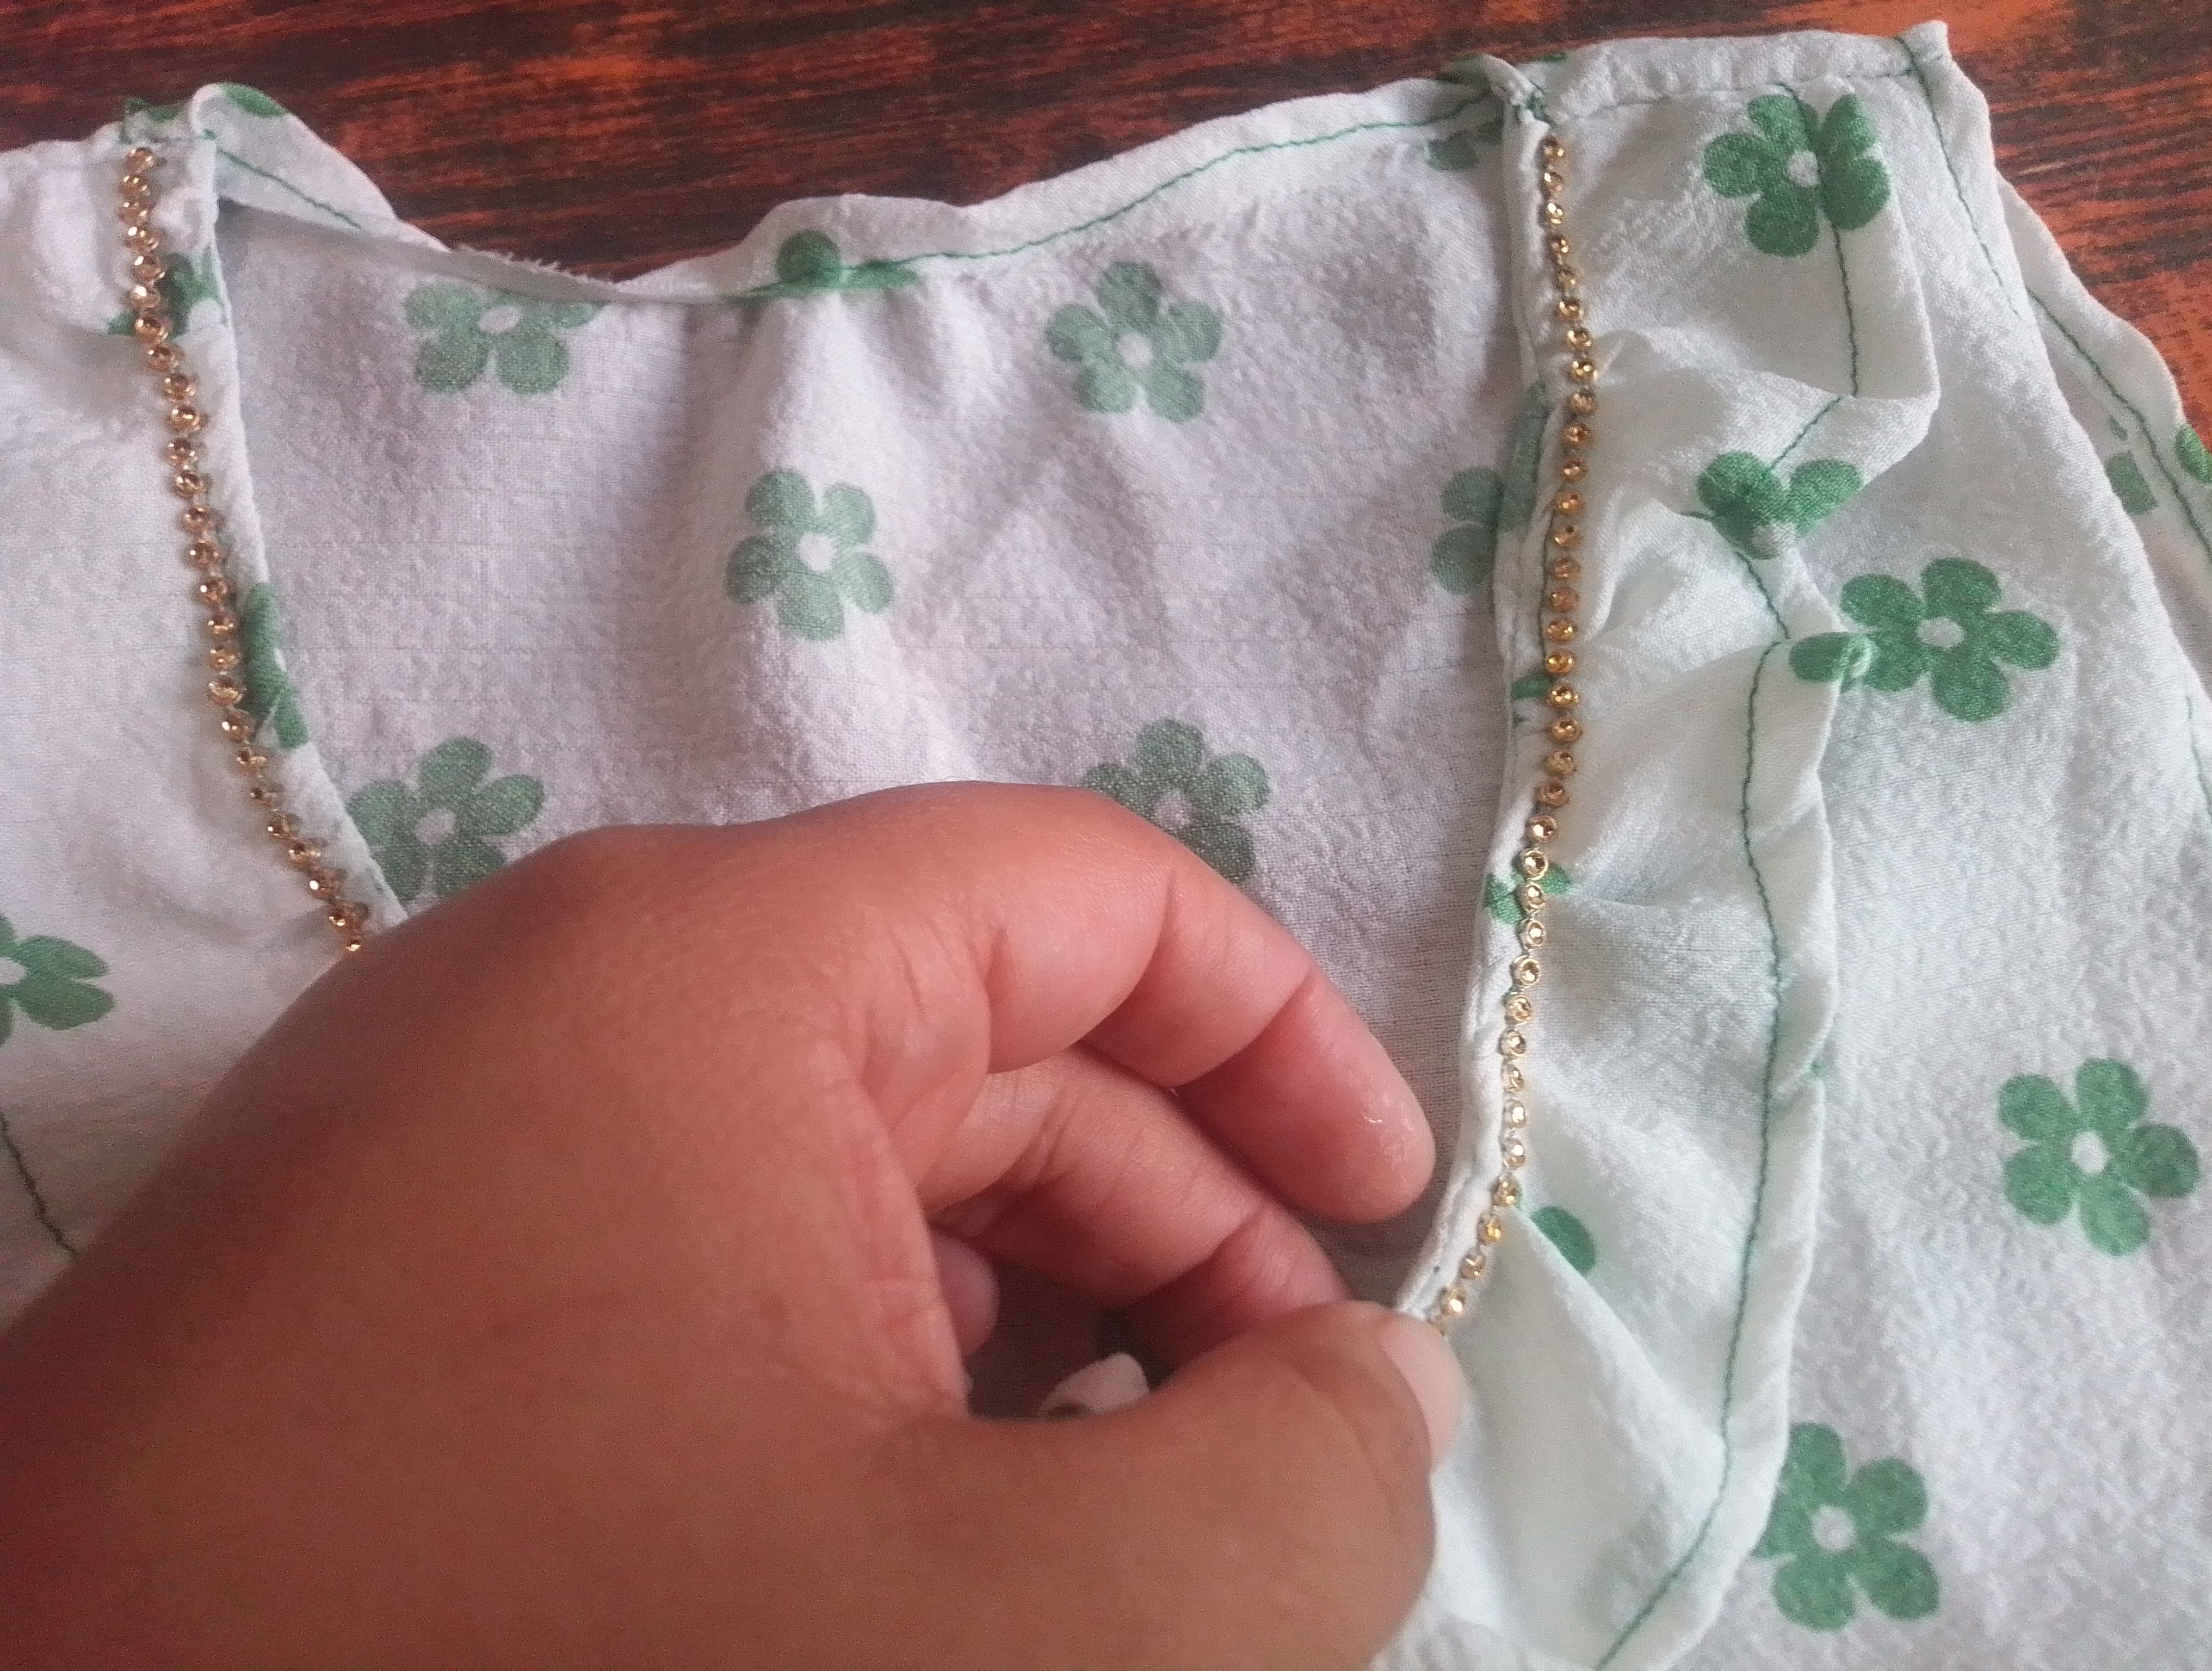
Cierro las piezas subiendo laterales con costura recta y zigzag y termino la confección con el dobladillo inferior.. Como decoración voy a colocar con pegamento de tela un encaje de piedritas doradas en toda la costura del cuello.
🌟Step 05
I close the pieces by going up the sides with a straight and zigzag seam and finish the construction with the bottom hem. As decoration I am going to place a lace of golden stones on the entire neck seam with fabric glue.
Resultado!
Resultado!
Result!
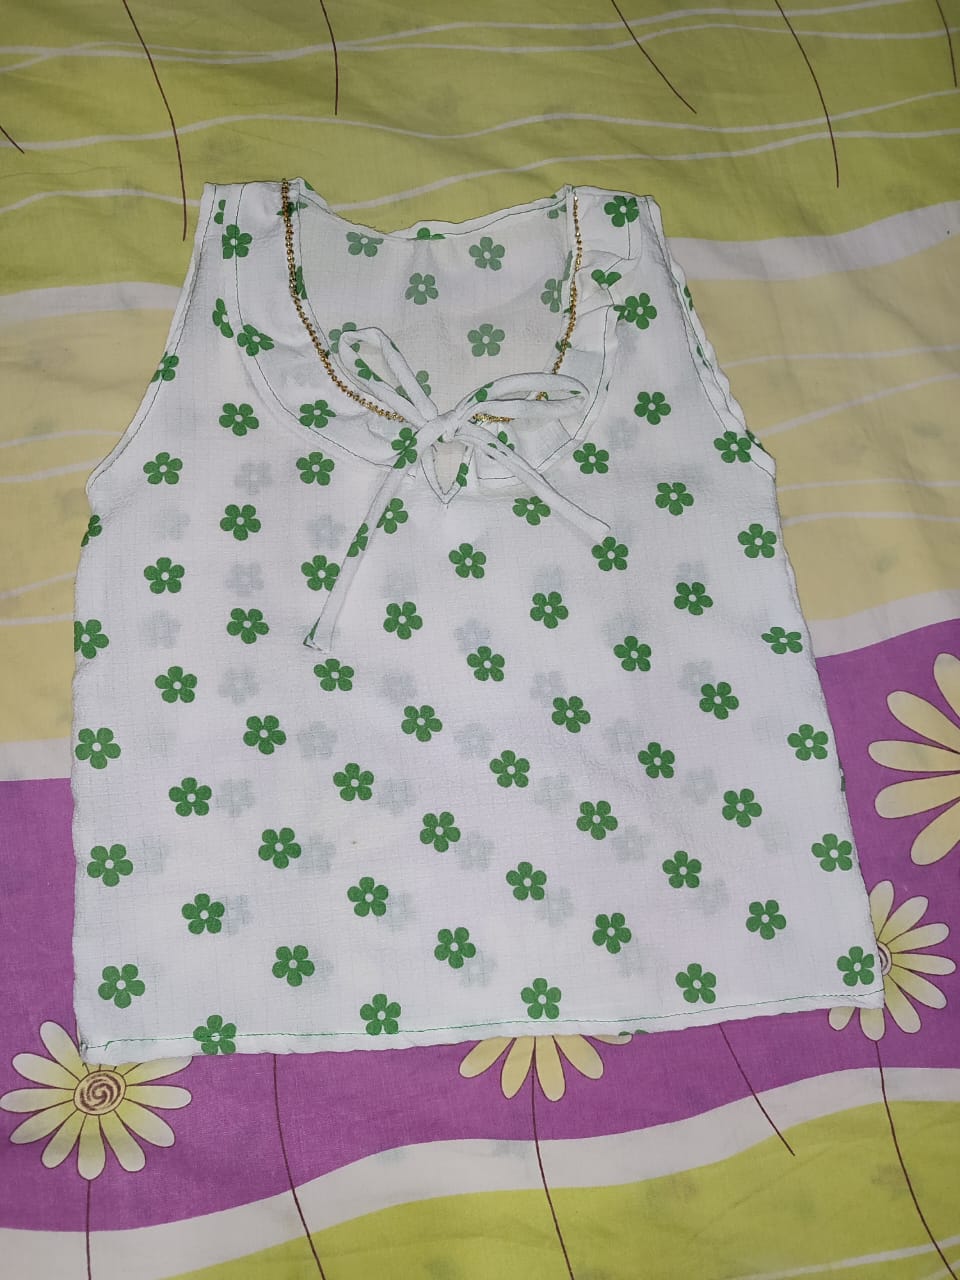
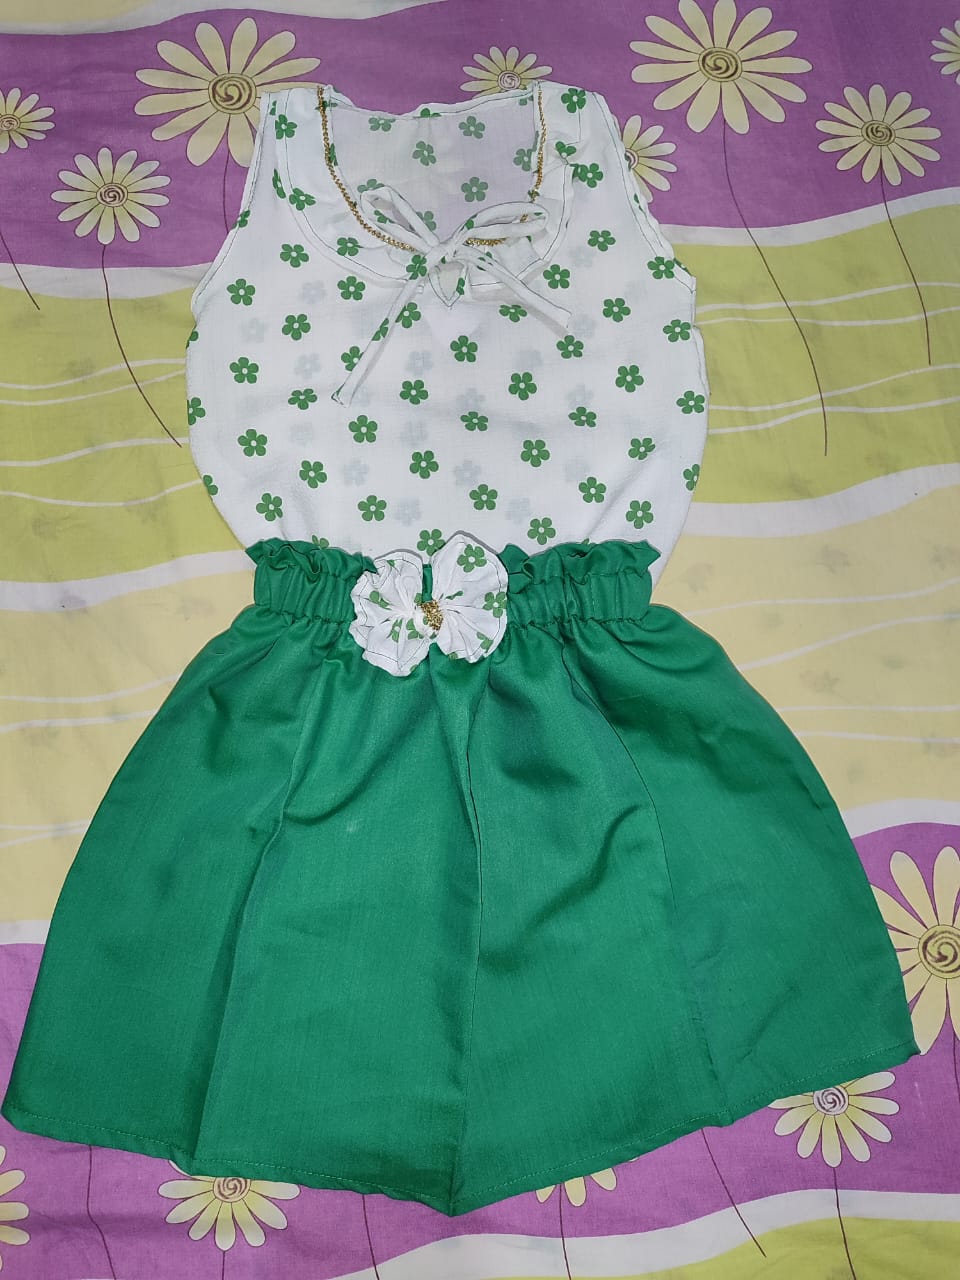
Bien amigos hemos terminado el proceso ahora les muestro este delicado resultado, fresco y tierno para una princesa.. Es un diseño demasiado lindo que puede muy bien combinar con cualquier otra prenda.
Well friends, we have finished the process, now I show you this delicate result, fresh and tender for a princess. It is a very cute design that can very well combine with any other garment.
Si te gusto o tienes algún consejo, dejame saberlo en los comentarios.. Me despido deseándote un linda noche, enviándote un gran abrazo, nos vemos pronto!
If you like me or have any advice, let me know in the comments. I say goodbye wishing you a nice night, sending you a big hug, see you soon!
The results are so beautiful your niece will definitely be very happy. happy birthday to your nephew.
Thank you very much.. Happy night..
Lindo diseño de blusa, me gustó mucho el estampado de la tela. Felicidades, buen trabajo.
Gracias mi linda.. a mi también me gustó mucho.. Bendiciones..
Un conjunto súper lindo, y definitivamente la blusa es el complemento perfecto de la falda!
Holaaa, gracias amiga por su aprecio.. Bendiciones..
Quedó genial este conjunto, los detalles y los acabados son de calidad y mucha belleza.
Gracias bella.. aprecio tus palabras.. 🤗