HOLA AMIGOS!
Como están? Feliz y bendecido domingo tengan todos! Es grato para mí saludarlos y ver cada día tanta creatividad así como tambien me encanta compartir con ustedes un momento de mi dia para mostrarles una de mis ideas.
How are they? Happy and blessed Sunday everyone! It is a pleasure for me to greet you and see so much creativity every day as well as I love to share with you a moment of my day to show you one of my ideas.
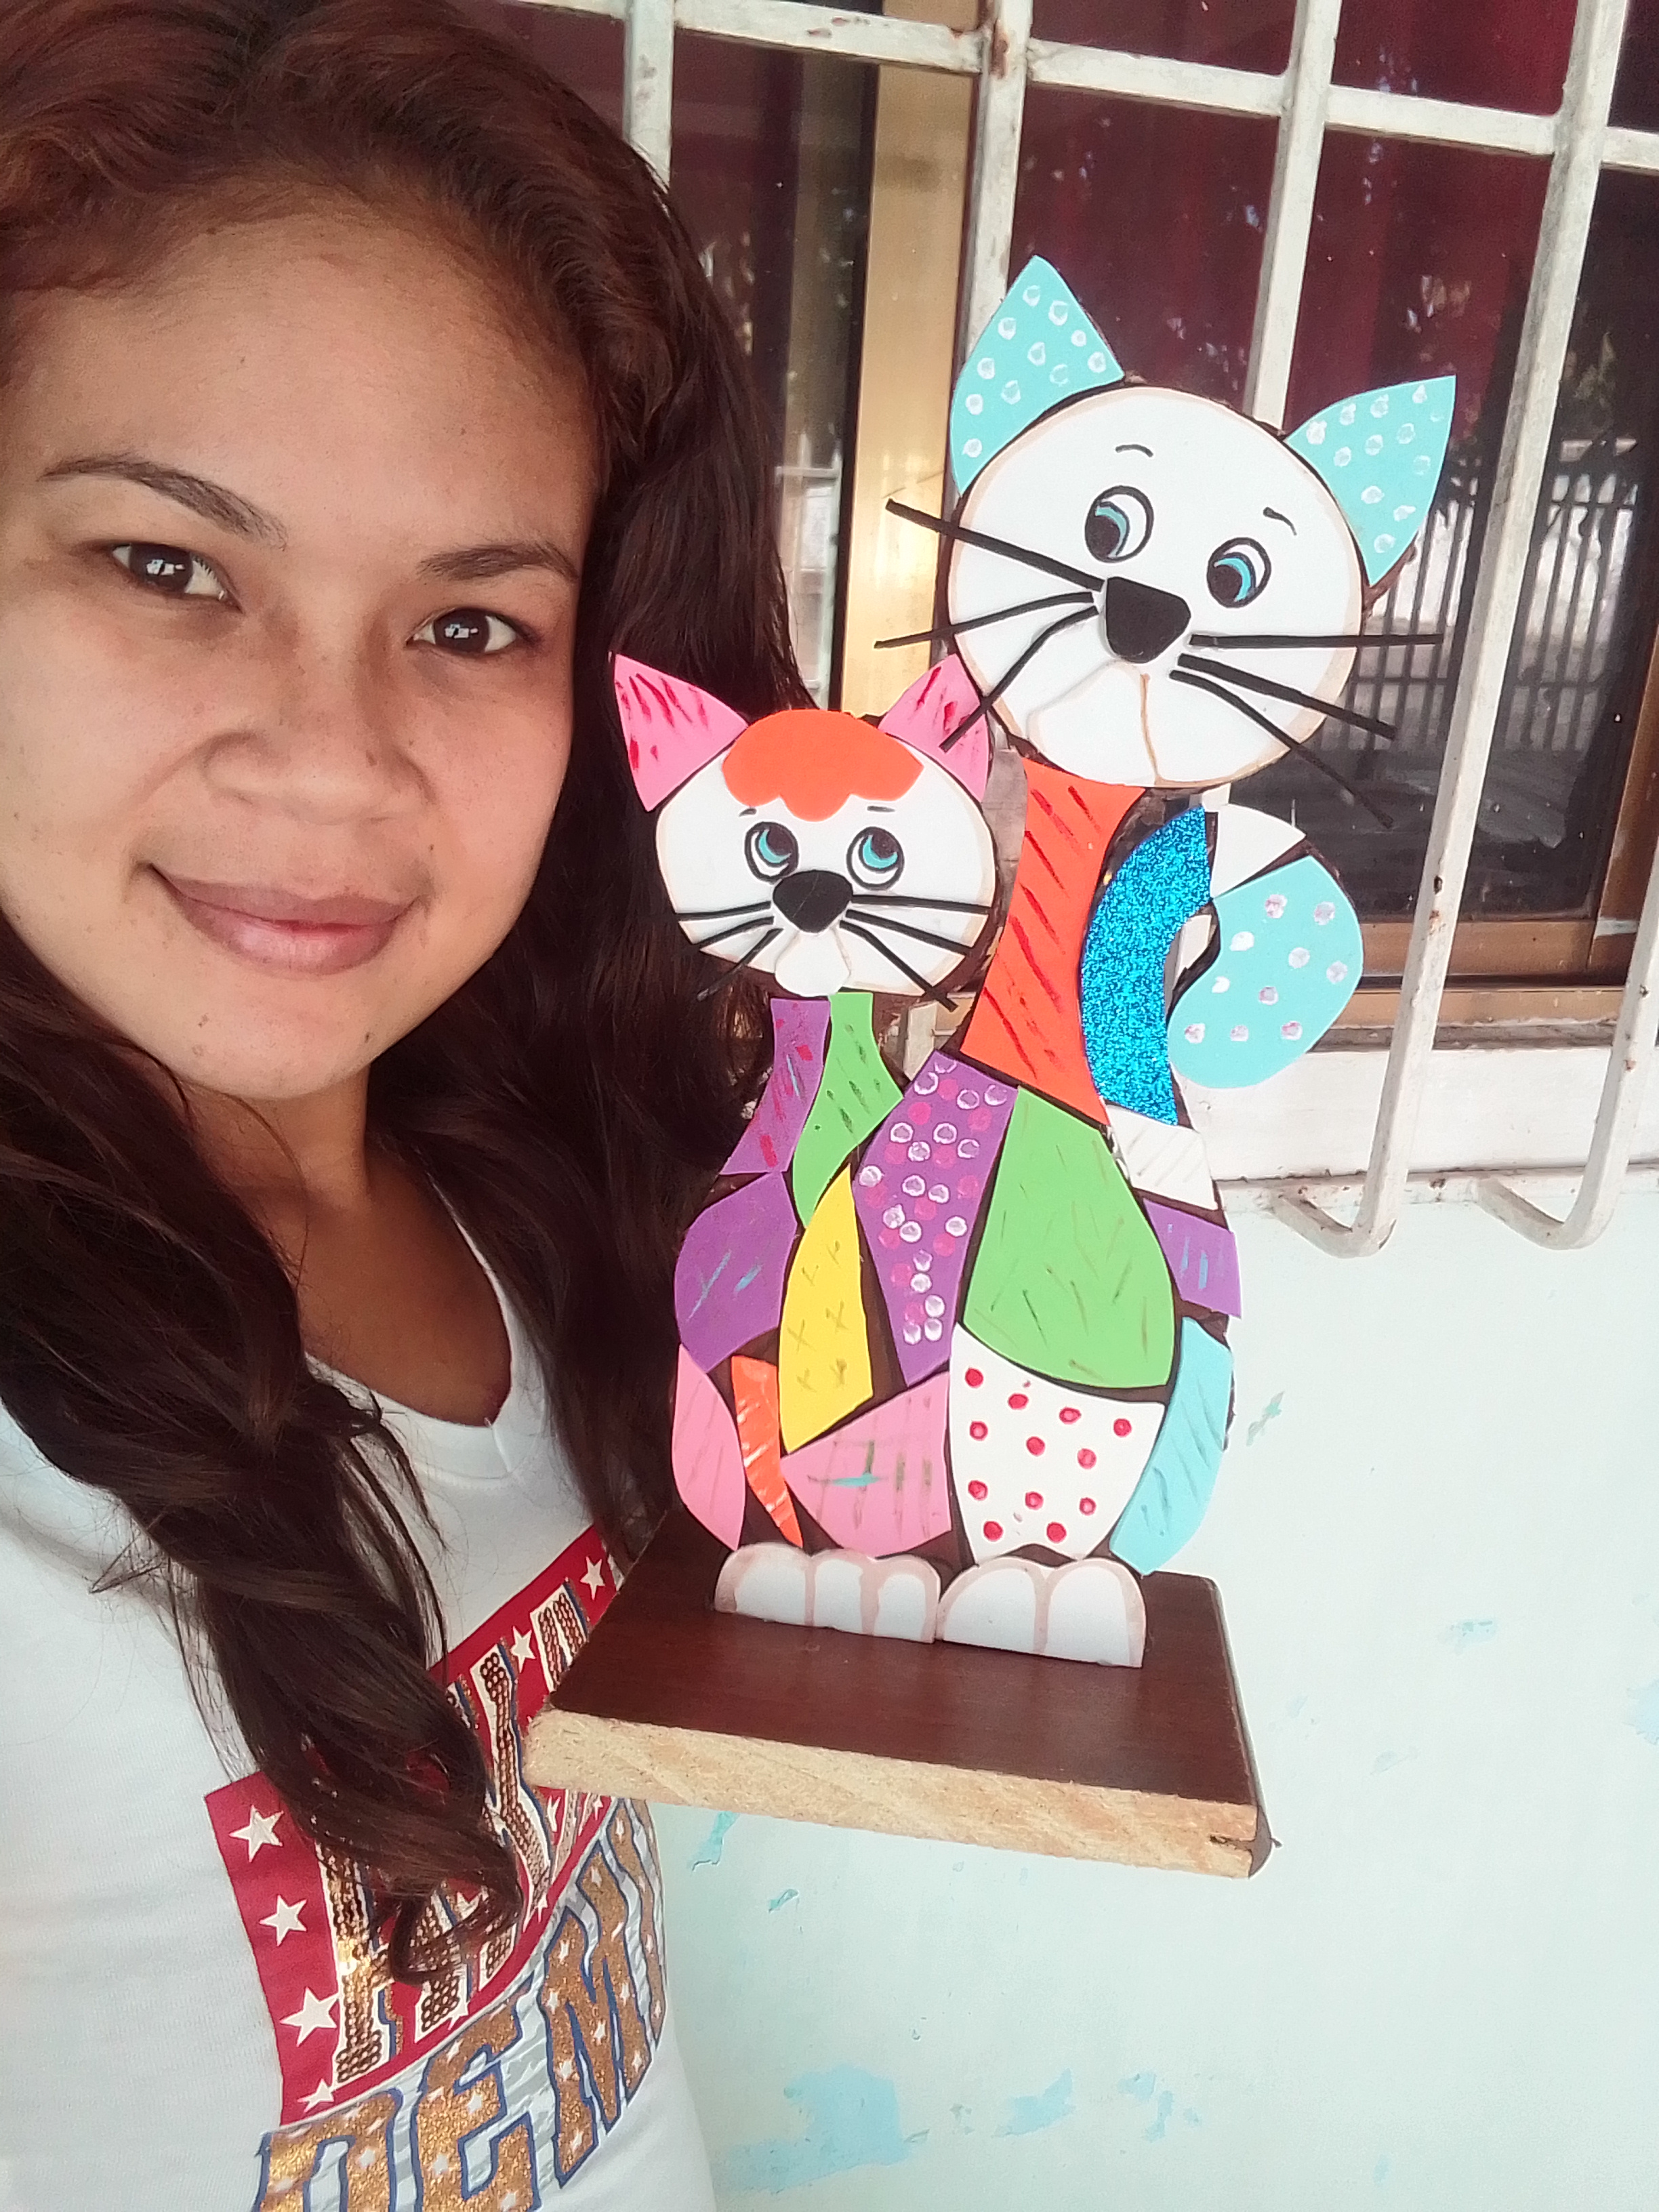
El día de ayer estuve practicando una vez más el arte de hacer un mosaico, creo que desde que estoy en está plataforma este es mi segundo intento pues aunque se ve algo sencillo sinceramente es algo difícil ya que es algo parecido a un rompecabezas sin embargo me encanta este tipo de trabajos.
Yesterday I was practicing once again the art of making a mosaic, I think that since I am on this platform this is my second attempt because although it looks simple, it is honestly somewhat difficult since it is something similar to a puzzle, however I I love this type of work.
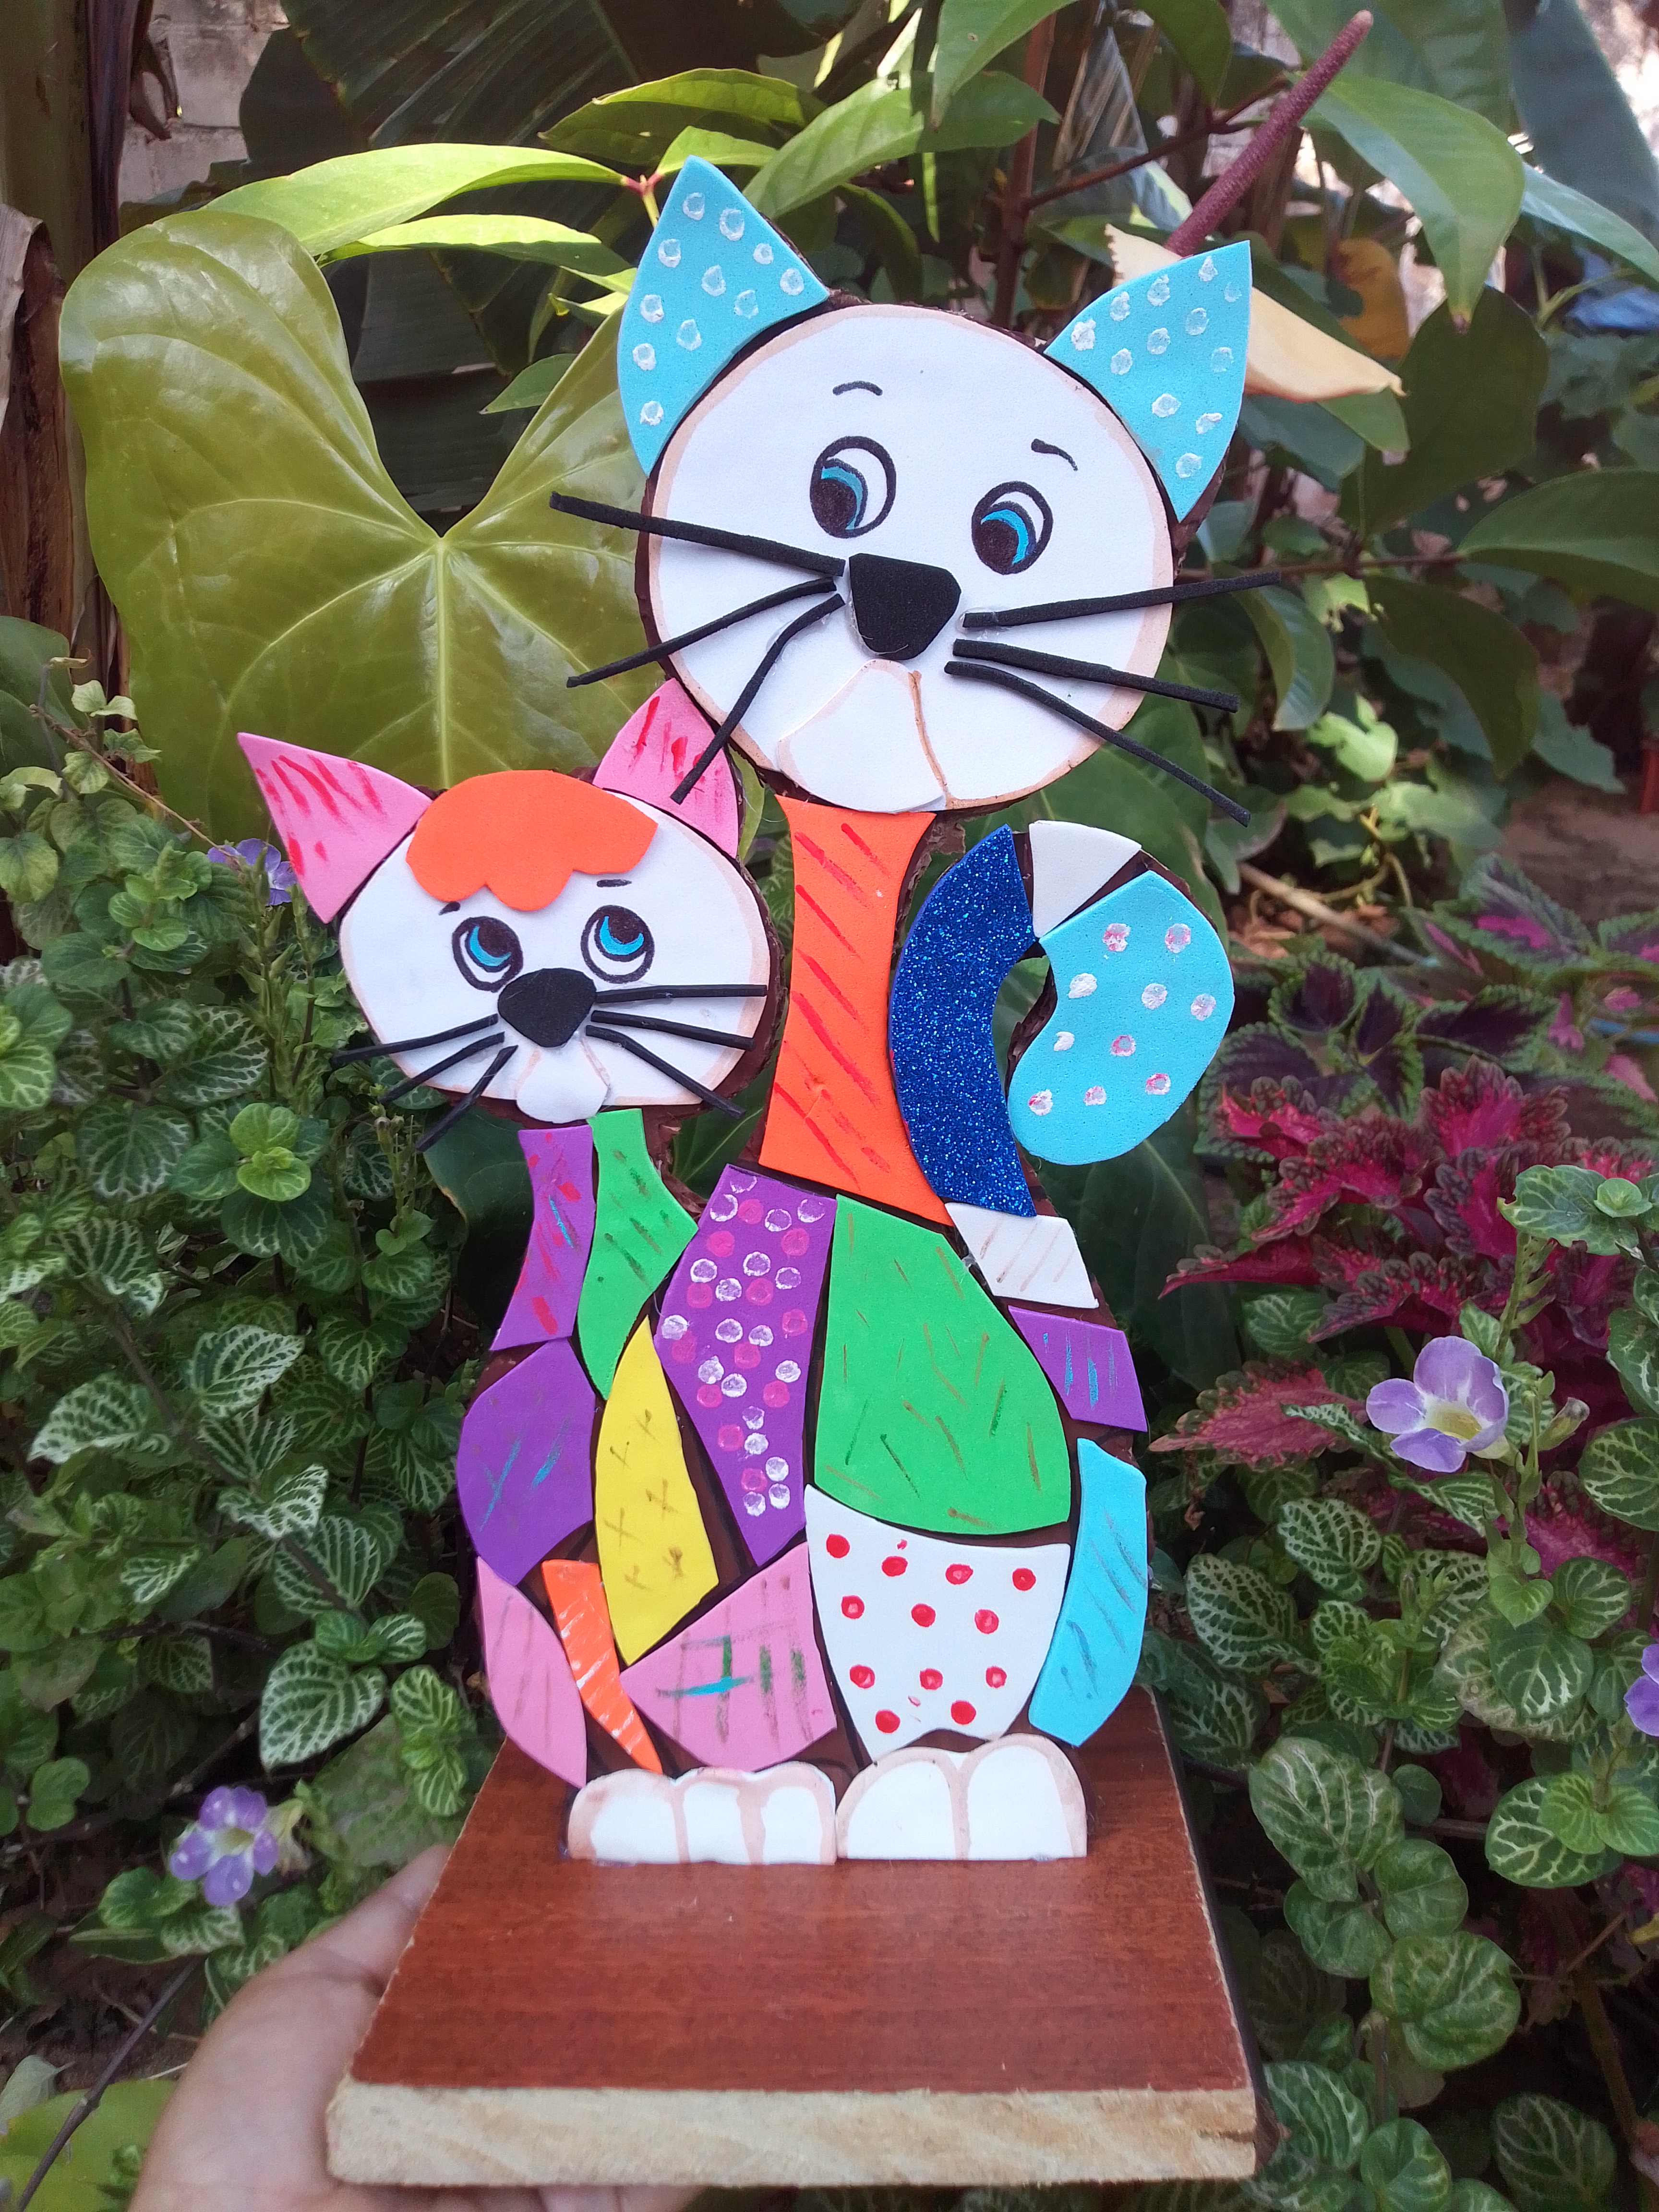
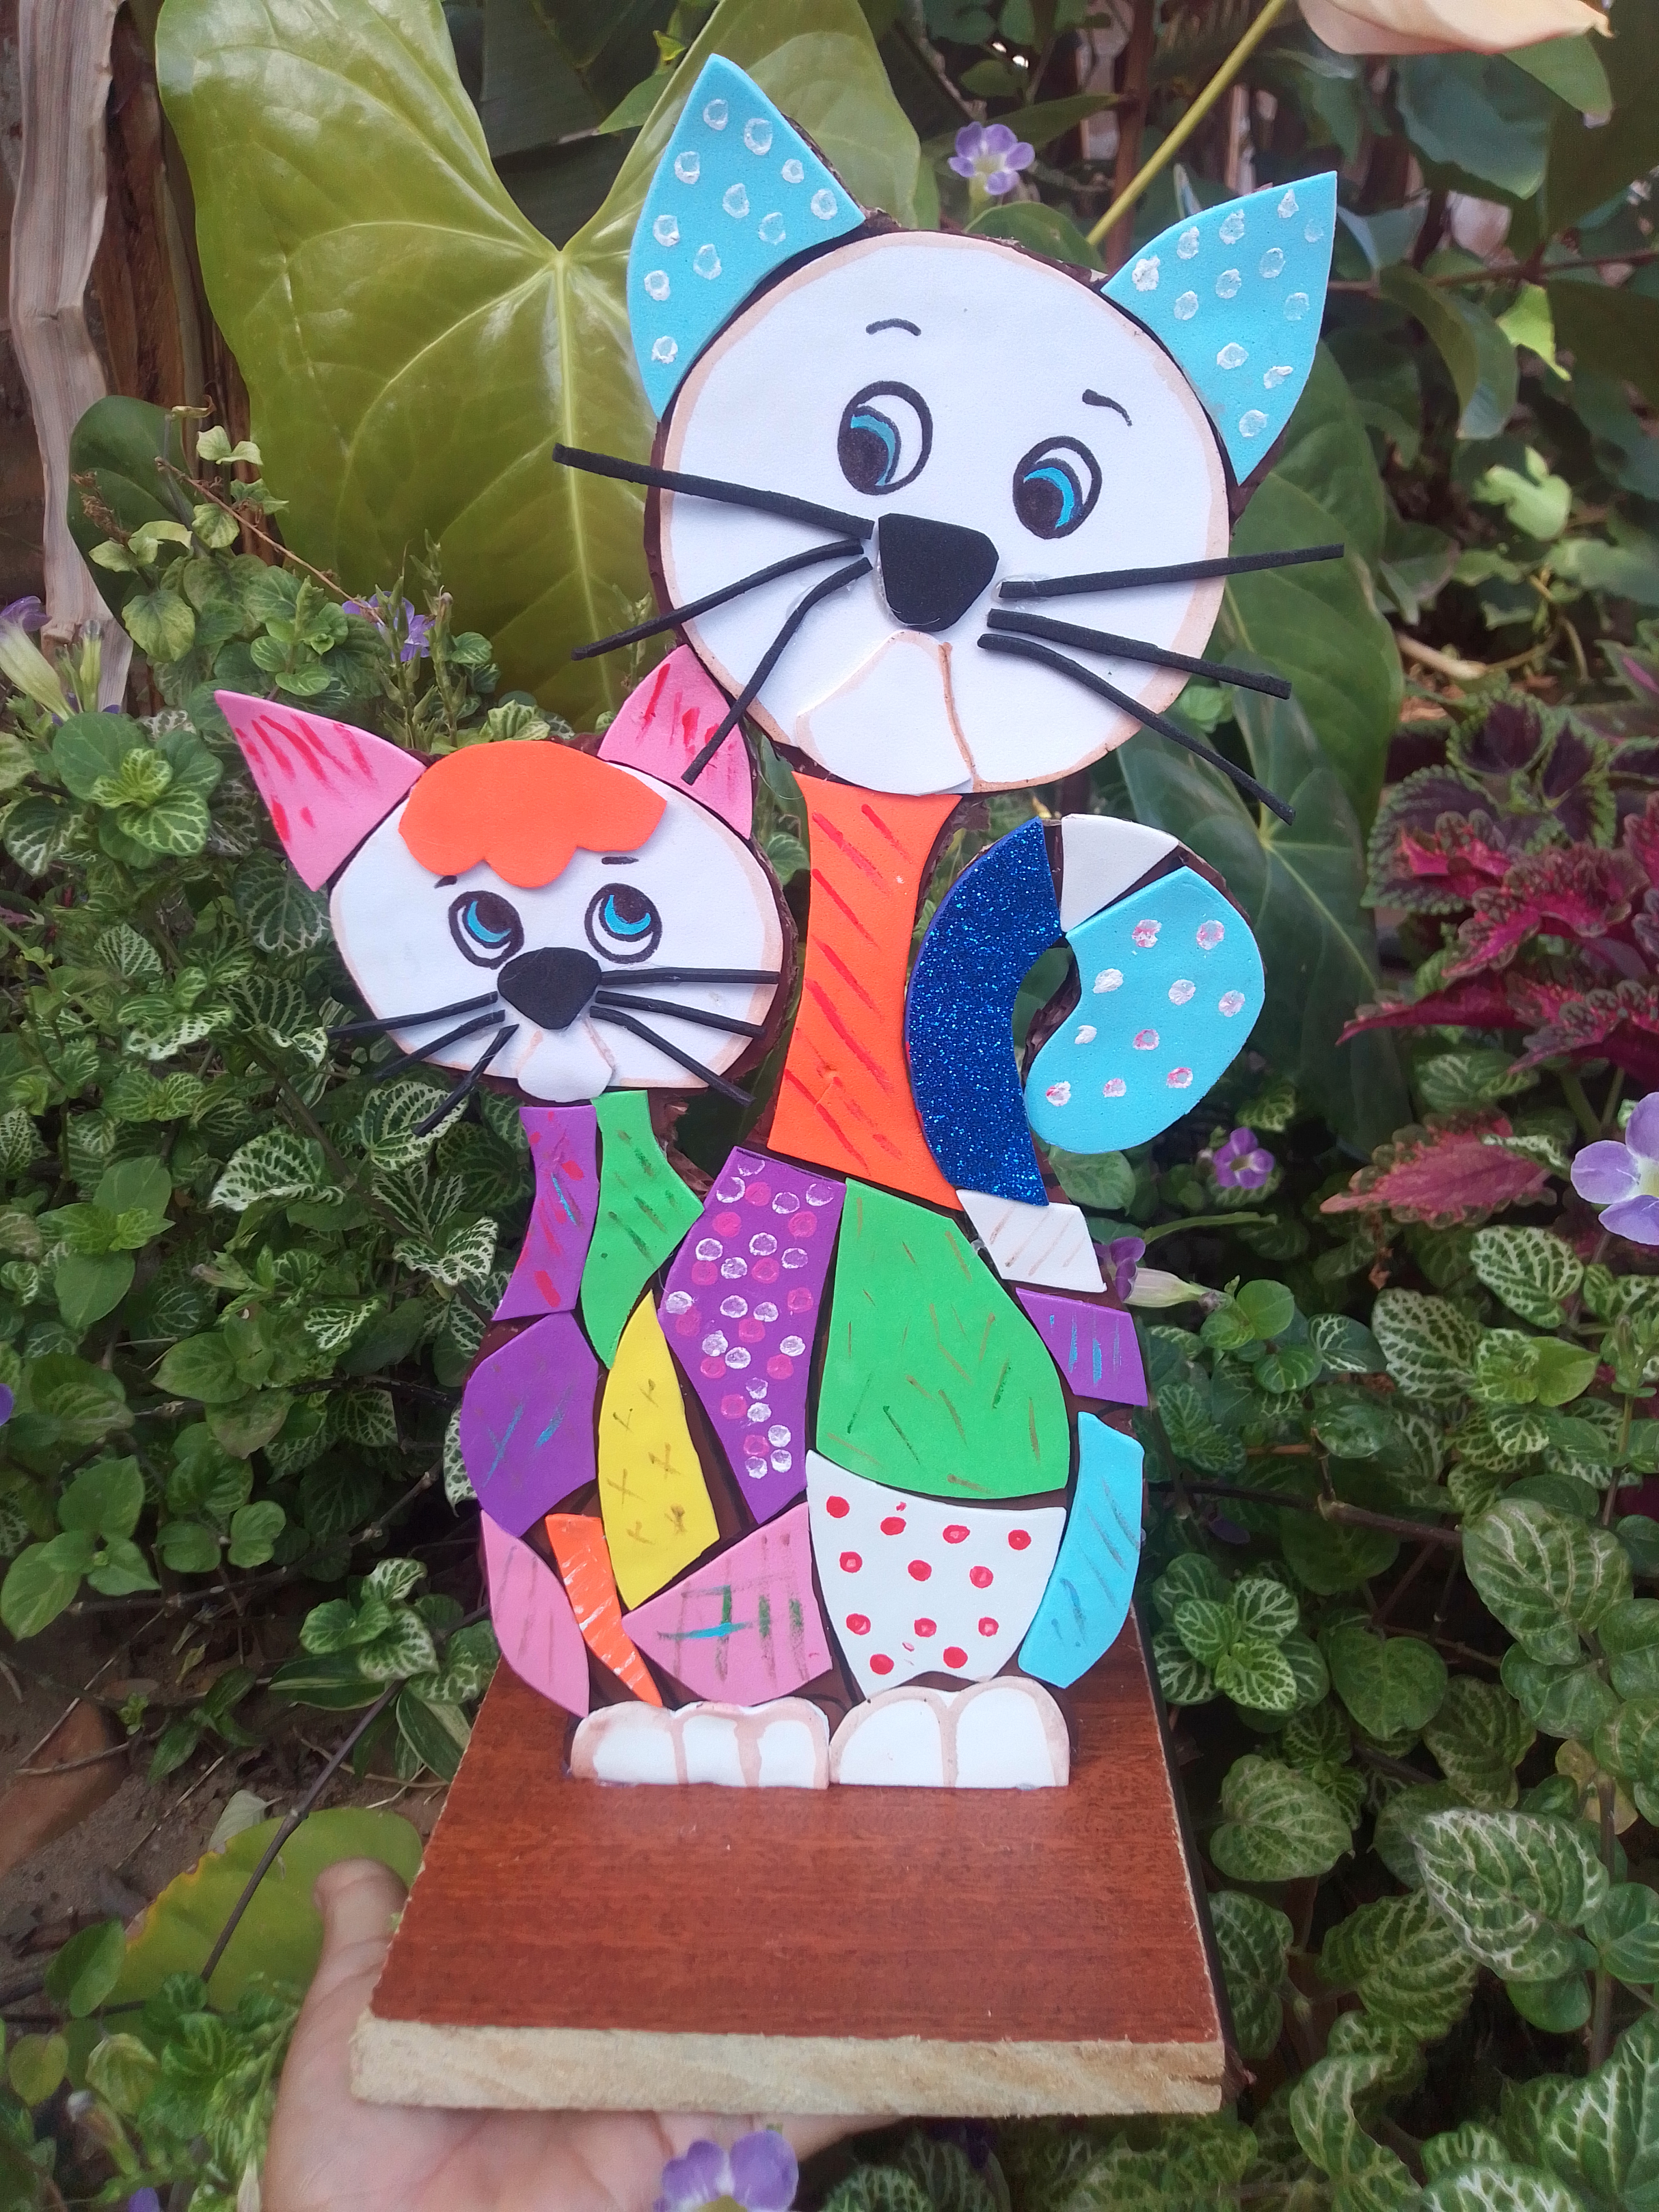
Como lo mencioné anteriormente para mí proyecto manual de hoy elaboré un tierno mosaico de unos gatitos con los trozos de foami que a diario me sobran, esta idea puede resultar un bello adorno para las mesas de tu hogar o sitio de trabajo y llamará mucho la atención de cada visitante. Sin más que agregar te invito a ver y a leer el paso a paso de este pequeño tutorial para que tú también puedas hacerlo.
As I mentioned before, for my manual project today I made a cute mosaic of some kittens with the pieces of foami that I have left over every day, this idea can be a beautiful decoration for the tables of your home or workplace and will attract a lot of attention of each visitor. Without further ado, I invite you to see and read the step by step of this little tutorial so that you can do it too.
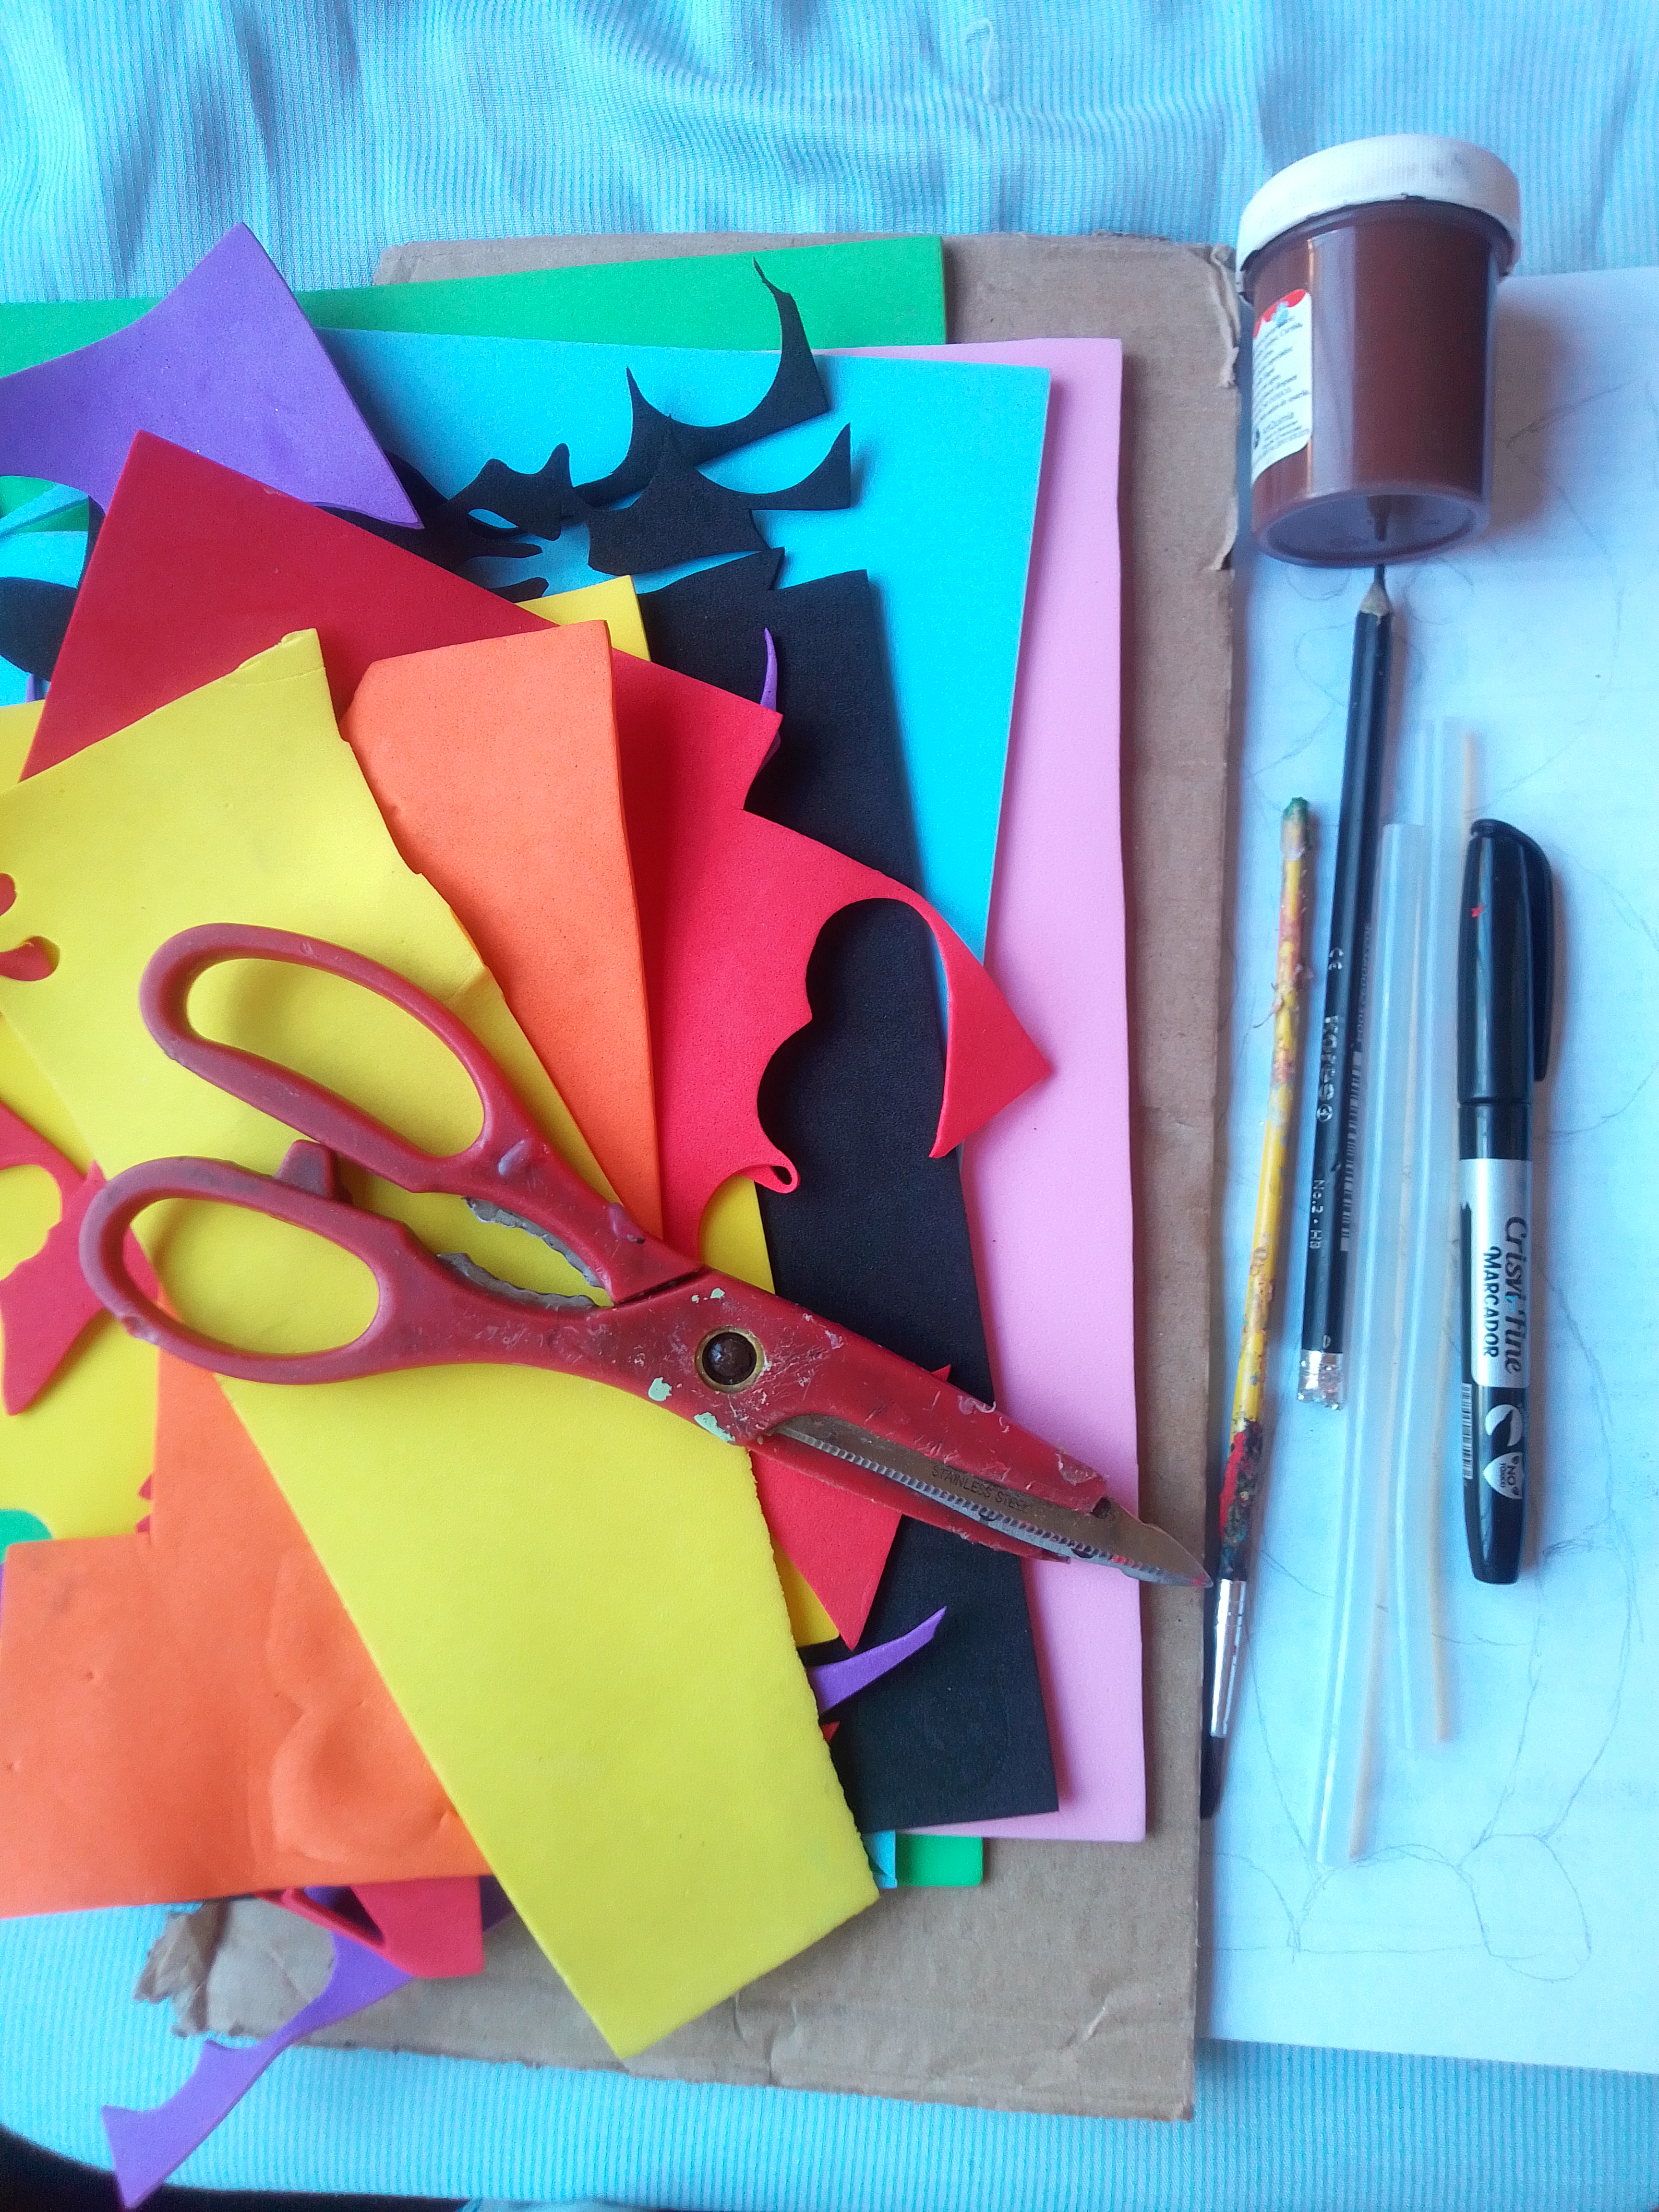
Materiales que necesitás:
- Cartón.
- Trozos de foami.
- Pintura marrón.
- Pincel grueso.
- Marcador.
- Lápiz.
- Silicón.
- Tijera.
Materials you need:
- Paperboard.
- Pieces of foam.
- Brown paint.
- Thick brush.
- Marker.
- Pencil.
- Silicone.
- Scissor.
Procedimiento del trabajo manual.
Manual work procedure.
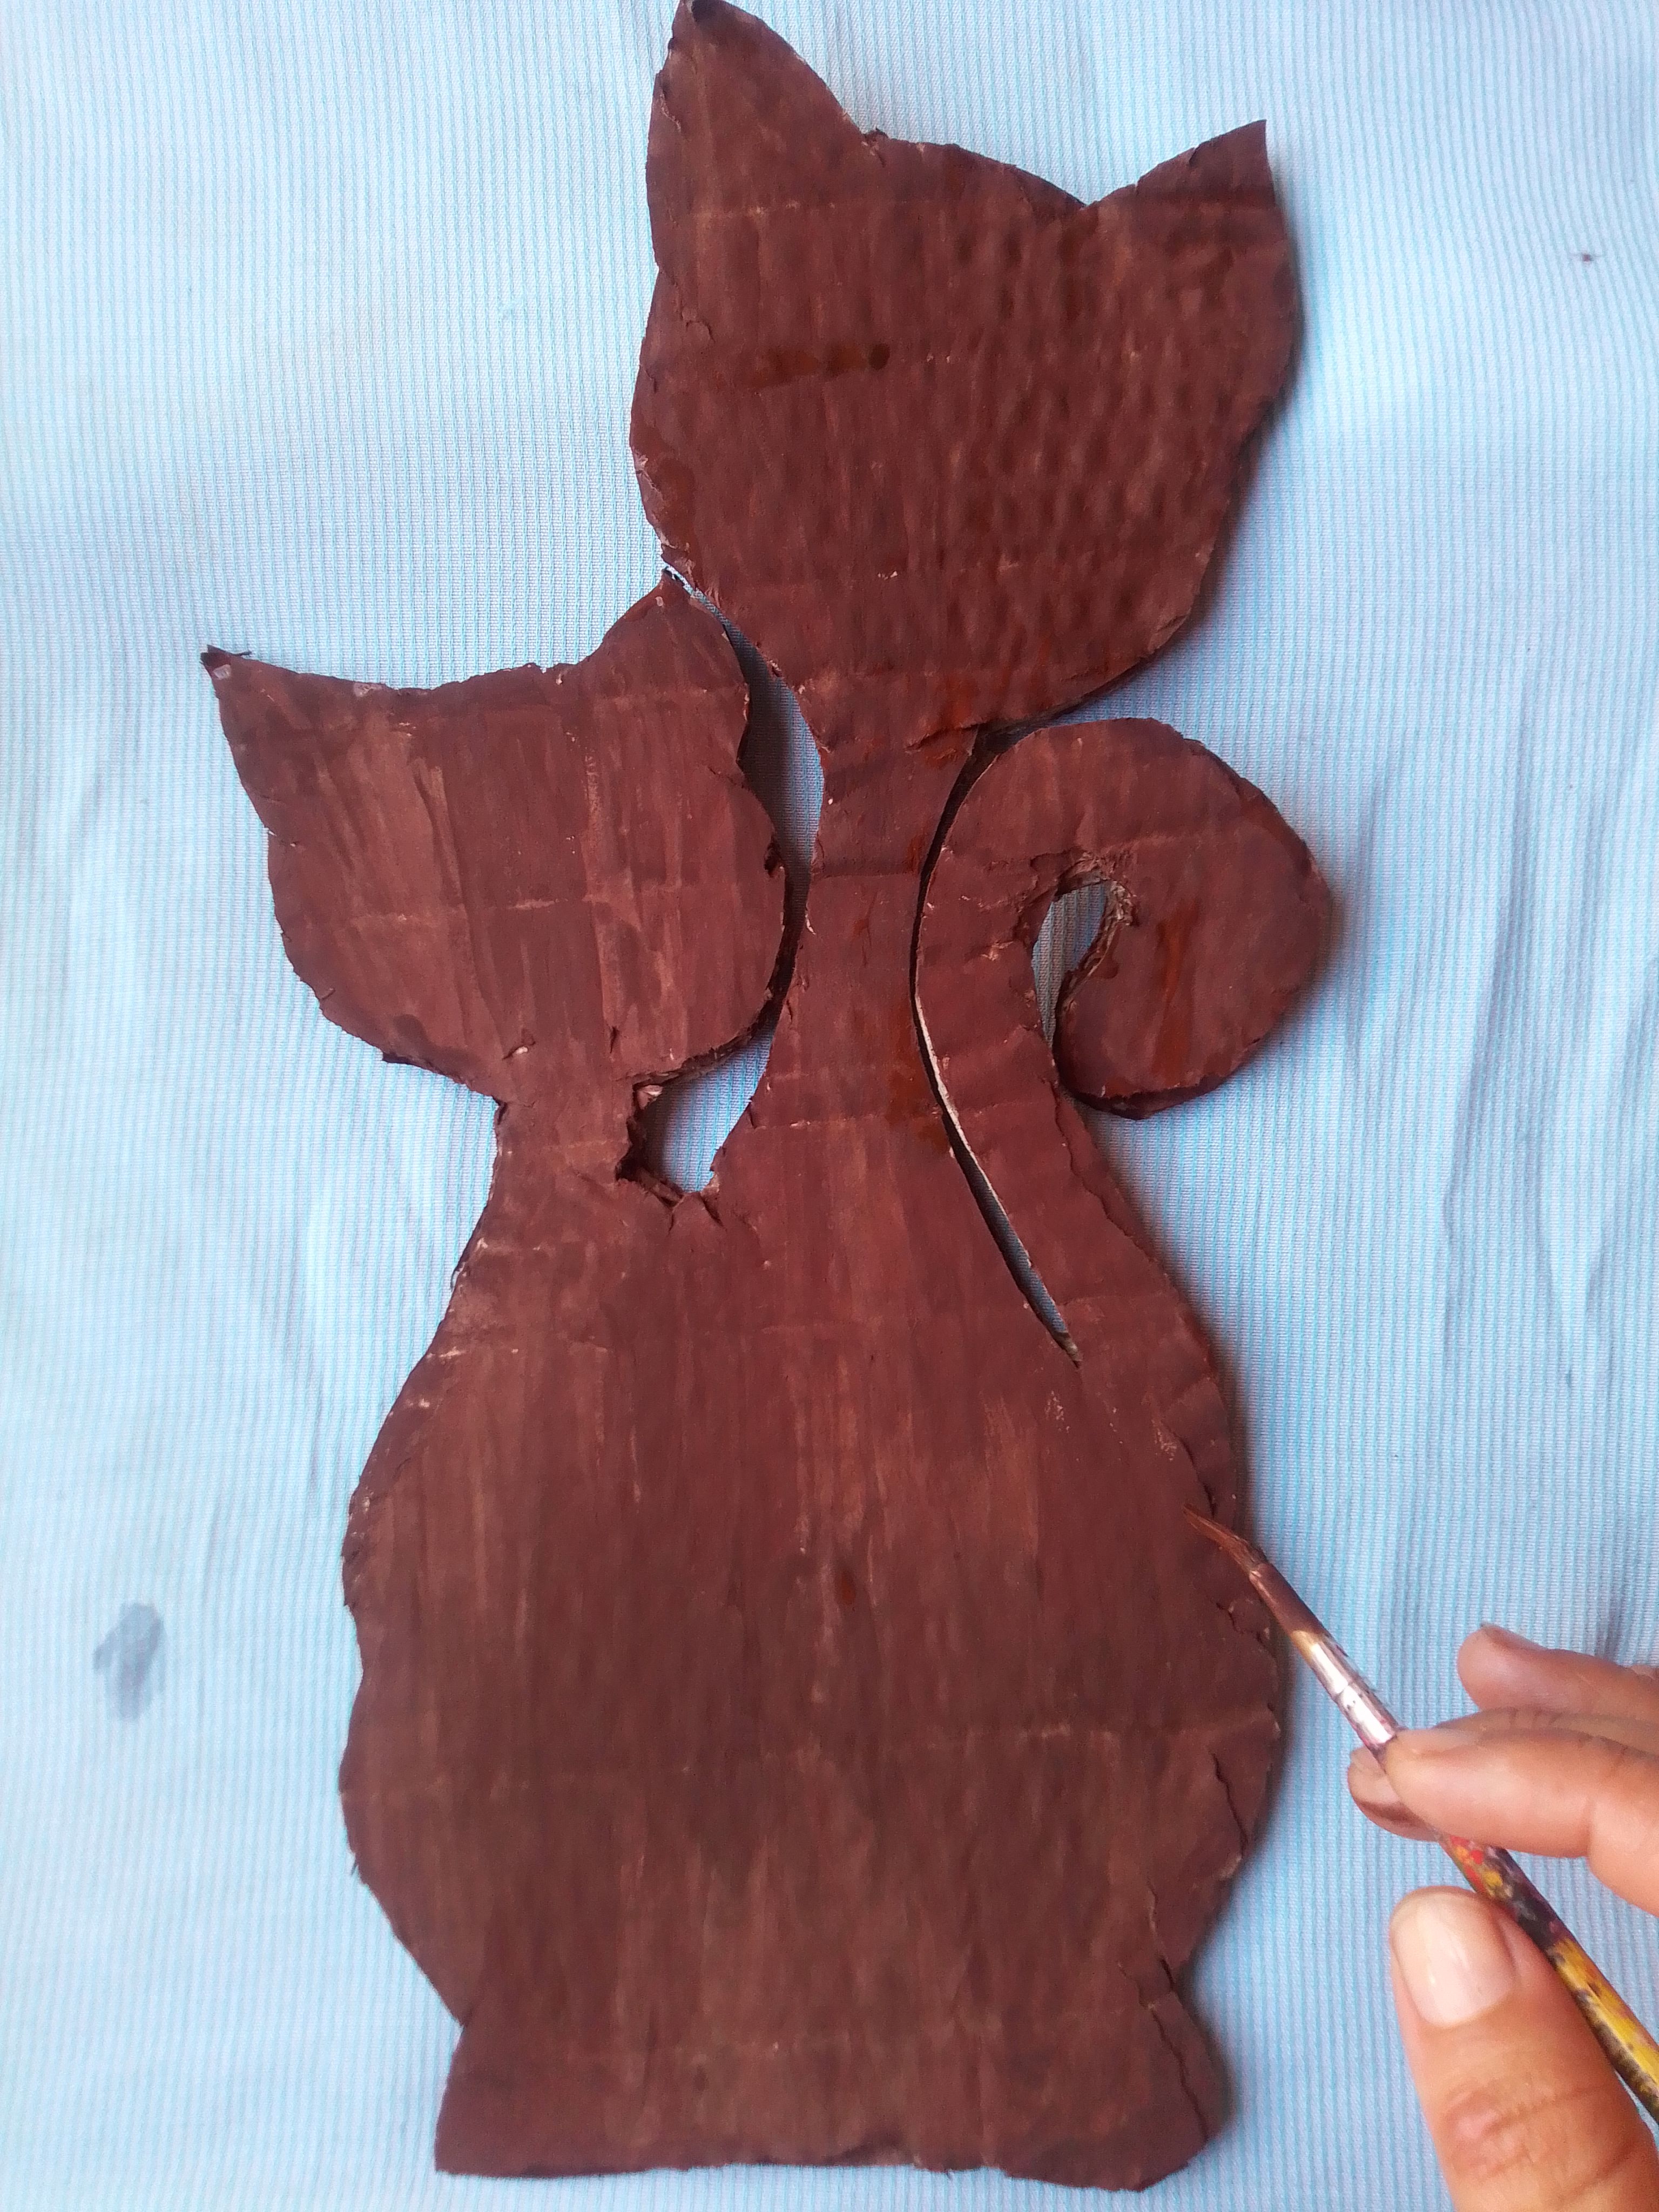
El procedimiento para hacer un mosaico es similar independientemente del material que utilices, se necesita un soporte base para trabajar en mi caso utilicé un trozo de cartón para dibujar las siluetas de dos gatitos.
The procedure to make a mosaic is similar regardless of the material you use, a base support is needed to work in my case I used a piece of cardboard to draw the silhouettes of two kittens.

Seguidamente con ayuda de las tijeras cortamos el diseño que dibujamos anteriormente y con un pincel grueso y pintura marrón pintamos muy bien. Puedes utilizar otro color de pintura pero lo ideal sería un color de pintura oscuro para que resalten los colores de foami.
Next, with the help of scissors, we cut the design that we drew previously and with a thick brush and brown paint we paint very well. You can use another color of paint but the ideal would be a dark color of paint so that the colors of foami stand out.
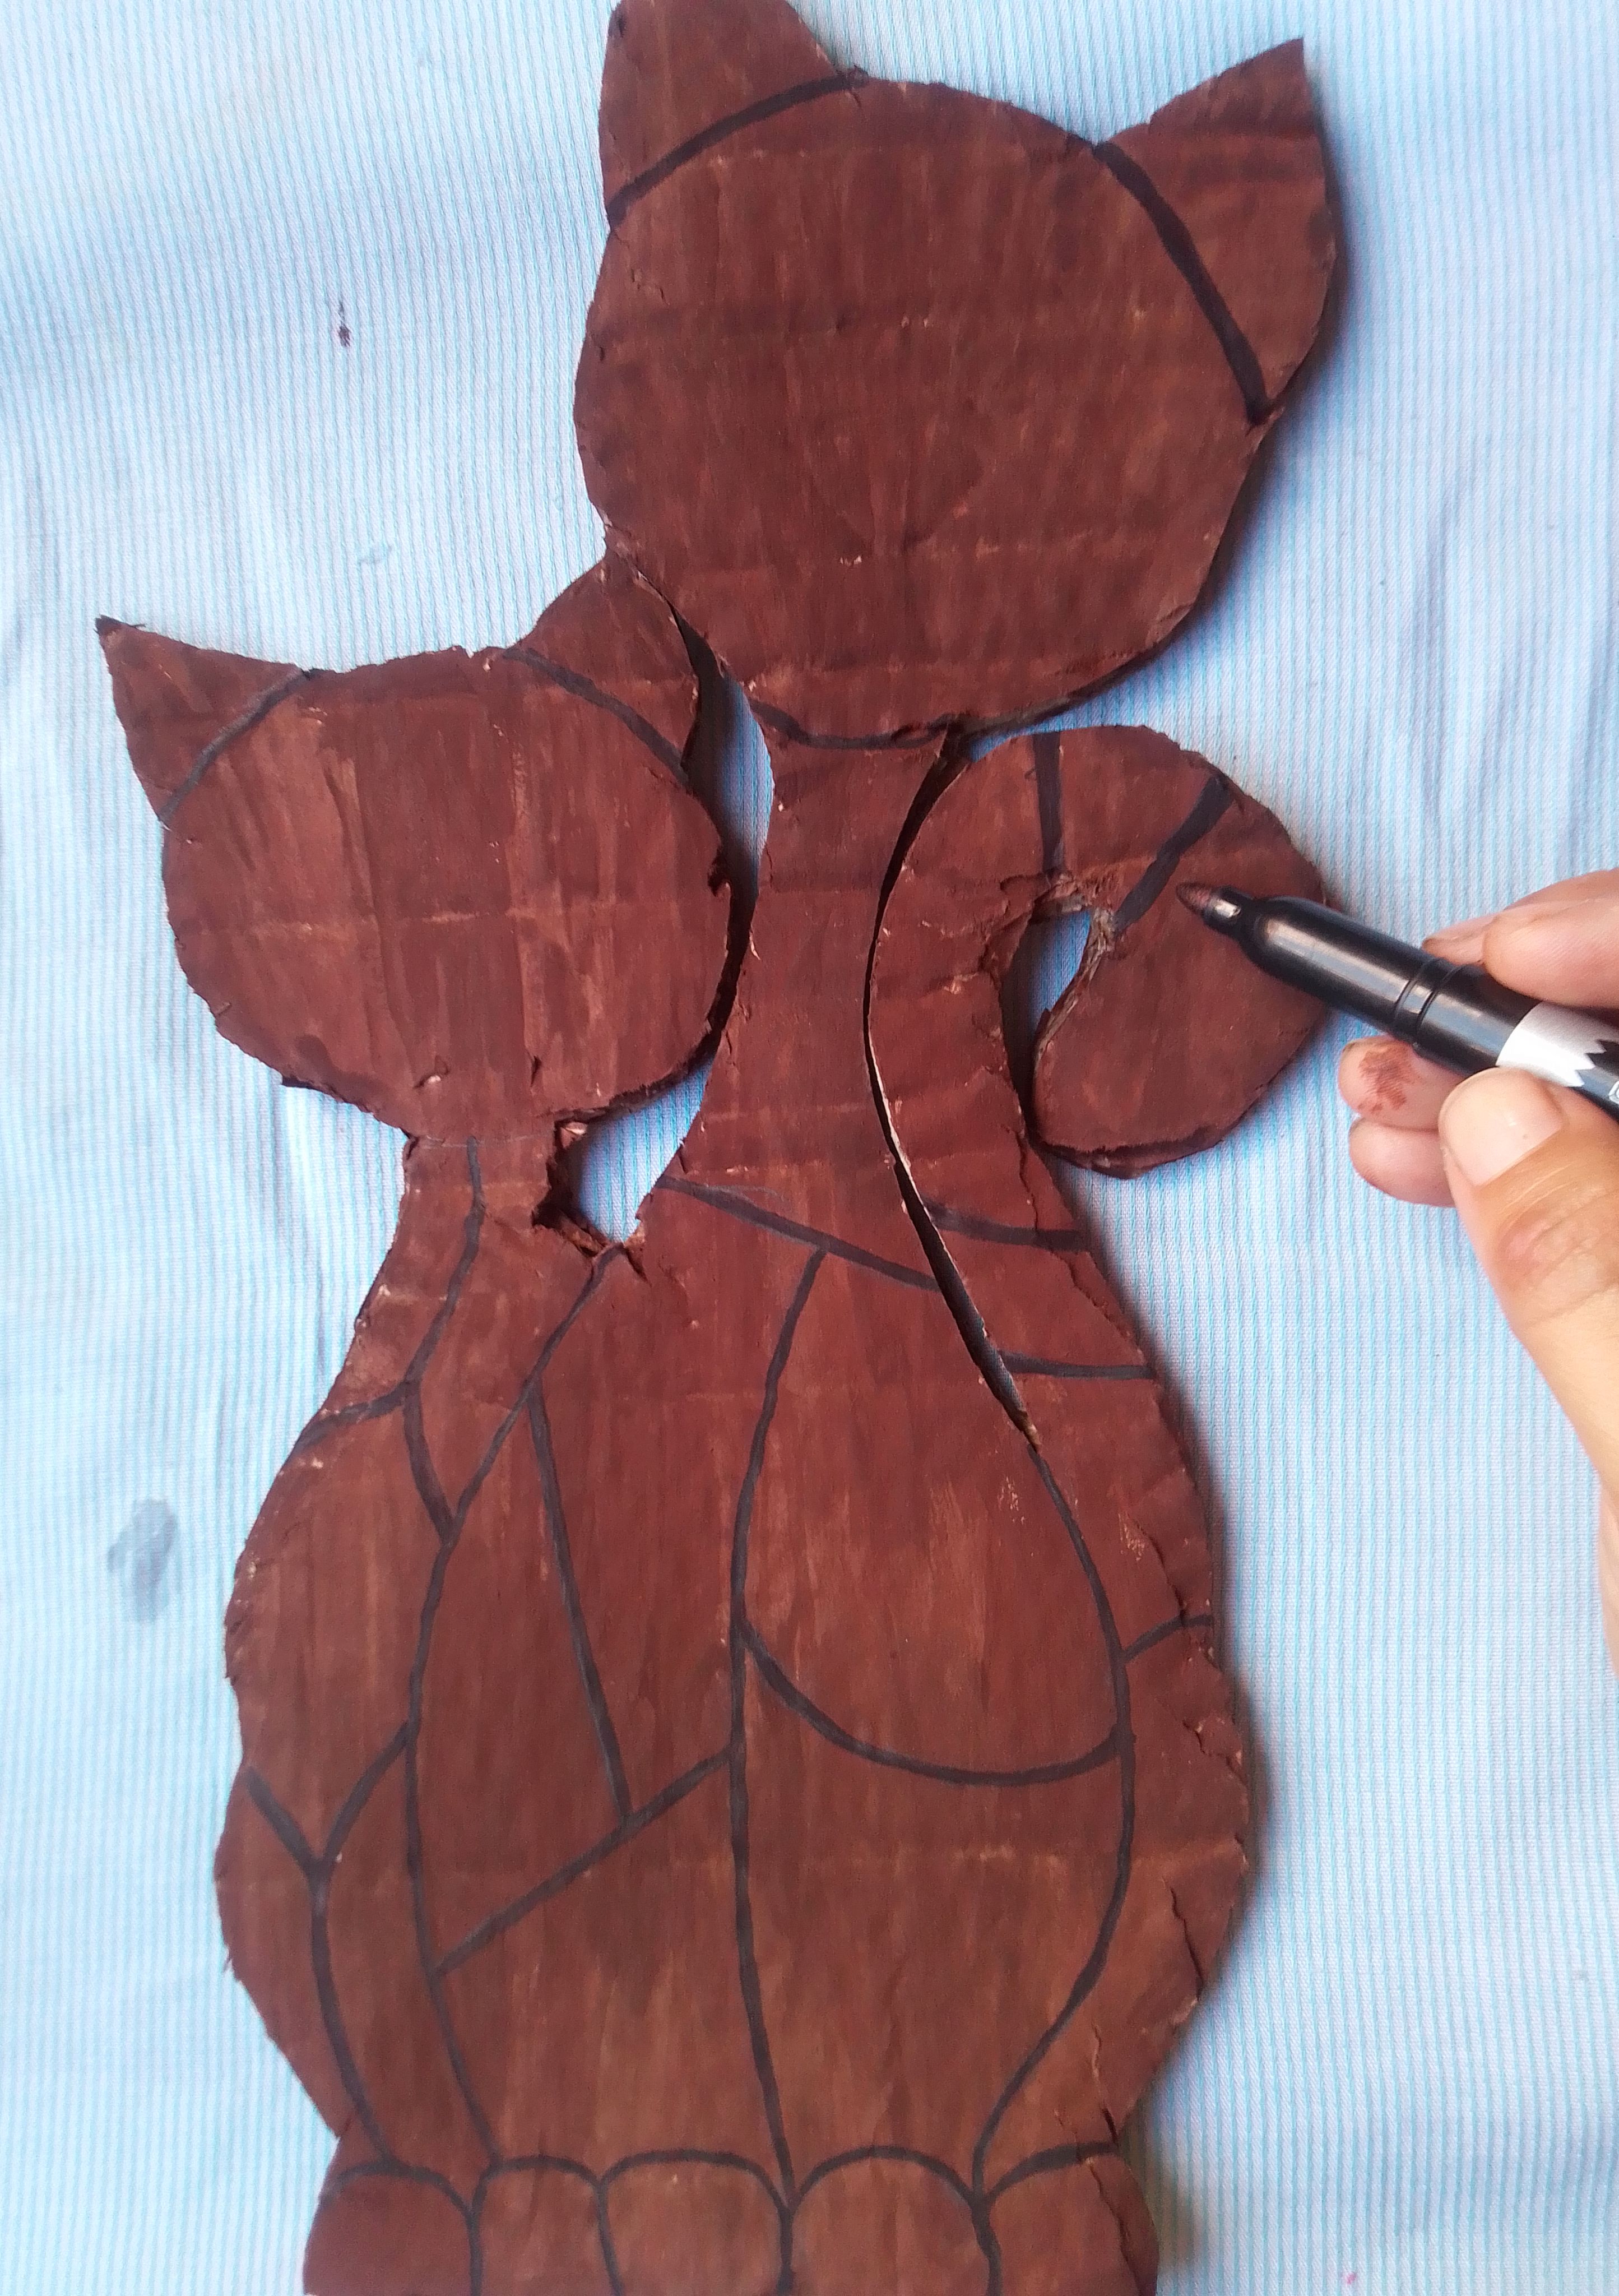
Cuando nuestra pieza de cartón este seca, con el marcador dibujamos algunas figura para darle la forma deseada, pero también puedes improvisar y pegar las piezas de forma aleatoria pero con este paso se te hará menos complicado cortar las piezas de foami.
When our piece of cardboard is dry, with the marker we draw some figures to give it the desired shape, but you can also improvise and paste the pieces randomly, but with this step it will be less complicated to cut the foami pieces.
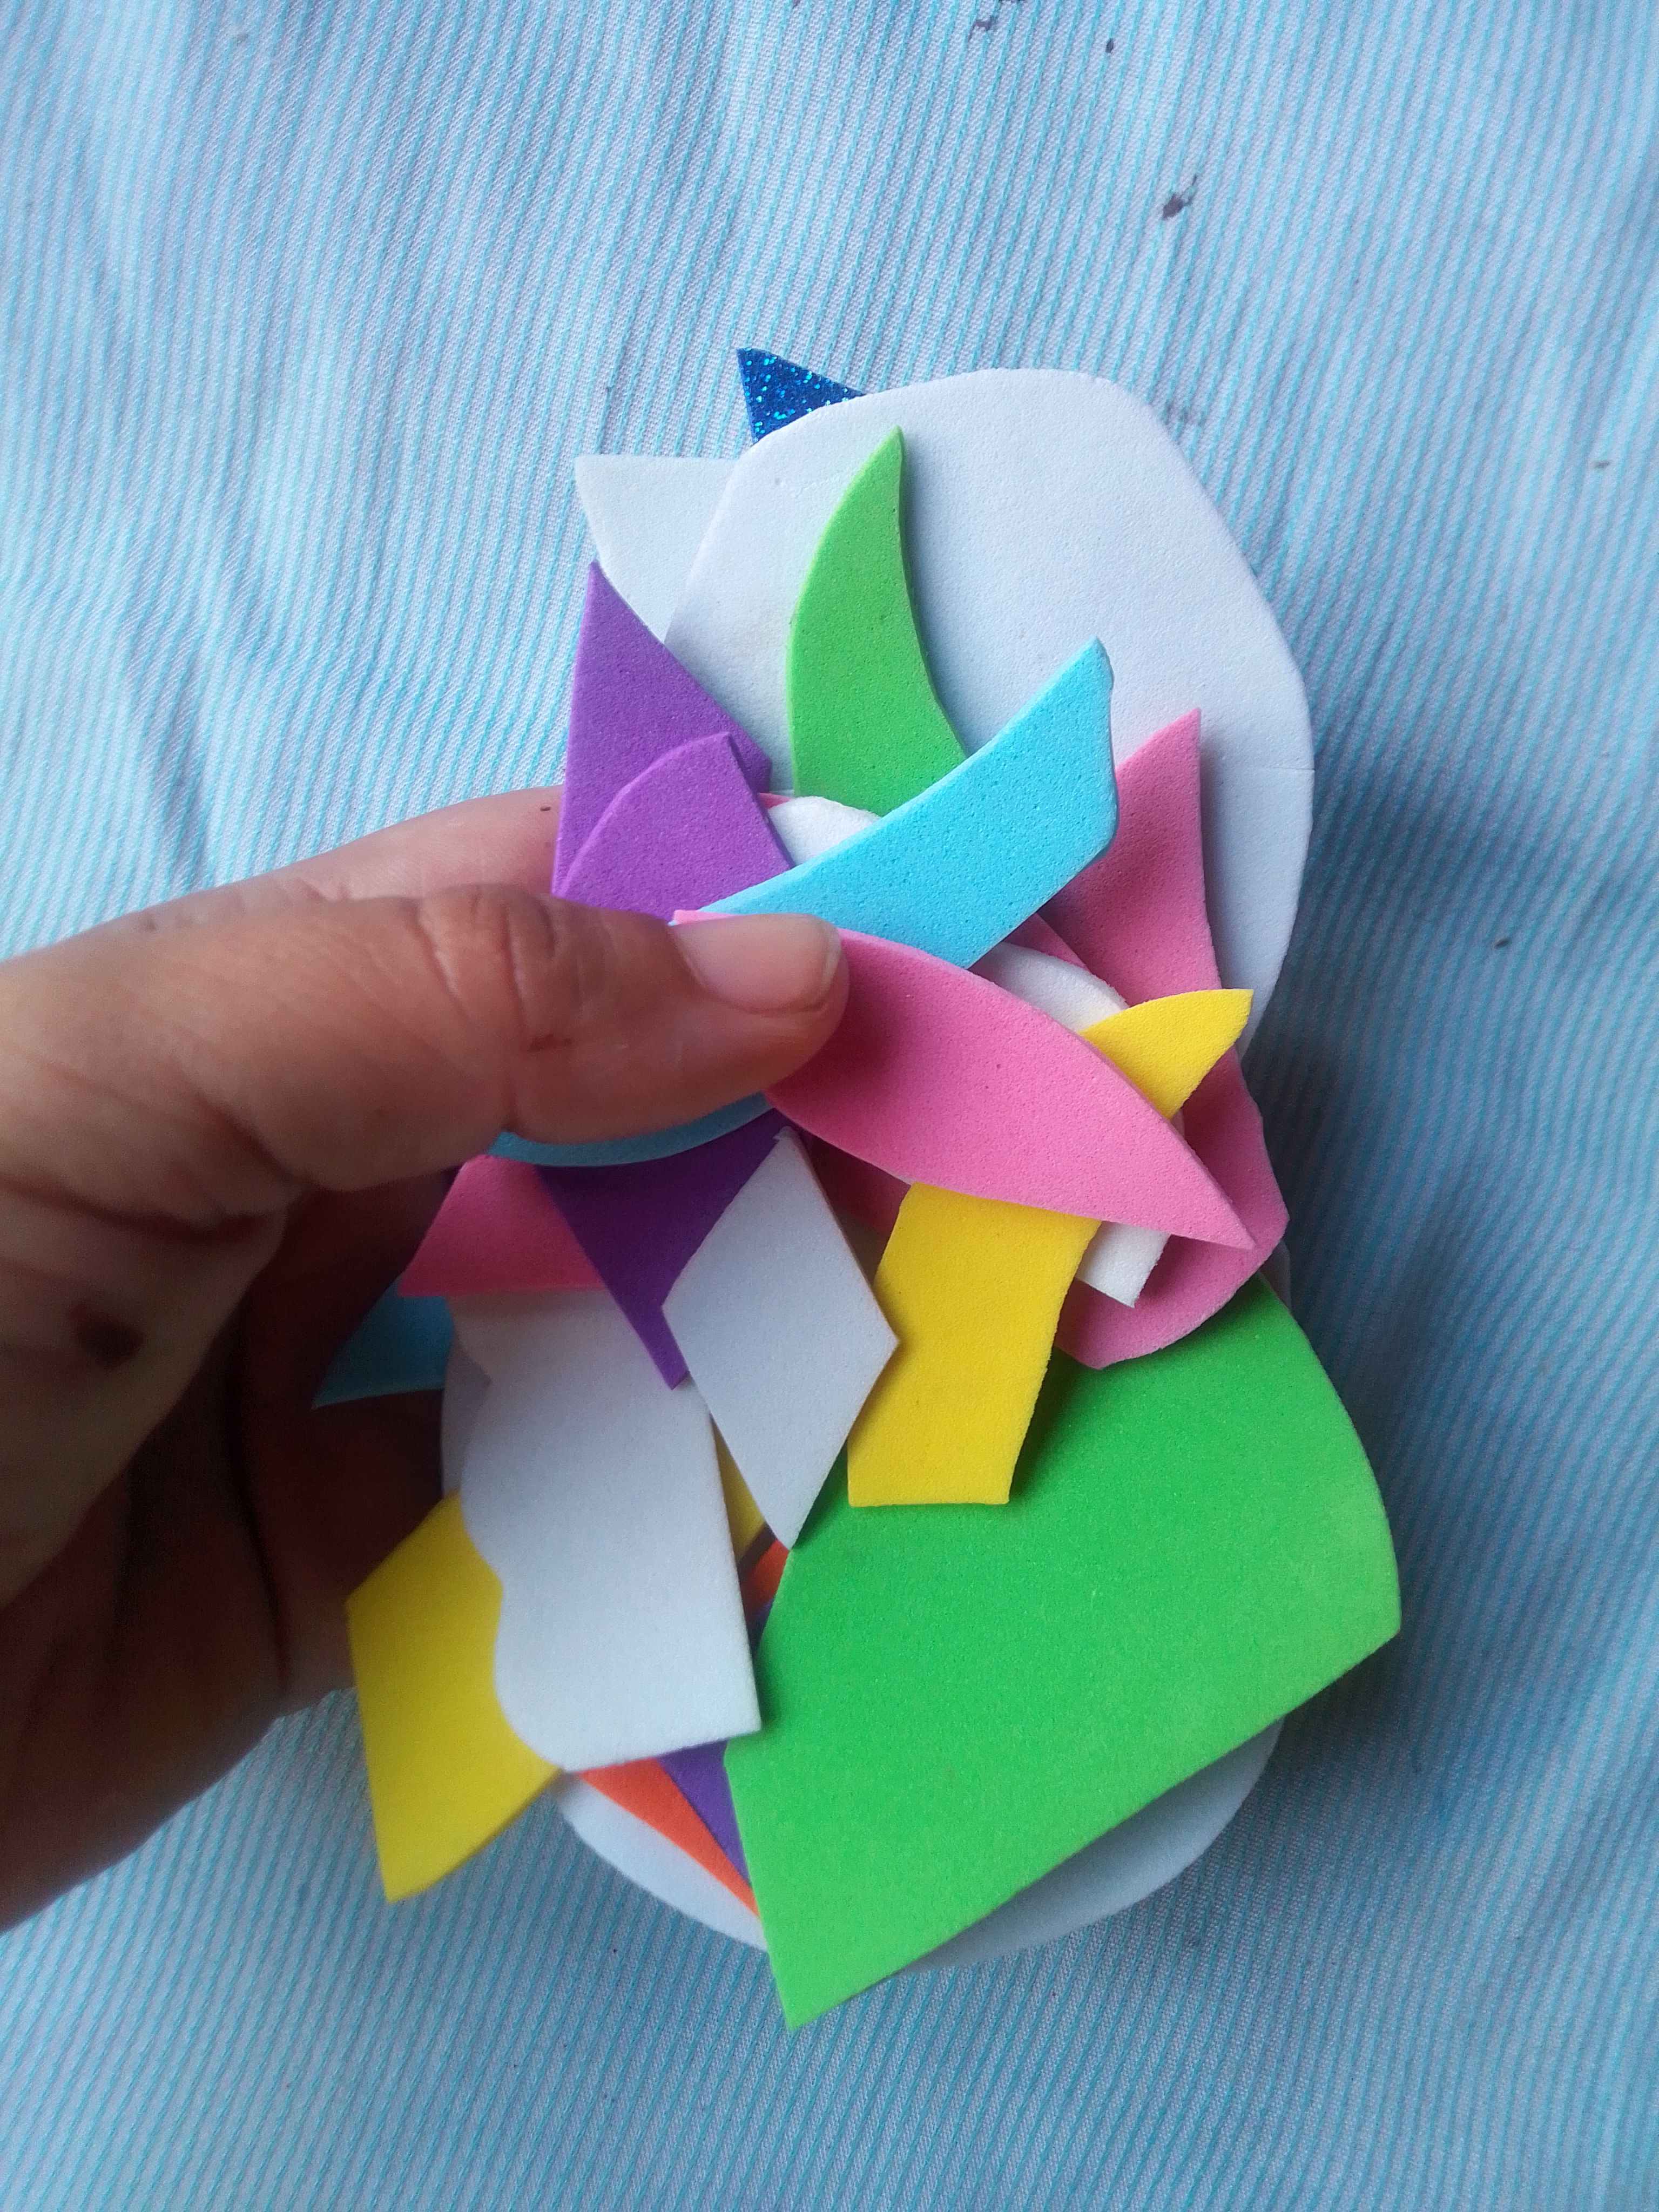
Luego cortamos y damos formas a los trozos de foami según las partes que trazamos en el diseño de cartón, antes de pegar las piezas de forma definitiva prueba como quedarán por si acaso.
Then we cut and shape the pieces of foami according to the parts that we traced in the cardboard design, before gluing the pieces definitively, test how they will look just in case.
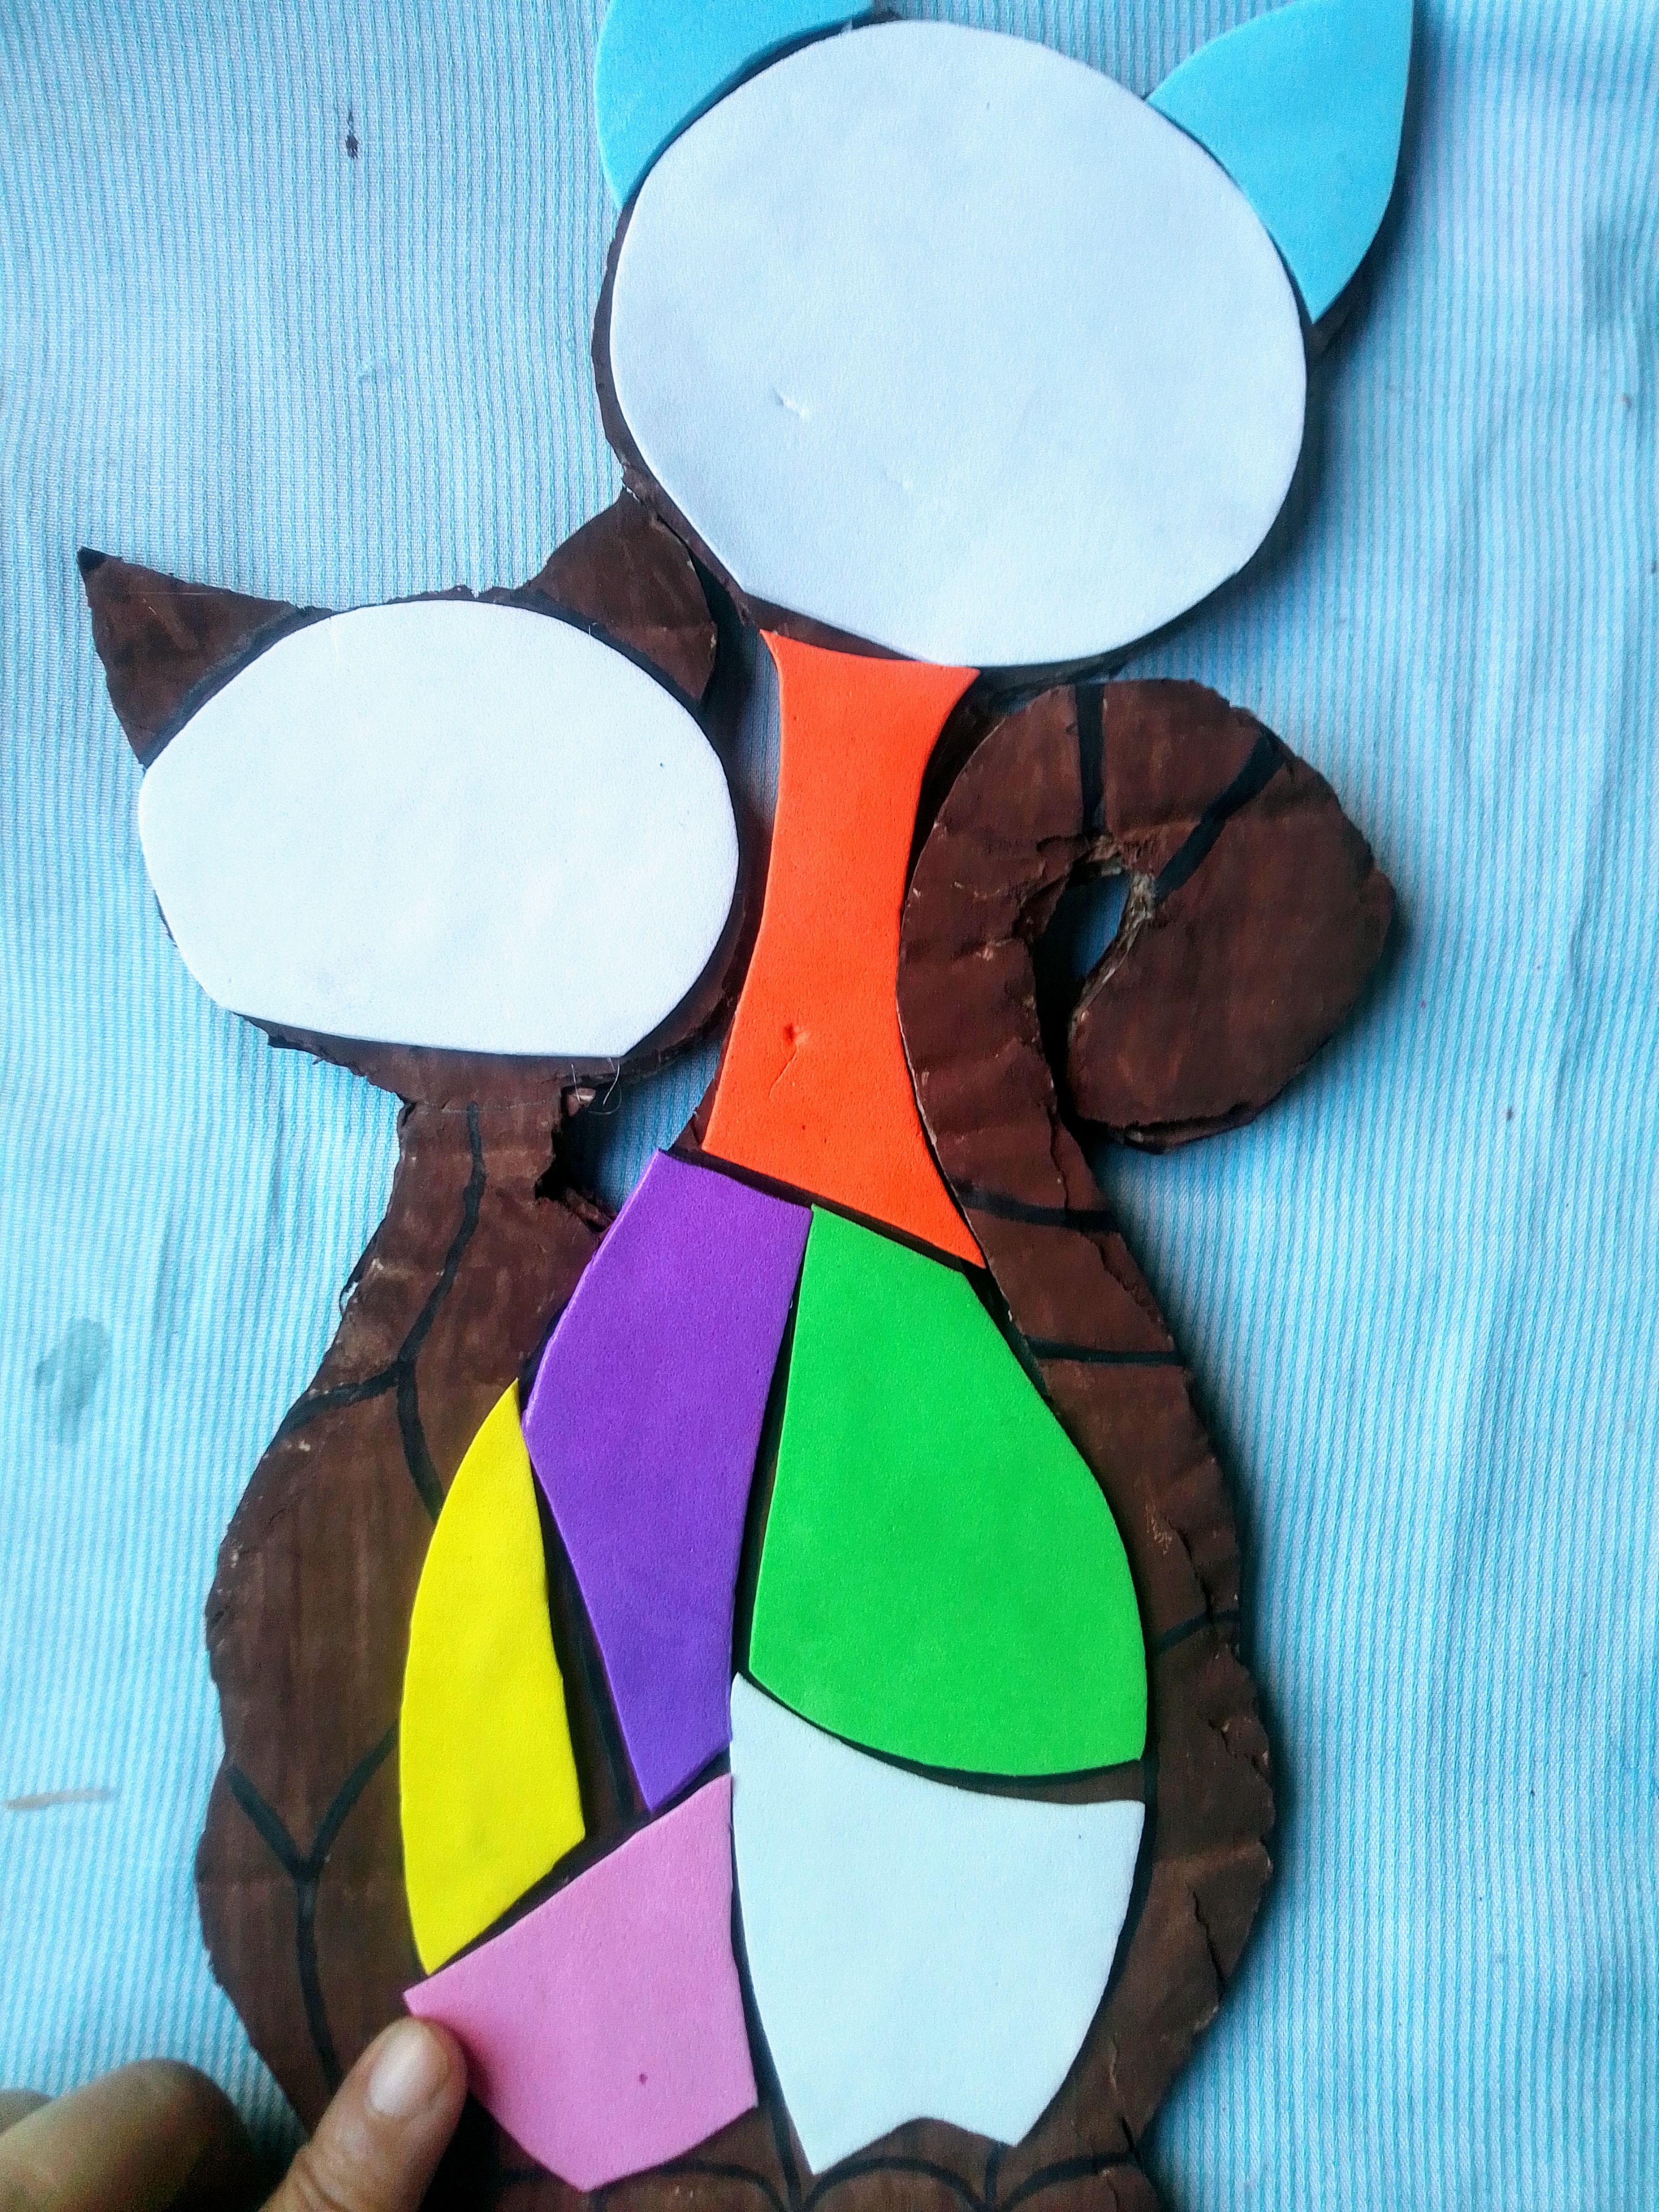
Cuando ya estemos seguros de que todas las partes de foami encajan perfectamente, las iremos pegando poco a poco y con mucha paciencia. Te recomiendo empezar a pegar las partes más grandes como la cabeza y cuerpo.
When we are sure that all the foam parts fit perfectly, we will stick them little by little and with a lot of patience. I recommend you start gluing the bigger parts like the head and body.
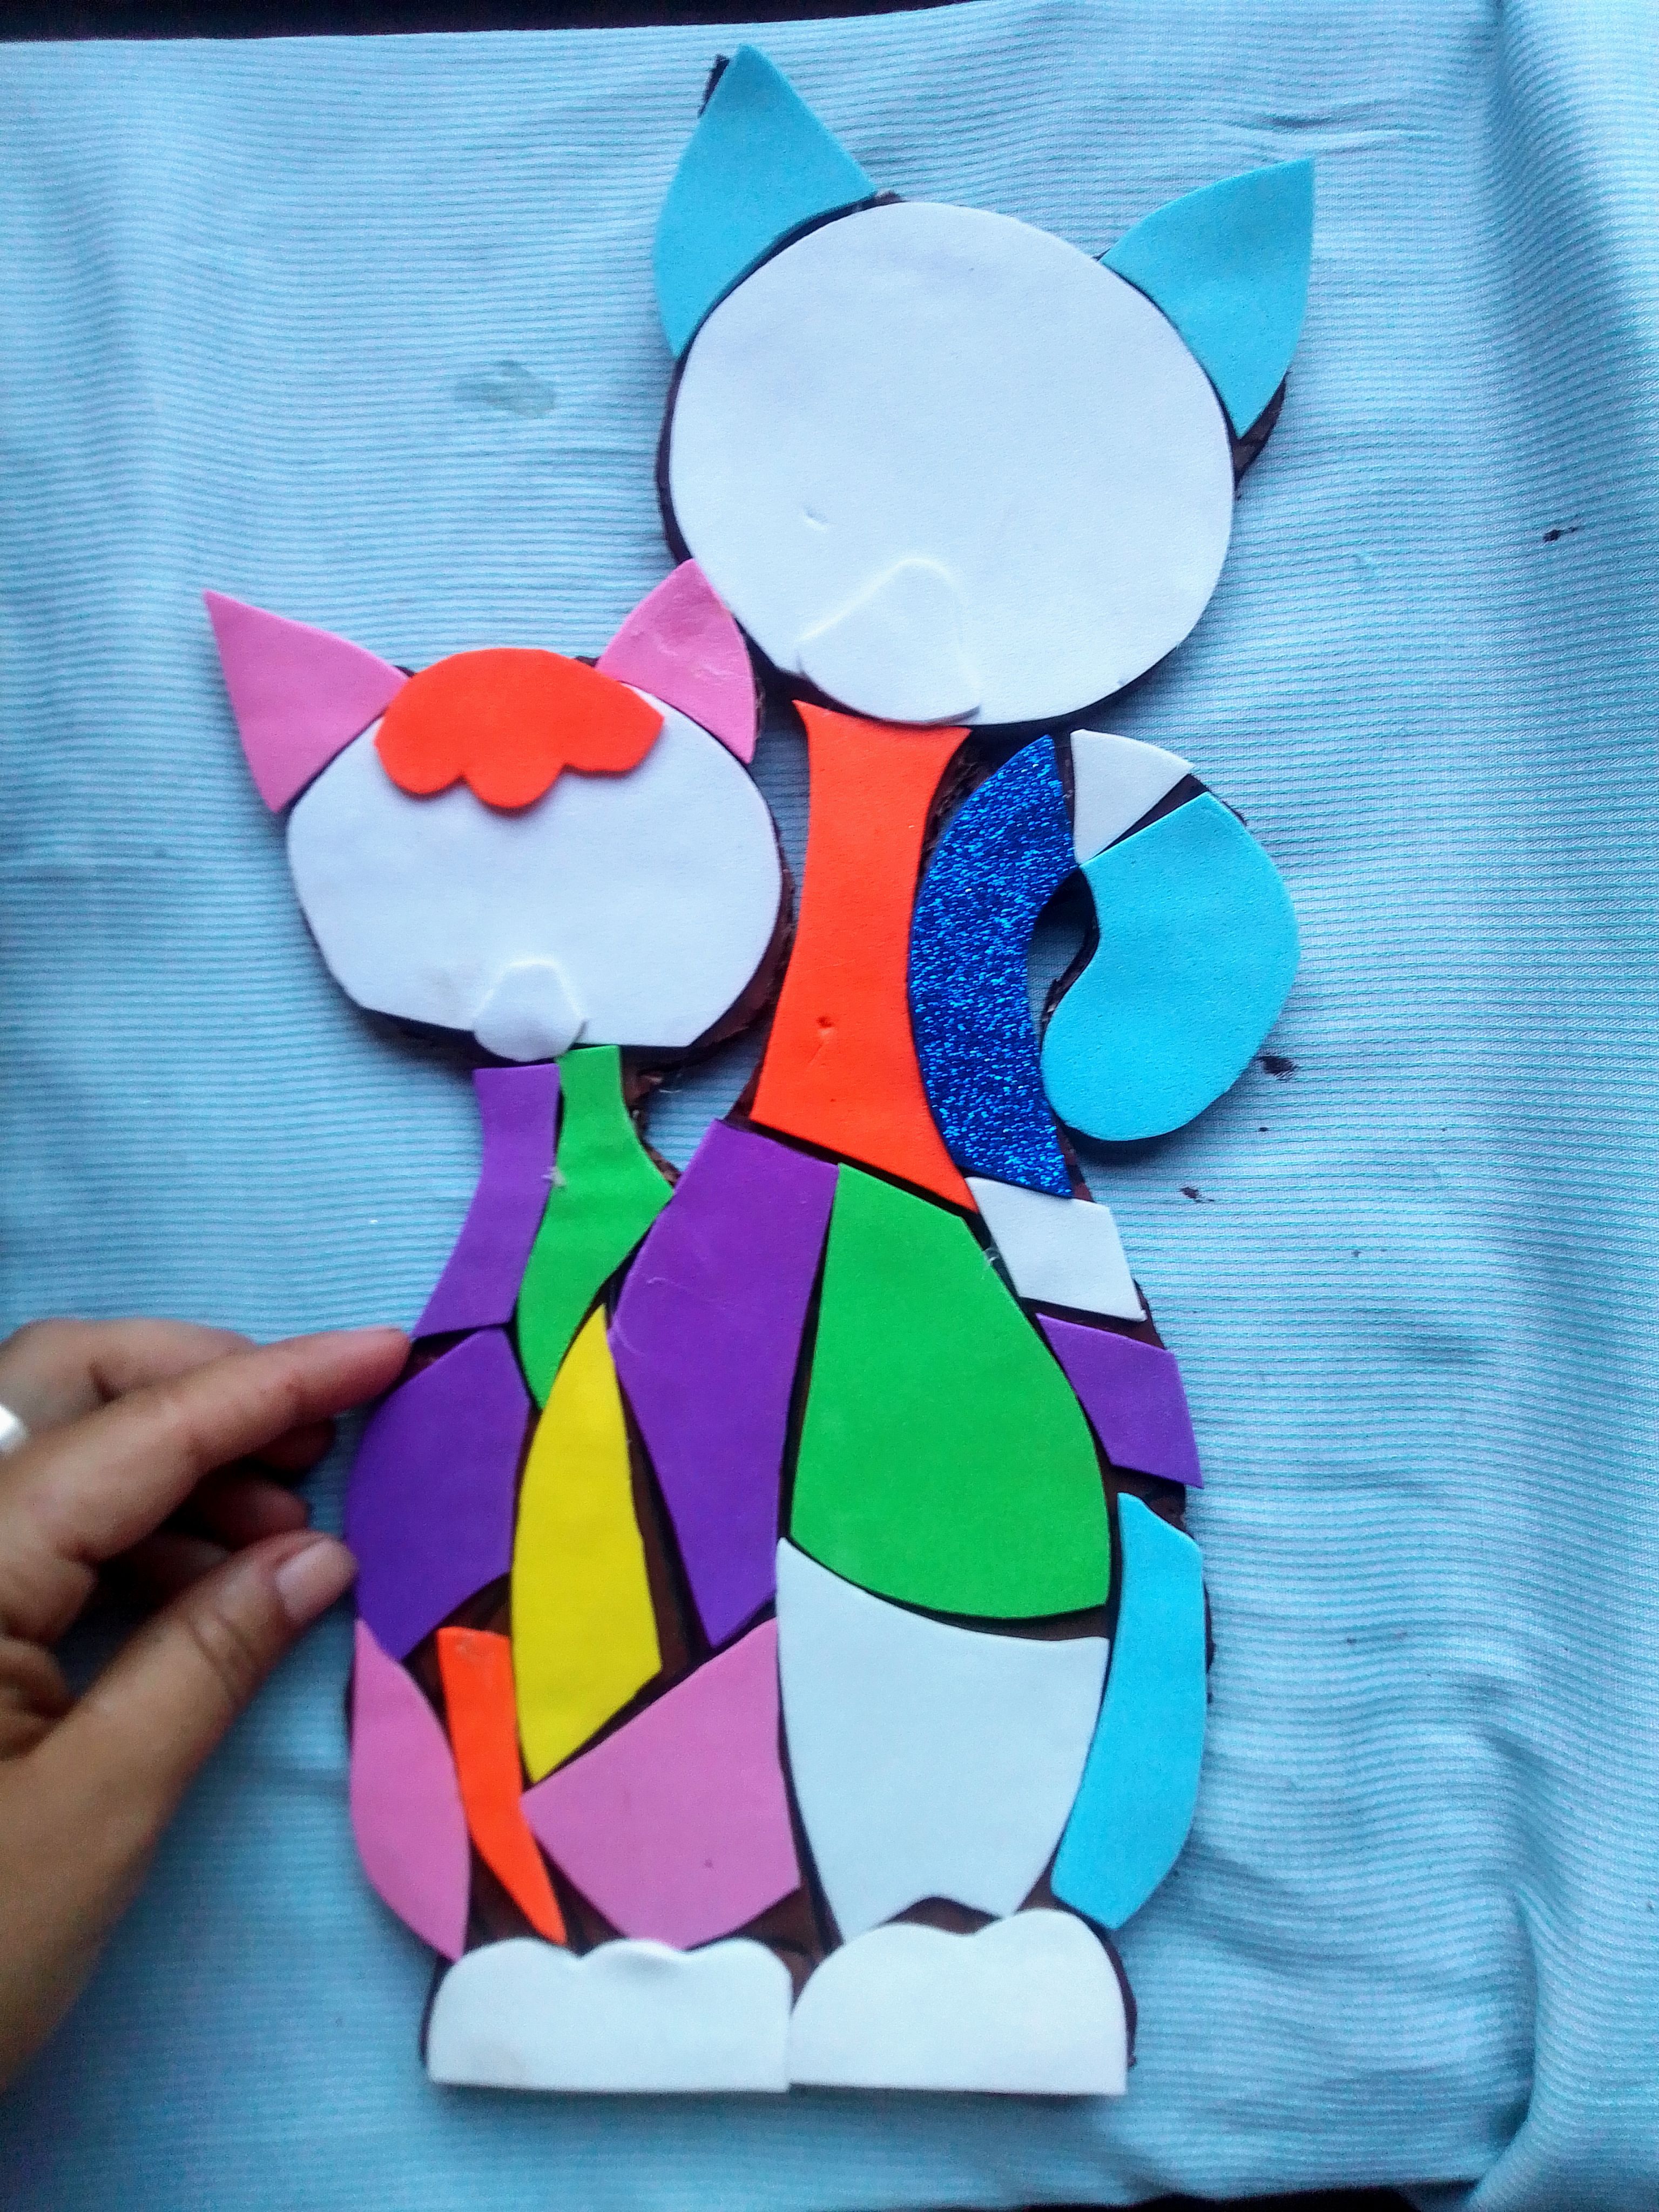
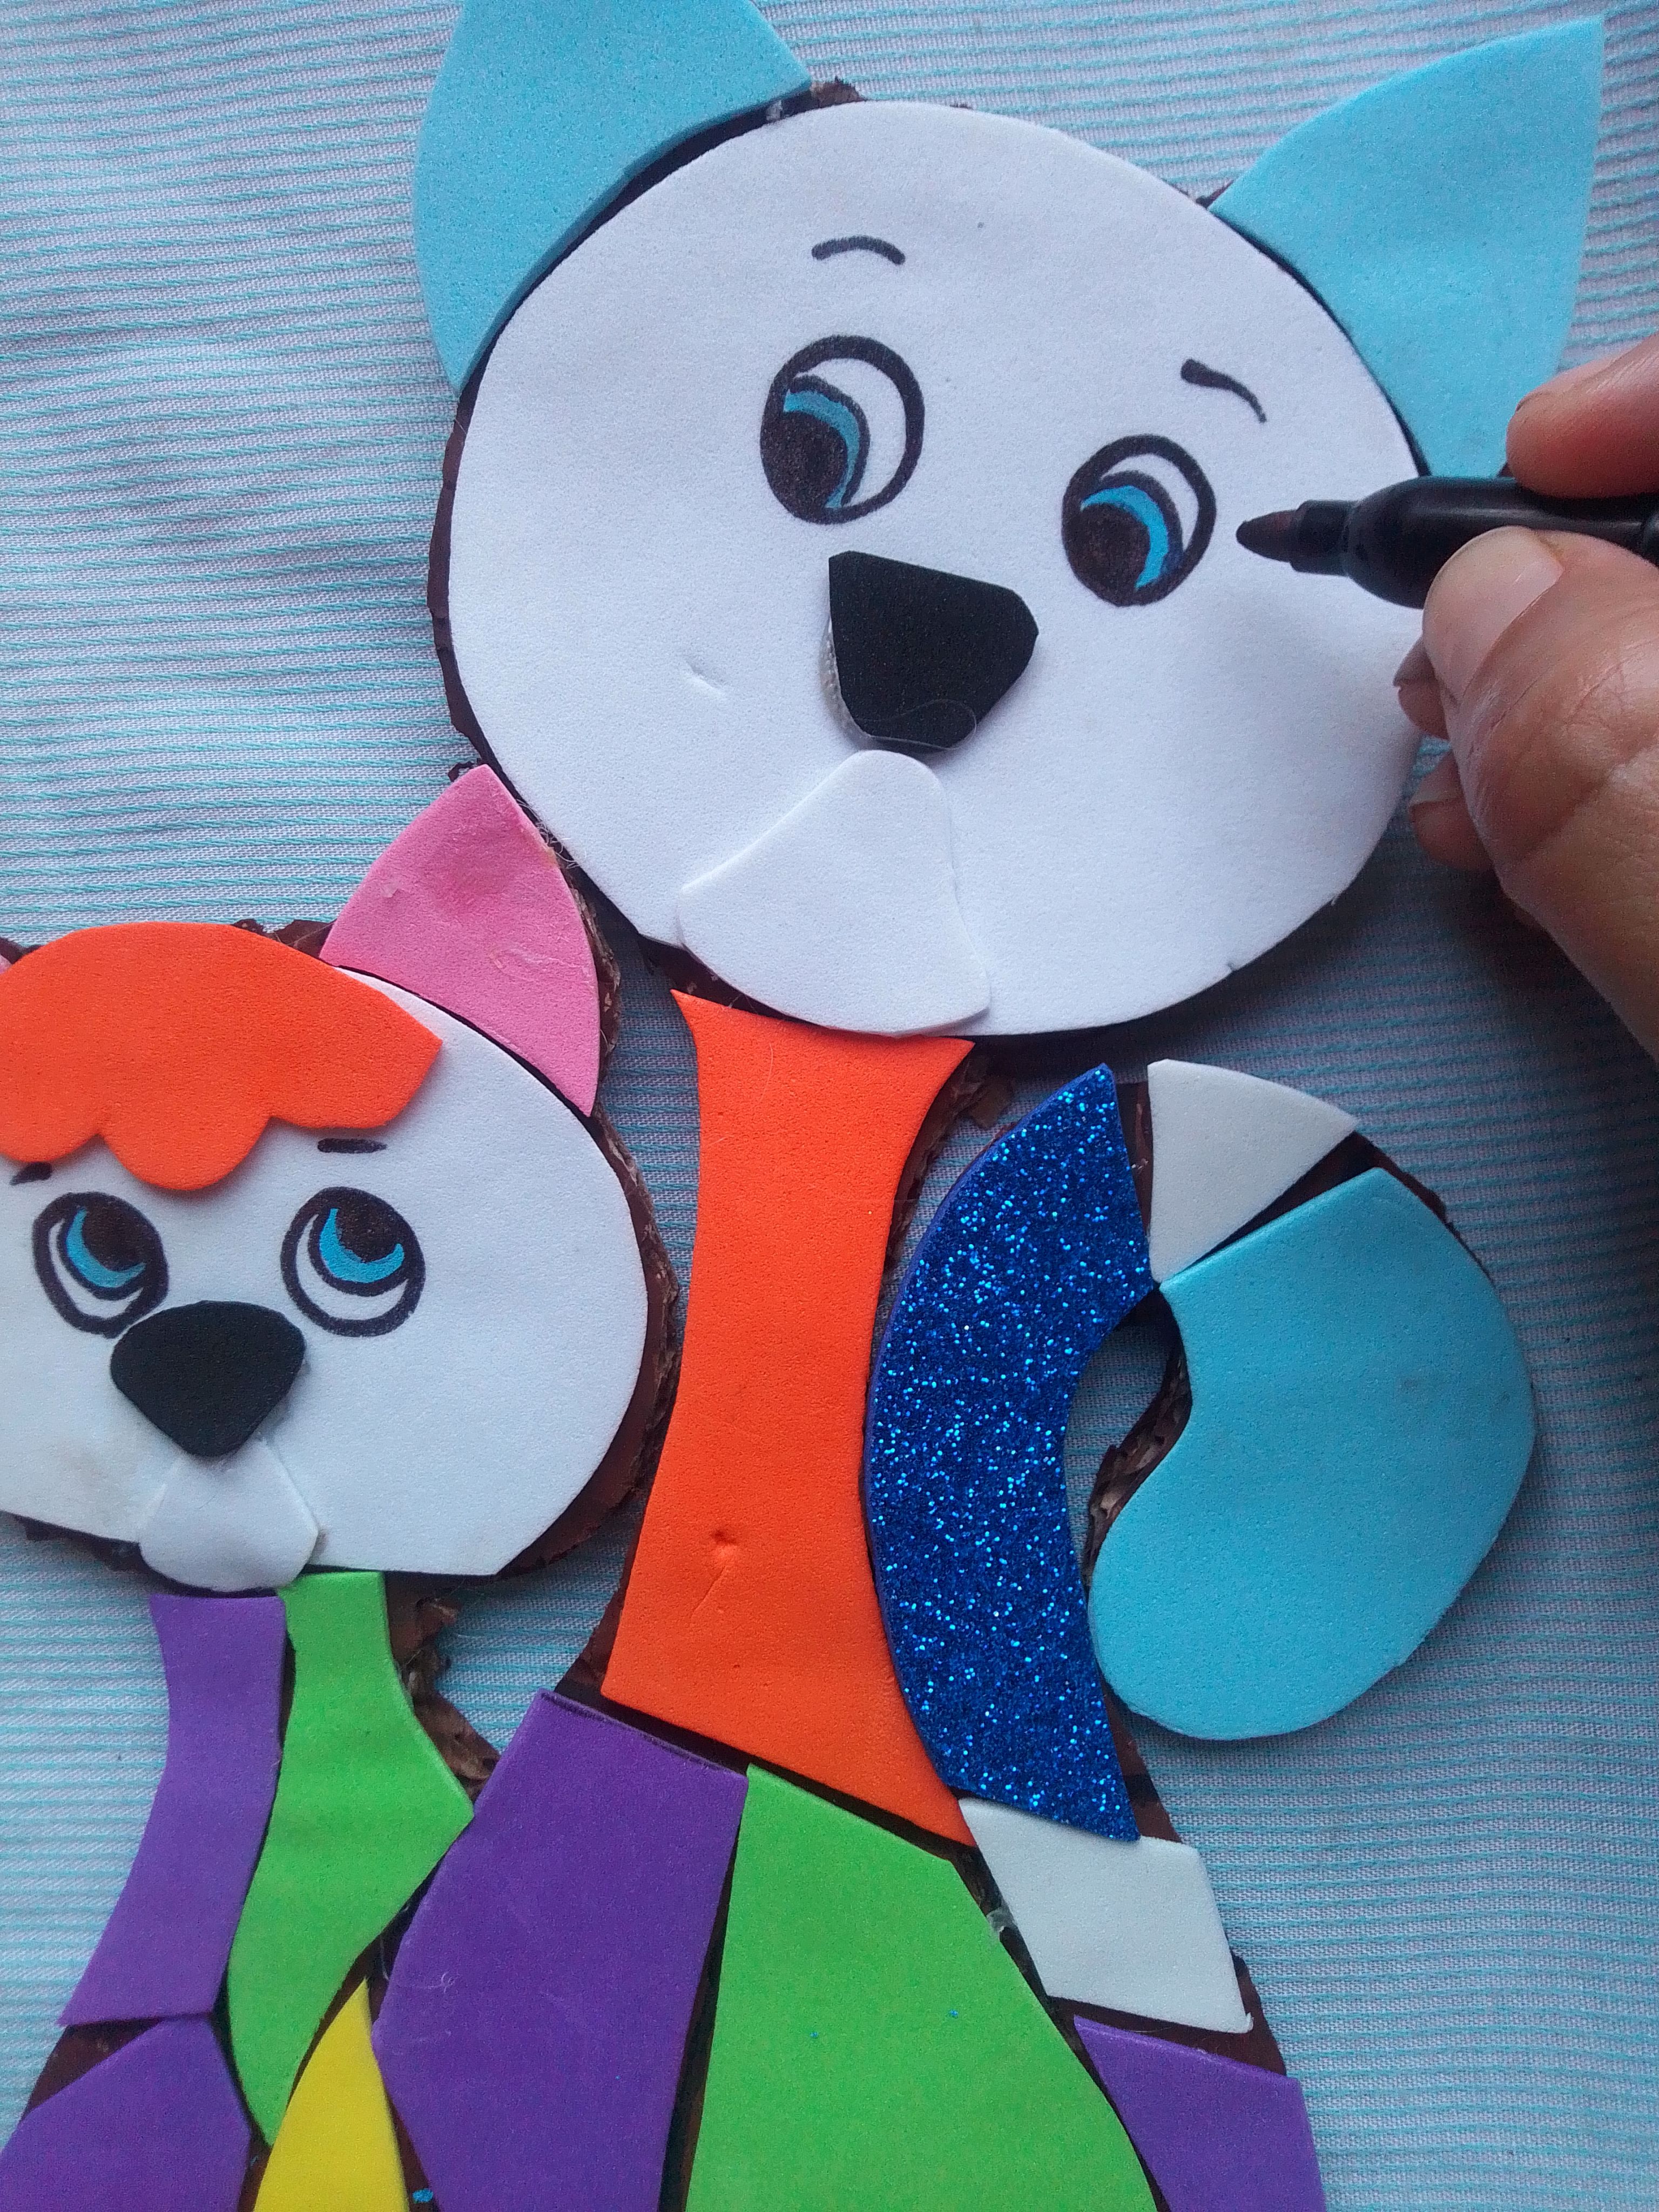
Ya tenemos listo el paso más difícil y se verá así:
We already have the most difficult step ready and it will look like this:
Continuamos dandole forma a nuestro mosaico y es momento de pintar los ojos, esto lo haremos con un marcador negro de punta fina.
We continue shaping our mosaic and it's time to paint the eyes, we will do this with a fine-tipped black marker.
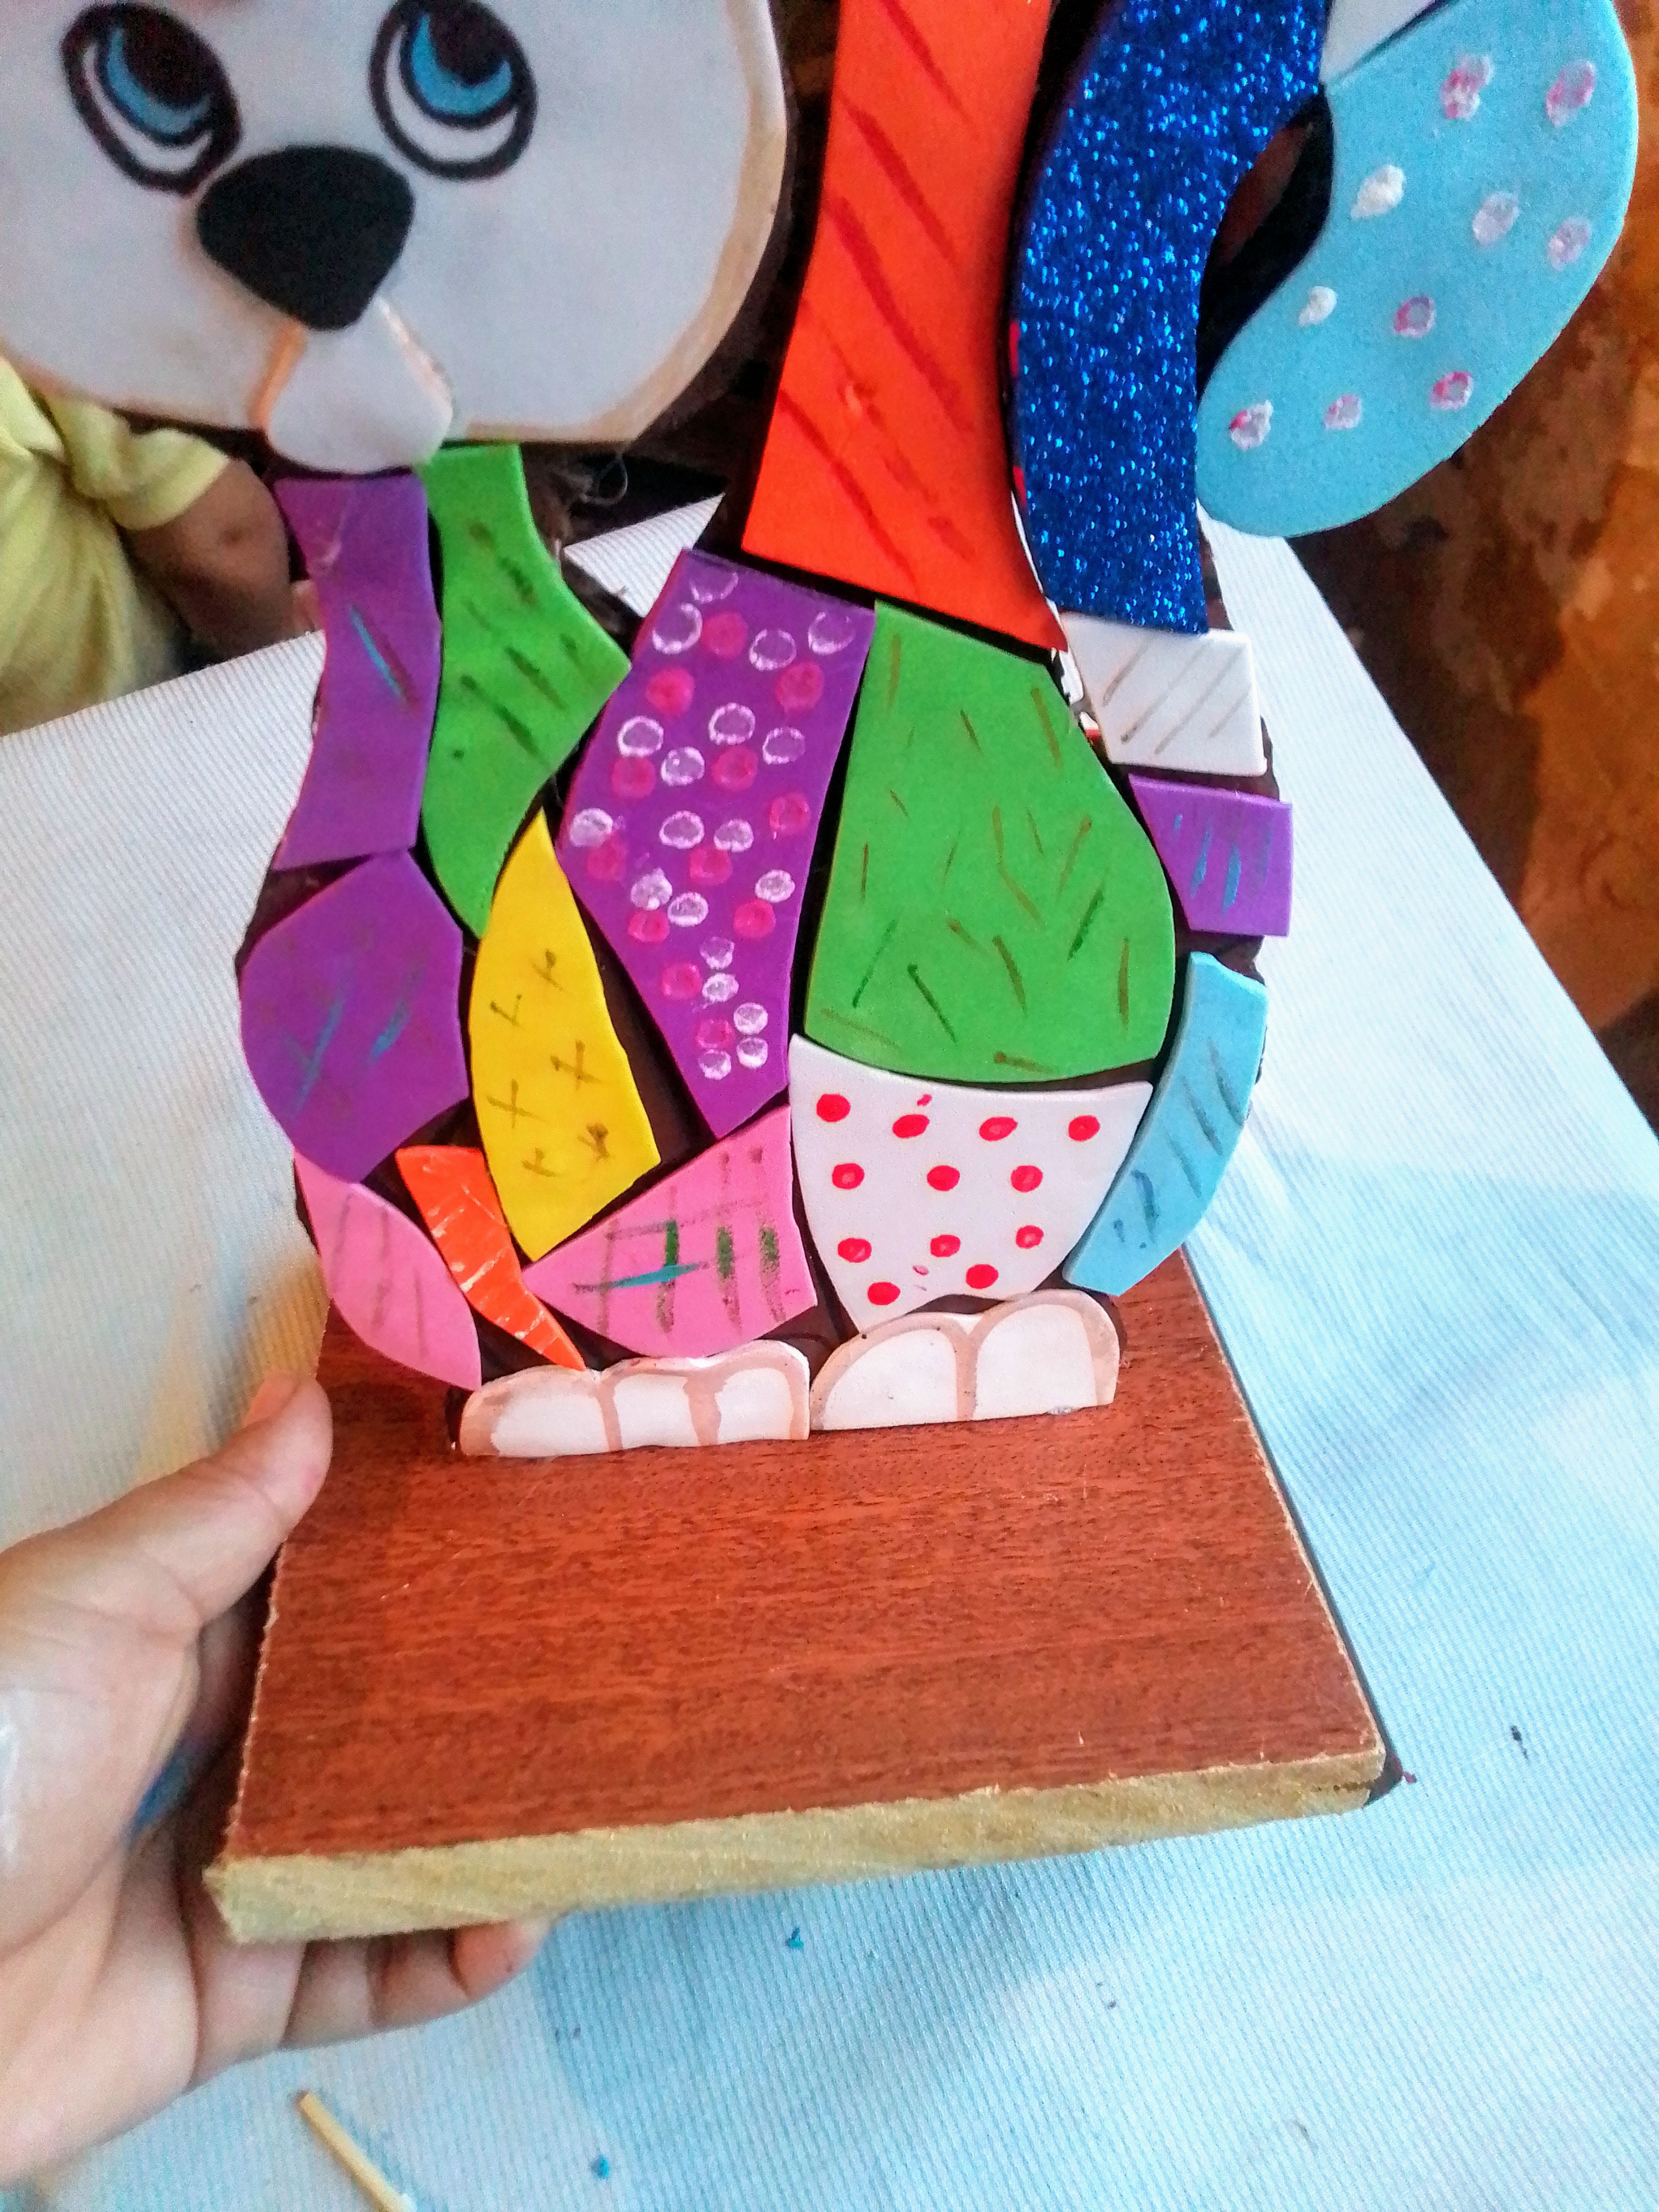
Seguidamente lo pegamos a la base de madera colocando un soporte el parte de atrás como un palillo de altura.
Next, we glue it to the wooden base, placing a support on the back like a height stick.
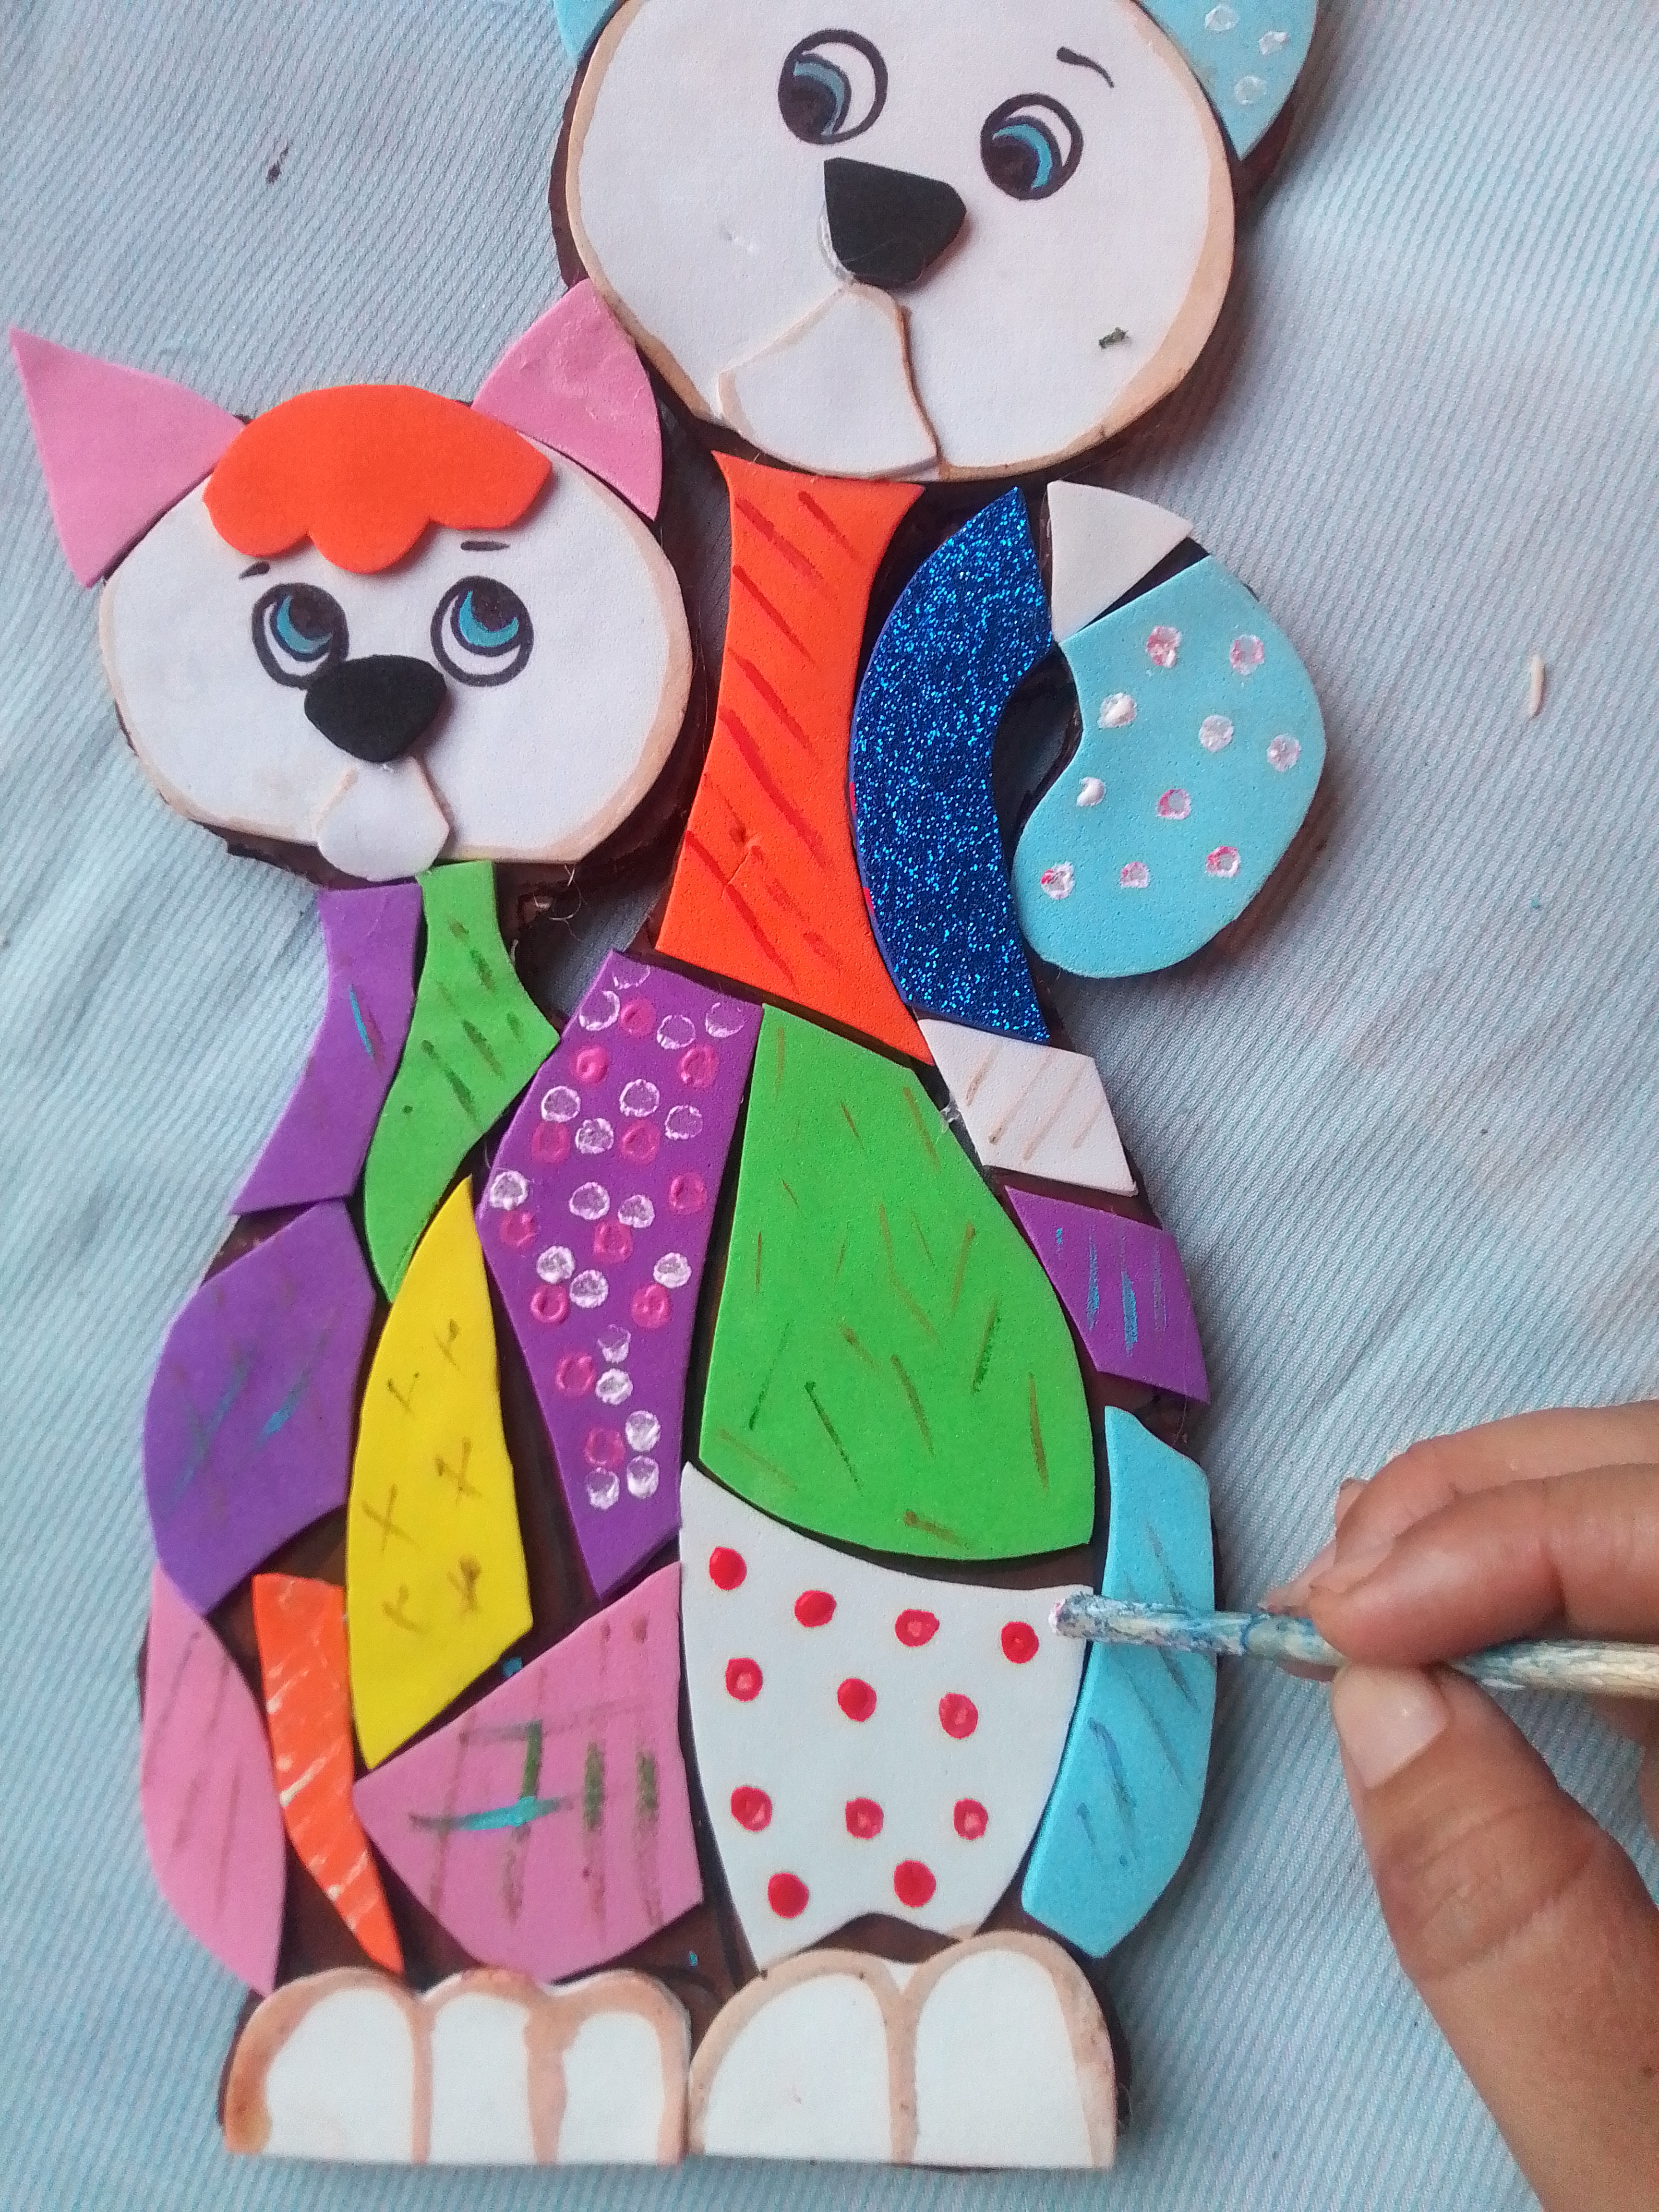
Culminamos decorando las pieza de foami con los detalles que más te gusten, puede ser puntos, estrellas, líneas , flores, entre otros.
We finish by decorating the pieces of foami with the details that you like the most, it can be points, stars, lines, flowers, among others.
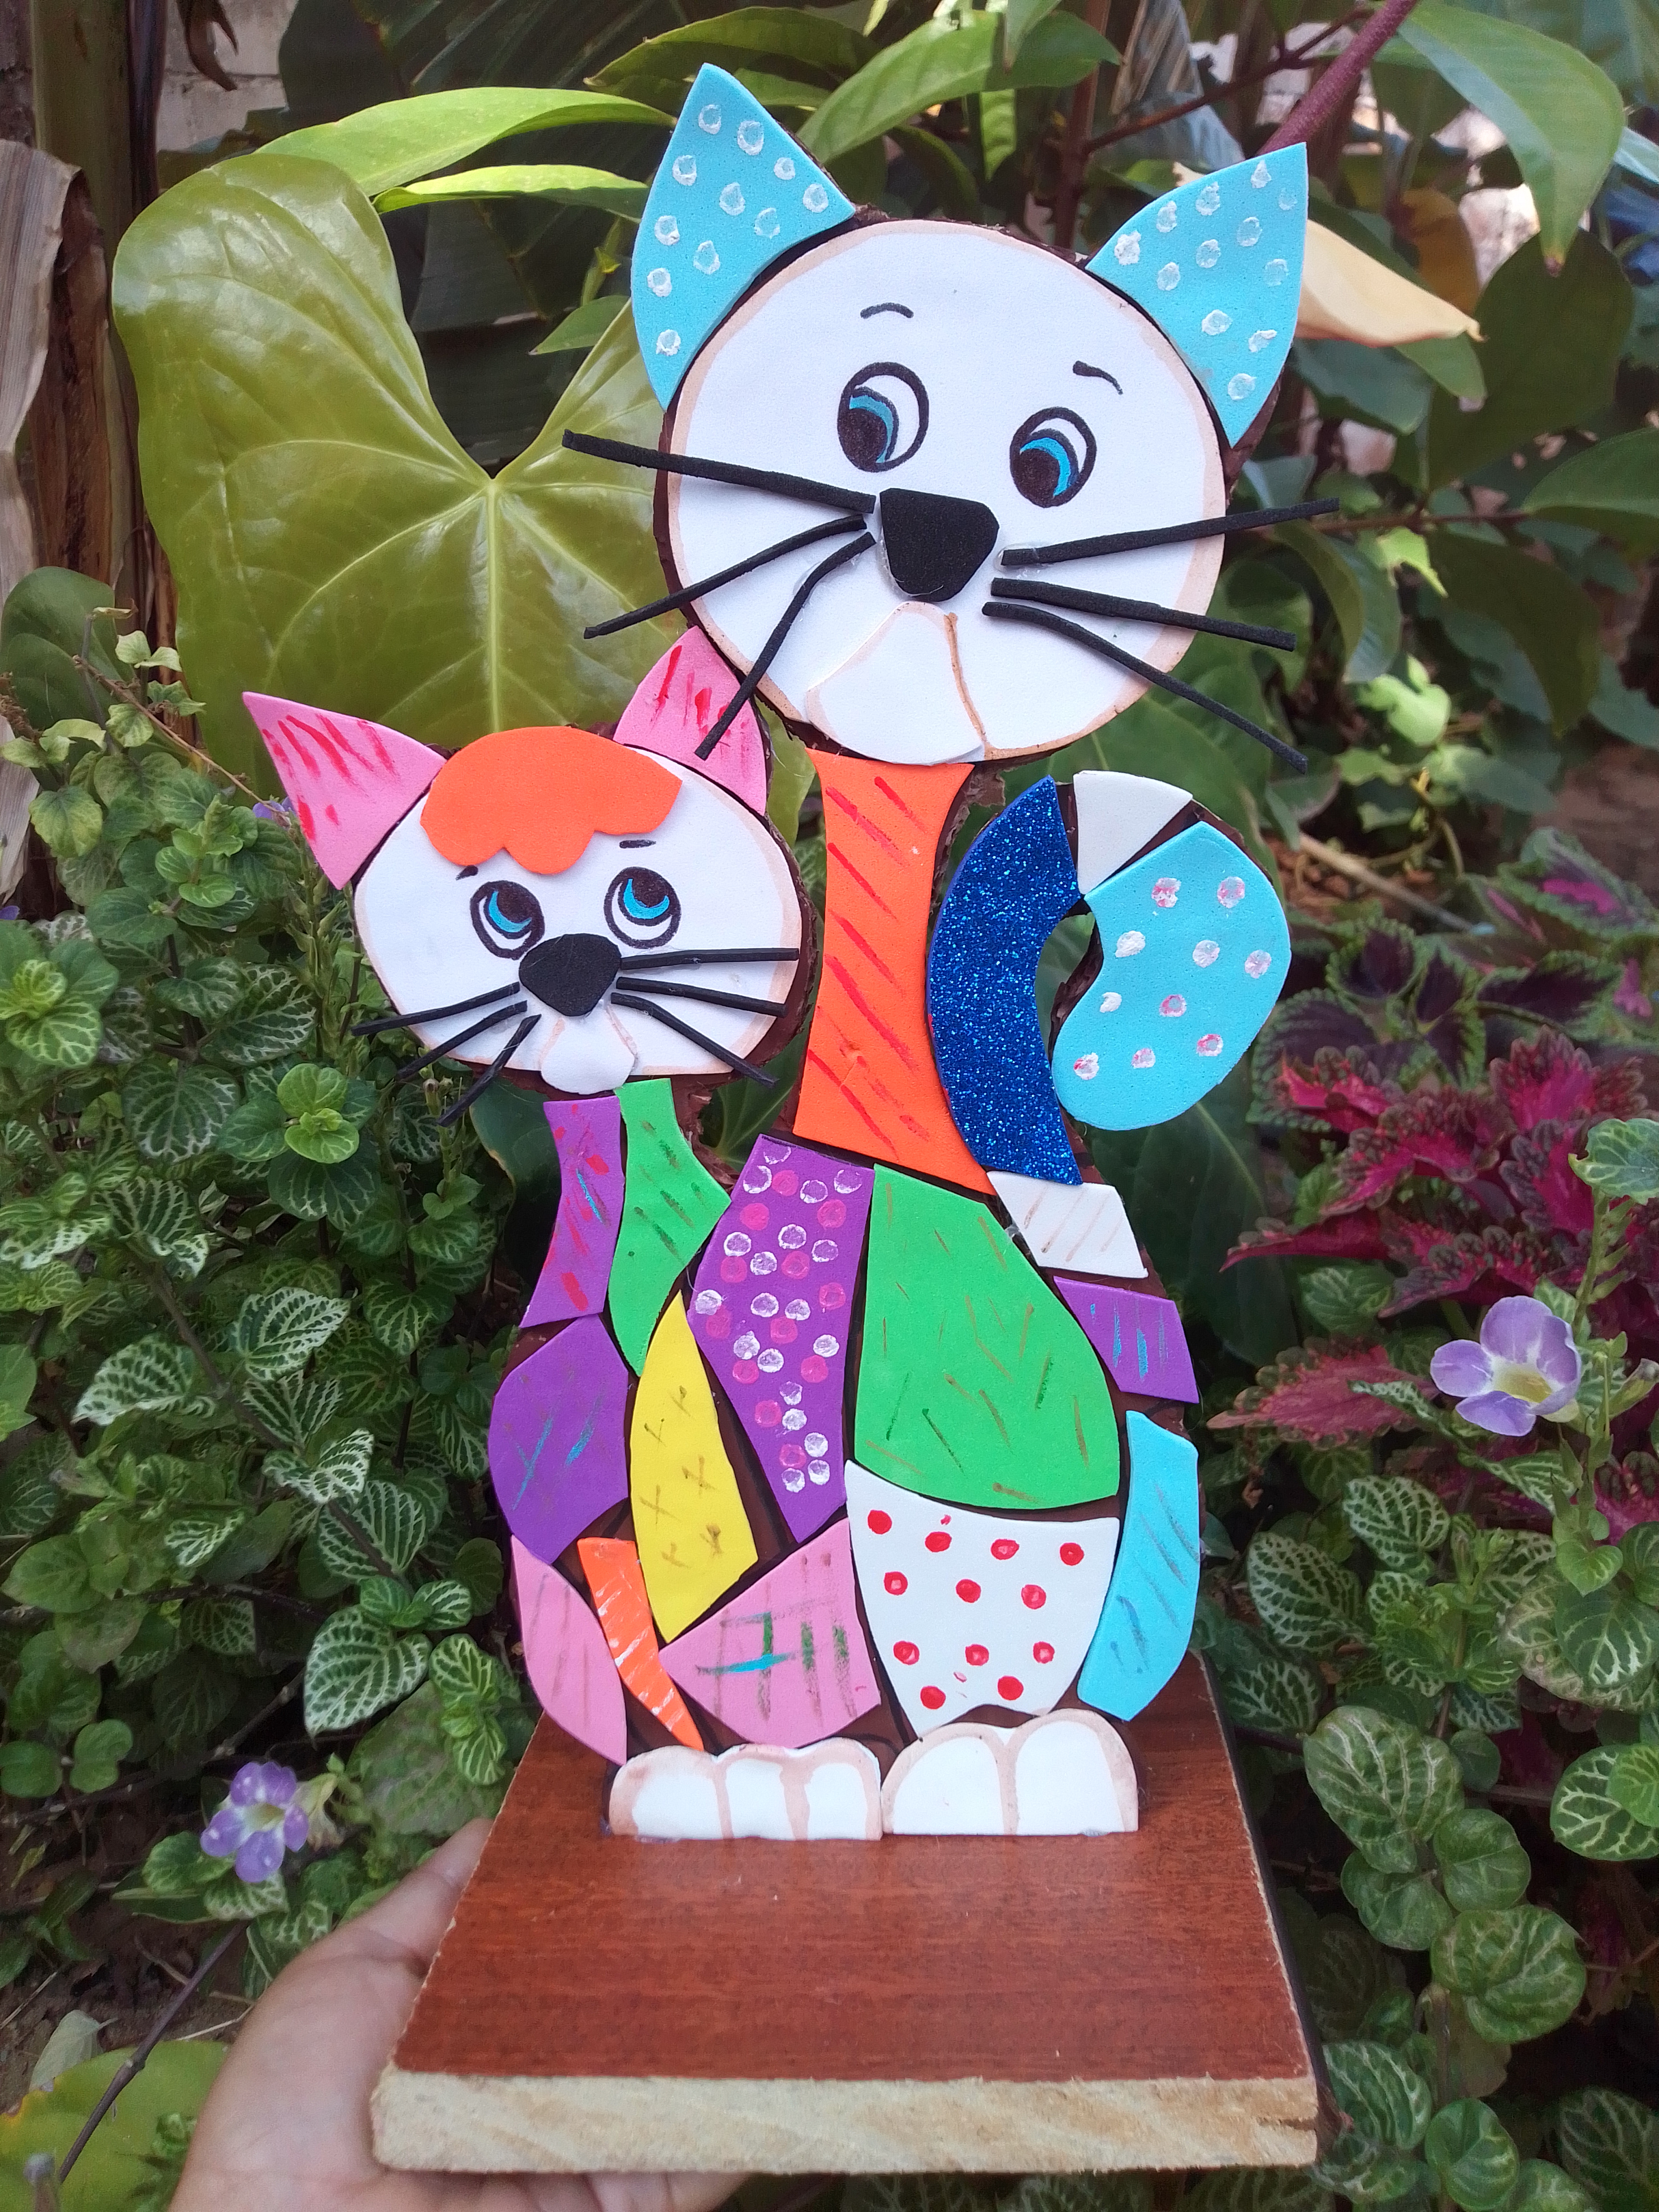
Amigos el resultado a sido fantástico, tenía mis dudas pero al ver el mosaico me a encantado! Espero a ustedes también les haya gustado y hayan disfrutado de cada paso. Cuanto más sencillo sea el motivo principal, mejor será el resultado final del mosaico.
Friends the result has been fantastic, I had my doubts but when I saw the mosaic I loved it! I hope you also liked it and enjoyed every step. The simpler the main pattern, the better the final result of the mosaic.
Muchas gracias por visitar mi publicación!
Me despido deseándoles un hermoso día que Dios los acompañe siempre. Reciban un abrazo virtual nos vemos en la próxima idea!
I say goodbye wishing you a beautiful day may God be with you always. Receive a virtual hug see you in the next idea!
This looks very cute💖. You have put much effort for it. Since you have explained the steps well, I feel like that I want to try it.
hello! If it is very nice! I hope you try it, surely if you follow each step you will achieve it and it may even be more beautiful! Greetings, thank you very much for commenting! A hug.
Congratulations @razielmorales! You have completed the following achievement on the Hive blockchain and have been rewarded with new badge(s):
Your next target is to reach 1000 replies.
You can view your badges on your board and compare yourself to others in the Ranking
If you no longer want to receive notifications, reply to this comment with the word
STOPCheck out the last post from @hivebuzz:
Support the HiveBuzz project. Vote for our proposal!