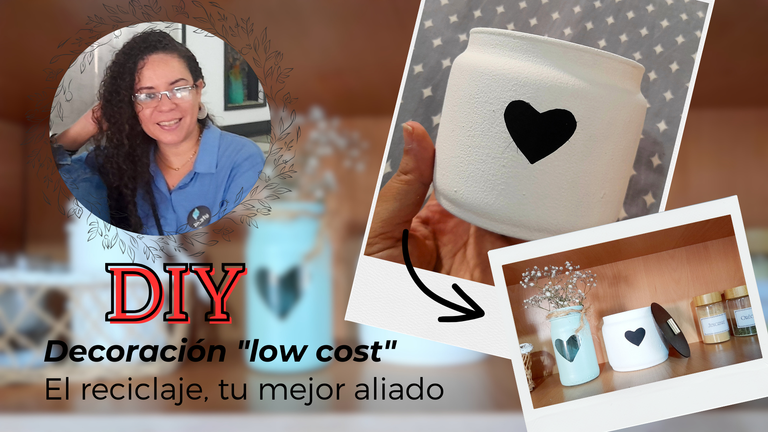

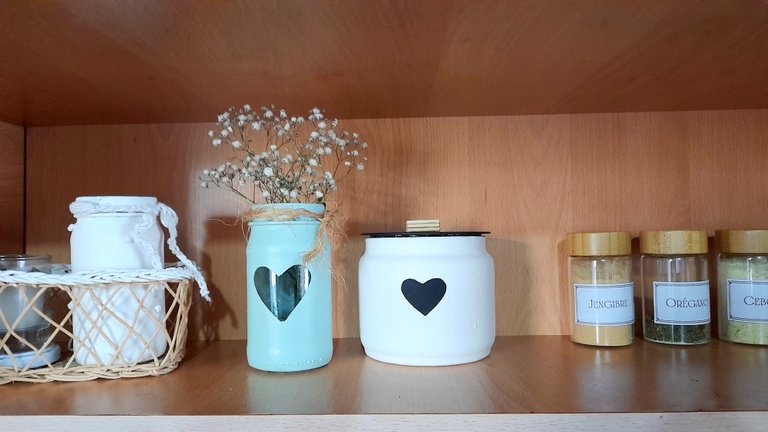
Hace poco, con la creación de un centro de mesa que hizo mi esposo, y que terminé pasando a la cocina, liberé por completo el espacio de una repisa, que pensaba aprovechar para colocar mis especieros, y finalmente ayer los encontré, y de inmediato les coloqué las etiquetas que había hecho para ellos, y los coloqué en la repisa, pero por supuesto, solo con ellos, la repisa se veía bastante vacía, así que estuve mirando en pinterest decoraciones de cocinas para buscar ideas de qué podía colocar en ese espacio, que estuviese acorde con el estilo que estoy creando, y que pudiese hacerlo con cosas que ya tenía en casa, aunque ya vi unos vasos preciosos que ahí quedarían perfectos, pero mientras los compro, ese espacio vacío me tenía un poco inquieta.
En vista de eso estuve pensando en qué podía hacer y me decidí por utilizar unos envases de vidrio, pintarlos, y convertir uno en un pequeño florero y otro en un porta velas, además encontré una cestita en casa que estaba sin uso, pinté su borde de blanco y quedó muy linda, pero todavía sentía que faltaba algo y decidí reciclar un envase de vidrio al que se le había roto la tapa y crear un detalle tanto funcional como decorativo para la repisa, y vamos con su paso a paso.
Recently, with the creation of a centerpiece that my husband made, and that I ended up moving to the kitchen, I completely freed up the space on a shelf, that I was planning to take advantage of to place my spice racks, and finally yesterday I found them, and immediately attached the labels I had made for them, and placed them on the shelf, but of course, only with them, the shelf looked pretty empty, so I was looking on pinterest kitchen decorations to find ideas of what I could put in that space, that would be in line with the style I'm creating, and that I could do it with things I already had at home, although I saw some beautiful glasses that would be perfect there, but while I buy them, that empty space had me a little restless.
In view of that I was thinking about what I could do and I decided to use some glass containers, paint them, and turn one into a small vase and another into a candle holder, I also found a basket at home that was unused, I painted its edge white and it was very nice, but I still felt that something was missing and decided to recycle a glass container that had broken its lid and create a detail both functional and decorative for the shelf, and let's go with its step by step.


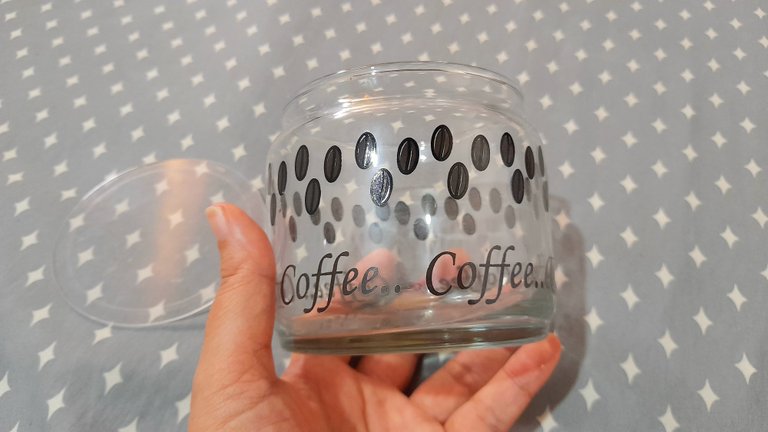
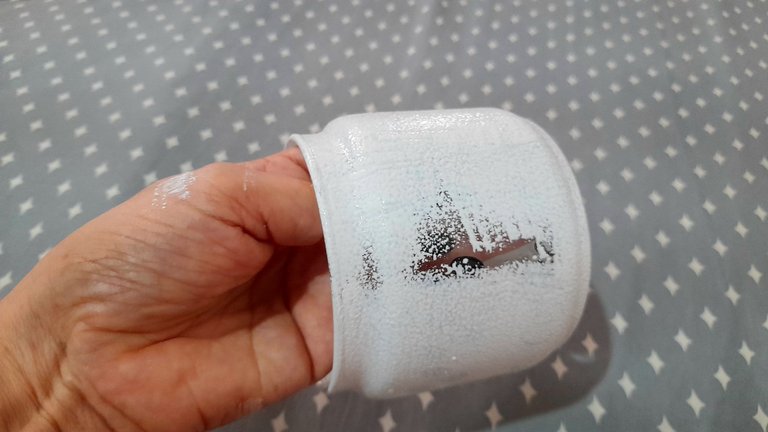
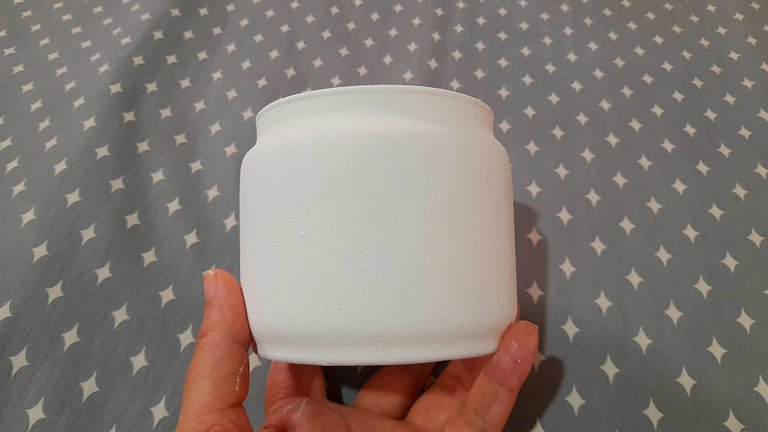
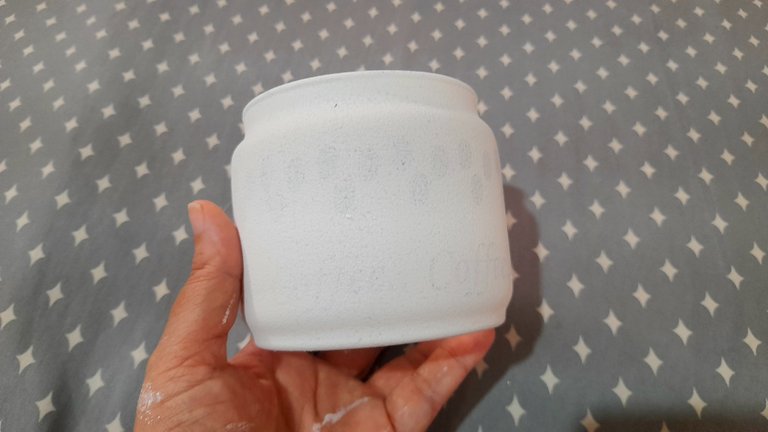
El primer paso para realizar este proyecto fue lavar y secar muy bien el envase para luego pintarlo con pintura acrílica blanca con ayuda de una esponja, que se ha convertido en mi forma favorita de dar color a cualquier cosa porque no deja ningún tipo de marcas.
Para cubrir el envase fueron necesarias tres capas de pintura, finalizando con una capa protectora para poder limpiarlo cada vez que sea necesario.
The first step to make this project was to wash and dry the container very well and then paint it with white acrylic paint with the help of a sponge, which has become my favorite way to give color to anything because it doesn't leave any marks.
Three coats of paint were necessary to cover the container, finishing with a protective layer to be able to clean it whenever necessary.
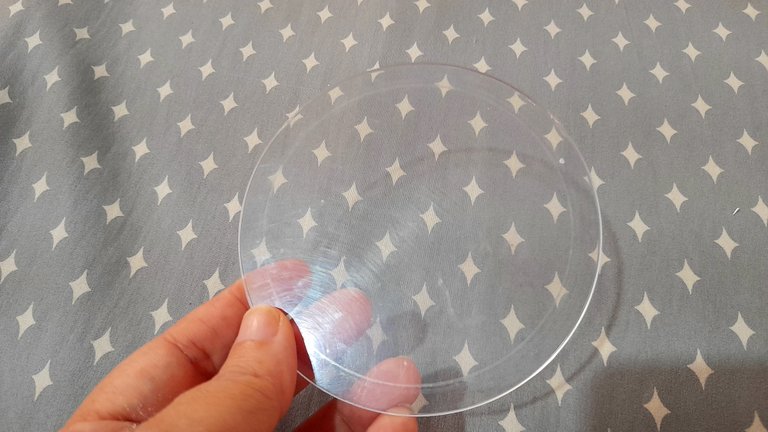
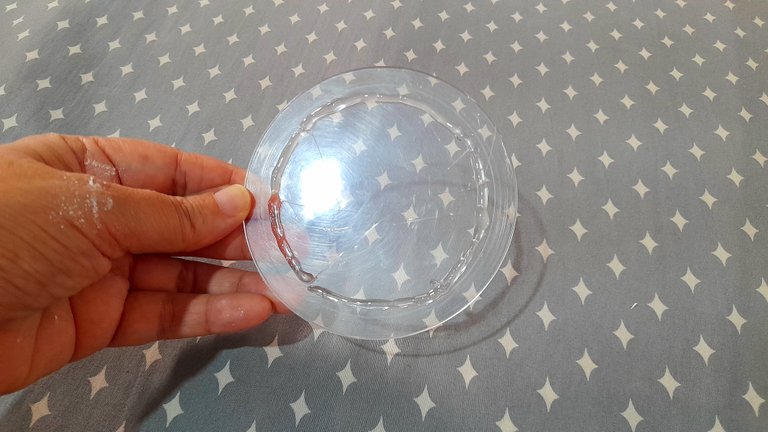
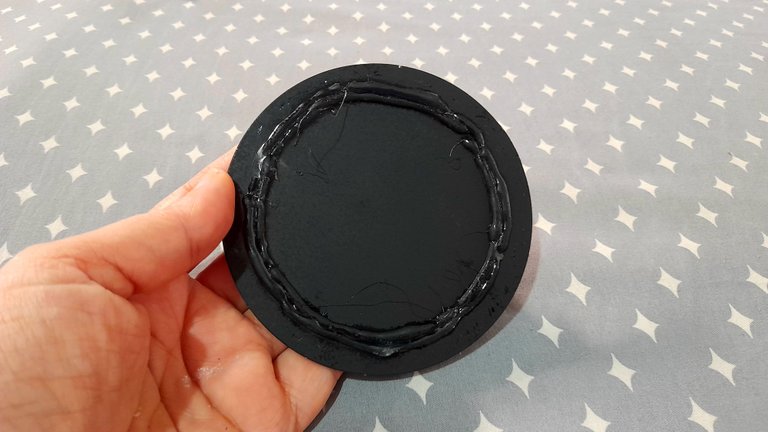
Mientras secaba la pintura trabajé en la tapa del envase que la elaboré con la tapa acrilica de otro envase que tenía de casa sin uso, y como era un poco más grande y no quería se moviera demasiado le hice un círculo con silicón caliente y quedó perfecto.
While the paint was drying I worked on the lid of the container, which I made with the acrylic lid of another unused container I had from home, and as it was a little bigger and I didn't want it to move too much I made a circle with hot silicone and it was perfect.
El siguiente paso fue pintar la tapa, y decidí hacerlo con la pintura negra para crear un contraste con respecto a todo lo que tengo ahora en la cocina, así que con la esponja lo pinté por ambos lados.
The next case was to paint the lid, and I decided to do it with the black paint to create a contrast with respect to everything I have now in the kitchen, so with the sponge I painted it on both sides.

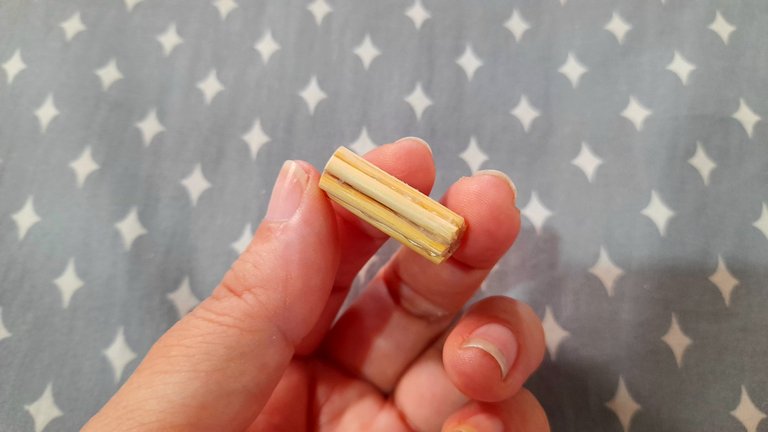
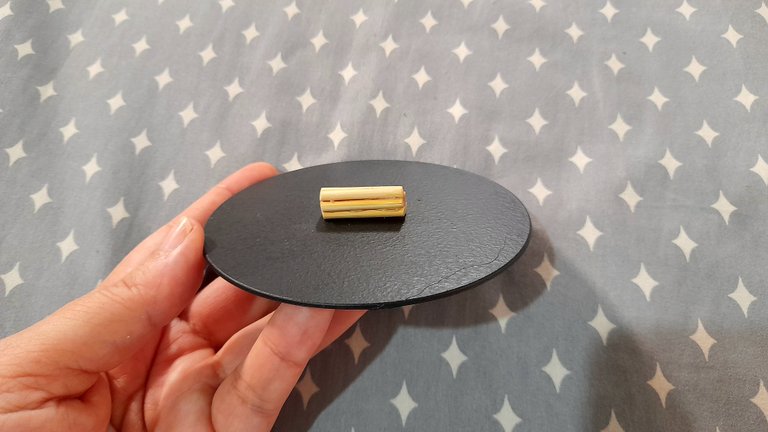
Para terminar la tapa decidí hacer el asa en otro color y material, que se adaptara a mi estilo, y para eso recorté palitos de brocheta, y los pegué con silicón caliente, lo fijé a la tapa y estuvo lista.
To finish the lid I decided to make the handle in a different color and material to suit my style, and for that I cut out skewer sticks, glued them with hot silicone, attached it to the lid and it was ready.

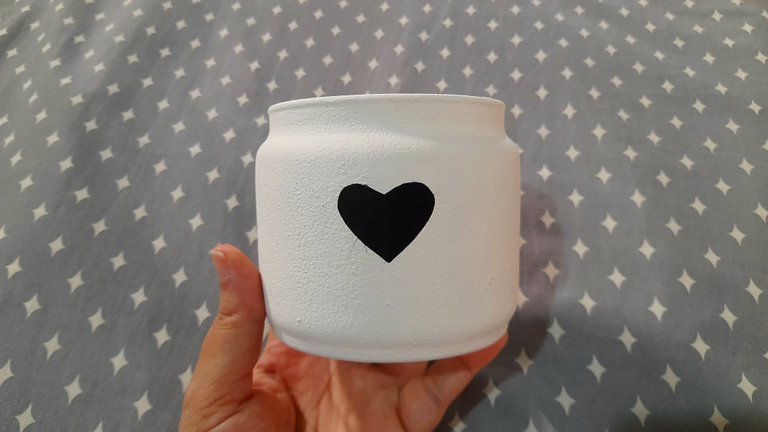
Y ya para terminar de darle un toque especial a todo este trabajo, decidi hacer un pequeño corazón negro en el envase, y para no dañar la pintura lo que hice fue recortar un corazón en papel contact del que tengo en casa, dejé secar y pegué en el envase, y ahora si, ya quedó listo. ¿Qué les parece?
To finish giving a special touch to all this work, I decided to make a little black heart in the container, and to avoid damaging the paint, I cut out a heart in contact paper that I have at home, let it dry and glued it on the container, and now it was ready. What do you think?
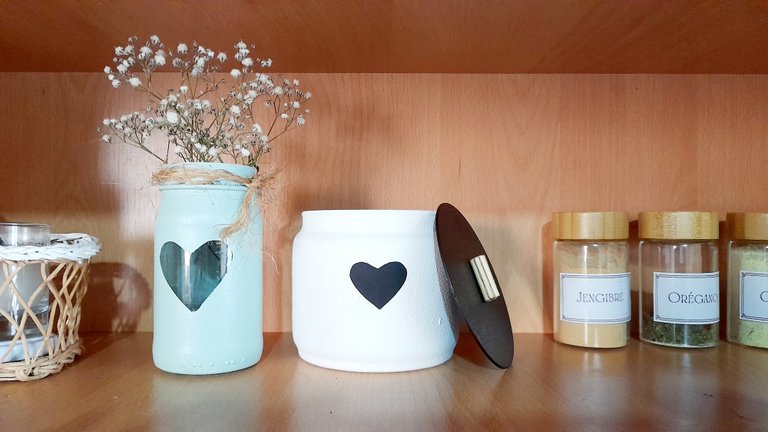

Fue un proyecto bastante sencillo, y no necesariamente deben realizarlo con este material, ya que pueden sustitur las cosas que yo utilicé con cualquier material que tengan en su casa, basta dejar volar la imaginación y darle su toque especial.
It was a fairly simple project, and you don't necessarily have to make it with this material, since you can substitute the things I used with any material you have at home, just let your imagination run wild and give it your special touch.
Posted Using INLEO
Te quedó muy bonito tu florero, le da un toque especial a esa repisa, saludos
Gracias amiga
Pero que lindura Ami, es que te está quedando tan chik todo, me gustó mucho como hiciste con la tapa para que no quedara suelta, no lo hubiese pensado, Jejeje. Quedó bien bonita, tienes muchísimos detalles que le dan ese toque personal a la cocina, y lo que falta 🤗
Gracias amiga bella, ya sólo faltan algunas cositas y luego lo más pesado que es cambiar la apariencia del mesón, debo buscar una opción que no implique tumbarlo, que sea duradero y no demasiado caro, casi nada jajaja
Ami ahorita se están usando unos vinil bien coquetos, por allí puedes ir investigando.
Hermoso, me encantó y muy fácil de hacer. Siempre consigues darle la vuelta y que quede bello. Gracias por compartir. Saludos y Bendiciones
Es súper fácil manita y puedes usar cualquier envase el color que desees, en fin, hacerlo con lo que tengas a mano y se ve muy lindo. Seguro a Gaby le gustarían esos proyectos
Quedo precioso amiga, me encanta. Una preguntita la capa protectora es la misma pintura acrílica.
Gracias amiga, a mi me gustó mucho.
La capa protectora se llama finishcolor acrílico,se aplica al final y se debe esperar 72 horas para que la pieza se pueda limpiar. Yo compré de la marca oro color y me gusta bastante. Rinde muchísimo
Simplemente hermoso amiga..!🤗🤗🤗
Gracias amiga
Que belleza Rosa, sin duda haces muchas hermosuras para tu hogar
@tipu curate 8
Upvoted 👌 (Mana: 0/65) Liquid rewards.
Excelente idea quedaron preciosos.