Continuamos con las decoraciones navideñas low cost, y esta vez llegó el turno del árbol de navidad, y con él debo trabajar desde cero, porque como saben, debo cambiar por completo las guirnaldas, ya que este año en casa decoraré con el estilo nórdico, que me parece que además de verse lindo aporta mucha calidez, pero no tengo absolutamente nada que se adapte a ese estilo, por lo que debo hacer muchas, pero muchas cositas ya que mi arbolito es enorme, y es que no solo es alto, sino bastante ancho también.
Por supuesto, nuevamente mi aliado ha sido pinterest, y combinando algunas ideas, logré hacer estas preciosas estrellas hechas con material de provecho que definitivamente amé, y por supuesto debía conpartir con ustedes.

Para estas estrellas la única inversión fue de 0.44$, en una pintura al frío de color blanca, del resto, todo, absolutamente todo es material reciclado, así que vamos con los materiales y el paso a paso.
Materiales
Cartón
Yeso
Pintura al frío blanca
Tela de yute
Hojas doradas
Trocitos de guirnaldas navideñas
Cascabeles
Cuentas doradas
Hilo pabilo
Pistola de silicón
Silicón líquido
Lápiz
Tijera
Pincel
Paso a paso
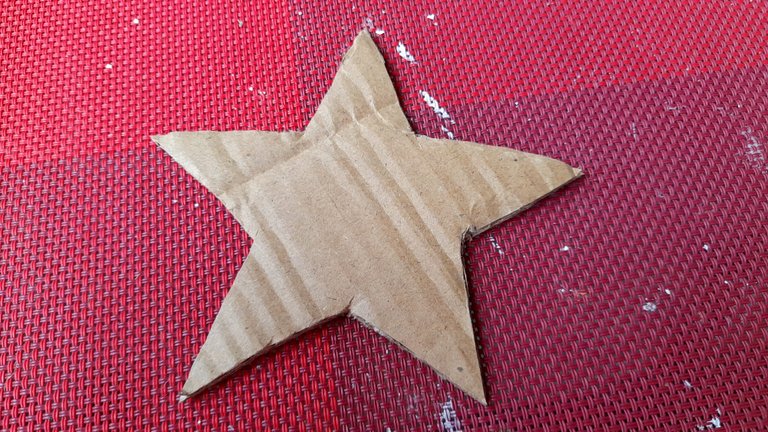
Lo primero que haremos será recortar nuestra estrella en el cartón. En mi caso, yo utilicé un cartón de unas cajas que guardé para las actividades escolares de los chicos, y las pueden encontrar fácilmente en cualquier supermercado, basta pedirlas y te las llevas gratis a casa.
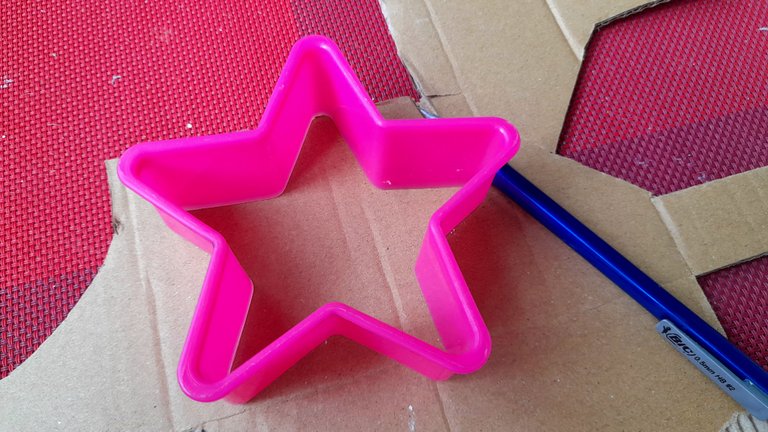
Para el patrón utilicé mis cortadores de galletas, pero cualquier molde sirve, incluso puedes hacerlo tú, solo tuve que marcar y recortar.
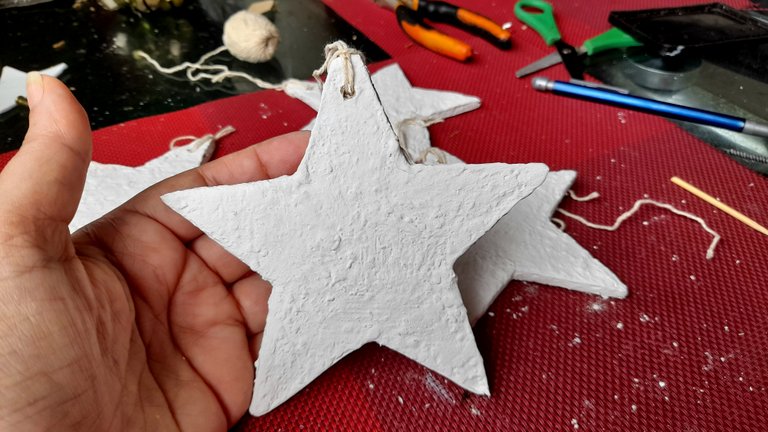
Particularmente, hice las mías grandes debido al tamaño de mi arbolito y recorté 6 moldes.
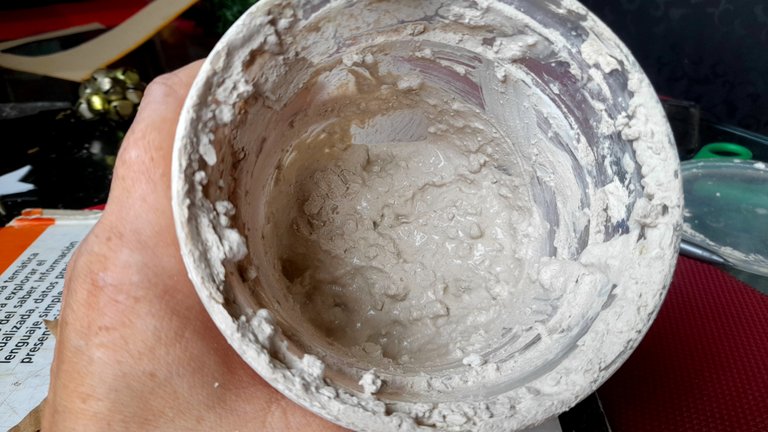
El siguiente paso es recubrir con yeso toda la superficie de la estrella, y para esto yo utilicé un yeso que ya estaba preparado y que por supuesto con el tiempo se había secado y endurecido dentro del envase, pero yo estaba decidida a usarlo, así que le agregué agua y esperé.
El agua hizo lo suyo y pude tener nuevamente el yeso en un estado con el que podía trabajar, solo que con algunos grumos que para mi aportaban textura y carácter, así que trabajé así, y con ayuda de un pincel la cubrí toda.
Apliqué dos capas, dejando secar muy bien entre cada capa.
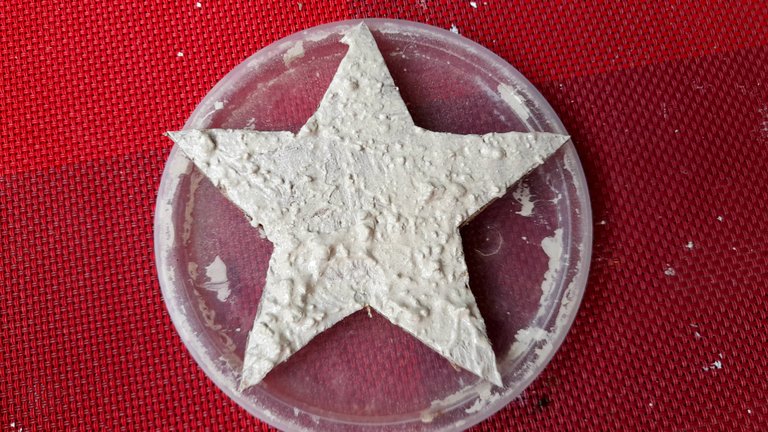
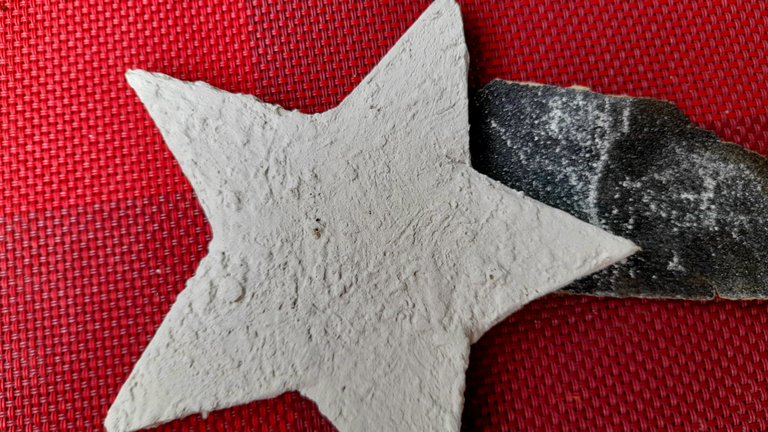
Una vez bien secas todas las estrellas el siguiente paso fue lijarlas un poco para dejarlas un poco mas lisa, solo un poco, ya que quería conservar el estilo *rústico" y natural, que es característico en las decoraciones nórdicas.
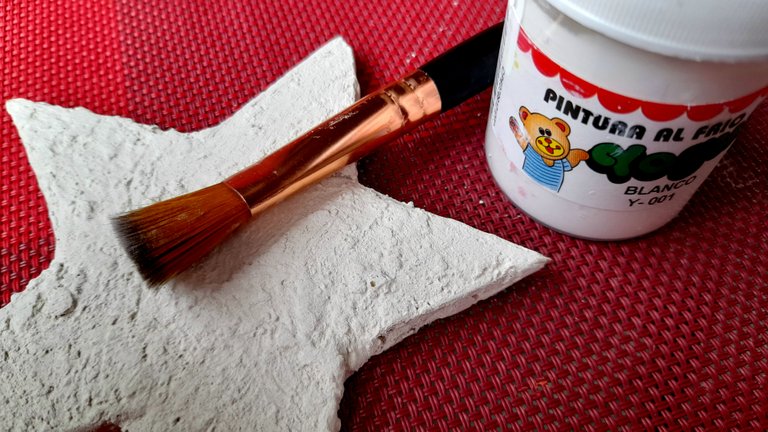
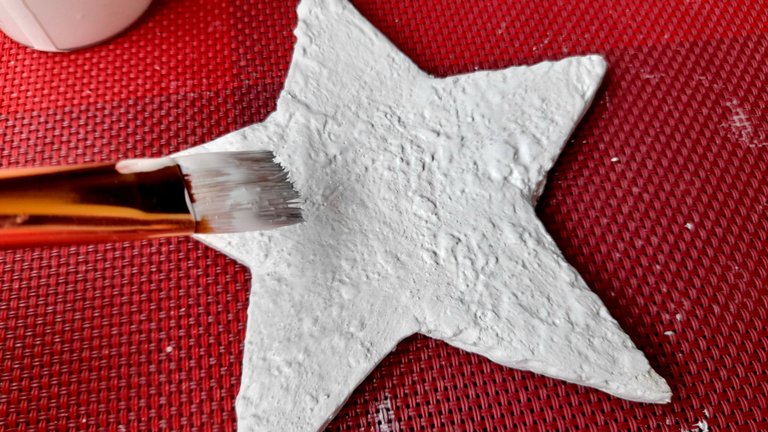
El siguiente paso fue pintar las estrellas con pintura al frío blanca, pero perfectamente puede dejarlas con su color original, y tendrán unas estrellas igual de bellas.
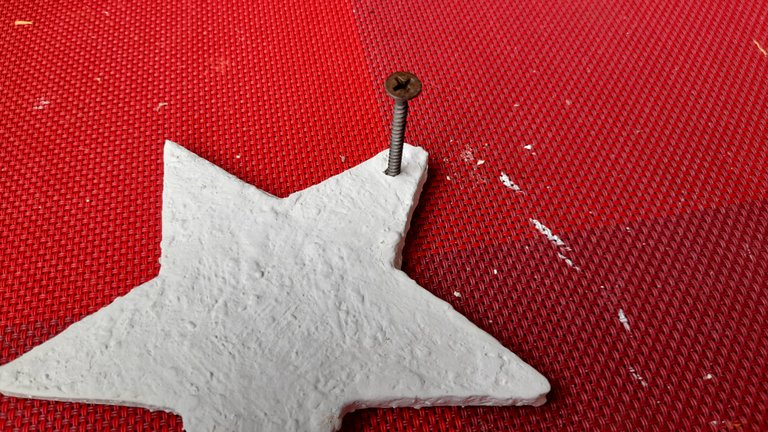
Cuando la pintura haya secado, con ayuda de un tornillo haremos un huequito por donde pasar el hilo pabilo con el cual colgaremos las estrellas al árbol. Tu puedes usar lo que tengas en casa para este fin. Y de este modo ya tenemos las estrellas listas, pero por supuesto, para mi, les faltaban algo, así que les agregué algunas cositas 🤣
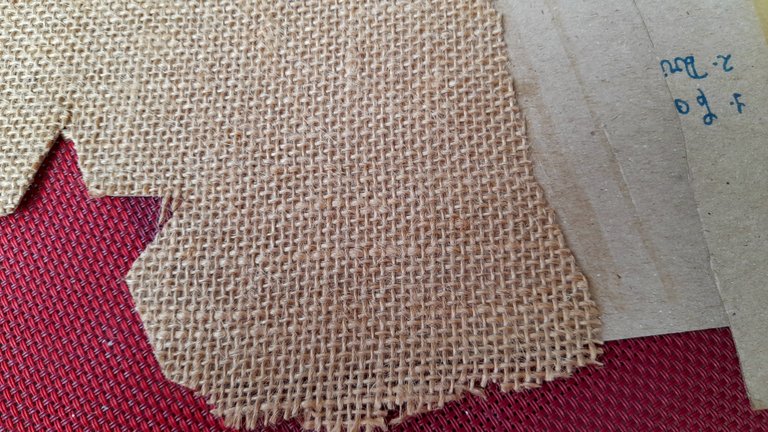
Con la tela de yute hice unas estrellas mucho más pequeñas, y para hacer más fácil el trabajo con este material, y que no se deshilachara decidí pegarlo a unos retazos de cartón delgado con ayuda de silicón liquido.
Luego por la parte trasera marqué las estrellas, recorté e hice un huequito con el mismo tornillo que utilicé para las grandes.
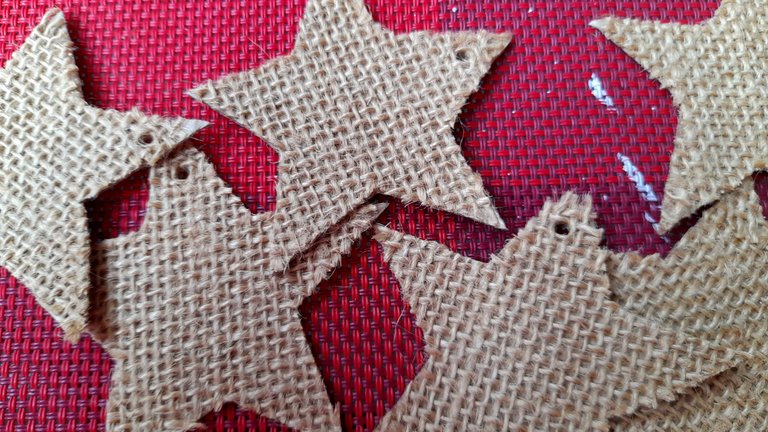
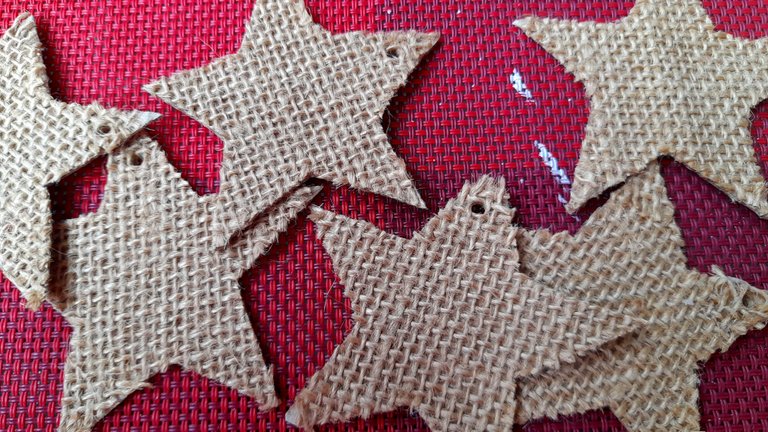
Las pasé también por el pabilo, y terminé la decoración con unas hojitas doradas de un adorno viejo, un trocito de guirnalda y un cascabel, también de un decoración que ya estaba dañada.
Salpiqué con una mezcla del yeso y pintura blanca y todo estaba listo.
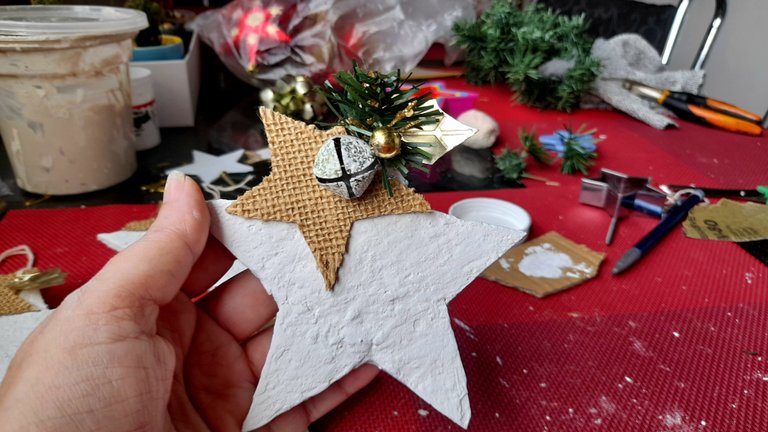
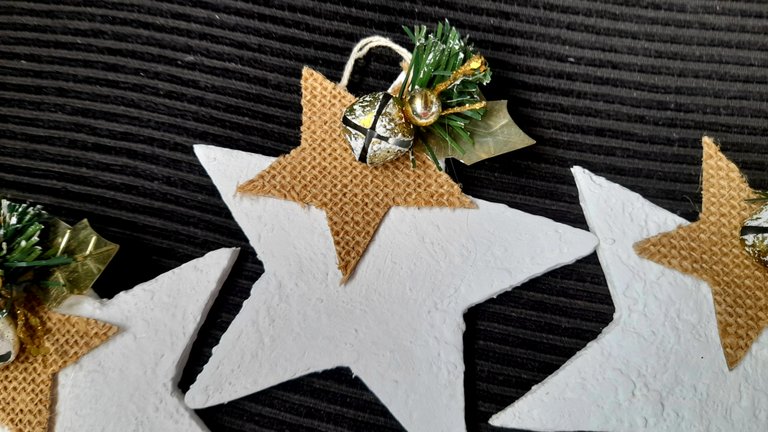
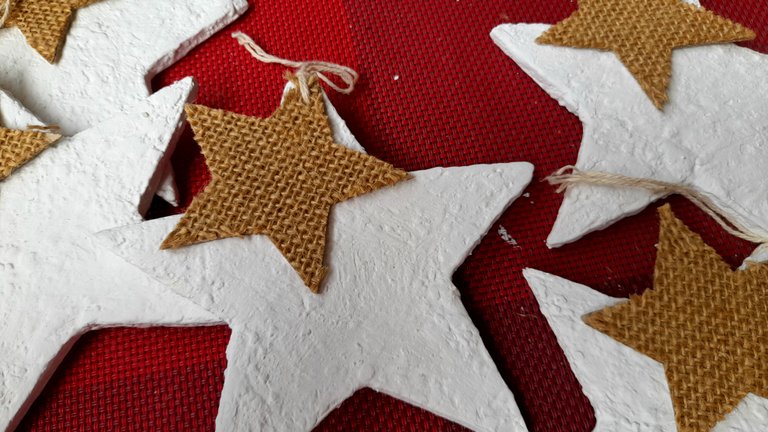
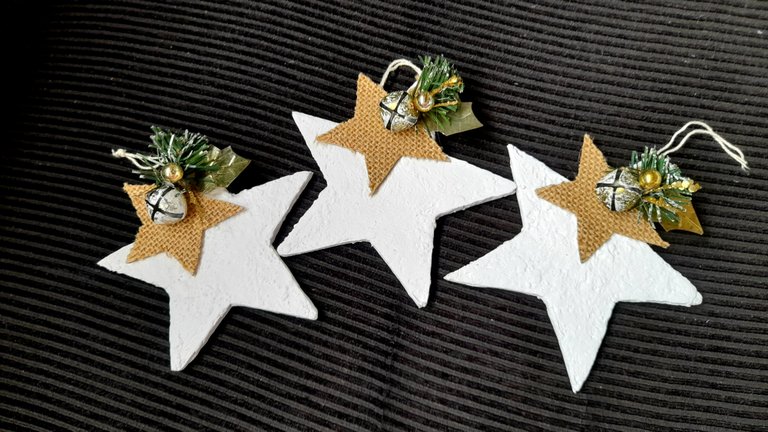
Unas estrellas hermosas para mi árbol de navidad con una inversión de 0.4$, ya que todos los demás materiales son cosas que tenía en casa, y quizá tu no tienes lo mismo que yo, pero te aseguro que con algo dr creatividad y mirando atentamente a tu alrededor puedes crear bellezas.

We continue with the low cost Christmas decorations, and this time it was the turn of the Christmas tree, and with it I must work from scratch, because as you know, I must completely change the garlands, because this year I will decorate my house with the Nordic style, which I think that besides looking nice brings a lot of warmth, but I have absolutely nothing that fits that style, so I must do many, many little things because my tree is huge, and it is not only tall, but quite wide too.
Of course, again my ally has been pinterest, and combining some ideas, I managed to make these beautiful stars made with scrap material that I definitely loved, and of course I had to share with you.

For these stars the only investment was 0.44$, in a white cold paint, the rest, everything, absolutely everything is recycled material, so let's go with the materials and the step by step.
Materials
Cardboard
Plaster
White cold paint
Jute cloth
Golden leaves
Pieces of Christmas wreaths
Jingle bells
Gold beads
Wicker thread
Silicone gun
Liquid silicon
Pencil
Scissors
Brush
Step by step
The first thing we will do is cut our star out of cardboard. In my case, I used cardboard from some boxes I saved for the kids' school activities, and you can easily find them in any supermarket, just ask for them and you get them home for free.
For the pattern I used my cookie cutters, but any mold will do, you can even do it yourself, I just had to mark and cut out.
Particularly, I made mine big because of the size of my tree and cut out 6 molds.


The next step is to coat with plaster the entire surface of the star, and for this I used a plaster that was already prepared and that of course with time had dried and hardened inside the container, but I was determined to use it, so I added water and waited.
The water did its thing and I could have the plaster again in a state with which I could work, only with some lumps that for me added texture and character, so I worked like that, and with the help of a brush I covered it all.
I applied two coats, letting it dry very well between each coat.


Once all the stars were dry, the next step was to sand them a little to make them a little smoother, just a little, because I wanted to keep the *rustic " and natural style, which is characteristic in the Nordic decorations.

The next step was to paint the stars with white cold paint, but you can perfectly leave them with their original color, and you will have just as beautiful stars.


When the paint has dried, with the help of a screw we will make a hole through which to pass the wick thread with which we will hang the stars on the tree. You can use whatever you have at home for this purpose. And this way we have the stars ready, but of course, for me, they were missing something, so I added some little things 🤣


With the jute fabric I made much smaller stars, and to make it easier to work with this material, I decided to glue it to some pieces of thin cardboard with the help of liquid silicone.
Then on the back side I marked the stars, cut them out and made a hole with the same screw I used for the big ones.


I also ran them through the wick, and finished the decoration with some golden leaves from an old ornament, a piece of garland and a bell, also from a decoration that was already damaged.
I splashed on a mixture of plaster and white paint and everything was ready.


Beautiful stars for my Christmas tree with an investment of 0.4$, since all the other materials are things I had at home, and maybe you don't have what I have, but I assure you that with some creativity and looking around you can create beauties.

Posted Using InLeo Alpha
Quedaron hermosas amiga, ya quiero ver cómo va a quedar ese árbol estilo nórdico. Me encanta la textura de las estrellas con el yeso, si estuvieses buscando eso seguramente no te hubiese quedado tan perfecto. Y pues tienes razón solo hay que activar la creatividad para hacer estás hermosas decoraciones con lo que tenemos en casa 🏡🤗
Gracias amiga, la verdad yo lo quería liso pero cuando lo vi me gustó así rústico el resto es una mezcla de varias cositas que vi en pinterest y que me gustaron mucho, aun me faltan demasiadas cosas pero vamos avanzando jaja
Thank you do much
Amiga que belleza.. te pasas, con esas ideas...
Gracias amiga, esa estrella son un mix de varias ideas que vi jejf
Amiga, te quedaron demasiado geniales. Me encantaron.
La textura del yeso le dio su toque, ese Árbol va quedar bellisimo
Gracias amiga, me alegra que te gustaran, viste que son súper sencillas y es algo rápido además.
Te quedaron muy bonitas y perfectas para el arbolito
Siii yo las amo, pero debo hacer más jaja
Realmente el yeso le dió un toque rústico bello, bello ❤️
Estas ⭐ se van a ver hermosas en el árbol 🎄🫶
Muchas gracias amiga, eso pienso, el yeso le vino como anillo al dedo y combina chevere con el yute y las otras cositas le dan un toque delicado digo yo jaja
Demasiada creatividad!!! Te quedaron bellísimas amiga, ya quiero ver el resultado del árbol y toda la casa, que emoción 😍😍😍
Gracias ami bella, yo ya quiero terminar, pero falta bastante jaja, sobre todo para el árbol que es muy grande, pero ahí vamos paso a paso jaja
Te quedaron totalmente originales, la textura y combinación de materiales es impresionante, el trabajo te quedo impecable, espléndido, precioso.😃👏
Awww que bella, muchísimas gracias Laura. He visto muchísimas ideas en pinterest y voy combinando cosas.
Un abrazo
Hola amiga, gracias!!. Así hago yo amiga combino las ideas para darle un toque personal.
Una brazote mi bella.💞
Bellísimas mi Rosita! Me encantó la textura y la combinación de colores 💗.
Siempre compartiendo excelentes ideas.💗
Amiga quedaron hermosas esas estrellas y lo mejor es que puedes utilizar carton reciclado. Espero verlas en tu árbol 🎄
Gracias por compartir 🌻