
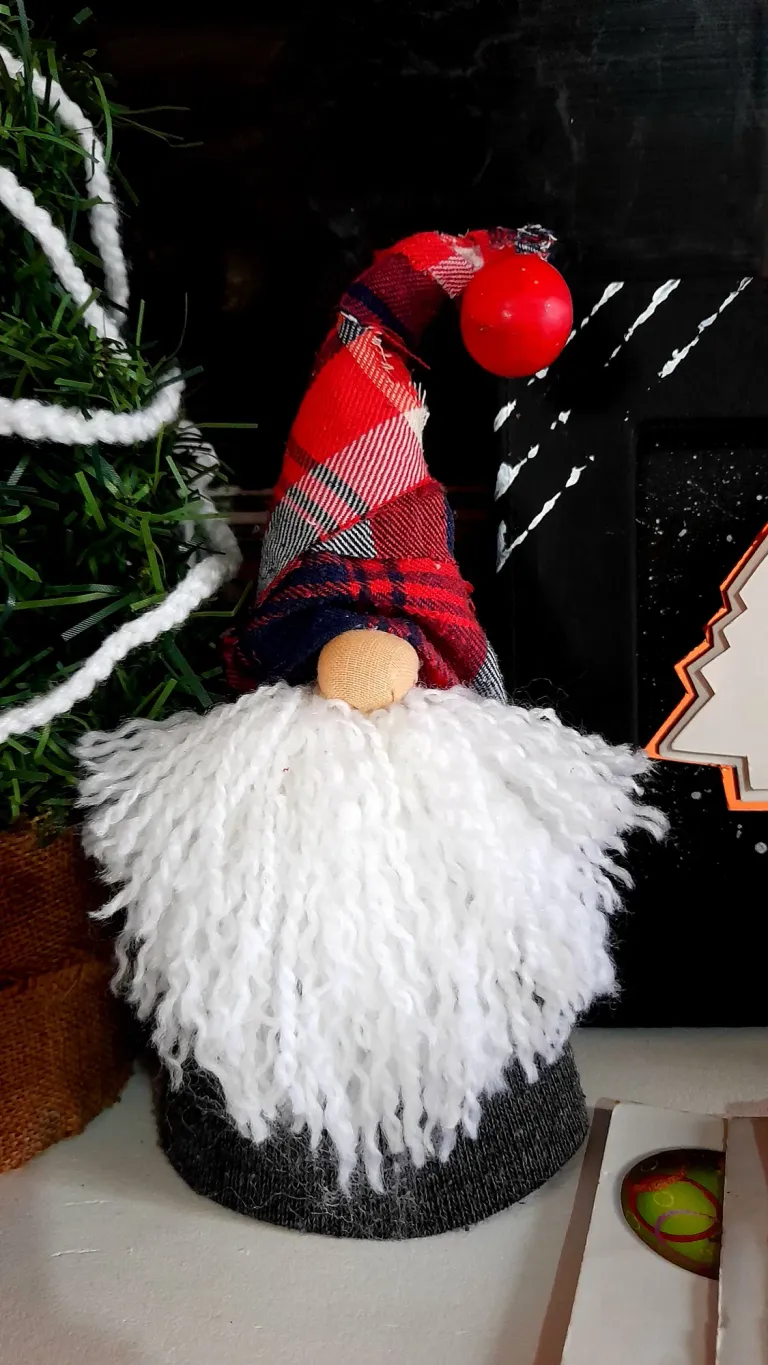
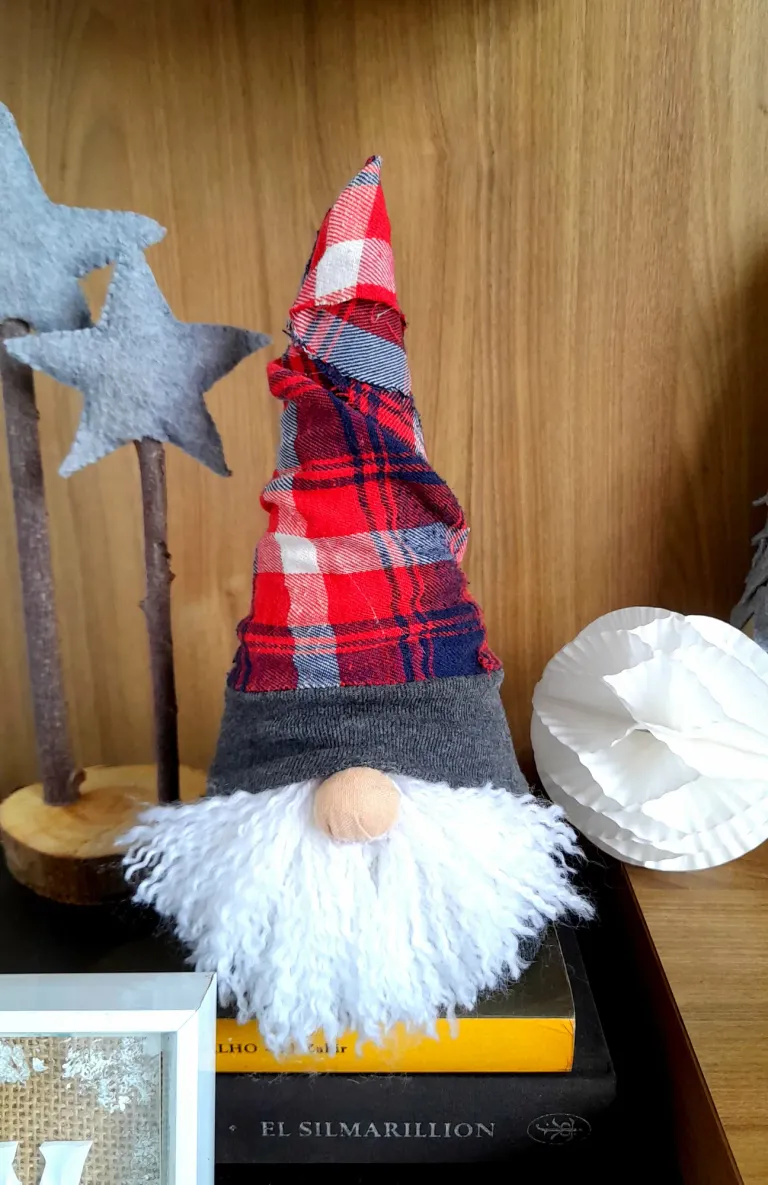
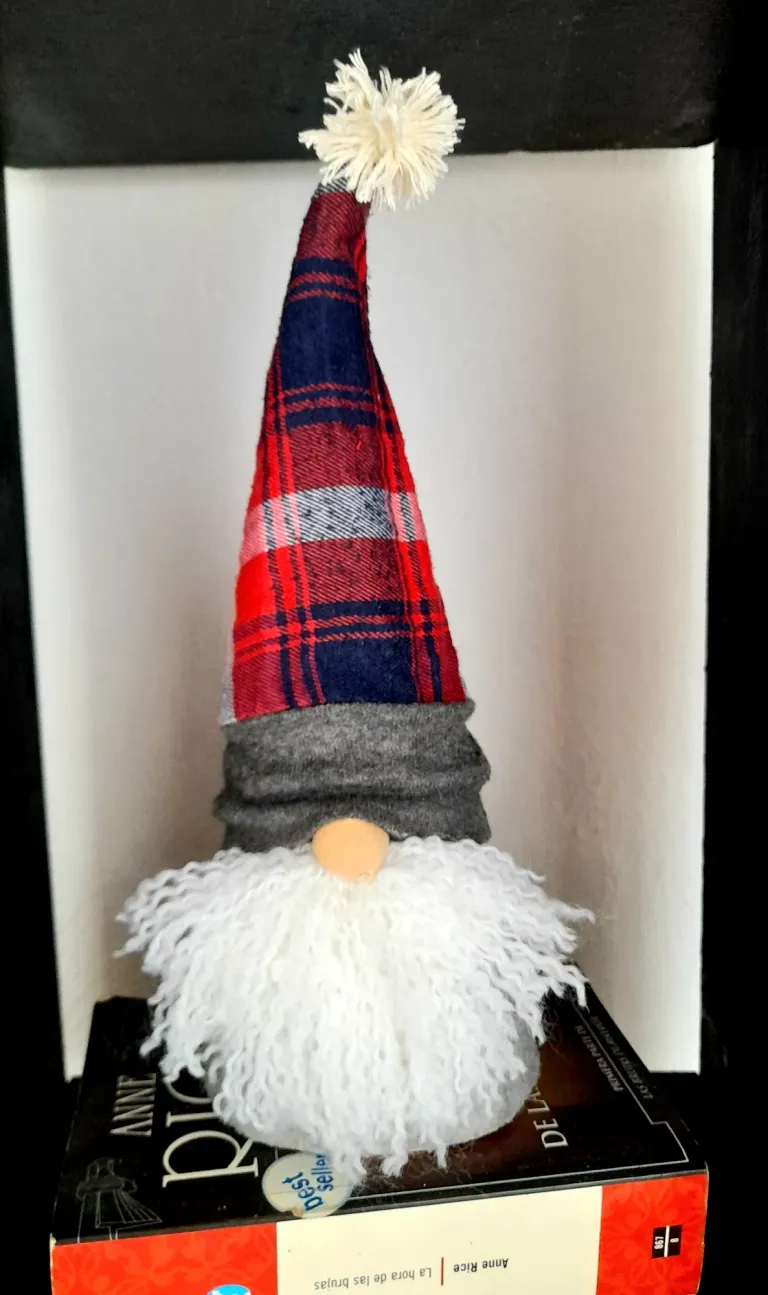
Entre tantas cosas lindas que hice para mi casa esta navidad los Gnomos son de mis favoritas, y la verdad que aunque siempre llamaron mi atención, en casa solo tenía Santas por todos lados, pero jamás había incorporado a estos pequeños barbudos, pero si hablamos de decoración navideña al estilo nórdico ellos no pueden faltar, así que busqué algunos tutoriales y al ver lo sencillos que eran sin dudas que me animé a replicarlos en casa, y luego de tener uno, quise otro, y otro más.
Es que cómo resistirse a semejante ternura, de verdad que para mí fue totalmente imposible, así que terminé con 4 gnomos de diferentes tamaños, cada uno con un toque distintivo, y debo confesar que no hice paso a paso de su elaboración porque la verdad los hice a las carreras y no tenía el tiempo suficiente para ello, pero la verdad que son demasiado sencillos de hacer y ni siquiera tienes que coser, así que tenía que compartirlos con ustedes, aunque ya esté terminando la temporada navideña por aqui le dejo los materiales y cómo los hice.
Materiales
Cartulina
Retazos de tela grises, roja y beige
Estambre blanco
Guata/relleno
Pistola de silicón
Tijera
Paso a paso
Como les digo, son muy sencillos de hacer, por eso hice cuatro! Basta con hacer un cono con cartulina, cubrirlo con tela y pegarlo con silicón. En las imágenes pueden ver cómo hacer el cono el cual pueden recortar del tamaño que deseen su gnomo y luego proceder a cubrirlo.
En mi caso, algunos los hice con retazos de tela y otros con una media, y cubrí solo la parte más ancha del cono ya que la parte de arriba es la del gorro y va en otro color.
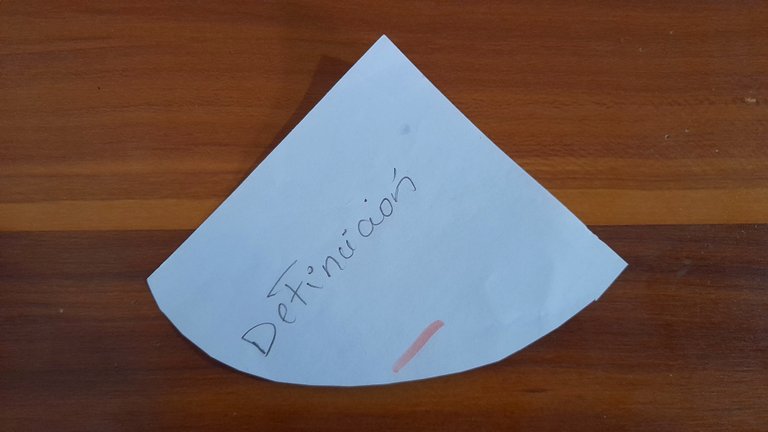
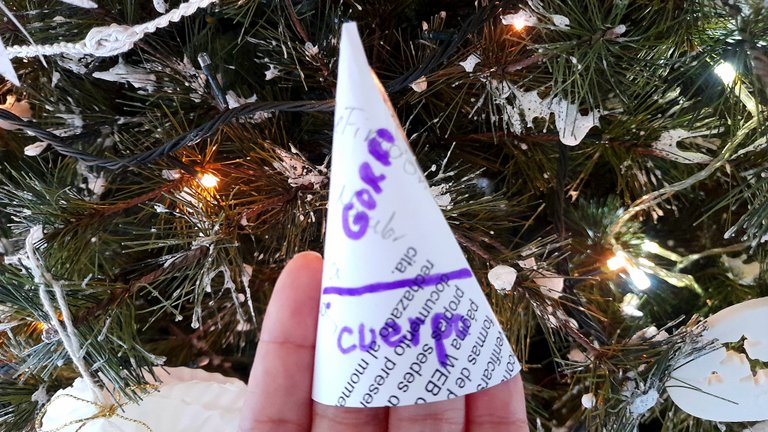
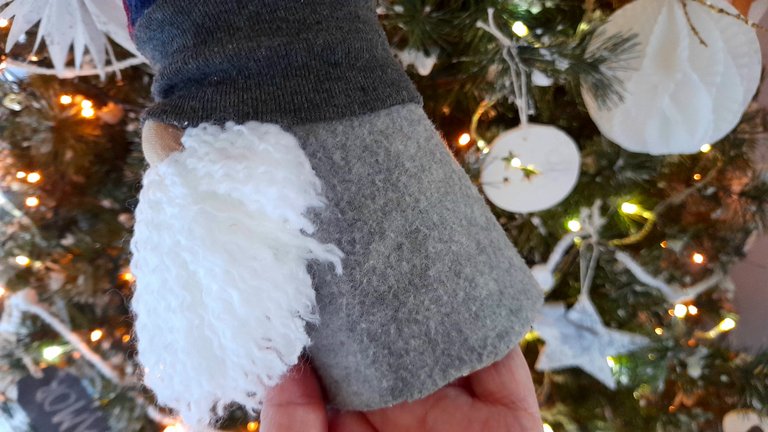
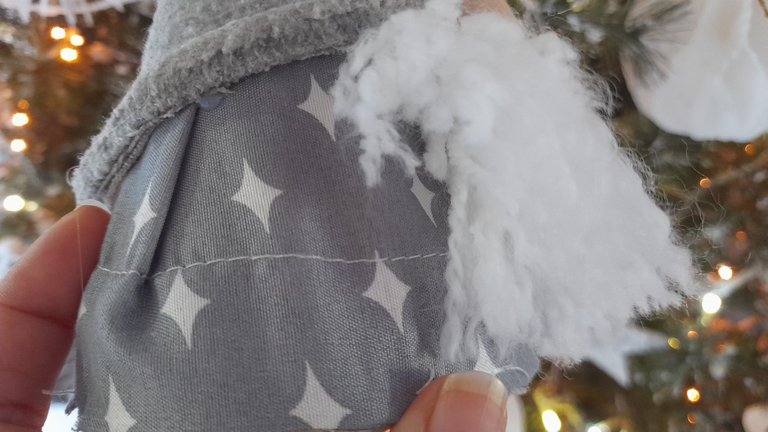
Después de cubrir el cono viene la barba que no es más que estambre al que deshilaché para que se viera más esponjosa la barba.
Lo que tienes que hacer es una especie de pompon, en mi caso usé mi mano y también un libro para enrollar el estambre, ya que depende del tamaño del cono lo grande de la barba.
Una vez tengo suficiente cantidad lo ato al medio y corto el estambre a los lados, deshilacho y pego al cono.
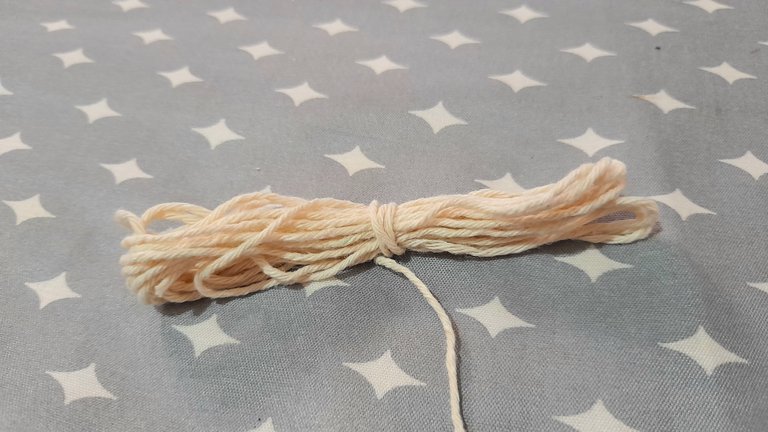
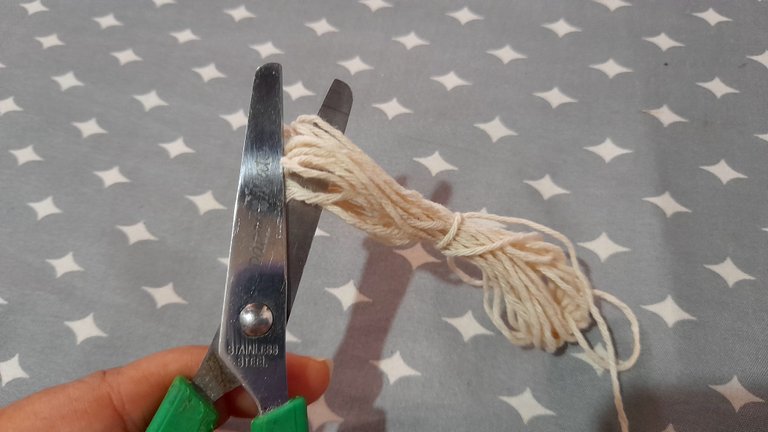
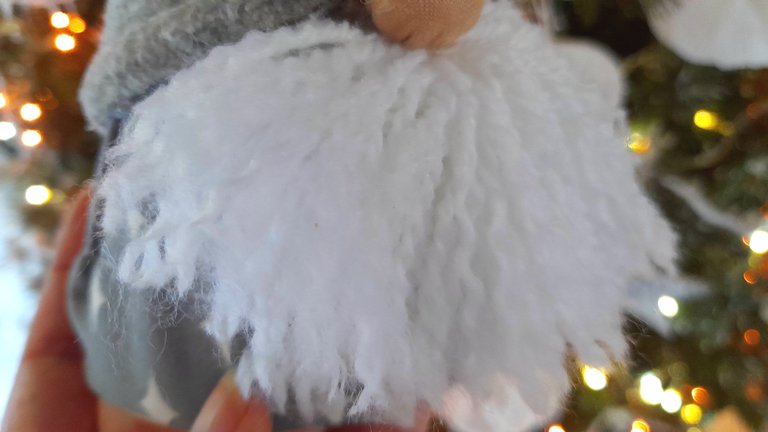
En cuanto a la nariz se puede hacer con una cuenta de bisutería pero como yo no tenía en casa, las hice con un trocito de tela que rellené con guata y pegué en forma de bolita y la pegué justo en medio de la barba en la parte superior.
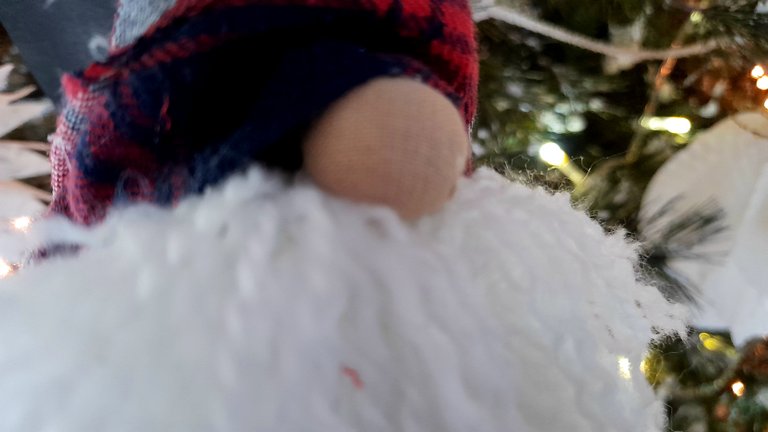
Los gorritos los hice recortando una tira de tela y enrollandola hasta la punta del cono, asegurándome que la base quede superpuesta en la nariz, ya que eso es lo que le da su toque especial a nuestro nomo.
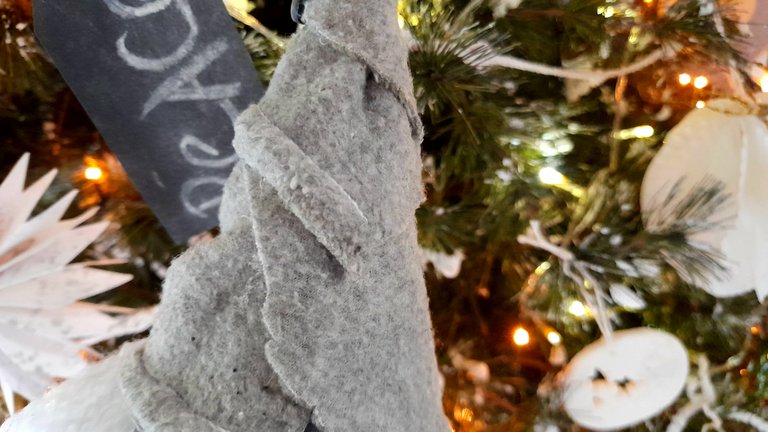
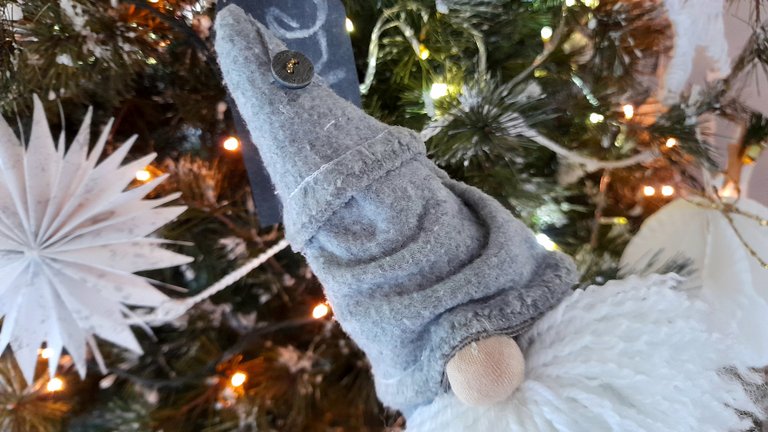
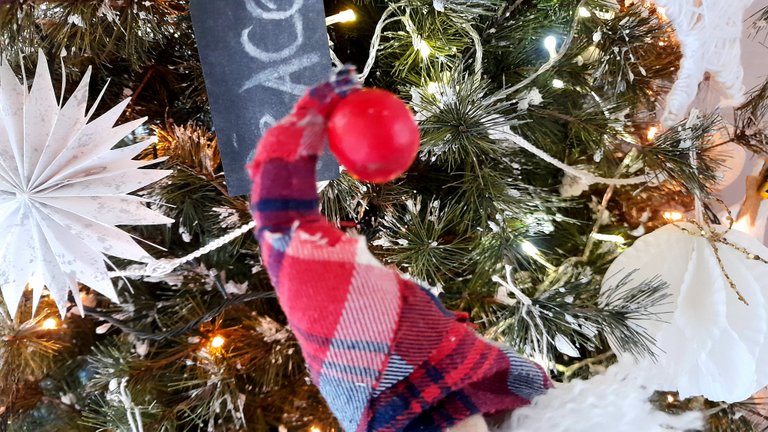
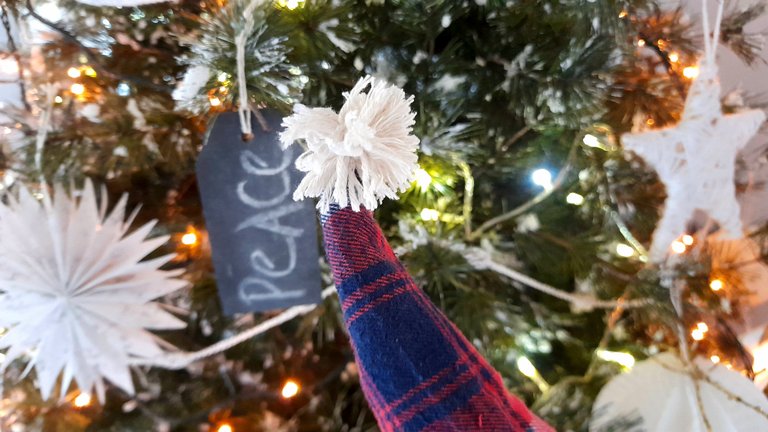
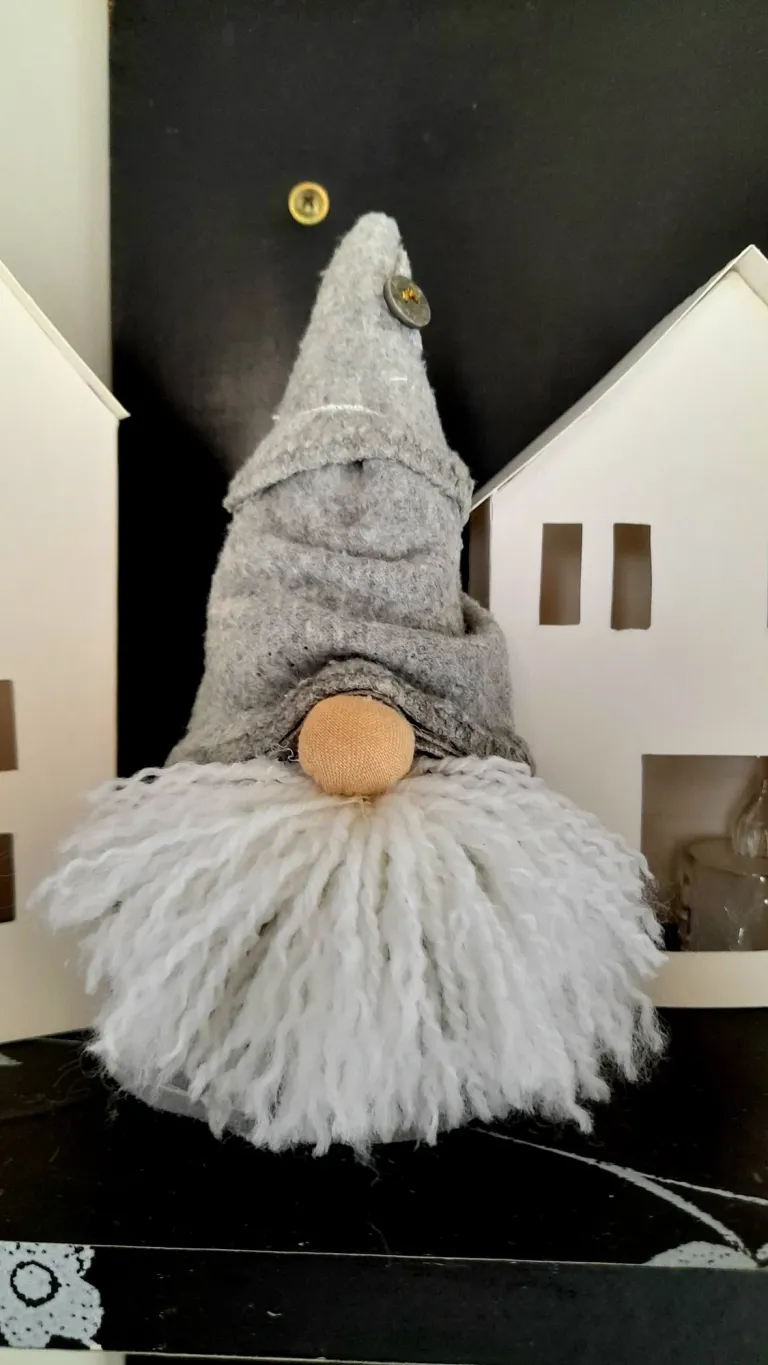
Como ven, a algunos les puse detalles como un pompon, un botón o una bolita de madera y de verdad que quedaron absolutamente bellos y no toma nada de tiempo hacerlo si tienes los materiales a la mano.
Mi favorito fue el gris, amo definitivamente lo tierno que se ve y su gorrito es simplemente hermoso. ¿A ustedes cuál les gusta más?

Among so many cute things I made for my house this Christmas, Gnomes are one of my favorites, and the truth is that although they always caught my attention, at home I only had Santas everywhere, but I had never incorporated these little bearded ones, but if we talk about Nordic style Christmas decoration they can not be missing, so I looked for some tutorials and when I saw how simple they were no doubt I was encouraged to replicate them at home, and after having one, I wanted another one, and another one more.
It is that how to resist such tenderness, really for me it was totally impossible, so I ended up with 4 gnomes of different sizes, each with a distinctive touch, and I must confess that I did not do step by step of their development because the truth is that I made them at the races and did not have enough time for it, but the truth is that they are too simple to make and you do not even have to sew, so I had to share them with you, although the holiday season is already ending here I leave the materials and how I made them.
Materials
Cardboard Cardboard
Gray, red and beige fabric scraps
White yarn
Wadding/Filler
Silicone gun
Scissors
Step by step
As I tell you, they are very easy to make, that's why I made four of them! Just make a cone with cardboard, cover it with fabric and glue it with silicone. In the images you can see how to make the cone which you can cut to the size you want your gnome and then proceed to cover it.
In my case, I made some of them with scraps of fabric and others with a sock, and I covered only the widest part of the cone since the top part is the cap and is in another color.


After covering the cone comes the beard, which is nothing more than yarn that I frayed to make the beard look fluffier.
What you have to make is a kind of pompon, in my case I used my hand and also a book to roll the yarn, because it depends on the size of the cone how big the beard is.
Once I have enough quantity I tie it in the middle and cut the yarn on the sides, unravel and glue it to the cone.


As for the nose can be made with a costume jewelry bead but as I did not have at home, I made them with a small piece of fabric that I filled with wadding and glued in the shape of a ball and glued it right in the middle of the beard at the top.

I made the beanies by cutting out a strip of fabric and rolling it up to the tip of the cone, making sure that the base overlaps the nose, as that is what gives our nomo his special touch.


As you can see, some of them I added details like a pompon, a button or a little wooden ball and they were absolutely beautiful and it takes no time at all if you have the materials at hand.
My favorite was the gray one, I definitely love how cute he looks and his little hat is just beautiful. Which one do you like the most?

For the best experience view this post on Liketu
Relindos Ami, parecen comprados, están perfectos, tuviste ideas bien lindas para decorar éste año, y estoy segura que todavía hay más por ver. Me encantaron 🤗🤗🤗
Gracias amiga bella! Yo creo que ya termine de mostrar todo aunque no comparti la decoración de la cocina, pero ya está un poco tarde para eso jeje
Hermosisimos Rosita, me encantaron! puede que intente, aunque soy 2 manos izquierdas en manualidades 🙈
Gracias por compartir 😊
Gracias flaquita, seguro te salen! Son sencillos y sin mucha complicación
Te quedaron preciosos 🥹
Gracias amiga
Ohhhh que hermoso! Y los muestras tan fácil de hacer <3
Amiga en verdad que son súper fáciles!! No hay que ser tan prolijos y eso ayuda jeje
Ay noo puedo con esta mujer 😍😍 que hermosuraaaa, este año te botaste amii
Gracias amiga bella, mi suscripción a pinterest dio frutos JAJAJA
Adoro esos nomitos, se ven tan lindos y son tan navideños
Son pura ternura jeje yo quedé enamorada de verdad de ellos