Tener un lugar para mantener nuestras llaves al alcance de nuestras manos es algo necesario en todo hogar y aunque muchos tienen distintas estrategias, la que más se adaptó a mi gusto y mis necesidades fue un perchero que ubiqué en la pared fuera del alcance de mis niños cuando eran más pequeños, y hoy les muestro el cambio de imagen que le di después de muchos años.
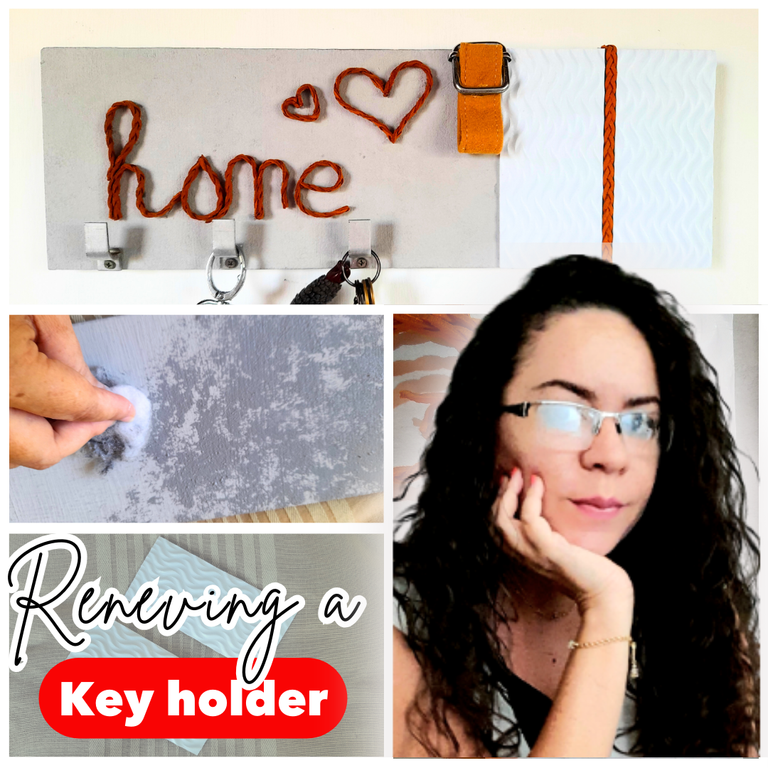
Lo primero que debo decir es que olvidé las fotos del antes porque no pensaba compartirlo, y luego cuando ya estuvo pintada la base fue que se me ocurrió compartir el paso a paso.
Este perchero en sus inicios era de color negro y tenía algunos apliques de recortes de revistas además de unos collage de fotos de mis hijos, y por supuesto ese era uno de los motivos por los que no había querido cambiarlo, pero como saben estoy cambiando el color de las paredes en casa y me pareció necesario darle un cambio al perchero para adaptarlo al nuevo estilo de casa y hoy les comparto el paso a paso de este trabajo.
Materiales
Pieza de madera
Pintura gris
Foami
Tira de cuero de distintos grosores y tonalidades
Tornillos
Destornillador
Ganchos para colgar
Pistola de silicón
Tijera
Lápiz
Regla
Paso a paso
Lo primero que hice fue retirar las fotos de los niños y retirar los apliques de revistas que estaban súper adheridos, de hecho no los pude eliminar por completo pero con ayuda se una lija pude retirar la mayor cantidad posible y dejé la superficie lo más lisa que pude para pintar, lo que hice con la misma pintura gris con la que estoy pintando en casa.
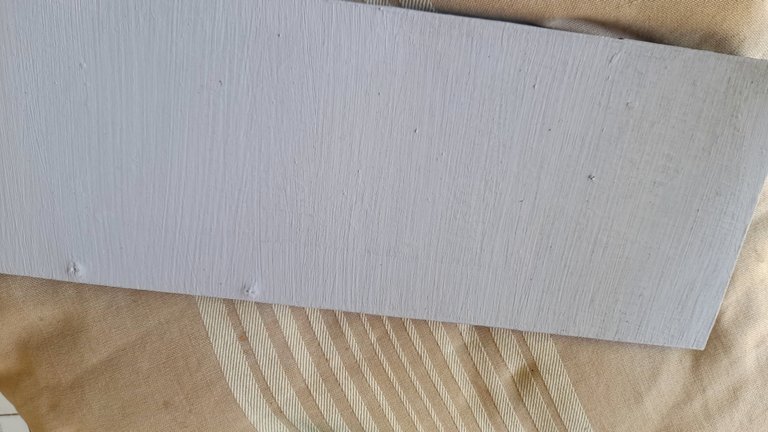
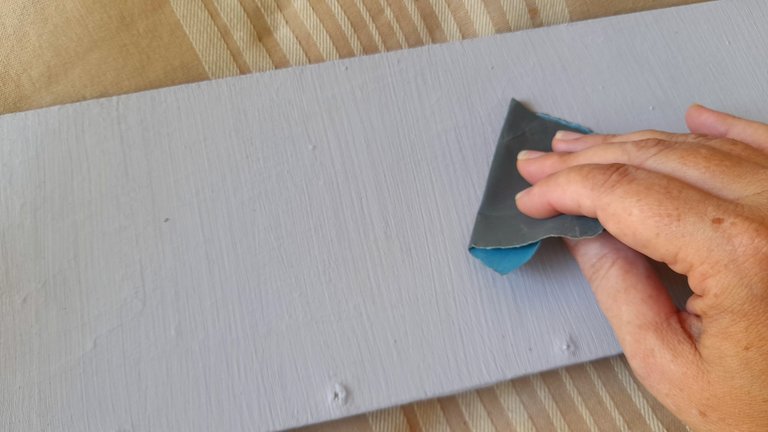
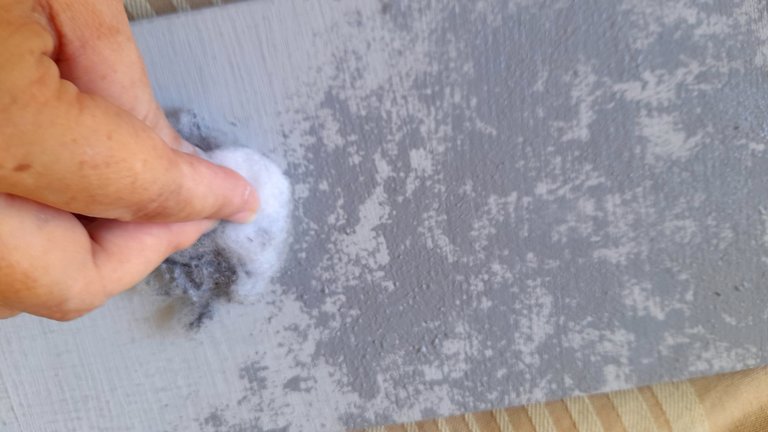
Di dos capas de pintura y entre cada capa lijé la superficie con una lija para tratar de eliminar un poco las vetas que deja la brocha, pero como no resultó decidí tomar un trocito de guata humedecida en pintura y dar golpecitos cubriendo toda la superficie, lo que finalmente resultó como yo quería.
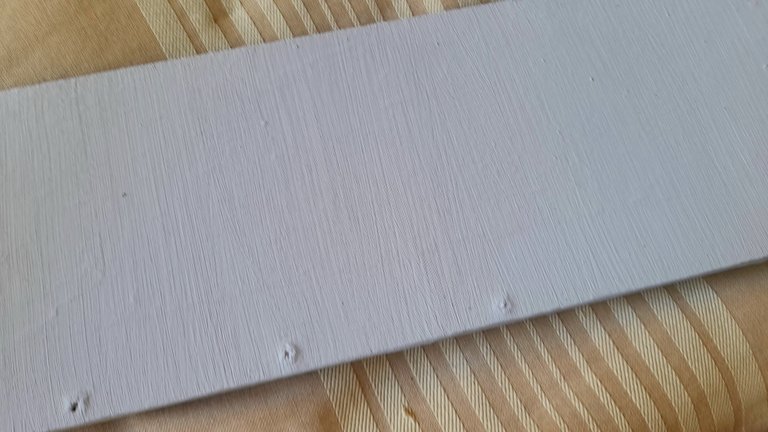
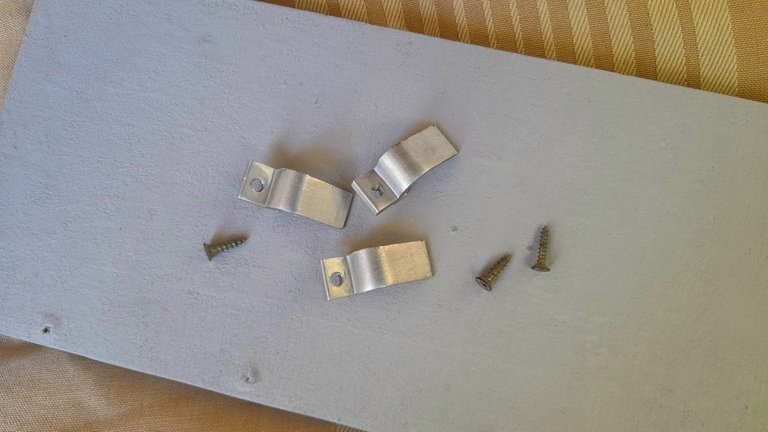
El siguiente paso fue colocar en su lugar los colgadores, y en esta ocasión no tuve que hacer los huequitos porque ya los tenía, solo los limpié y volví a colocar con ayuda de un destornillador, para luego recortar dos piezas de foami texturizado blanco que me había quedado de mis últimas manualidades.
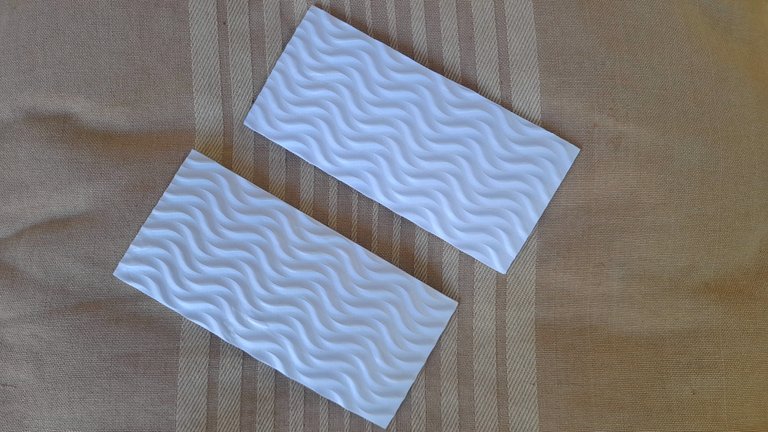
Lo que hice fue medir la superficie que quería cubrir con el foami, y en principio la idea era poner una sola pieza, pero luego se me ocurrió cortarlo a la mitad y en el medio colocar una pieza de cuerina trenzada que tenía en casa y me gustó mucho cómo quedó.
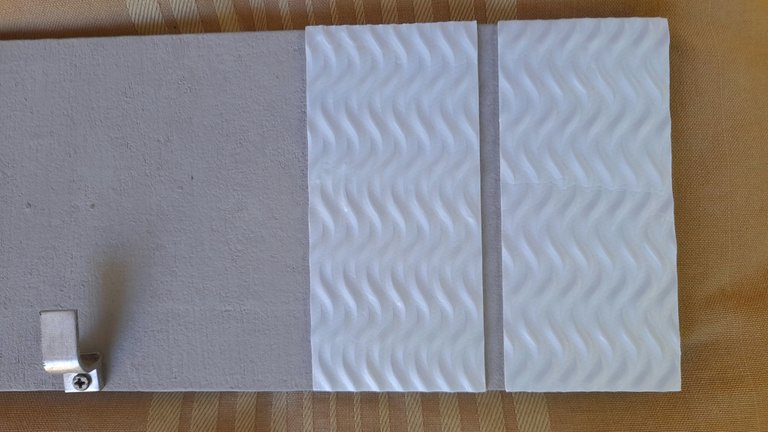
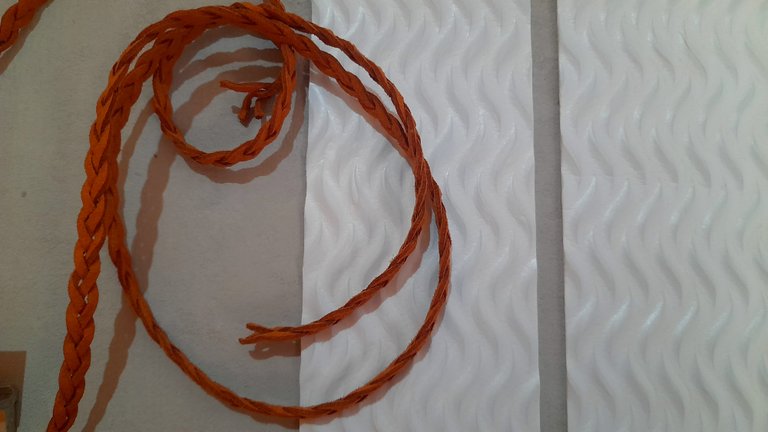
Ya en ese punto pensaba dejarlo así pero me pareció le faltaba algo más, así que con la cinta trenzada escribí la palabra "home" e hice unos corazones, y además añadí un trocito de cuero de una cartera vieja con la idea de colgar una pequeña maceta, pero la verdad en este punto no sé si hacerlo o no. ¿Ustedes qué opinan?
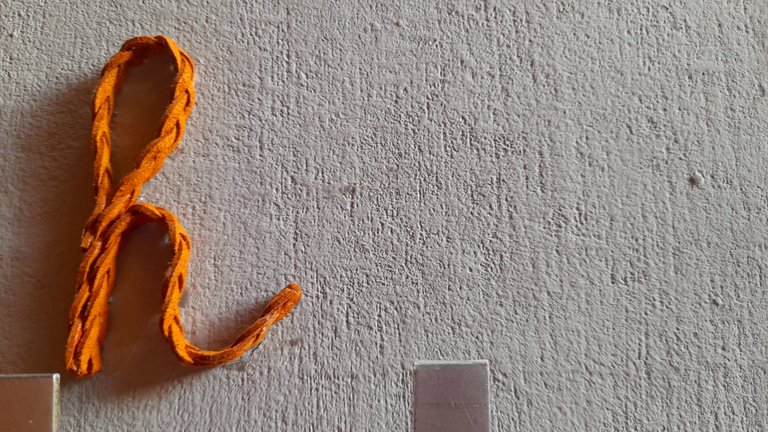
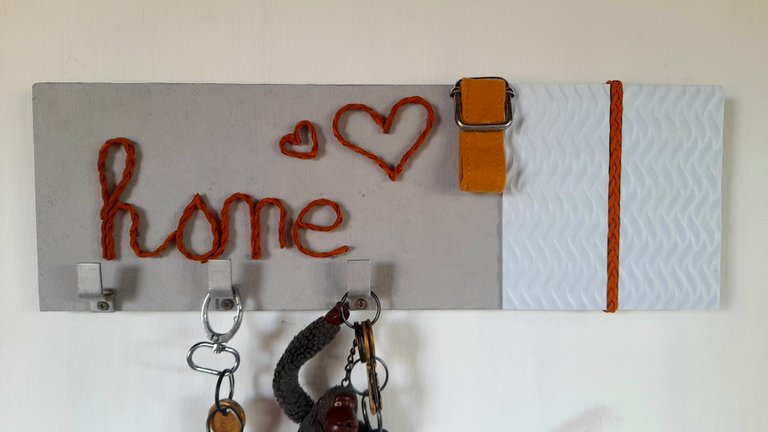
Por ahora luce tal cual como en las fotos que les comparto, y aunque está muy lindo sigo pensando que falta algo, pero eso es normal en mí, es difícil que quede 100% conforme con algo, pero si al final decido modificarlo se los contaré aquí en mi blog, pero la verdad fue un proyecto que disfruté muchísimo hacer y como ven pueden reproducirlo en casa con lo que tengan a su alcance.
En mi caso, no gasté absolutamente nada, estuve buscando entre mis cosas cualquier detalle que me pudiese servir para darle una nueva vista a mi perchero y este fue el resultado, así que basta con mirar a tu alrededor y te aseguro que con un poquito de imaginación y creatividad puedes hacer cosas increíbles para tu hogar.

Having a place to keep our keys within reach of our hands is something necessary in every home and although many have different strategies, the one that best suited my taste and my needs was a coat rack that I placed on the wall out of reach of my children when they were younger, and today I show you the makeover I gave it after many years.

The first thing I have to say is that I forgot the before pictures because I didn't plan to share it, and then when the base was already painted it occurred to me to share the step by step.
This coat rack was originally black and had some magazine clippings and some collages of photos of my children, and of course that was one of the reasons why I had not wanted to change it, but as you know I am changing the color of the walls at home and I felt it necessary to give a change to the coat rack to adapt it to the new style of home and today I share with you the step by step of this work.
Materials
Piece of wood
Gray paint
Foami
Leather strip of different thicknesses and shades
Screws
Screwdriver
Hanging hooks
Silicone gun
Scissors
Pencil
Ruler
Step by step
The first thing I did was to remove the photos of the children and remove the magazine appliques that were super stuck, in fact I could not remove them completely but with the help of sandpaper I could remove as much as possible and left the surface as smooth as I could to paint, which I did with the same gray paint with which I am painting at home.

I applied two coats of paint and between each coat I sanded the surface with sandpaper to try to remove some of the streaks left by the brush, but as it didn't work I decided to take a small piece of wadding dipped in paint and tap it over the entire surface, which finally turned out the way I wanted.


The next step was to put the hangers in place, and this time I didn't have to make the holes because I already had them, I just cleaned them and put them back in place with the help of a screwdriver, and then cut out two pieces of white textured foami that I had left from my last crafts.


What I did was to measure the surface I wanted to cover with the foami, and at first the idea was to put only one piece, but then I thought of cutting it in half and in the middle put a piece of braided leather that I had at home and I really liked how it turned out.


At that point I was thinking of leaving it like that but I thought it was missing something else, so with the braided ribbon I wrote the word "home " and made some hearts, and I also added a little piece of leather from an old wallet with the idea of hanging a small flowerpot, but the truth is that at this point I don't know if I should do it or not. What do you think?


For now it looks just like the pictures I share with you, and although it is very nice I still think that something is missing, but that's normal for me, it is difficult to be 100% satisfied with something, but if in the end I decide to modify it I will tell you here on my blog, but the truth is that it was a project that I really enjoyed doing and as you can see you can reproduce it at home with whatever you have at your fingertips.
In my case, I spent absolutely nothing, I was looking among my things for any detail that I could use to give a new look to my coat rack and this was the result, so just look around you and I assure you that with a little imagination and creativity you can do amazing things for your home.

Me encanto que usaras la cuerina para escribir Home. Le da un aspecto muy lindo. Queó hermoso.
Gracias amiga, saque los materiales que me quedan de manualidades y de ahí voy agarrando cosas jeje
Hola cariño, uno se pone perfeccionista. Pero déjame decirte que está lindo así. A veces menos es más, debes verlo con la pared y las cosas que tienes a ver si le falta realmente algo. Está bien práctico y fácil de hacerle un cambio. Saludos 🌹
Gracias amiga, leyéndote creo que tienes razón, lo veo así porque alrededor no tiene nada de nada,es una pared pelada como digo yo y aunque no es una pared grande sí se ve como solo.
Graciasssss voy a ver qué le pongo por ahí jejeje
Pero está lindo ya. Solo es ver el conjunto a ver si realmente le falta algo. Saludos 🌹
You reconstructed it to a beautiful and more beautiful key holder.
Nice one.
Me encantó! Necesito uno para mi casa. Las letras en ese material lo hacen elegante
The transformation looks great, we appreciate the time and effort spent in making this a reality, well done and thanks for sharing.
Thank you so much
Excelente transformación mi Rosita! Te quedó hermosísimo 💕
Hermoso perchero para llaves. Es una manera muy bonita de crear algo útil y práctico para la casa.
!discovery 45
This post was shared and voted inside the discord by the curators team of discovery-it
Join our Community and follow our Curation Trail
Discovery-it is also a Witness, vote for us here
Delegate to us for passive income. Check our 80% fee-back Program