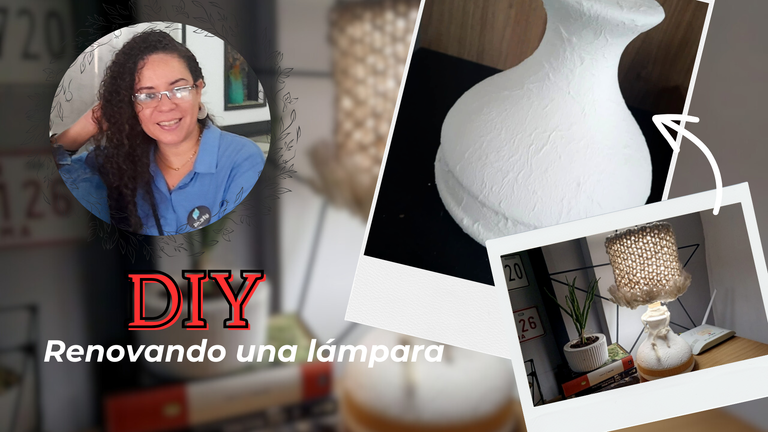
Una de las cosas que tenía rato queriendo hacer en casa era transformar una lámpara de mesa que hace muchísimo tiempo había intervenido para ponerla en el cuarto de mis hijos, y después de unos días trabajando en ella, finalmente hoy la terminé y por supuesto tenía que compartirla con ustedes.
One of the things I had been wanting to do at home for a while was to transform a table lamp that I had intervened a long time ago to put it in my children's room, and after a few days working on it, I finally finished it today and of course I had to share it with you.
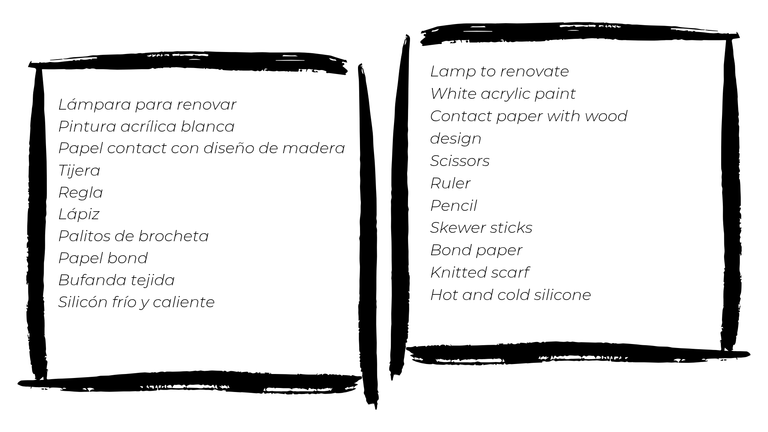
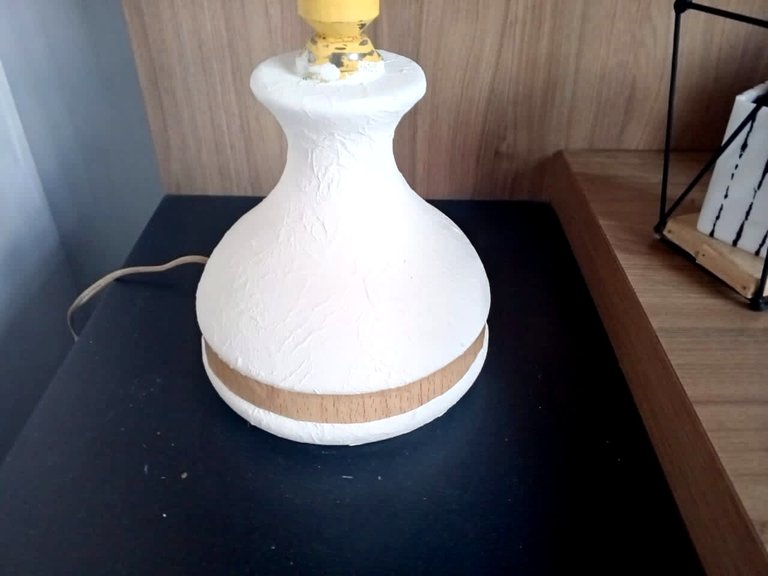
Como ven, esta lámpara es de un diseño bastante tradicional y yo la convertí en jna lámpara de Súper Mario para que estuviese acorde con la habitación de mis hijos, pero ellos hace muchísimo tiempo que no la utilizan y estaba en su cuarto solo ocupando un espacio. Así que había llegado la hora de darle un cambio de imagen para usarla en mi sala, ahorita que estoy haciendo cambios. Y por aquí les comparto los materiales y el paso a paso por si desean hacer una en casa.
As you can see, this lamp has a very traditional design and I turned it into a Super Mario lamp to match my children's room, but they haven't used it for a long time and it was in their room just occupying a space. So the time had come to give it a makeover to use it in my living room, now that I'm making changes. And here I share with you the materials and the step by step in case you want to make one at home.


Lo primero que hice fue trabajar en la base de la lámpara que como ven tiene una textura muy linda, y eso en su oportunidad lo logré, cubriendo la cerámica con servilletas y pega, y como quería conservarla, lo que hice fue pintarla de blanco.
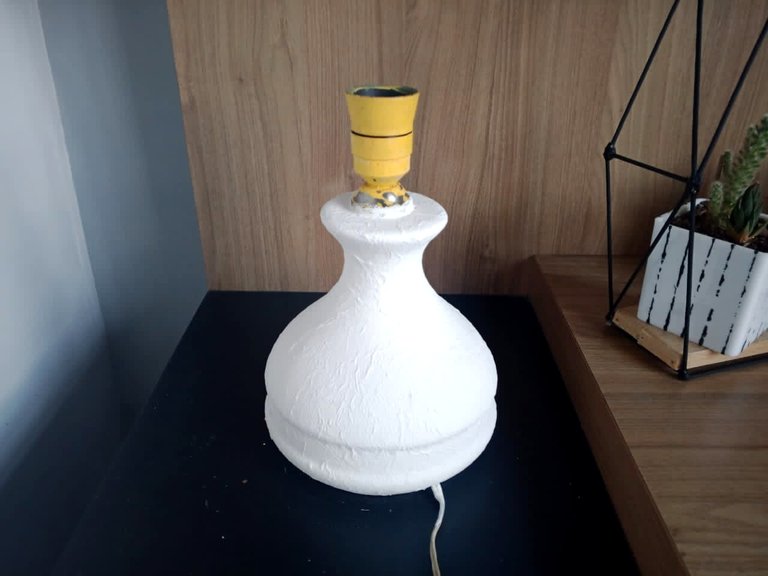
The first thing I did was to work on the base of the lamp, which as you can see has a very nice texture, and I did that by covering the ceramic with napkins and glue, and since I wanted to preserve it, I painted it white.
Después de tres manos, estaba lista para continuar y lo que hice fue utilizar un listón de papel contact de madera y colocarlo a modo de decoración en una especie de ranura que tenía la base.
After three coats, I was ready to continue and what I did was to use a wooden contact paper strip and place it as a decoration in a kind of groove that the base had.
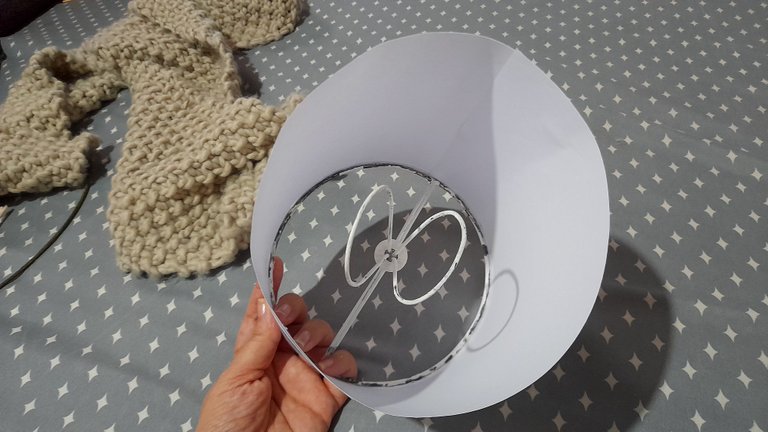
En este punto comencé a trabajar con la pantalla y aunque en principio quería mantener la forma que tenía decidí cambiarla, y la rompí para utilizar la pieza que se fija sobre el bombillo, y les confieso que después de hacerlo me arrepentí, porque me dio muchísimo trabajo y de hecho la hice dos veces porque no me gustaba cómo se veía, pero bueno, sigamos con este paso.
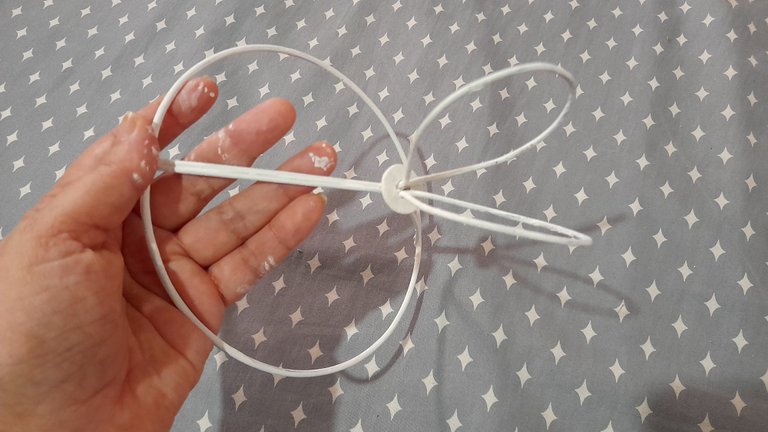
Una vez separé de la pantalla vieja la pieza que necesitaba, la lijé y pinté de blanco, y una vez seca comenzó el verdadero trabajo.
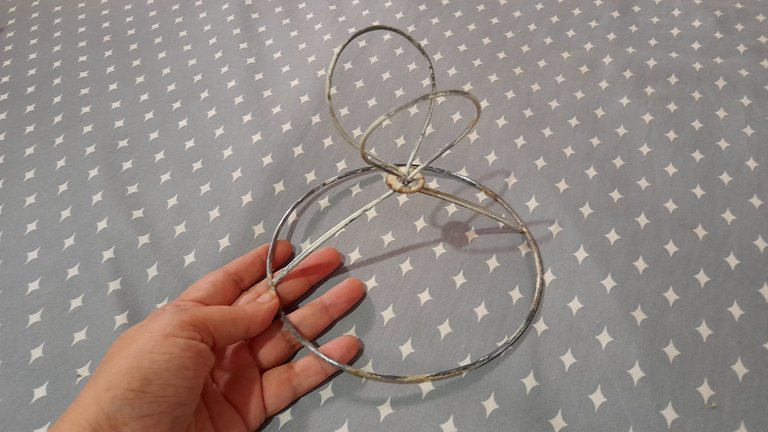
At this point I started to work with the screen and although at first I wanted to keep the shape it had I decided to change it, and I broke it to use the piece that is fixed on the bulb, and I confess that after doing so I regretted it, because it gave me a lot of work and in fact I did it twice because I did not like how it looked, but well, let's continue with this step.
Once I separated the piece I needed from the old lampshade, I sanded it and painted it white, and once it was dry the real work began.
Para la pantalla decidí que sería de forma cilíndrica y la cubriría con una bufanda tejida que tenía en casa, así que lo primero fue hacer la pantalla o soporte sobre la cu iba a trabajar y para eso utilicé papel bond blanco, lo recorté del ancho que quería, hice un doblez en el borde y lo pegué con silicón por todo el borde de la base de metal.
Una vez cubierto todo el diámetro de ka base pegué los lados con silicón frío y dejé secar muy bien.
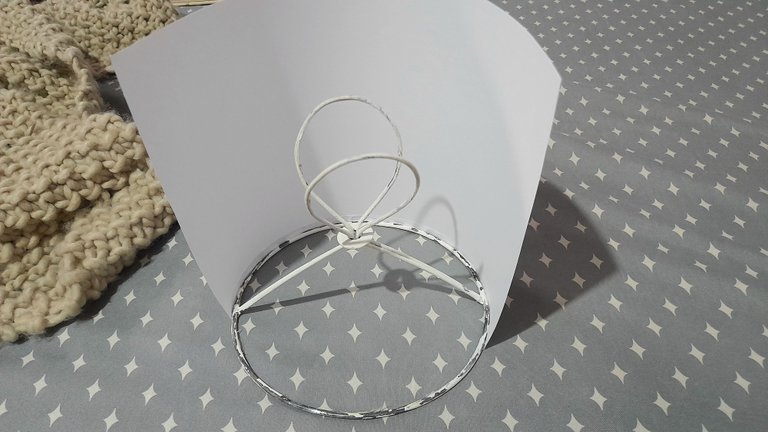
For the screen I decided that it would be cylindrical and I would cover it with a woven scarf I had at home, so the first thing was to make the screen or support on which I was going to work and for that I used white bond paper, I cut it to the width I wanted, made a fold on the edge and glued it with silicone all around the edge of the metal base.
Once the entire diameter of the base was covered, I glued the sides with cold silicone and let it dry very well.
Para darle firmeza al cilindro recorté palitos de brocheta del tamaño del papel y los fijé por dentro con silicón caliente en distintas zonas del cilindro.
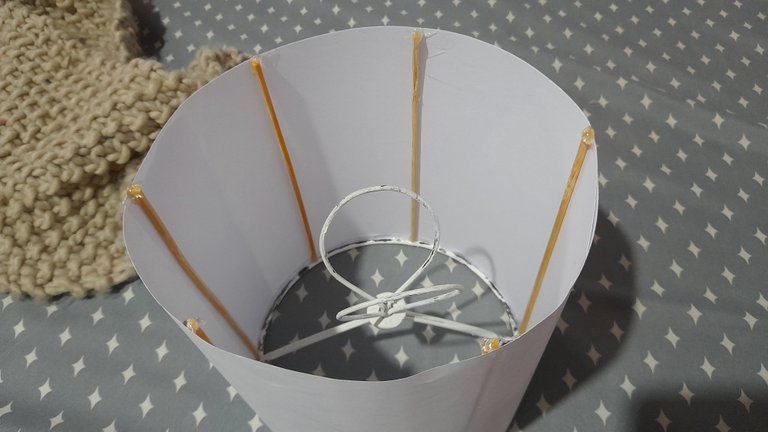
To give firmness to the cylinder, I cut out skewer sticks the size of the paper and fixed them inside with hot silicone in different areas of the cylinder.
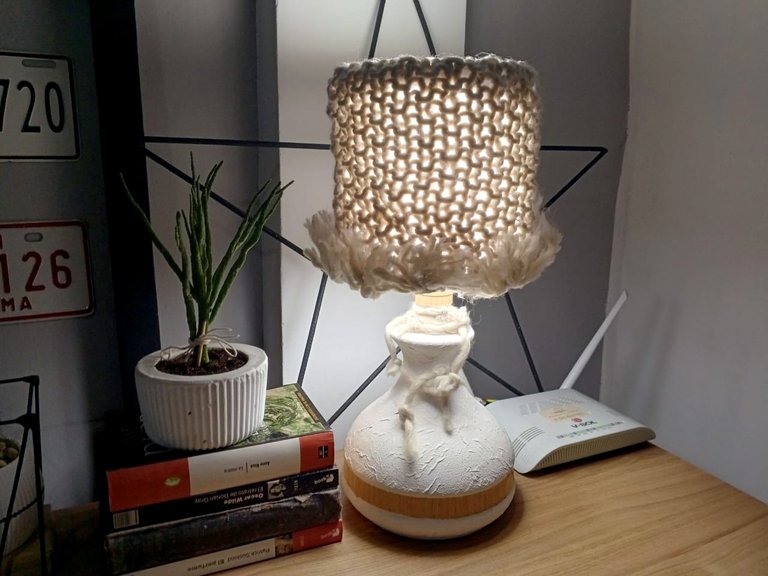
El siguiente paso fue hacer una especie de funda con la bufanda para cubrir el cilindro y para eso recorté dos piezas que cosí por los lados y como ven en el borde quise dejar unas borlas decorativas para dar un toque especial a la lámpara, lo fijé con silicón caliente por toda la estructura de metal y por el borde inferior y las bolitas no las dejé colgar, sino que las pegué hacia arriba, quedando muy coquetas de esa forma.
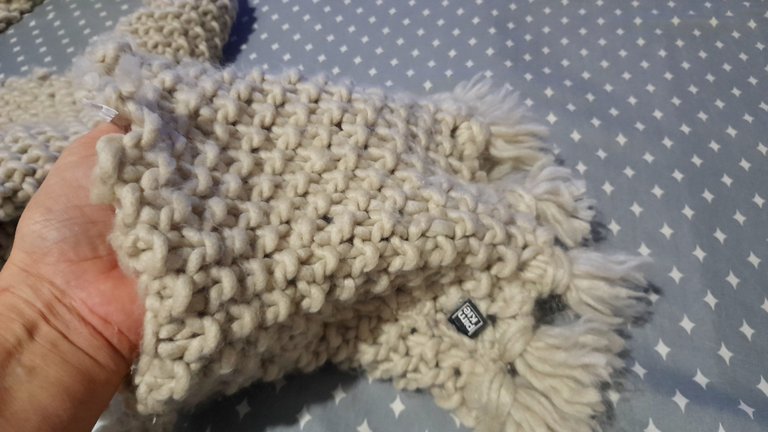
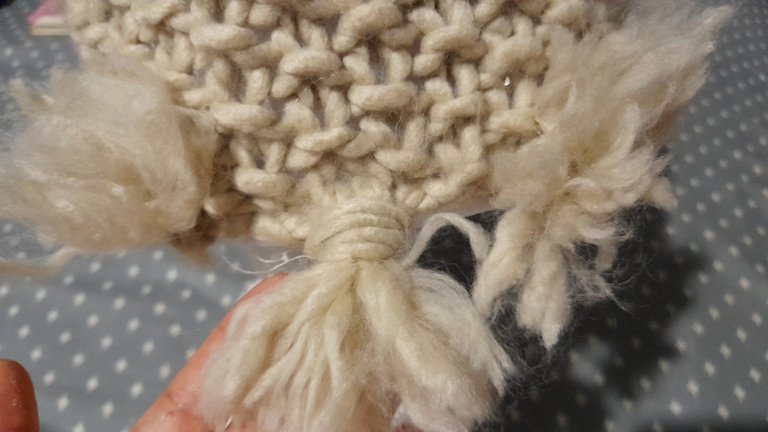
The next step was to make a kind of cover with the scarf to cover the cylinder and for that I cut out two pieces that I sewed on the sides and as you can see on the edge I wanted to leave some decorative tassels to give a special touch to the lamp, I fixed it with hot silicone all over the metal structure and along the bottom edge and the little balls I did not let them hang, but I glued them upwards, being very flirty that way.
El siguiente paso fue cubrir la parte del socate con papel contact de madera e incorporar un pequeño cordón con estambre y estuvo lista esta linda lamparita que la verdad se me hace muy coqueta, y perfecta para mi sala, además encendida se ve absolutamente hermosa.
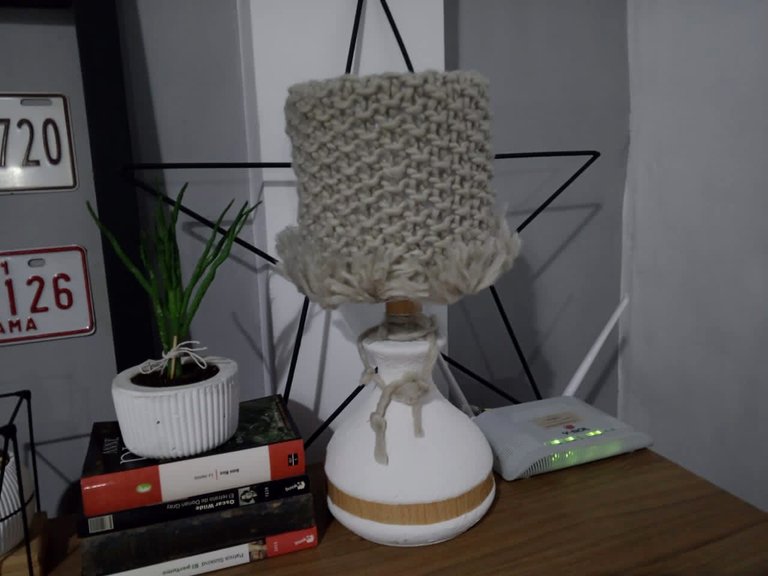
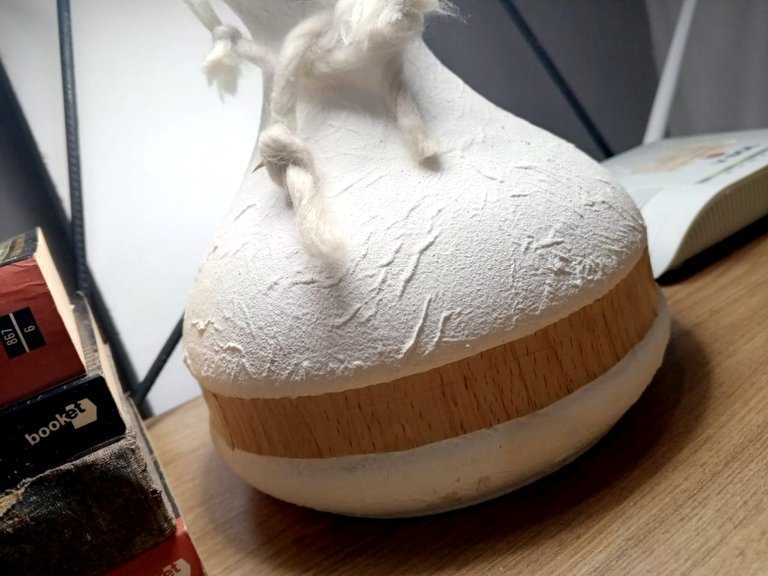
The next step was to cover the socket part with wood contact paper and incorporate a small cord with yarn and this cute little lamp was ready, it is very flirty and perfect for my living room, and when lit it looks absolutely beautiful.

Posted Using INLEO
Guao que ingeniosa idea Rosita. Eres un dura haciendo manualidades 💕
Mami quedó bella me gusta que es peludita
Te quedó demasiado hermosa amiga, siento que es diferente y sin duda resalta en la sala 😍
Me ha encantado cada una de las ideas que has presentado, y que has materializado para decorar tu hogar. Gracias por compartir todo ese proceso y paso a paso con todos nosotros.
!discovery 30
This post was shared and voted inside the discord by the curators team of discovery-it
Join our Community and follow our Curation Trail
Discovery-it is also a Witness, vote for us here
Delegate to us for passive income. Check our 80% fee-back Program
Quedó hermosa, la idea de la pantalla para mí es innovadora ya que tengo una pantalla vieja que no quiero desechar y con esta idea es genial
Amiga que ingeniosa idea. Gracias por compartir. 🤗🤗🤗
Amiga que belleza😍😍
Wow! This is a major transformation and we are impressed by the outcome. The lamp looks as good as new. Well done.
Nice 👏
Thanks
Welcome🎉
eres toda una dura en manualidades?
Jeje muchas gracias
Te quedo hermosa la restauración, parece que fuera nueva.
!ALIVE
!BBH