Saludos Hivers de la comunidad HiveDiy.
El cable USB para cargar los celulares es un elemento susceptible a averías y esto se debe al constante uso de que damos, sobre todo cuando cometemos el error de usar el celular cuando se está cargando, una práctica difícil de superar.
Greetings Hivers from the HiveDiy community.
The USB cable for charging cell phones is an element susceptible to breakdowns and this is due to the constant use that we give, especially when we make the mistake of using the cell phone when it is charging, a practice difficult to overcome.
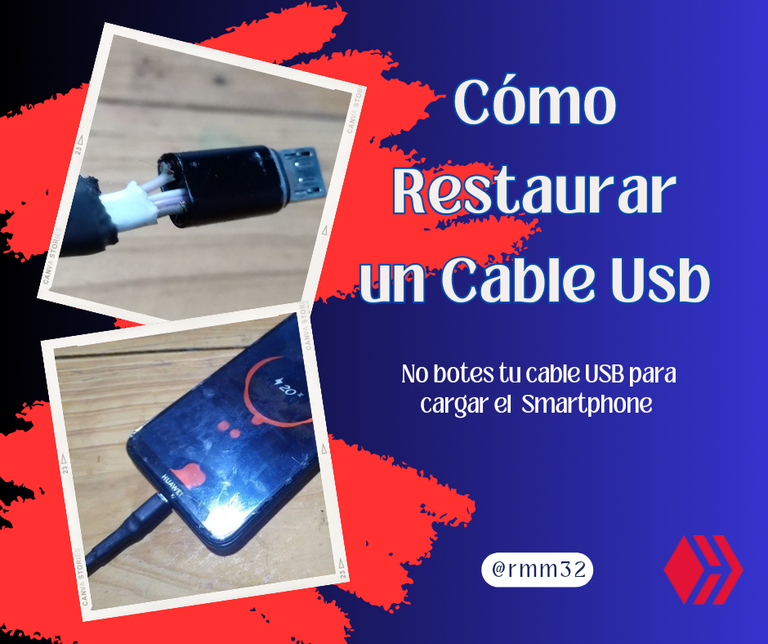
En el presente tutorial les mostraré como restaure un cable USB de celular del tipo micro, por cierto un tipo de conector que está por extinguirse tras la llegada del tipo C de los celulares modernos.
De acuerdo a la estructura de este cable, podría decirse en un principio que es muy resistente, primero por poseer un anillo de aluminio y segundo por tener un cuerpo de goma y cable aplanado.
Sin embargo, igual se dañó con el uso.
In this tutorial I will show you how to restore a micro USB cell phone cable, by the way a type of connector that is about to become extinct after the arrival of type C of modern cell phones.
According to the structure of this cable, it could be said at first that it is very resistant, first for having an aluminum ring and second for having a rubber body and flattened cable.
However, it still got damaged with use.
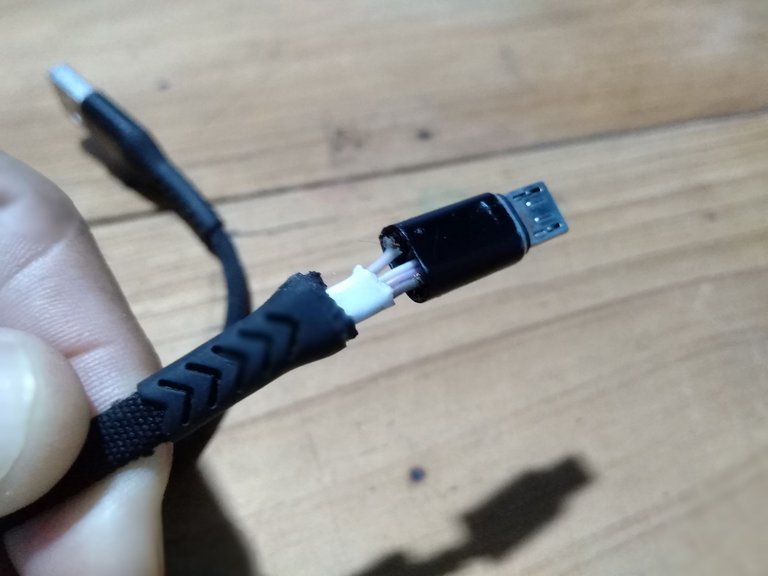
Para iniciar con la reparación es necesario sacar el cable del anillo de aluminio.
Supongo que el fabricante agregó este elemento para que el usuario común no trate de hacer una reparación, ya que no se puede retirar manualmente.
Para hacerlo en forma adecuada y sin deteriorar el conector, es necesario colocarle calor para que la pega y la goma se pongan más suave y así pueda salir con facilidad.
To start with the repair it is necessary to remove the cable from the aluminum ring.
I guess the manufacturer added this element so that the common user does not try to make a repair, since it cannot be removed manually.
To do it properly and without damaging the connector, it is necessary to heat it so that the glue and the rubber get softer and so it can come out easily.
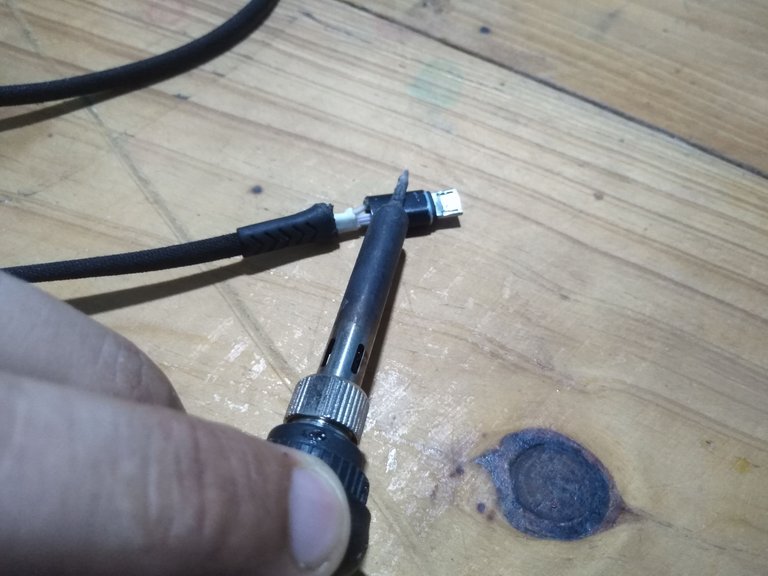
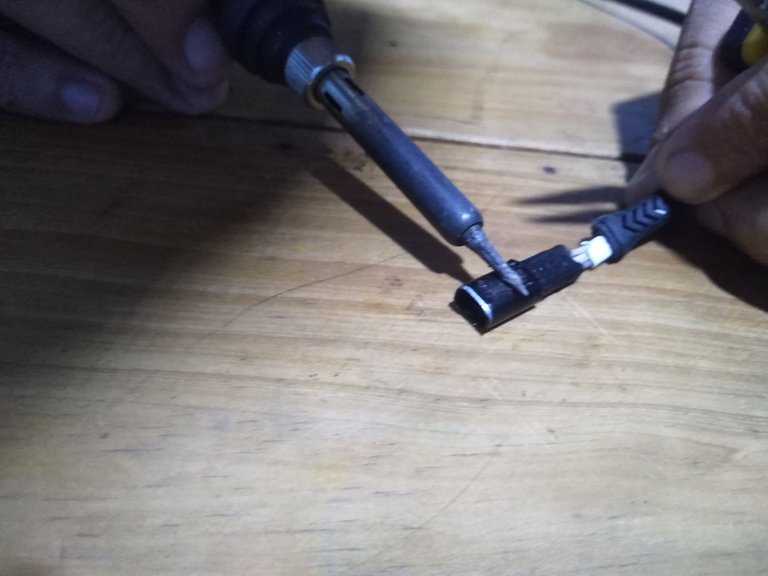
Con la ayuda del cautín le aplicamos calor al anillo por ambos lados y poco a poco vamos tirando del cable.
Observen como ha salido el cuerpo del anillo, ahora está libre y podremos trabajarlo con más comodidad.
With the help of the soldering iron we apply heat to the ring on both sides and little by little we pull the wire.
Observe how the body of the ring has come out, now it is free and we will be able to work it more comfortably.
Al descubrir el cable pude notar otro artificio para evadir a la personas que desean restaurar los cables y es que los cables USB universalmente vienen con los colores y orden siguiente:
Rojo: Positivo Vcc
Blanco: Negativo datos
Verde: Positivo datos
Negro: Negativo VCC
Pero si se fijan en los colores de los cables, verán que son prácticamente del mismo color.
Upon discovering the cable I noticed another artifice to evade people who want to restore the cables and that is that USB cables universally come with the following colors and order:
Red: Vcc positive
White: Negative data
Green: Positive data
Black: Negative Vcc
But if you look at the colors of the wires, you will see that they are practically the same color.
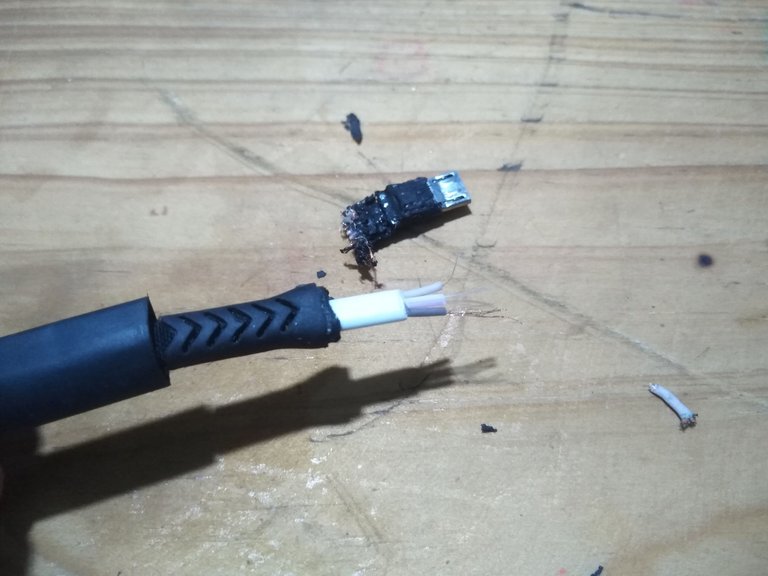
Para que eviten confusión podría sugerirles que le tomen una fotografía al cable antes de separarlo del conector y colocar los cables en la misma posición en que los encontraron, de esta forma no habrá error.
Debemos pelar los cables para colocarle estaño en las puntas, de esta forma resulta más fácil soldarlo nuevamente en el conector.
To avoid confusion I could suggest that you take a picture of the cable before separating it from the connector and place the wires in the same position in which you found them, this way there will be no mistake.
We must peel the wires to place tin in the tips, this way it is easier to solder it again in the connector.
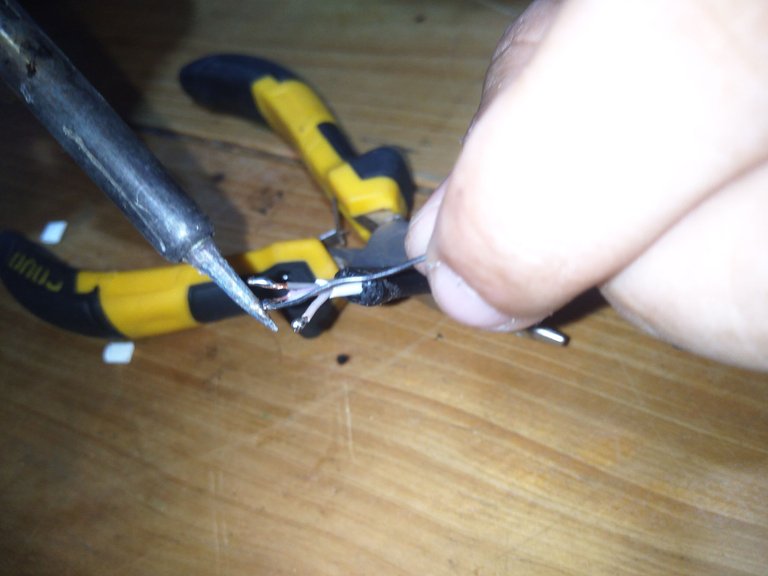
Uno a uno lo posicionamos en las placas de metal del conector y al colocarle el cautín el estaño se derrite rápidamente y el cable queda soldado.
One by one we place them on the metal plates of the connector and when the soldering iron is placed on them, the tin melts quickly and the wire is soldered.
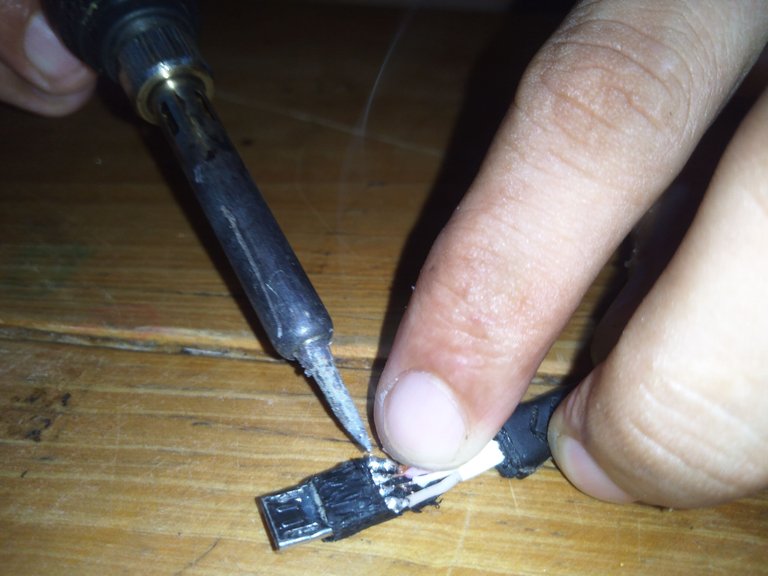
En mi caso me gusta aislar y proteger la soldadura con Silicon caliente, así evito que un hilo de cobre pueda tocar el cable de al lado, también evitó que se mueva en ese área y se despegue por el uso.
In my case I like to insulate and protect the solder with hot Silicon, this way I avoid that a copper wire can touch the wire next to it, it also avoids that it moves in that area and gets unstuck by the use.
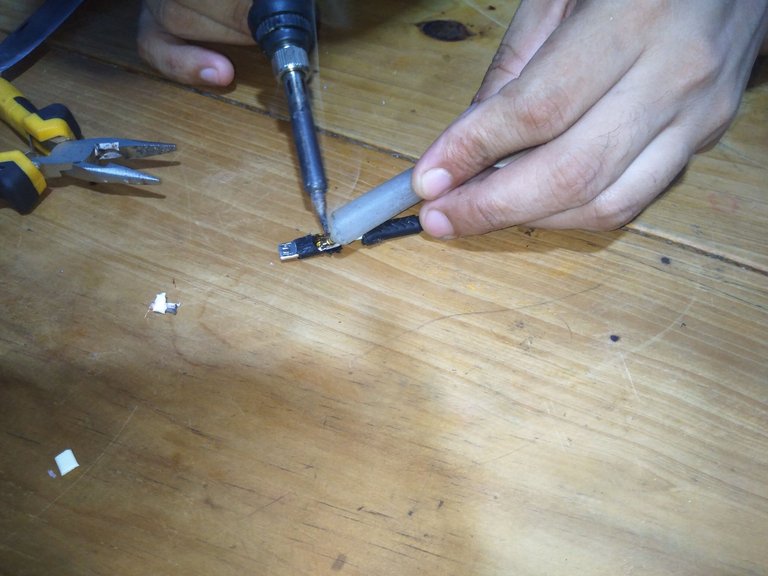
El cable se verá e esta forma, ya cubierto con estaño, lo otro que me gusta utilizar para darle más estética y seguridad, es el termoencogible, que coloco al finalizar el trabajo.
En este punto ya he hecho una prueba de carga, porque imagínense que lo armo completamente y resulta que el cable no está cumpliendo su función.
The cable will look like this, already covered with tin, the other thing I like to use to give it more aesthetics and security, is the heat shrink, which I place at the end of the work.
At this point I have already done a load test, because imagine that I assemble it completely and it turns out that the cable is not fulfilling its function.
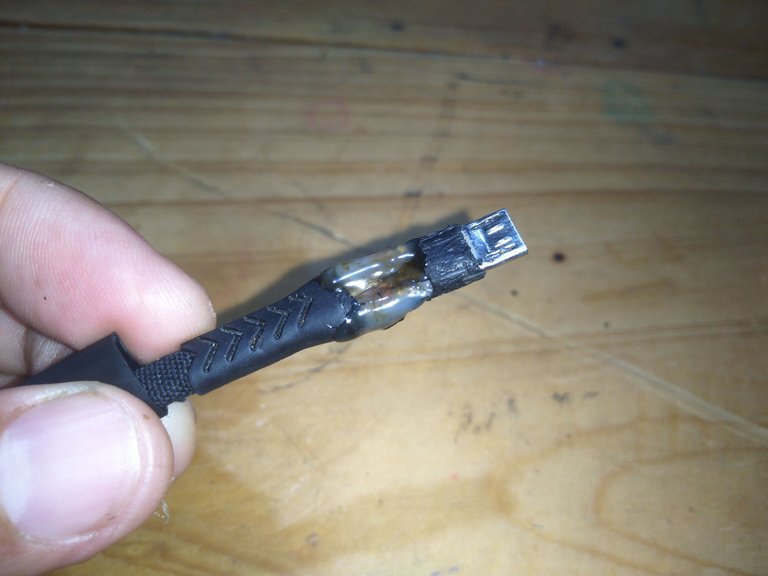
Colocó el anillo original para que siga cumpliendo su función de seguridad, nuevamente le coloco calor al anillo para que pueda realizar fácilmente.
He placed the original ring so that it continues to fulfill its safety function, again I put heat on the ring so that it can perform easily.
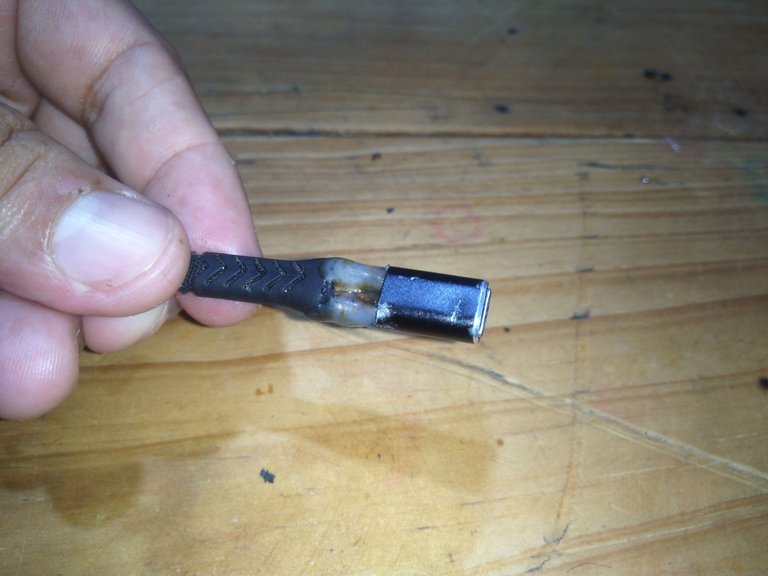
Al estar el anillo en su lugar, subo el termoencogible para cubrir el cable y con el calor del cautín este elemento se encoge quedando advertido al cable.
When the ring is in place, I raise the heat shrink to cover the cable and with the heat of the soldering iron this element shrinks, leaving the cable exposed.
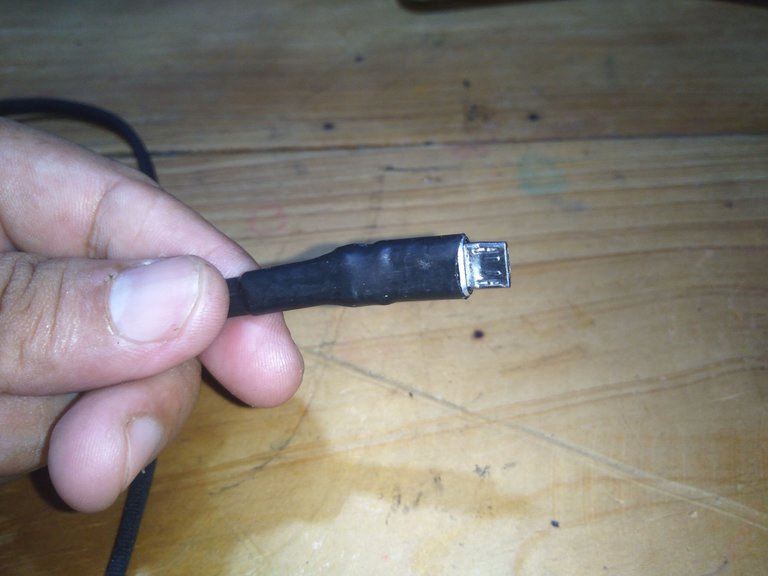
Hemos evadido nuevamente la obsolescencia programada en estos cables, es algo que podemos hacer nosotros mismos, porque hay cables USB originales que valen la pena reparar.
El cable original o de calidad se conoce porque cada uno de los cables tiene muchas hebras de cobre y son evidentemente más gruesos.
Recuerden que el cable es el conductor de la corriente y sí el cable es muy delgado o carece de pocos filamentos de cobre no cargará adecuadamente, aún así sí el cargador es de más potencia.
We have again avoided planned obsolescence in these cables, it is something we can do ourselves, because there are original USB cables that are worth repairing.
The original or quality cable is known because each of the wires have many strands of copper and are obviously thicker.
Remember that the cable is the conductor of the current and if the cable is too thin or lacks few copper strands it will not charge properly, even if the charger is more powerful.
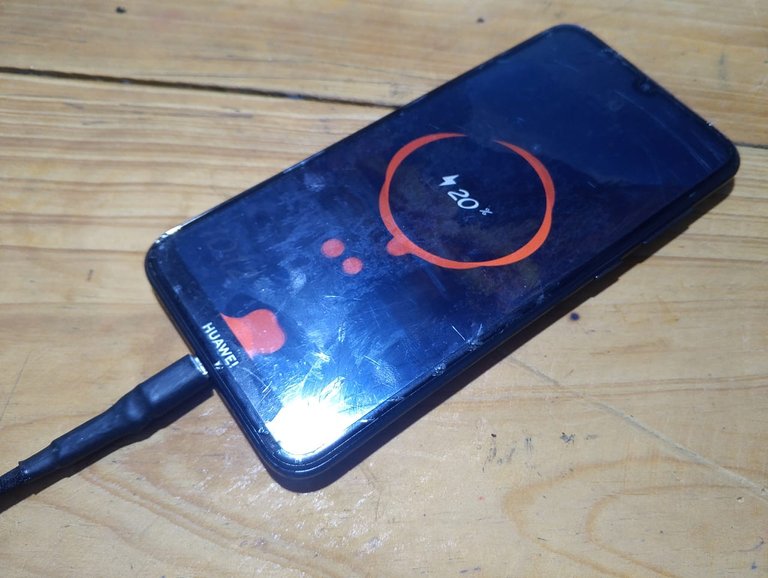
Cuando un cable USB para cargar celulares es de mala calidad,suele calentarse y la carga se hace mucho más lenta, incluso podría llegar a pensar que el cargador está dañado o que la batería está deficiente, pero no!! El probelma está en el conductor de la corriente, el cable.
Espero que esté tutorial les sirva para el futuro y que se atrevan a recuperar el cable USB original de su Smartphone.
Hasta la próxima!!!
When a USB cable for charging cell phones is of poor quality, it tends to heat up and charging becomes much slower, you might even think that the charger is damaged or that the battery is deficient, but no! The problem is in the current conductor, the cable.
I hope this tutorial will be useful for the future and that you dare to recover the original USB cable of your Smartphone.
See you next time!
Todas las fotografías fueron tomadas con mí Smartphone Huawei Dub-Al00.

Es un tutorial muy útil, gracias por compartir 😉
Gracias por ingresar a mi publicación y tomar interés amiga. Espero sea de utilidad en el futuro.
Saludos, excelente tutorial, es un forma práctica de recuperar el cable USB, como sugerencia puedes usar un corrector de escritura.
Congratulations @rmm32! You have completed the following achievement on the Hive blockchain And have been rewarded with New badge(s)
Your next target is to reach 15000 upvotes.
You can view your badges on your board and compare yourself to others in the Ranking
If you no longer want to receive notifications, reply to this comment with the word
STOPMás de una vez me he visto envuelto en ese tipo de reparaciones, y es que por más que se cuiden, con el tiempo se dañan. Muy buen trabajo. Saludos.
es un trabajón, pero está bueno tomarlo en cuenta para poder resolver.
Cuando lo vemos es un trabajon, pero cuando lo ponemos en práctica nos damos cuenta que es cuestión de minutos. Claro! Teniendo las herramientas.
Hola hermano, te comento tarde la publicación porque la verdad con los apagones que estoy teniendo en estos días no tengo tiempo ni de consumir contenido, hace unos días la situación ha mejorado un tin y hemos cogido un respiro. Has hecho un buen tutorial, esos cables suelen fallar, muchas veces por los motivos que comentas, es que usar el teléfono mientras se carga aumenta las posibilidades de provocarle daños al cable, me autocritico porque en este instante lo estoy usando mientras lo cargo jjj, y ya mi cable sinceramente lo que lleva es cambio porque no aguanta una reparación más 🤣, pero bueno el tipo sigue luchando. Me gustó que colocaras silicona caliente para aislar y para dar firmeza, lo que complementaste con el termocontraible y eso estuvo muy bien, Saludos
Gracias amigo por tu visita, ya me extrañaba que no habías subido más publicaciones,pero ahora entiendo la razón. Oye, cuando puedas retoma el ritmo. Ya estoy preparando otro pero no tiene que ver con la electrónica, es algo que se me ocurrió hacer,un bricolaje.
Que bueno hermano, también me gusta el bricolaje y se me ocurren unas cuantas ideas, lo que pasa que últimamente la situación como te explicaba no me deja mucho tiempo, pero poco a poco voy cogiendo el ritmo nuevamente jjj. Saludos