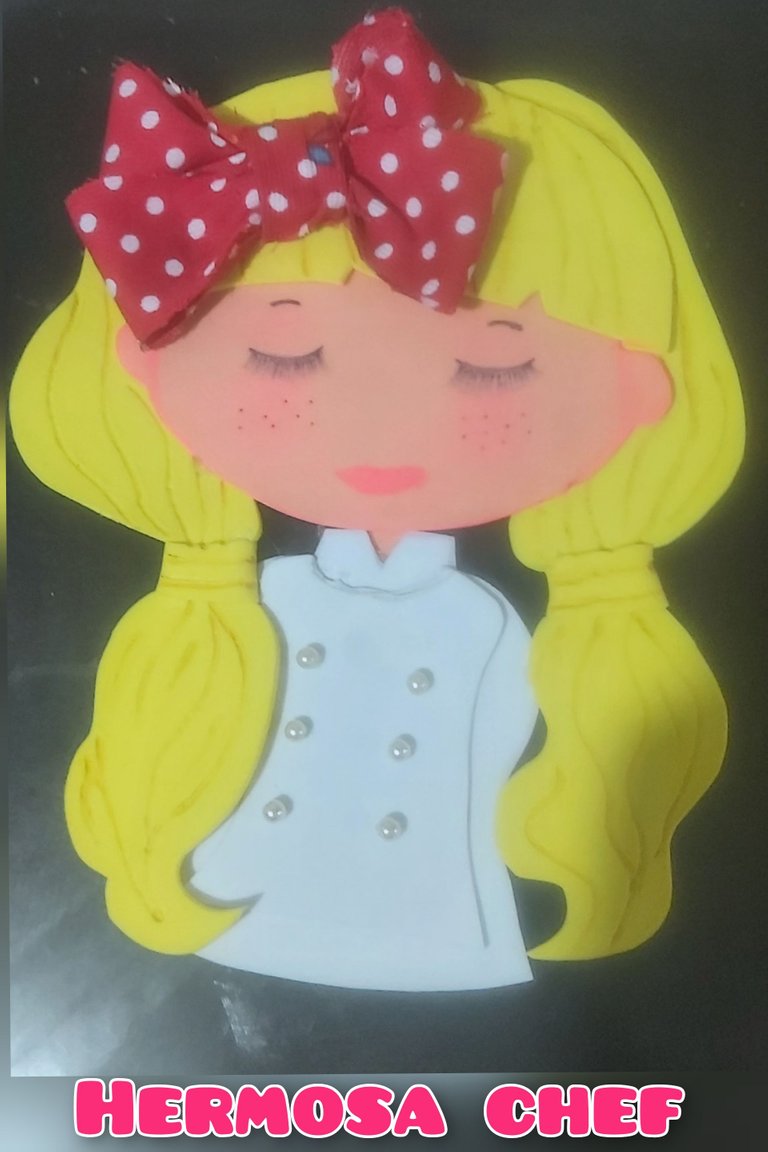
💫 Saludos a todos los integrantes de la colmena, Dios los bendiga grandemente, les quiero compartir la elaboración de una hermosa chef en goma eva, vamos a realizar el paso a pso espero les guste.
💫 Greetings to all the members of the hive, God bless you greatly, I want to share with you the elaboration of a beautiful chef in eva rubber, let's do the step by step, I hope you like it.
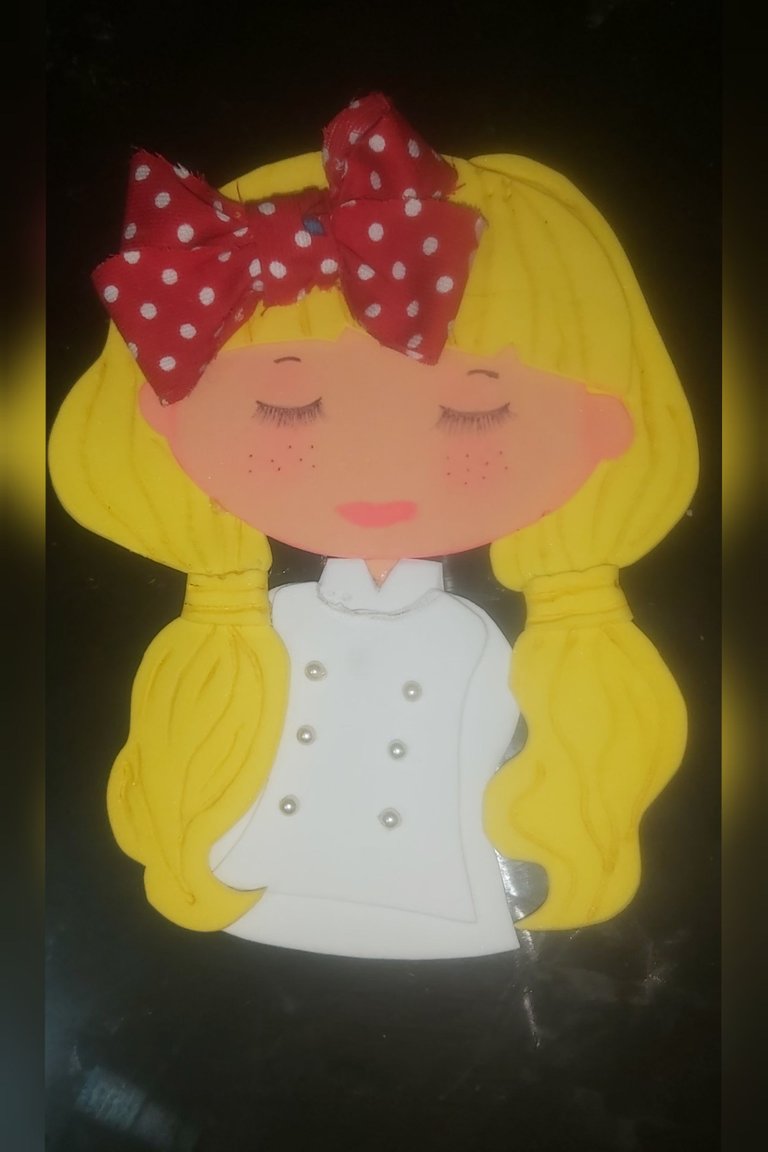
Materiales
🎀 Goma Eva de colores blanco, amarillo y piel
🎀 Tijera
🎀 Pistola de Silicón
🎀 Barra de Silicón
🎀 Marcadores y lapiz
🎀 Tela estampada
🎀 Cuencas perladas
🎀 Plantillas
🎀 Soldador
Materials.
🎀 White, yellow and leather eva rubber.
🎀 Scissors
🎀 Silicone gun
🎀 Silicone Stick
🎀 Markers and pencils
🎀 Printed fabric
🎀 Pearlized basins
🎀 Stencils
🎀 Welder
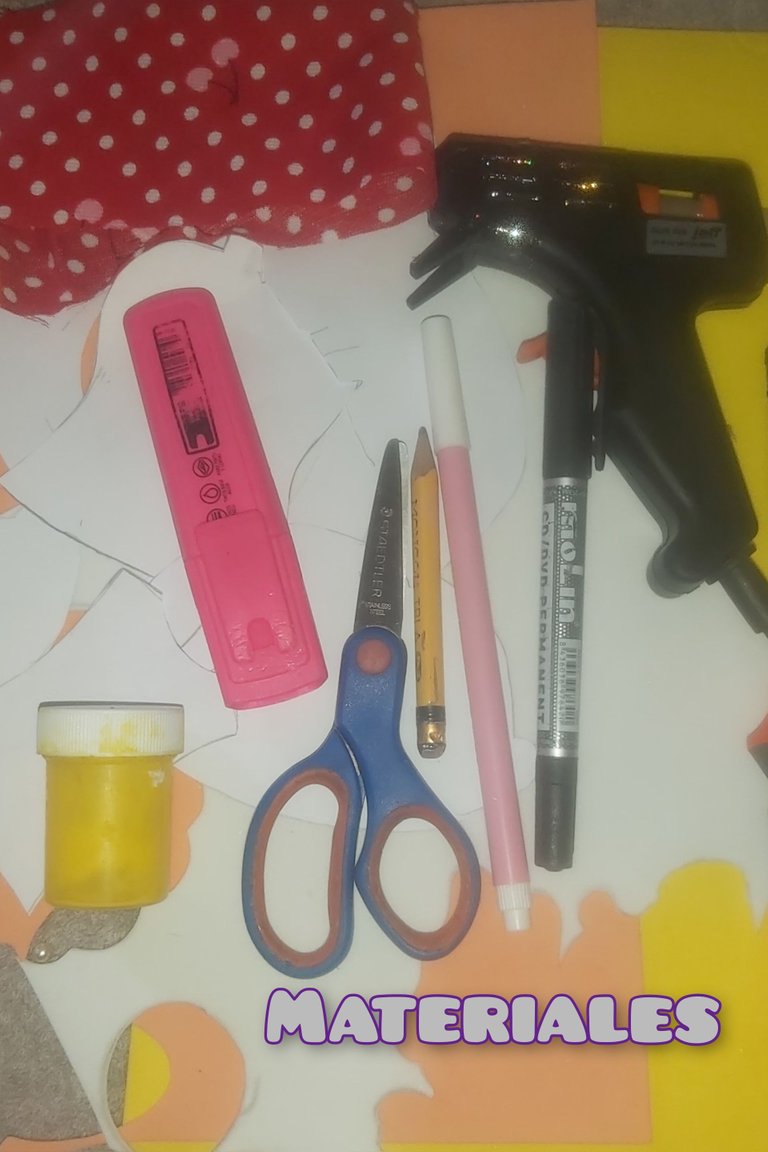
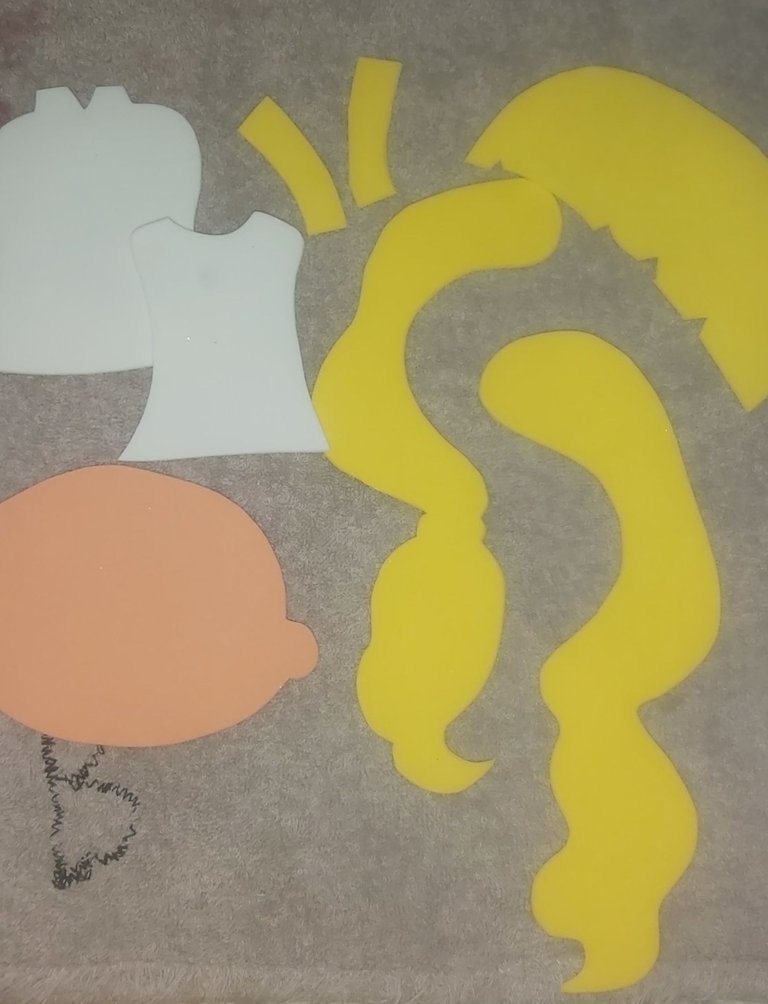
Primero colocamos las plantillas en la goma eva de los colores que corresponden luego marcamos y recortamos todas las piezas.
First we place the templates on the eva gum in the corresponding colors, then we mark and cut out all the pieces.
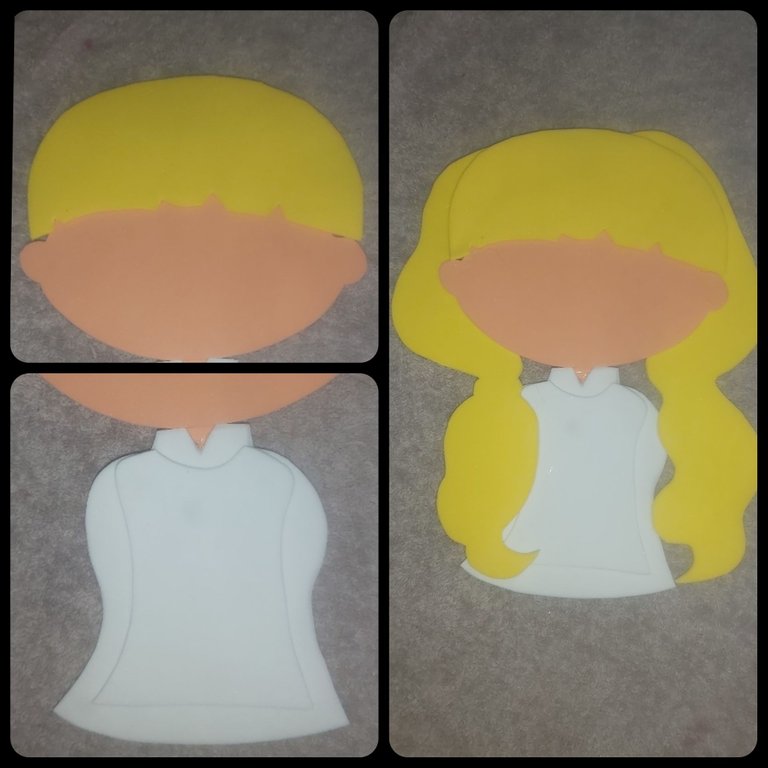
Es hora de armar la chef, comenzaremos colocando silicon el la cabeza y pegamos l pollina, la bata y los cabellos.
Now it's time to assemble the chef, we will start by putting silicone on the head and glue the skirt, the robe and the hair.
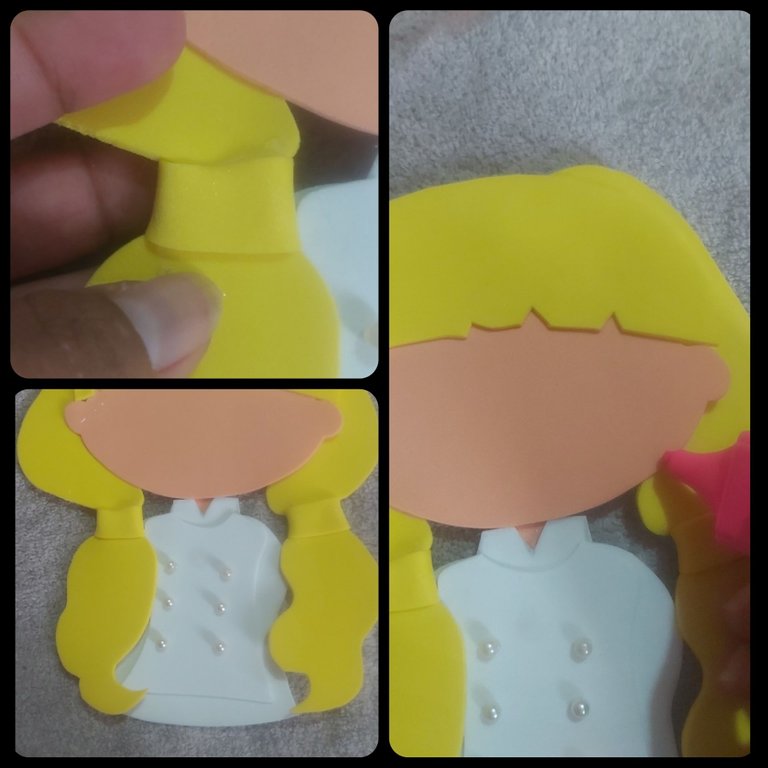
Seguidamente pegamos una tira de goma eva en el cabello para simular una moñera, también pegamos las cuencas perladas y sombreamos toda la cara con el marcador rosado.
Then we glued a strip of eva rubber in the hair to simulate a bun, we also glued the pearly sockets and shaded the entire face with the pink marker.
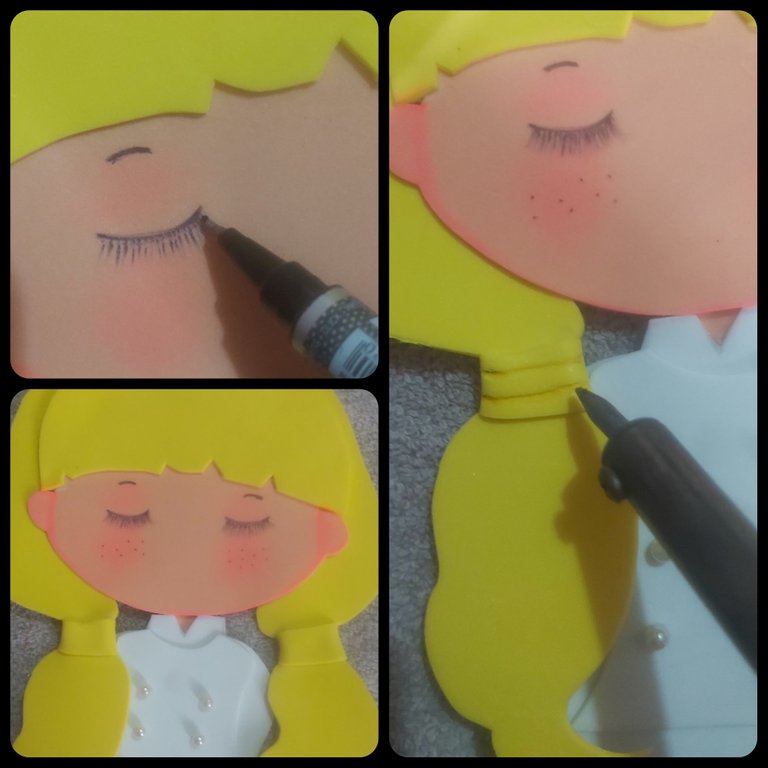
En este paso vamos a hacer las cejas, los ojos y las pestañas de nuestra chef, también hacemos detalles en el cabello con el Soldador o cautin.
In this step we are going to make the eyebrows, eyes and eyelashes of our chef, we also make details in the hair with the soldering iron or cautin.
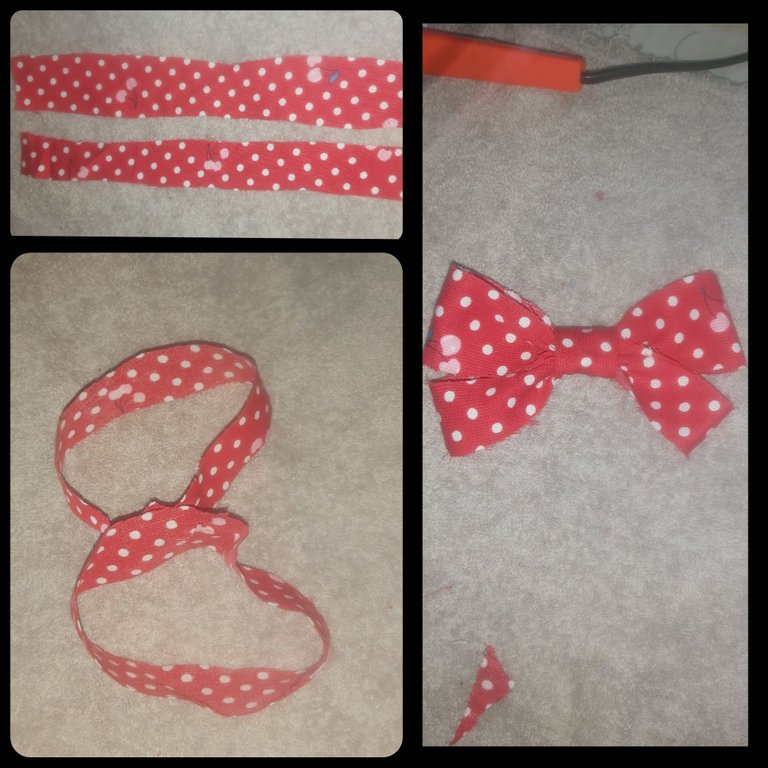
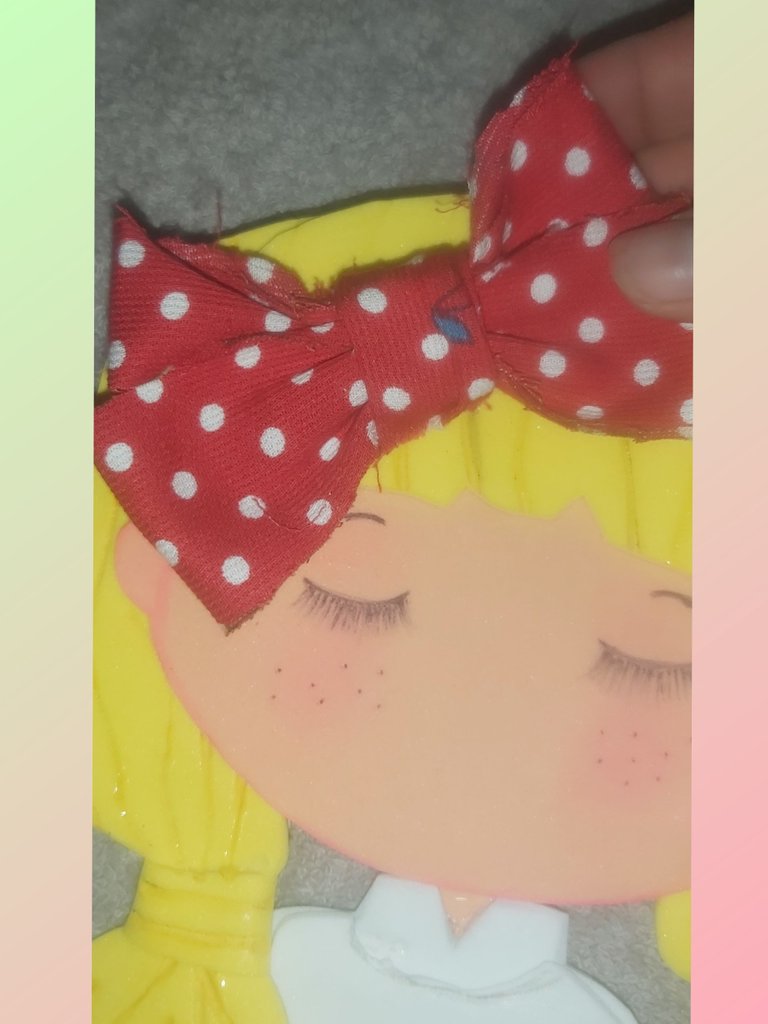
Pará finalizar cortamos 2 tiras de la tela estampada, pegamos las 2 puntas de las tiras para firmar 2 círculos luego pasamos otro pedazo de tela por el medio de los 2 círculos dándo una vuelta y sujetamos para firmar un lazo y lo pegamos en la cabeza de la chef.
To finish we cut 2 strips of the printed fabric, we glue the 2 ends of the strips to sign 2 circles then we pass another piece of fabric through the middle of the 2 circles giving a turn and we fasten to sign a bow and we glue it on the head of the chef.
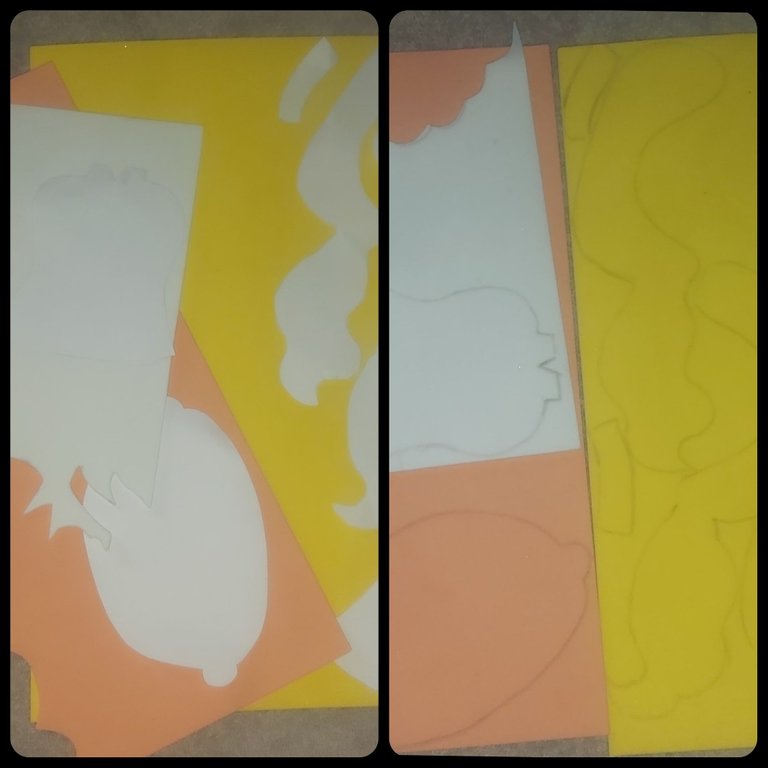
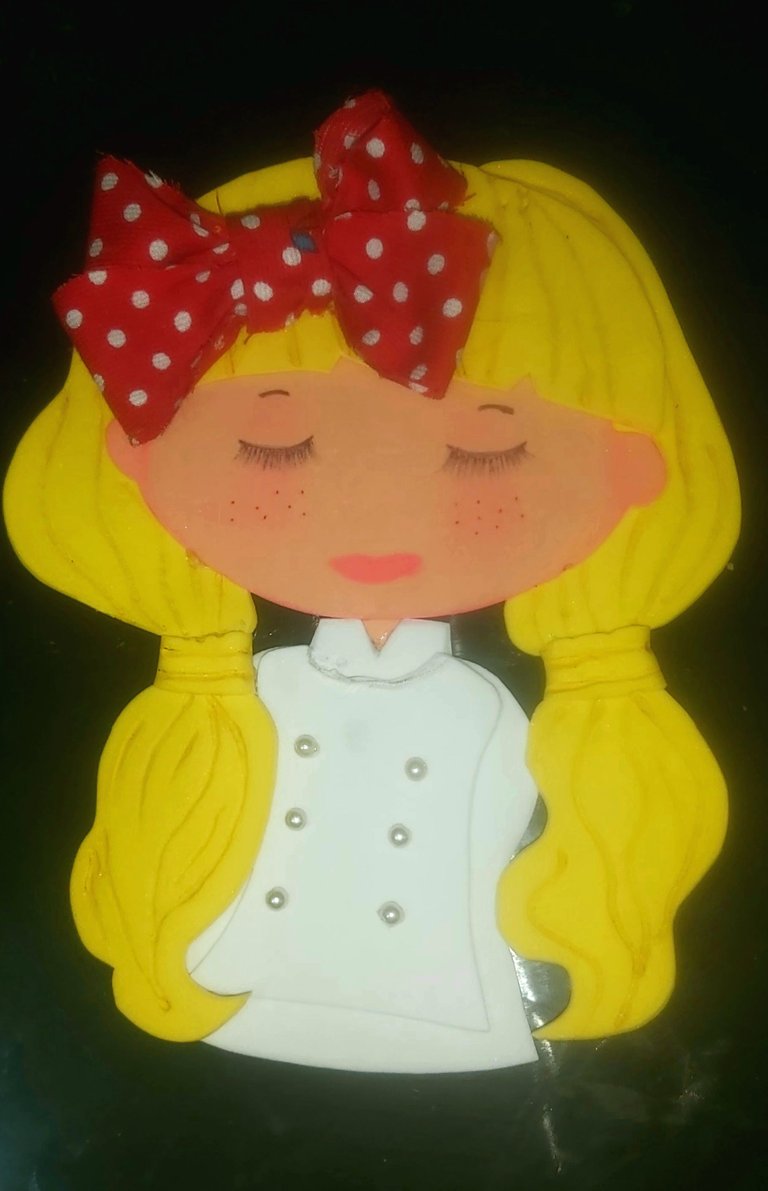
Les muestro el resultado final.
I show you the final result.
Gracias por leer mi publicación, hasta otro oportunidades
Thank you for reading my publication, until another opportunity
Las fotos fueron tomadas con un celular Huawei Y6 y fueron editadas en la aplicación Incollage y traducidas en la pagina www.deepl.com

> The photos were taken with a Huawei Y6 cell phone and were edited in the Incollage application and translated on the website www.deepl.com.