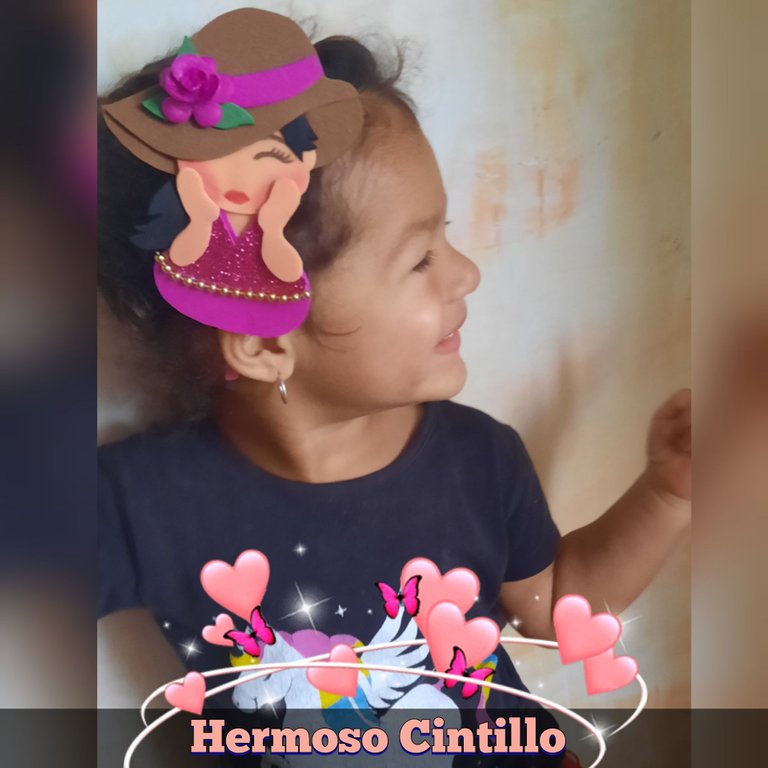
Hola queridos amigos un día más para compartir mis creaciones con ustedes, espero se encuentren muy bien y tengan un lindo y Bendecido día.
Esta ocasión les voy a mostrar como elaborar una linda deadema o cintillo para la chiquita de la casa, espero les guste y los invito que vean el procedimiento a continuación.
Hello dear friends, another day to share my creations with you, I hope you are very well and have a nice and blessed day.
This time I am going to show you how to make a nice headband for the little girl of the house, I hope you like it and I invite you to see the procedure below.
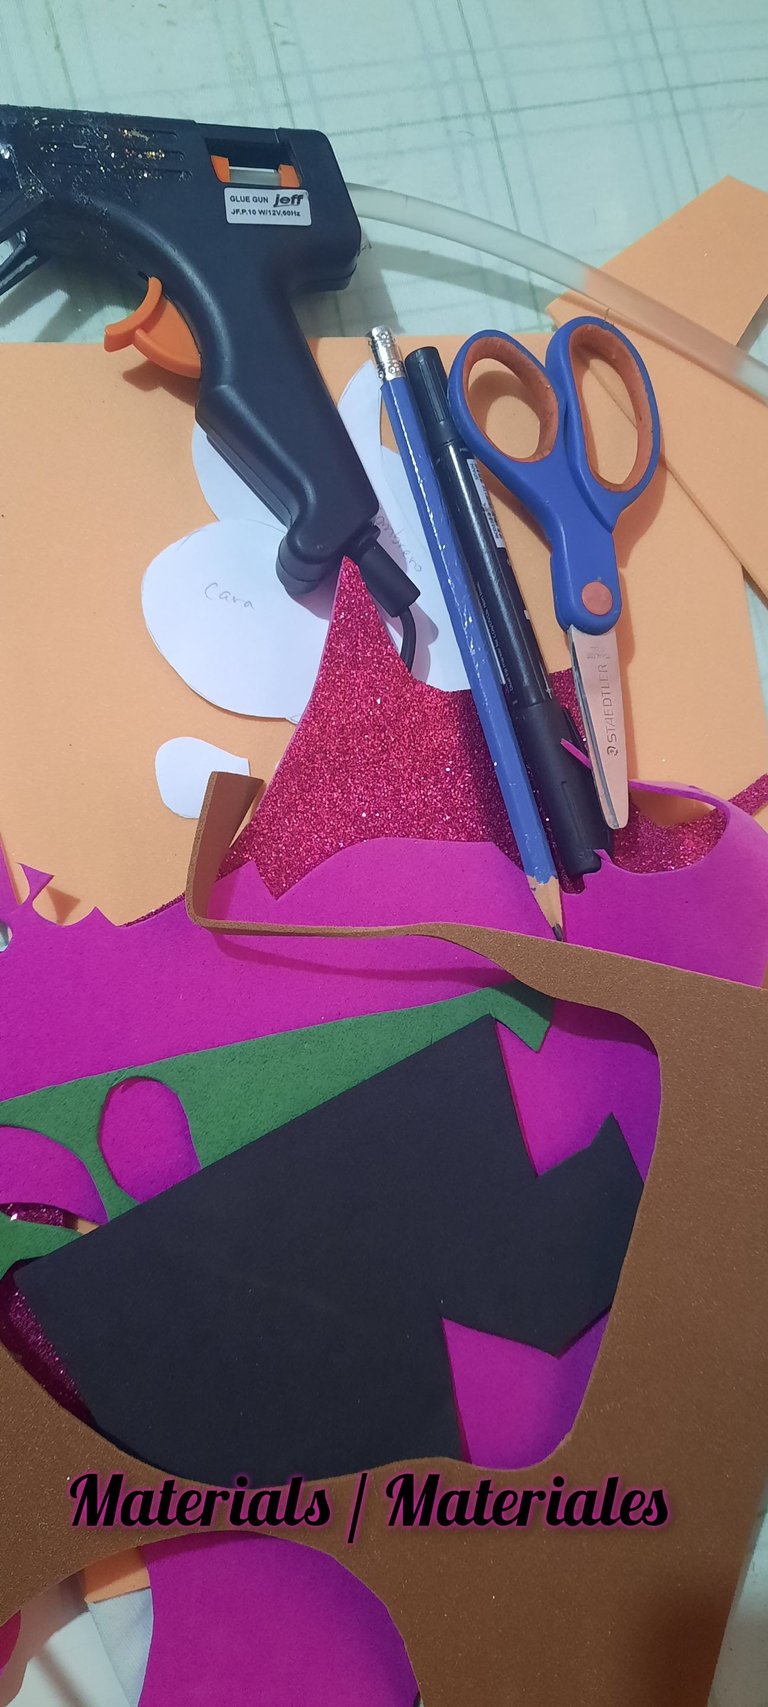
Materiales
Foami de colores
Tijera
Lápiz
Silicón caliente
Marcador
Perla corrida
Cintillo
Materials
Colored Foami
Scissors
Pencil
Hot glue
Marker
Pearl bead
Tape
Vamos a conocer el proceso creativo
Let's get to know the creative process
Paso 1
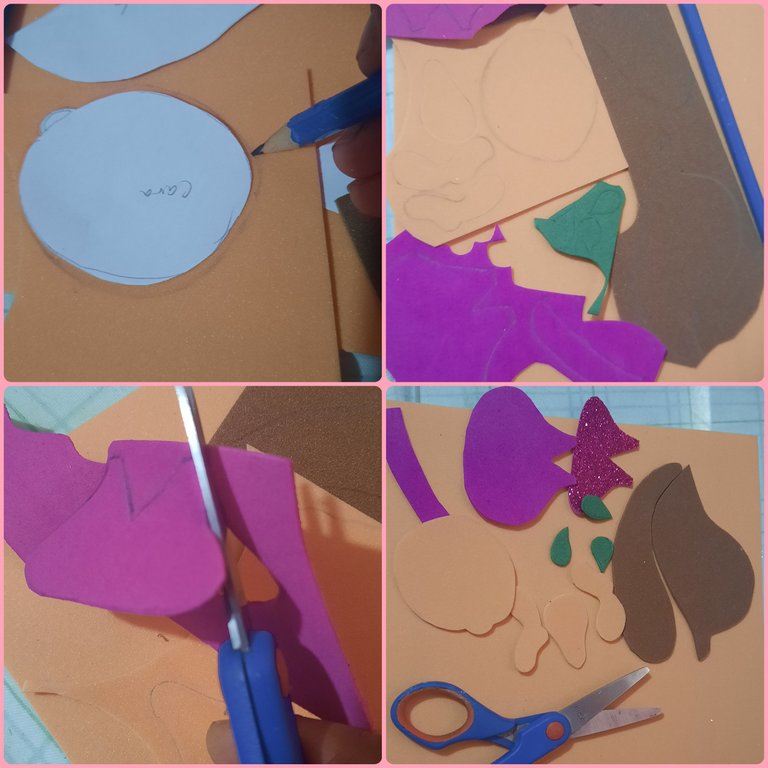
Marcamos todos patrones en los foamis del color correspondiente y recortamos todas las piezas.
Step 1
We mark all patterns on the foamis of the corresponding color and cut out all the pieces.
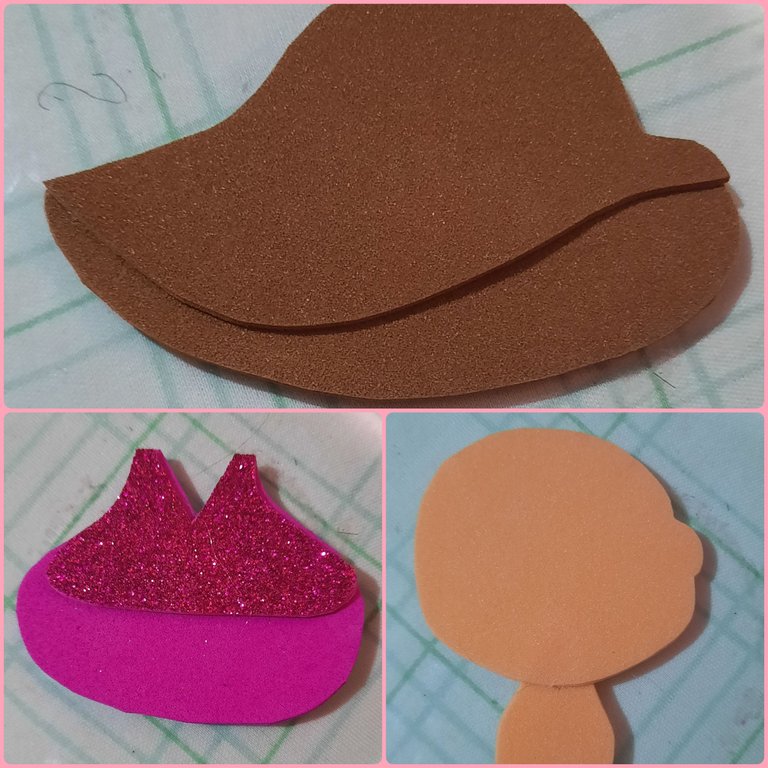
Paso 2
Teniendo todas las piezas recortadas comenzamos a armar el sobrero que tiene 2 piezas, luego el vestido y por último pegamos el cuello de la cabeza.
Step 2
Having all the pieces cut out, we begin to assemble the hat, which has 2 pieces, then the dress and finally we glue the neck of the head.
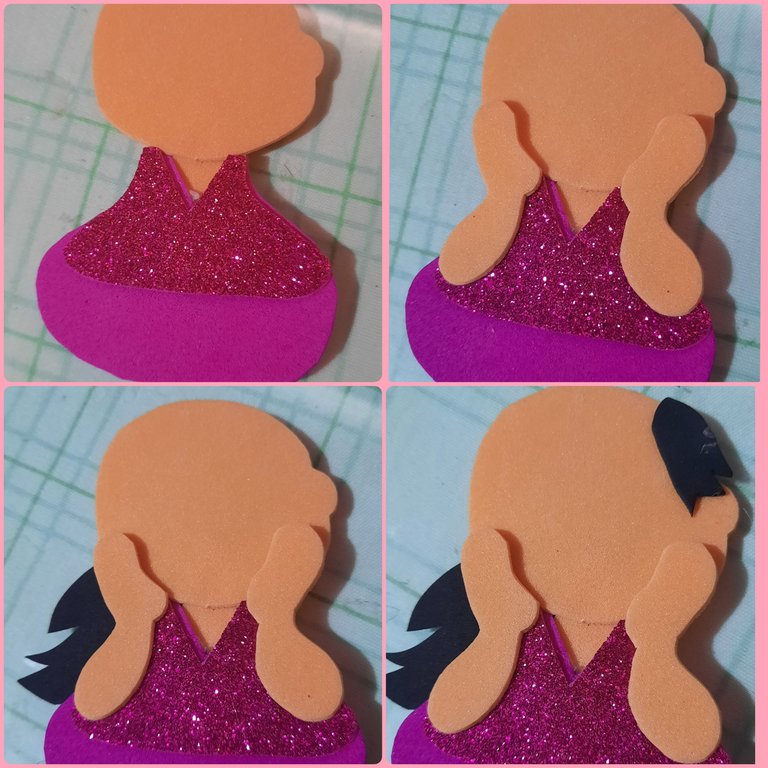
Paso 3
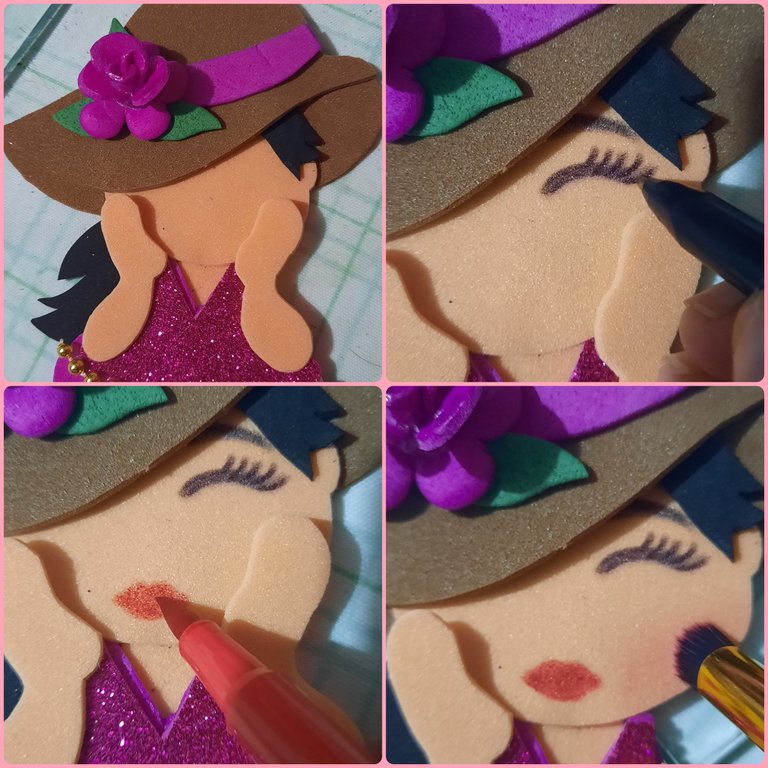
Seguidamente pegamos el vestido al cuerpo de la muñeca, le colocamos las manos encima y luego pegamos el cabello.
Step 3:
Next we glue the dress to the doll's body, place the hands on top and then glue the hair.
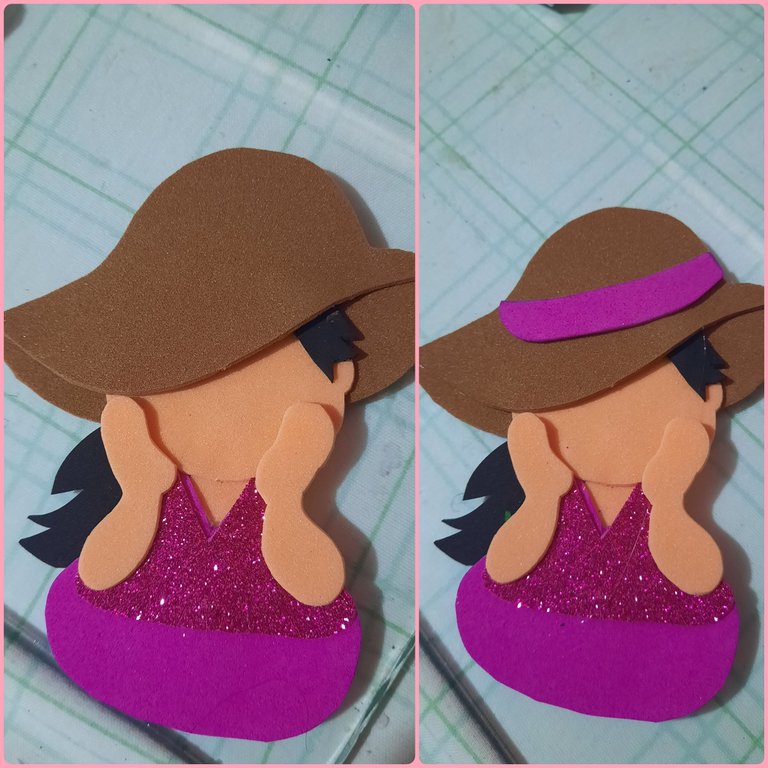
Paso 4
Continuamos pegando el sombrero encima de la cabeza y la cinta sobre el sombrero.
Step 4:
Continue by gluing the hat on top of the head and the ribbon on top of the hat.
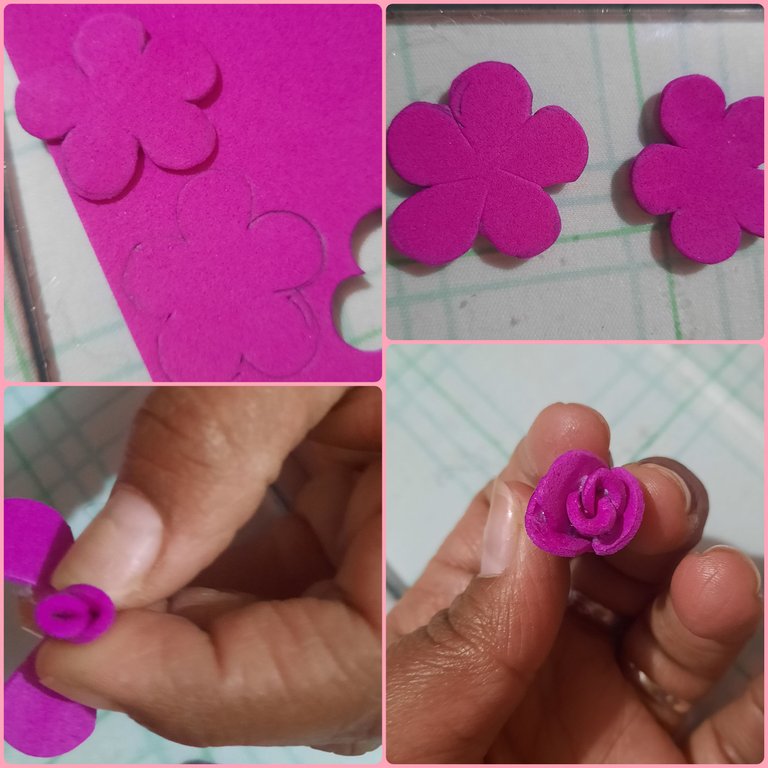
Paso 5
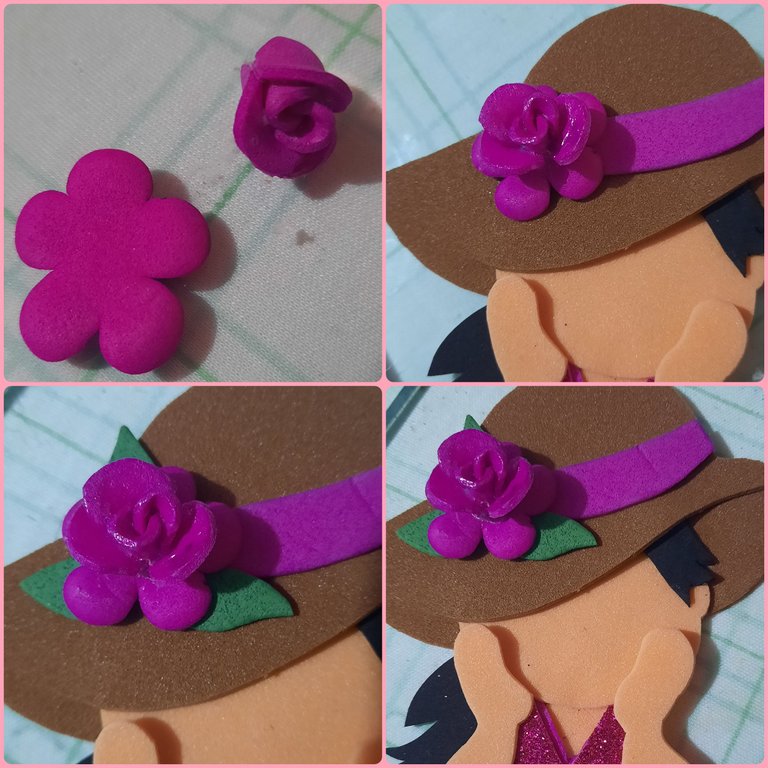
Marcamos 2 flores en el foami y recortamos, luego una de las flores la enrollamos para hacer el capullo y la pegas encima de la segunda flor.
Step 5:
Mark 2 flowers on the foami and cut them out, then roll one of the flowers to make the bud and glue it on top of the second flower.
Paso 6
Pegamos la flor antes hecha encima de la cinta del sombrero y pegamos las hojas debajo de la flor, luego con el marcador negro hacemos las pestañas y con el marcador roja hacemos la boca de la muñeca
Step 6:
Glue the flower previously made on top of the hat ribbon and glue the leaves under the flower, then with the black marker we make the eyelashes and with the red marker we make the mouth of the doll.
Paso 7
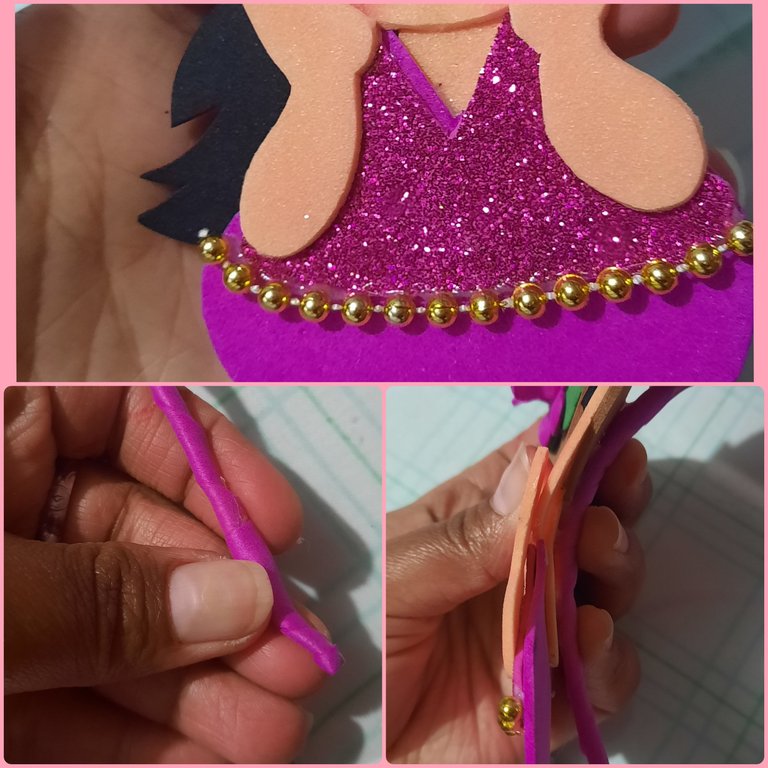
Adornamos el vestido con las perlas corridas, luego con una tira de foami forramos el cintillo y le pegamos la muñeca ya terminada.
Step 7
We decorate the dress with the pearls, then with a strip of foami we cover the headband and we glue the finished doll.
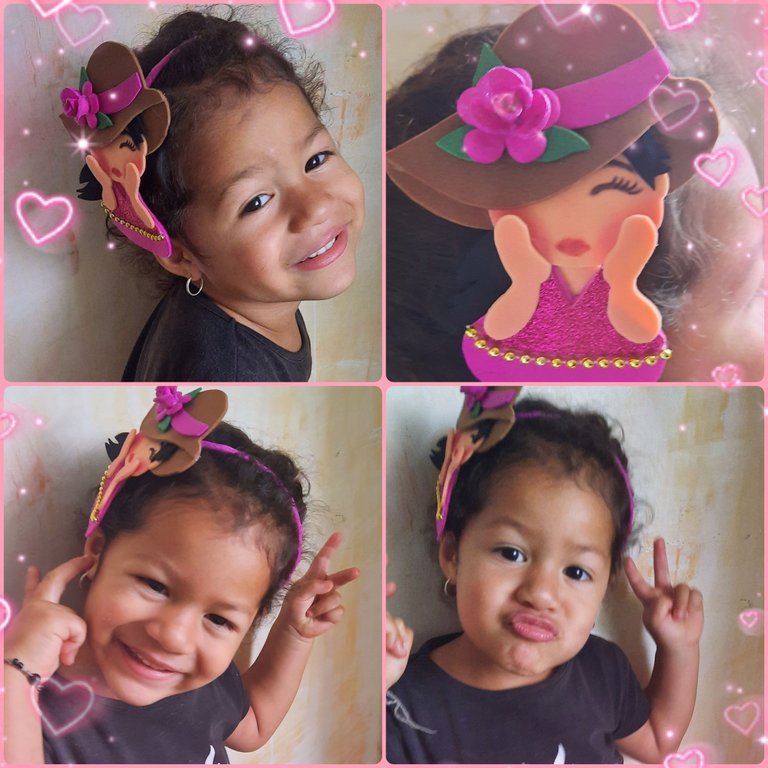
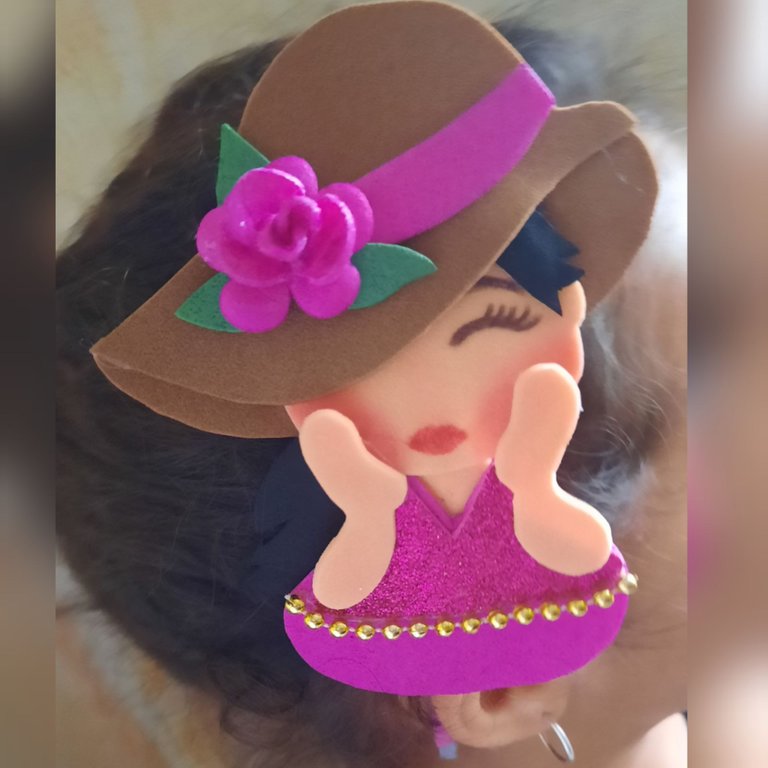
Aquí les presento el lindo resultado.
Here is the nice result.
Espero les guste y puedan elaborarlo, me despido, que tengan un excelente día en el nombre de Dios, hasta luego.
I hope you like it and can elaborate it, I say goodbye, have a great day in the name of God, see you later.
Muchas gracias por ver mi trabajo
Thank you very much for viewing my work
Las fotos son de mi autoria, editadas en la aplicación Incollage y el texto es traducido en www.deepl.com
The photos are my own, edited in the Incollage application and the text is translated at www.deepl.com.
Thank you for sharing this amazing post on HIVE!
non-profit curation initiative!Your content got selected by our fellow curator @rezoanulvibes & you just received a little thank you via an upvote from our
You will be featured in one of our recurring curation compilations and on our pinterest boards! Both are aiming to offer you a stage to widen your audience within and outside of the DIY scene of hive.
Join the official DIYHub community on HIVE and show us more of your amazing work and feel free to connect with us and other DIYers via our discord server: https://discord.gg/mY5uCfQ !
If you want to support our goal to motivate other DIY/art/music/homesteading/... creators just delegate to us and earn 100% of your curation rewards!
Stay creative & hive on!