Muy buenos y bendecidos días , tengan tod@s mis amig@s de hive,... Hoy les voy a mostrar un pequeño trabajo que me enseño mi abuela cuando estaba en este mundo, .. en su momento le gustaban mucho las fiestas tradicionales , ella decía que era una entradita de dinero, eramos pobres y ella aprovechara esas ocasiones pues,...
En el mes de mayo se celebran los velorios de cruz una fecha tradicional y comenzaba a hacer y vestir una infinidad de cruces y las colocaba en la puerta de la casa ´para venderlas y hacer dinerito como ella decía, ya en la tarde con el dinero ganado nos mandaba a comprar pan y leche ! una delicia para nosotras.....
Very good and blessed morning, have a good day to all my hive friends,... Today I am going to show you a little work that my grandmother taught me when she was in this world,... at the time she really liked parties traditional, she said that it was a small income, we were poor and she took advantage of those opportunities, well...
In the month of May, the cross wakes are celebrated, a traditional date, and she began to make and dress an infinite number of crosses and place them on the door of the house 'to sell them and make money, as she said, already in the afternoon with the money. cattle sent us to buy bread and milk! a delight for us....
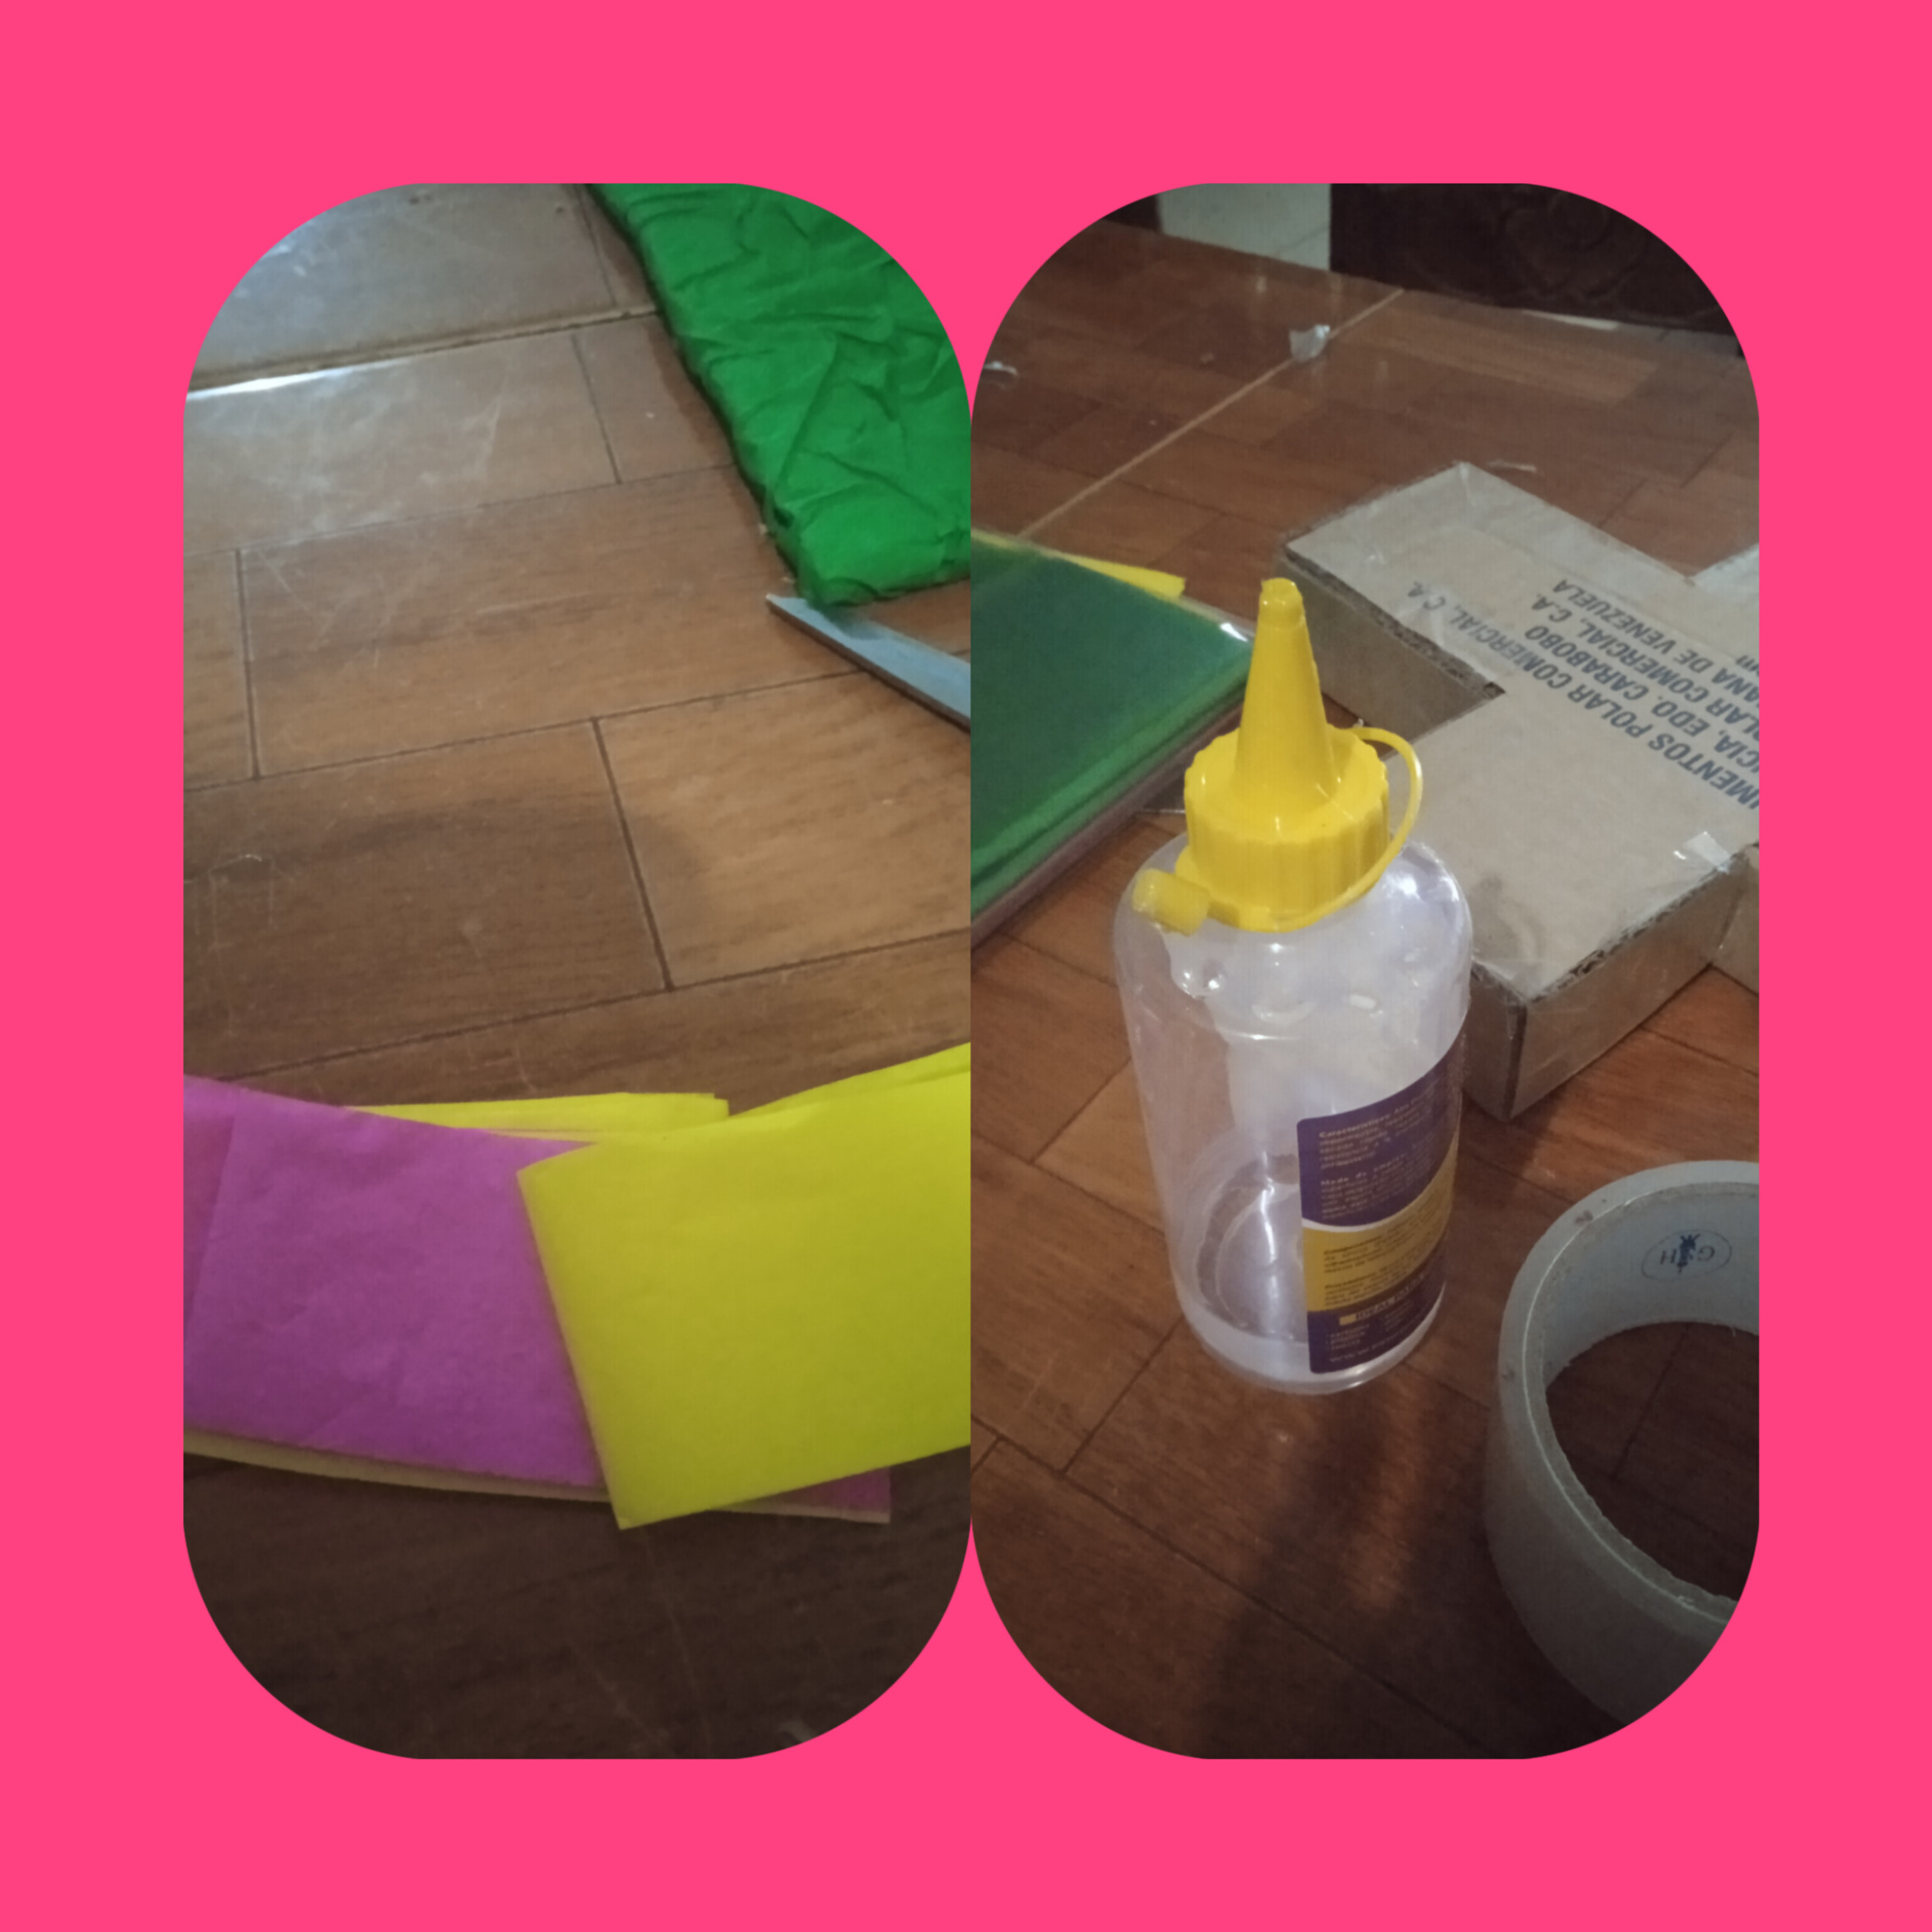
MATERIALES
Papel de seda de diferentes colores.
Carton de cajas reciclado .
Silicon liquido.
Escarcha o purpurina.
Tijeras , pega blanca, y lápiz
MATERIALS
Tissue paper of different colors.
Recycled cardboard boxes.
Liquid silicone.
Frost or glitter.
Scissors, white glue, and pencil
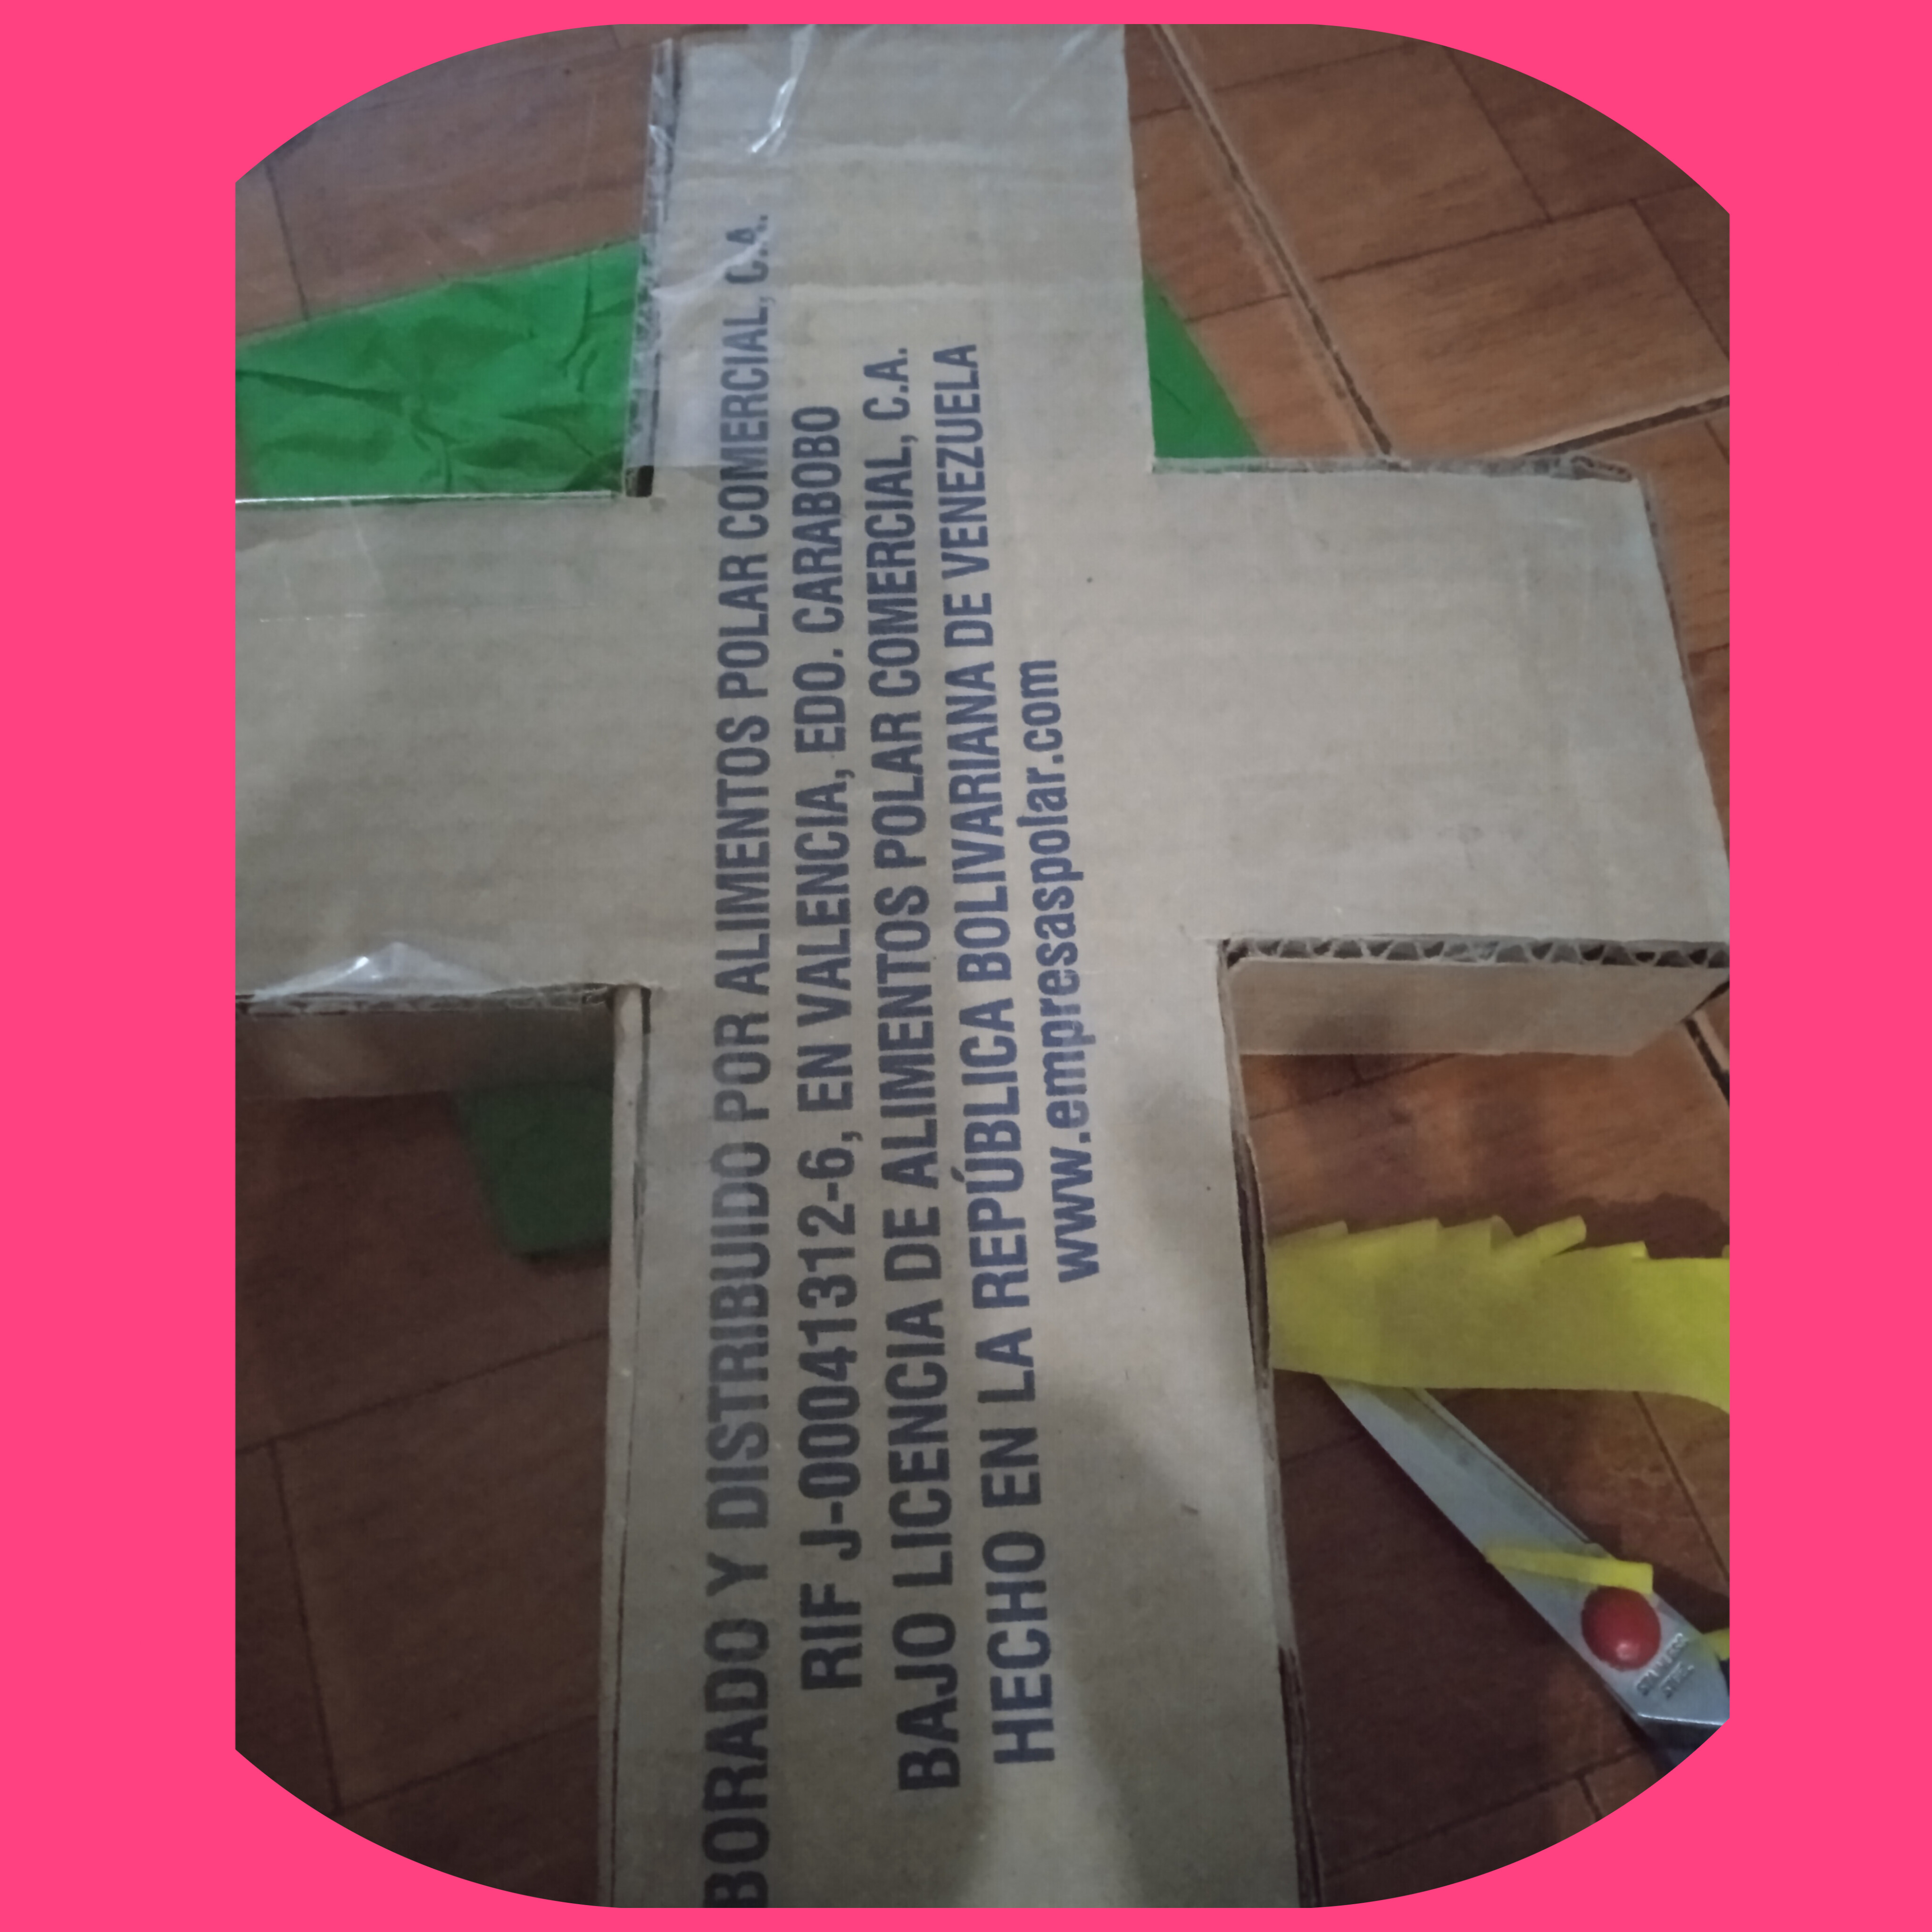
PASO 1.
Lo primero que debemos hacer es tomar las medidas de que tamaño queremos nuestra cruz , yo la hice de 50x60x... la marque en el cartón modelo de cruz y un liston de 20cm para el borde y comienzo a pegar los dos lados al mismo tiempo para no perder la forma.. a veces pegamos una parte y después la otra y cuando terminas te das cuenta de que te quedo torcida.
STEP 1.
The first thing we must do is take the measurements of what size we want our cross, I made it 50x60x... I marked it on the cardboard cross model and a 20cm strip for the edge and I start gluing the two sides at the same time so as not to lose the shape... sometimes we glue one part and then the other and when you finish you realize that it is crooked.
PASO 2.
Ahora tomamos el papel de seda y los doblamos en cuatro partes luego cortamos en listones de 7cm aprox. luego hacemos pequeños cortes en el borde del listón ahora tomamos las tijeras y con el borde de estas hacemos un tirón y quedara con un arruche , hacemos este paso a todo el papel cortado. ..
STEP 2.
Now we take the tissue paper and fold them into four parts, then cut them into ribbons of approximately 7cm. Then we make small cuts on the edge of the ribbon, now we take the scissors and with the edge of these we make a pull and it will be left with a crease, we do this step to all the cut paper. ..
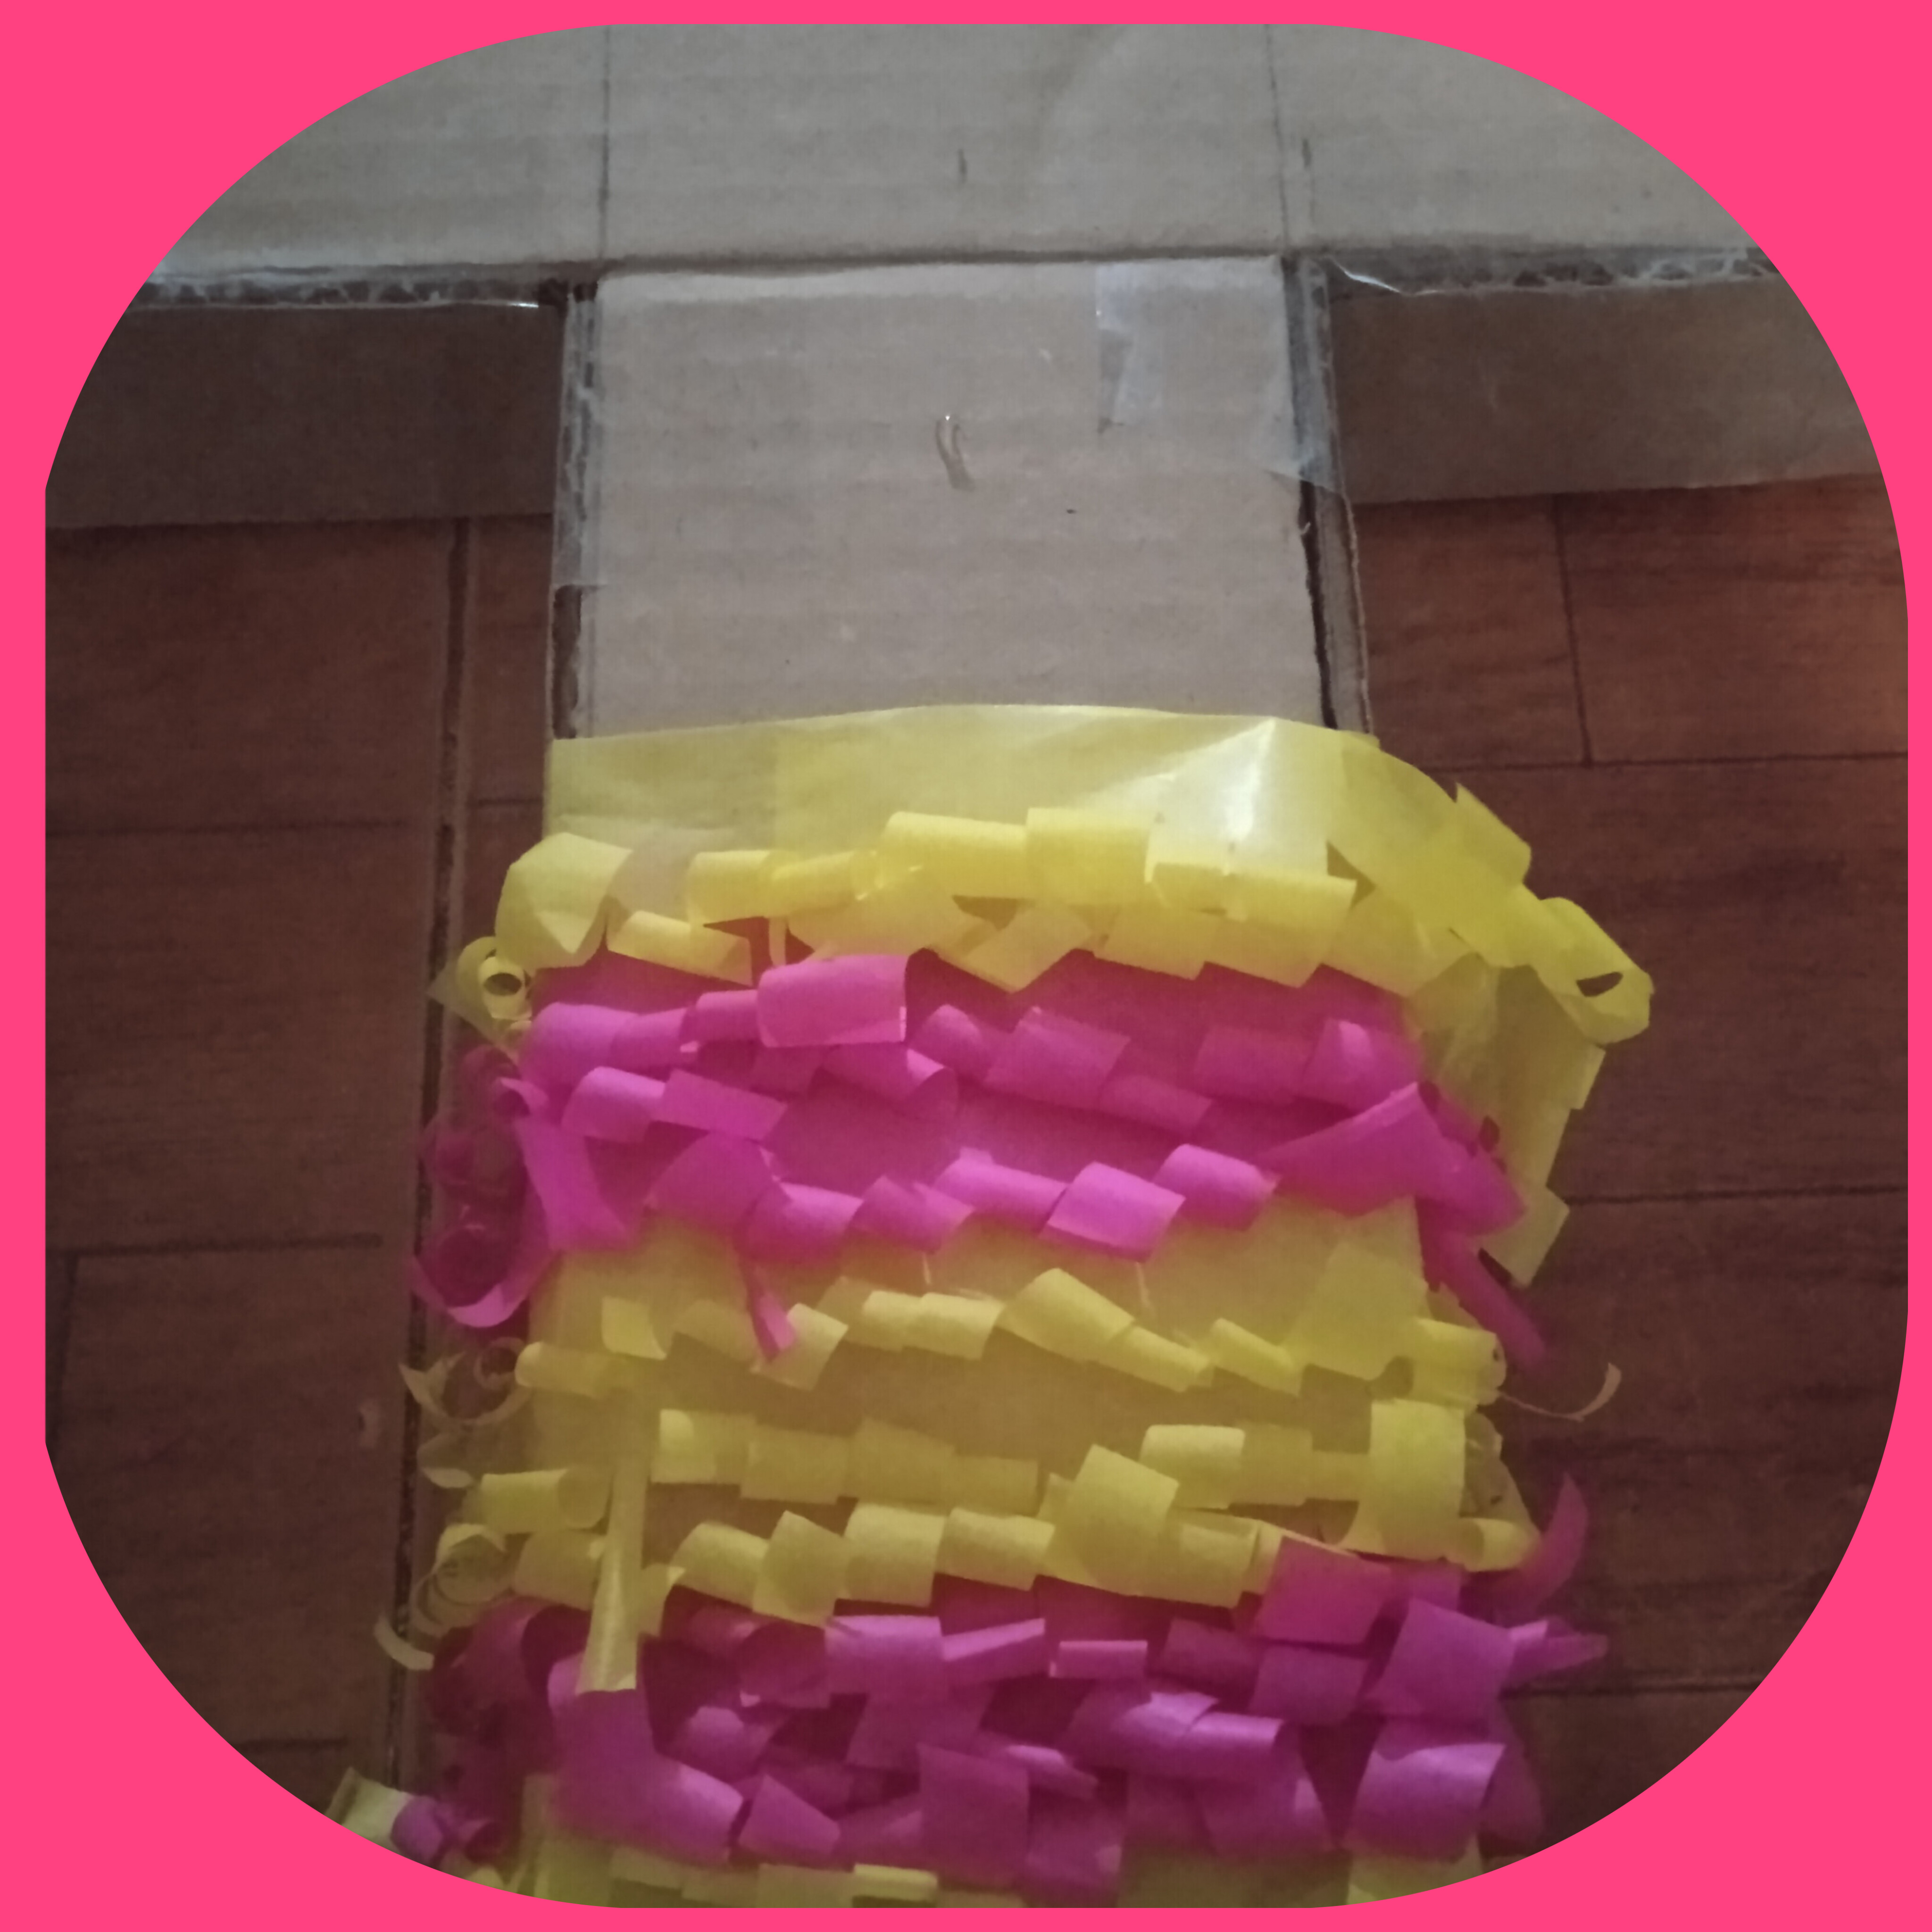
PASO 3.
Ahora comenzamos a pegar listón sobre listón y variando los colores , si desean los pueden intercalando los colores así también se ve linda,.
STEP 3.
Now we start gluing ribbon on ribbon and varying the colors. If you want, you can intersperse the colors so it also looks pretty.
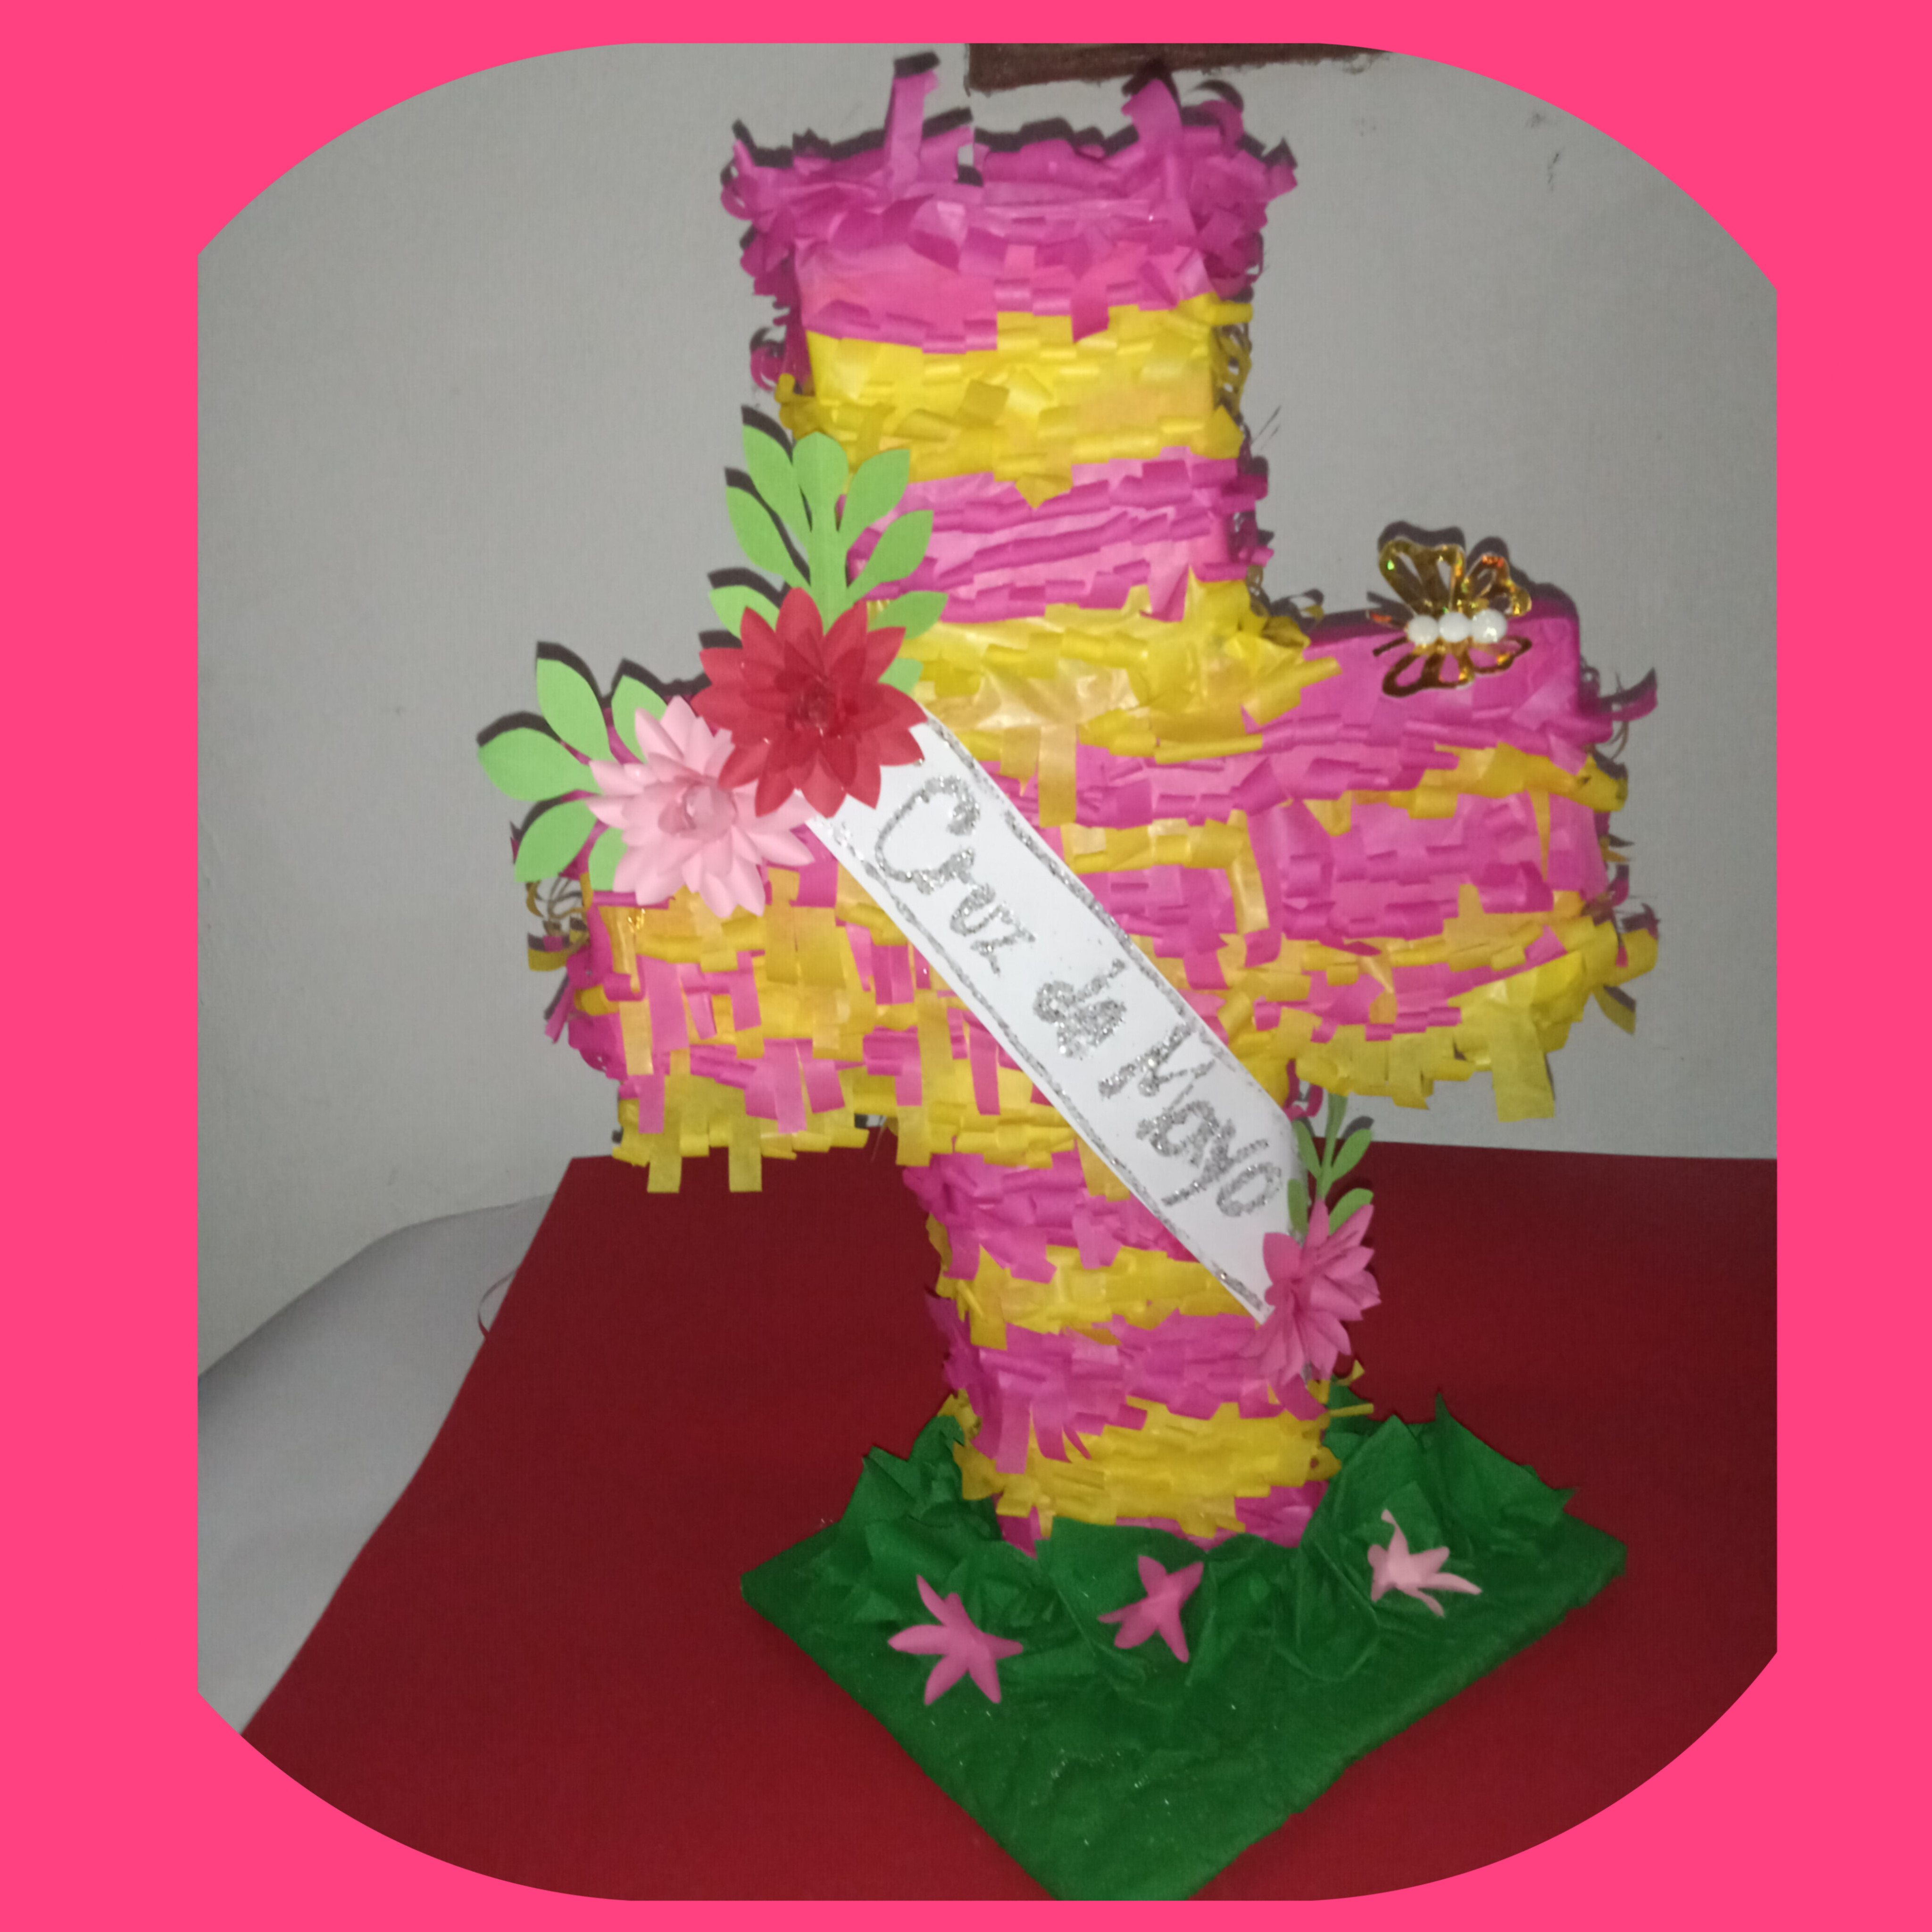
Ya terminada de rellenar todos los espacios con el papel de seda, yo le coloque una banda con su nombre y algunas florecitas de cartulina.
Quedo muy bonita y recordé bonitos momentos... cosas que te alegran la vida
Once I finished filling in all the spaces with the tissue paper, I placed a band with her name and some cardboard flowers.
I looked very pretty and I remembered beautiful moments... things that brighten your life
No se ustedes, pero a mi me encanta compartir con ustedes mis trabajos, siento que estoy dejando un granito de arena en este inmenso mar de la enseñanza,.. estoy muy agradecida y nos vemos en un próximo proyecto chao! y bendiciones!
I don't know about you, but I love sharing my work with you, I feel like I'm leaving a grain of sand in this immense sea of teaching,... I'm very grateful and see you on the next project bye! and blessings!
Oh, I like this!
Beautiful!
Gracias!... Feliz de que te guste mi trabajo