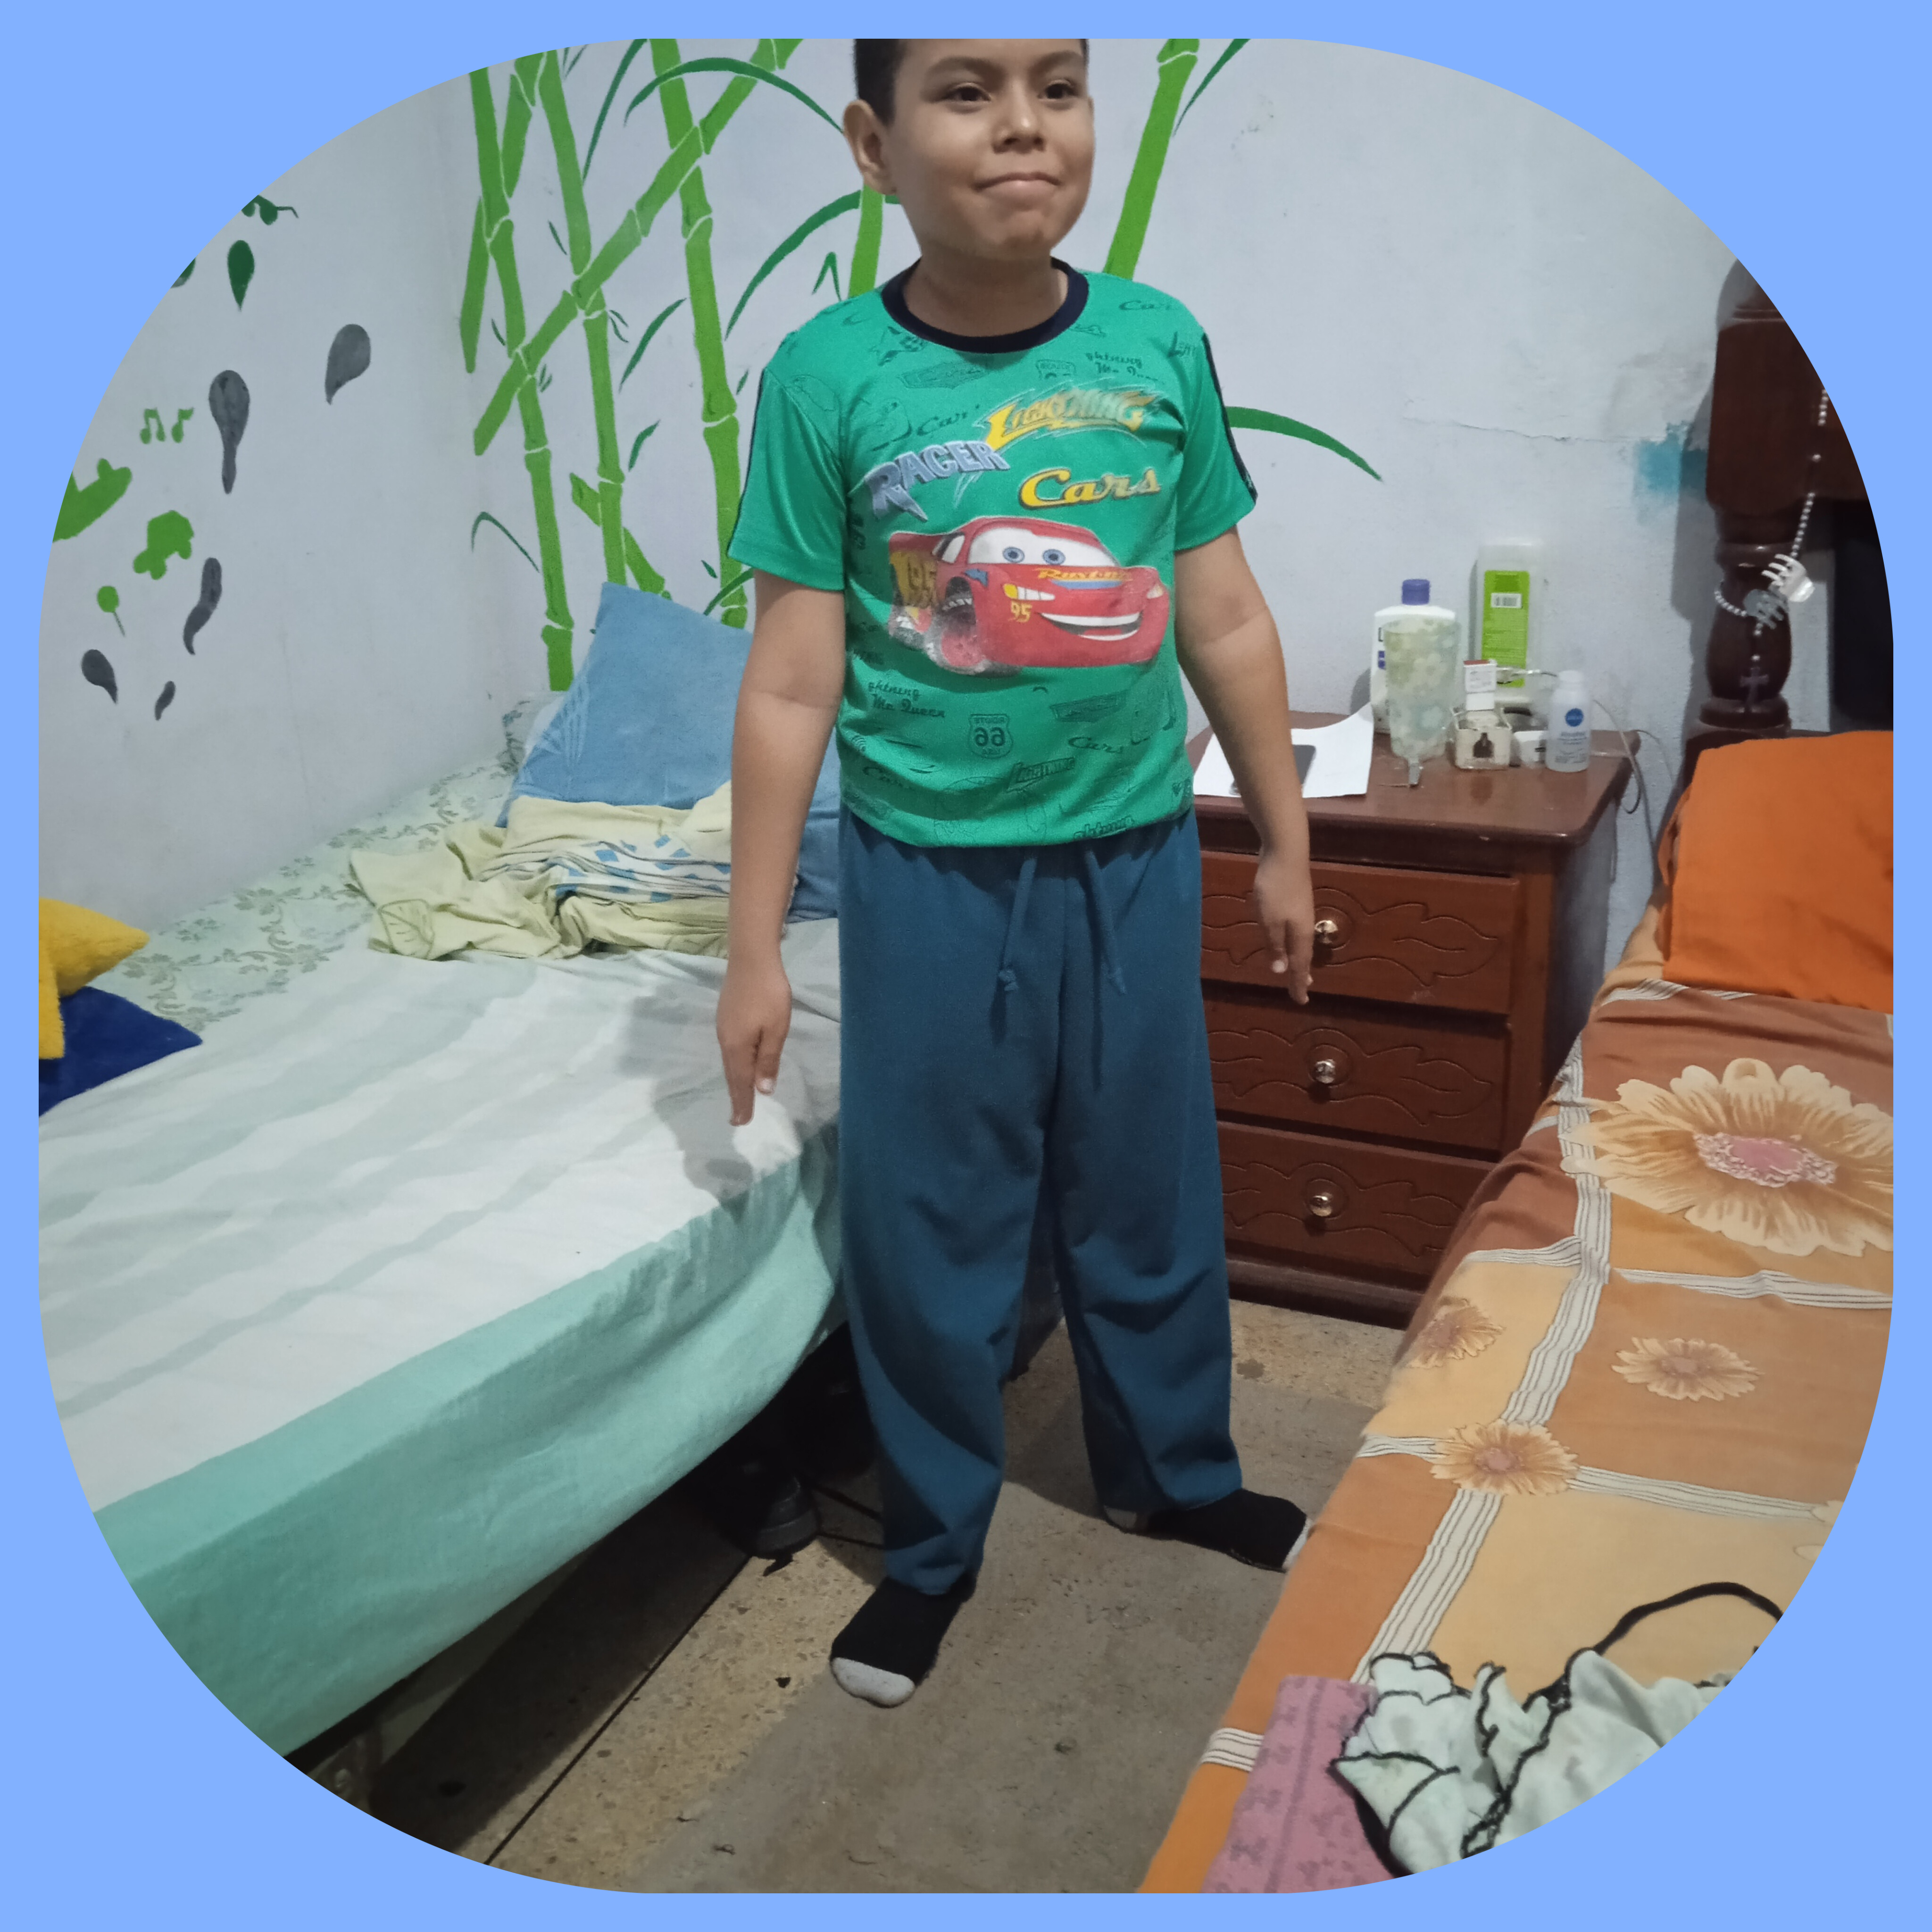
Muy buenos dias tengas tod@s mis amig@s de hive, en esta ocasion les traigo un proyecto muy util, es para niños y si se quiere para adultos, resulta que estoy criando a un nieto dsde que ncio, y he visto que esta creciendo muy rapido, y pierde muy rapido la ropa, entonces vi un pedazo de tela por una tienda y el color se presta para hacerle un pantalon, y probar mis artes de costura en ropa, he hecho juegos de sabanas, de baño, pro un pantalon no, asi que vamos a ver como me queda.
Have a very good morning to all my hive friends, on this occasion I bring you a very useful project, it is for children and if you want for adults, it turns out that I have been raising a grandson since he was born, and I have seen that he is growing very quickly, and loses his clothes very quickly, then I saw a piece of fabric in a store and the color lends itself to making pants, and trying my sewing arts on clothes, I have made sets of sheets, bathroom, but not pants, so let's see how it looks on me.
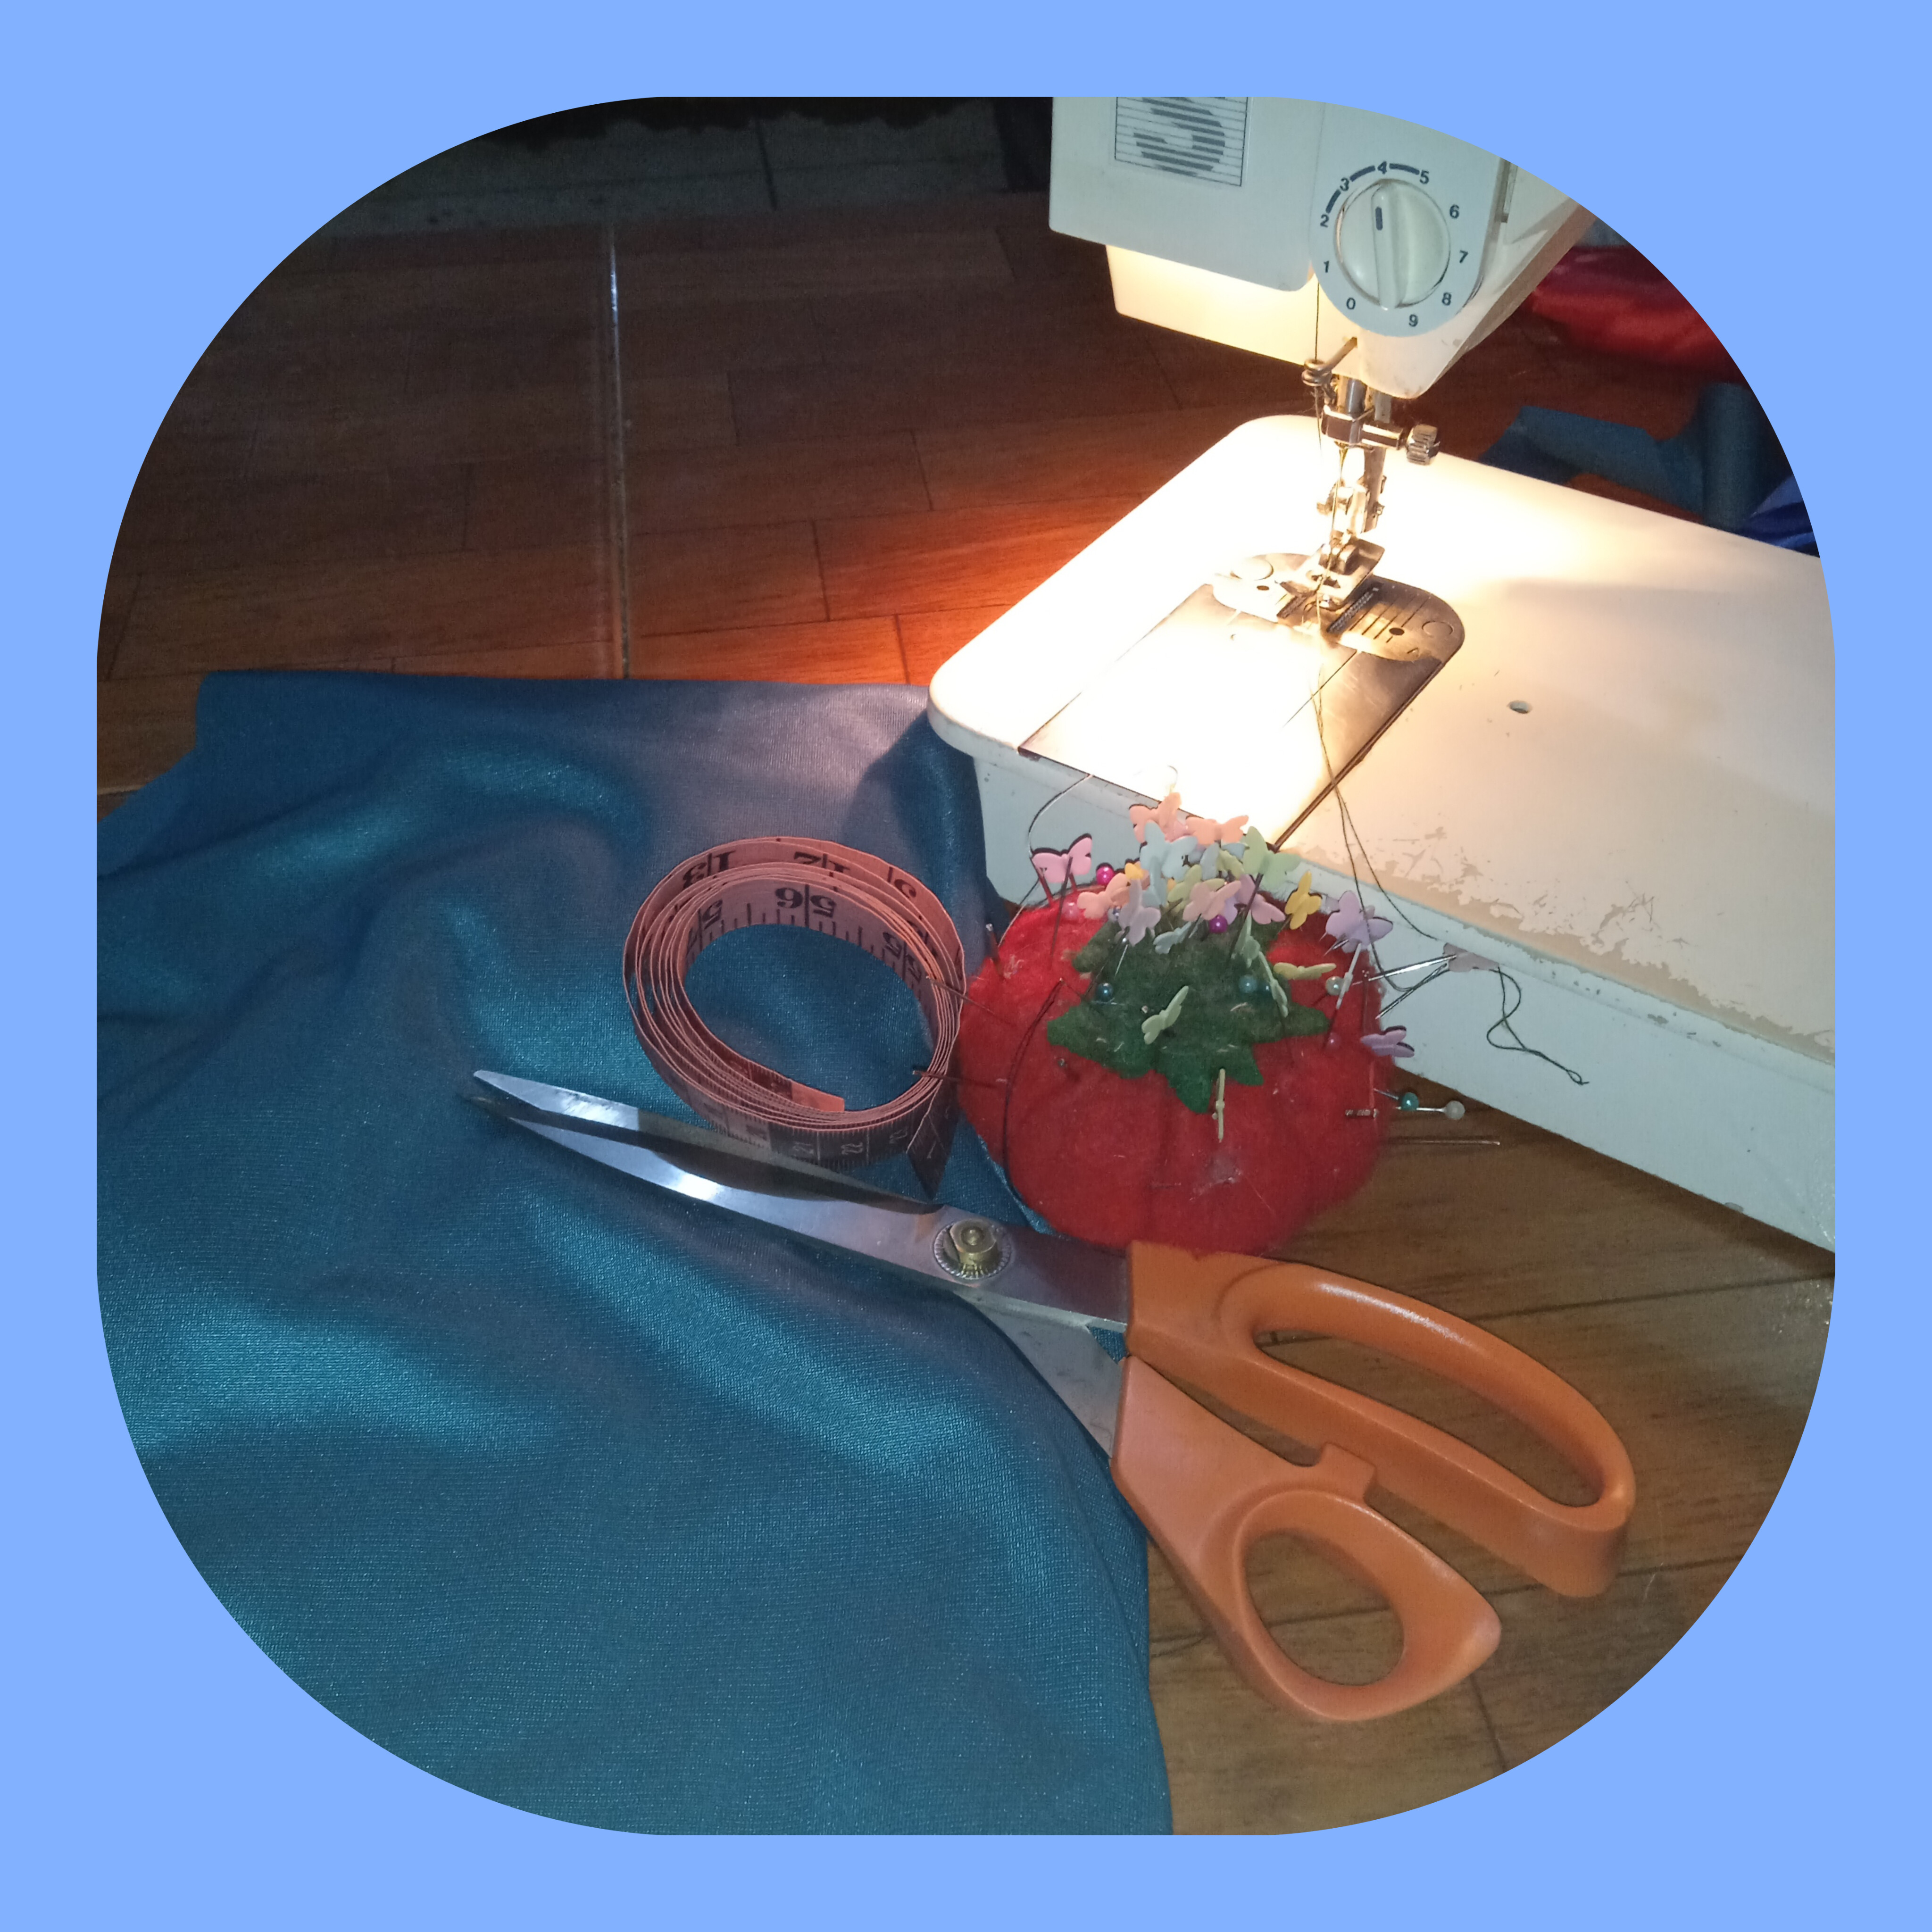
MATERIALES
1 1/2 de tela de algodon,
Cinta metrica.
Tijeras, agujas alfilere, orquilla de cabello.
Hilos de coser.
Maquina de coser(si tienen )sino a mano.
MATERIALS
1 1/2 of cotton fabric,
Measuring tape.
Scissors, pin needles, hair clip.
Sewing threads.
Sewing machine (if you have it) but by hand.
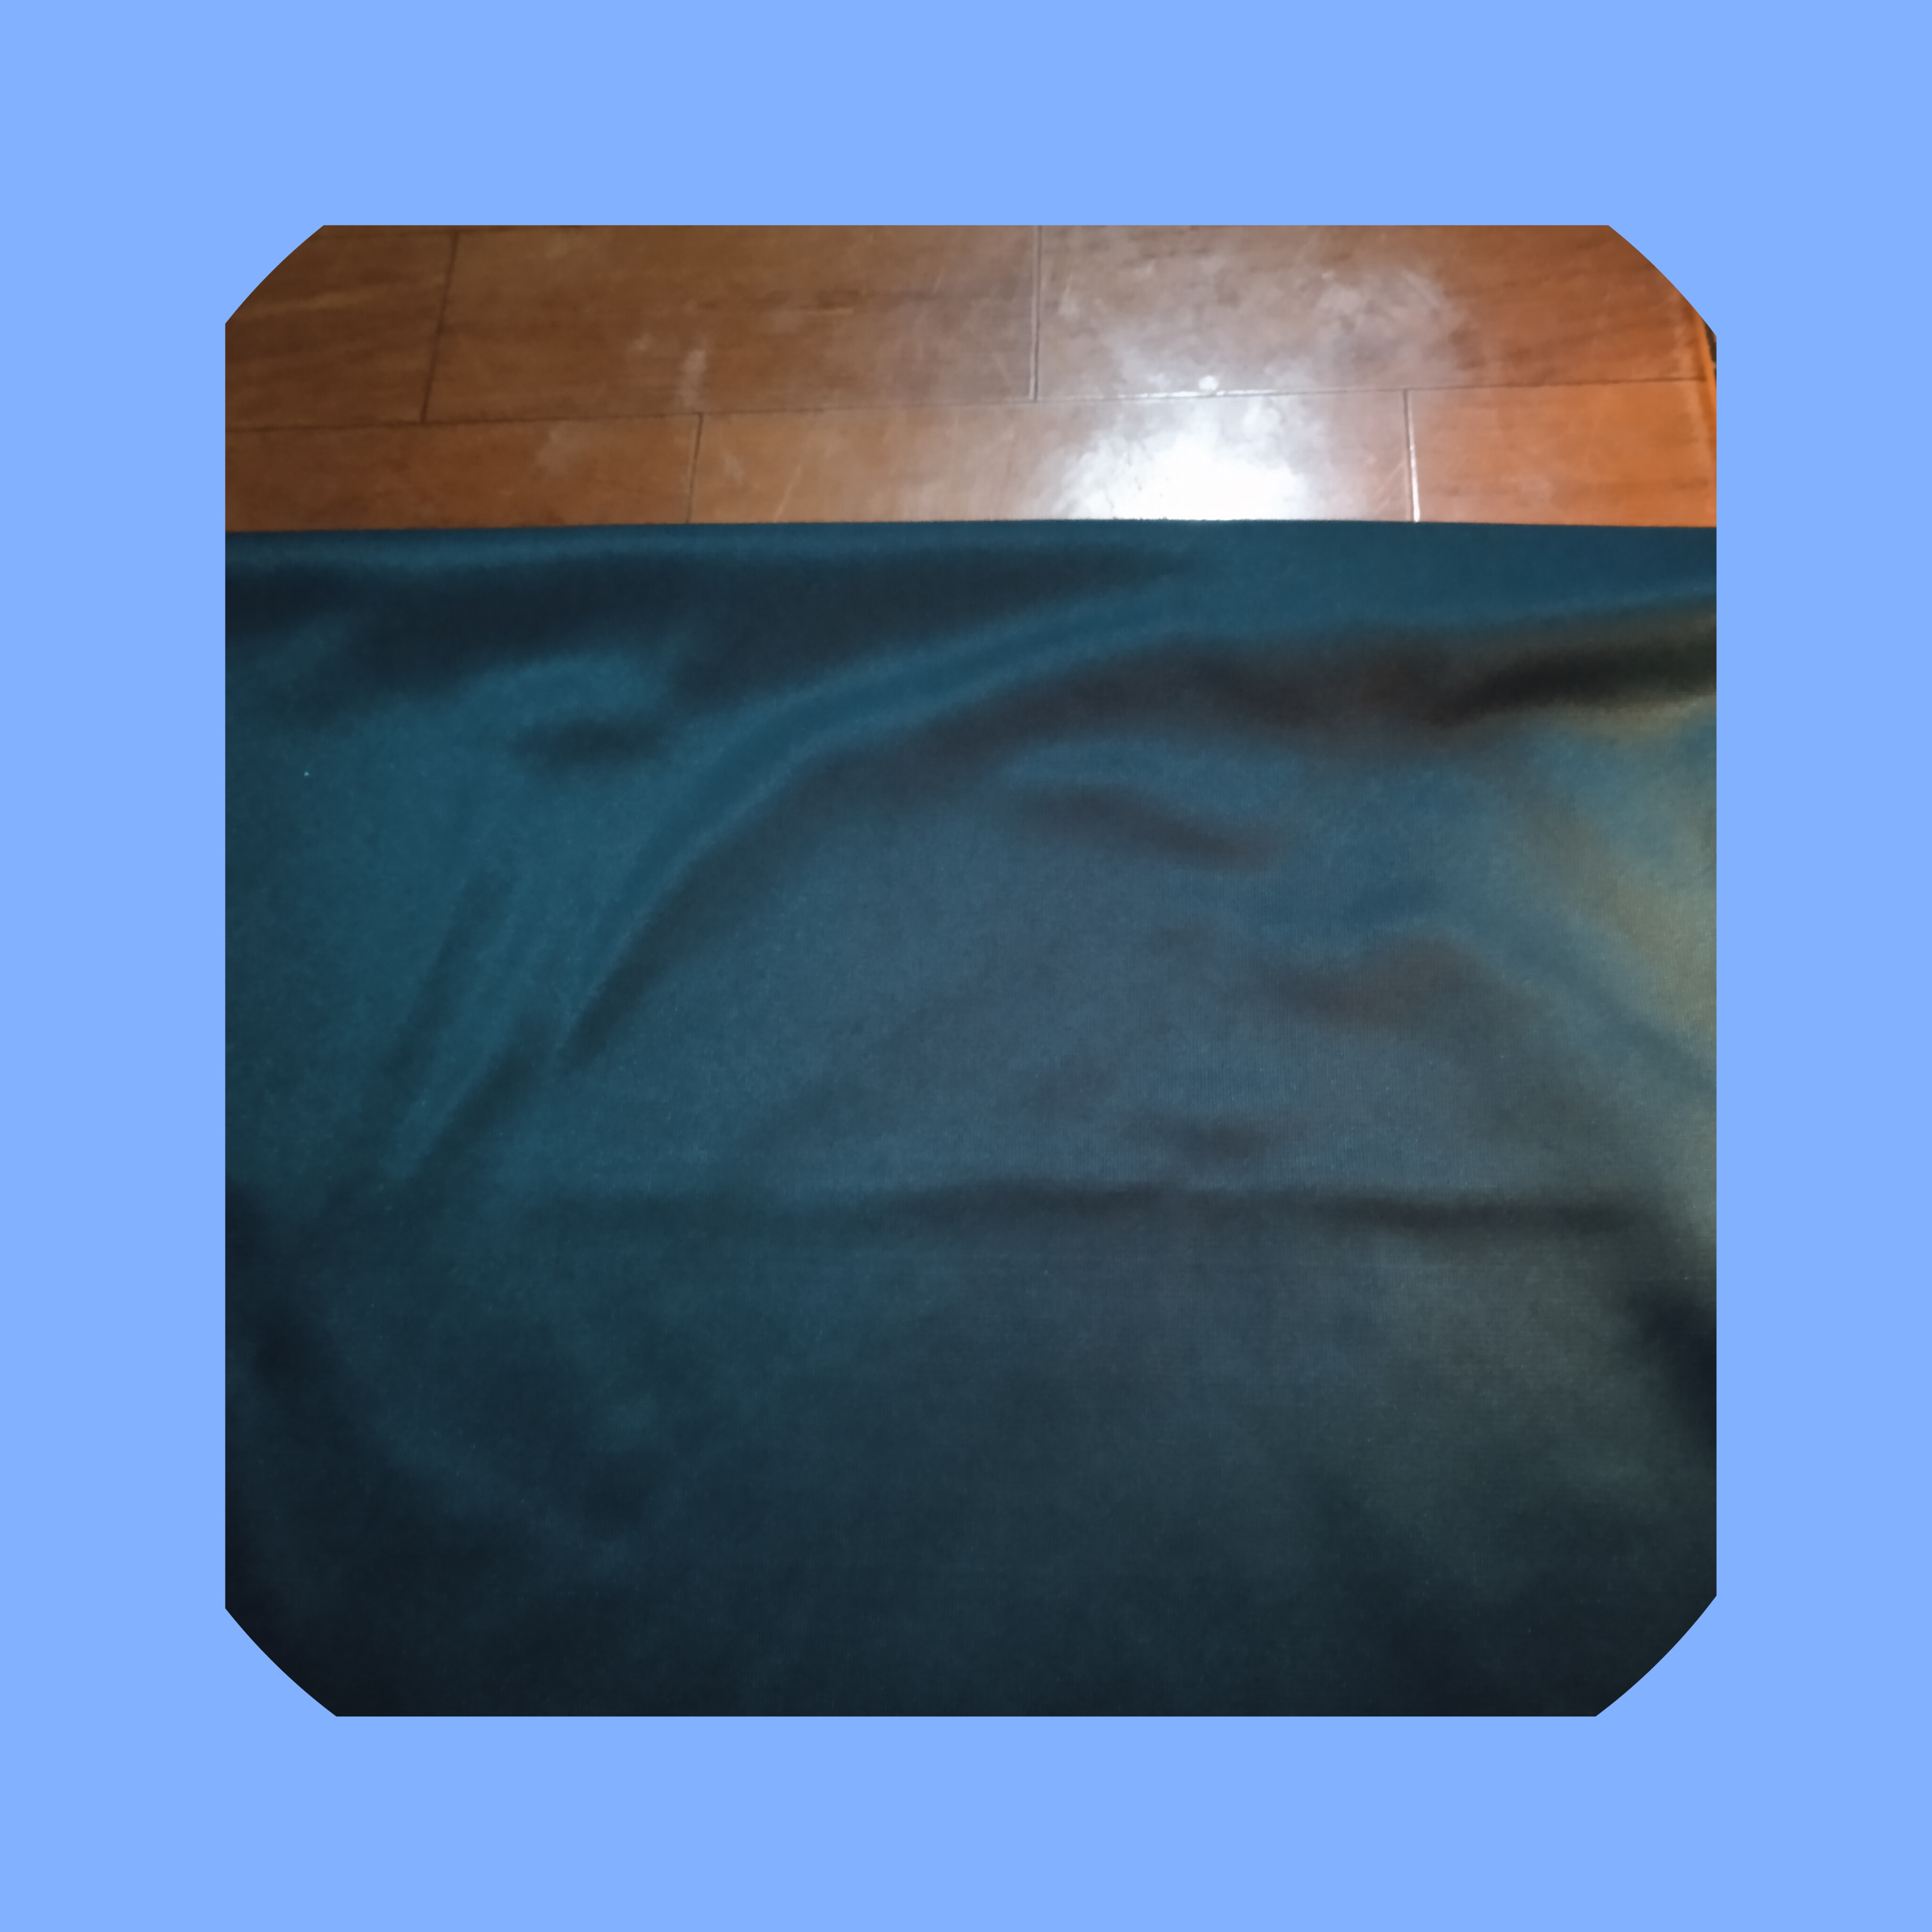
PASO 1.
Tomamos la tela y la doblamos en cuatro parte iguales y cotamos por elsegundo doblez
STEP 1.
We take the fabric and fold it into four equal parts and measure along the second fold.
ya divida en dos partes tomamos la tela y la abrimos ,para luego marcar y medir el tamaño de las partes traseras y delanteras del pantalon.

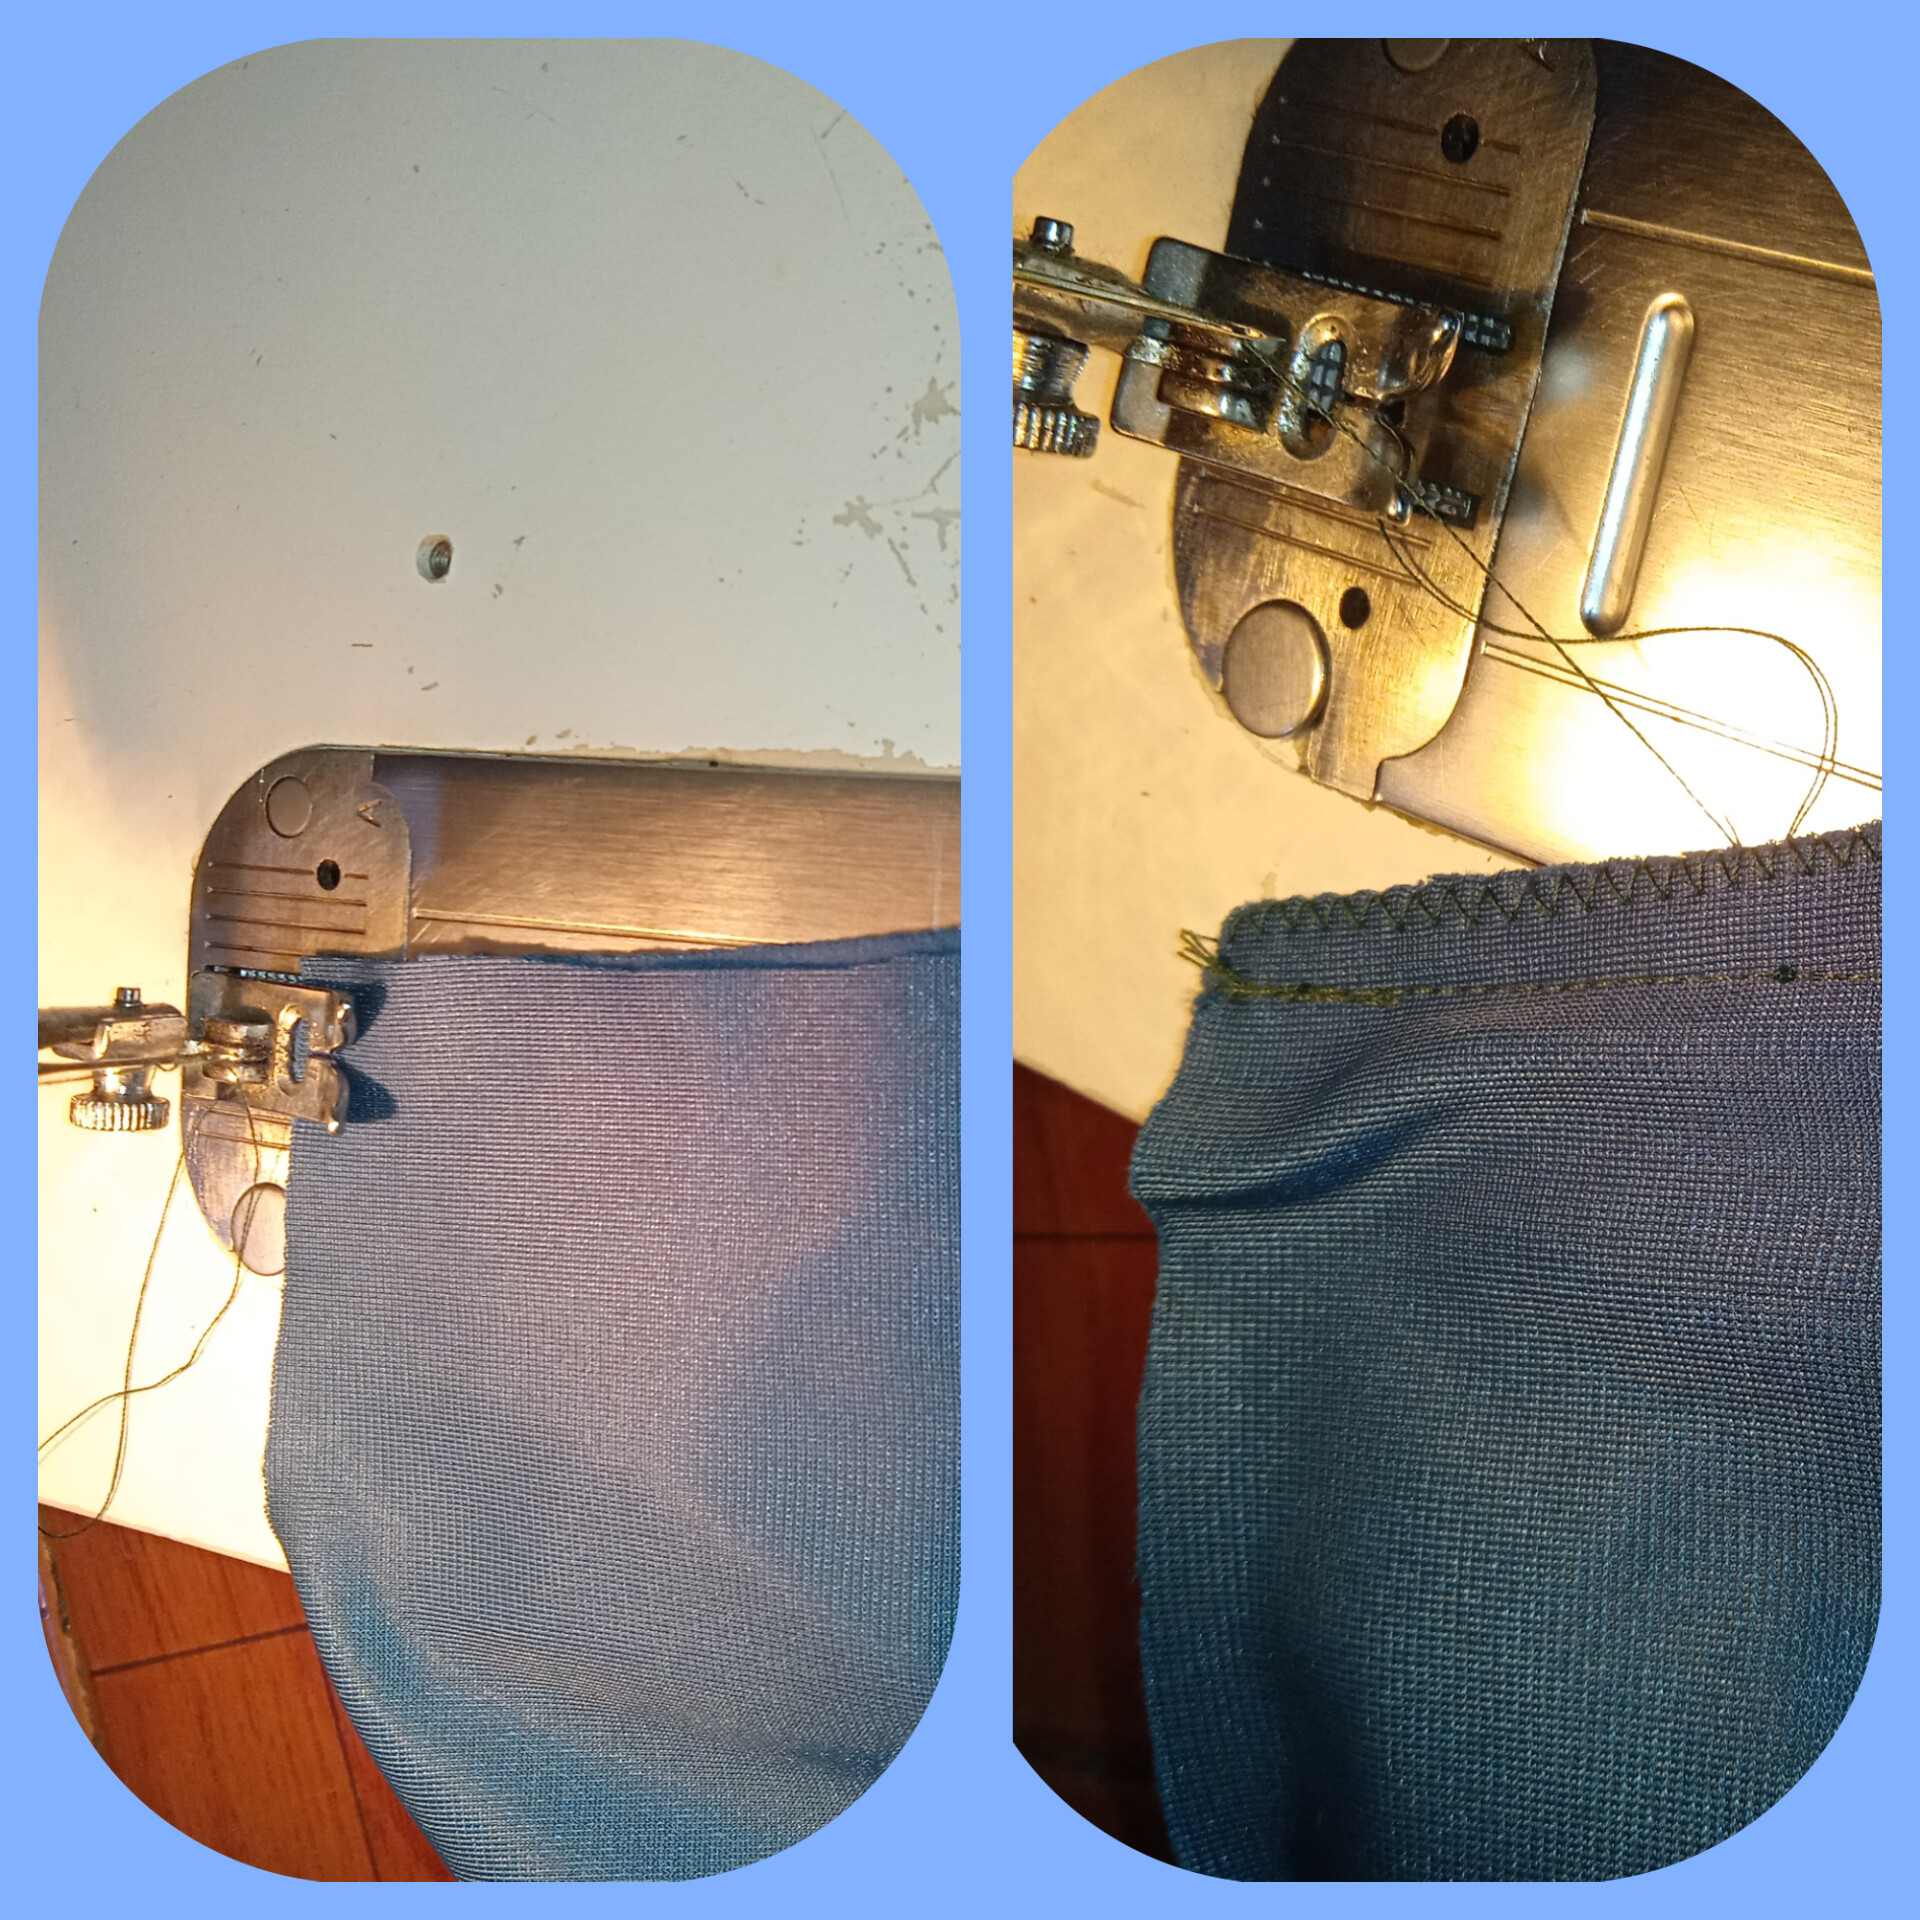
ya cortado todo el pantalon, pasamos zig zag en la maquina para evitar que la tela de hilache, si no tienes maquina de cosr hasle piquetes con la tijera por toda la orilla de la tela eso tambien funciona y si tienes una tijera de zigzag mucho mejor
y como dice mi mama para coser un pantalos la parte de atras tiene que ser mas grande que la delantera , entonces yo le deje como 10cm mas del corte, osea que la parte trasera debe ser mas grande como 10 a 15cm .
And as my mom says, to sew pants, the back has to be bigger than the front, so I left about 10cm more of the cut, meaning the back has to be bigger by about 10 to 15cm.
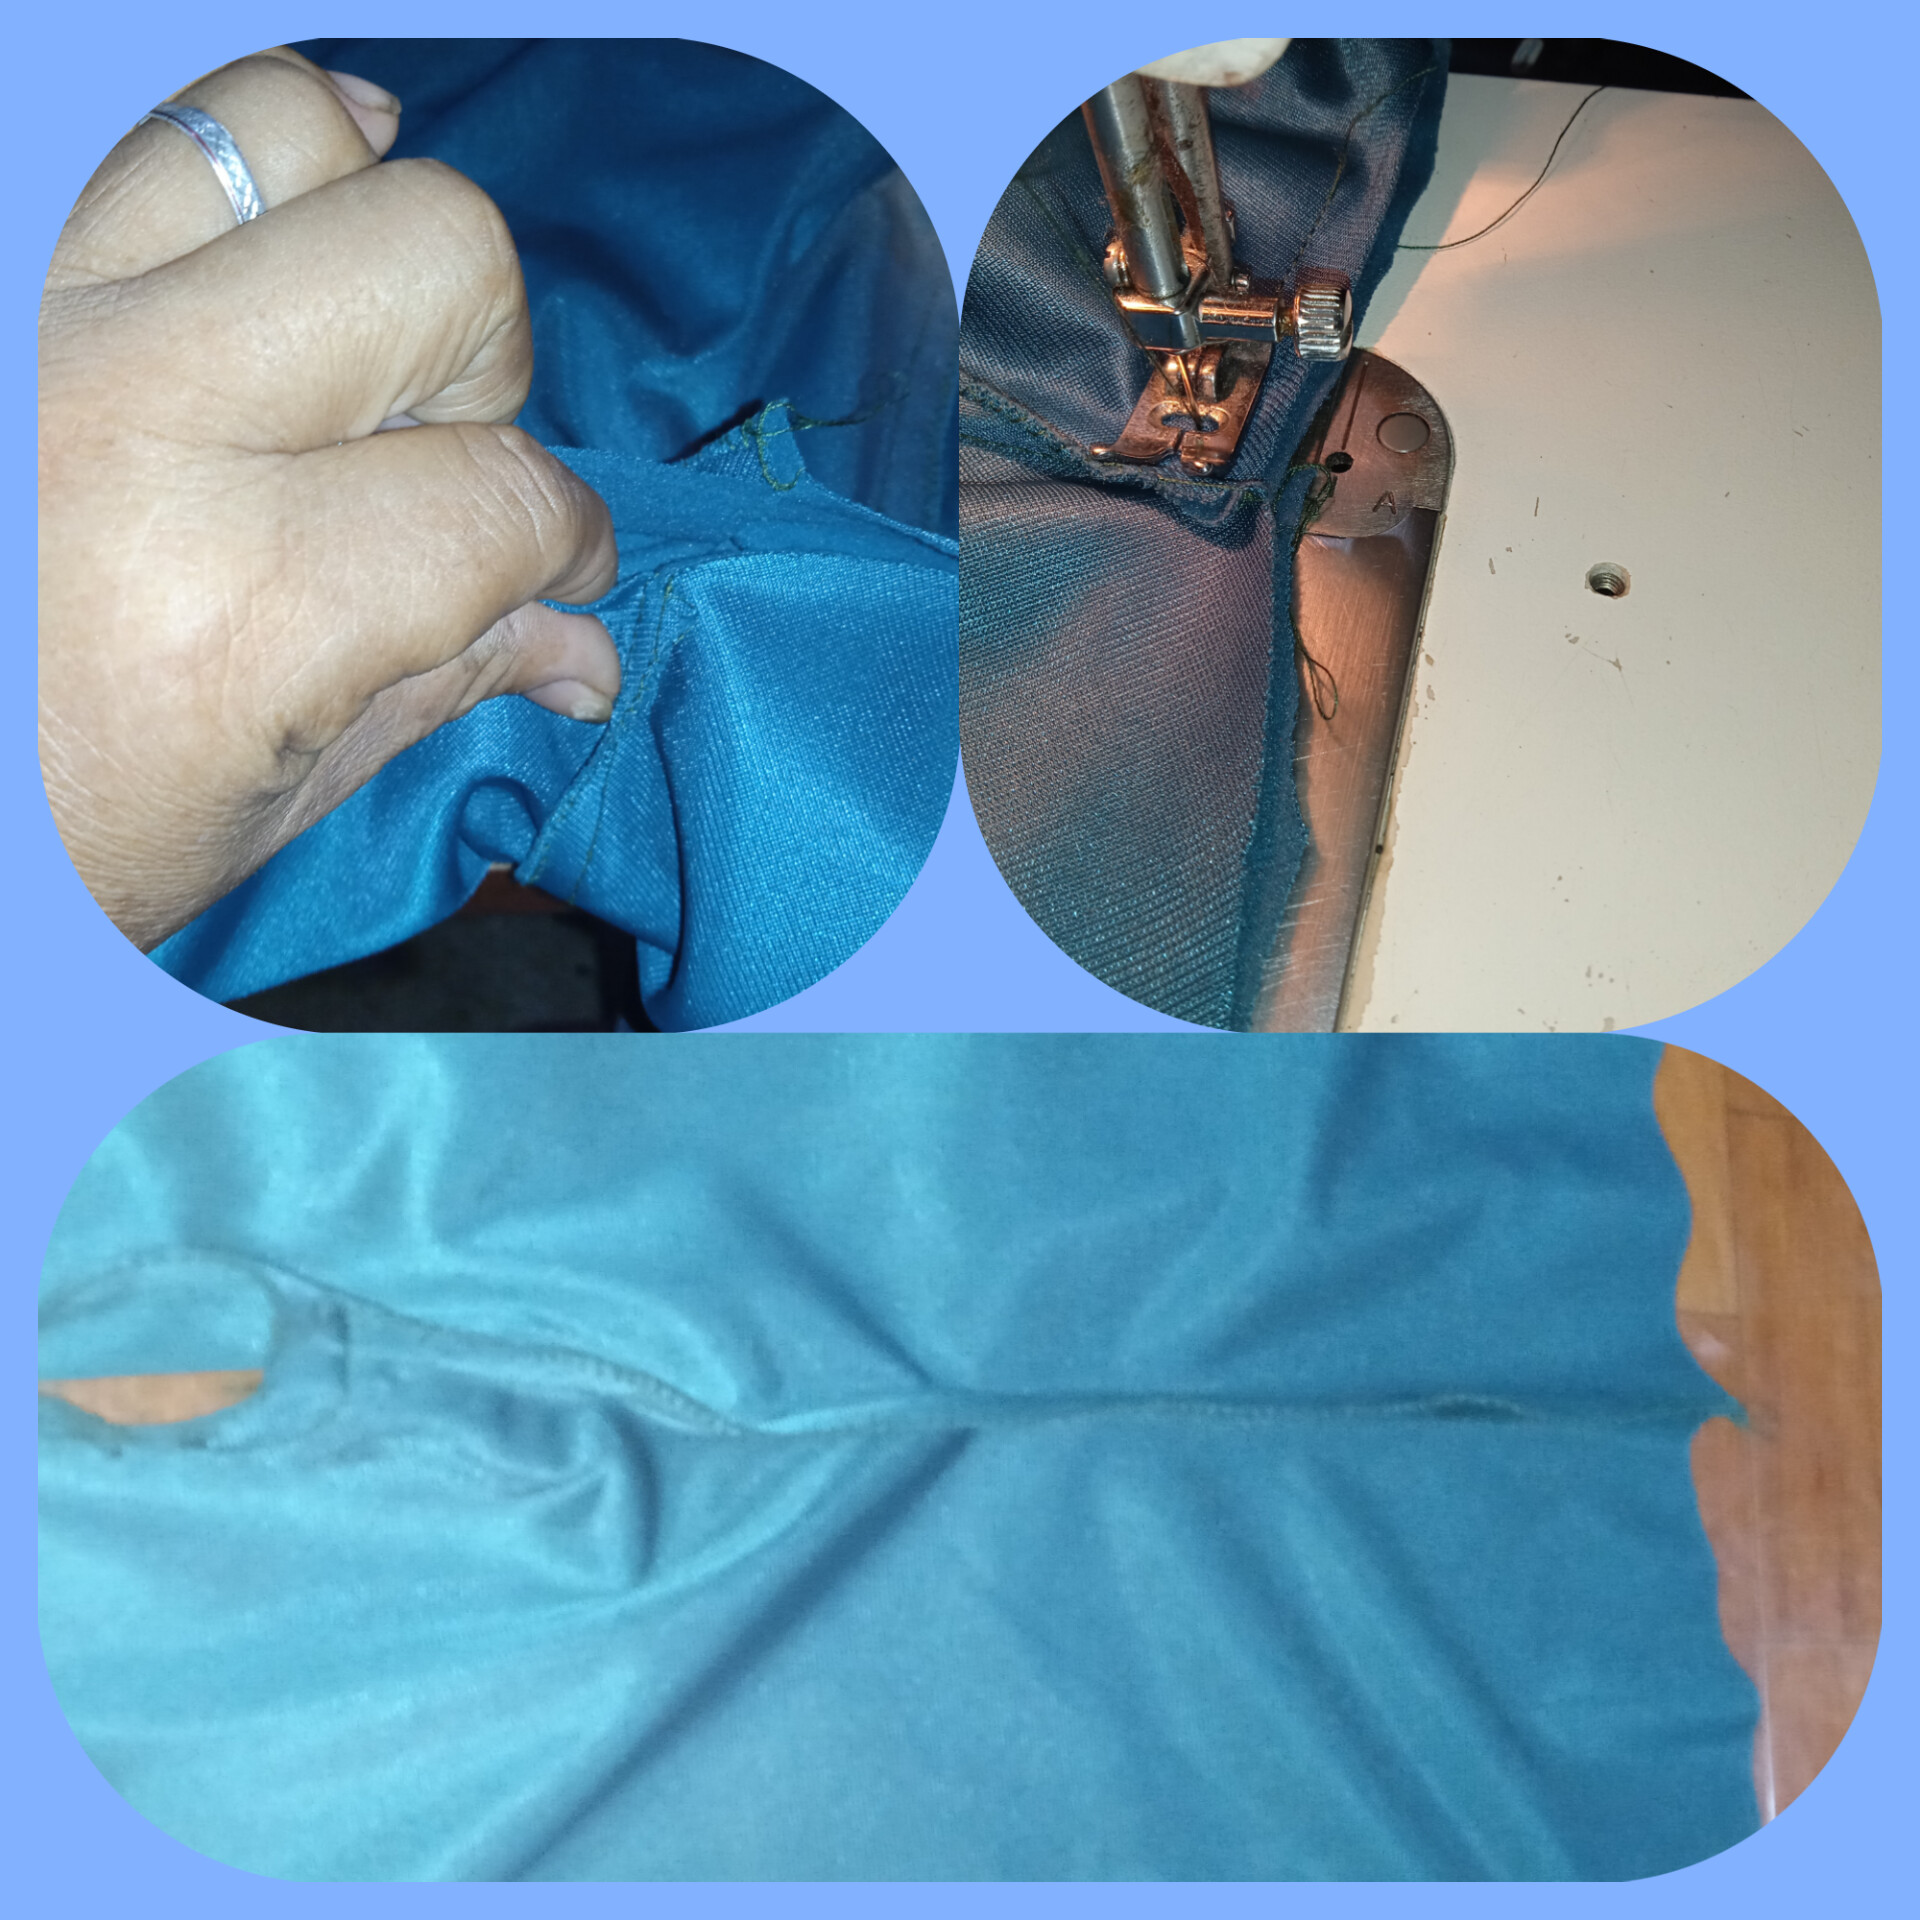
y comenzamos a coser, cundo llegamos al encuetro de las costuras ,pasamos dos costuras para asegura que no se habra la costura.
and we begin to sew, when we reach the meeting of the seams, we pass two seams to ensure that there is no seam.
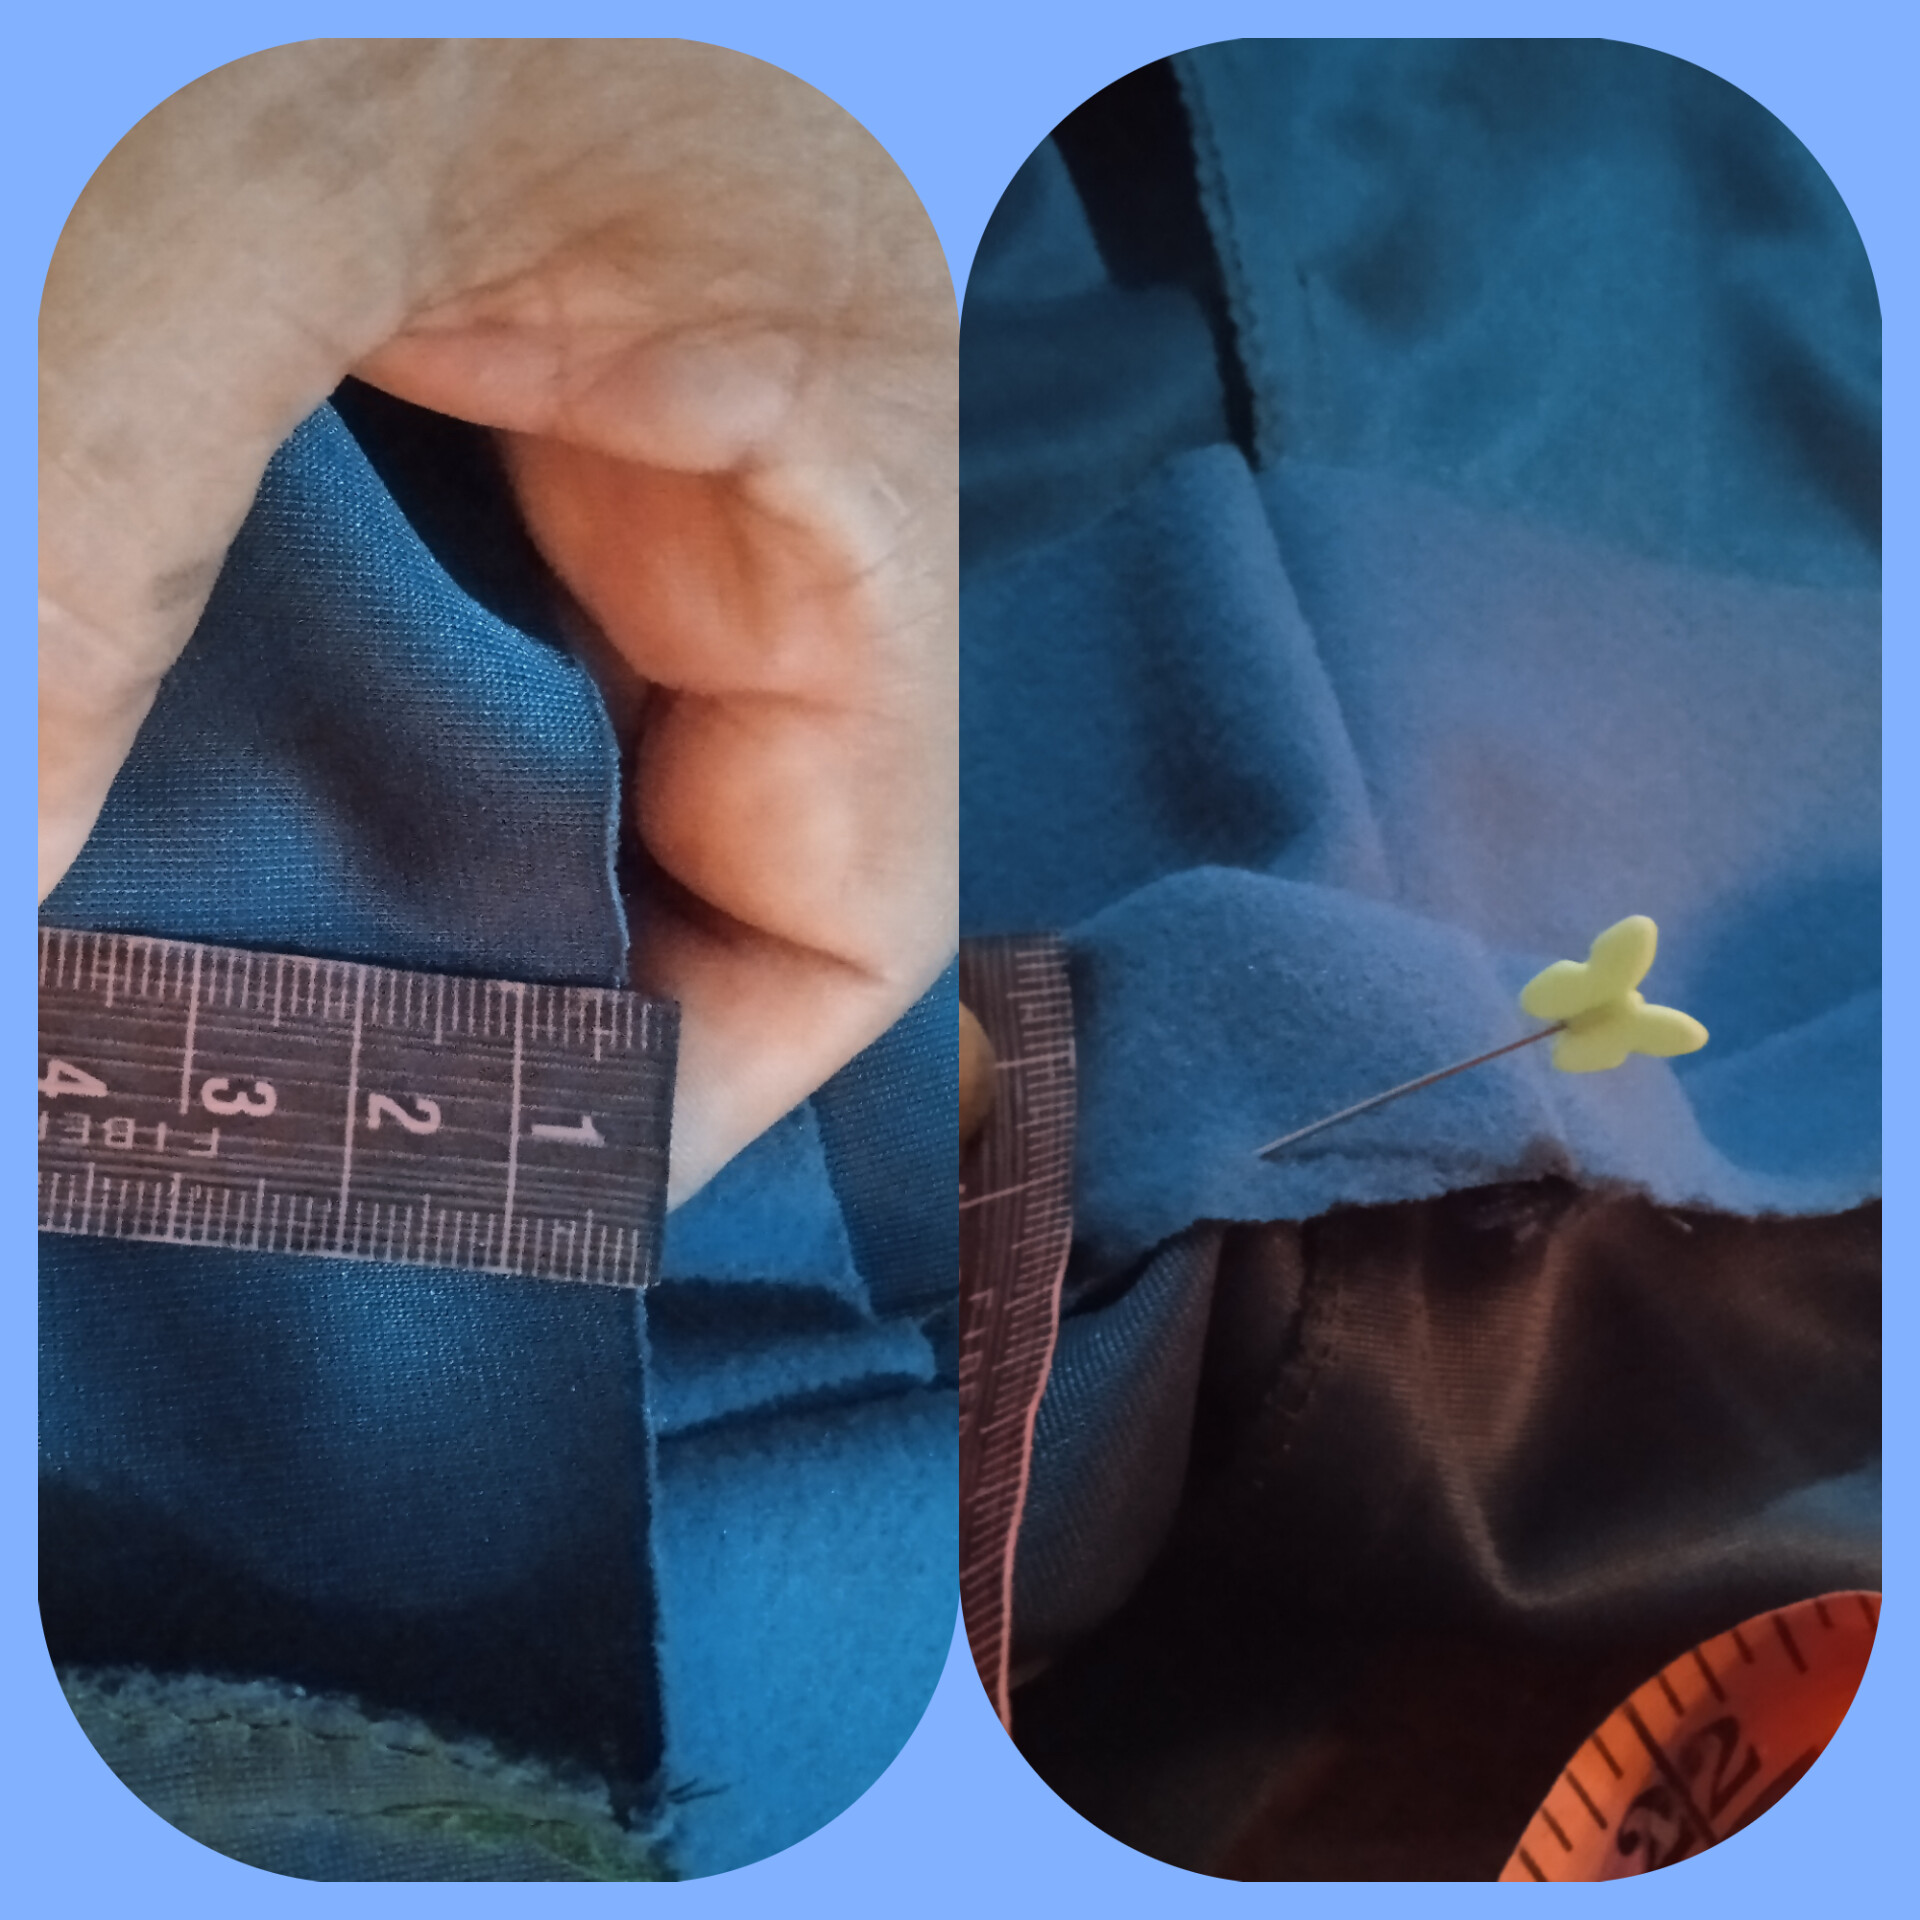
como no va a llevar petrina, ni elastica, hago un doblez en la cintura de unos 2x2cm y coso por toda la cintura ,
Since it is not going to have petrina or elastic, I make a fold at the waist of about 2x2cm and sew around the entire waist.
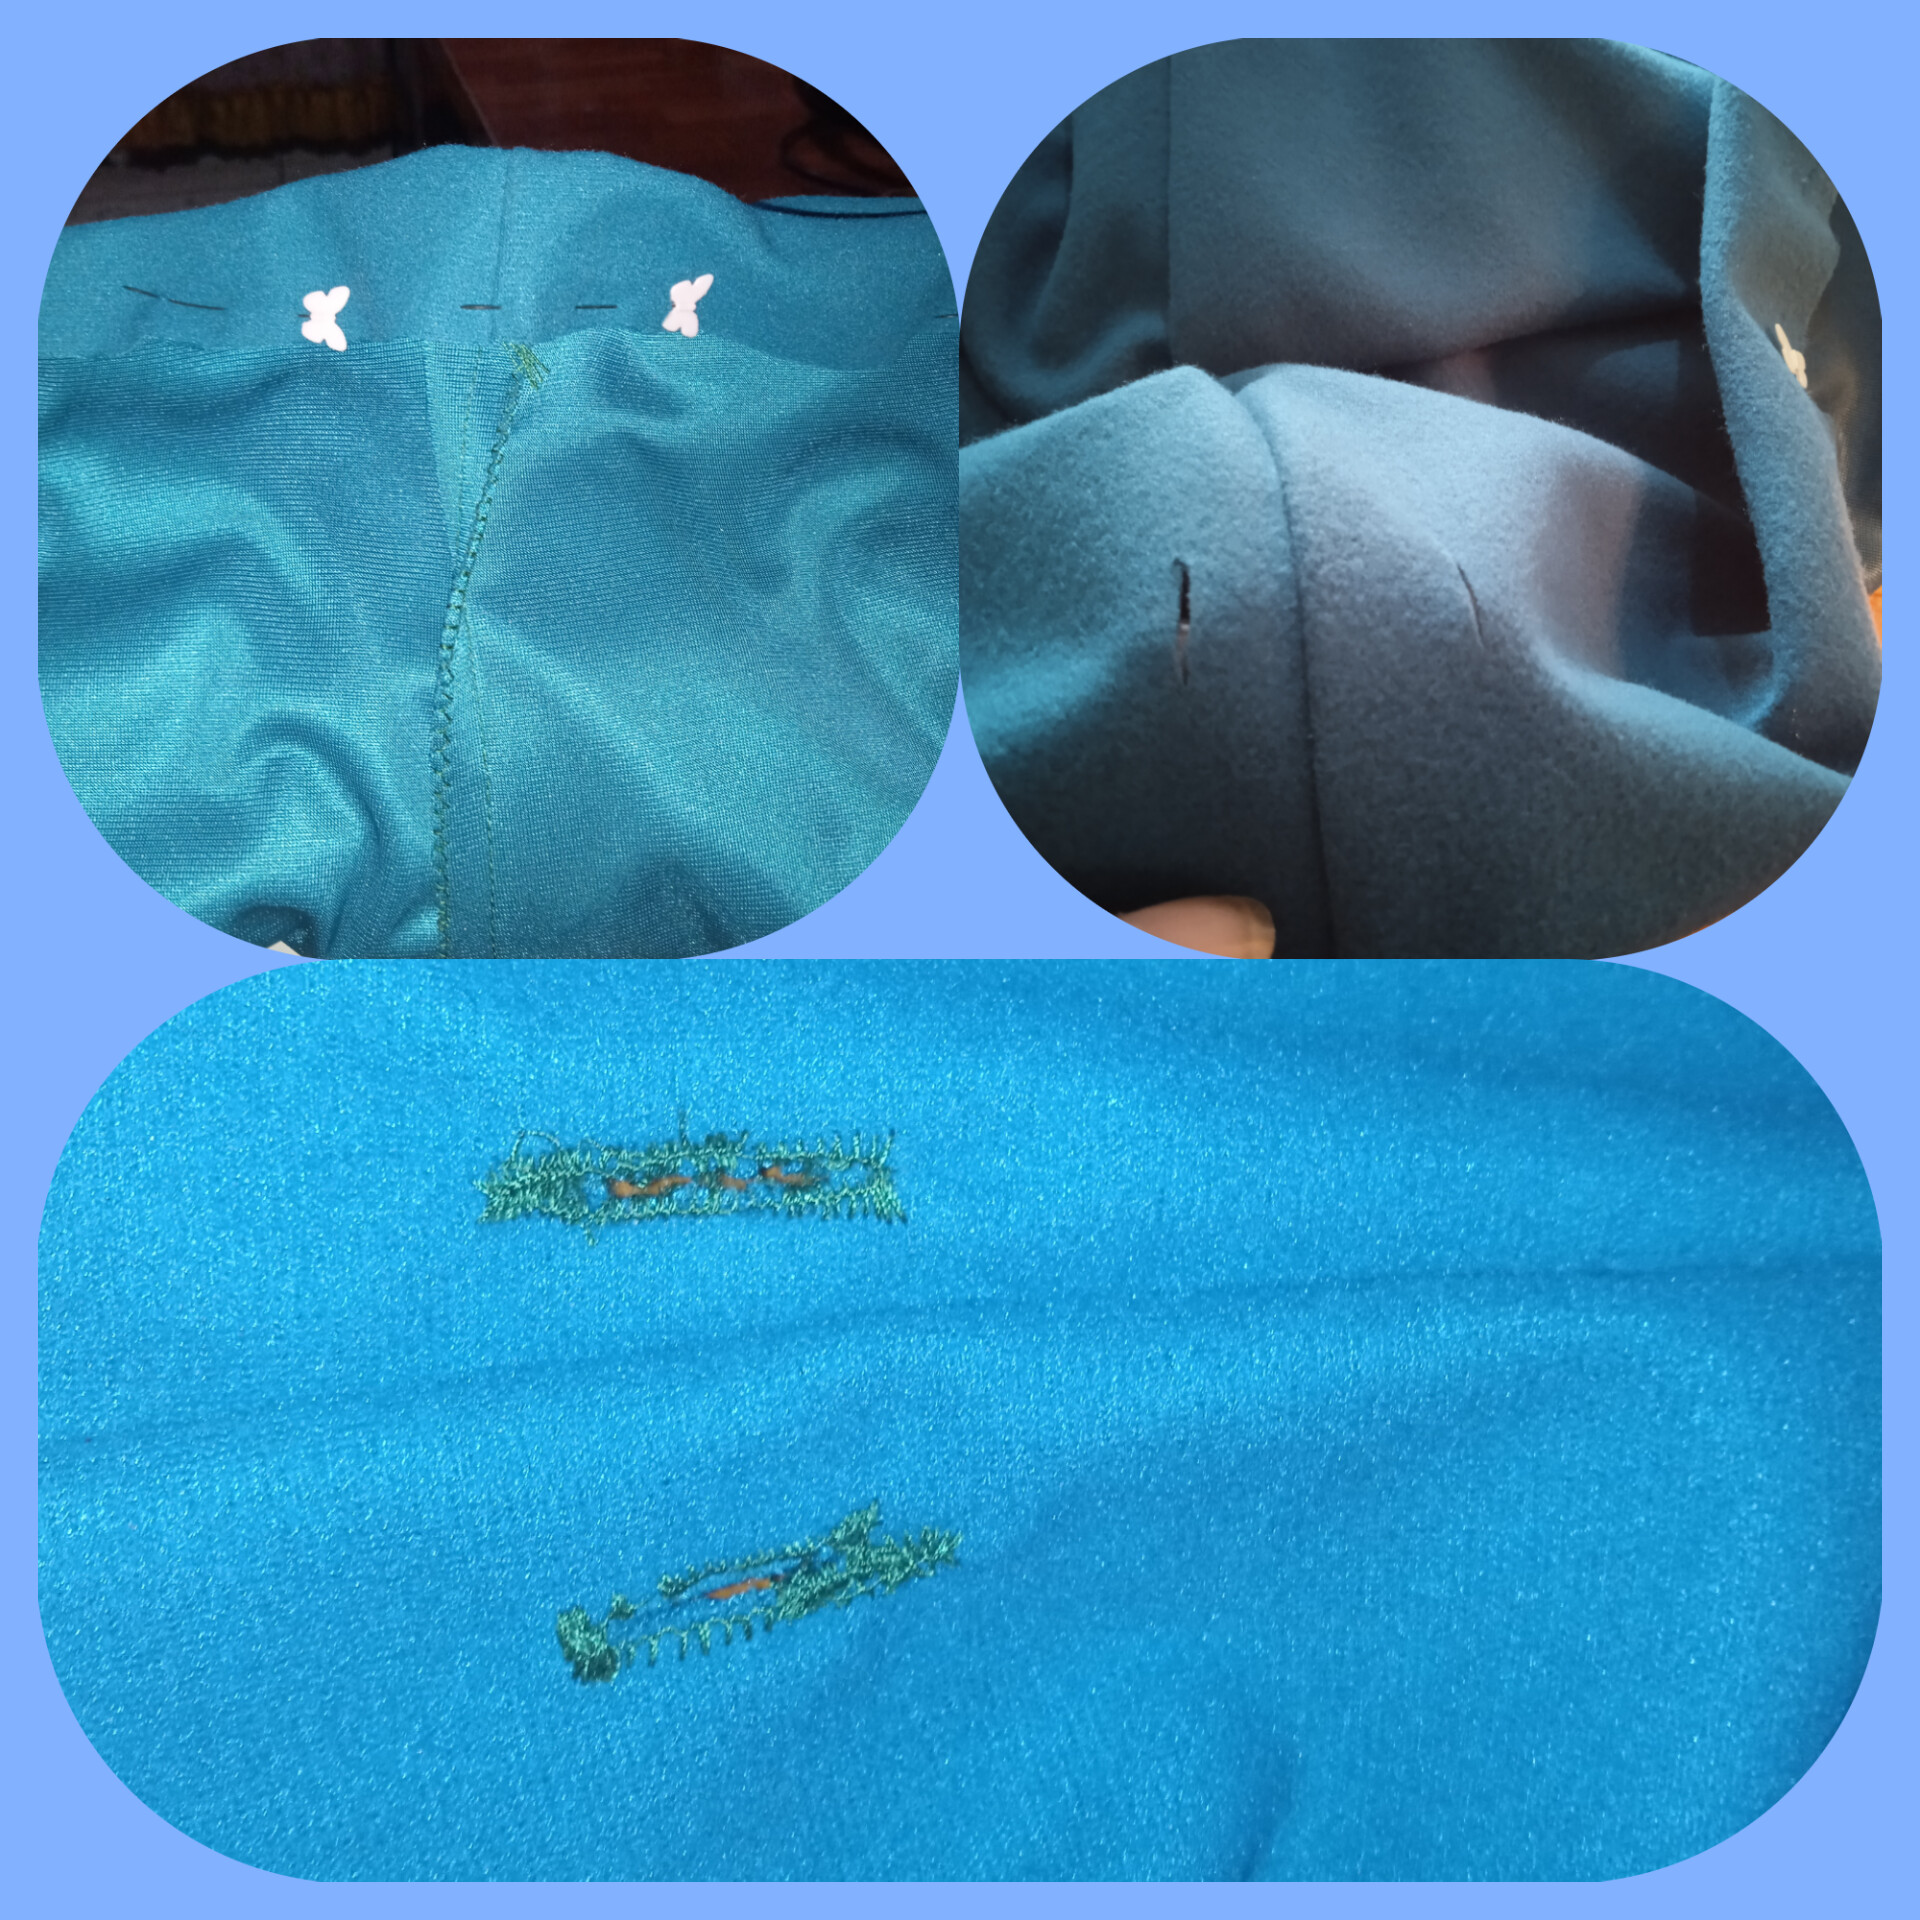
en el medio de la costura delantera hago como dos hojales , para meter por alli un cordon, para ajustar el pantalon,.
In the middle of the front seam I make about two flaps, to put a cord through there, to adjust the pants.
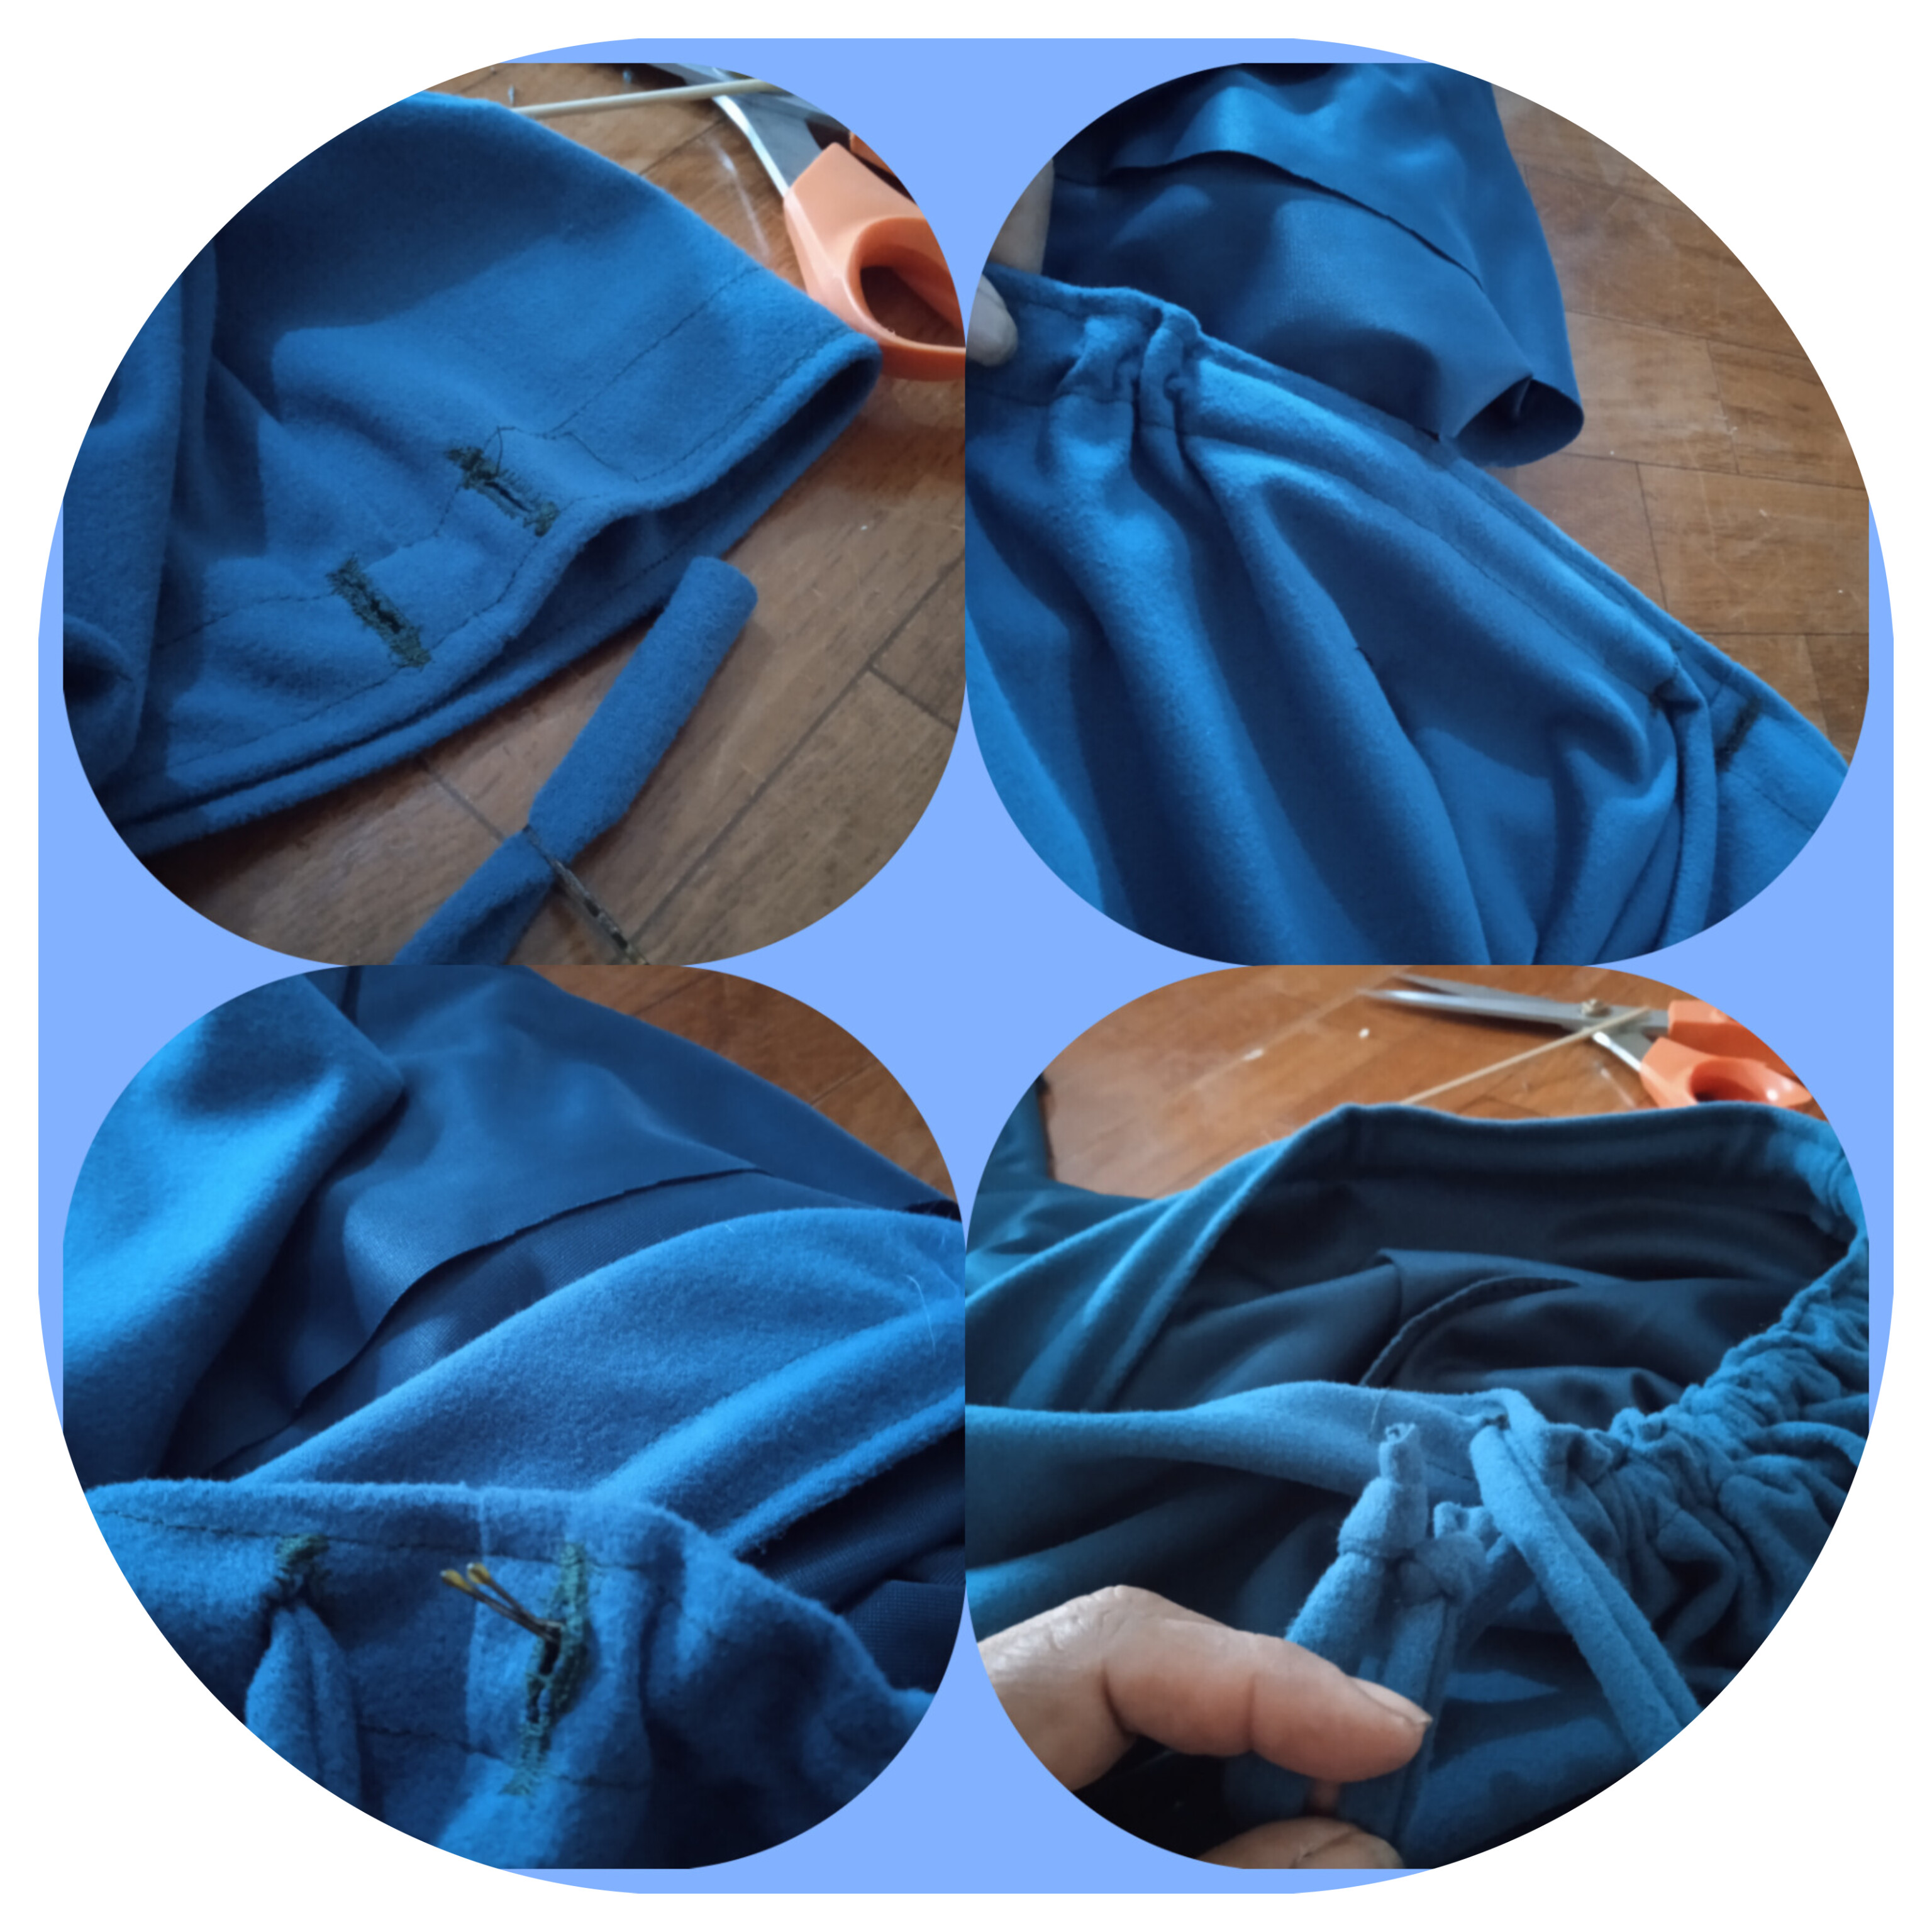
ahora bien ya cerrado por los cuatro lados, van a quedar las botas un poquito disparejas , entoces con la cinta medimos el residuo que se le ve ,cortamos y listo pasamos la maquina para hacerle un pequeño ruedo o borde.
Now that it is closed on all four sides, the boots will be a little uneven, so with the tape we measure the residue that is visible, we cut and that's it, we use the machine to make a small hem on the edge.
falta coser el cordon que va a llevar en la cintura para ajustar el pantalon, cortamos un liston como de 1mt x4cm de ancho y cosemos , doblamos 4 cuatro veces, y cosemos nos queda un cordon con fuerza para jalar y ajustar.
We need to sew the cord that will be worn at the waist to adjust the pants, we cut a ribbon about 1m x 4cm wide and sew, we fold 4 four times, and we sew we have a strong cord to pull and adjust.
.jpg)
aqui es donde juega un papel imortante, la orquilla de cabello, amarramos una punta del cordon y comenzamos a pasarla poco a poco por entre el surco que hicimos en la cintura, entramos por el hojal derecho y salimos por izquiero.Les cuento , ese paso es un poquito engorroso a veces s suelta el gancho y se sale solo.. huy no! pero lo hice!
This is where the hair clip plays an important role, we tie one end of the cord and begin to pass it little by little through the groove we made in the waist, we enter through the right leaf and exit through the left. Let me tell you, that step is a little cumbersome, sometimes if you release the hook and it comes out on its own... oh no! but i did it
Y asi quedo mi proyecto . hay me quedo espectacular,.. y mi nieto quedo sorprendido de lo rapido que lo hice.. voy a seguir comprando retazos y practicar con otros modelos a ver como me quedan.
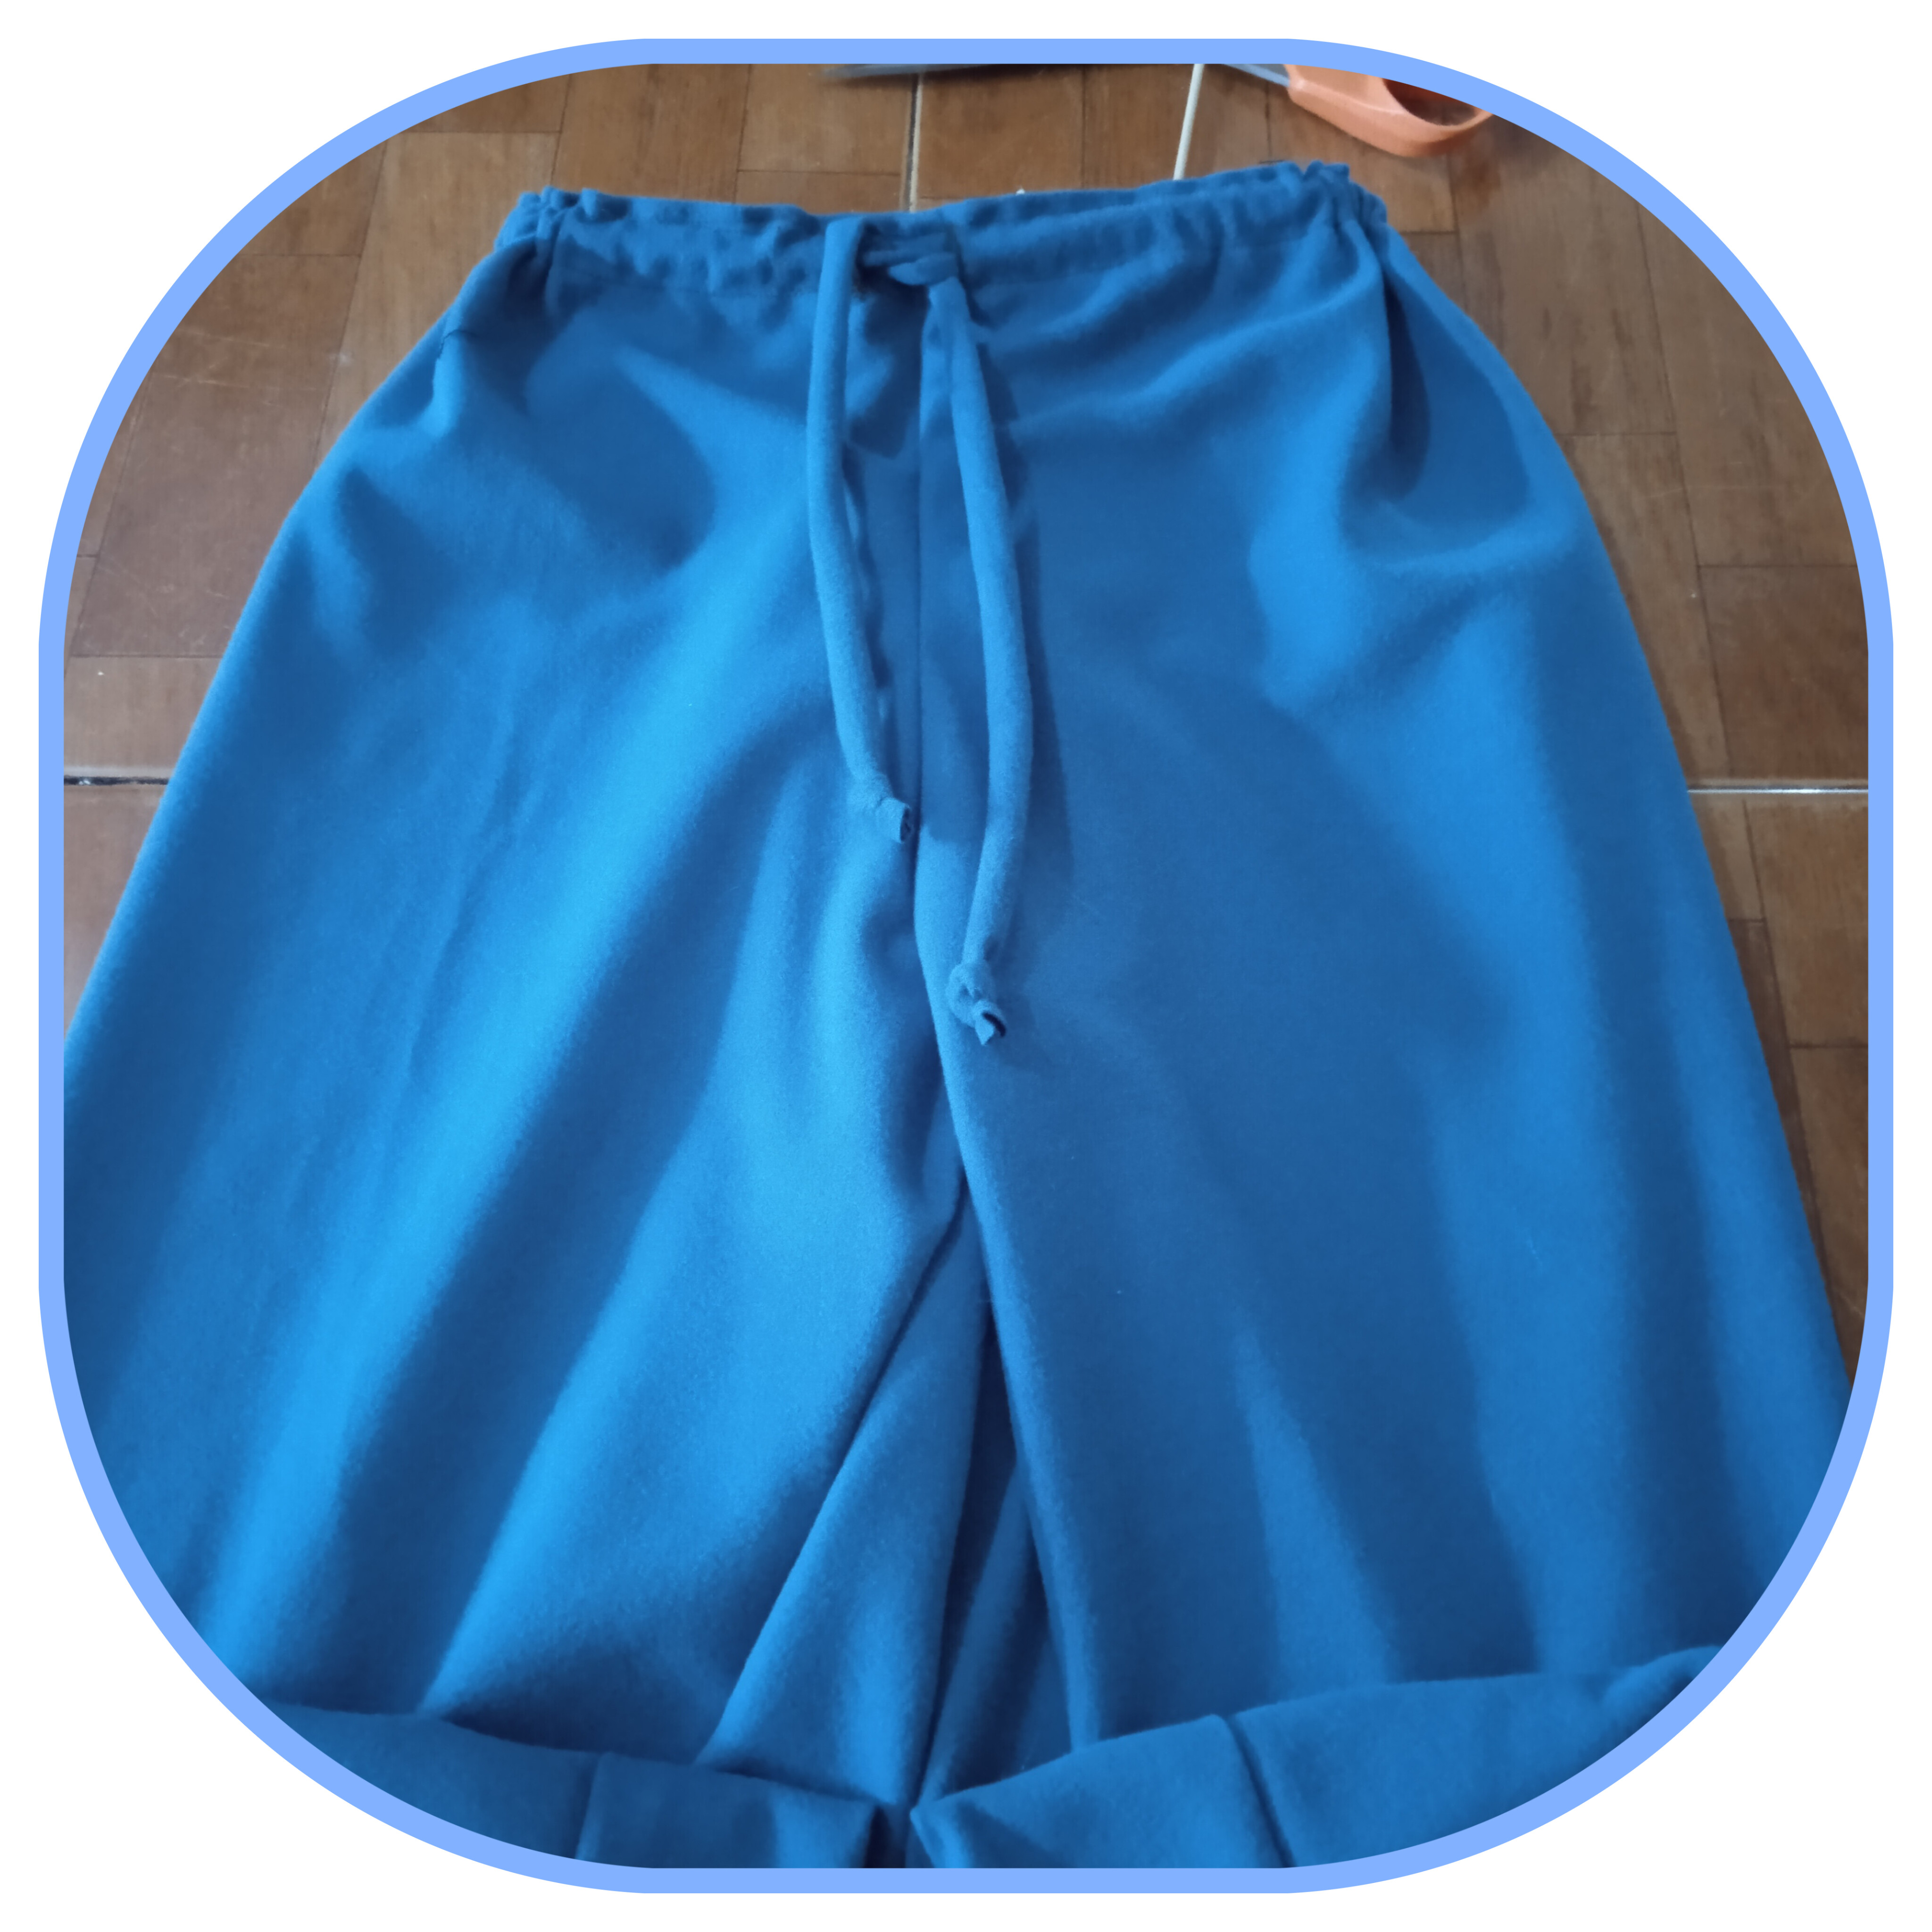
este es el resultado, espero les haya gustado tanto como a mi
This is the result, I hope you liked it as much as I did..
mis fotos fueron tomadas con mi telefono xiaomi Redmei 9A y editadas por inshop
My photos were taken with my Xiaomi Redmi 9A phone and edited by inshop.
Te quedó muy bien para ser la primera vez.
Tu crees, voy a comprar más telas y probar unos con bolsillos,.. este le quedó un poquito largo de fondo pero lo solucione..gracias