I've always been into (vegetable & herb) gardening and even though we love our apartment, my big dream is to one day have a house with some land where we can plant as much as we can eat. For now and the foreseeable future, we are making do with a (granted: large-) balcony.
As such, I wanted something big, but space efficient for deep-rooted veggies. Space efficient means box shaped instead of individual big pots, so because I couldn't find anything suitable (that isn't made of plastic and yet costs a fortune and a half) I decided to make one myself - from wood.

Now I know untreated wood may be a counter-intuitive material for something like a planter, but I thought I'd drain it well, and the soil touching the sides would not actually be all that wet usually. Plus, the three ply boards I'd use would keep their shape until they fall apart completely, and if that happens after ten years or so, I'd say it was worth it. If it were to happen before, I will have learned a lesson. I like to experiment.
Having something plastic-free for our veggies was the other reason I decided to do it myself, so I also chose to forgo the plastic liner everyone recommends as crucial for wooden planters.
The plan was simple: Make a wooden box, paint the outside with eco-friendly scumble, drill holes for drainage pipes (sawed off and glued in aluminum tube pieces), add wheels to the bottom, fill with a layer of bark at the bottom for drainage, then compost, then soil on top - plant something and see what happens.
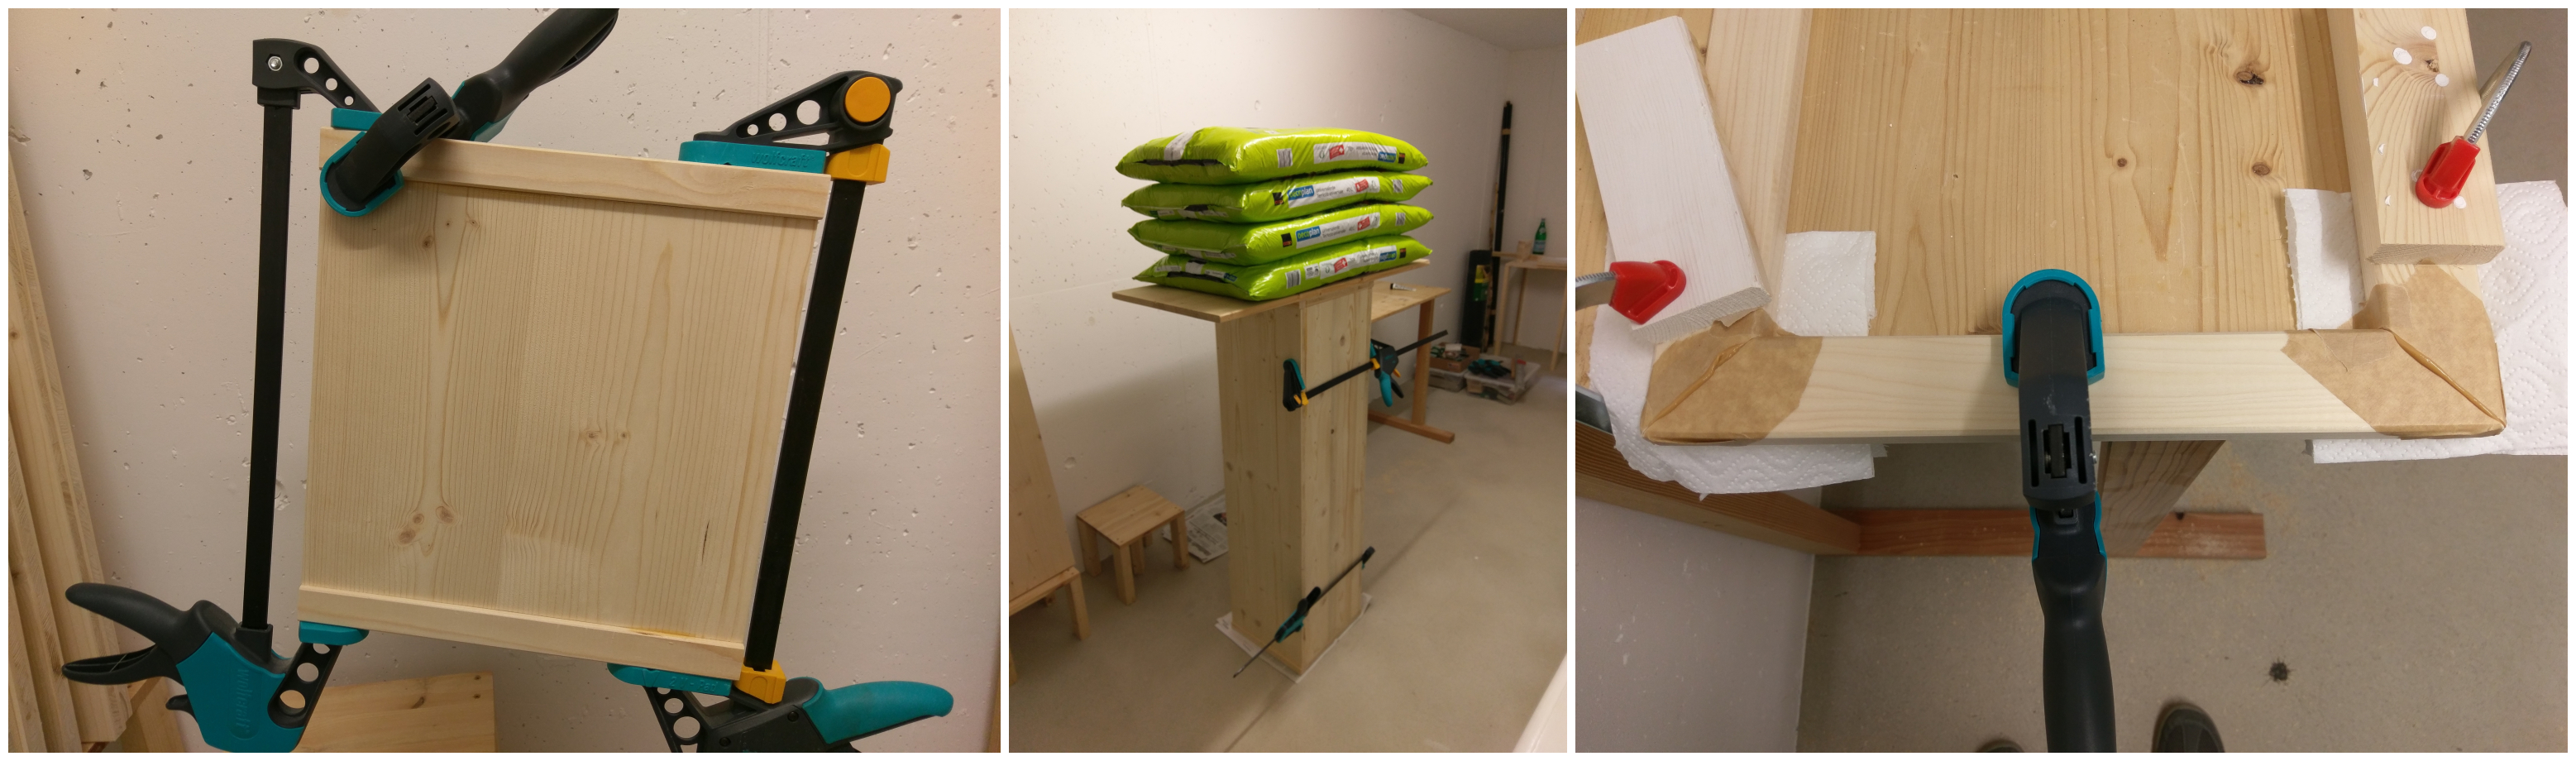
Well, after a bit of work and improvisation to compensate for all the professional tools I don't have, and considering this was one of the first things I made, I was rather pleased with the results. So pleased I made another one shortly after.
.jpg)
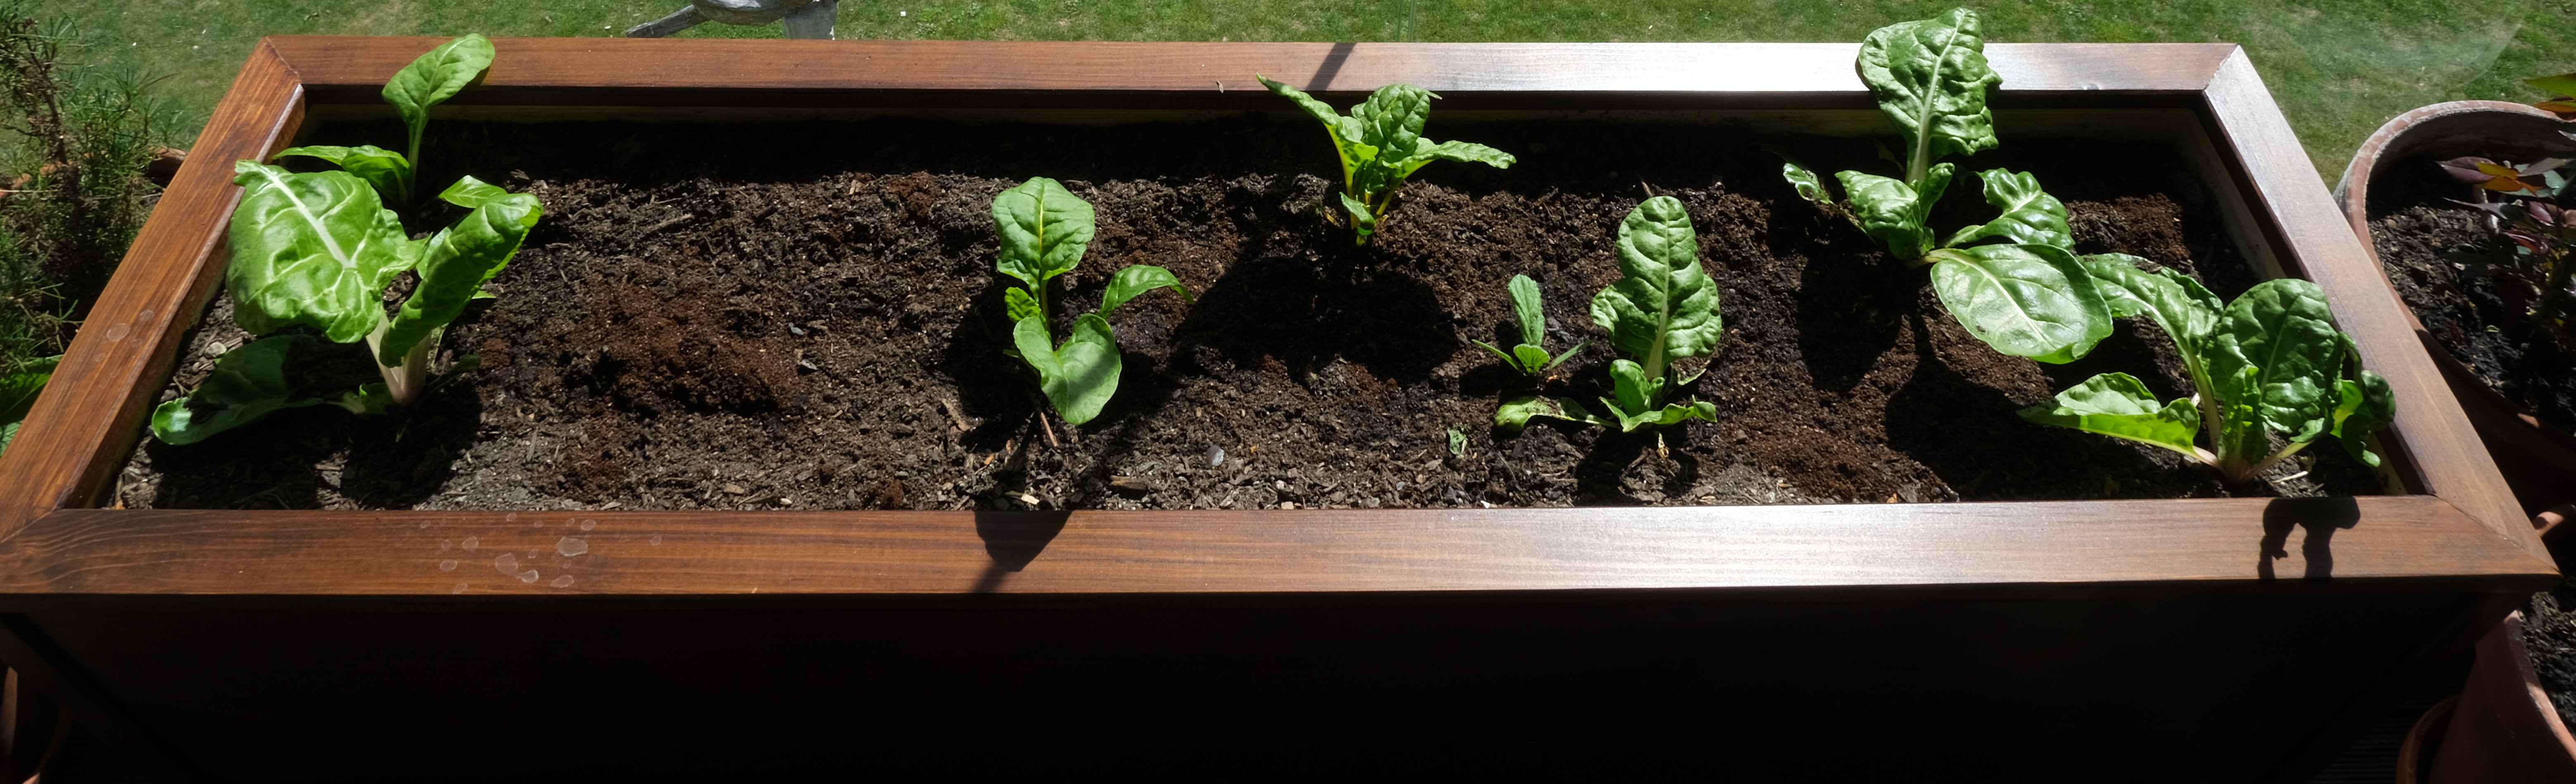
And here it is with this spring's Swiss chard (grown from seeds), just starting out (before I moved the stray one in the back into the empty spot):
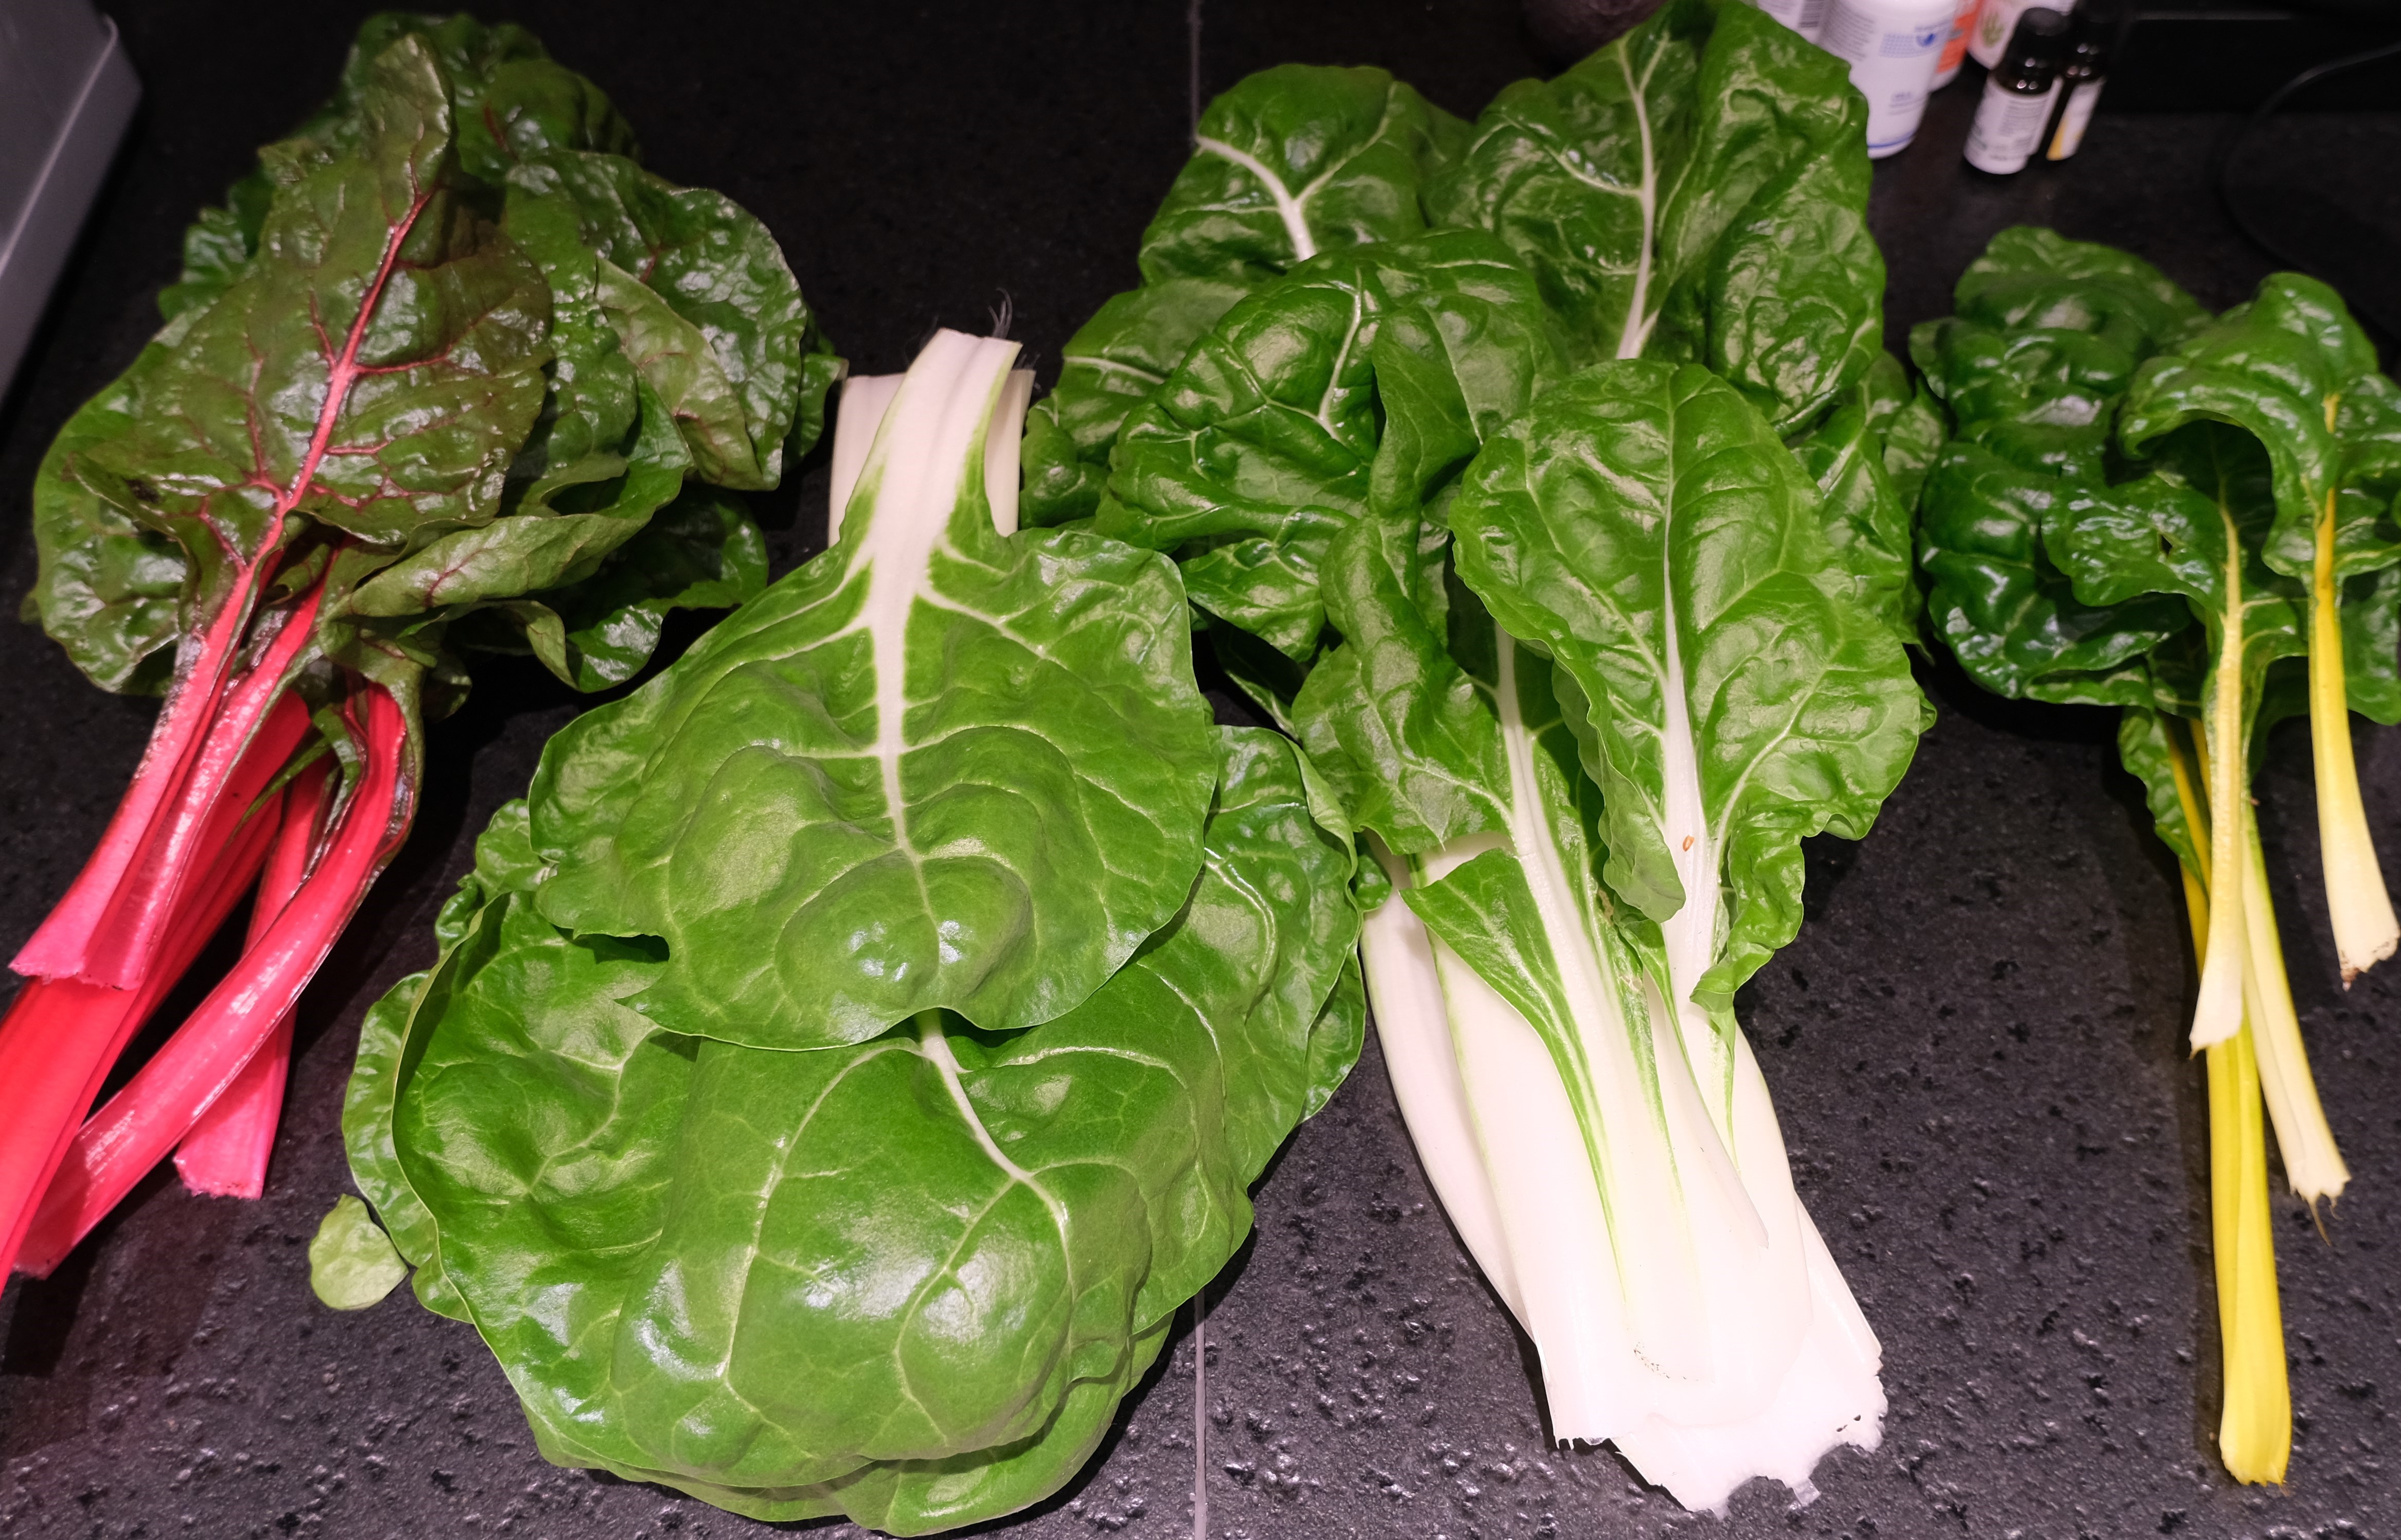
And here is about one fourth of the yield (combined with the other box):
After the chard, I planted tomatoes in one (early summer), and basil in the other (late summer) for another good haul.
After two years, the wood still feels stable at the surface, not rotten at all. I have a good feeling about those ten years :)
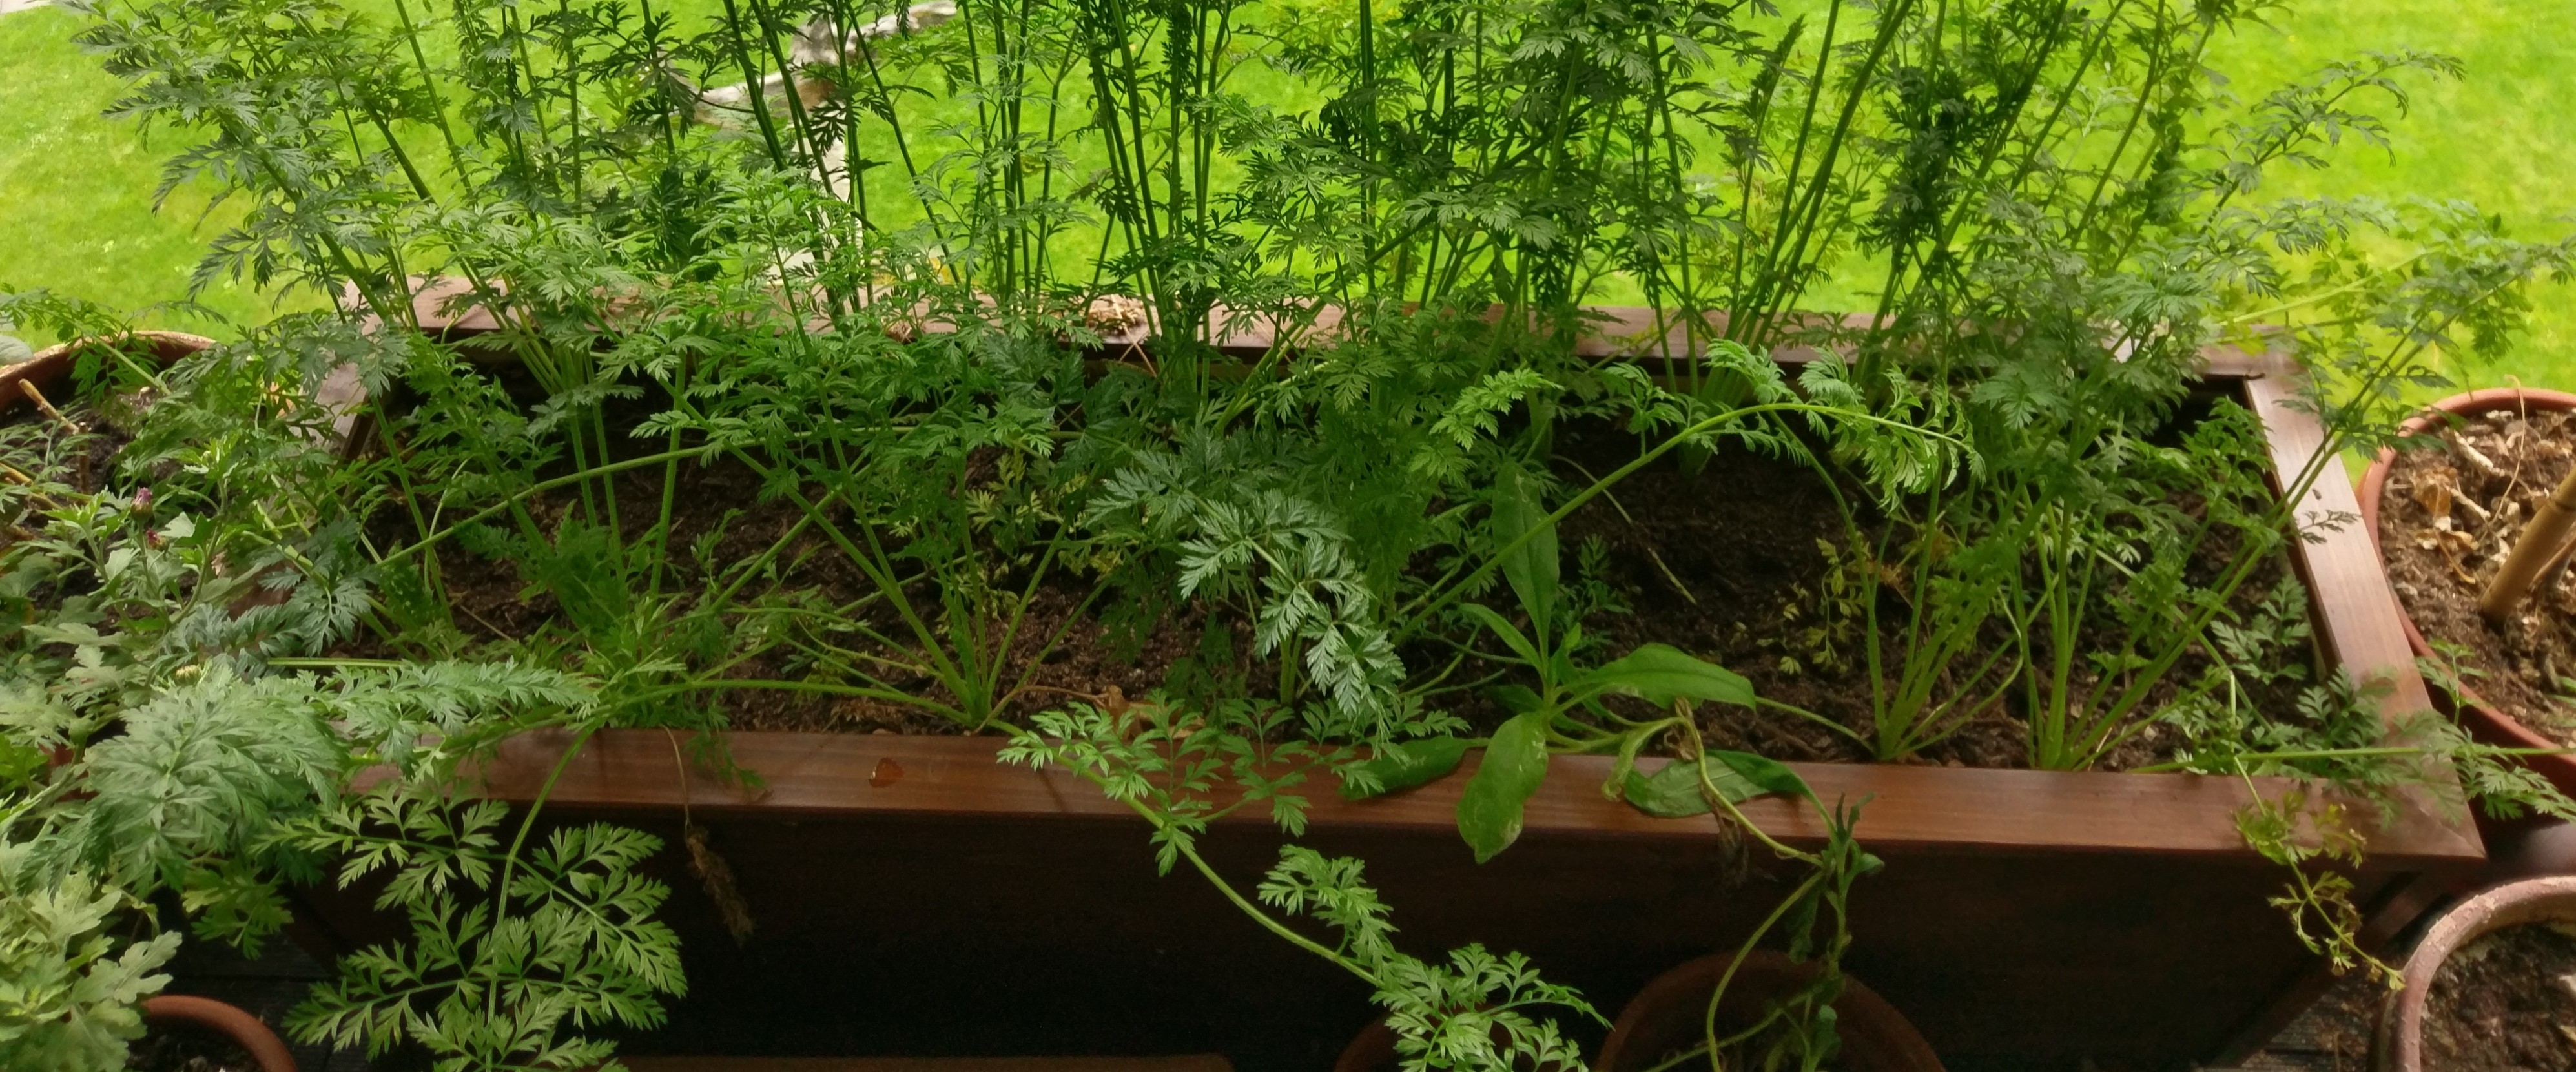
First Year: Carrots (Jaune de Doubs).
Hello! welcome to Hive, welcome to our community, thank you for sharing your projects with us.
Hello and thank you :) I would have replied sooner (and to more posts) but I'm waiting for my RCs to recharche, lol.