Español
💌🖋️
Hola querida comunidad de Hive Diy espero se encuentren todos bien. 🫂🙏🏻
Hoy quiero explicarles como armé un vestido de 15 años, apenas una semana antes del cumpleaños de mi hija.
🪡🧵
La quinceañera, mi hija, estuvo buscando un vestido para la ocasión que a ella le gustara pero no consiguió nada que se adaptara al poco presupuesto y viendo que los dias se acercaban rápidamente y aun no tenía el vestido que se asemejara a lo que buscabamos que era calidad, belleza y economía (me quedé impactada de los costosos que estan) fue cuando me dije a misma que yo podía hacerlo, asi que me puse rápidamente manos a la obra a hacerle el vestido que mas se pareciera al que ella quería.
🪡🧵
Es un modelo que consta de un corsé y una falda y que al colocarselo hacen el efecto de que es un solo vestido. La idea era hacer 2 faldas una larga y una corta pero el tiempo y el presupuesto no me dieron. Asi que solo hice la falda corta.
🪡🧵
Yo tengo algo de conocimiento de costura pero todo empírico, nada estudiado y algunas cosas que aprendí con mi madre. Ella en un tiempo, cuando yo apenas era una niña me enseñó patronaje y gracias a Dios porque hasta el patrón del corsé me tocó hacer con sus medidas.
Asi que tuve que disponerme rápidamente, ya que no tengo máquina de coser y le hice su vestido totalmente a mano.
Mi conclusión es que cuando se hacen las cosas con amor, cariño y paciencia, obtenemos los mejores resultados.
Materiales:🪡🧵
🔸Hilo del color de la tela.
🔸Tijeras para tela.
🔸Agujas (o máquina de coser).
🔸Alfileres.
Para la falda:
🔸2 metros y 1/2 de tela de seda azul.
🔸2 metros y 1/2 de tela de organza azul.
🔸50 cm de Elástico ancho ( 3cm)
Para el corsé:
🔸Patrón del corse a la medida.
🔸1/2 metro de seda azul.
🔸1/2 metro de tela de lona azul (para el forro interior).
🔸1.5 metros de cinta de raso azul (para atar el corsé).
🔸4 varillas de plastico para corsé.
Todos estos materiales dependen del largo que deseen la falda y del contorno de la cintura.
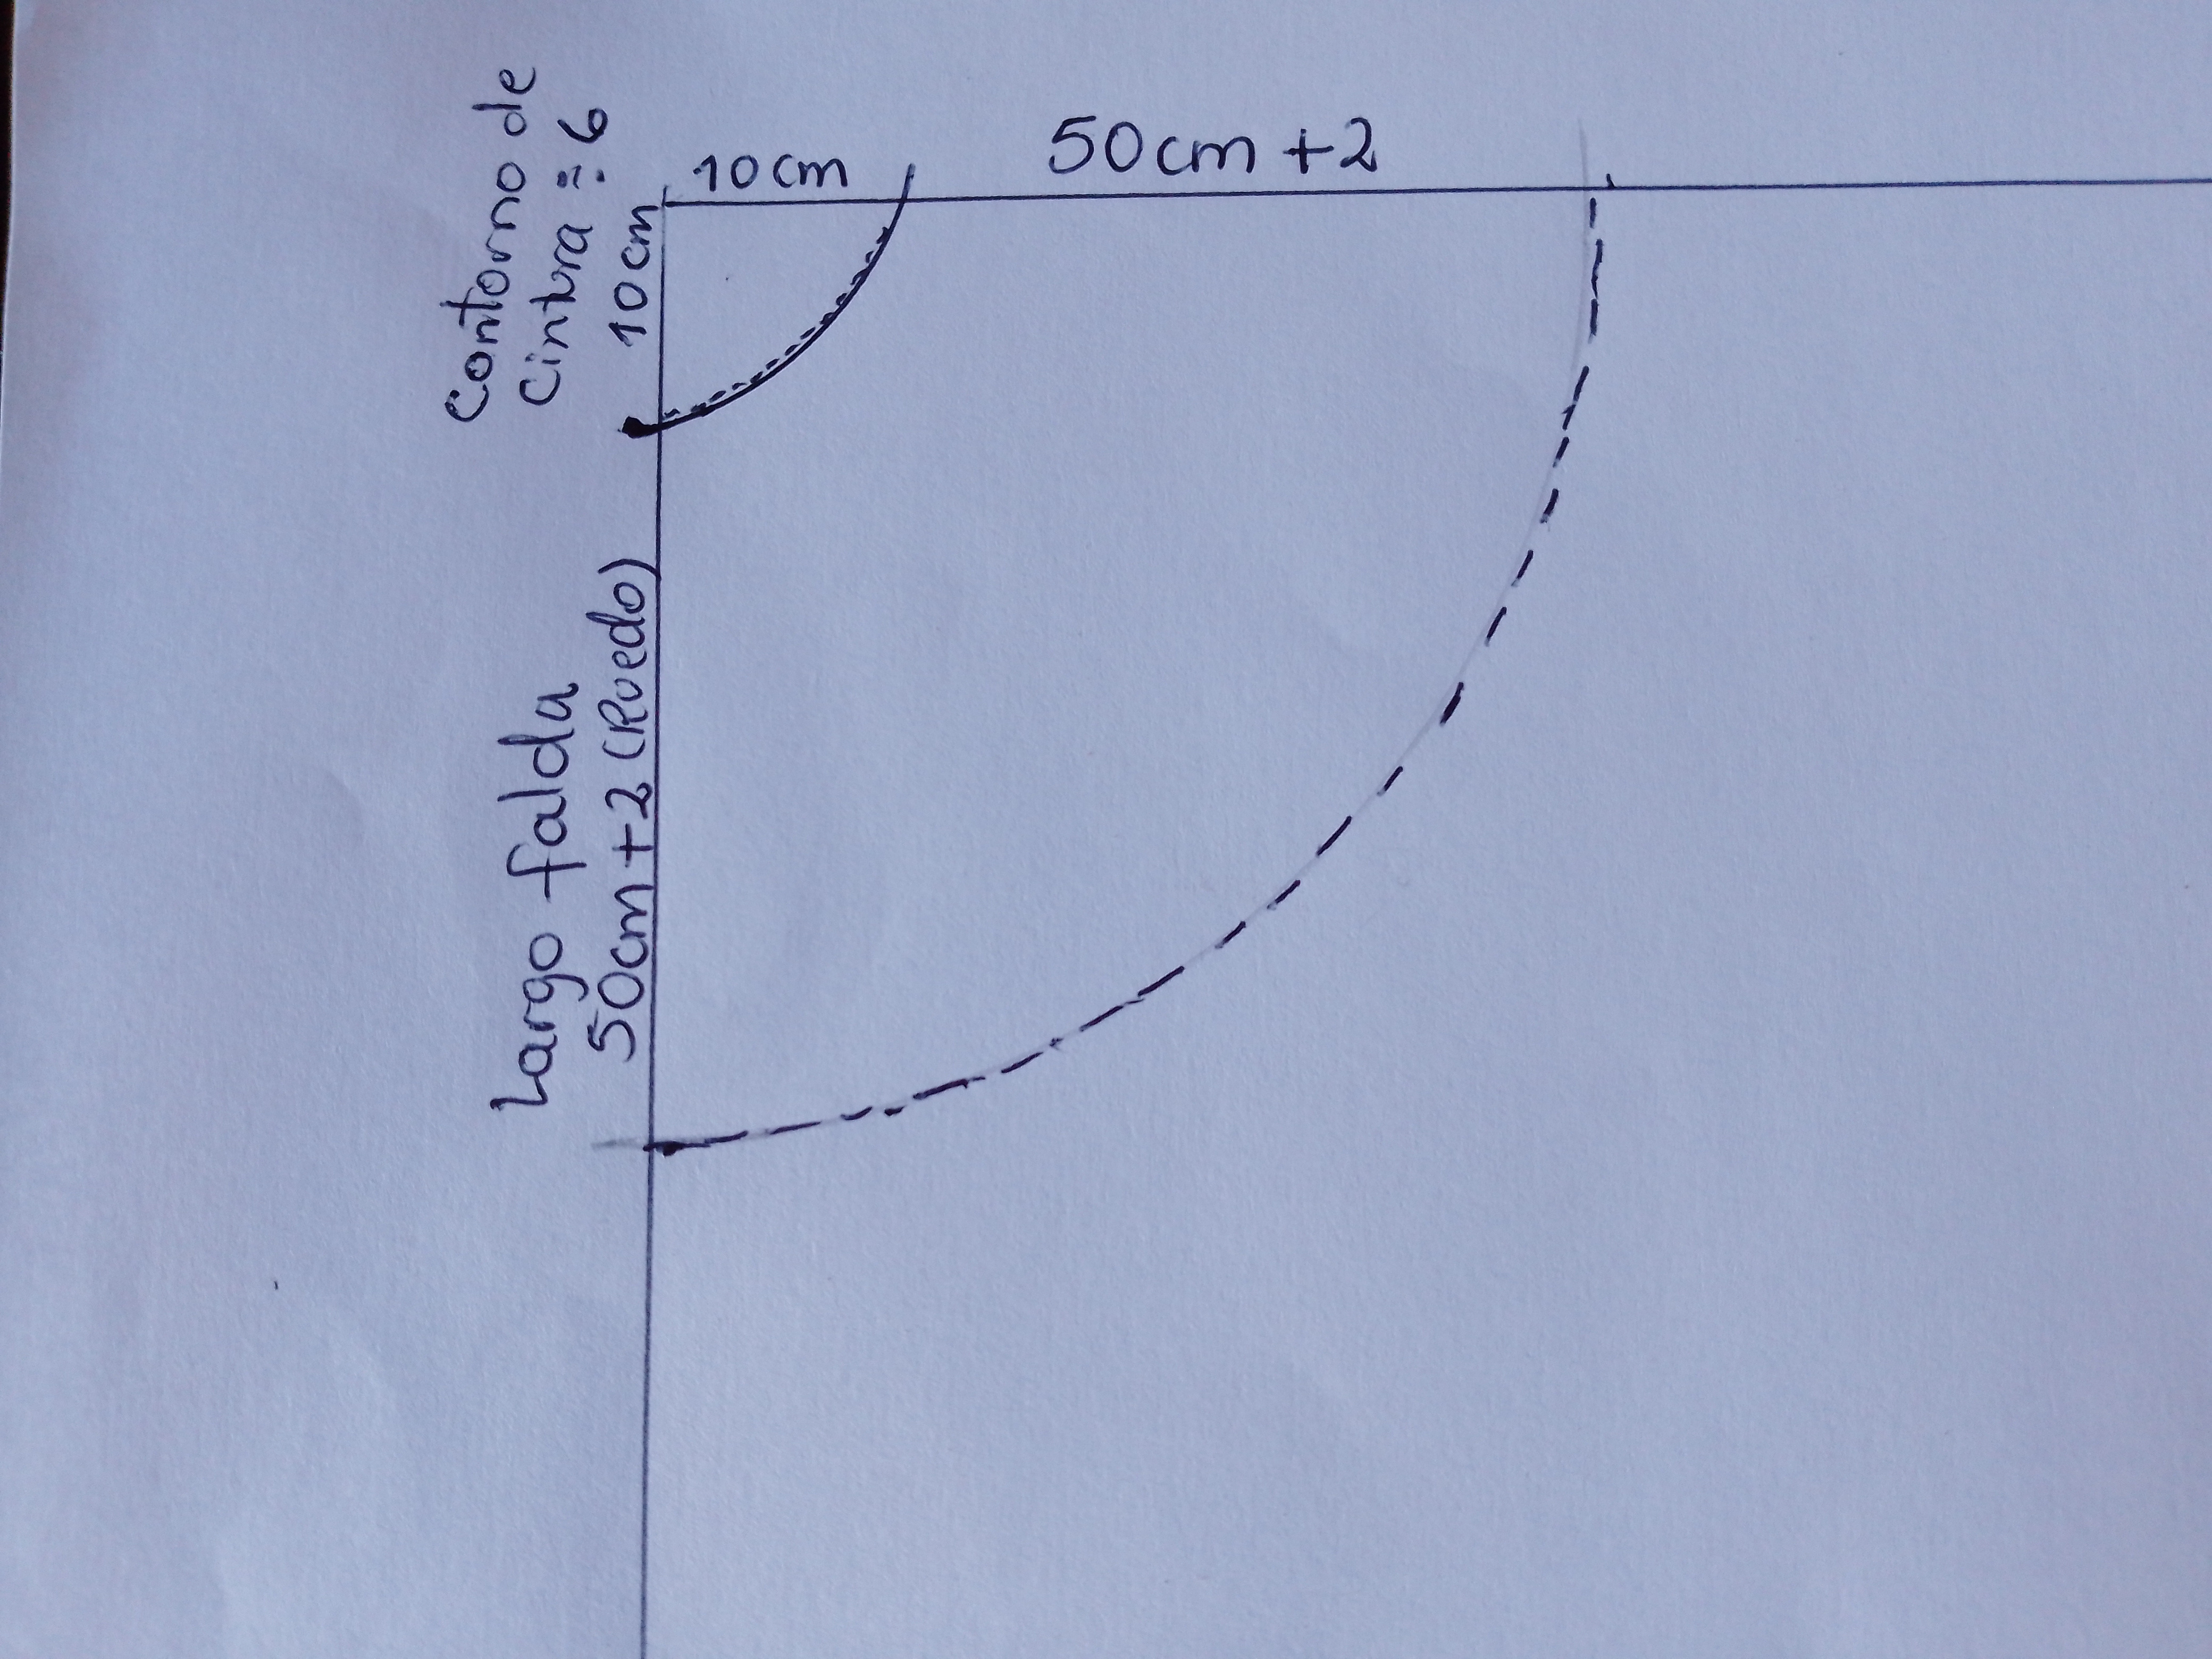
A continuación te enseño a sacar las medidas para una falda circular completo de acuerdo a tus medidas.
Primeramente necesitamos 2 medidas, que son:
1.Contorno de cintura: 60cm(Recuerda que debe ser la medida de la clienta, en este caso 60cm es el contorno de cintura de mi hija).
2. Largo que desees la falda: 50cm
Dividimos el Contorno de Cintura entre 6
60/6= 10
eso lo sumamos con el largo de la falda:
10+50= 60
y el resultado lo multiplicamos por 4:
60x4= 240
2.40 metros es la cantidad de tela que yo utilicé para este mágico proyecto.
Paso a paso
1.Primero se debe marcar el patrón del corsé en la tela de seda y la tela de lona sostenerlo con alfileres para que no se nos mueva la tela y debe cortarse doble cada lado primero el lado derecho y luego el lado izquierdo.
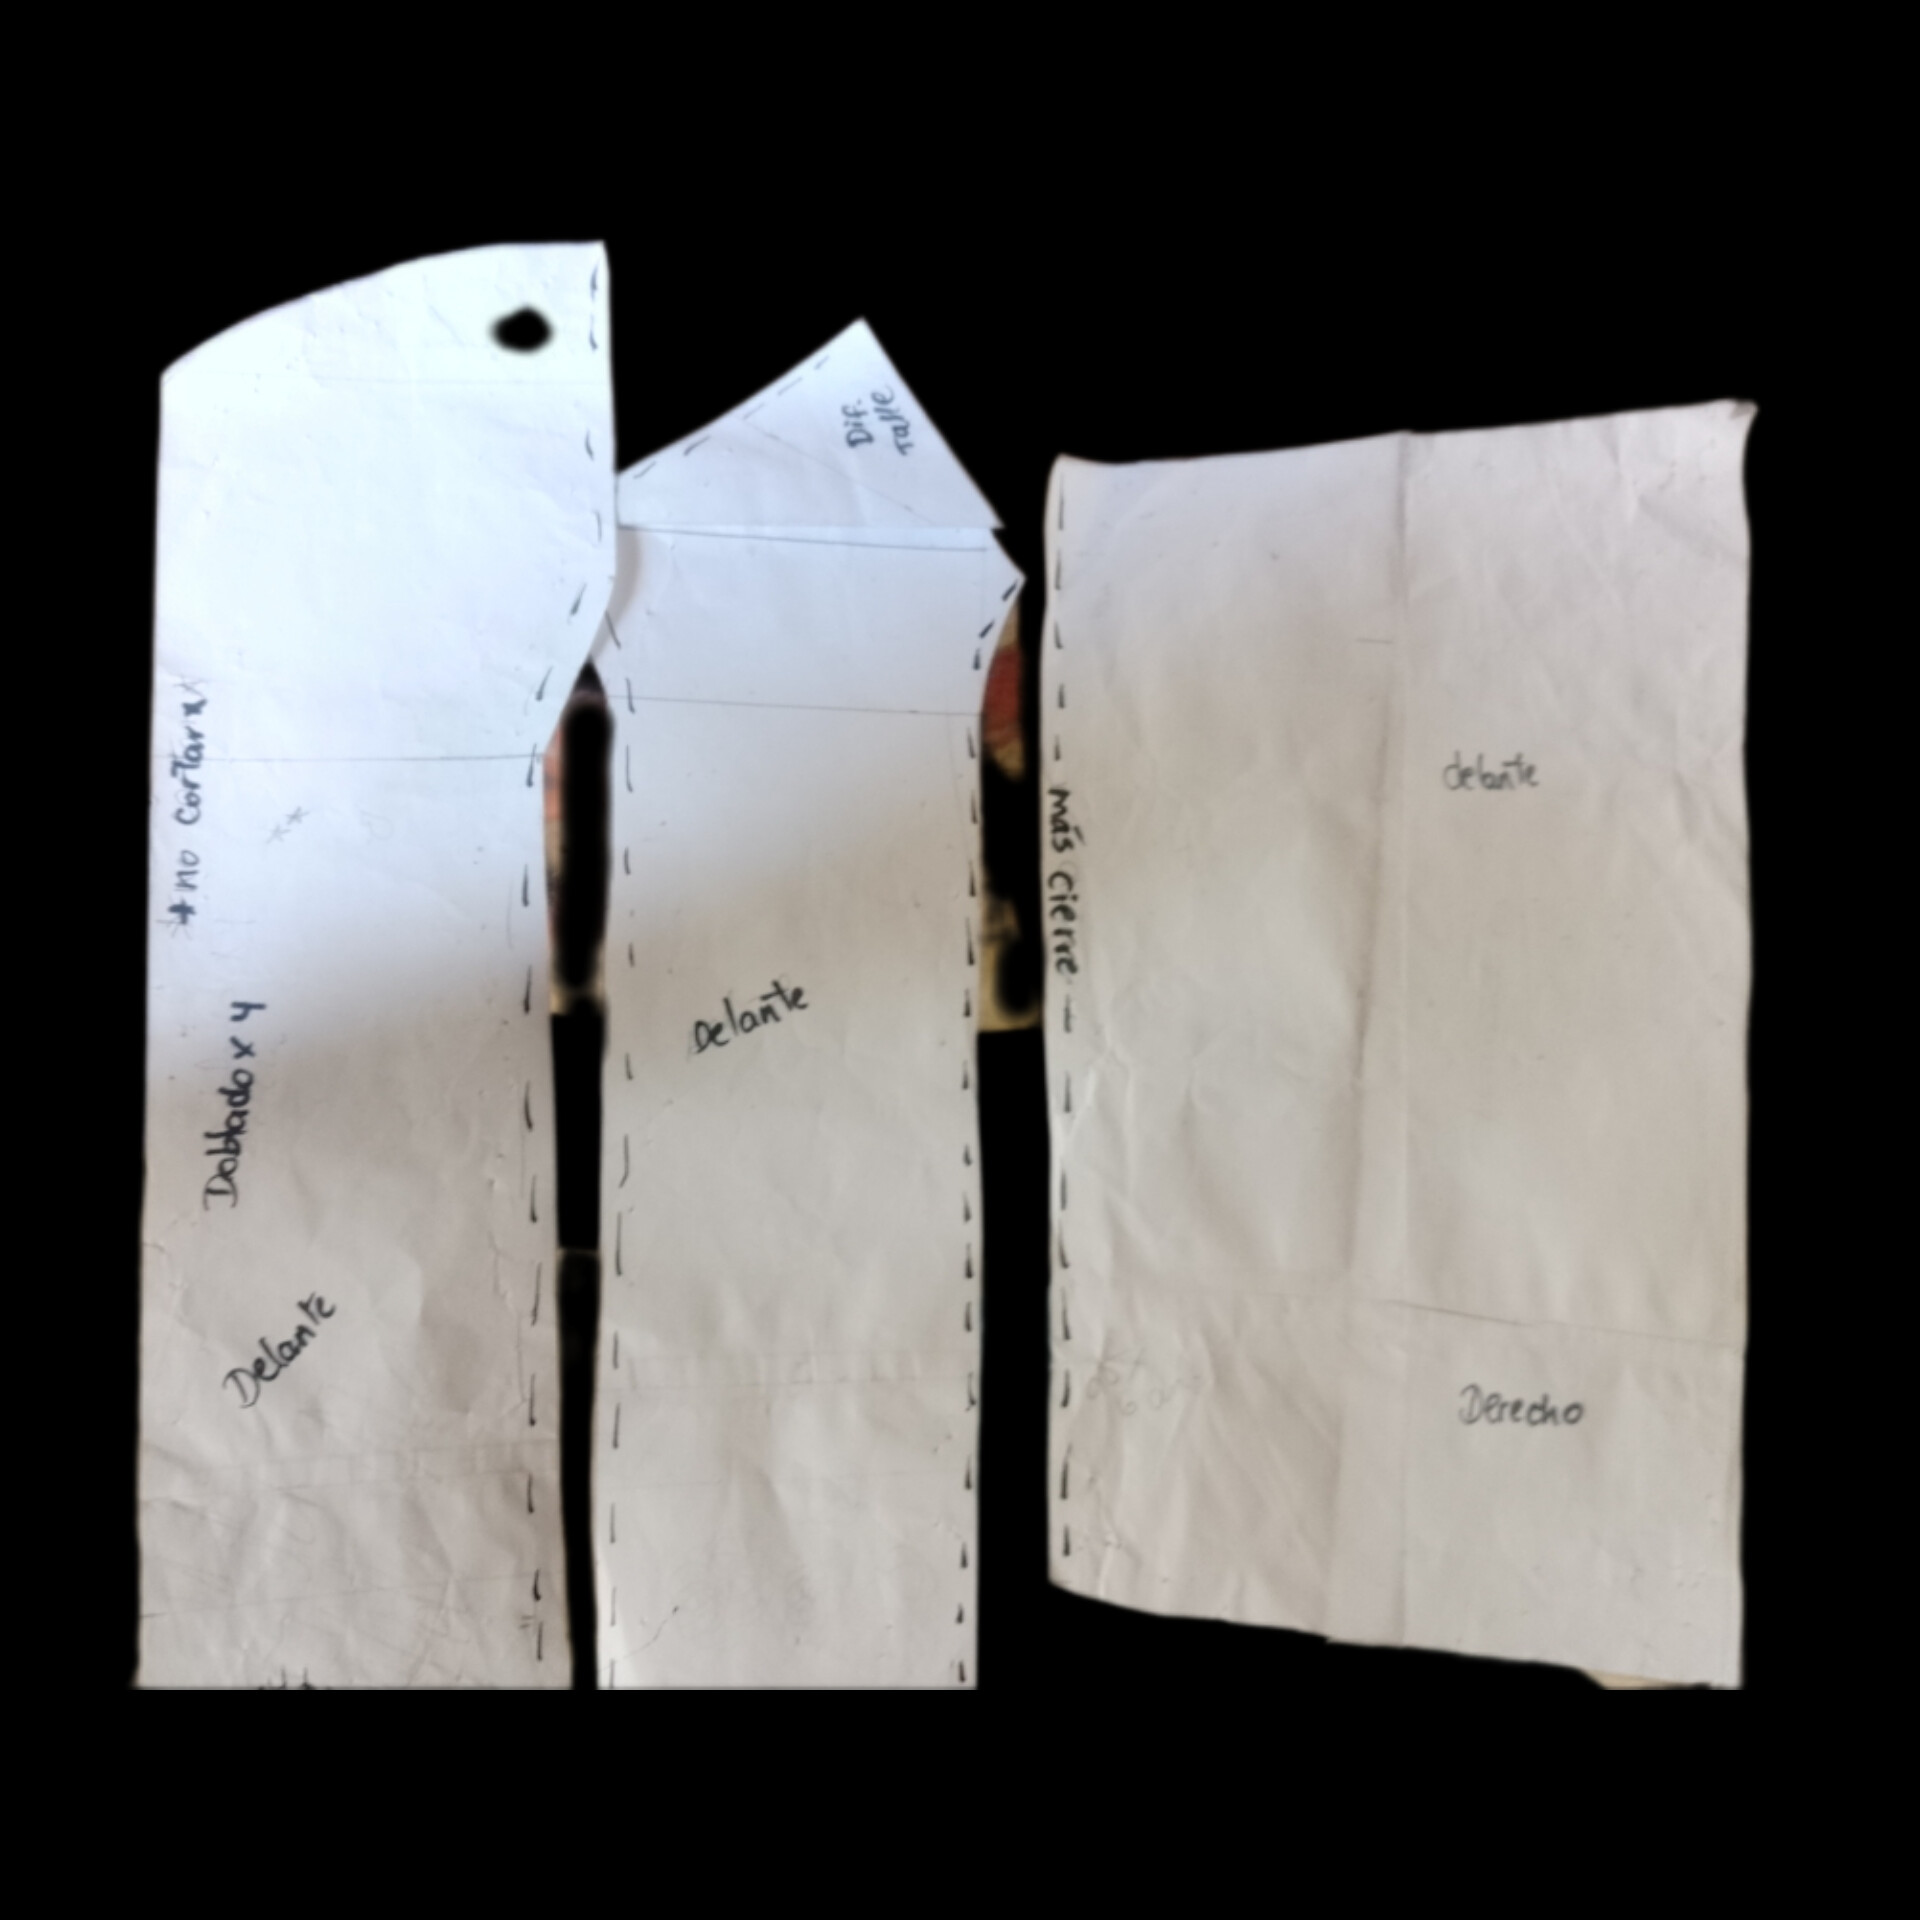
2.Empezamos a coser las piezas en el orden que indica el patrón la parte delantera con la tela de seda junto a la tela de lona.
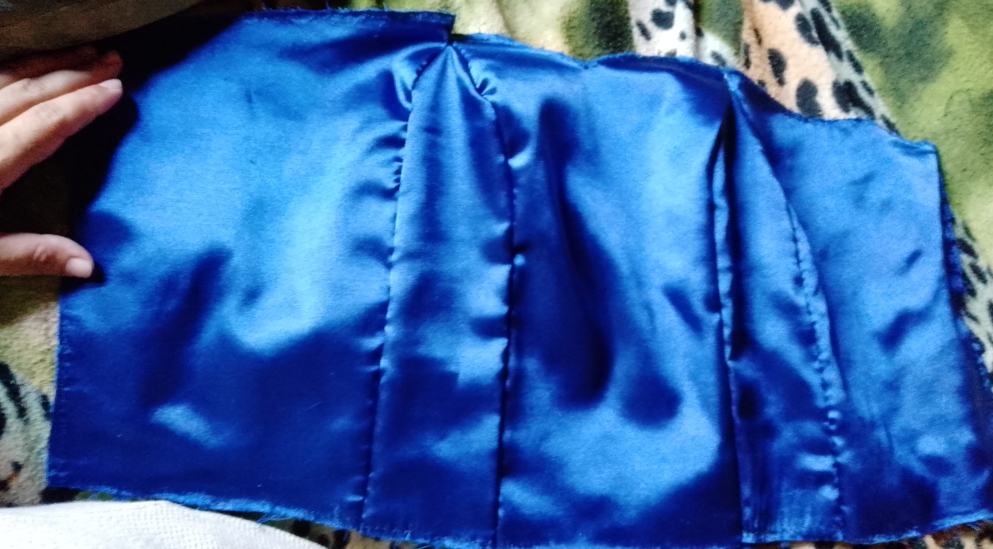
3.En el lado de la costura interna abrir las telas justo donde van las costuras cerraremos como un bolsillo donde iran las varillas. Costuramos para cerrar el bolsillo donde van las varillas. Luego de colocar las varillas cosemos el lado que va para adentro revés con revés y volteamos.
4.Es importante ir planchando las piezas a medida que se cosen.
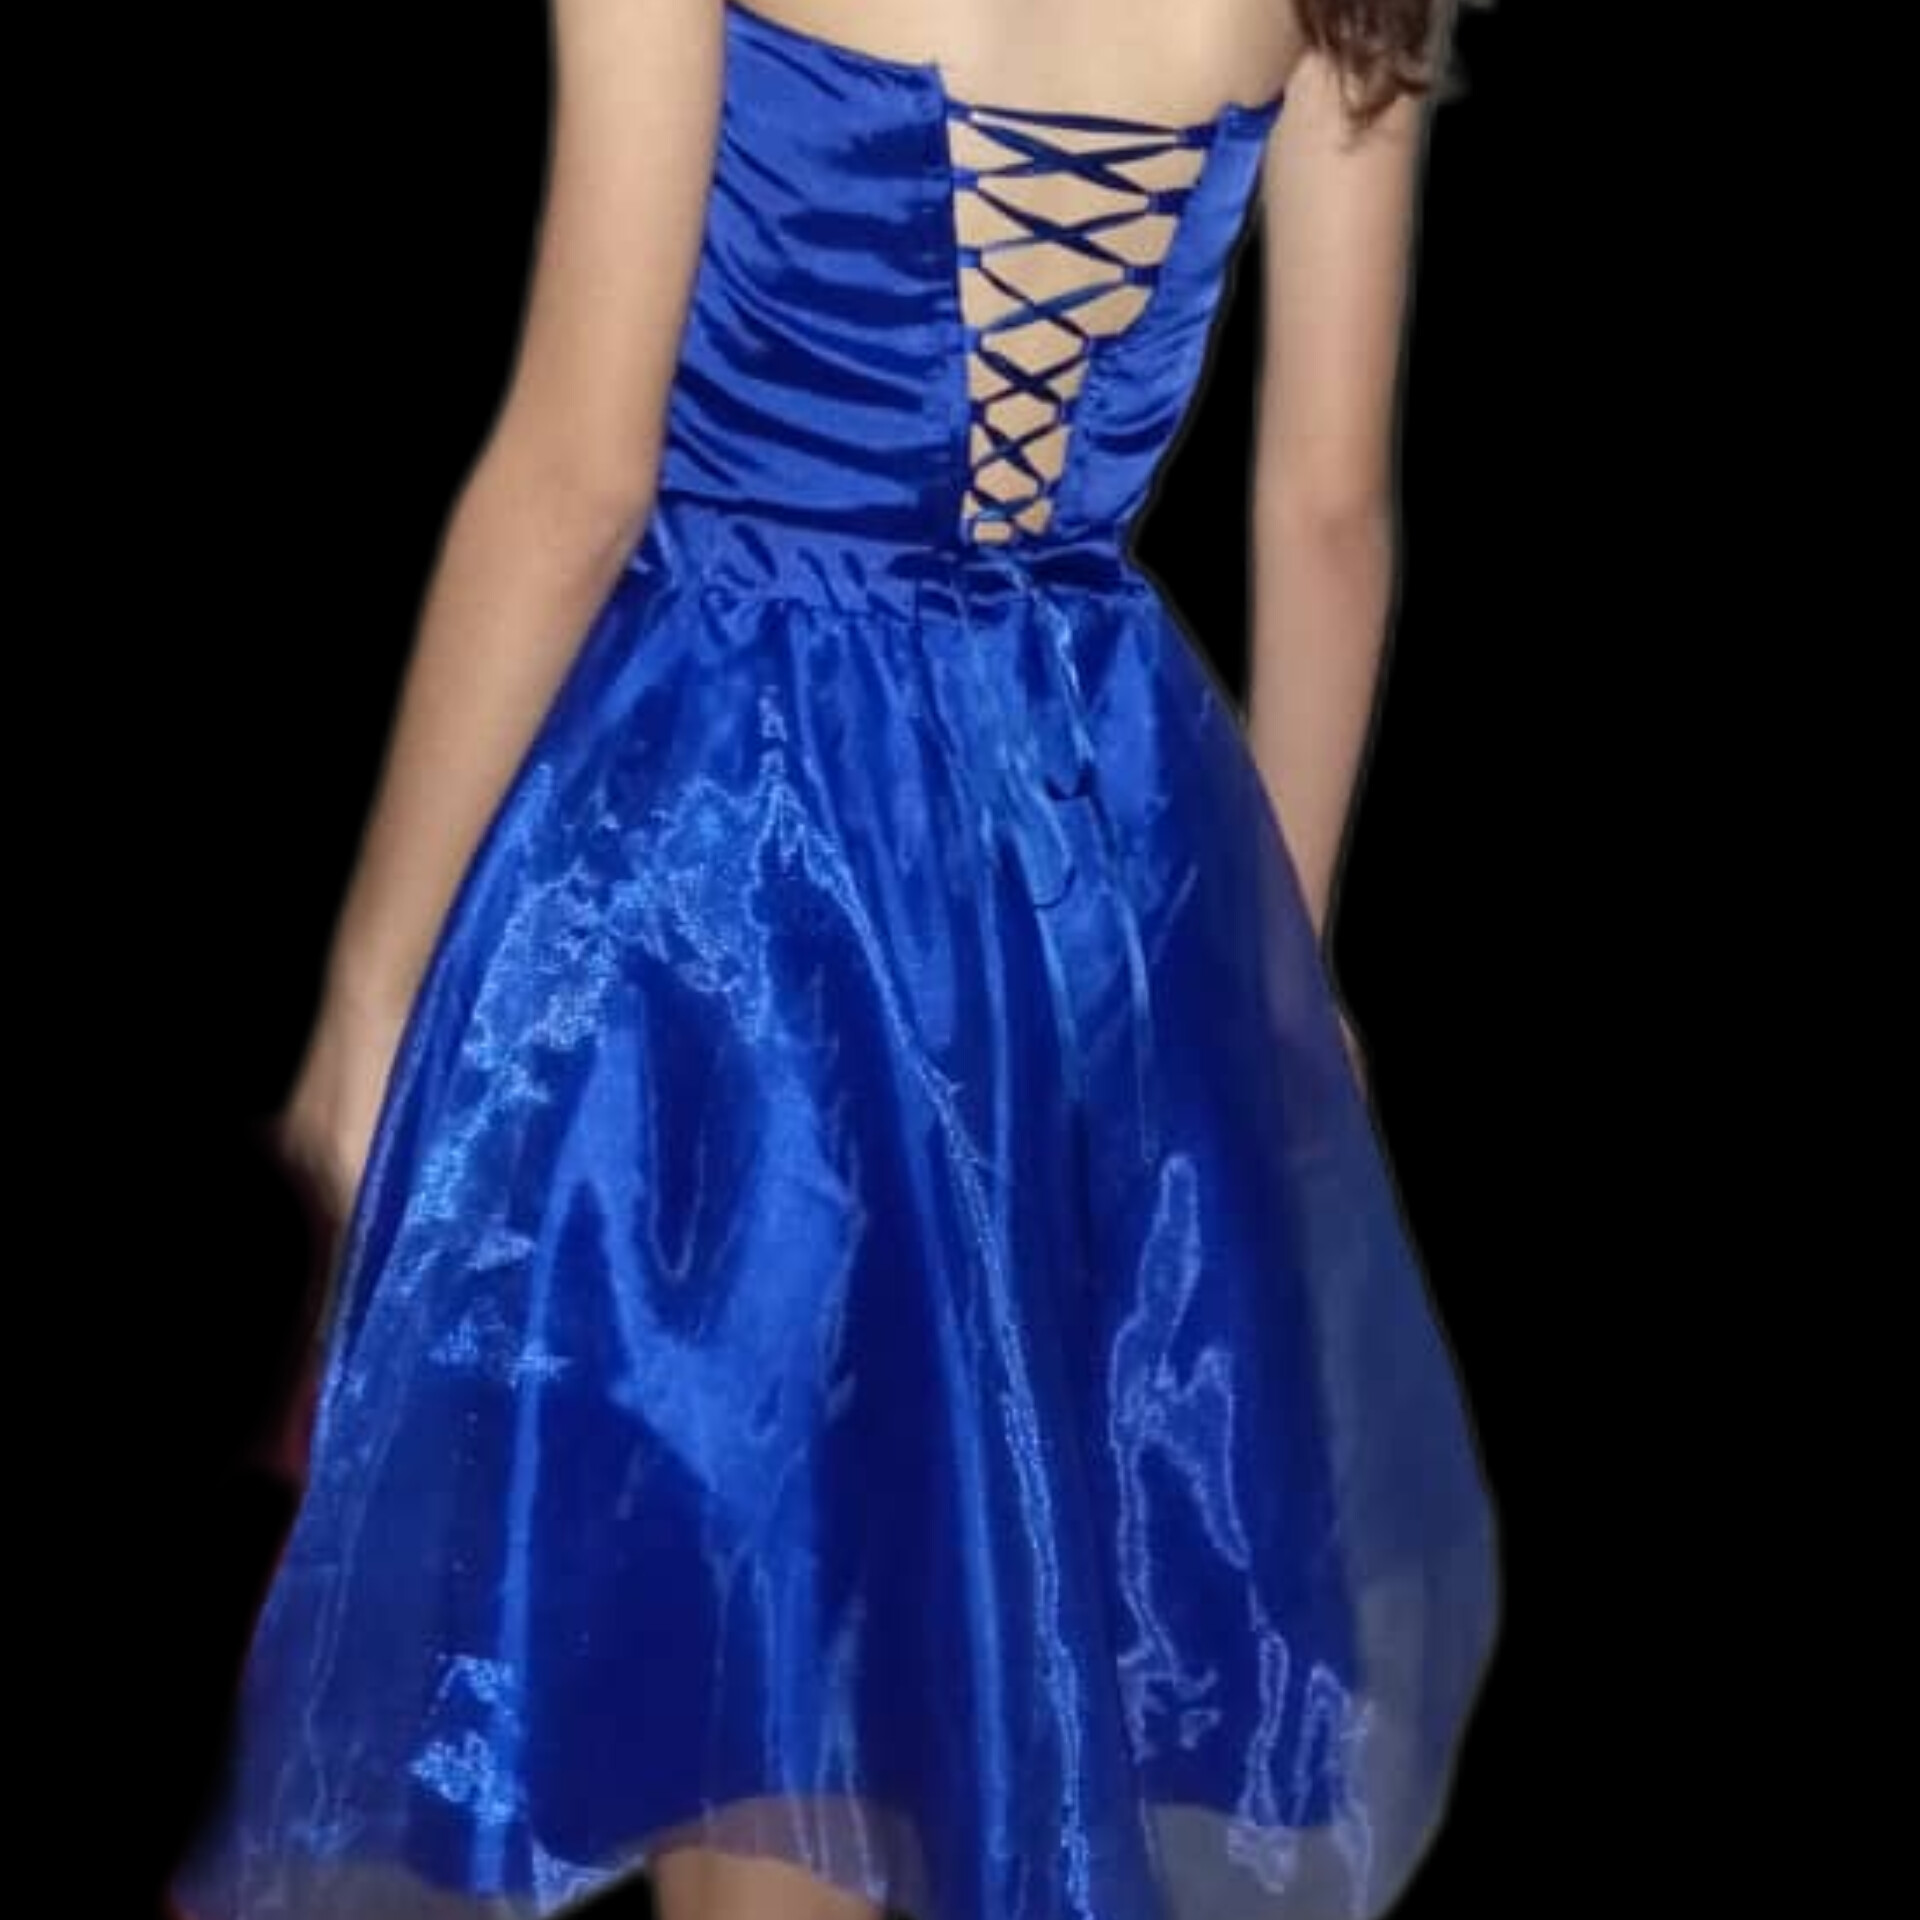
5.Ya tenemos el corsé armado y luego lo que haremos es hacer unos ojales de lado y lado del corsé en la parte de atrás para meter la cinta de raso y poder amarrarlo.
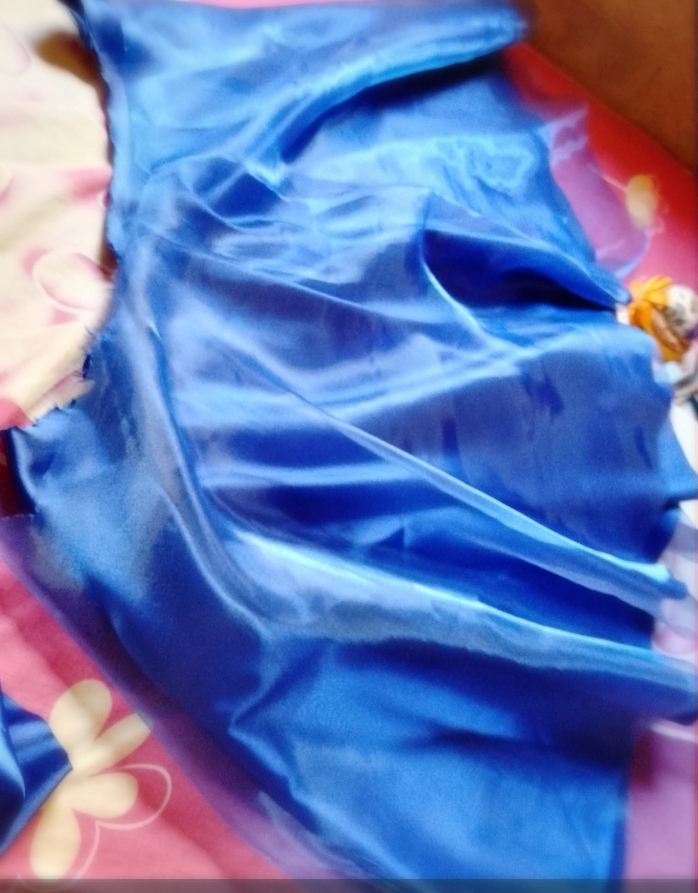
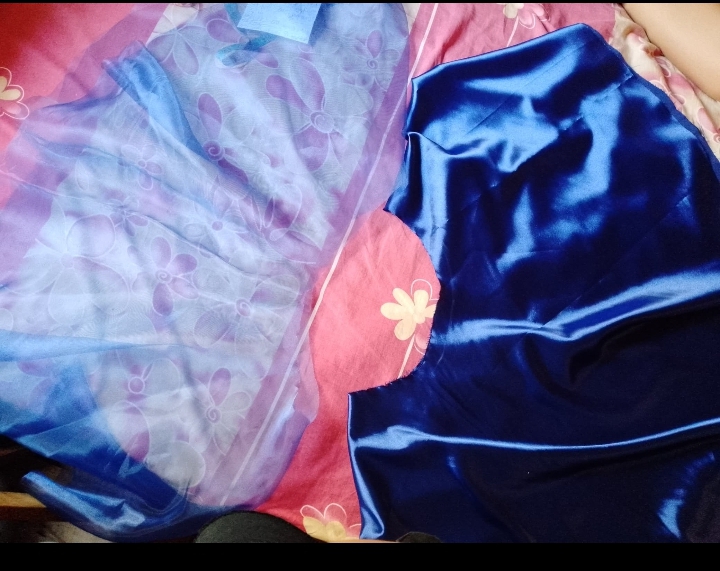
6.La tela de seda y de organza destinadas para la falda se doblan en 4 partes por separado y se marca con las medidas anteriores de la siguiente manera:
7.Cortamos los patrones la falda por donde marcamos y para finalizar le cosemos la liga de la falda a ambas pieza juntas la de organza y la de seda en toda la cintura y le agarramos ruedo de 2 cm.
Dato importante: A mi no me dió chance de ir a la tienda a comprar las varillas del corsé asi que se me ocurrió hacerlas con plástico de botellas de refresco, las corte a la medida y fue asi como las hice.
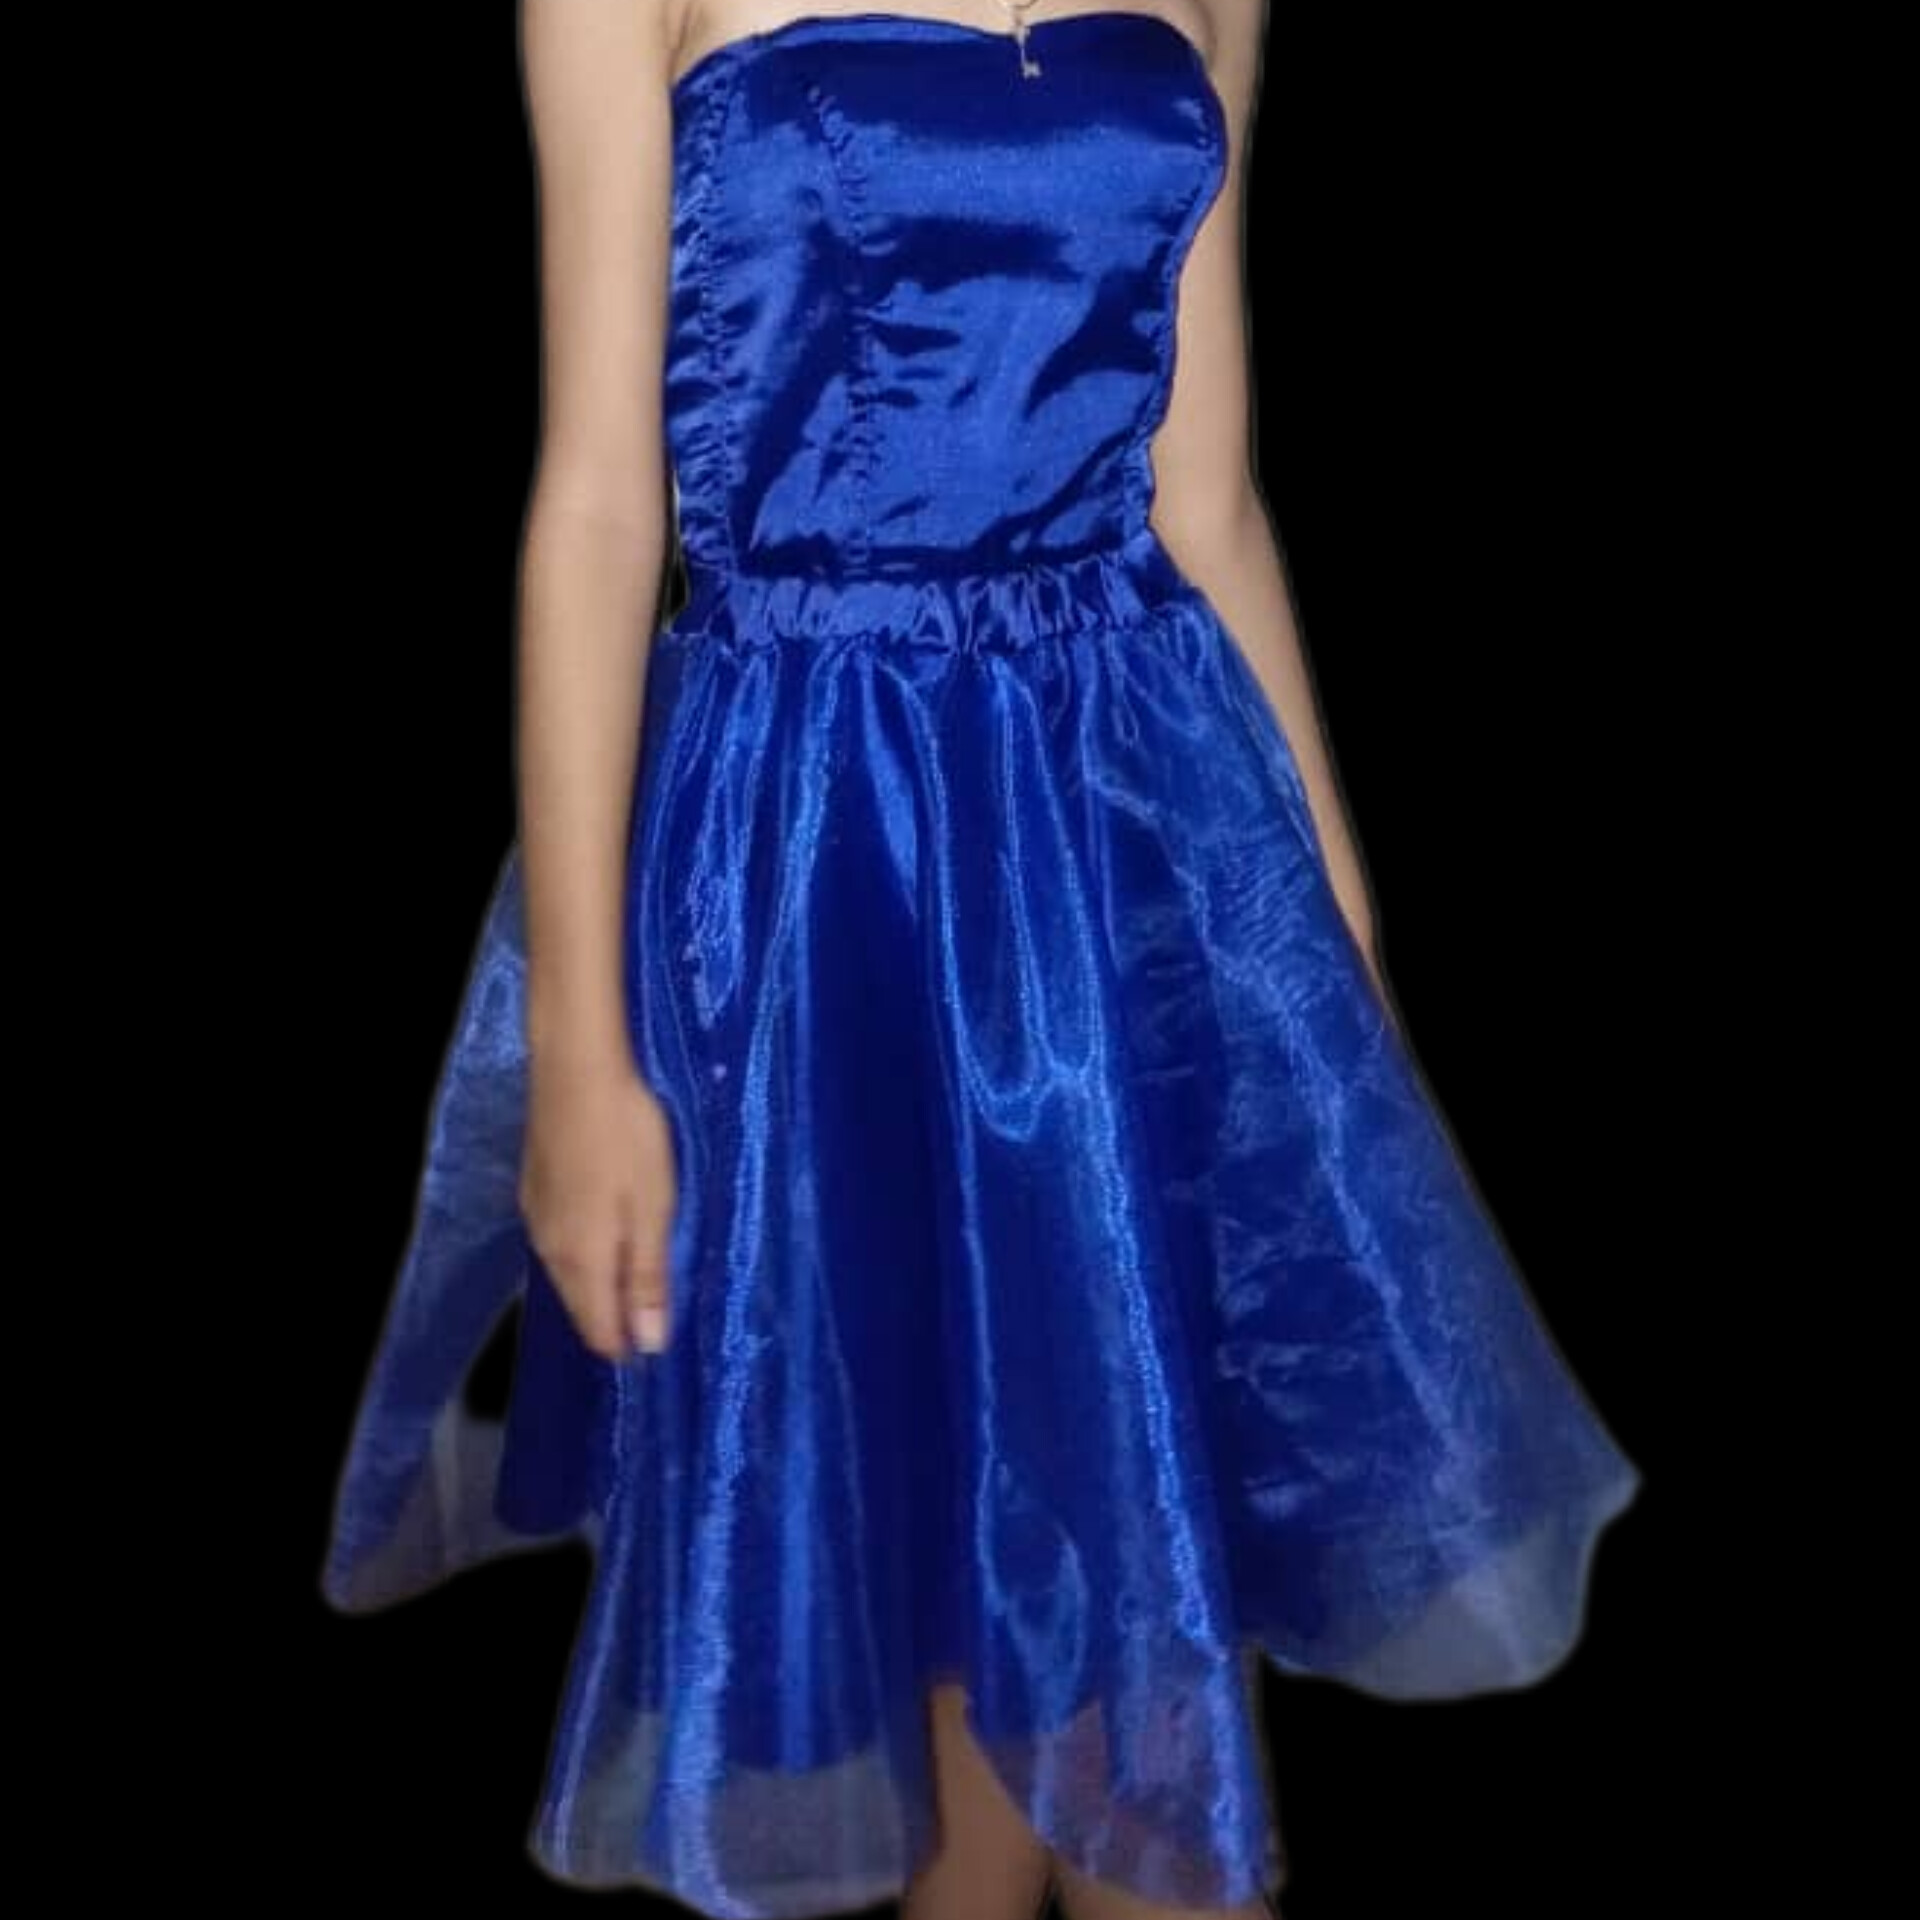
Asi quedó este hermoso vestido:
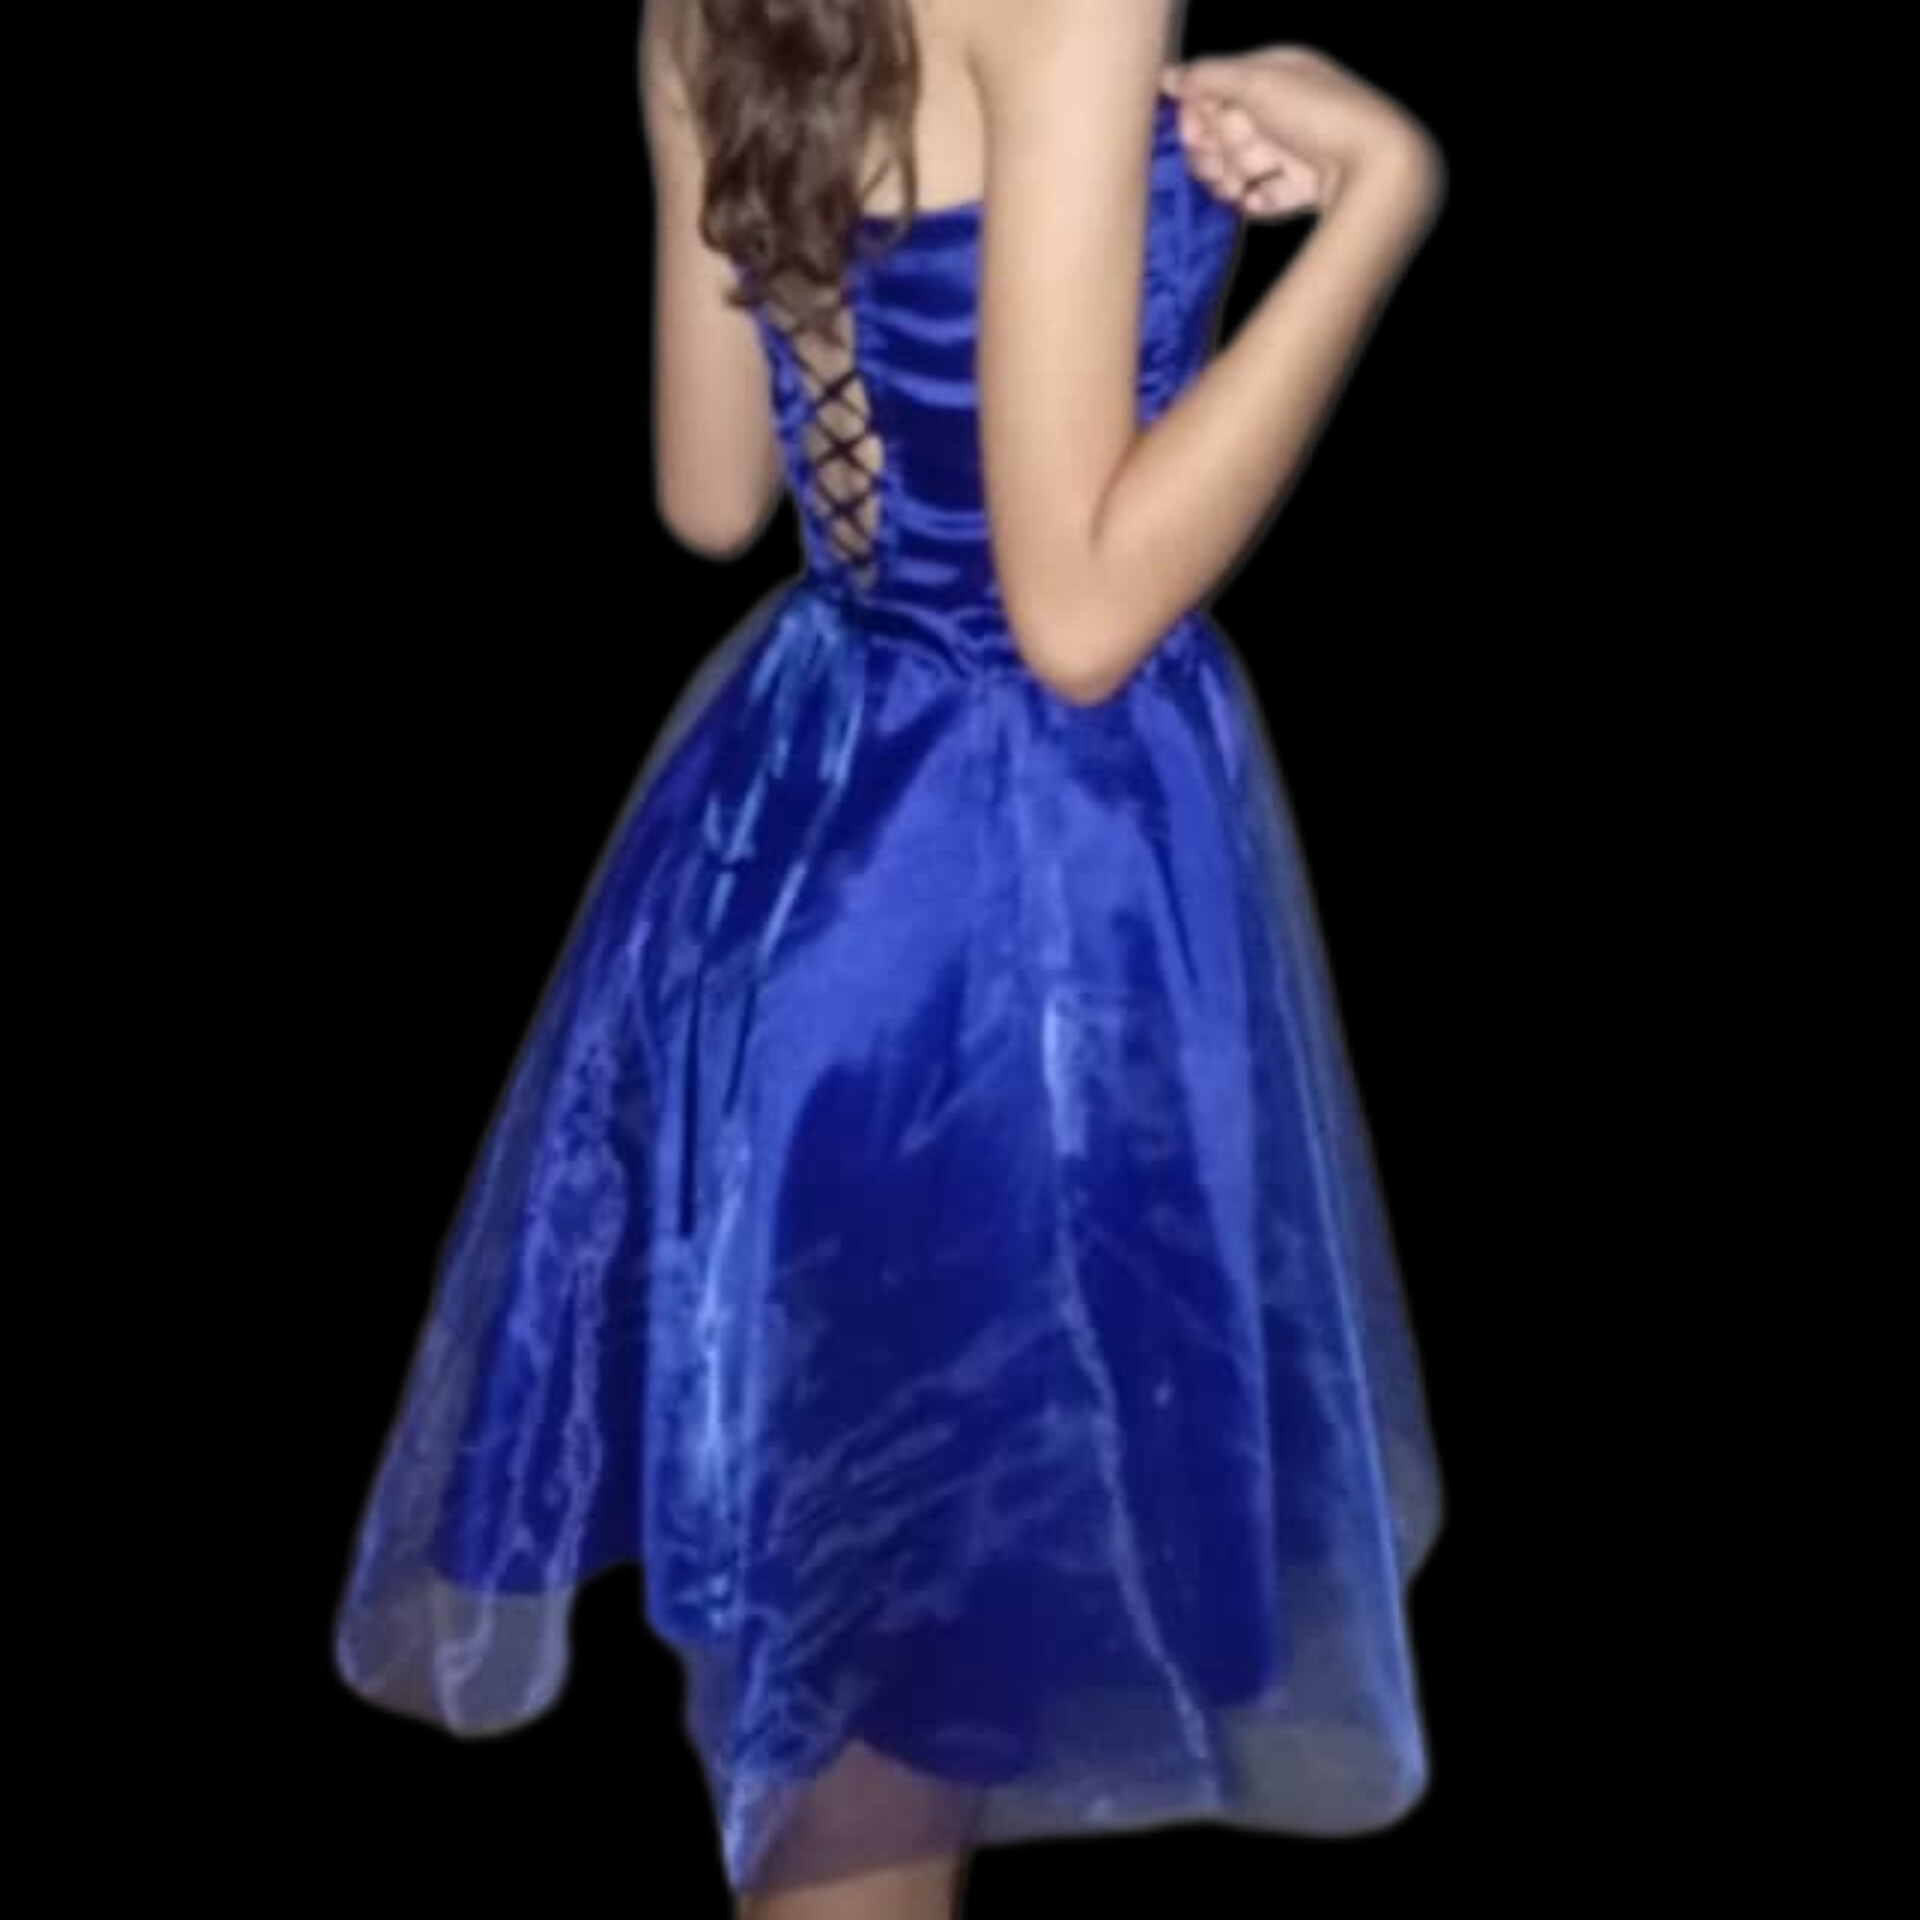
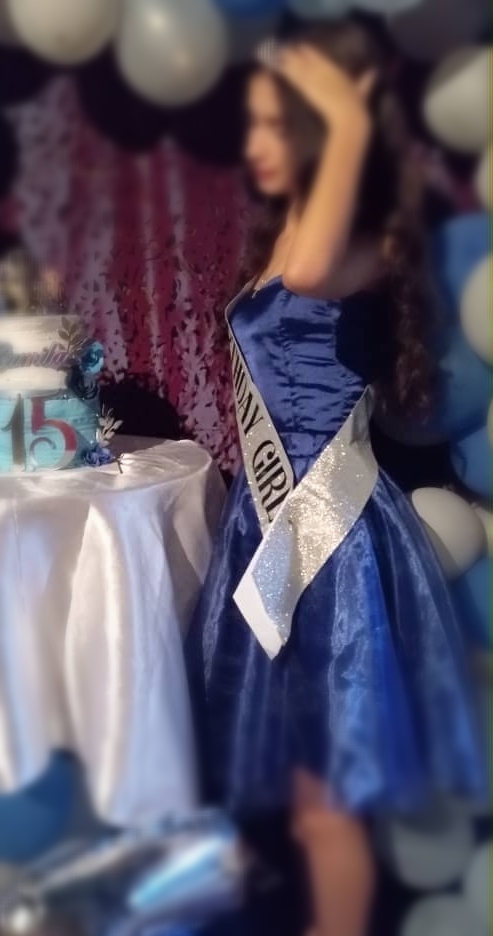
Y asi finalizamos queridos amigos de Hive Diy, este hermoso vestido de 15 años de una manera muy sencilla. Sin necesidad de pagar altos costos por ellos.
Espero que este tutorial les sirva de motivación.
Ya saben que hay que inventar y reinventar. Todo por complacer a nuestros tesoros.
Esto fue todo por hoy, nos leemos en el siguiente post😉
Gracias por leerme♥️
English
💌🖋️
Hello dear community I hope you are all well. 🫂🙏🏻
Today I want to explain how I put together a 15 years dress, just a week before my daughter's birthday.
🪡🧵
The quinceañera, my daughter, was looking for a dress for the occasion that she liked but did not get anything that would fit the little budget and seeing that the days were approaching quickly and still did not have the dress that resembled what we were looking for which was quality, beauty and economy (I was shocked at how expensive they are) was when I told myself that I could do it, so I quickly got down to work to make her the dress that most resembled what she wanted.
🪡🧵
It is a model that consists of a corset and a skirt and that when you put it on it makes the effect that it is a single dress. The idea was to make 2 skirts one long and one short but time and budget did not give me. So I only made the short skirt.
🪡🧵
I have some sewing knowledge but all empirical, nothing studied and some things I learned with my mother. She at one time, when I was just a little girl taught me pattern making and thank God because even the corset pattern I had to make with her measurements.
So, I had to quickly get ready, since I don't have a sewing machine and I made her dress completely by hand.
My conclusion is that when things are done with love, affection and patience, we get the best results.
Materials:🪡🧵
🔸Yarn in the color of the fabric.
🔸Fabric scissors.
🔸Needles (or sewing machine).
🔸Pins.
For the skirt:
🔸2 and 1/2 meters of blue silk fabric.
🔸2 and 1/2 yards of blue organza fabric.
🔸50 cm wide Elastic ( 3cm).
For the corset:
🔸Corset pattern to size.
🔸1/2 meter of blue silk.
🔸1/2 meter of blue canvas fabric (for inner lining).
🔸1.5 meter of blue satin ribbon (to tie the corset).
🔸4 plastic corset stays.
All of these materials depend on the length you want the skirt to be and the waist circumference.
Below I show you how to get the measurements for a full circle skirt according to your measurements.
First we need 2 measurements, which are:
1.Waist circumference: 60cm_(Remember that it must be the customer's measurement, in this case 60cm is my daughter's waist circumference).
2. Length you want the skirt to be: 50cm_(Remember this must be the customer's measurement, in this case 60cm is my daughter's waist measurement).
We divide the Waist circumference by 6
60/6= 10
add that to the length of the skirt:
10+50= 60
and multiply the result by 4:
60x4= 240
2.40 meters is the amount of fabric I used for this magical project.
Step by step
- First you must mark the pattern of the corset on the silk fabric and the canvas fabric, hold it with pins so that the fabric does not move and you must cut double each side first the right side and then the left side.

2.We start sewing the pieces in the order indicated in the pattern the front side with the silk fabric next to the canvas fabric.
3.On the side of the inner seam open the fabrics just where the seams go we will close like a pocket where the rods will go. We sew to close the pocket where the rods will go. After placing the rods we sew the side that goes inside back to back and turn it inside out.
4.It is important to iron the pieces as they are sewn.
5.Now we have the corset assembled and then what we will do is make some buttonholes on both sides of the corset in the back to put the satin ribbon and tie it.

6.The silk and organza fabric intended for the skirt are folded into 4 parts separately and marked with the above measurements as follows:

7.We cut the skirt patterns where we marked and finally we sew the garter of the skirt to both pieces together, the organza and the silk skirt around the waist and we sew a 2 cm hem.


Important fact: I didn't have the chance to go to the store to buy the corset stays so I decided to make them out of plastic from soda bottles, I cut them to size and that's how I made them..
This is how this beautiful dress turned out:


And so we finish dear friends of Hive Diy, this beautiful 15 years dress in a very simple way. No need to pay high costs for them.
I hope this tutorial will motivate you.
You know that we have to invent and reinvent. All to please our treasures.
That's all for today, see you in the next post.😉
Thank you for reading♥️
📌
Credits/Créditos📌
All photos were taken with my Tecno Spark 8C phone. The text is completely my own. The photo of the cover was edited in Inshot. The translation was done by me through DeepL.
✨ ✨ ✨
Todas las fotos fueron tomadas con mi teléfono Tecno Spark 8C. El texto es completamente de mi autoría. La foto de la portada fue editada en Inshot.. La traducción la realicé a través DeepL.
El vestido te ha quedado hermoso y de alta costura.
Aprovecho la ocasión para dejarte la actualización de nuestras reglas para publicar en la comunidad, las apliques en tu siguiente publicación.
https://peakd.com/hive-130560/@hive-130560/actualizacion-de-nuestras-reglas-en-la-comunidad-updating-our-community-rules-espeng
Hola, muchas gracias. ☺️ Estaré atenta a las reglas en el próximo post. Bendiciones 🙏🏻