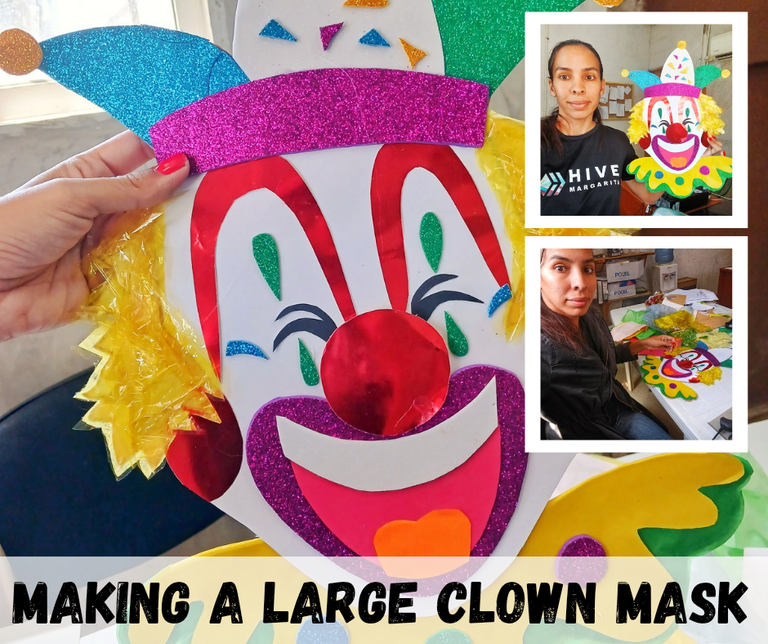
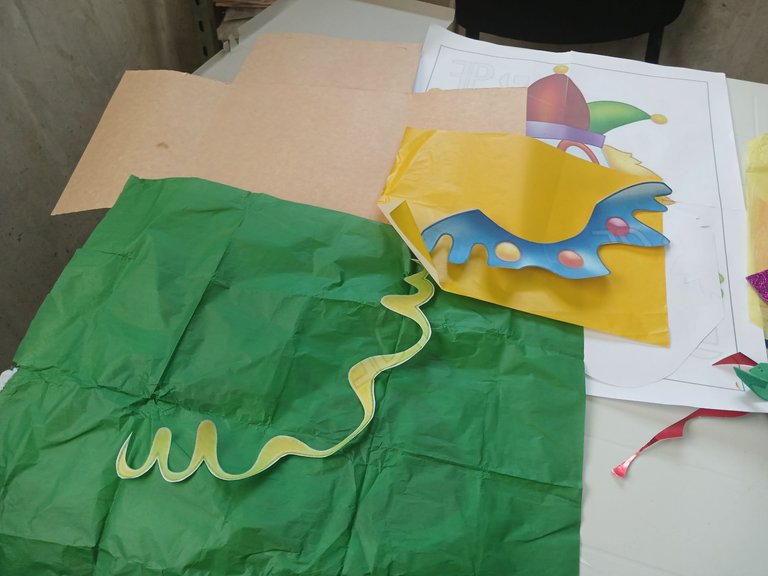
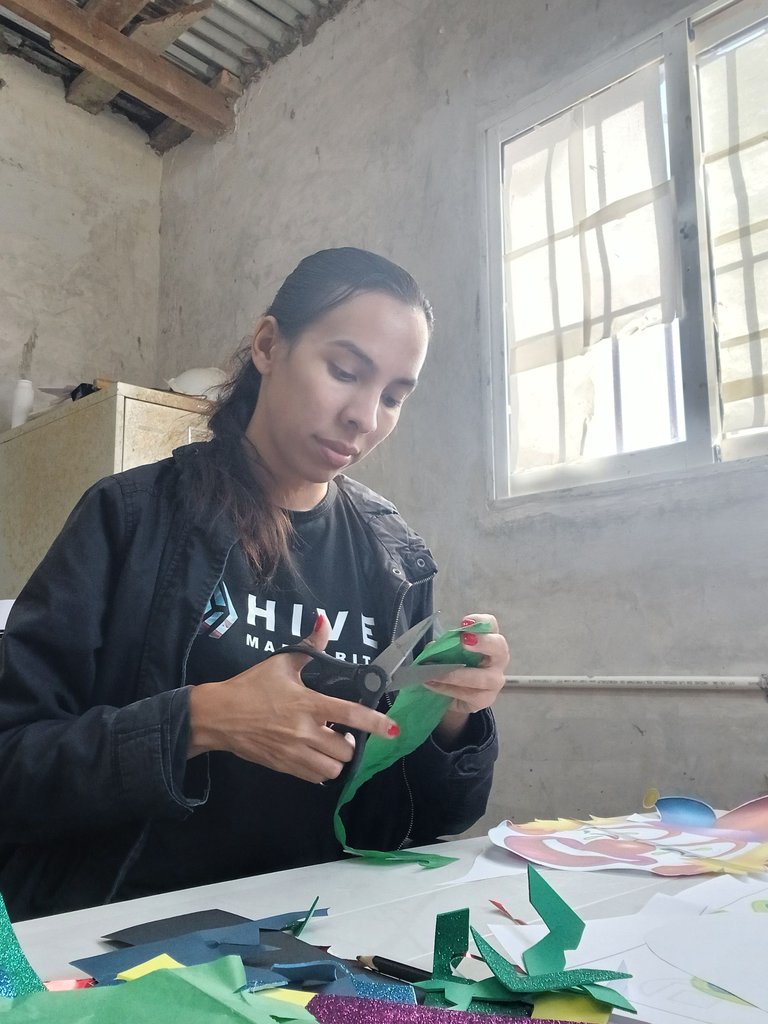
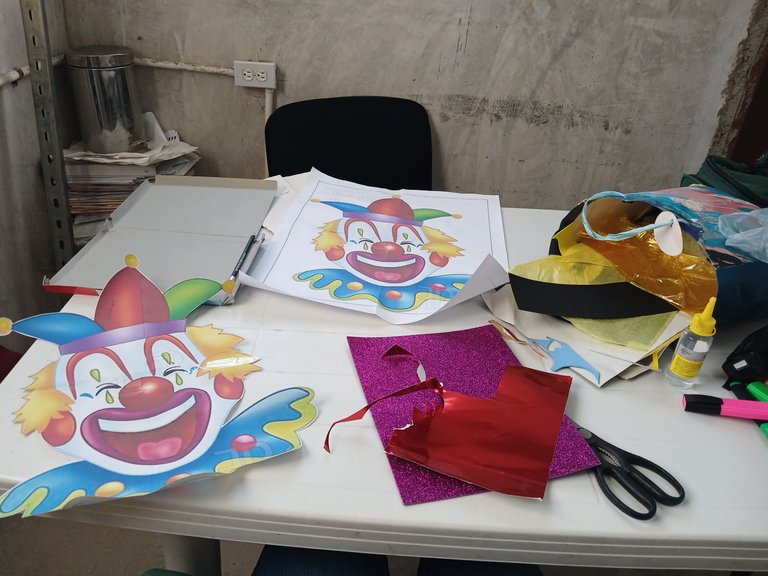
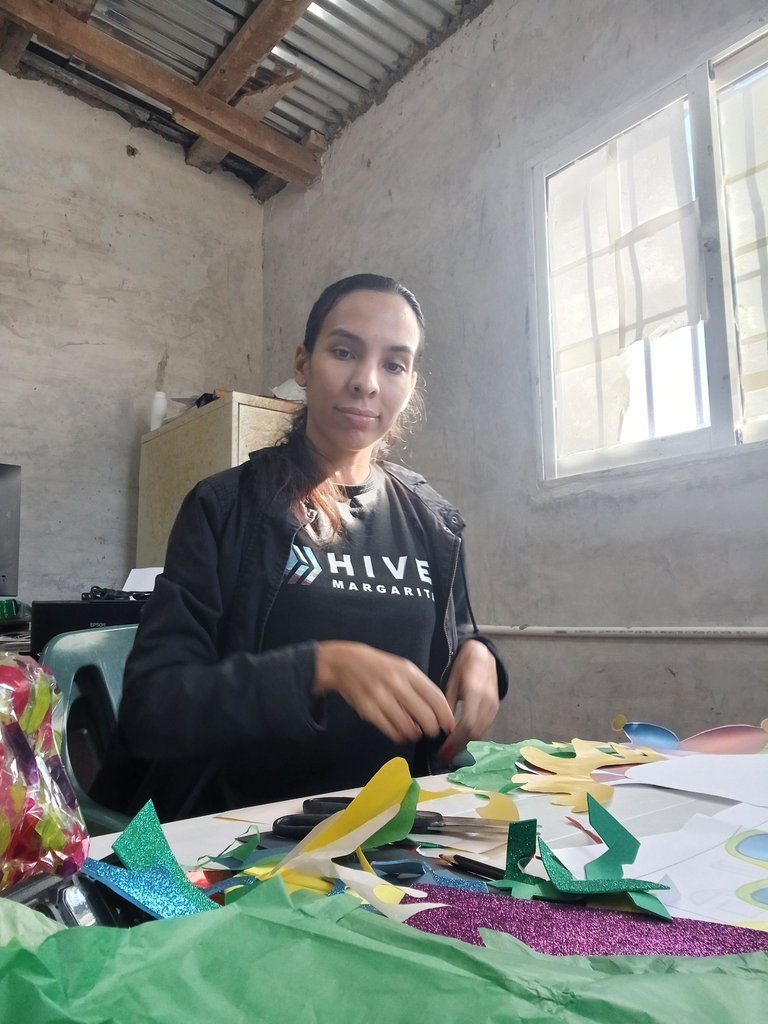
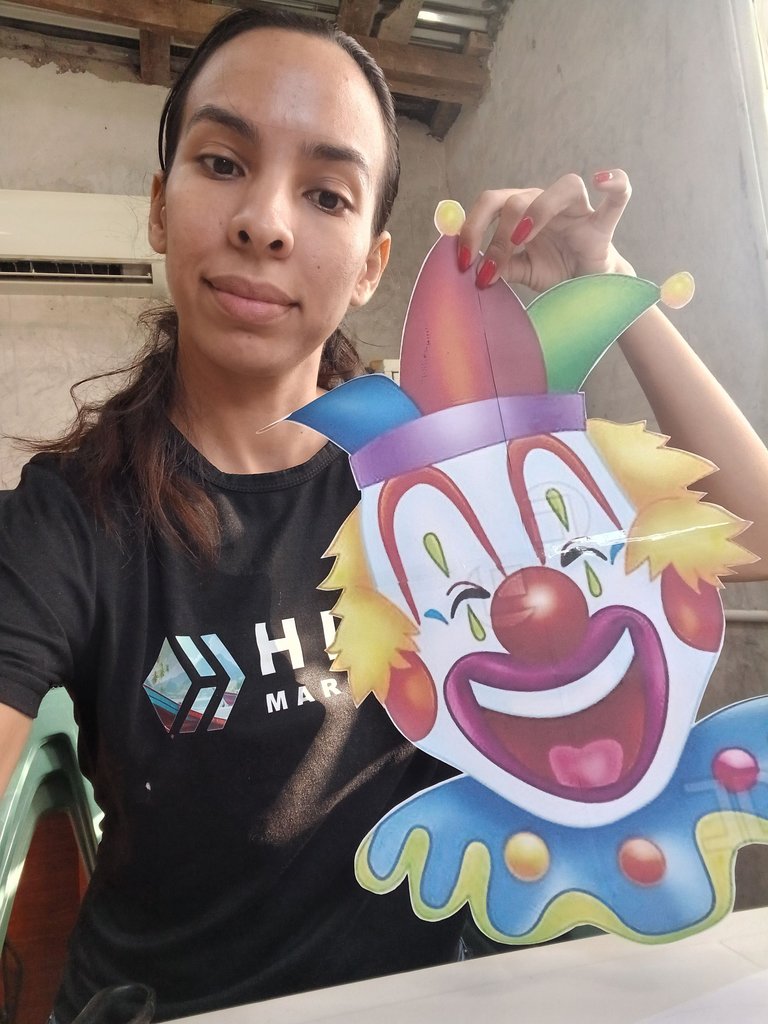
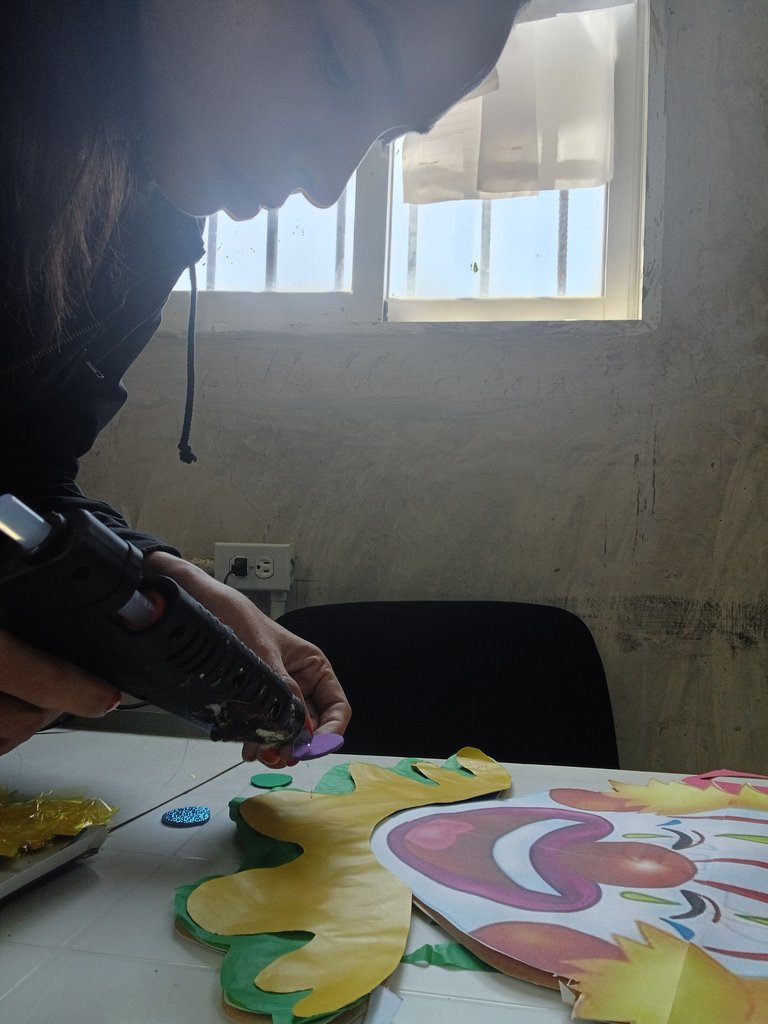
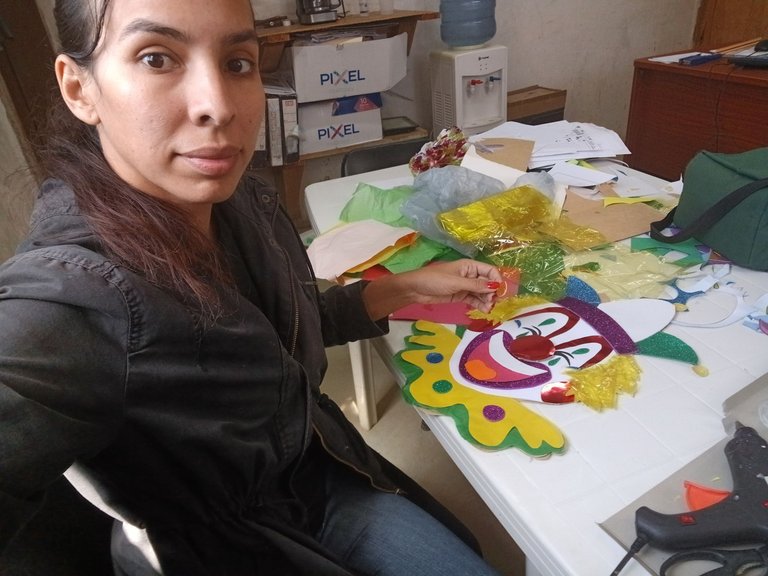
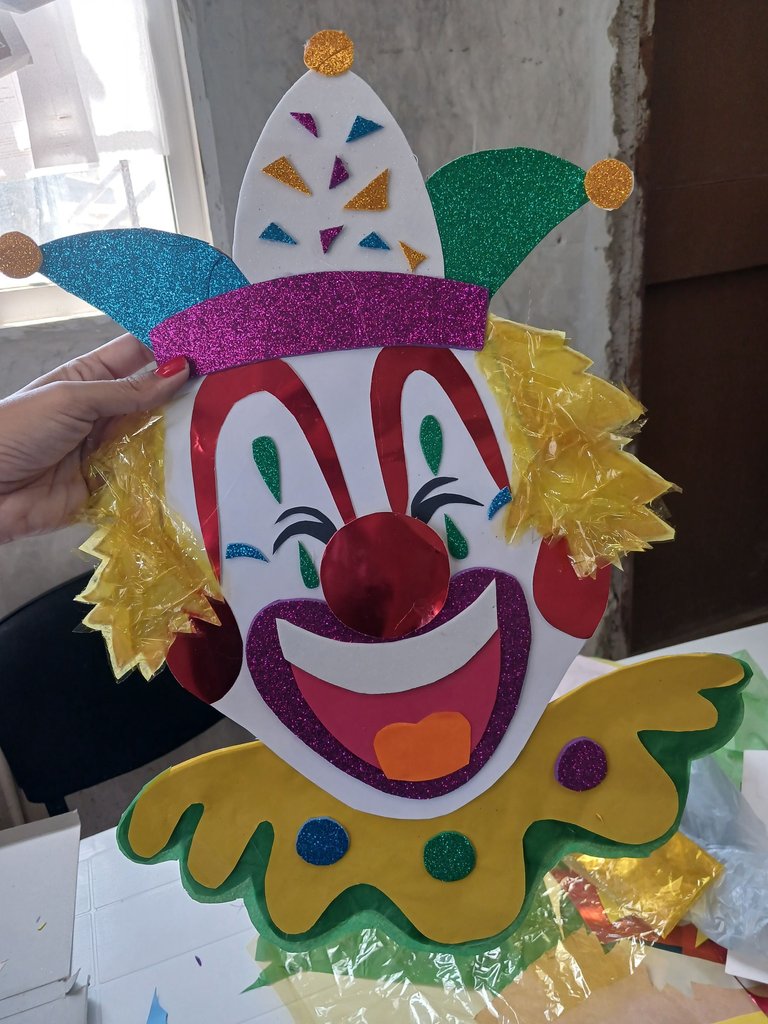
Hello dear friends of this beautiful community I hope you are all well and your week has been full of beautiful things, well I imagine that for those who have children in school must have been somewhat moved by the carnival activity, my son is always asking for things, this time the teacher asked him for a clown mask which I love to do this kind of crafts, but sometimes when my body says no is no, so I made it a day before delivering something that was very easy to do in half a day, as I had printed in large the image of the clown, but I better explain little by little how was the realization of this beautiful work. Which had the following materials:
- One fuchsia foami sheet
- Recycled colored foami strips
- One yellow cellophane letter size paper
- One piece of yellow tissue paper
- One yellow lustrillo letter size paper
- One sheet of green tissue paper
- One recycled cake box cardboard
- One recycled red metallic cardboard
- One sheet of green tissue paper
- Cold silicone
- Scissors
Hola queridos amigos de esta hermosa comunidad espero que todos se encuentren bien y su semana haya estado llena de cosas bonitas, bueno me imagino que para los que tienen niños en el colegio debe de haber sido algo movida por la actividad de carnaval, a mi hijo siempre le están pidiendo cosas, en esta oportunidad la maestra le pidió una máscara de payaso lo cual me encanta realizar este tipo de manualidades, pero a veces cuando mi cuerpo dice no es no, por lo que la hice un día antes de entregar algo que fue muy fácil de hacer en medio día, ya que había impreso en grande la imagen del payaso, pero mejor les explico poco a poco como fue la realización de este hermoso trabajo. Los cuales tuvieron los siguientes materiales:
- Una lámina de foami fucsia
- Retasos de foami de colores de reciclaje
- Una papel tamaño carta celofán amarillo
- Un papel tamaño carta de seda amarillo
- Un papel tamaño carta lustrillo amarillo
- Una lámina de papel de seda verde
- Un cartón de caja de torta de reciclaje
- Cartulina de color rojo metálico reciclaje
- Silicona caliente
- Silicona fría
- Tijeras

 |  |  |  |
|---|
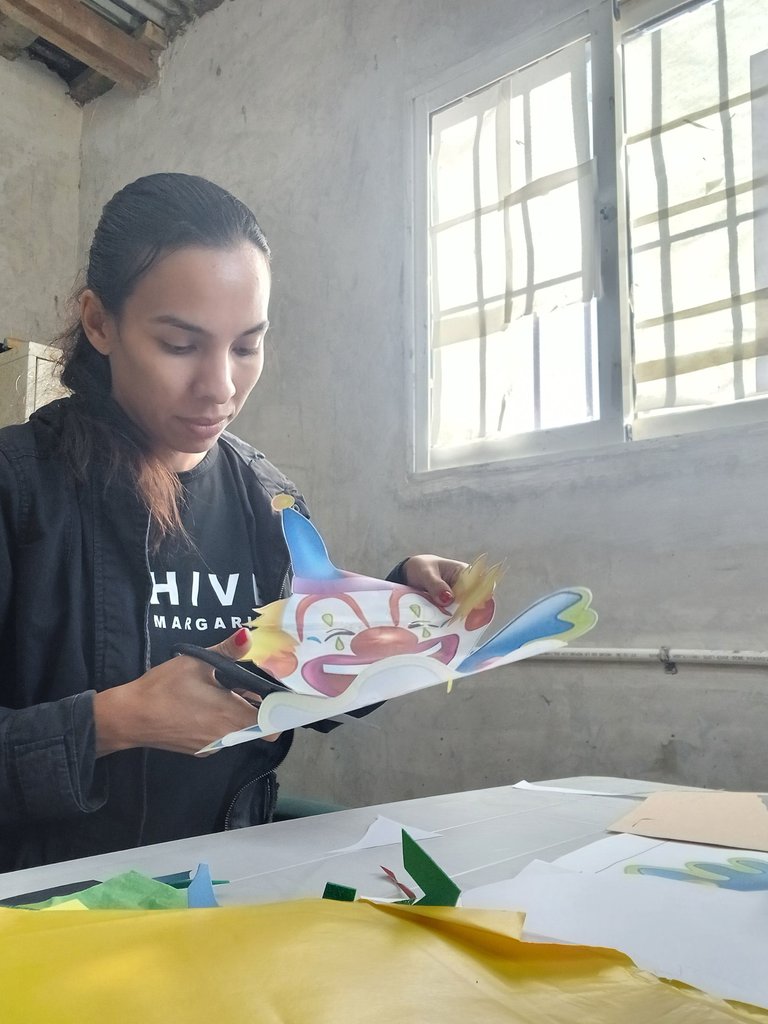
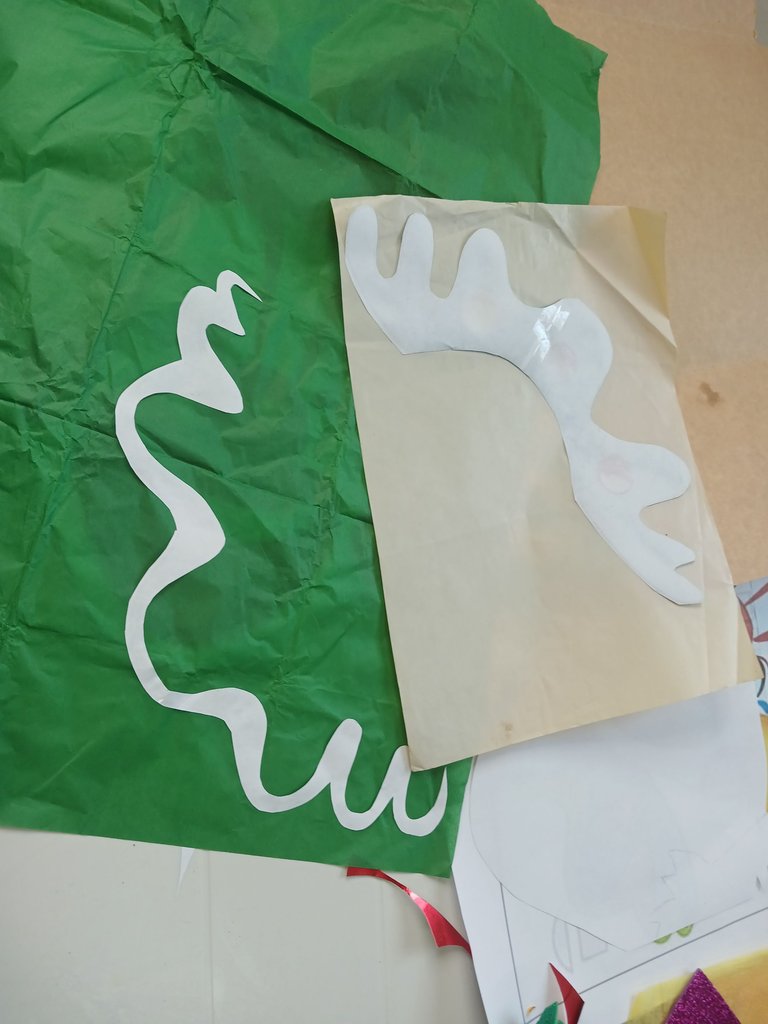
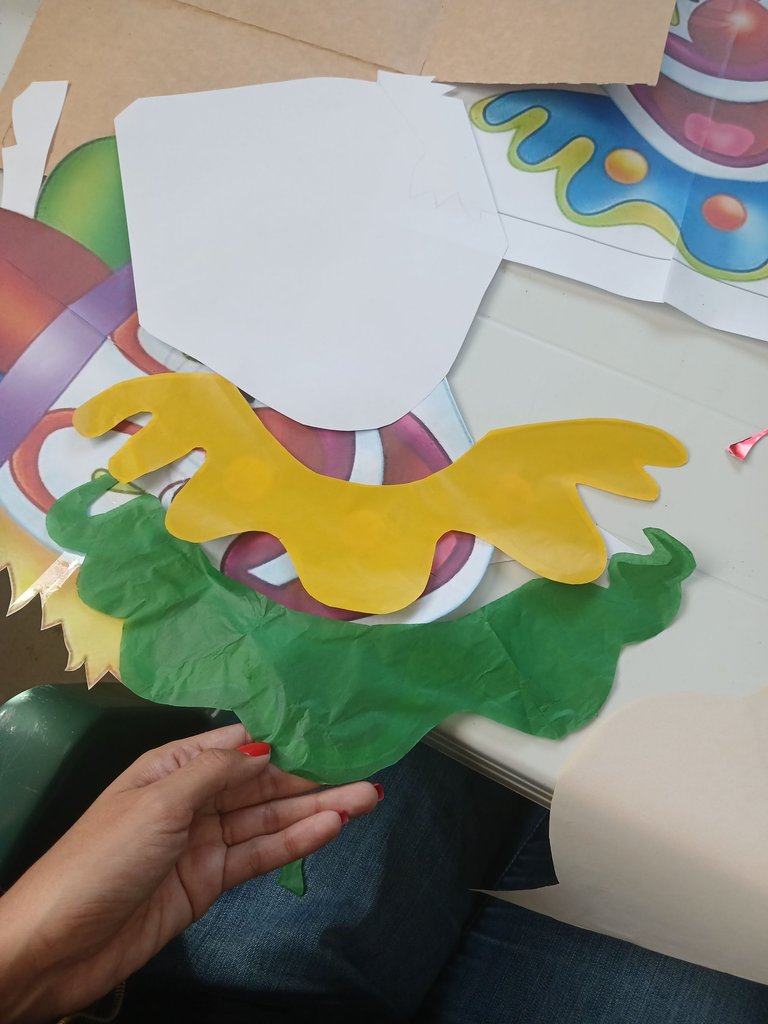
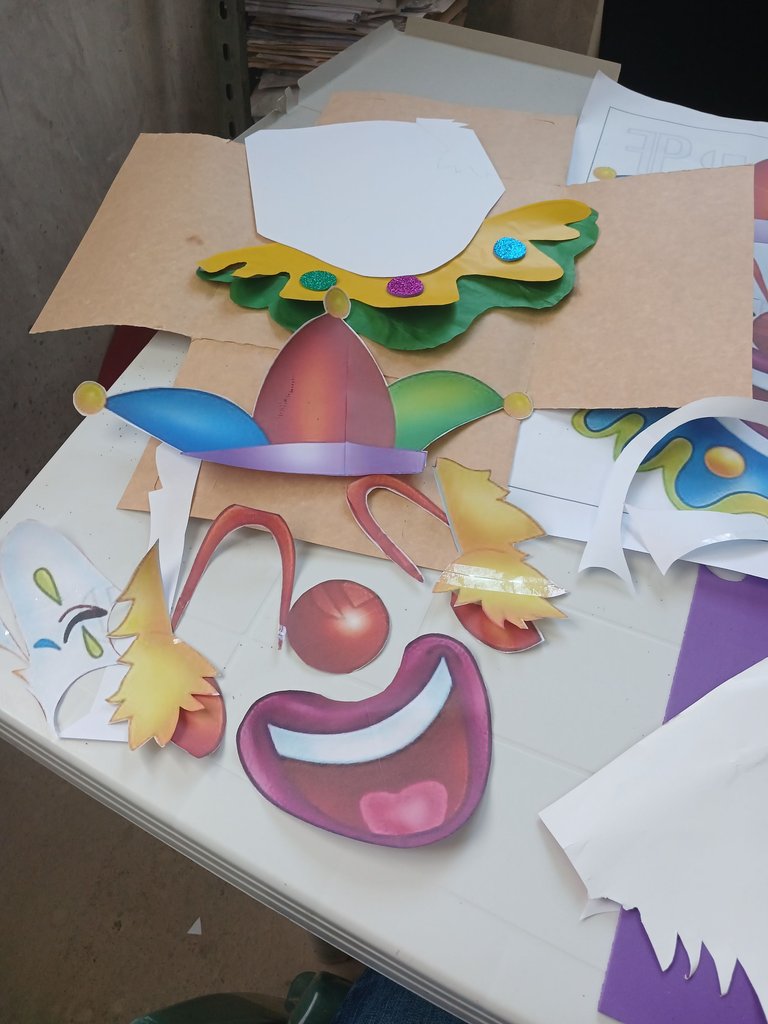
Once we have all these materials we start with our clown activity, first we start assembling the printed sheets with the image and then we start cutting out little by little each part of the clown, we start cutting out and making it piece by piece so that none is lost, we start cutting the fringe of the suit which was made with tissue paper and lustrillo we cut the mold and that same mold we paste it from the green tissue paper and the yellow lustrillo paper, depending on how you want to use the colors, once we paste it we cut them out.
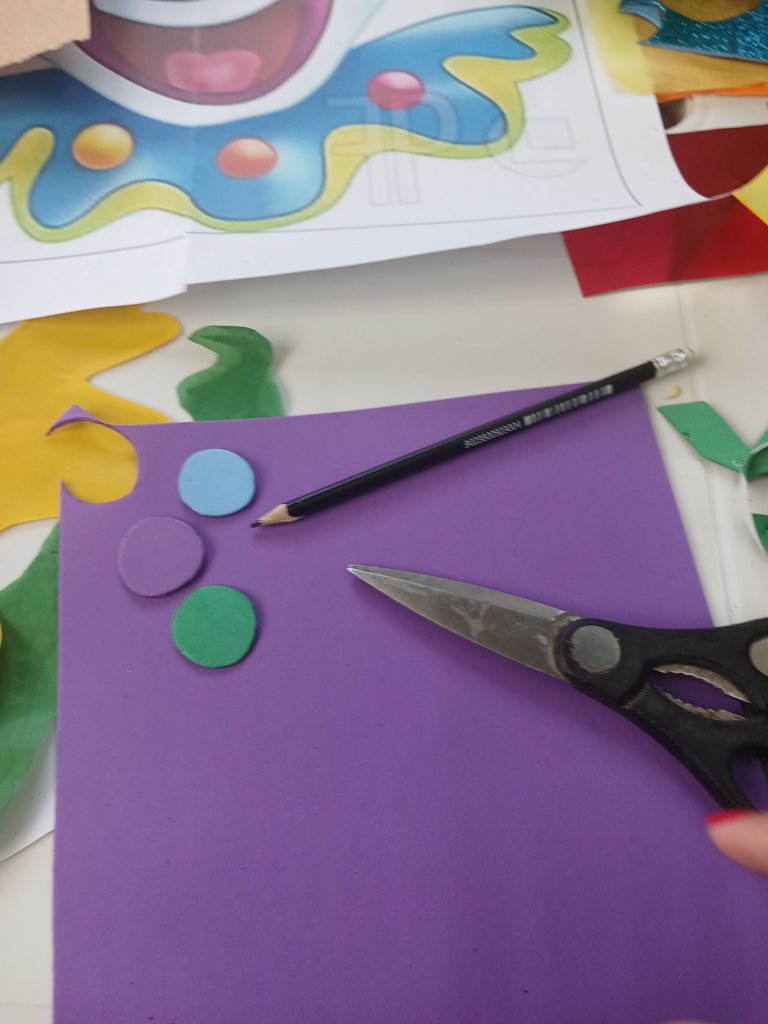
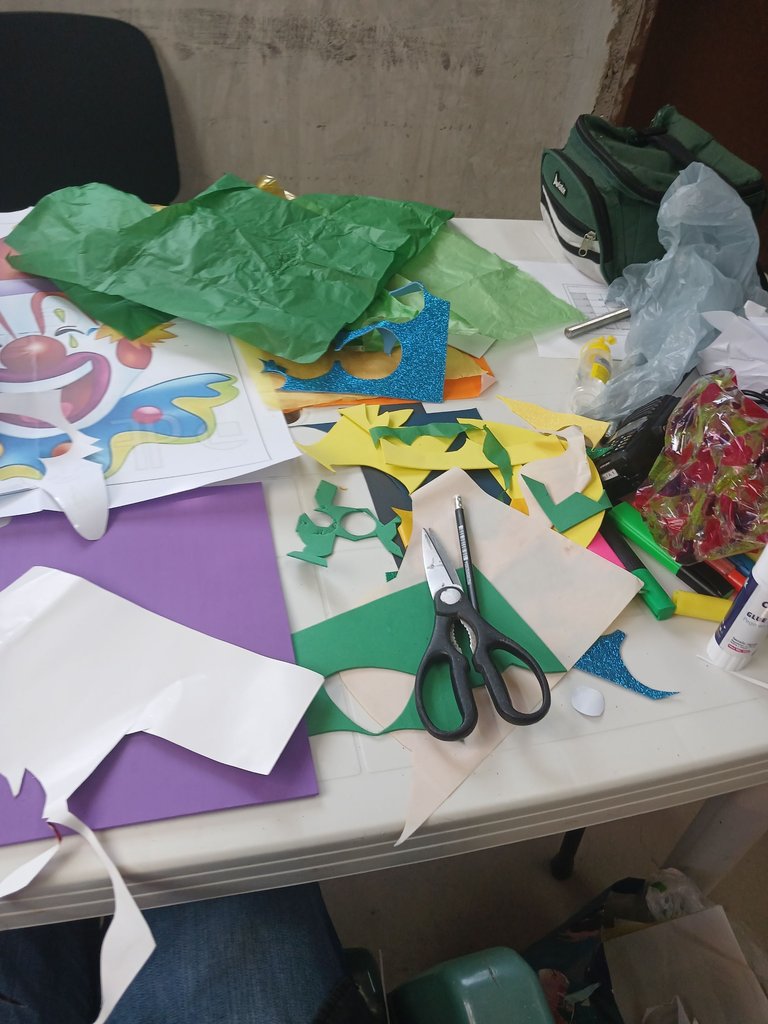
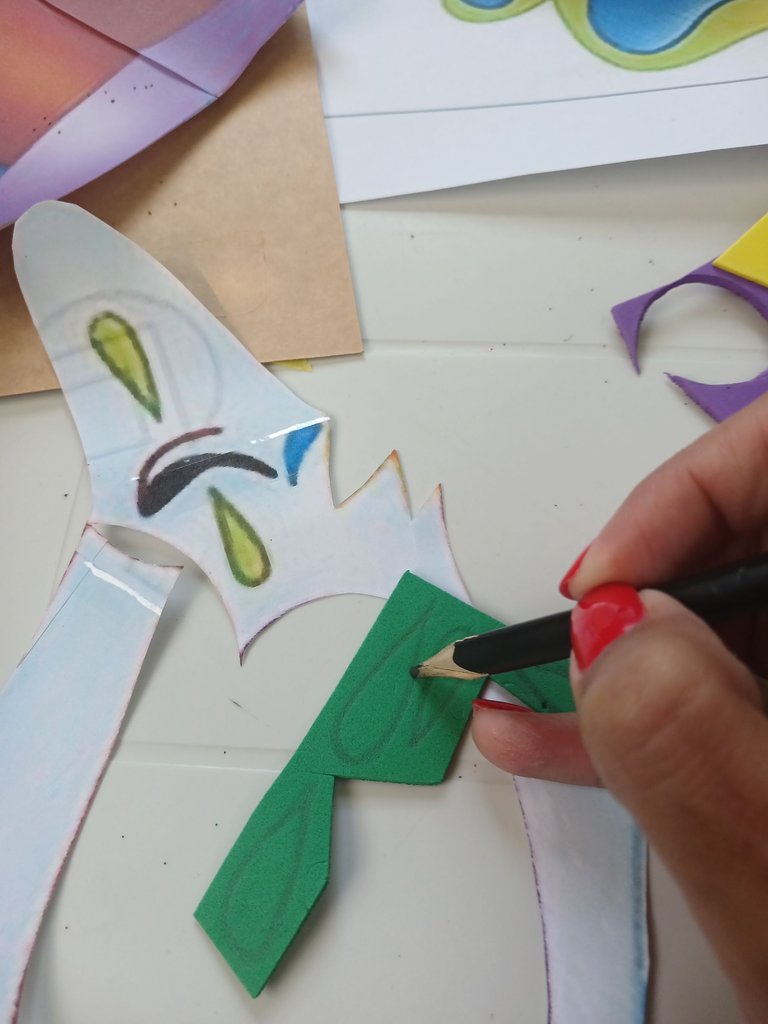
Next, we grab pieces of recycled foami such as blue, fuchsia and green to make the rounds that will go in the fringe as we are doing as seen in the guide drawing, with the help of a pencil we mark the circles and then cut them out, remember that we are using recycled material and the colors of the clown vary according to the material we have to use.
Al tener todos estos materiales comenzamos con nuestra actividad del payaso, primero comenzamos armando las hojas impresas con la imagen para seguidamente ir recortando poco a poco cada parte del payaso, se va recortando y realizando pieza por pieza para que no se extravíe ninguna, comenzamos cortando el flequillo del traje el cual fue realizado con papel de seda y lustrillo cortamos el molde y ese mismo molde lo pegamos del papel de seda verde y del papel lustrillo amarillo, según como quiera utilizar los colores, al ya pegarlo los recortamos.
Seguidamente, agarramos pedazos de foami reciclaje como el azul, fucsia y verde para realizar los redondos qué irán en el flequillo según vamos realizando como se ve en el dibujo de guía, con ayuda de un lápiz marcamos los círculos para seguidamente recortarlos, recuerden que estamos utilizando material reciclaje y los colores del payaso varían según el material que tenemos a utilizar.
 |  |  |  |
|---|
 |  |  |
|---|
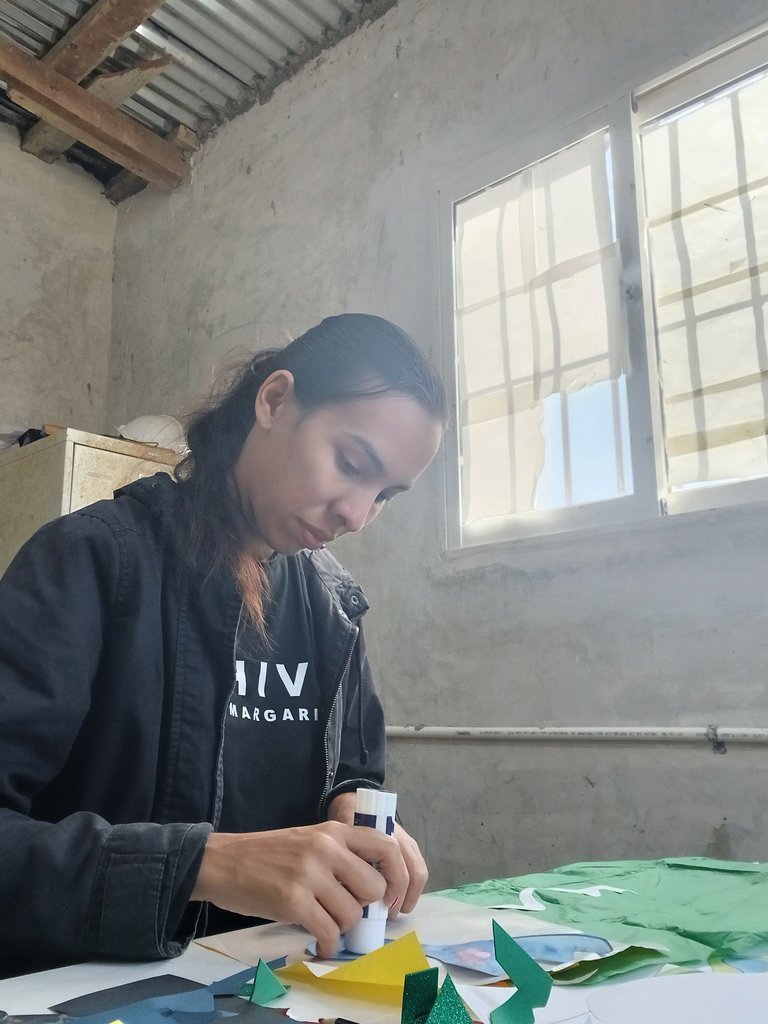
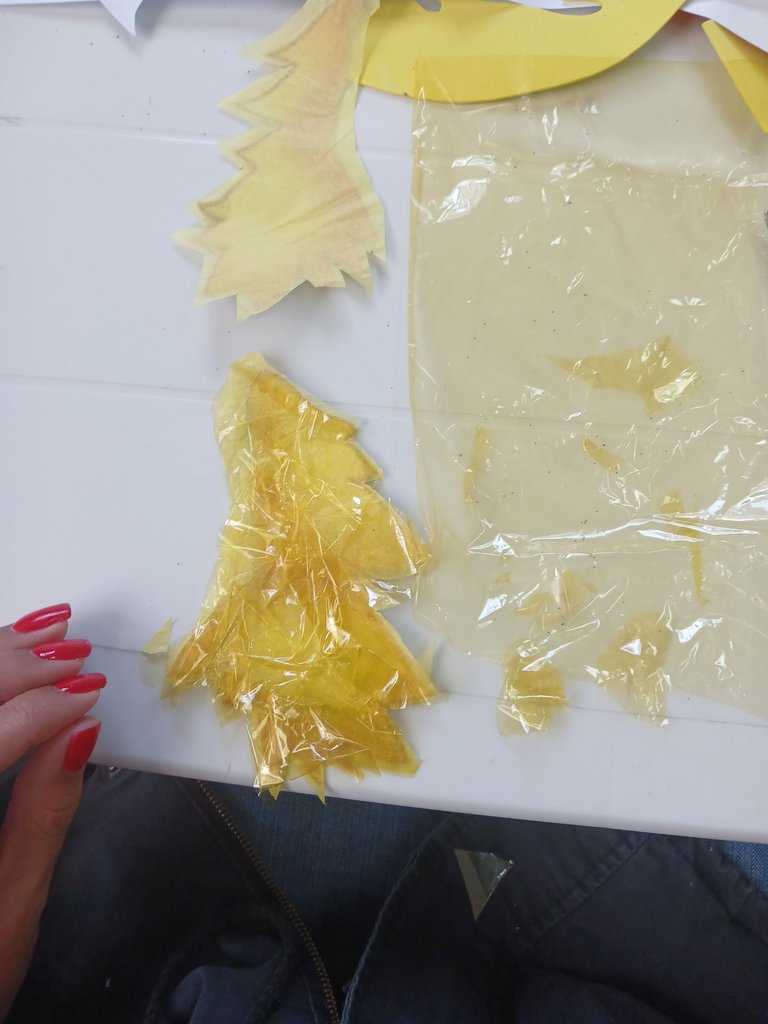
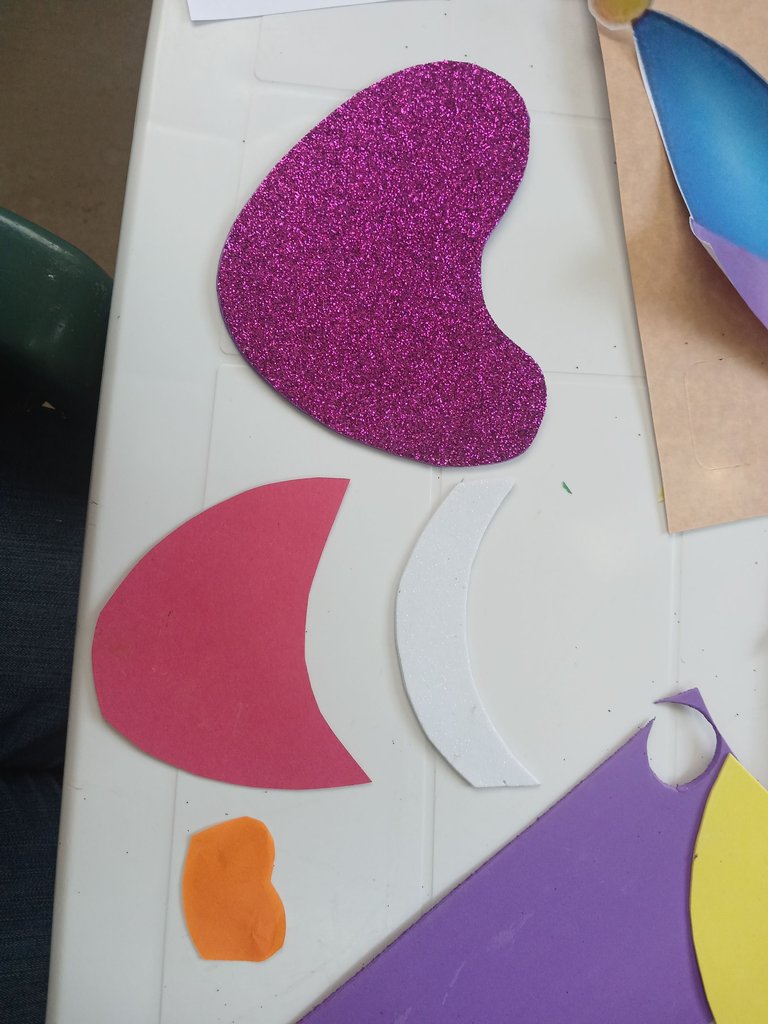
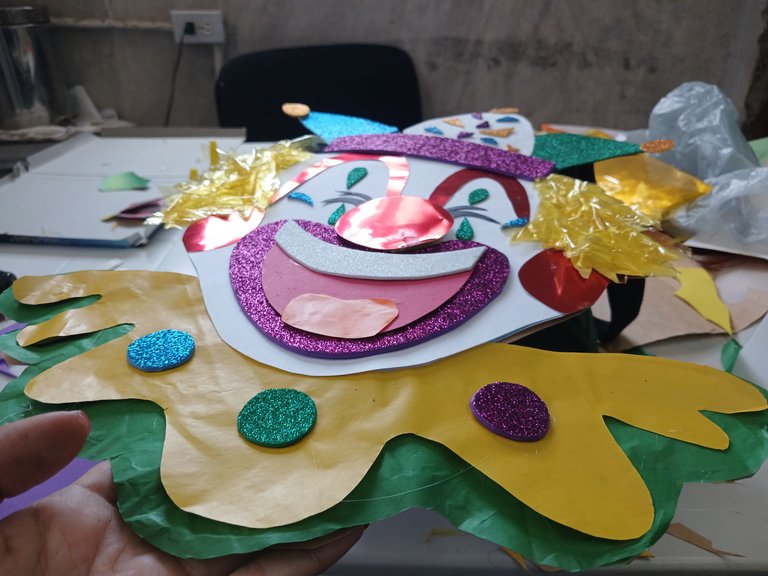
When we have the parts of the face cut out we begin to paste according to the material that we are going to use, at least the nose, eyebrows and the blush of the cheeks we made it with metallic red cardboard that we had from recycling, the part of the hair we made it with tissue paper in the part of base and above we glued with merletto to not burn us with the silicone gun the tissue paper with wrinkled effect to create a texture and movement in the clown.
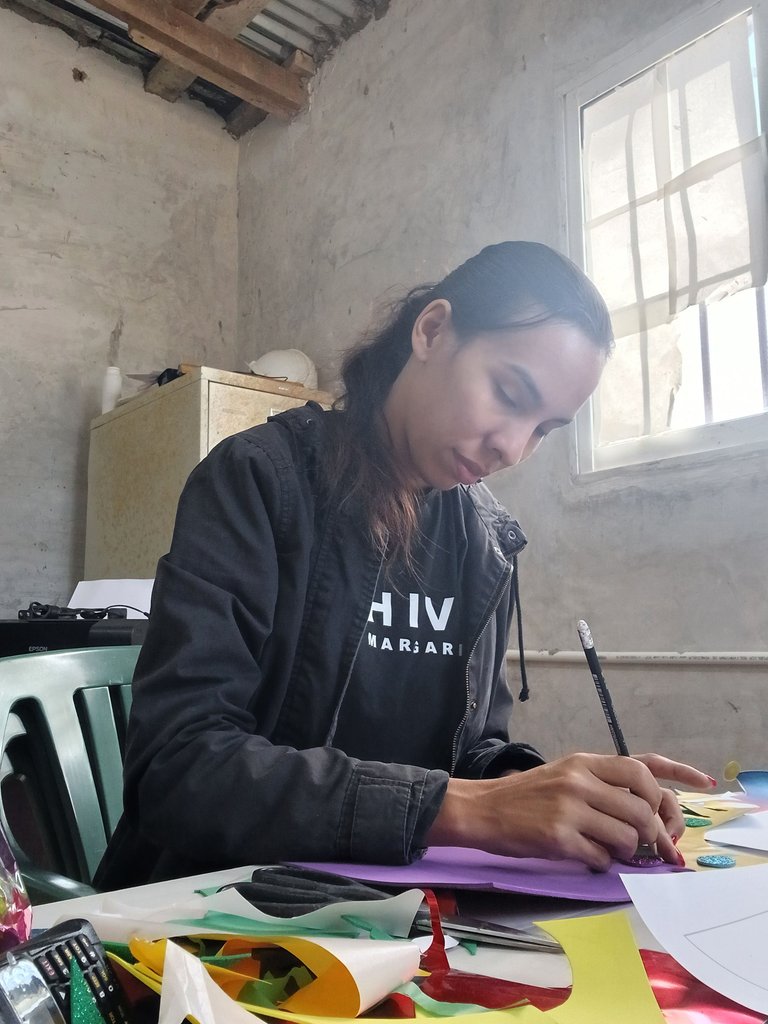
Al tener los círculos ya recortados junto con el flequillo, lo dejamos aún un lado y comenzamos a recortar las partes de la cara del payaso, creo que es lo más difícil de todo, jajajá..., ya que tiene muchos detalles y formas, pero ahí vamos dándolo con todo.
Al tener las partes de la cara cortadas comenzamos a pegar según en el material que vamos a utilizar, por lo menos la nariz, cejas y el rubor de los cachetes lo realizamos con cartulina roja metalizada qué teníamos de reciclaje, la parte del cabello lo realizamos con papel de seda en la parte de base y arriba le pegamos con merletto para no quemarnos con la pistola de silicona el papel de seda con efecto de arrugado para crear una textura y movimiento en el payaso.
 |  |  |
|---|
 |  |
|---|
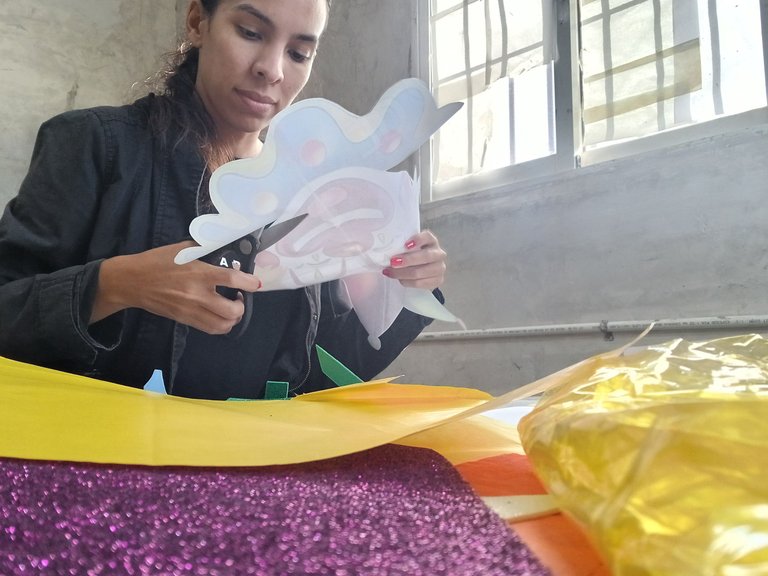
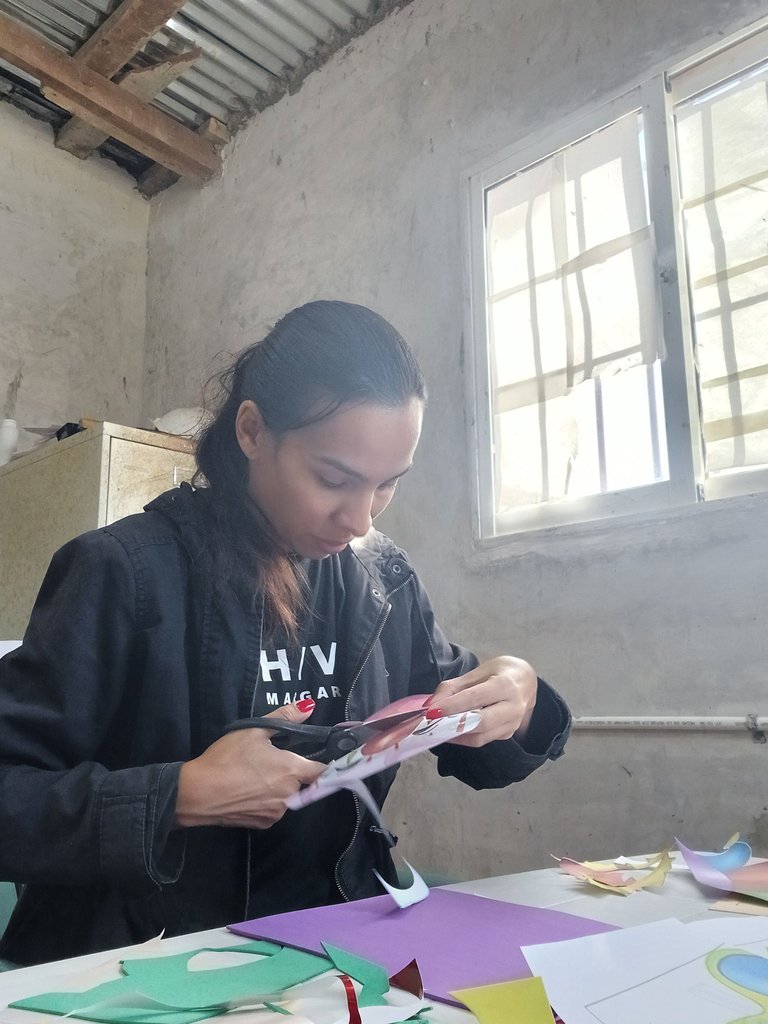
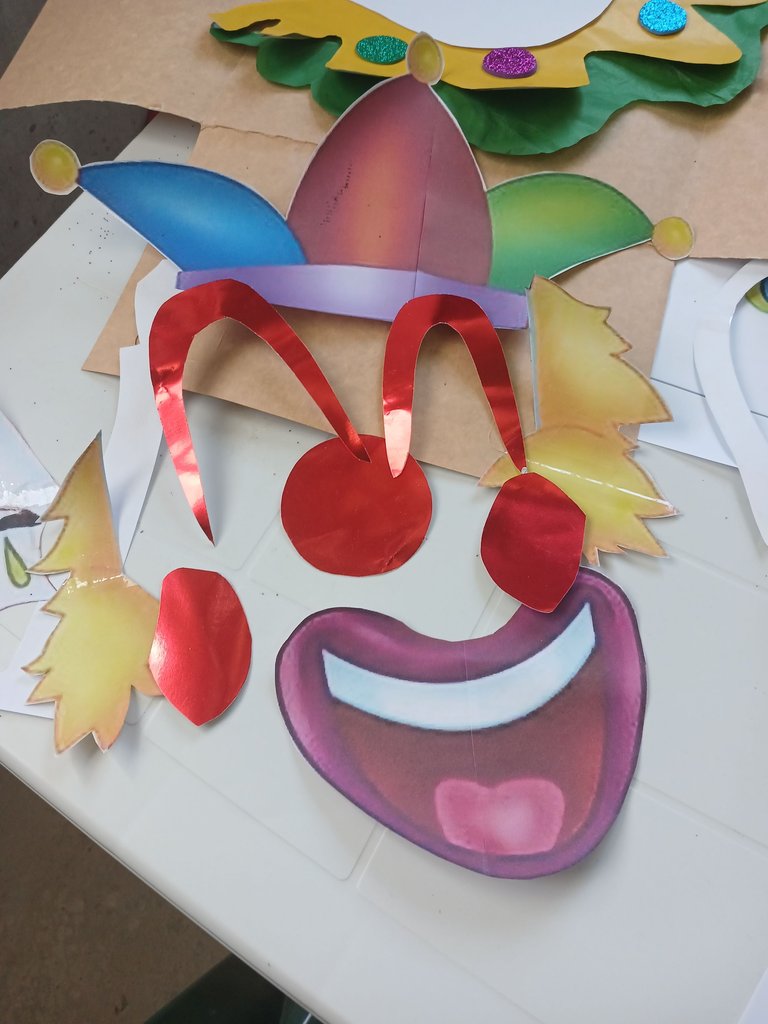
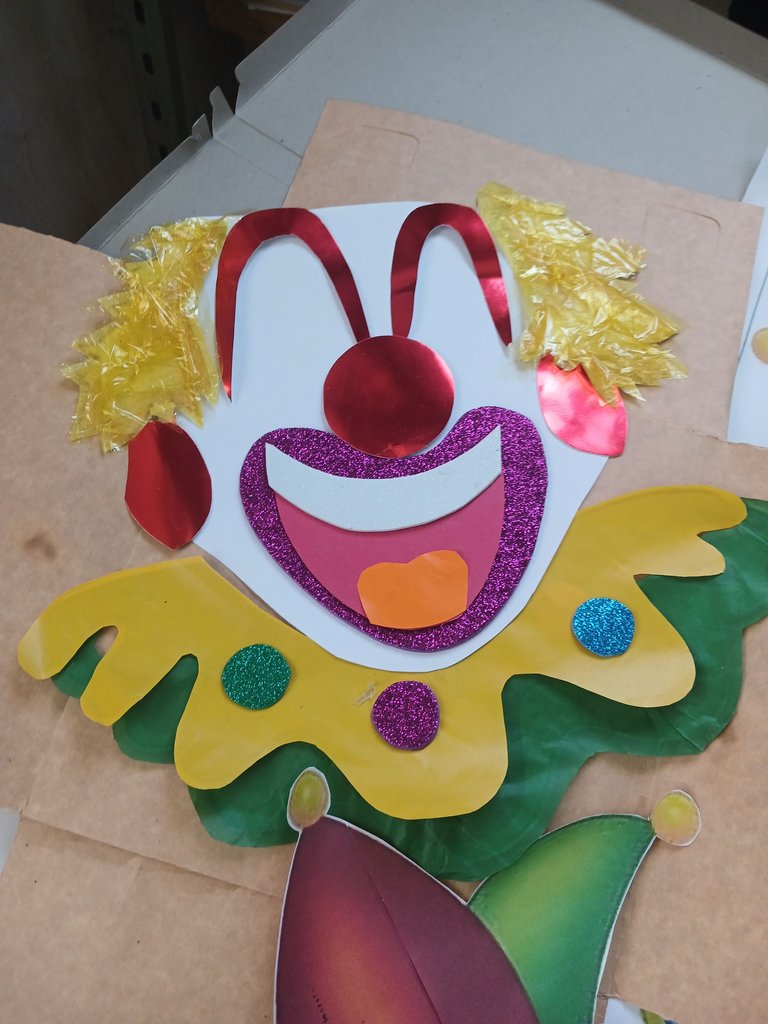
When we have already cut all the parts mentioned above, we place them aside and continue with the mouth, for the bottom part we use fuchsia foami as I have been telling you with the face already cut out from the drawing we have as a guide, we glue behind the foami and cut, we repeat with the teeth and the inner part of the mouth and tongue. Once you have all the pieces cut, leave them aside to continue with the next details.
Al tener ya todas esas partes antes mencionadas cortadas las colocamos aún lado y seguimos con la boca, para la parte del fondo utilizamos foami fucsia como ya les vengo diciendo con la cara ya recortada del dibujo que tenemos de guía pegamos detrás del foami y cortamos, repetimos con los dientes y lo que cerca parte interna de la boca y lengua. Al tener ya todas las piezas cortadas, déjalos aún lado para seguir con los siguientes detalles.
 |  |  |  |
|---|
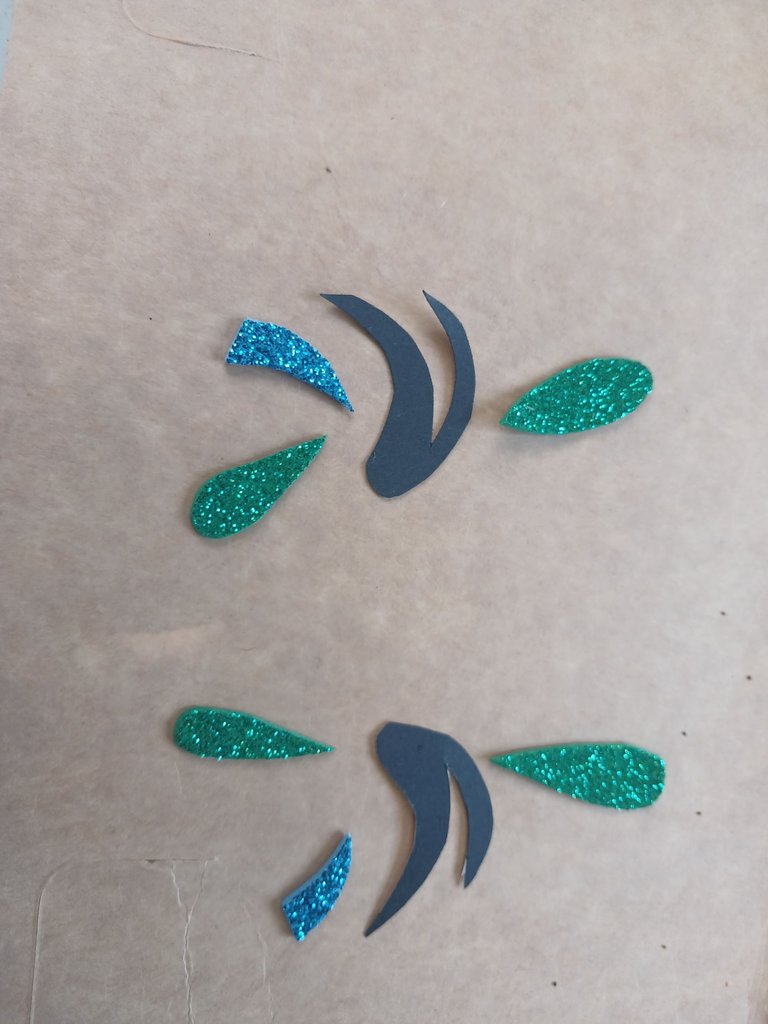
We continue with the area of the eyes which was not a traditional mask for someone to wear but decorative so I made the eyes without any holes, in black recycling cardboard paste the eyes and cut to then place in the guide image to see how it was going to be, The details around the eyes I made with recycling foami and freehand I was not going to cut something so small when I could do it without any problem, having this marked and cut I put it even side to continue with the fastest part, but equally careful that would be the clown's hat.
Seguimos con el área de los ojos los cuales no fue una máscara tradicional para que alguien se la pusiera sino decorativa por lo que le realice los ojos sin necesidad de ningún orificio, en cartulina negra de reciclaje pegue los ojos y recorte para seguidamente ubicar en la imagen guía para ver como iba quedando, los detalles de Al rededor de los ojos lo realice con foami de reciclaje y a mano alzada no iba a recortar algo tan pequeño cuando podía hacerlo sin ningún problema, al tener esto marcado y recortado lo pongo aún lado para seguir con la parte más rápida, pero igualmente cuidadosa que sería el sombrero del payaso.
 |  |  |  |
|---|
 |  |  |  |
|---|
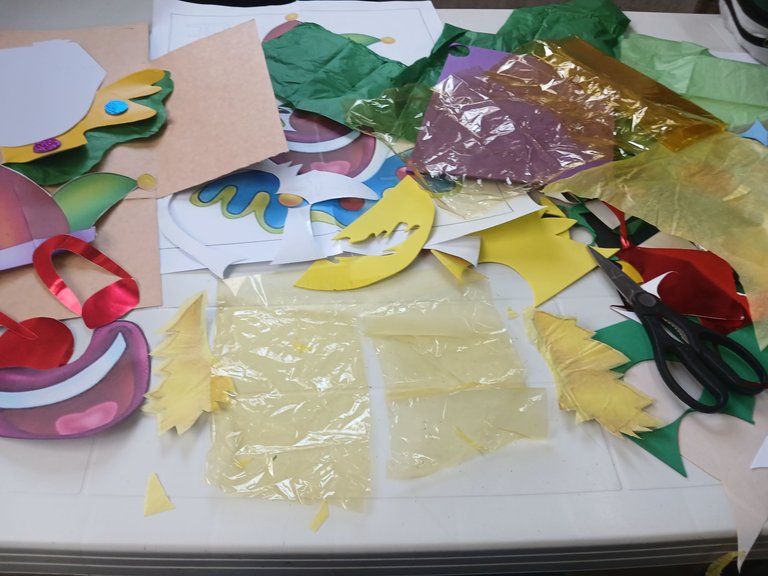
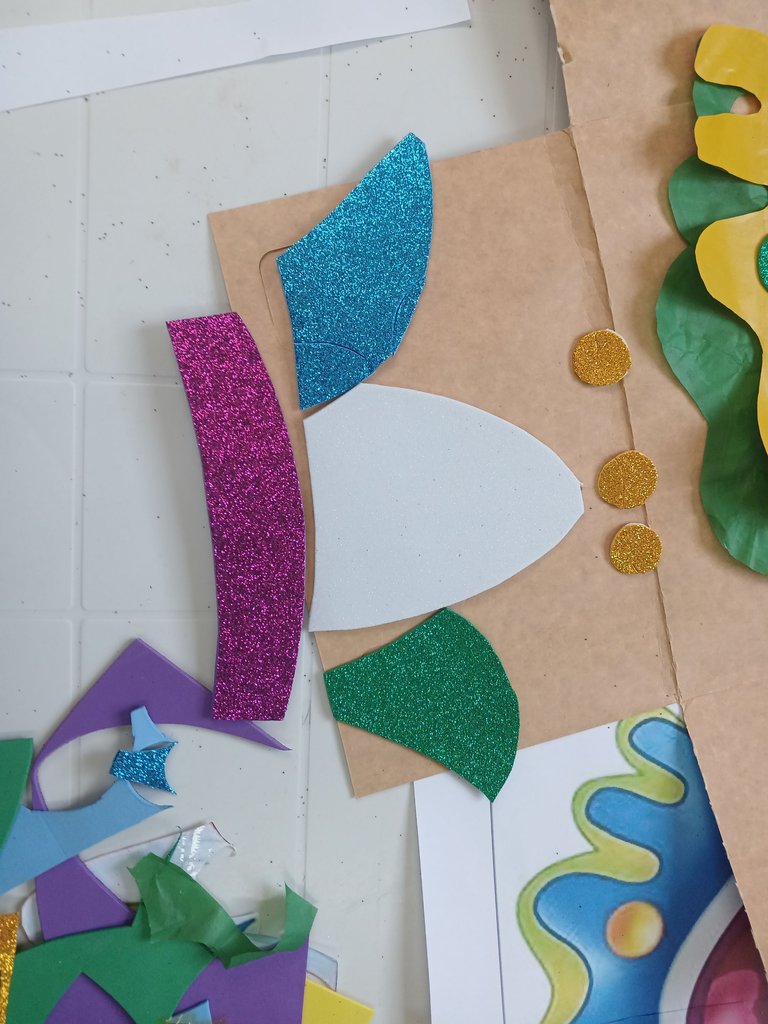
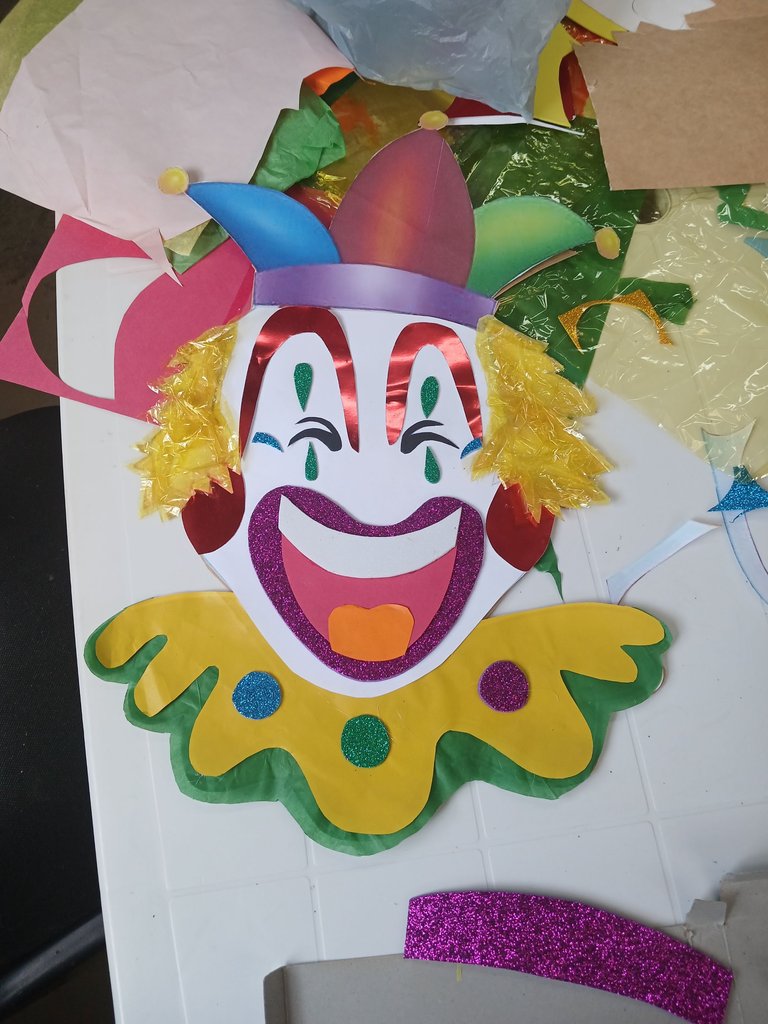
This clown hat is made with recycled foami, as I mentioned before in the materials used we are using mostly leftover materials we have at home that we have left over from other activities, sorry there was no budget and the important thing was to comply with the activity.
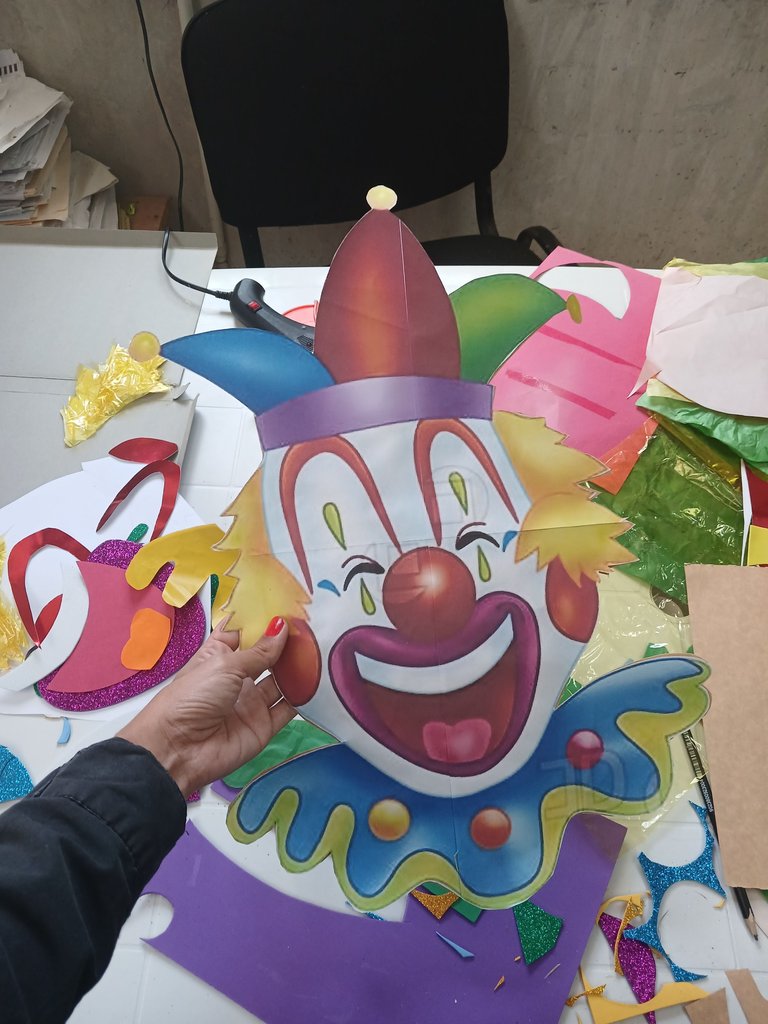
Once we have the mold of the hat we start to cut out the parts and then glue them on the foami and cut them, once they are already cut what is done carefully is to join the pieces, so that the clown fits well the hat and the drawing of the clown guide is not seen at the bottom, I ended up making some small details to the hat in the middle white part so it would not look boring, because it looked boring white hahaha ... having already cut everything we start to assemble part by part.
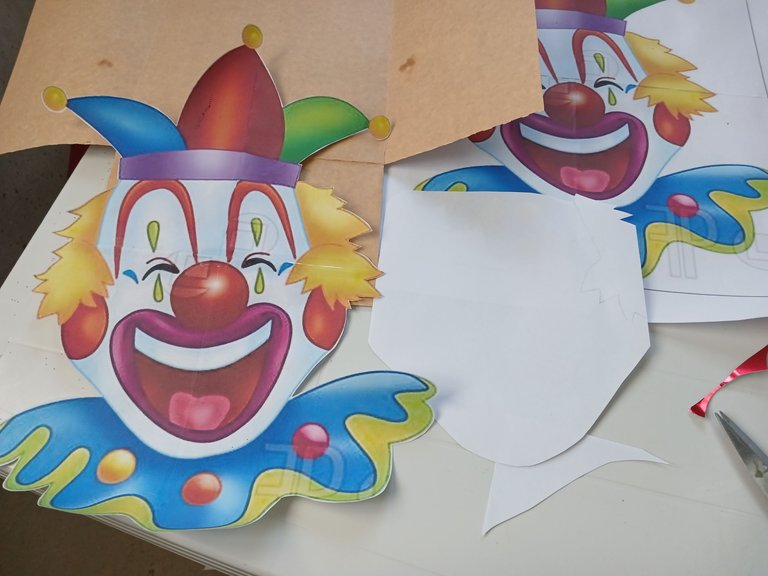
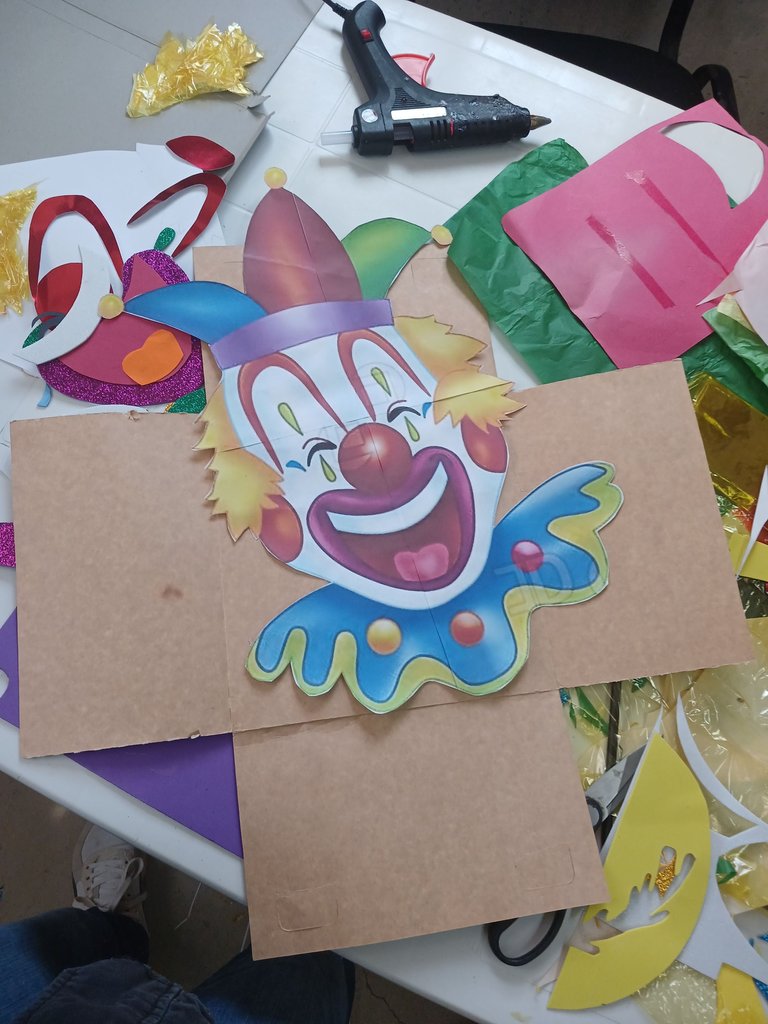
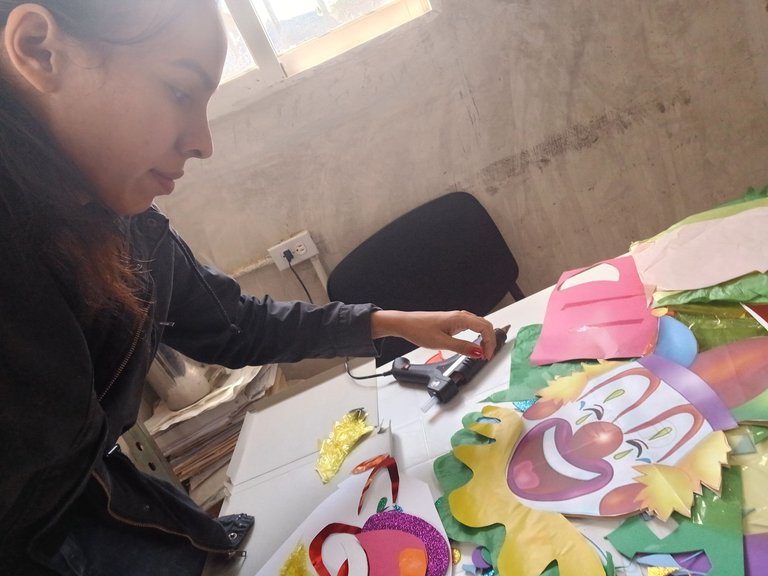
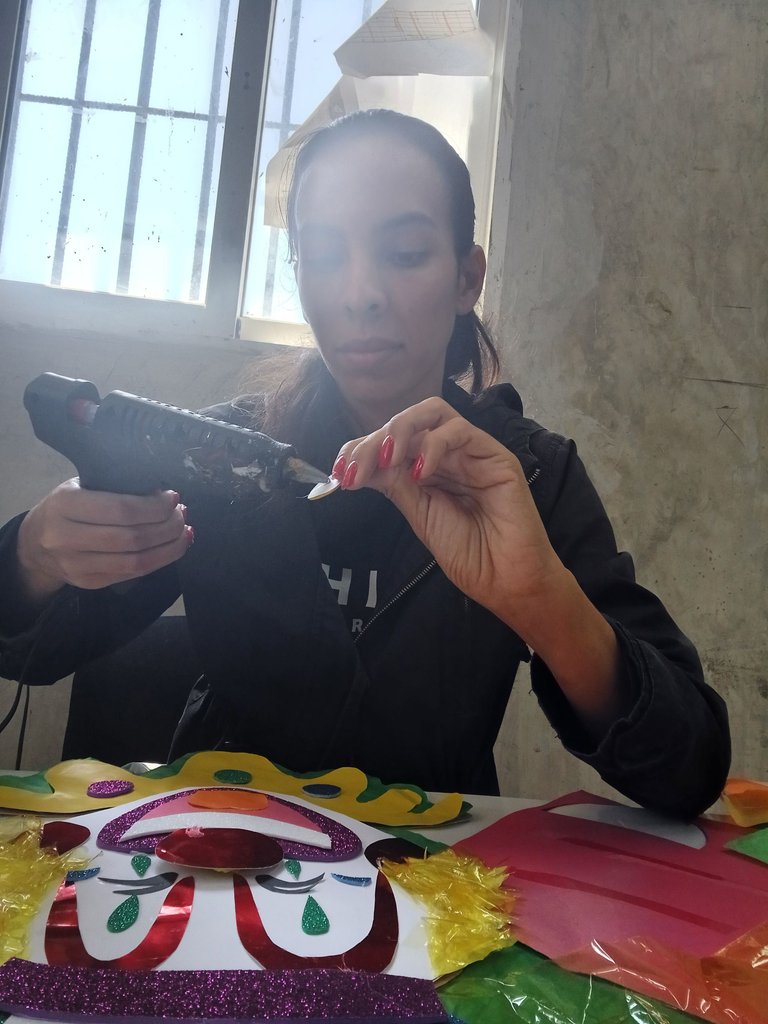
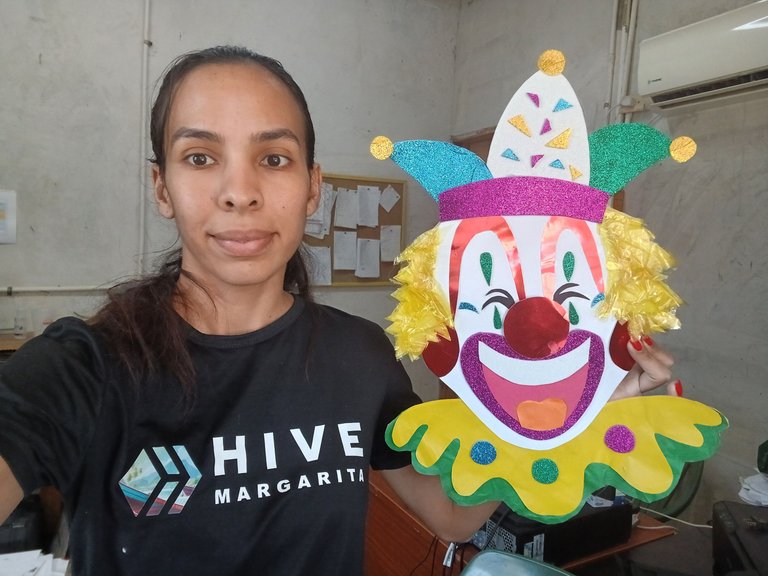
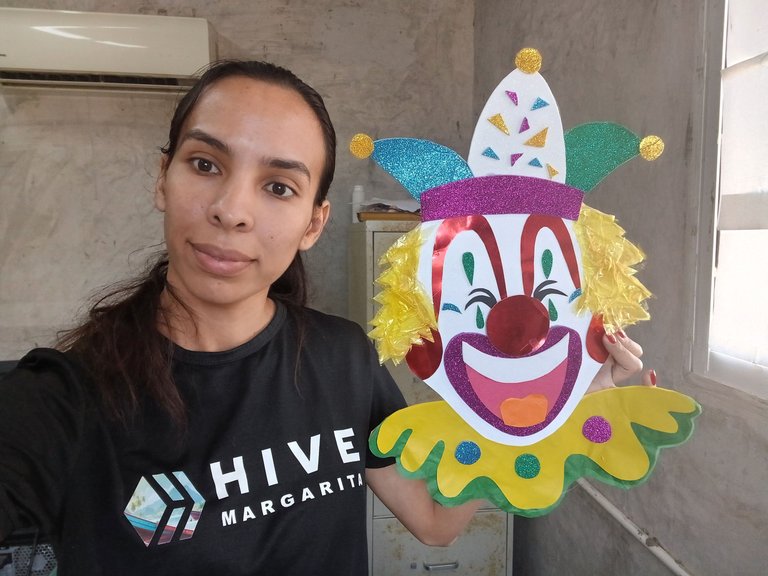
We placed the guide drawing of the clown in the recycled cardboard cake box, and then we cut it according to the shape of the clown, when we had this ready we started to assemble little by little, part by part, we started with the fringe part, then with the clown's face which was previously cut out in a white sheet, and when we had this placed we started to place the mouth, teeth, tongue, we continued with the eyebrows, cheeks, eyes, to continue with the hair, then we placed the red nose where it goes and then we placed the clown hat, When we saw the whole clown already glued this was done with hot silicone, it was beautiful, part by part made with love, I really loved the work even though I left everything a mess, it was worth it.
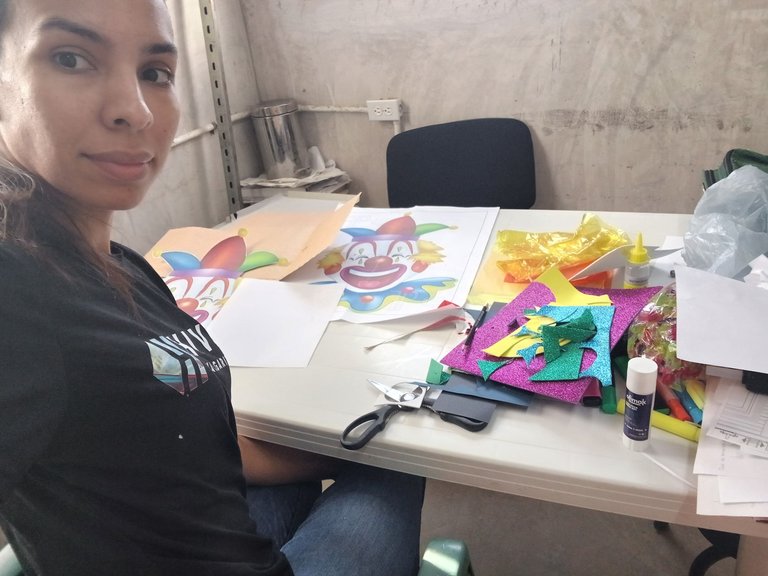
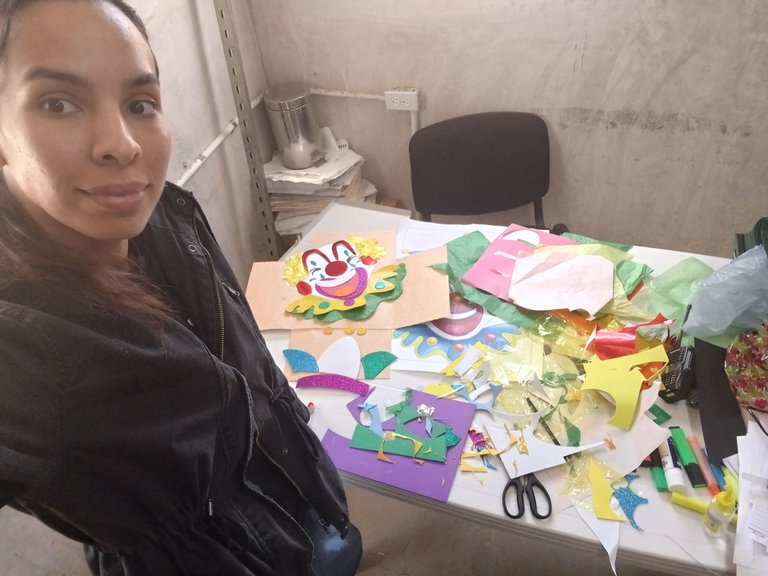
Note: I did all this during working hours at my job, since I got home tired and did not feel like doing anything. It took me about 3 hours to make it without any problem, I hope you all liked this beautiful clown and that you understand what I am explaining.
Este sobrero del payaso lo realiza con foami de reciclaje, como ya mencione antes en los materiales utilizados estamos utilizando más que todo materiales de sobra que tenemos en casa que nos han venido quedando de otras actividades, lo siento no había presupuesto y lo importante era cumplir con la actividad.
Al tener ya el molde del sobrero comenzamos a recortar las partes para seguidamente pegarlas en el foami y recortar, al tenerlas ya cortadas lo que se hace cuidadosamente es unir las piezas, cosa de que el payaso le quede bien el sobrero y no se vea el dibujo del payaso guía en el fondo, le termine haciendo unos pequeños detalles al sombrero en la parte del medio blanco para que no se viera aburrida, ya que se veía blanco aburrido jajajá… al tener ya todo cortado comenzamos armar parte por parte.
Colocamos el dibujo guía del payaso en la caja de torta de cartón de reciclaje, para seguidamente recortar según la forma del payaso, al tener esto listo comenzamos a montar poco a poco, parte por parte, comenzamos con la parte del flequillo, seguidamente con la cara del payaso qué fue recortada previamente en una hoja blanca, y al tener esto ubicado comenzamos a colocar, boca, dientes, lengua, seguimos con lo que eran las cejas, cachetes, ojos, para seguir con el cabello seguidamente colocamos la nariz roja en donde va y seguidamente colocamos el sombrero de payaso, Al ver ya todo el payaso pegado esto se realizó con silicona caliente se vio que quedo hermoso, parte por parte realizada con mucho cariño de verdad me encanto el trabajo a pesar de que deje todo hecho un desastre valió la pena.
Nota: todo esto lo realicé en horas laborales en mi trabajo, ya que llegaba a casa cansada y sin ánimos de hacer nada. Me tomo como 3 horas realizarlo sin problema alguno, espero que a todos les haya gustado este hermoso payaso y que me entiendan lo que estoy explicando.
 |  |  |
|---|
 |  |  |
|---|
 |  |  |  |
|---|

THANKS TO SEPARATOR AND BANNER/GRACIAS A SEPARADOR Y PANCARTAS
https://peakd.com/hive-148441/@ikasumanera/eng-es-i-made-hive-free-use-art-of-for-all-of-you-part-1-dividers-and-banners-or-hice-arte-de-libre-uso-para-todos-parte-1
An extraordinary work. the results are very beautiful.
Thank you, thank you very much 😊
Te quedó genial amiga, súper colorido
Si amiga gracias..❤️
Es una manualidad de Carnaval realmente bella, fuera de lo común que siempre vemos, quedó muy original y muy interesante con los diferentes materiales, texturas y colores.
Gracias, si sin darme cuenta use varios tipos de materiales y textura 😅
Quedó muy lindo amiga. Saludos..!
Gracias amiga..
Quedó muy bien esta máscara para el carnaval,con colores muy vivos y alegres, dignos de un payaso.