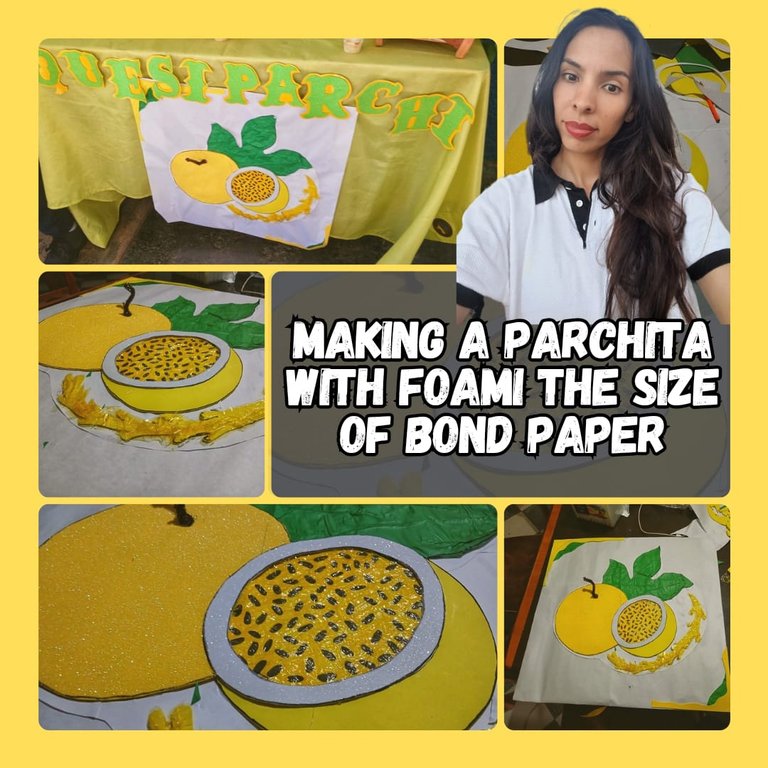
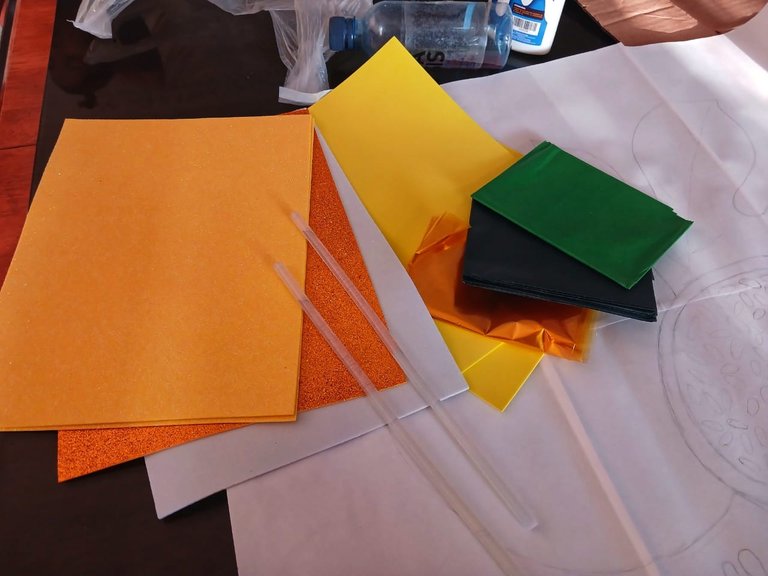
Hello friends of this beautiful and creative community I hope everyone is well, well I continue with my work as a school mom hahaha ... this time I had to make a foami patch the size of a little larger than half Bond paper ha, ha, ha, ha .... first time I had the responsibility of making something so big for a closing of my son's project, but I liked it, since I love crafts and drawing what I sometimes lack is patience ha, ha, ha, ha... But I make my best effort for these patches, I used the following materials:
- 1 white frosted foami
- 1 yellow frosted foami
- 1 yellow foami
- 1/2 green tissue paper
- 1/2 orange cellophane paper
- black marker
- 4 white sheets or recycling
- white glue
- silicone stick
- 3 sticks of brown pipe cleaner
- scissors
Hola. Amigos de esta hermosa y creativa comunidad espero que todos se encuentren bien, bueno yo sigo con mis labores de madre modo escolar jajajá... en esta oportunidad me tocó realizar una parchita con foami del tamaño de un poco más grande que medio papel Bond ja, ja, ja... primera vez que me tocaba la responsabilidad de hacer algo tan grande para un cierre de proyecto de mi hijo, pero me gustó, ya que me encantan las manualidades y dibujar lo que a veces me falta ea paciencia ja, ja, ja… Pero hago mi mayor esfuerzo para estas parchitas, utilice los siguientes materiales:
- 1 foami blanco escarchado
- 1 foami amarillo escarchado
- 1 foami amarillo
- 1/2 papel de seda verde
- 1/2 papel celofán anaranjado
- marcador negro
- 4 hojas blancas o reciclaje
- pega blanca
- barra de silicona
- 3 barrillas de limpia pipa marrón
- tijeras

 |  |  |  |
|---|

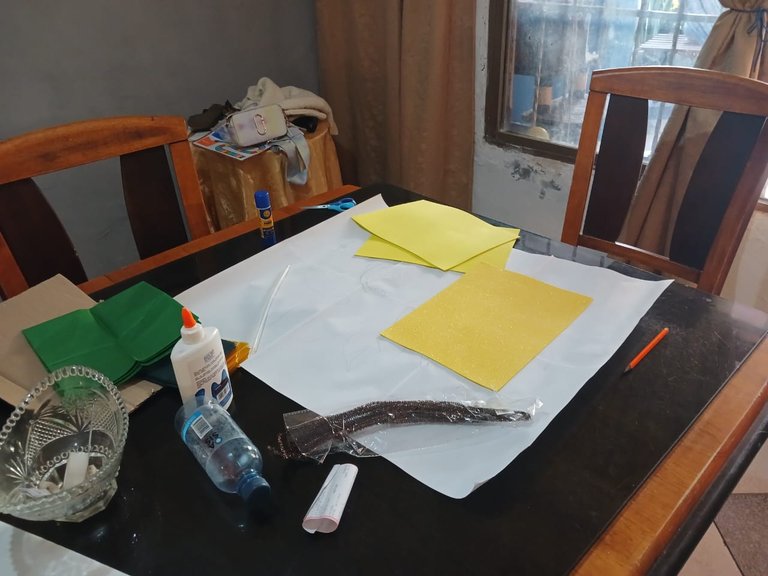
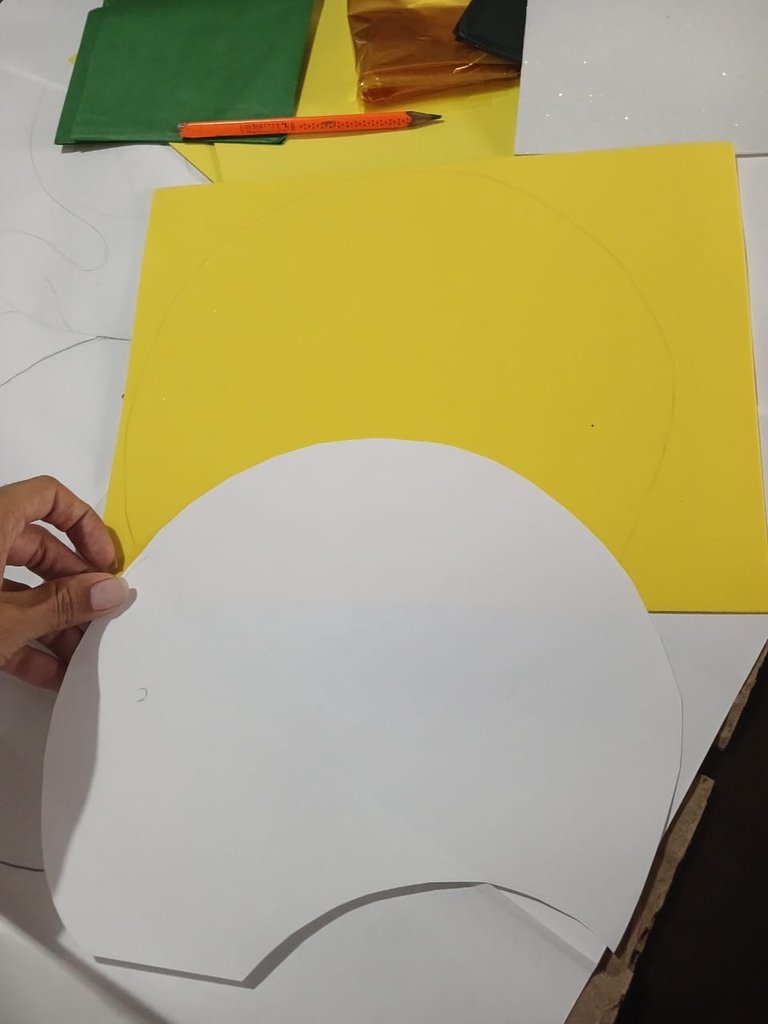
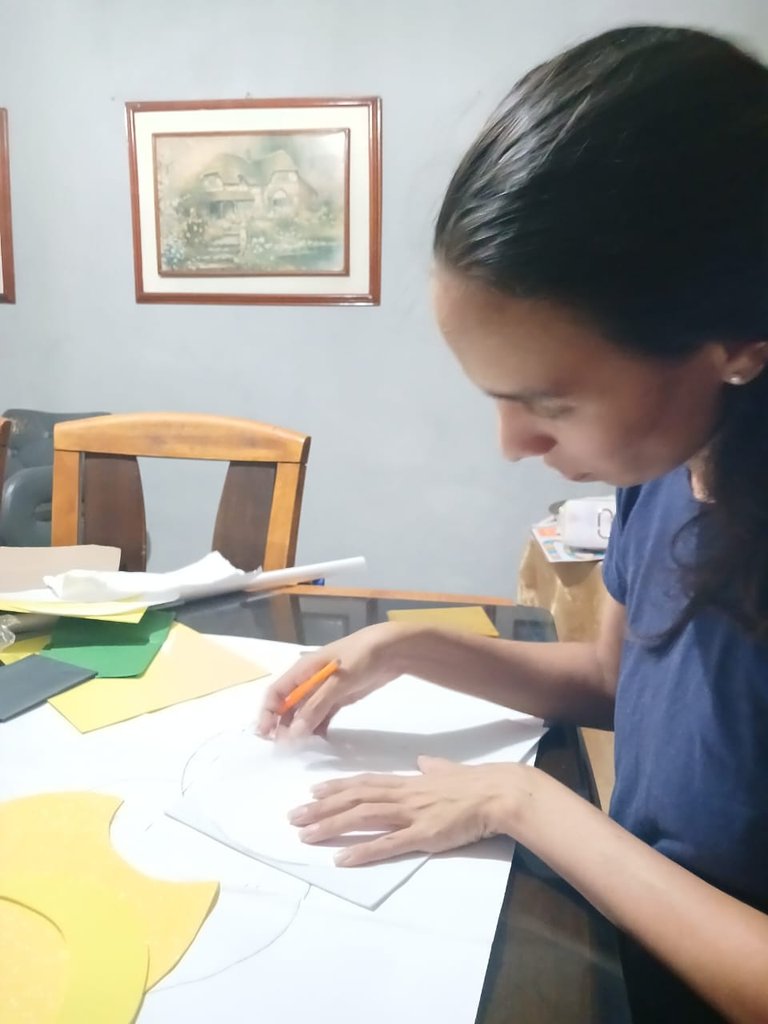
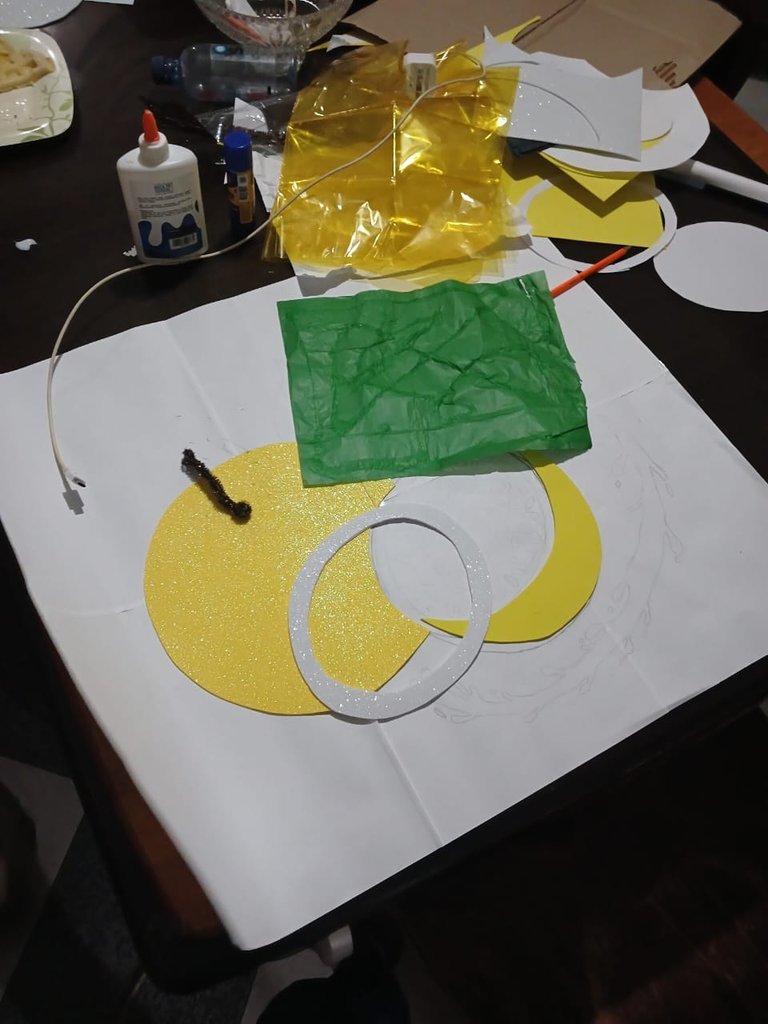
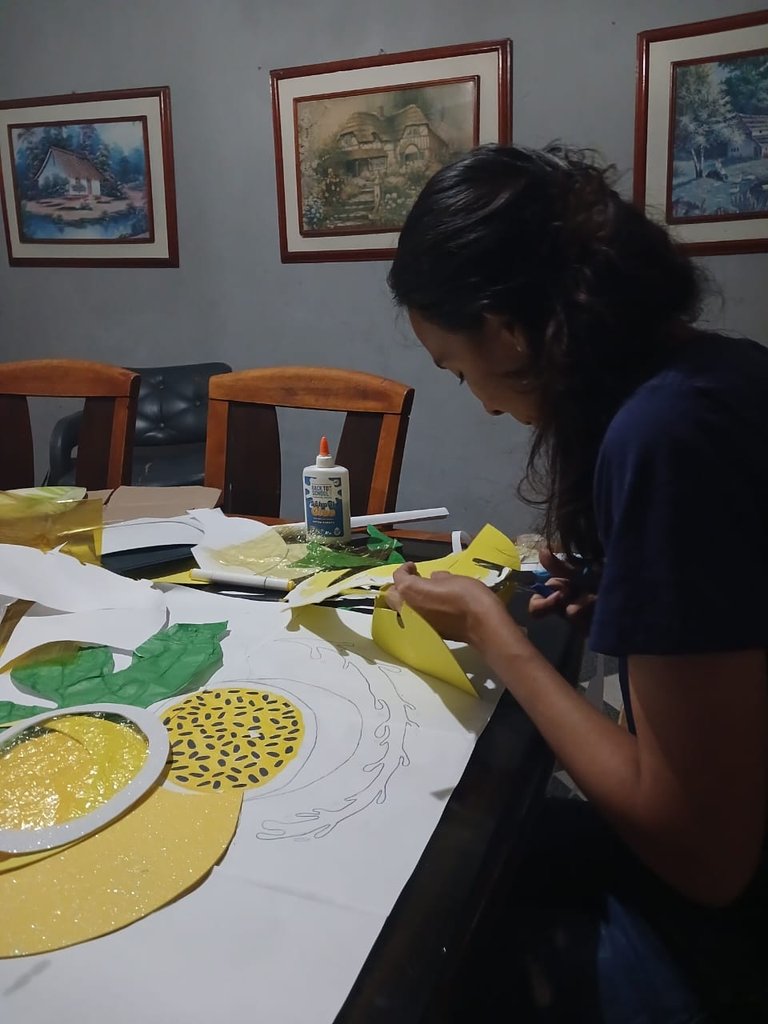
First we start by making the drawing on a sheet of Bond paper, when we have the drawing ready for the base we start with our white or recycling sheets to draw each figure, then we cut each one of them to continue with the following.
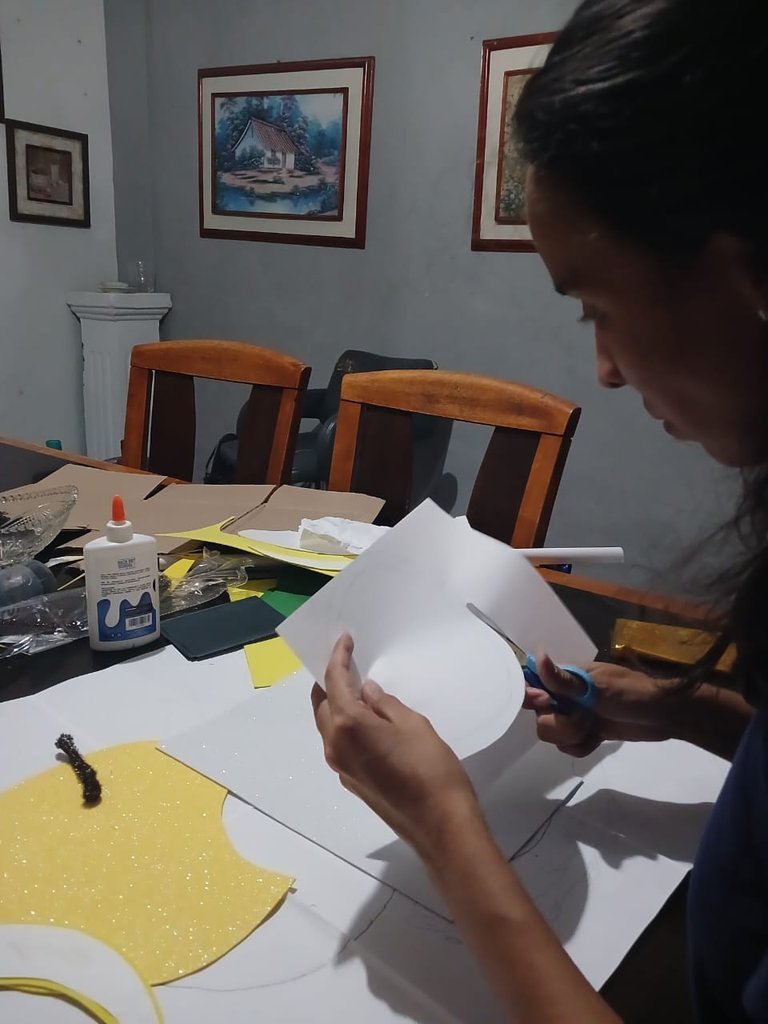
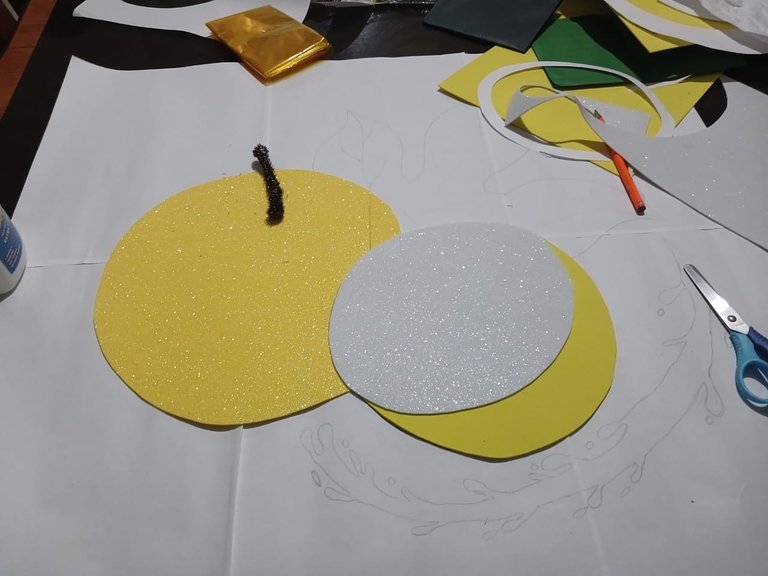
When we have all the figures of the drawing already cut, we calculate it on the sheet of frosted yellow foami, we start with the patches that is the most important part of this work for the school, when we have already drawn on the foami both frosted yellow and plain yellow, we cut and begin to present, when we present the yellow parts we see that it is taking shape.
Comenzamos primero realizando el dibujo en una lámina de papel Bond, al tener el dibujo listo para la base comenzamos con nuestras hojas blancas o de reciclaje a dibujar cada figura, seguidamente cortamos cada una de ellas para así continuar con lo siguiente.
Al tener ya todas las figuras del dibujo cortadas la calculamos en la lámina de foami amarilla escarchada comenzamos en las parchitas que es lo más importante de este trabajo para el colegio, al tener ya dibujadas en el foami tanto amarillo escarchado como el amarillo sencillo cortamos y comenzamos a presentar, al presentarlas partes amarillas vamos viendo que va agarrando forma.

 |  |  |  |
|---|

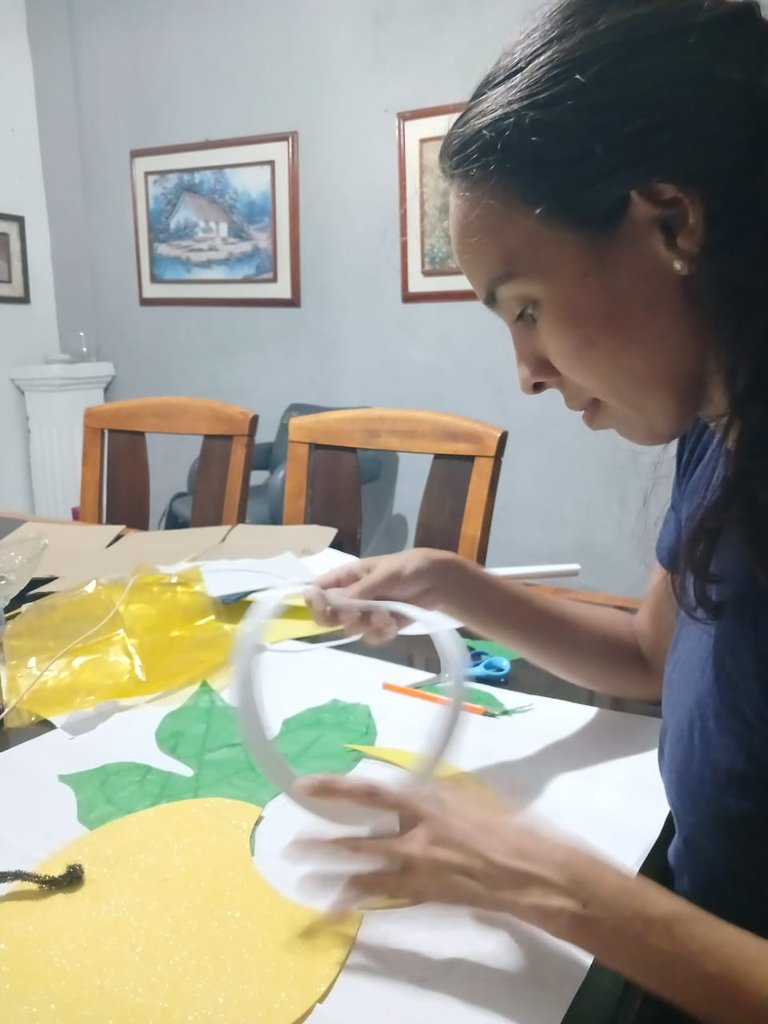
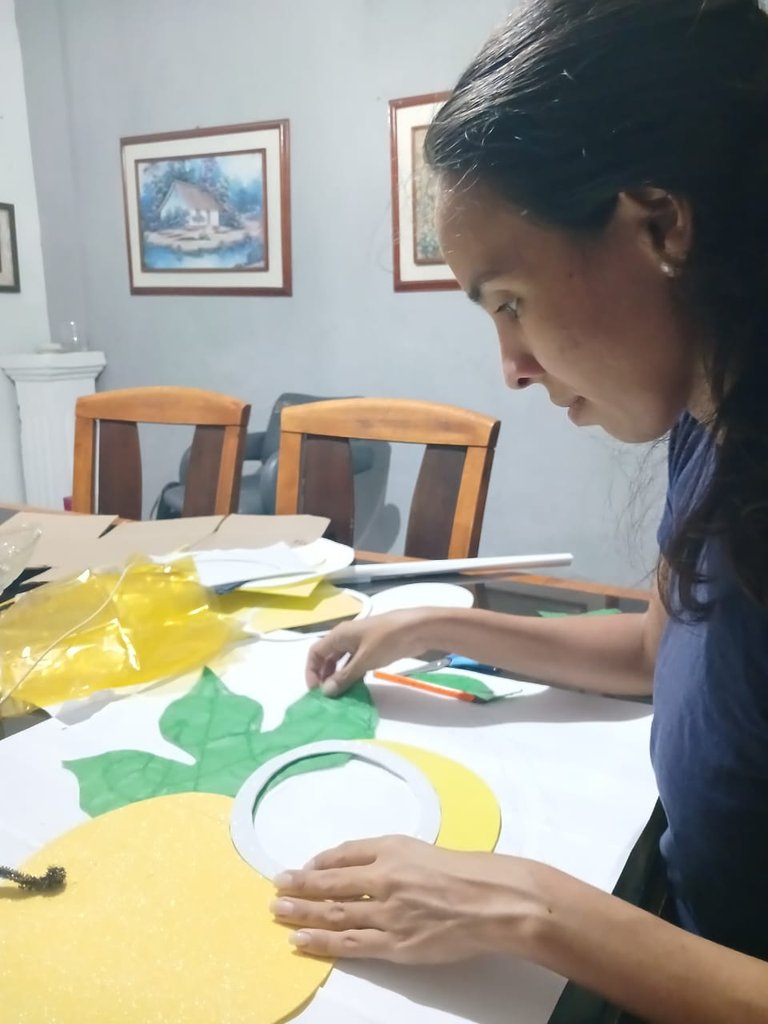
We began to draw now the white part in the frosted white foami cut and continue to present, but to cut the central part of the white area that would be part of the inner court of the parchita we did it very carefully with a blade because with the scissors it was going to be a little difficult, since this is to remove the filling of the foami practically to represent with orange cellophane paper what would be the pulp of the parchita.
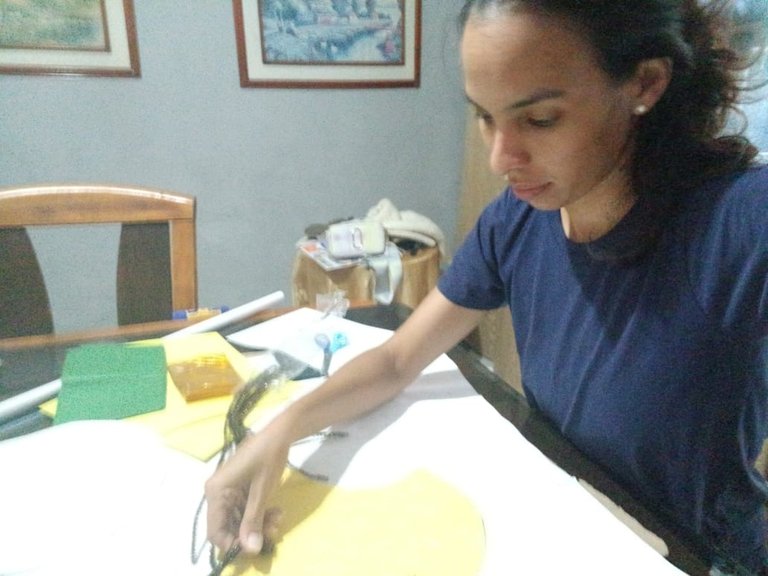
Having all these parts of the parchita already clear, finally we make the leaves with the cellophane paper which was not easy because it is such a delicate paper that if you do not work carefully, thanks God that this time it was not so although we almost had an accident, but the sheet of tissue paper is large and we had to solve.
Comenzamos a dibujar ahora la parte blanca en el foami blanco escarchado cortamos y seguimos presentando, pero para cortar la parte central del área blanca que sería parte de la cancha interna de la parchita lo realizamos con mucho cuidado con una hojilla porque con la tijera se nos iba a hacer un poco difícil, ya que esta ver es sacar el relleno del foami prácticamente para así representar con papel celofán anaranjado lo que sería la pulpa de la parchita.
Al tener todas estas partes de la parchita ya claras, por último hacemos las hojas con el papel celofán lo cual no fue nada fácil porque es un papel tan delicado que si no se trabaja con cuidado se parte completamente gracias a Dios que esta vez no fue así aunque casi nos pasaba un accidente, pero la lámina de papel de seda es grande y teníamos para resolver.

 |  |  |  |
|---|

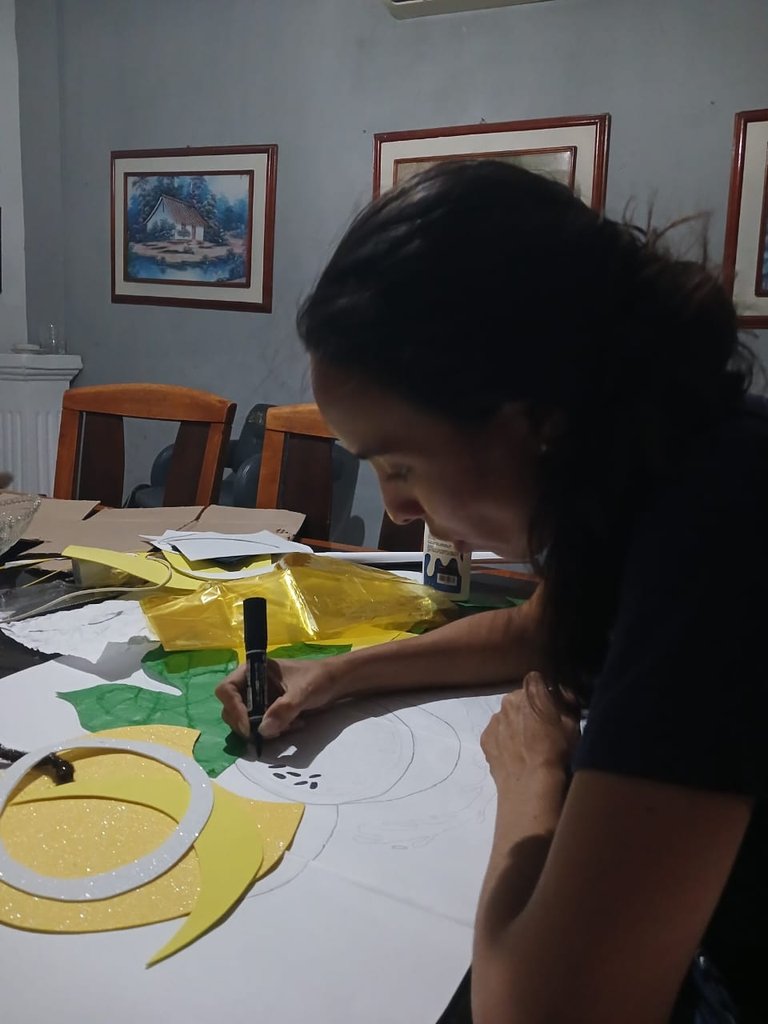
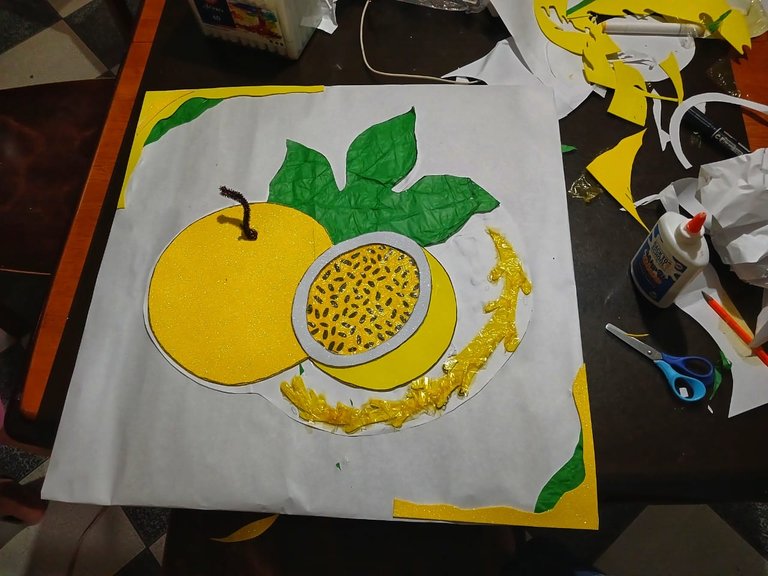
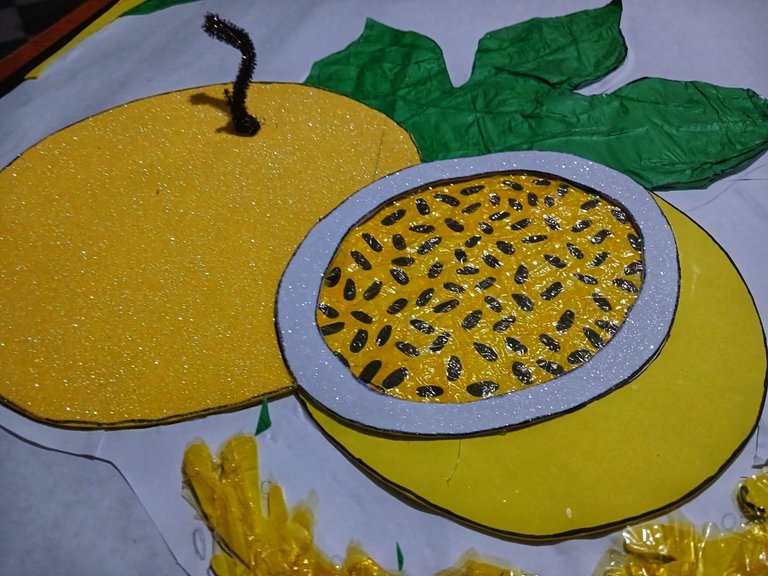
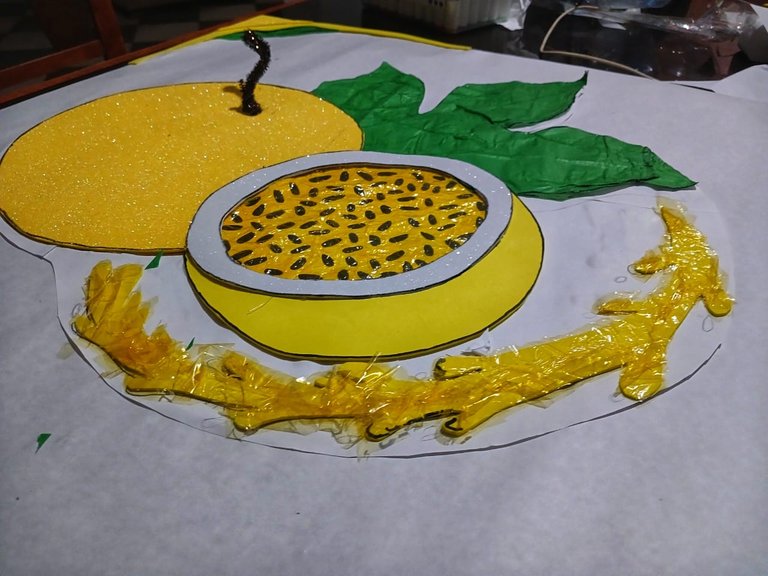
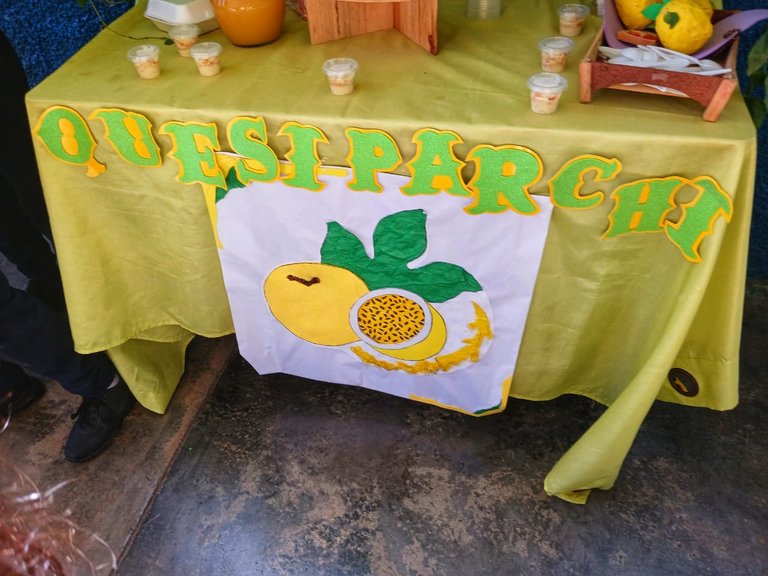
Having everything already chopped we began to assemble the drawing always having as a base the first drawing that was made, having everything glued in place we cut the drawing and we put the clean brown piping on the big patch and we glued it with hot silicone because it was sticking out and with white glue it would be difficult to glue because of the type of material of the same, but the rest of the drawing we glued it with white glue, something that seemed a little crazy because it was foami, but still for safety at the end we glued in several places with the hot silicone stick because I did not want to risk that everything was destroyed at school 😅 and better I went for sure, having everything ready I glued it on a sheet of white bond paper and ready everything was beautiful. In the end I loved what I did and I liked it even more when I saw it on the table at the end of my son's project it looked beautiful, I hope you liked it and understood how to create these beautiful patches made with love and effort for the end of my son's project.

 |  |  |  |
|---|

https://peakd.com/hive-148441/@ikasumanera/eng-es-i-made-hive-free-use-art-of-for-all-of-you-part-1-dividers-and-banners-or-hice-arte-de-libre-uso-para-todos-parte-1