Great Day Everyone,
Im Ryanth, I feel so good to find a DIY community, its overwhelming to see others art and learn from skills and techniques on doing crafts...
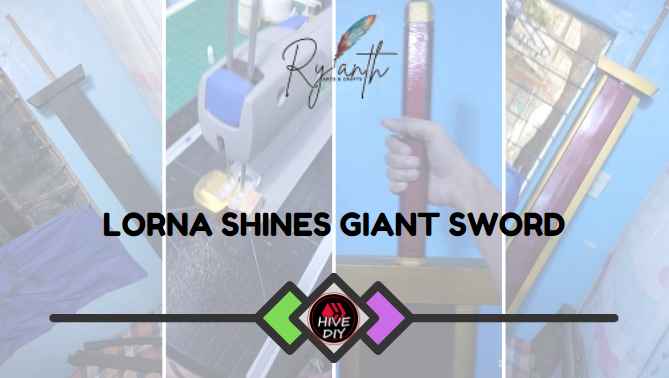
For today, Im sharing with you how I did this GIANT SWORD of Lorna Shine, this is supposedly an entry to Splinterland Art as a whole thing (Yes Im doing Cosplay) but theres a lot of going in making a costumes and props.
Crafting this big sword doesnt fit my working table so I have to work on the floor and in bed. I apologize for the pictures, im still working on my skills in photography.
To start with:
The Materials
We need a 6mm and 3 Rubbersheets,Wood Stick, Contact Cement and Super Glue, Cutting Tools and Board, Marker Pen, Rulers, Triangles and Tape Measures, Paint Emulsion and Spray Paints color Gold and Metallic Red.
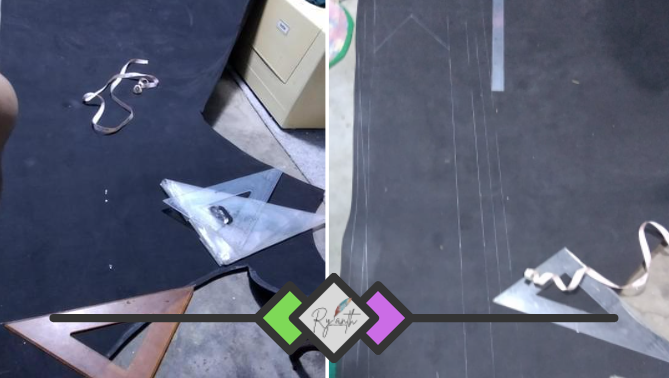
Draw the sword blade in 6mm Rubber this is about 49 Inches long, I just manage to use my triangles to have a good straight lines I need. Once your done with the lines cut it in 90deg angle.
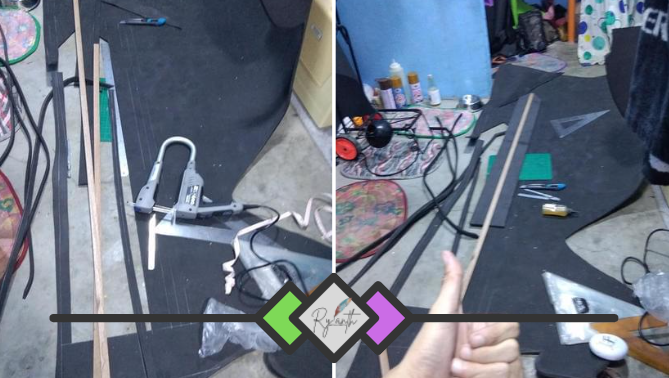
Cutting the wood Stick to 64 inches long, this will make out sword steady (perhaps)
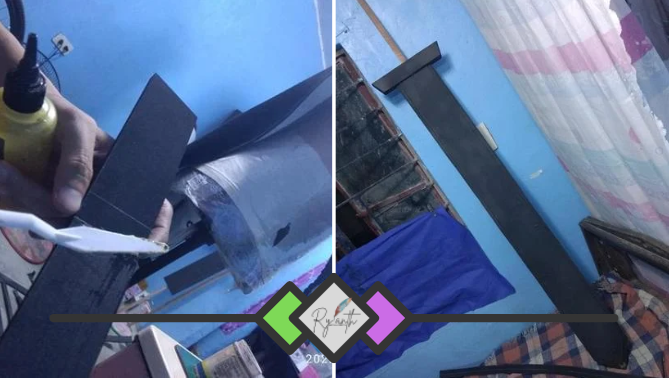
Cut your blade in half then stick it to the wood stick with contact Cement.
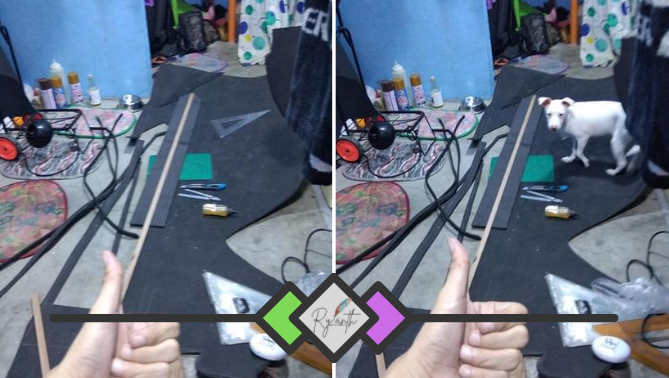
Spot the Difference ^_^
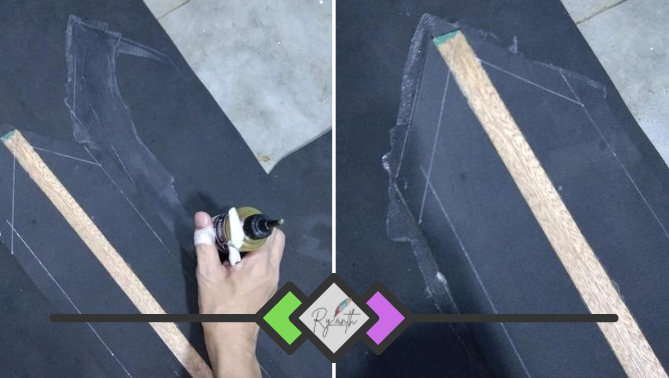
In here we need to cover the wood stick in both sides of our blade using 3mm thick rubber sheet.
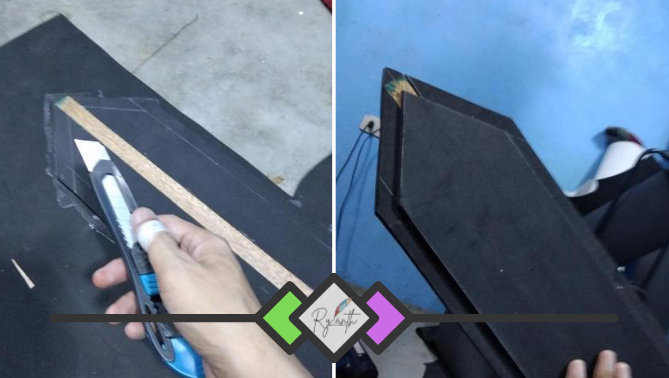
Draw a 1cm line in every corner of the rubber blade, this is where we stick the blade part of the sword.
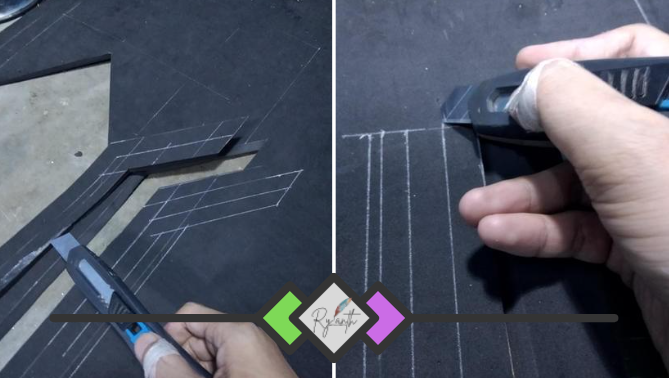
Drafting and cutting the sword blades, the point edge of the blade must be cut in angles.
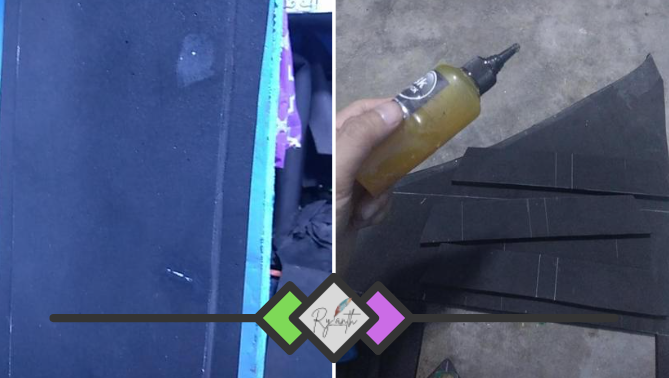
Filling some chipped area with fillers, and do a simple Rain-Guard using 3 layers of 6mm Rubber and two 3mm for both sides
Stick the guard together and place it to the Grip.
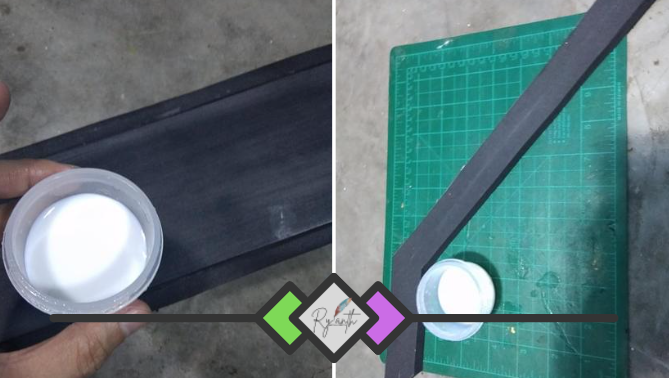
Before Coloring our sword, we have to put a primer to it so the paint will stick to it, with this im using Acrylic Emulsion, atleast 3 layers of coat. 1st 2 layers are in 1:1 ratio of Emulsion with water so the rubber would absord the primer easily, then the 3rd will be a 100% solution, It will give a little glossy finish.
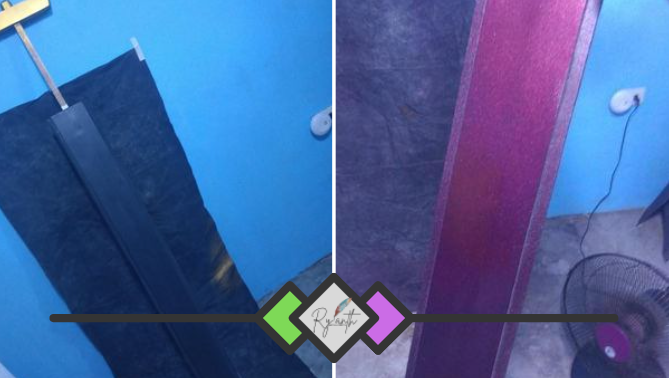
Since it its very windy outside I have to paint then in-doors, just needed to open all doors and windows and wear facemask when doing paint jobs, fumes are not good to ingest. protection first, it is important.
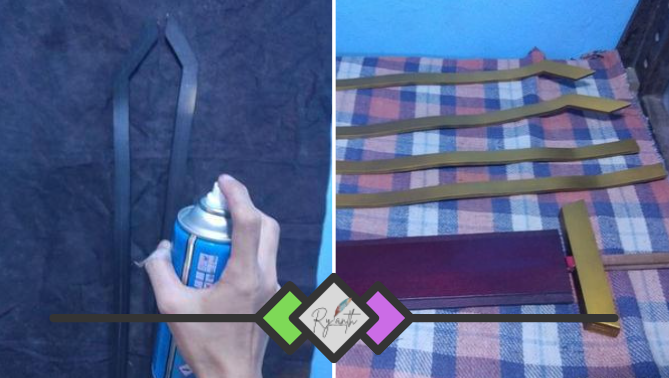
Once paint job is done, its assembly time, put contact Cement in the areas need to stick together.
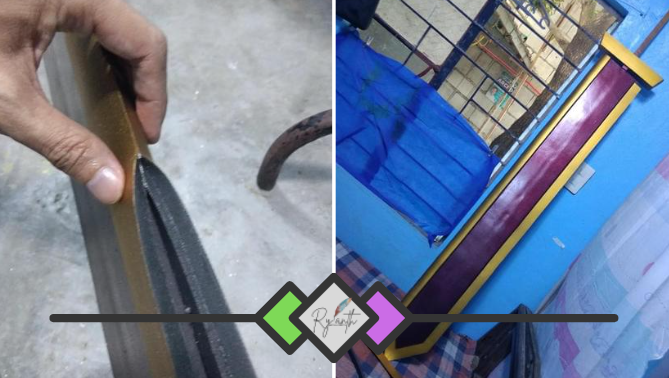
Heres why we need to cut the edge of the blade angular, so we don't need to sand them to have a pointed finish.
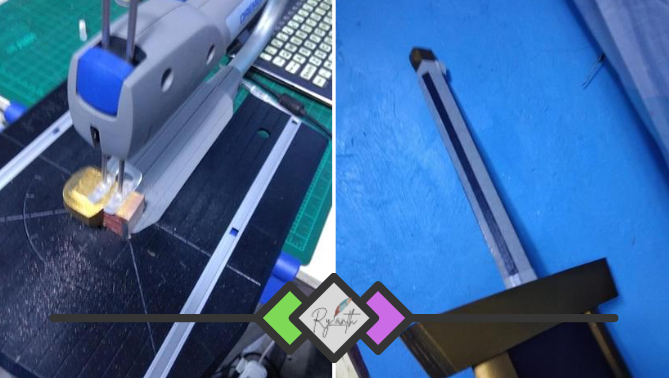
The Grip and Pomel, I simple have a 3 layers of wood stick, since the pomel is a little off an inch apart need to cut the extra inch with a scrollsaw. THen placed it back with a Contact Cement.
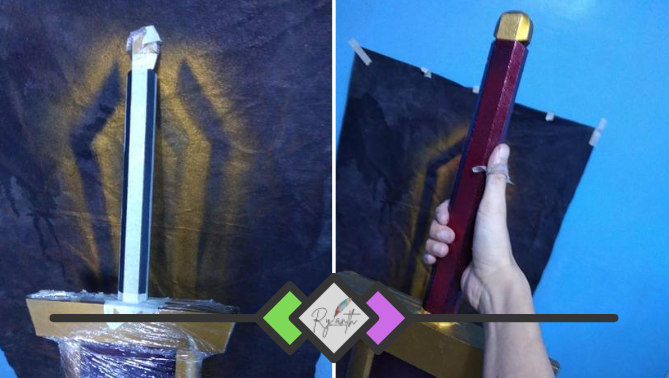
Another 3 layers of Emlusion for our grip and pomel prior to painting, Warp the parts that you dont want to get stained with other color. Then Presto!
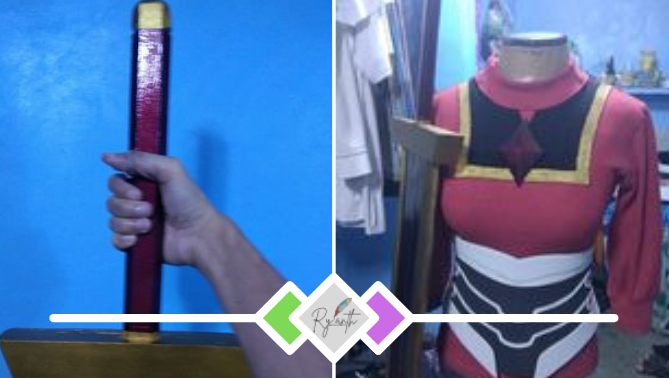
I feel its not the right time to spoil the whole picture of the sword but heres how it grips and a shot with outfit I'm still currently working-on.
Hope you enjoy the thread, Im still new to blogging and documentation, but Im very much open to suggestions to make myself better and better. I would appreciate much your comments, for the love of Art.
Thank you for sharing this amazing post on HIVE!
non-profit curation initiative!Your content got selected by our fellow curator @rezoanulvibes & you just received a little thank you via an upvote from our
You will be featured in one of our recurring curation compilations and on our pinterest boards! Both are aiming to offer you a stage to widen your audience within and outside of the DIY scene of hive.
Join the official DIYHub community on HIVE and show us more of your amazing work and feel free to connect with us and other DIYers via our discord server: https://discord.gg/mY5uCfQ !
If you want to support our goal to motivate other DIY/art/music/homesteading/... creators just delegate to us and earn 100% of your curation rewards!
Stay creative & hive on!
Amazing!!!
!PIZZA
Congratulations @ryanth17! You have completed the following achievement on the Hive blockchain and have been rewarded with new badge(s):
Your next target is to reach 100 upvotes.
You can view your badges on your board and compare yourself to others in the Ranking
If you no longer want to receive notifications, reply to this comment with the word
STOPCheck out the last post from @hivebuzz:
Support the HiveBuzz project. Vote for our proposal!
PIZZA Holders sent $PIZZA tips in this post's comments:
(3/10)
shikiphantom tipped ryanth17 (x1) @zionazrael tipped @ryanth17 (x1)
Join us in Discord!
Lots of effort put in this kind of art work. I love it, Great job keep it up. I 'm excited to see the Cosplay of Lorna 😋 Grab a Hot girl and let her wear that haha. have some !PIZZA
!PGM
!LUV
!HBIT
BUY AND STAKE THE PGM TO SEND TOKENS!
Discord
Support the curation account @ pgm-curator with a delegation 10 HP - 50 HP - 100 HP - 500 HP - 1000 HP
Get potential votes from @ pgm-curator by paying in PGM, here is a guide
I'm a bot, if you want a hand ask @ zottone444
(3/3) gave you LUV. H-E tools | discord | community | <>< daily
@zionazrael
!hbit
Success! You mined .9 HBIT & the user you replied to received .1 HBIT on your behalf. mine | wallet | market | tools | discord | community | <>< daily
I'm always so interested in the techniques cosplayers use to make not only their outfits but all their props! I've never worked with rubber sheets before but it seems to have the potential to be a versatile material.
Looking forward to seeing the full cosplay!