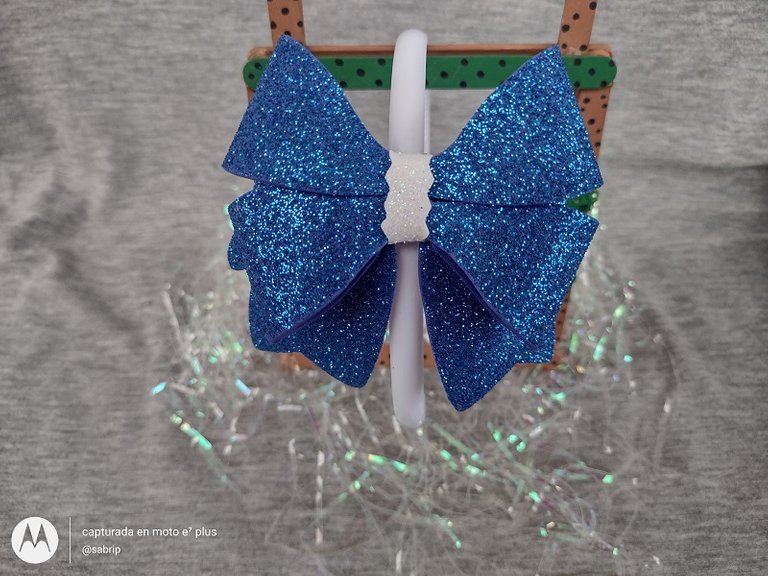
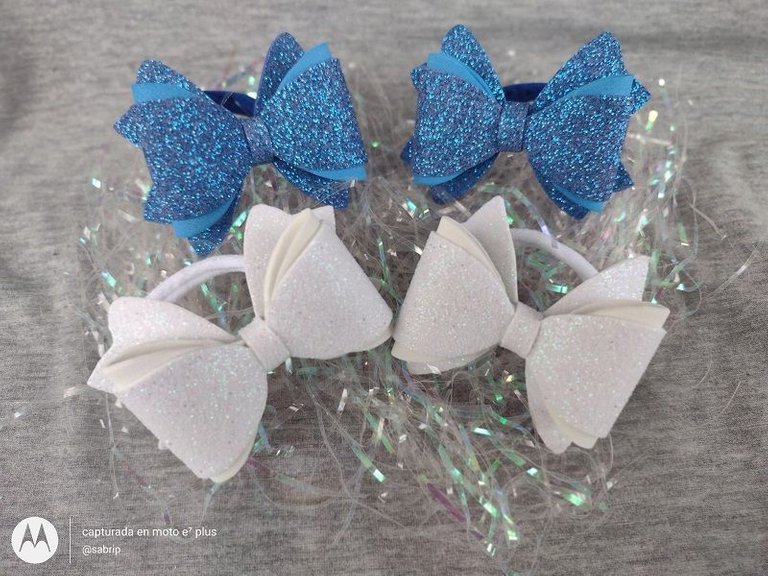
Hello hello community, happy and blessed night. In my previous post I had told you that I had started a new undertaking, I showed you how to decorate some headbands and pencils, today I bring you these beautiful bows that were a request from a client, she suggested white and blue since it's for her princess's back to school, I am very happy to be able to please her with these beauties.
Hola hola comunidad, feliz y bendecido noche. En mi publicación anterior les había comentado que había comenzado un nuevo emprendiendo, les mostré como decorar unos lápices y cintillos, hoy les traigo estos hermosos lazos que fueron un pedido de una clienta, ella me sugirió color blanco y azul ya que es para el regreso a clase de su princesa, yo muy feliz de poder complacerla con estas hermosuras.
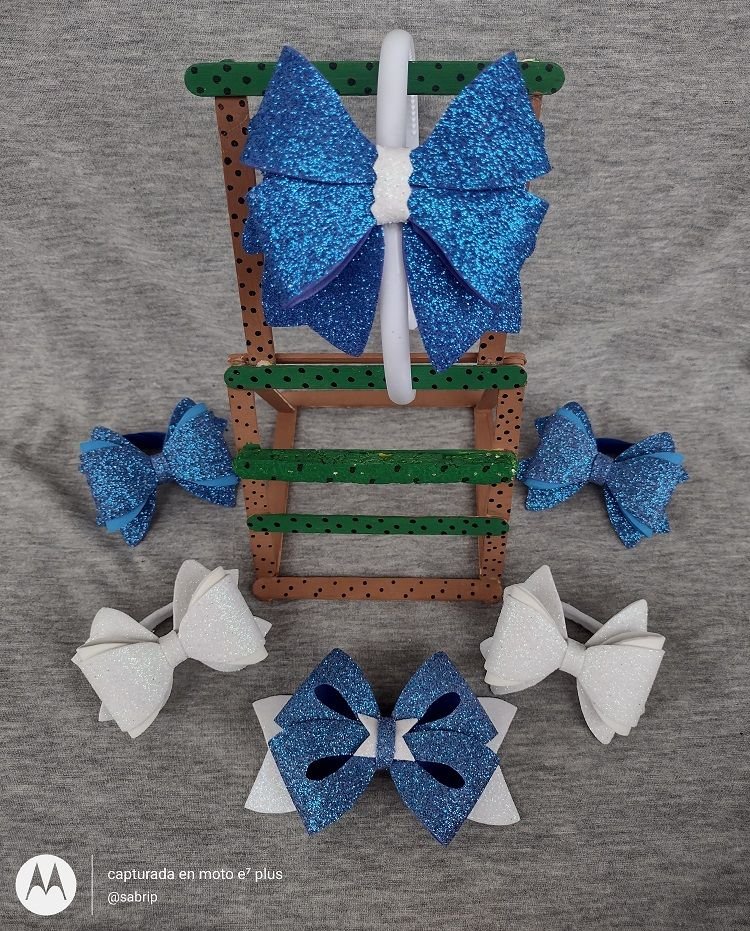
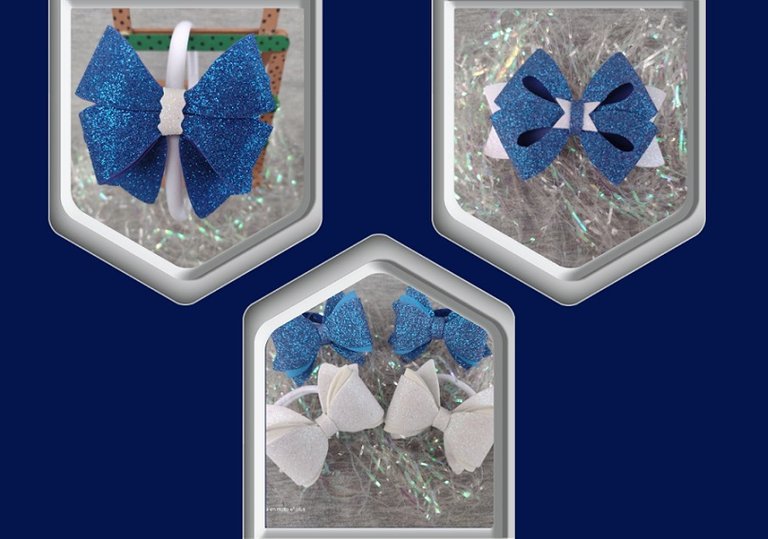
Are 3 models of bows where the materials are the same but each one has different steps, I will be showing you in detail the elaboration of each bow so that you dare to make them at home. This craft is very fun and profitable for all people who want to generate extra income.
Son 3 modelos de lazos donde los materiales son los mismos pero cada uno tiene pasos diferentes, les estaré mostrando detalladamente la elaboración de cada lazo para que se atrevan hacerlos en casa. Esta manualidad resulta muy divertida y provechosa para todas las personas que deseen generar ingresos extras.
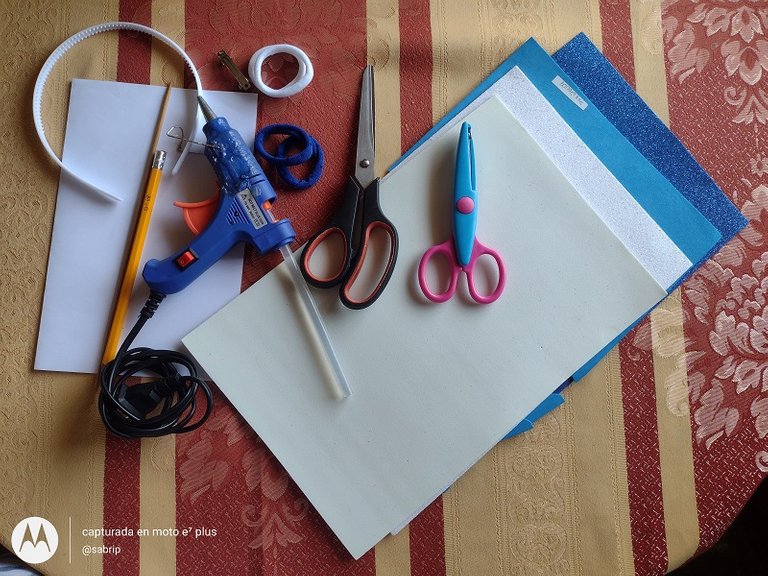
The materials are the following: / Los materiales son los siguientes:
First loop. / Primer lazo.
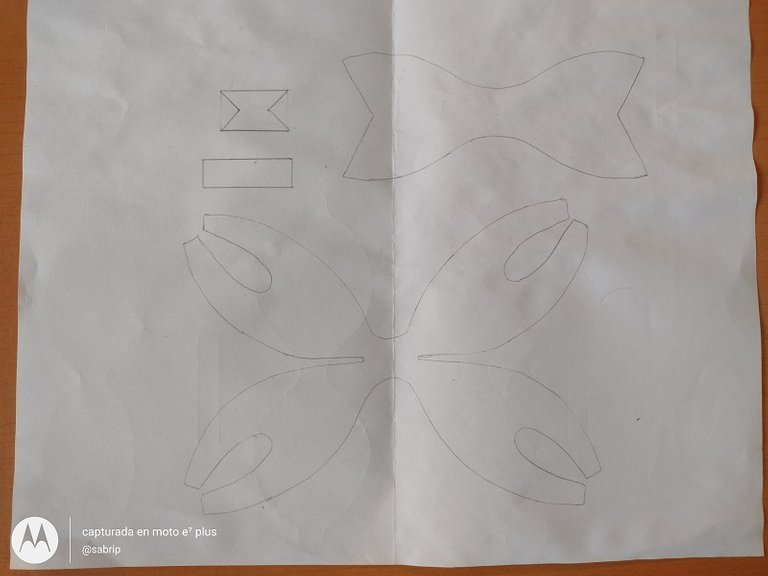
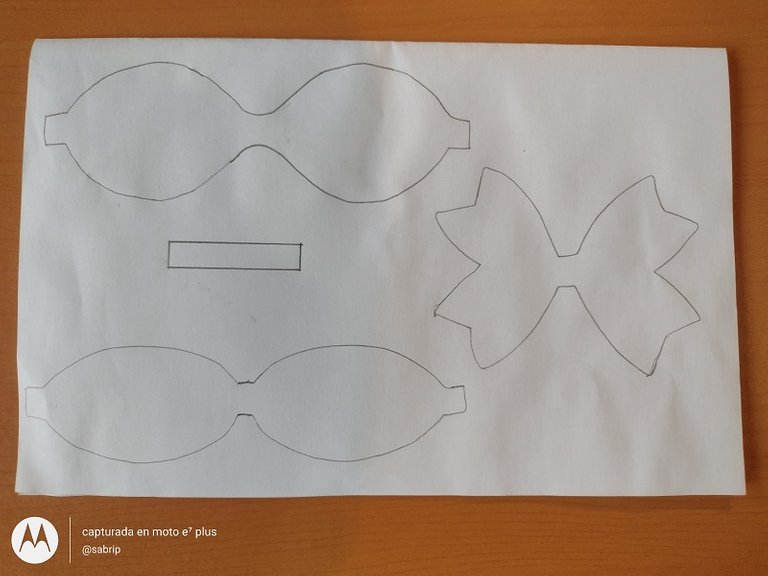
For any elaboration it is necessary to make our pattern, I have this step in advance, however, I will leave you the pattern so you do not have difficulty.
Para cualquier elaboración es necesario realizar nuestro patrón, este paso yo lo tengo adelantado, sin embargo, les dejare el patrón para no tengan dificultad.
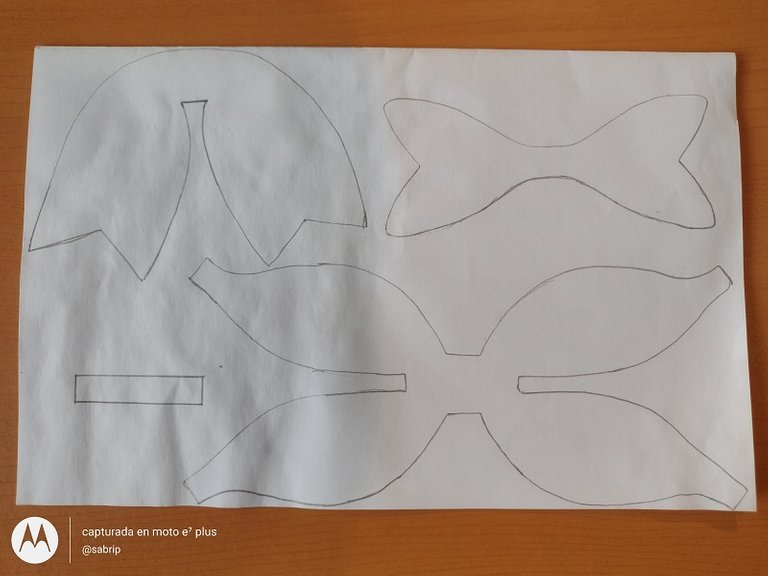
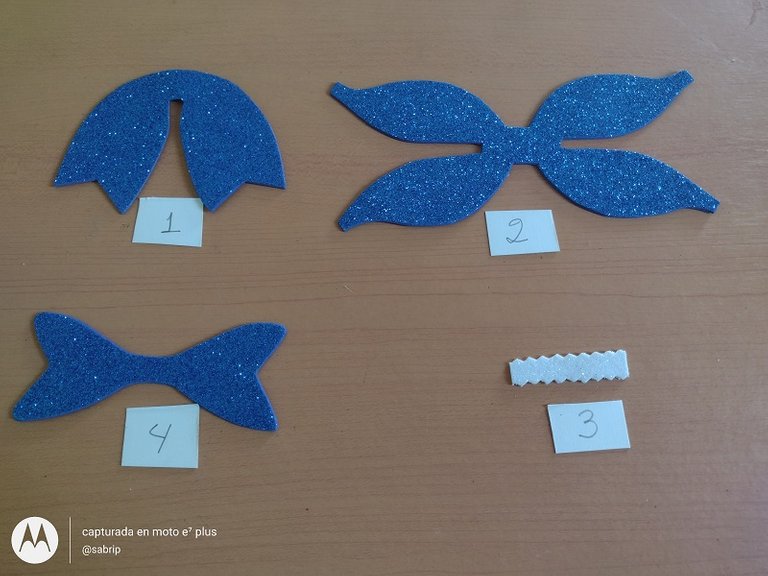
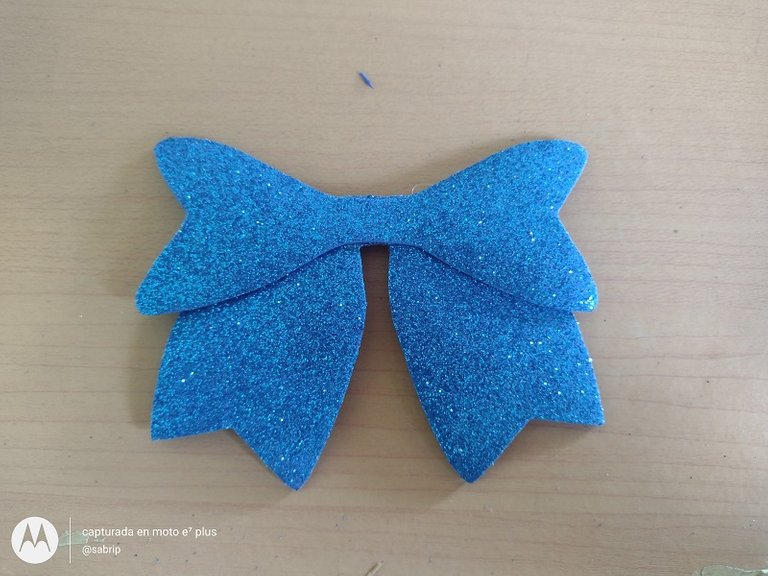
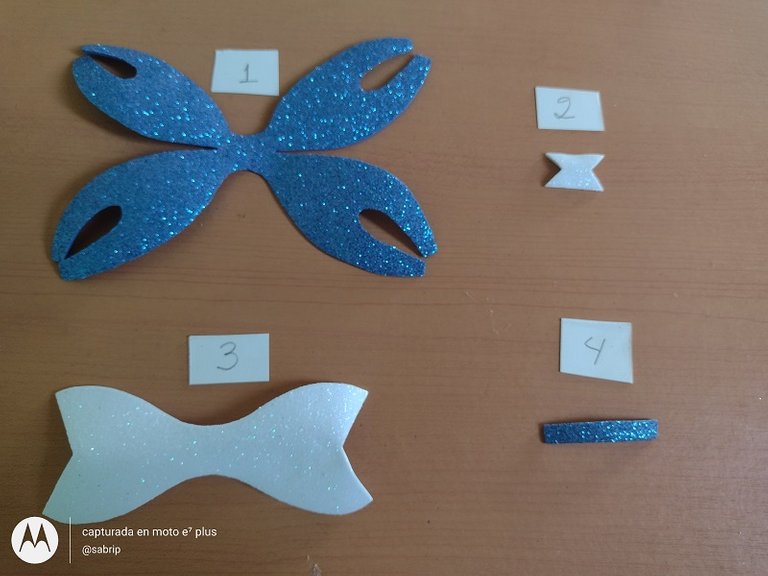
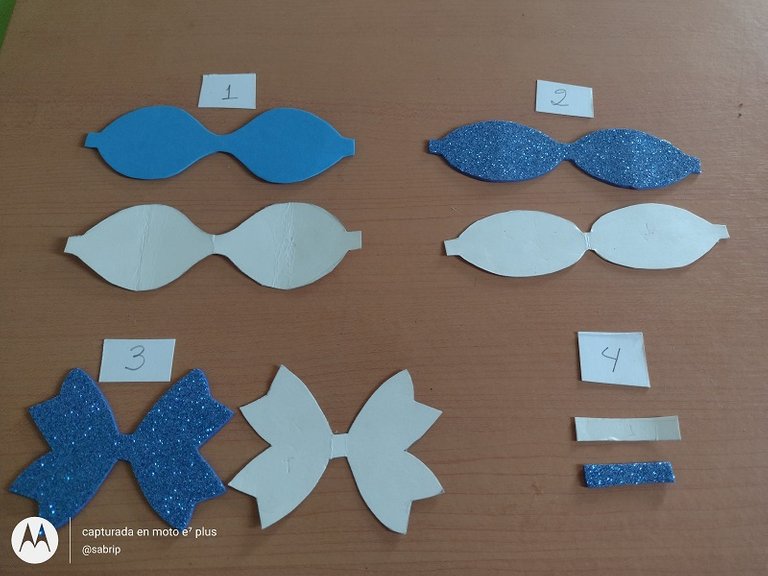
This pattern, which would be 4 pieces, we are going to mark it on the foami with the wooden stick and cut it out. I am going to put a number on each piece to make the explanation easier.
Este patrón que serían 4 piezas, lo vamos remarcar en el foami con el palito de madera y recortamos. A cada pieza le voy a colocar un numero para que la explicación sea más fácil.
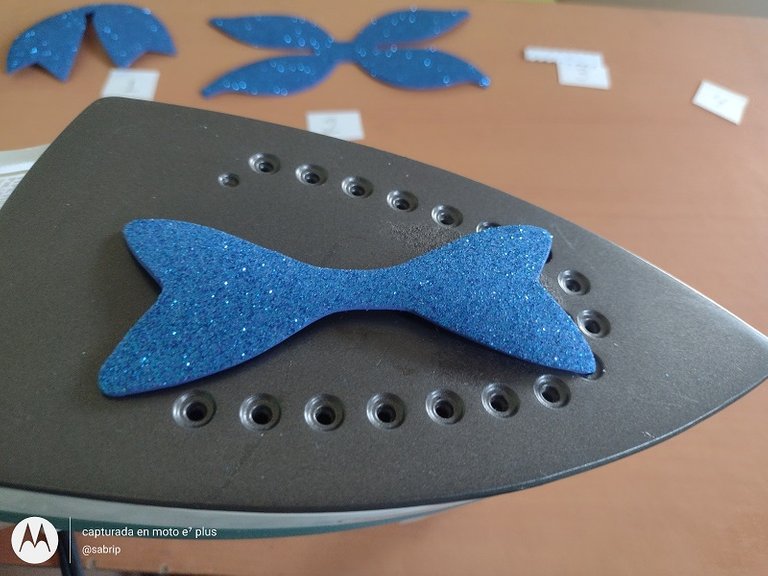
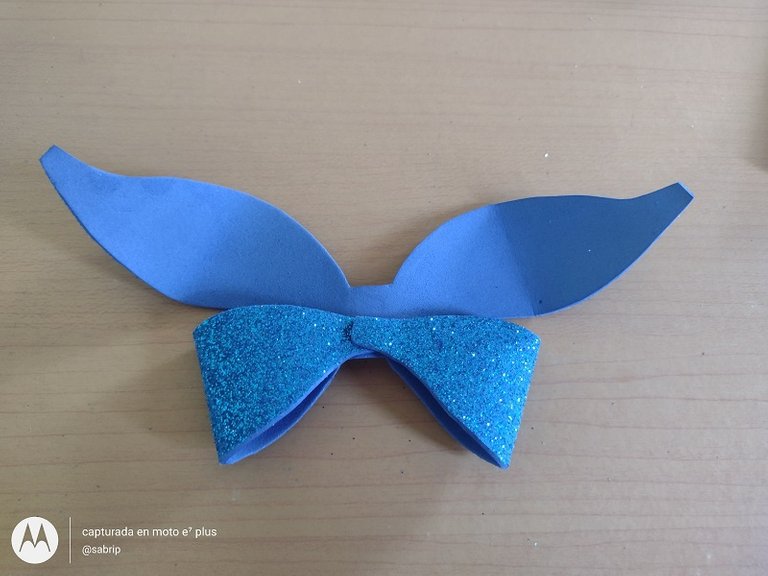
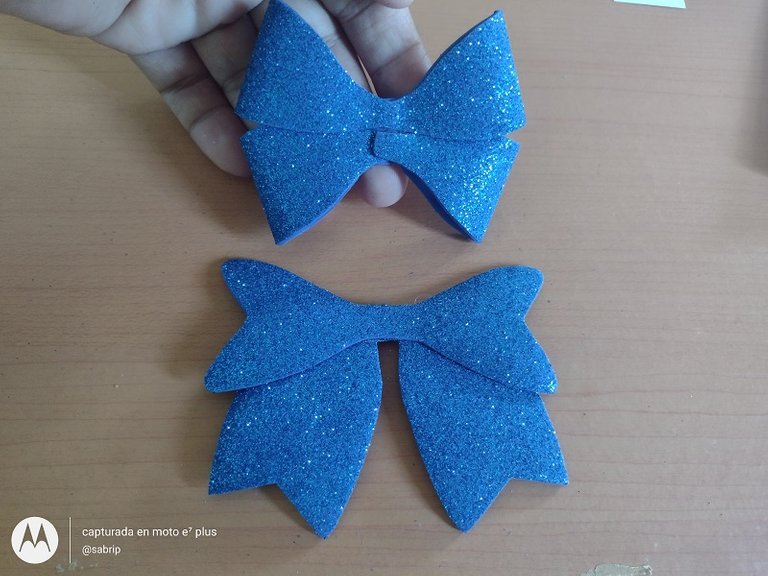
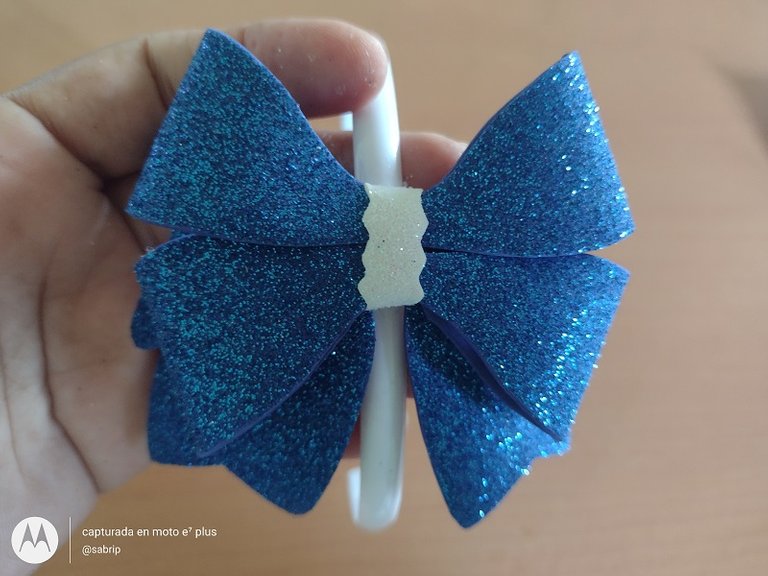
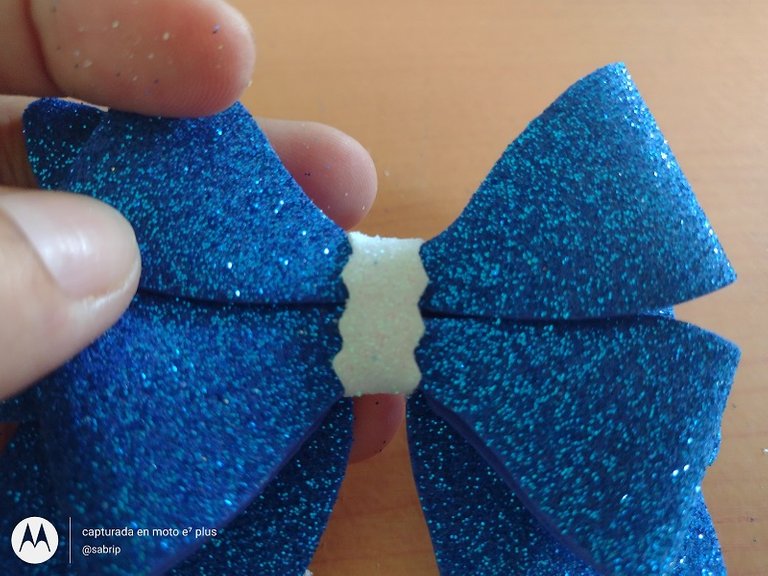
We apply the thermoforming technique to each piece. Then we select piece number 2 and glue all the ends in the center. We glue piece 4 on top of 1 and then piece 2. We cover the center with piece 3 and finally we stick the bow on the headband.
Cada pieza le aplicamos la técnica de termoformado. Luego Seleccionamos la pieza número 2 y pegamos todos los extremos en el centro. Pegamos la pieza 4 sobre la 1 y seguidamente la pieza 2. Cubrimos el centro con la pieza 3 y finalmente lo pegamos el lazo en el cintillo.

Second loop. / Segundo lazo.
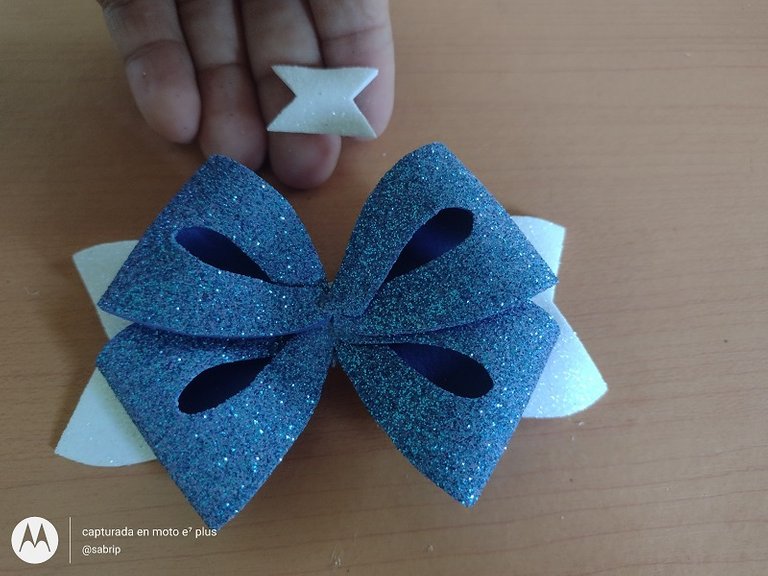
This loop is made up of 4 pieces, in the same way we put the number on each piece.
Este lazo lo constituyen 4 pieza, de igual manera le colocamos el número a cada pieza.
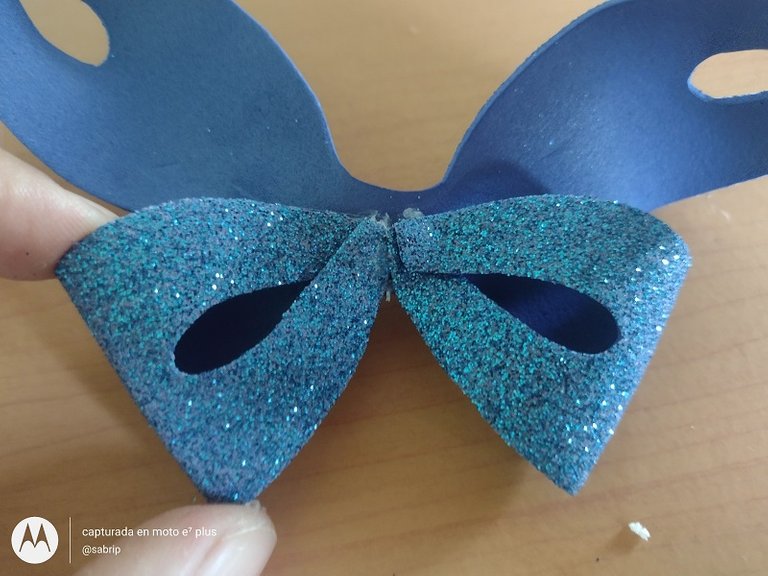
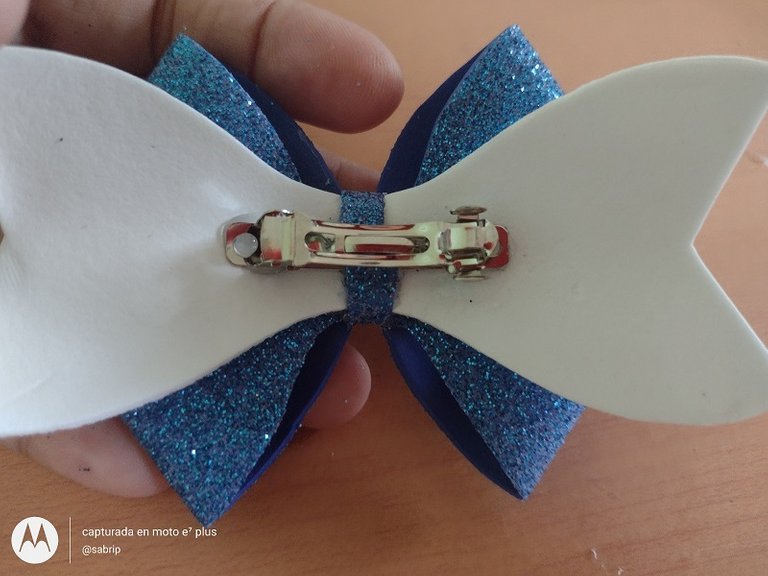
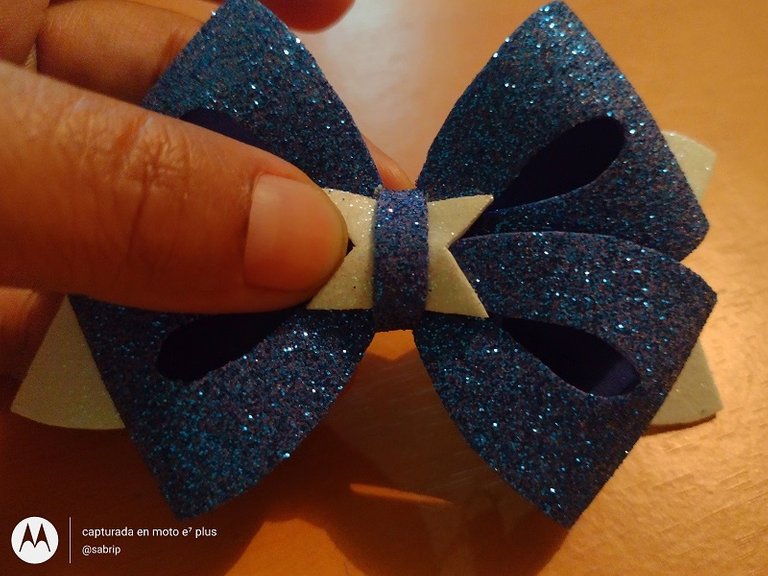
We apply the thermoforming technique, we glue the ends of piece number one in the center, then we glue it to piece number 3, on this we glue piece 2. On the back we glue on the hook and finally piece 4 all over the center.
Aplicamos la técnica del termoformado, pegamos los extremos de la pieza número uno en el centro, luego la pegamos en la pieza número 3, sobre esta pegamos la pieza 2. Por la parte trasera pegamos en el gancho y por último la pieza 4 por todo el centro.

Third loop. / Tercer lazo.
The client asked me for two pairs of these loops, but with pigtails. For girls with a lot of hair, this model is wonderful.
La clienta me solicito dos pares de estos lazos, pero con colitas. Para niñas con bastante cabellera, este modelo es maravilloso.
The latter is also composed of 4 pieces. Here I used the normal foami and the frosted.
Este último también lo forman 4 piezas. Aquí emplee el foami normal y el escarchado.
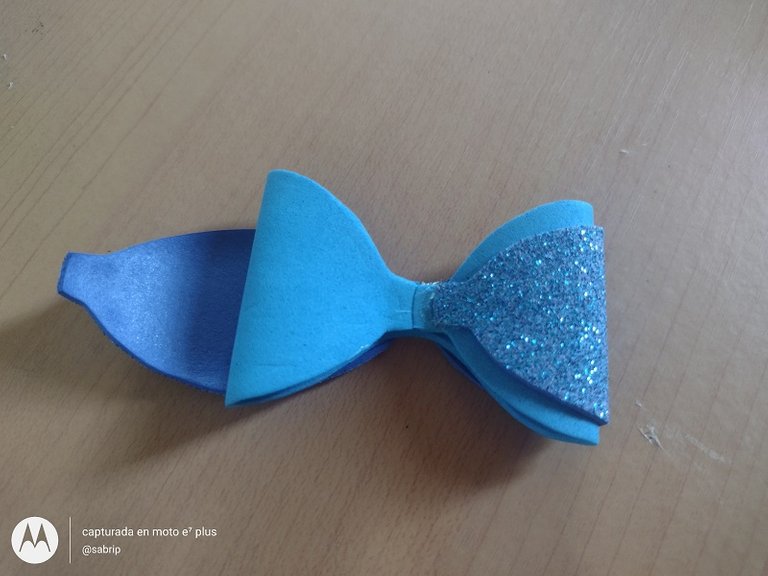
We start with piece number 1, we glue the ends in the center, we glue piece 2 on top of 1 and we glue all this on piece 3. On the back we glue the tail and finally we glue piece 4.
Comenzamos con la pieza número 1, pegamos los extremos en el centro, la pieza 2 la pegamos sobre la 1 y todo esto lo pegamos en la pieza 3. Por la parte trasera pegamos la colita y finalmente pegamos la pieza 4.
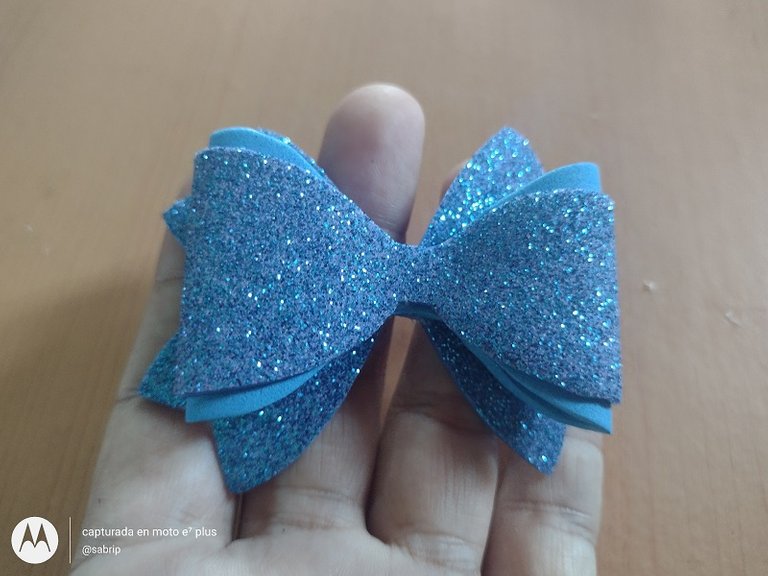
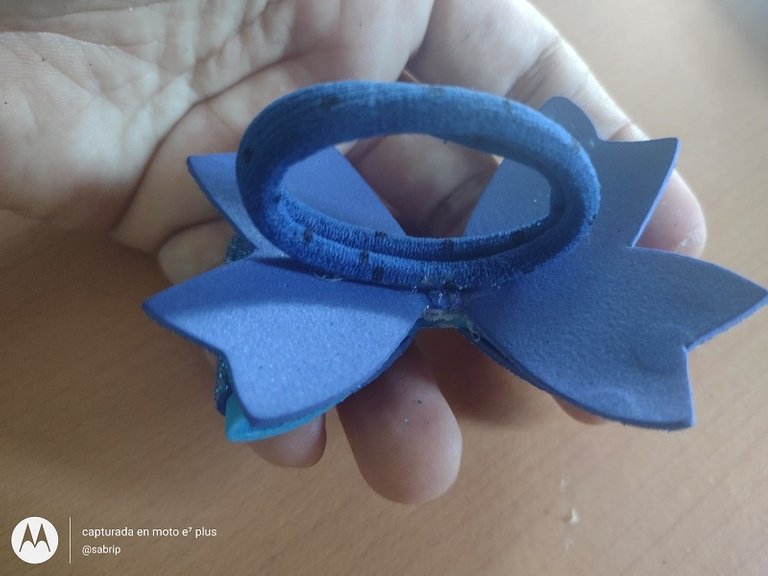
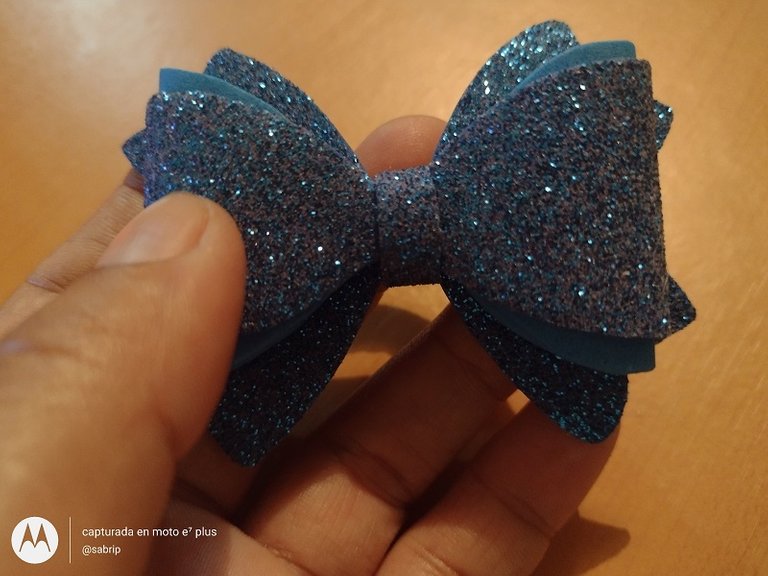

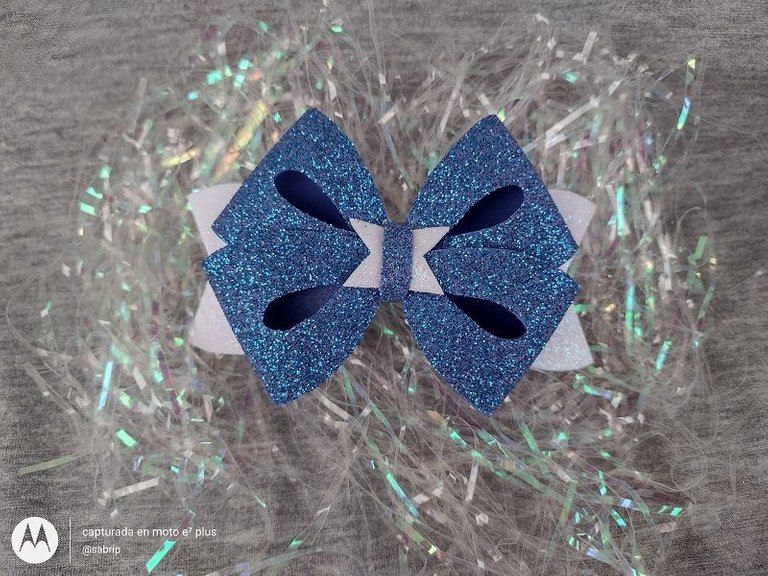
Order completed friends, in this way these beautiful bows are made, with the patterns that I leave there, you can do it, you just have to select your favorite color.
Pedido completado amigos, de esta manera se elaboran estos hermosos lazos, con los patrones que allí les deje, podrán hacerlo, solo deben seleccionar su color favorito.

I have reached the end friends, it was a pleasure to have shown you this step by step and I hope you liked it. Until next time.
He llego al final amigos, fue un placer haberle mostrado este paso a paso y espero que les haya gustado. Hasta la próxima.
