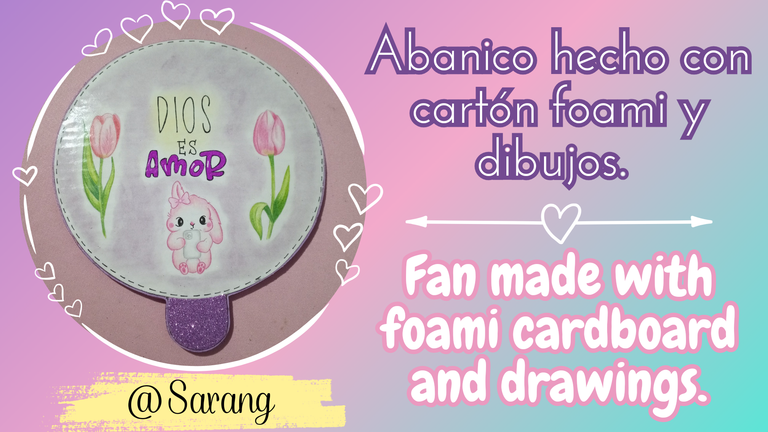
Holis gente bonita,🥰 el día de hoy les traigo una manualidad muy útil, sobre todo sí viven en un país donde hace mucho calor como el mío.😊
Hello beautiful people,🥰 today I bring you a very useful handicraft, especially if you live in a country where it is very hot like mine.😊
Se trata de un hermoso abanico hecho con cartón reciclado, ♻️ foami y, por supuesto no podía faltar, dibujos hechos por mí, amo este tipo de manualidades donde puedo fusionar dos cosas que me gustan como lo son las manualidades y el dibujo.
It is a beautiful fan made with recycled cardboard, ♻️ foami and, of course I could not miss, drawings made by me, I love this kind of crafts where I can merge two things that I like such as crafts and drawing.
Esta idea se me ocurrió porque mi mamá luego de que se le rompieron y perdieron varios abanicos 😆 comenzó a picar piezas de cartón en forma circular para refrescarse cuando salía, yo detestaba que saliera a la calle con esos cartones feos, así que comencé a pensar en una manera de hacerle un abanico hermoso y además resistente.
This idea came to me because my mom after she broke and lost several fans 😆 she started chopping pieces of cardboard in a circular shape to cool herself when she went out, I hated her going out in the street with those ugly cardboards, so I started to think of a way to make her a beautiful and resistant fan.
Los invito a seguir leyendo si quieren saber los materiales que use y el paso a paso.
I invite you to read on if you want to know the materials I used and the step by step instructions.

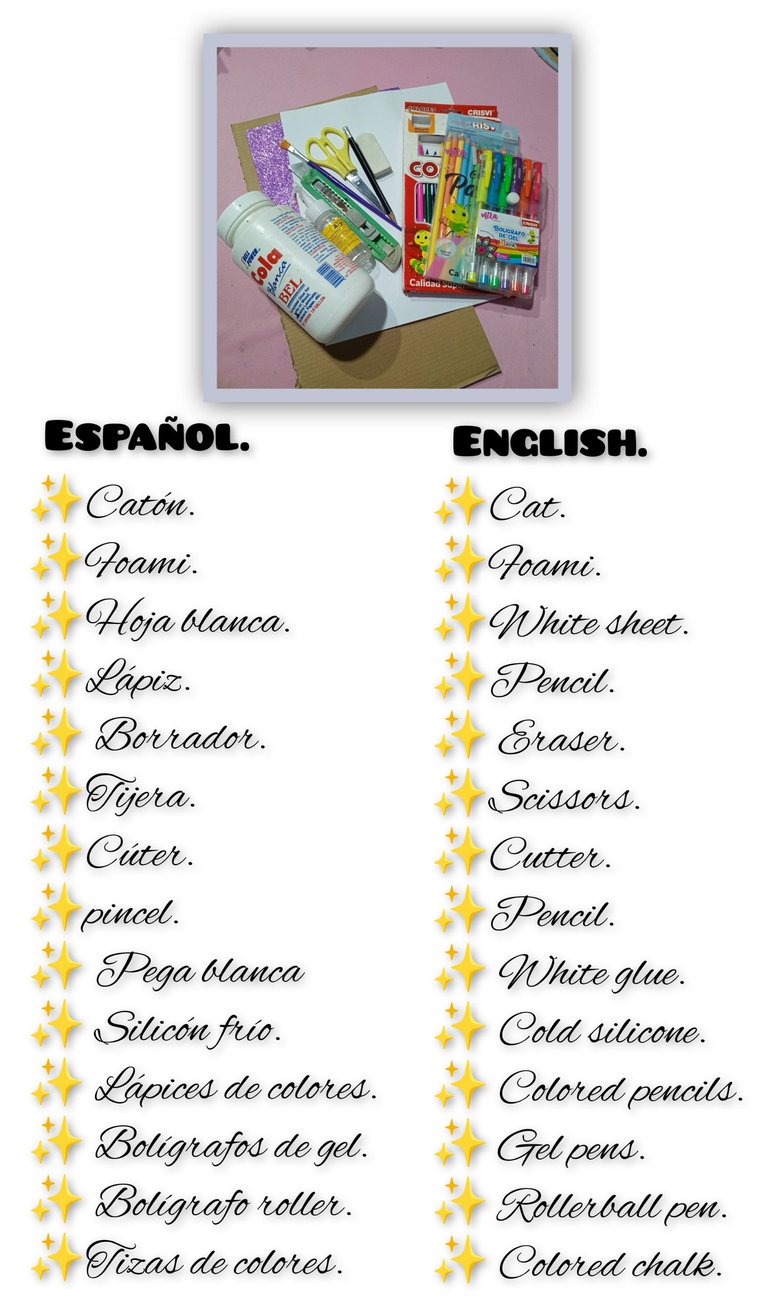
Los colores y las tizas de colores son opcionales pueden decorar como quieran, pueden usar marcadores e incluso pueden usar stickers o recortes de alguna imagen que les guste, en vez de dibujos.
Colors and colored chalk are optional, you can decorate as you like, you can use markers and you can even use stickers or cut-outs of an image you like, instead of drawings.

🌟Step-by-step🌟
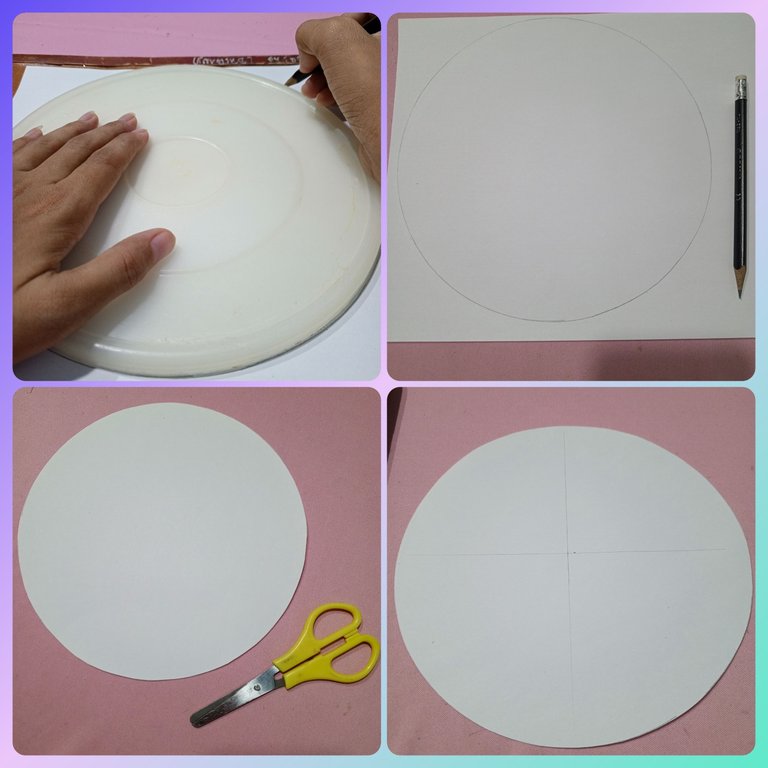
En una hoja blanca tipo carta dibuje un círculo, yo lo hice con una tapa plástica, pero tú puedes hacerlo con un compás si lo tienes y la medida es segun tu preferencia, con la ayuda de unas tijeras ✂️ recorte el círculo y luego hice dos líneas una vertical y otra horizontal para ubicar el centro del círculo.
On a white sheet of paper I drew a circle, I did it with a plastic lid, but you can do it with a compass if you have one and the measure is according to your preference, with the help of scissors ✂️ cut out the circle and then I made two lines, one vertical and the other horizontal to locate the center of the circle.

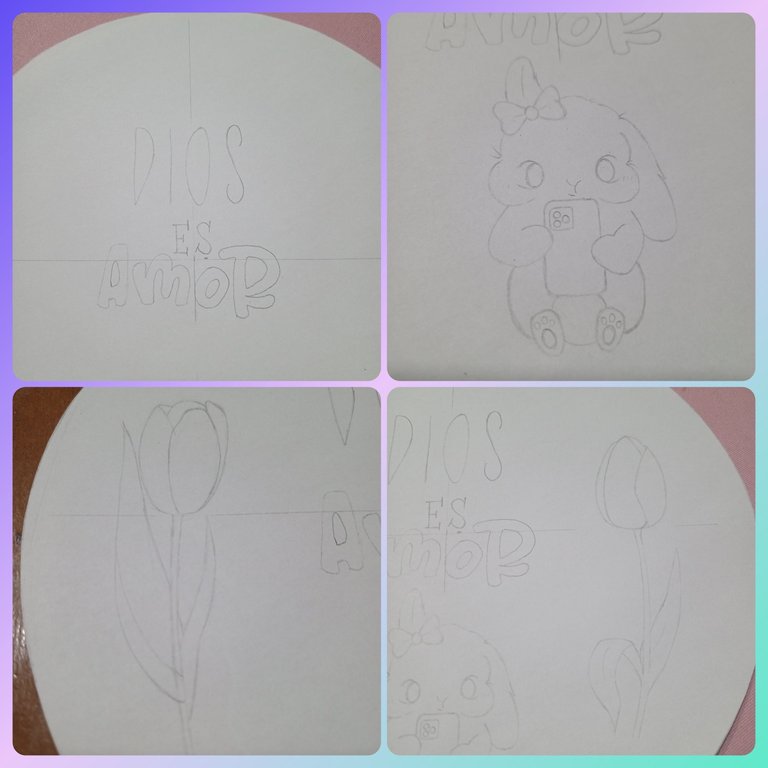
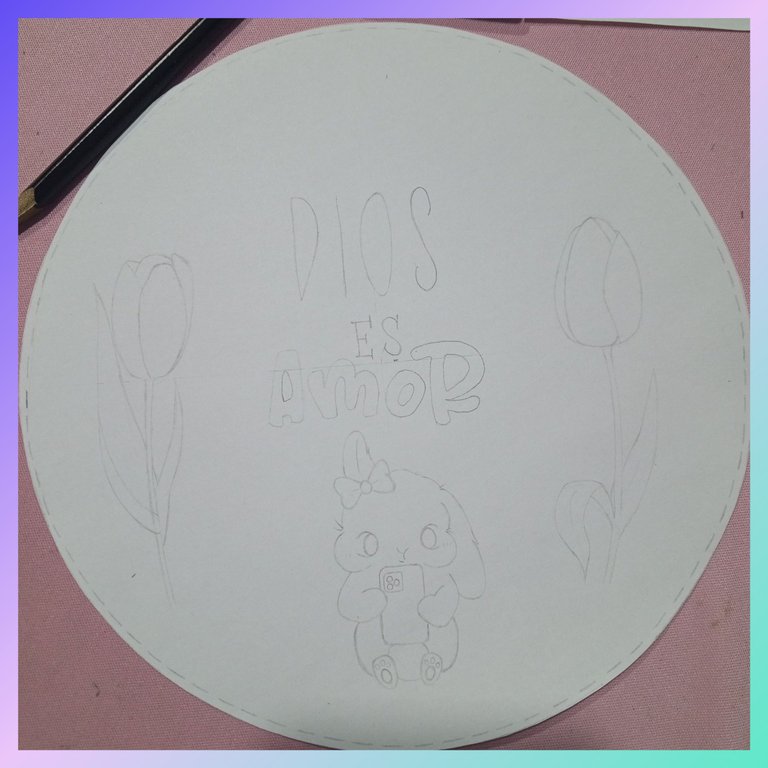
Ubicado ya el centro del círculo comencé a dibujar cada elemento que quería que tuviera mi abanico, la frase Dios es amor el conejito y también los tulipanes.
Once in the center of the circle I began to draw each element that I wanted my fan to have, the phrase God is love the bunny and also the tulips.
Aquí debajo les dejo las imágenes de referencia que use para cada elemento.
Below are the reference images I used for each element.
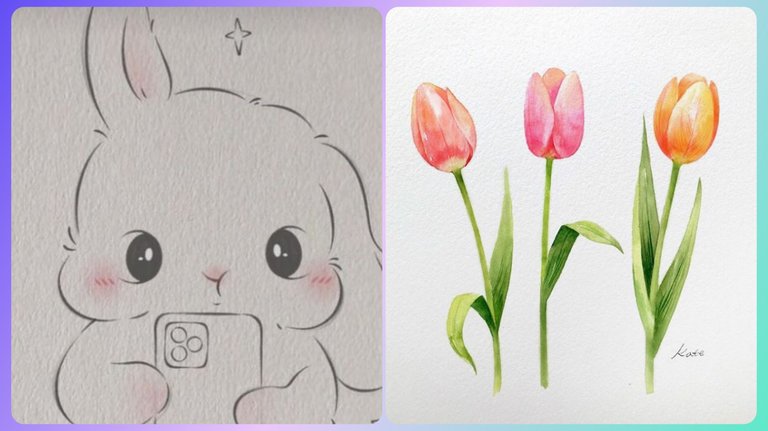
En esta parte tengo que confesar que no tenía planeado hacer algo tan elaborado en un principio solo quería hacer un diseño sencillo y fácil, como emojis y cositas así, pero no pude evitar terminar dibujando ese conejito que me gusto tanto y hasta tuve que aprender a hacer esos tulipanes, lo bueno es que encontré esa página que trae el paso a paso muy sencillo.
In this part I have to confess that I did not plan to do something so elaborate at first I just wanted to do a simple and easy design, like emojis and things like that, but I could not help drawing that bunny that I liked so much and I even had to learn how to make those tulips, the good thing is that I found that page that brings the very simple step by step.
Algo que ame de esta manualidad es que aprendí a hacer tulipanes y conejitos, de hecho tuve que improvisar porque el conejito de la imagen de referencia solo esta a la mitad así que tuve que ingeniarmelas para hacer las patitas y eso me ayudo a descubrir lo mucho que he avanzado ya que antes no podía hacer ese tipo de cosas.
One thing I loved about this craft is that I learned how to make tulips and bunnies, in fact I had to improvise because the bunny in the reference image is only half done so I had to figure out how to make the little legs and that helped me discover how far I have come since I couldn't do that kind of thing before.

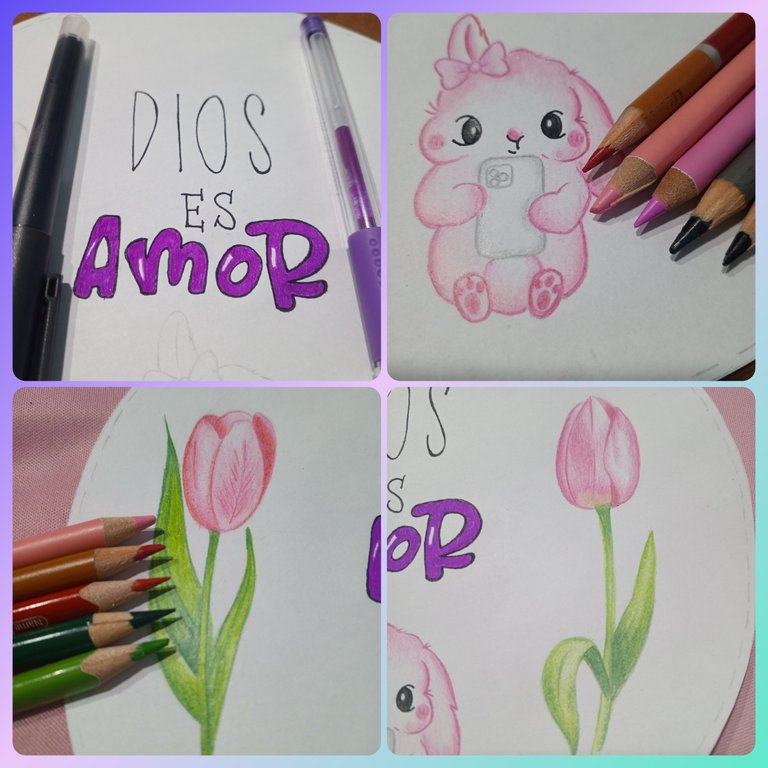
El siguiente paso fue dar color, para las letras use el Bolígrafo roller y también el Bolígrafo de gel color morado y lápices de colores para el conejito 🐇 y los tulipanes.🌷
The next step was to give color, for the letters I used the rollerball pen and also the purple gel pen and colored pencils for the bunny 🐇 and the tulips 🌷.
Aproveche la ocasión para practicar un poco mi técnica con lápices de colores y comienzo a notar que estoy mejorando bastante.👏🏻🥰
I took the opportunity to practice a bit my technique with colored pencils and I am starting to notice that I am improving quite a bit.👏🏻🥰
Como pueden ver elegí más que todo colores pastel porque amo los colores pastel 🥰 además también use tizas de color morado para hacer el fondo, me gusta mucho como queda el fondo con tizas de colores porque siento que da un efecto como de cuento a mis dibujos. 😍
As you can see I chose mostly pastel colors because I love pastel colors 🥰 plus I also used purple chalks to make the background, I really like how the background looks with colored chalks because I feel it gives a story-like effect to my drawings. 😍
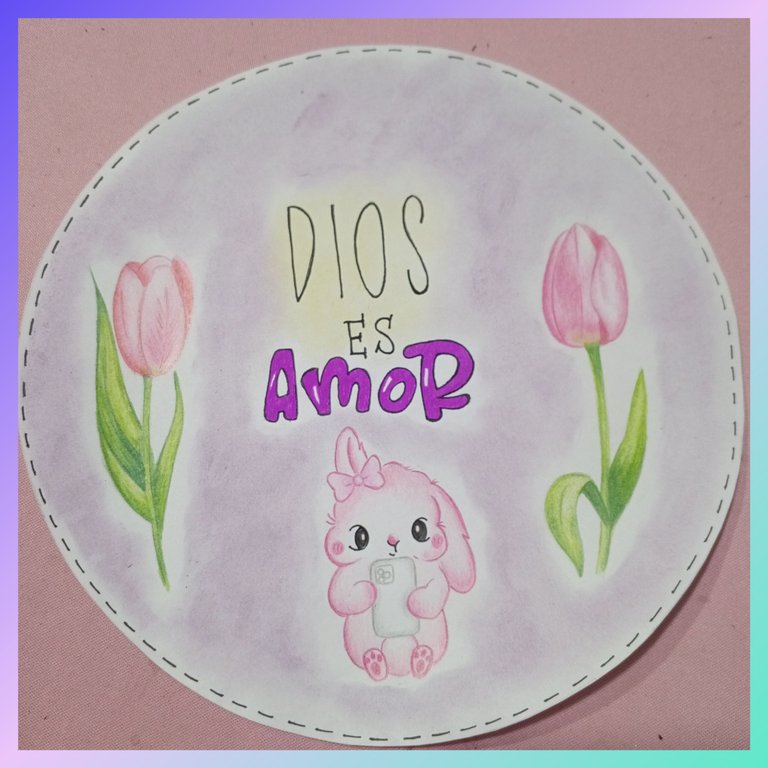

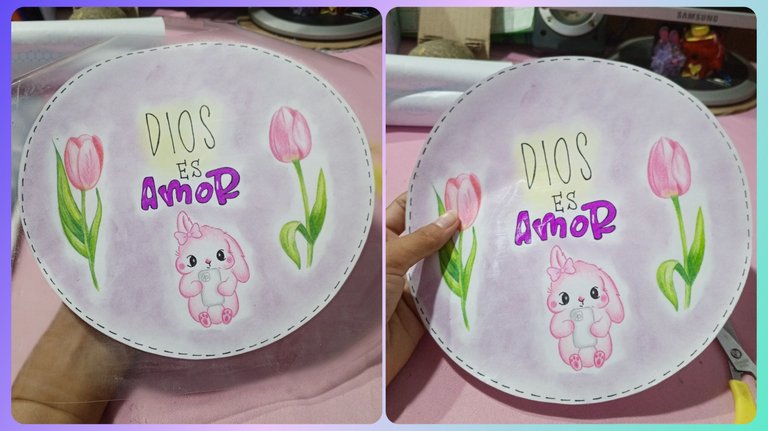
Luego lo pastifique o lo forre con papel contac transparente, ya saben que es importante proteger el dibujo.
Then pasticize it or line it with transparent contact paper, as you know it is important to protect the drawing.

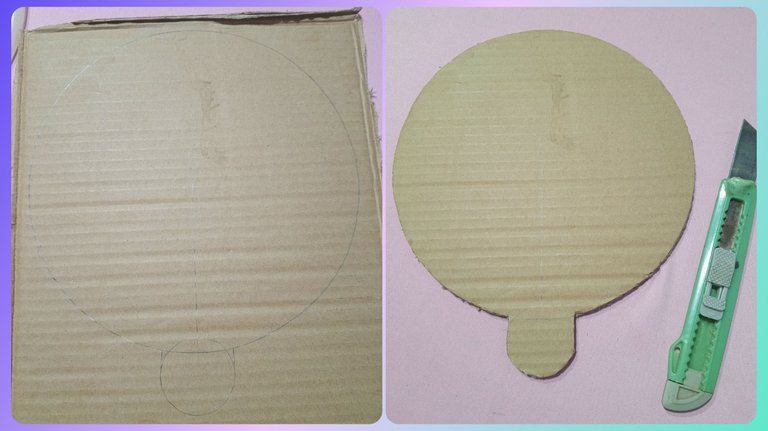
Ahora pasamos a la parte de formar el abanico, para eso traze un círculo en un cartón, yo use el cartón de una caja, 📦 el círculo lo hice con la misma tapa de plástico que usé para hacer el círculo de papel para que tuvieran la misma medida.
Now we move on to the part of forming the fan, for that I traced a circle on a cardboard, I used the cardboard of a box, 📦 the circle I made it with the same plastic lid that I used to make the paper circle so that they had the same size.
También le hice una pequeña pestaña o solapa, no se como decirle, para poder sostener el abanico, primero habia pensado dejarlo todo redondo, pero pense que tendría mas apariencia de abanico si le hacía esa pieza para sostenerlo, luego con la ayuda de un cutter recorte la pieza.
I also made a small flap or flap, I do not know how to say, to hold the fan, first I had thought to leave it all round, but I thought it would look more like a fan if I made that piece to hold it, then with the help of a cutter cut the piece.

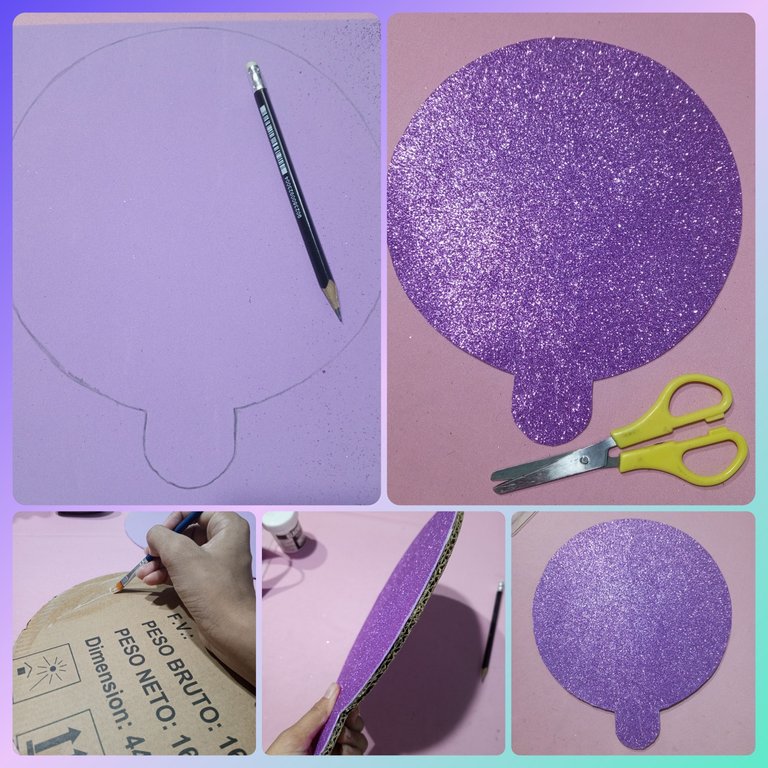
Luego forre lo que sería la parte de atras de abanico con foami, en este caso foami morado escarchado, lo hice utilizando la misma pieza de cartón como molde y traspasandolo con lápiz a la parte de atrás del foami.
Then I lined what would be the back of the fan with foami, in this case frosted purple foami, I did it using the same piece of cardboard as a mold and transferring it with pencil to the back of the foami.
Con mis tijeras ✂️ lo recorte y lo pegue a la pieza con pega blanca, ya saben recomiendo pega blanca de carpintero.
With my scissors ✂️ I cut it out and glued it to the piece with white glue, I recommend white carpenter's glue.

Pido mil disculpas 🙏🏻 porque tenía que mostrar la parte en la que pegó el dibujo que hice a la pieza de cartón, pero estaba tan emocionada de como estaba quedando 😍 de lindo que olvide sacar foto de ese paso, 😆 pero básicamente lo hice de la misma forma en la que pegue el Foami, con una brocha puse pega blanca en el cartón y fui pegando con cuidado el dibujo.
I apologize 🙏🏻 because I had to show the part where I glued the drawing I made to the cardboard piece, but I was so excited about how it was turning out 😍 so nice that I forgot to take a picture of that step, 😆 but basically I did it the same way I glued the Foami, with a brush I put white glue on the cardboard and I carefully glued the drawing.

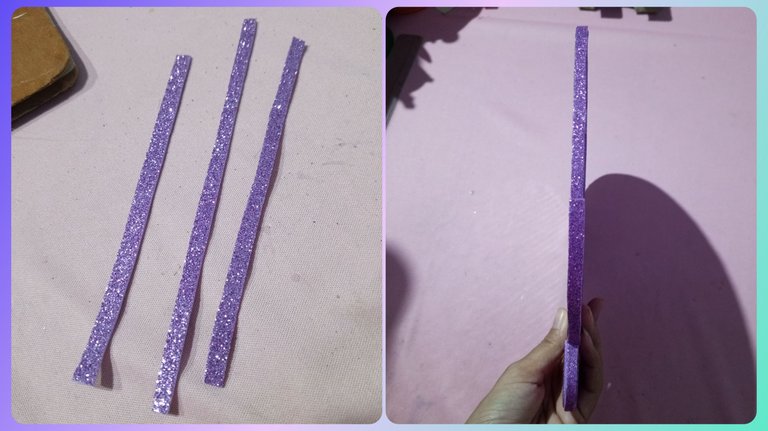
El siguiente paso fue forrar el lateral del abanico y para eso recorte unas tiras de aproximadamente medio centímetro y las pegue con silicón líquido cuidando que tapara por completo el cartón para que se vea todo bien prolijo, además puse una capa fina de pega blanca por todo el foami para que al manipularlo no se despegen.
The next step was to cover the side of the fan and for that I cut some strips of about half a centimeter and glued them with liquid silicone taking care to cover the cardboard completely so that everything looks neat, I also put a thin layer of white glue all over the foami so that when handling it does not come off.

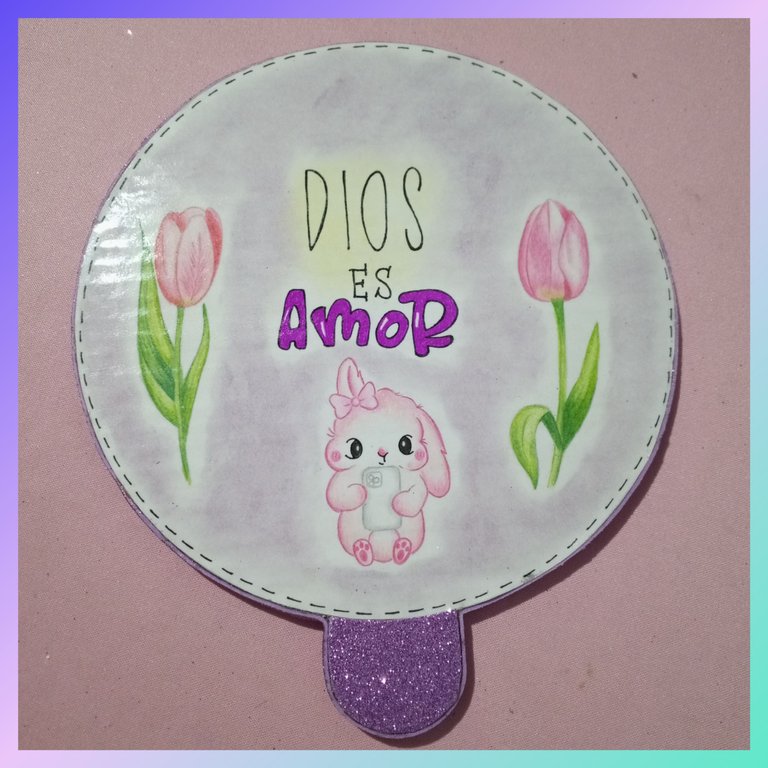
Y este fue el resultado, como pueden ver también pique una pieza de Foami para forrar la parte de adelante de la pieza pequeña y así quedo mi abanico, la verdad es que ame el resultado, se ve todo muy cute y romántico. 😍🥰🌷
And this was the result, as you can see I also cut a piece of Foami to line the front of the small piece and this is how my fan turned out, I really loved the result, it looks very cute and romantic. 😍🥰🌷

Y esto es todo por hoy, sí les gusto no olviden darle amorshito a mi post dejando un lindo comentario o dando click en el corazoncito. 💜😉😊🤭🥰
Nos vemos en un próximo post, que estén bien y Dios los bendiga, bye.🥰😘💜🌹🪷
And that's all for today, if you like me don't forget to give love to my post by leaving a nice comment or clicking on the little heart. 💜😉😊🤭🥰
See you in a next post, be well and God bless you, bye.🥰😘💜🌹🪷

Fotografías propias, tomadas con mi Tecno Spark 10 Pro editadas en incollage/ portada creada en Canva. Traducción al inglés con DeepL.
Own photos, taken with my Tecno Spark 10 Pro edited in incollage/ cover created in Canva. Translation to English with DeepL.

Que lindo te quedo, me encanto el dibujito, es muy adorable jeje ❤️ parece facil de hacer y divertido, ademas queda muy bien 😊
Muchas gracias 🥰🫂 sí es fácil de hacer si quieres lo puedes intentar ☺️.
Simplemente hermoso. Tantos detalles y tantos colores kawaii. Lo amo. Gran trabajo.
Ooooow! Muchas gracias 🥰 yo ame tu comentario! 🫂
What a delightful and resourceful project. Using recycled cardboard and foami to create a fan not only highlights your creativity but also promotes sustainability. Thank you for sharing this inspiring craft idea.
Me identifico con tu mamá que los abanicos se le rompen o se le pierden, antes tenía muchísimos y ahora que más los necesito no tengo idea de dónde estan o consigo uno que otro roto en el fondo de alguna cartera 🥲 ¡esta idea esa buenísima Sara!, y los dibujos que hiciste estan delicados y preciosos, omg me encantaría replicar un abanico así pero con un tema más saturado, seguire tu ejemplo 😍 🫰
Quedó hermoso ! Y esos dibujitos que escogiste lo hacen ver muy tierno, mira que es una buena idea para hacer ahorita con estos calorones que hacen acá jaja