🌸Español🌸
Muy buenas noches para todos amigos de hive 💕 linda noche para todos en esta creativa comunidad de #Diy hoy vengo muy entusiasmada a compartir con ustedes la confección de una linda blusa con detalles de orilla ondeada frontal la cual te encantará mucho y la cual querrás lucir en una ocasión muy especial. Te invito cordialmente a acompañarme en este post tutorial ❤️.
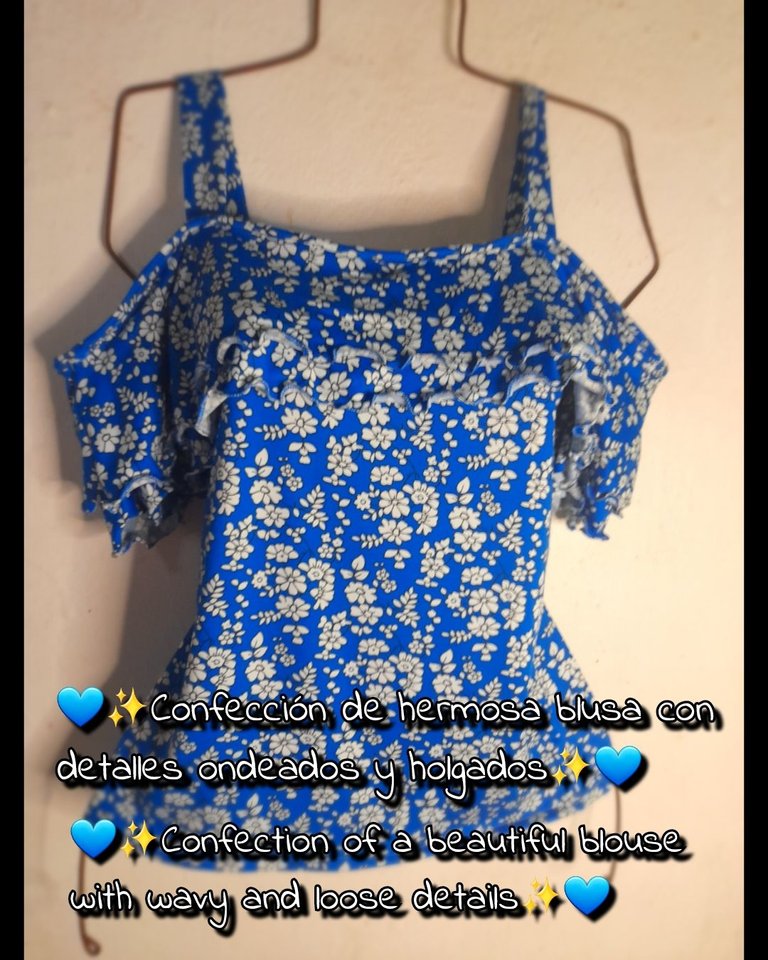
Estos fueron los materiales que use
• Máquina de coser
• Tijera
• Hilo de coser
• Tela
• Prenda de medida
✨️Pasos✨️
•✨️Voy a dar inicio cortando todas las piezas de mi blusa siendo estas una pieza trasera, delantera, dos mangas, dos tiros, dos orillas superiores y la orilla superior en dos partes.
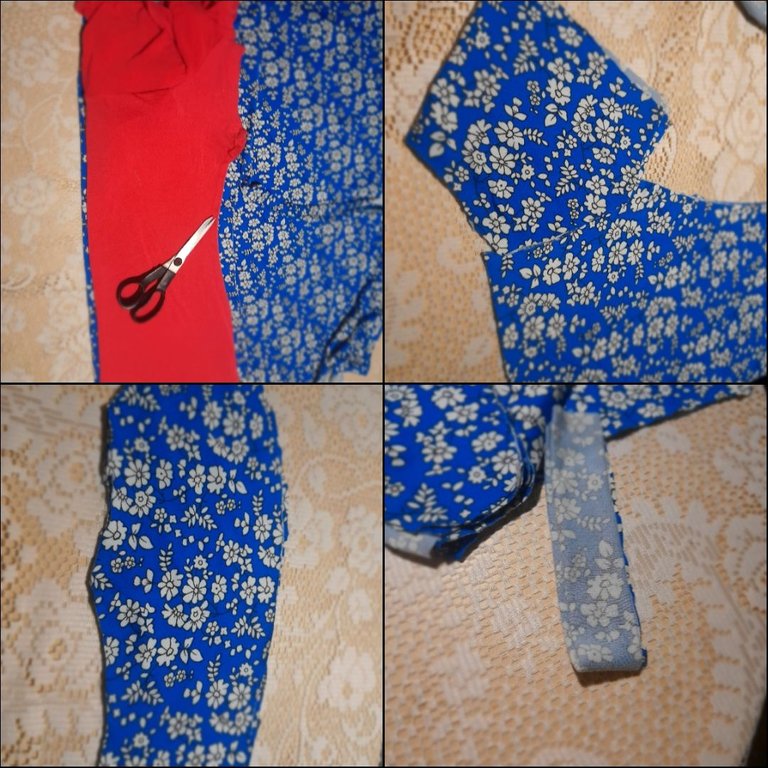
•✨️Continúo cosiendo la orilla superior con una costura recta y luego voy a coser ambos laterales con costura recta y zigzag y voy a cerrar cada manga con una costura recta y zigzag.
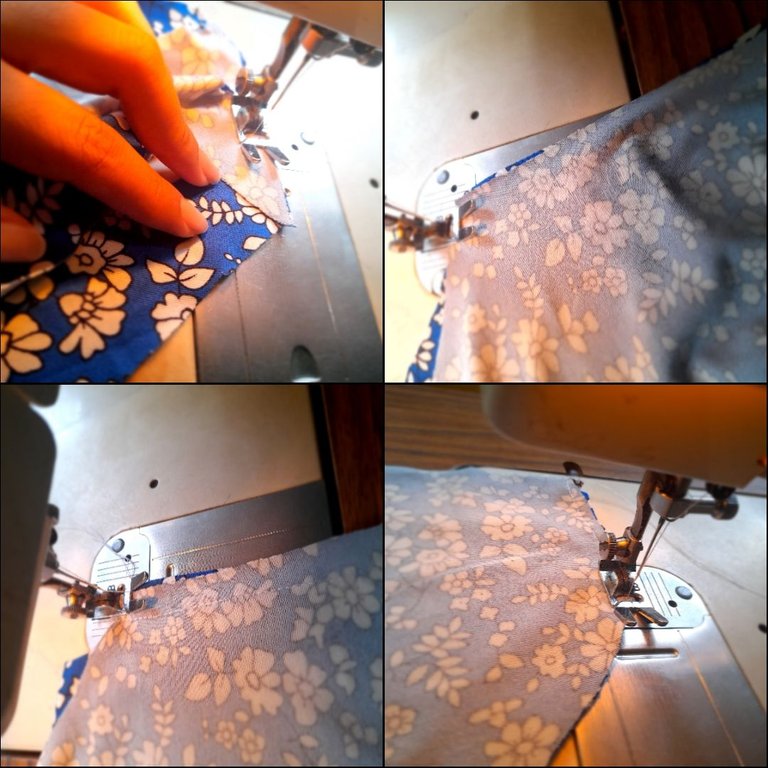
•✨️Voy a unir los tiros con costura recta para hacerlos más largos y voy a coser la manga de la camisa al cuerpo con una costura recta y zigzag luego voy coser el tiro doblando y cosiendo por el lado reverso con costura recta para luego voltear con la ayuda de un palillo y voy a unir con costura recta y zigzag la orilla superior en cada extremo.
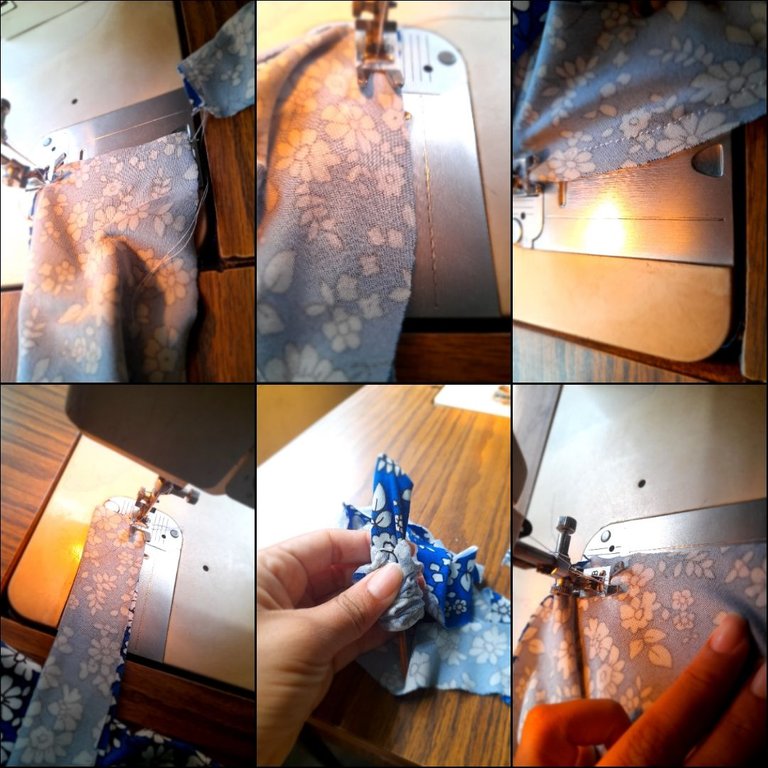
•✨️Voy asegurar con costura recta los extremos y colocaré una orilla encima de la otra para coser con costura recta para luego unirla mediante una costura recta al cuerpo de la camisa para luego coser la orilla superior colocandola en el lado reverso y así doblar y coser hacia afuera con una costura recta
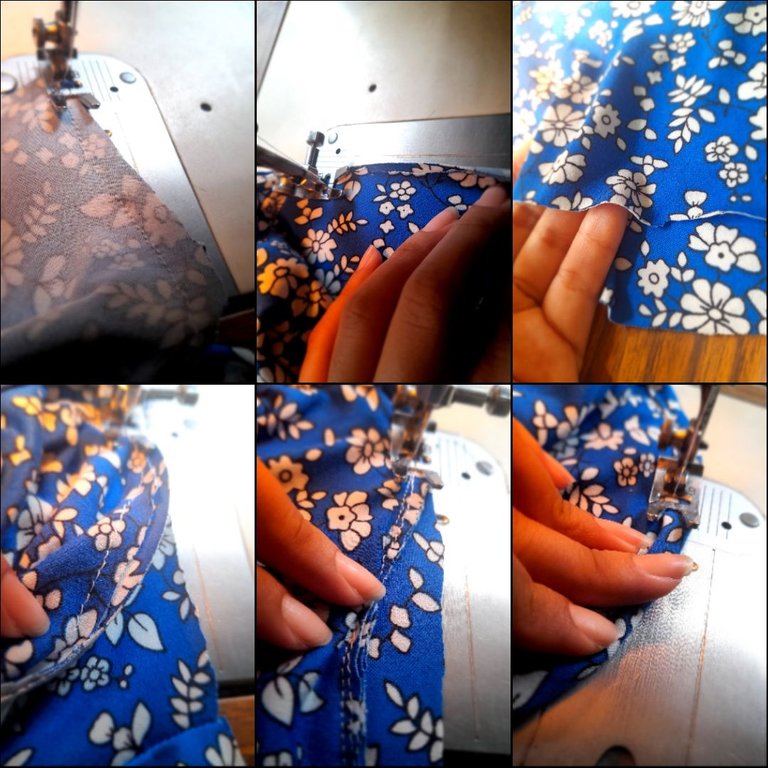
•✨️Voy a coser la orilla de las mangas doblando la tela y cosiendo con costura recta y luego voy a coser el ruedo de ña misma manera luego continúo cosiendo la orilla ondeadas doblando la tela y cosiendo con costura de zigzag y tensión en 1 y para finalizar voy a medir el largo adecuado de los tiros para coserlos con una costura recta.
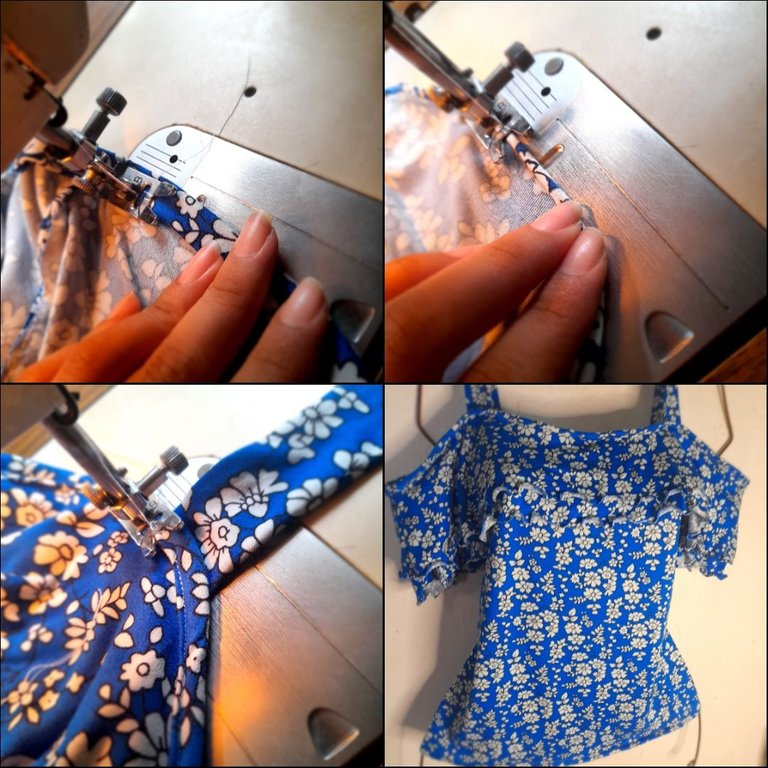
💙Resultados💙
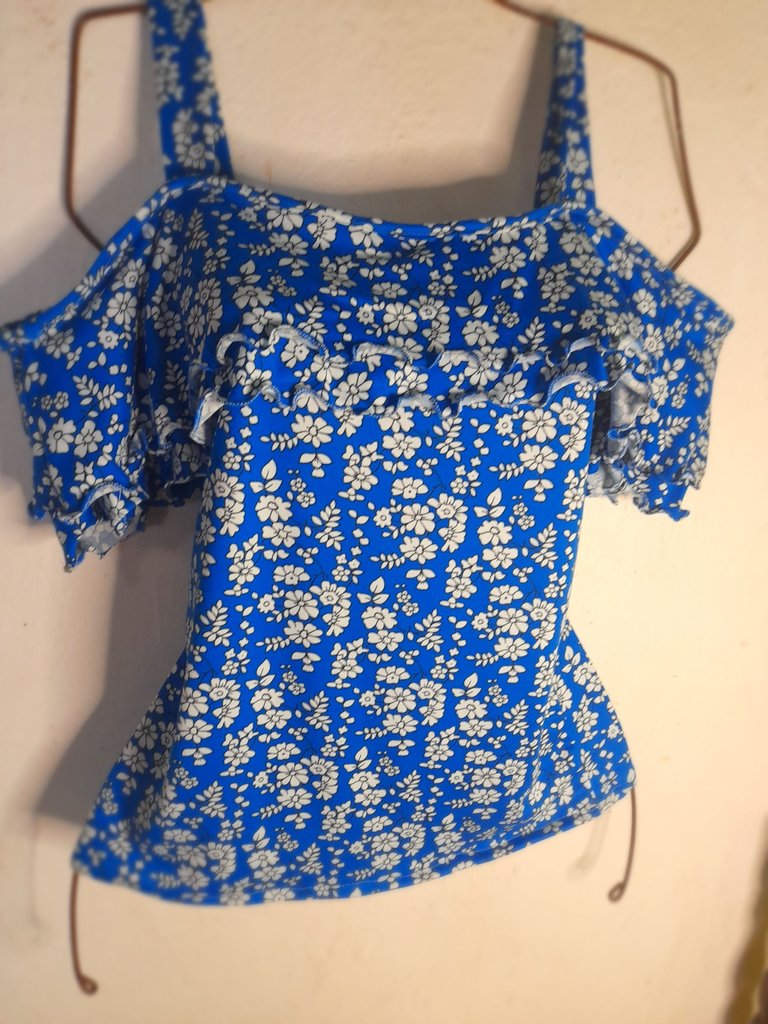
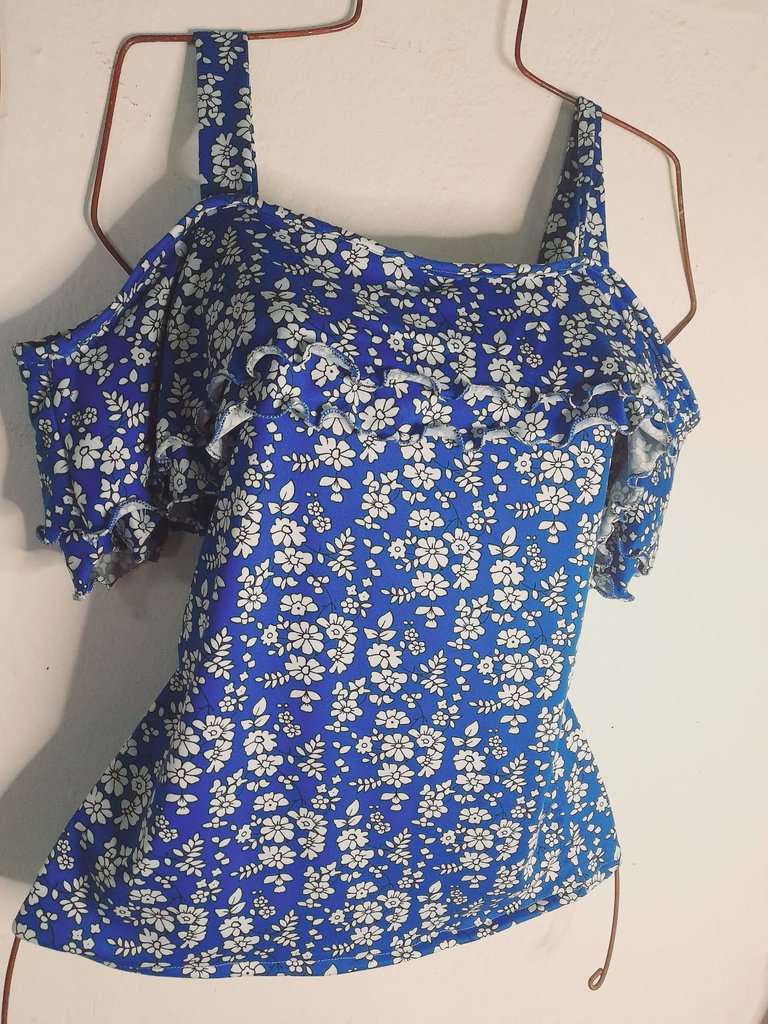
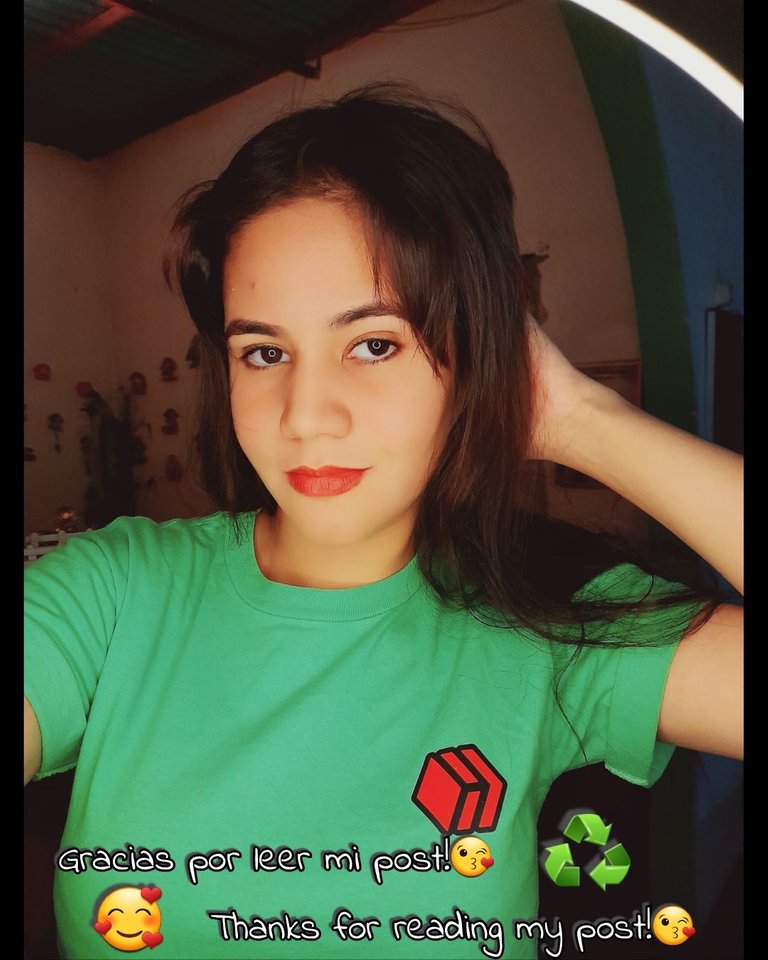
Mis queridos lectores fue un placer haber compartido con ustedes este hermoso diseño y este pequeño tutorial donde aprendimos algo nuevo la noche de hoy 😊 muchas gracias por haber llegado hasta acá espero les guste. Un saludo y muy buenas noches para todos queridos amigos de Hive ✨️.
🌸English🌸
 Very good night to all hive friends 💕 nice night to everyone in this creative #Diy community today I am very excited to share with you the making of a beautiful blouse with front wavy edge details which you will love very much and which you will want to show off on a very special occasion. I cordially invite you to join me in this tutorial post ❤️.
These were the materials I used
• Sewing machine
• Scissors
• Sewing thread
• Fabric
• Measurement garment
✨️Steps✨️
•✨️I'm going to start by cutting all the pieces of my blouse, these being a back piece, a front piece, two sleeves, two sleeves, two upper edges and the upper edge in two parts.

•✨️I continue sewing the upper edge with a straight seam and then I am going to sew both sides with a straight and zigzag seam and I am going to close each sleeve with a straight and zigzag seam.

•✨️I am going to join the shots with a straight seam to make them longer and I am going to sew the sleeve of the shirt to the body with a straight and zigzag seam then I am going to sew the shot by folding and sewing on the reverse side with a straight seam and then turning with the help of a toothpick and I am going to join the upper edge at each end with a straight and zigzag seam.

•✨️I am going to secure the ends with a straight seam and I will place one edge on top of the other to sew with a straight seam and then join it with a straight seam to the body of the shirt and then sew the upper edge placing it on the reverse side and thus fold and sew outward with a straight seam

•✨️I am going to sew the edge of the sleeves by folding the fabric and sewing with a straight seam and then I am going to sew the hem in the same way then I continue sewing the wavy edge by folding the fabric and sewing with a zigzag seam and tension in 1 and stop To finish, I am going to measure the appropriate length of the inseams to sew them with a straight seam.

💙Results💙


My dear readers, it was a pleasure to have shared with you this beautiful design and this little tutorial where we learned something new tonight 😊 thank you very much for coming this far, I hope you like it. Greetings and a very good night to all dear friends of Hive ✨️.
💁♀️Todas las fotografías son de mi autoría capturadas con mi Samsung Galaxy A12 y editadas en GridArt.
El texto y resumen es totalmente de mi autoría.
Texto traducido en el traductor Google.💁♀️
💁♀️All the photographs are my own, captured with my Samsung Galaxy A12 and edited in GridArt.
The text and summary is entirely my own.
Translated text in Google translator.💁♀️
Sencilla y práctica está blusa. Especial para días de calor. Saludos @selenediva
Gracias amiga me alegro mucho que te haya gustado 😊😘
Cómo siempre nos muestras una excelente propuesta, me encanta amiga, bendiciones.
Saludos querida amiga 💕 muchas gracias 😘