🌹✨️Español✨️🌹
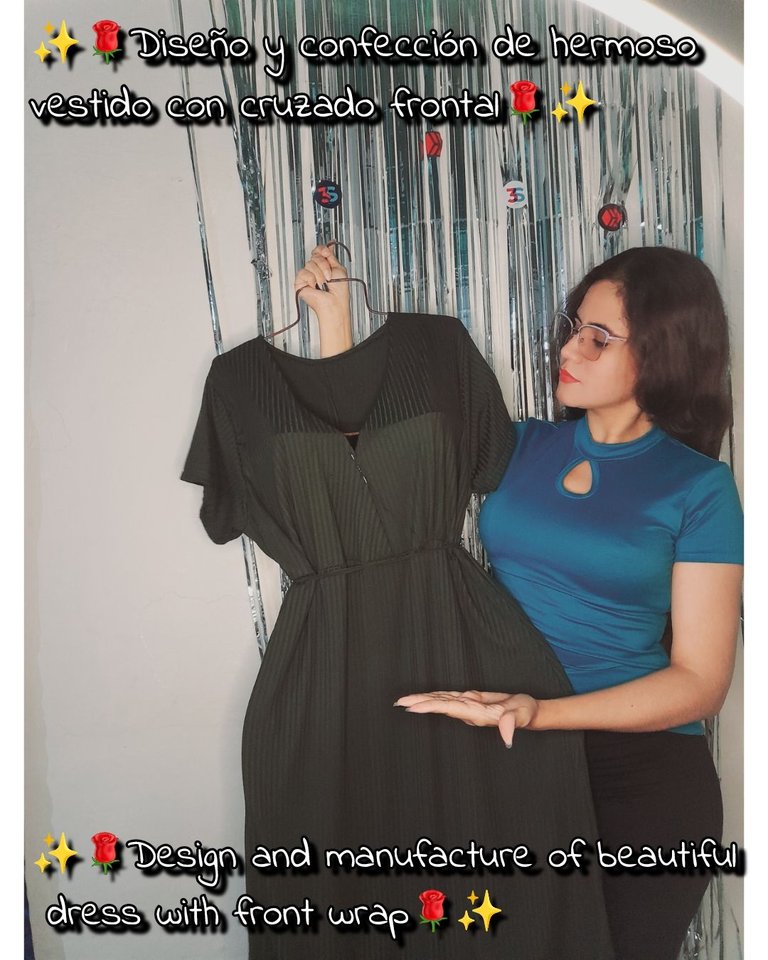
Muy buenas noches para todos queridos y apreciados amigos de Hive ❤️ espero esten muy bien disfrutando de la noche de hoy 🤗 saludos para todos en la comunidad de #Diy ❤️ estoy nuevamente por acá saludando a todos y con mucha alegría de poder compartirles mi trabajo de costura más reciente 😉 por cierto les comento que mi proyecto de emprendimiento marcha con muy buen pie y todas las piezas que confeccionamos se distribuyen con buenas expectativas y los clientes quedan totalmente satisfechos con los acabados y con los maravillosos atuendos que diseñamos. En esta ocasión me gustaría mostrarles como hice un hermoso vestido con detalle cruzado frontal y me gustaría que me acompañen en todos los pasos a seguir.
✨️Estos fueron los materiales que use✨️
• Máquina de coser
• Tijera
• Hilo de coser
• Tela
• Prenda de medida
🌹✨️Pasos✨️🌹
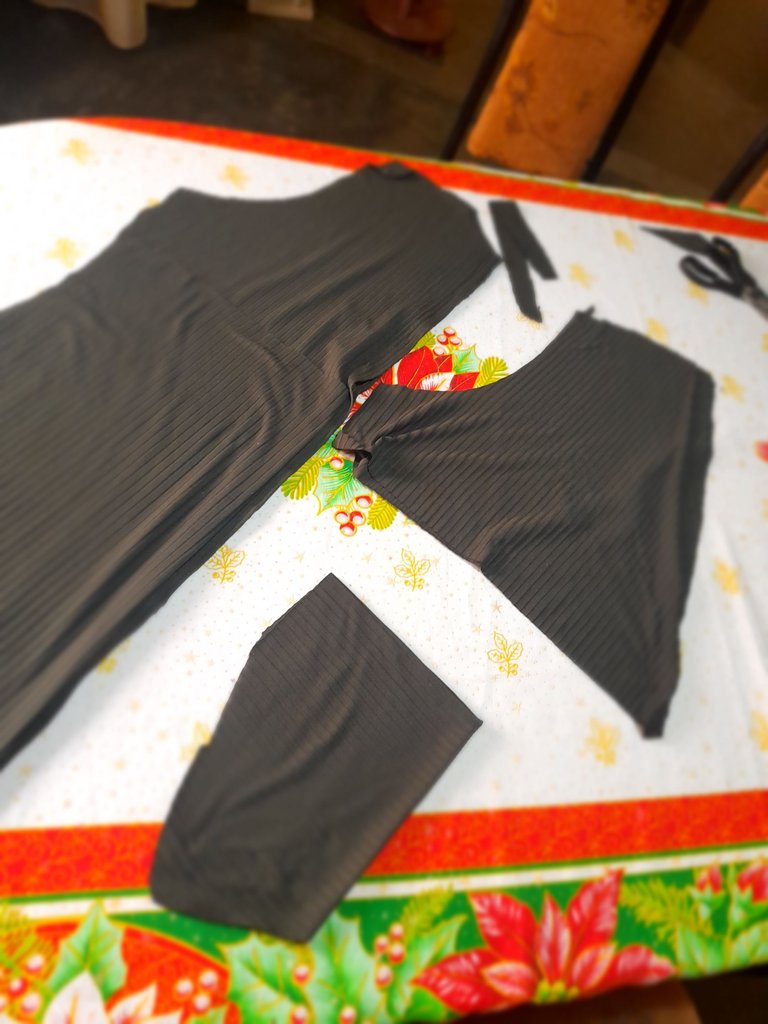
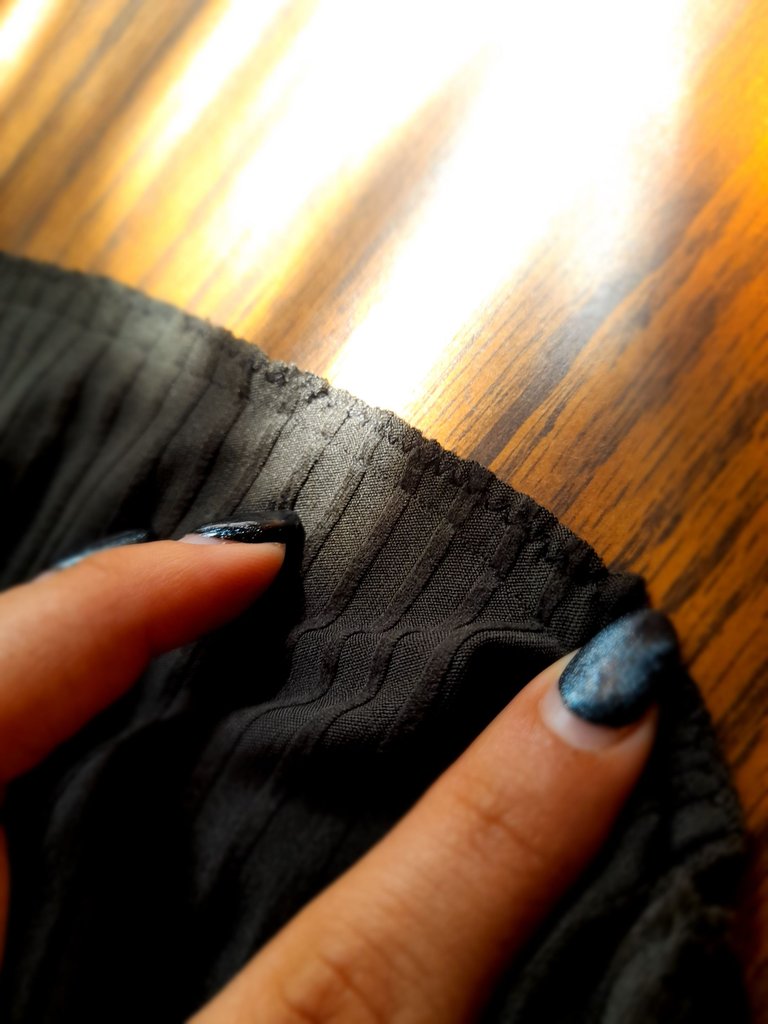
•✨️Con una prenda de medida como método de referencia voy a cortar todas las piezas de mi vestido siendo estas una pieza trasera dividida en dos partes, la parte delantera dividida en tres partes siendo estas una para el cruce frontal y la parte de la falda frontal, la orilla superior del cuello y dos mangas.
 |  |  |
|---|
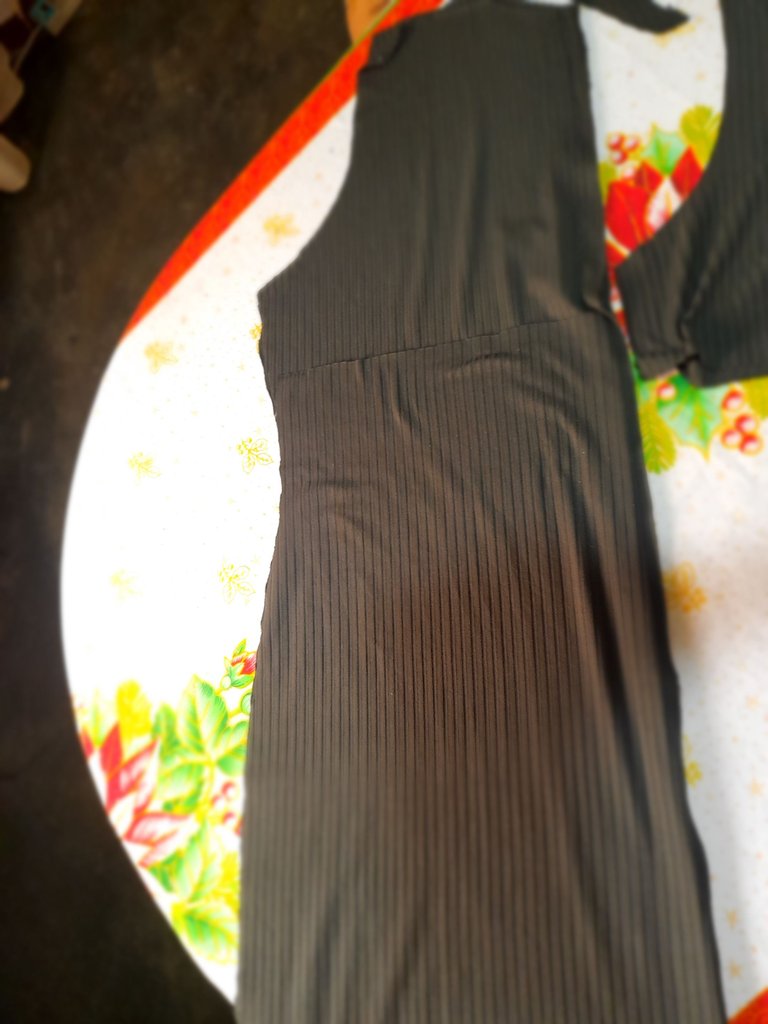
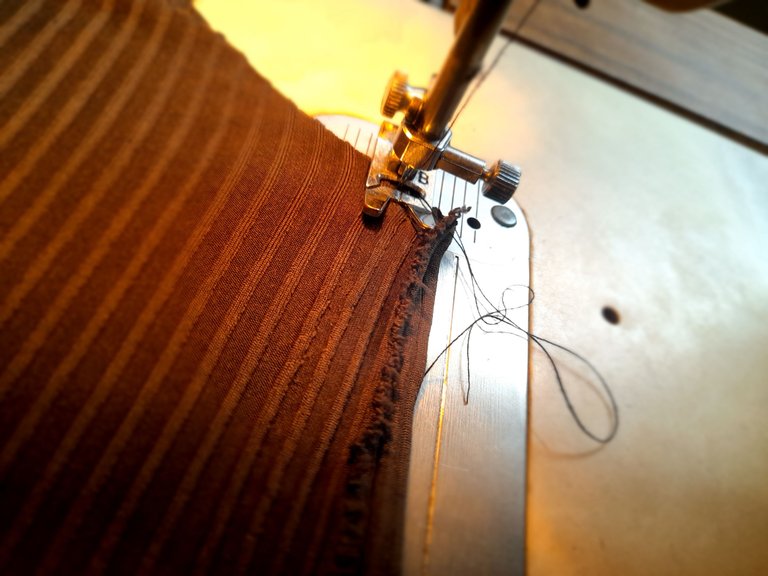
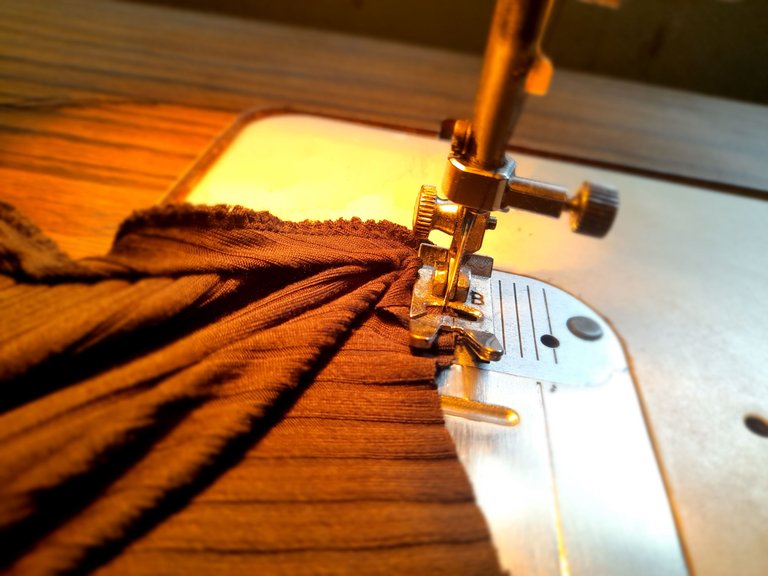
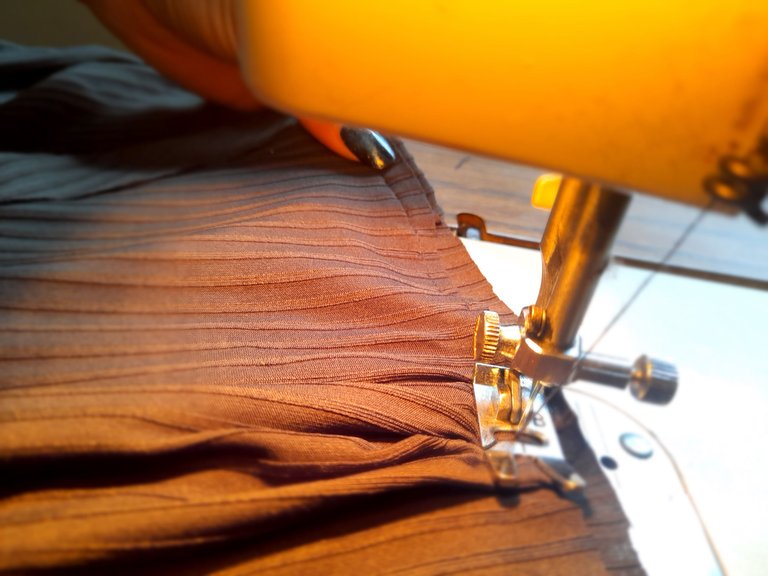
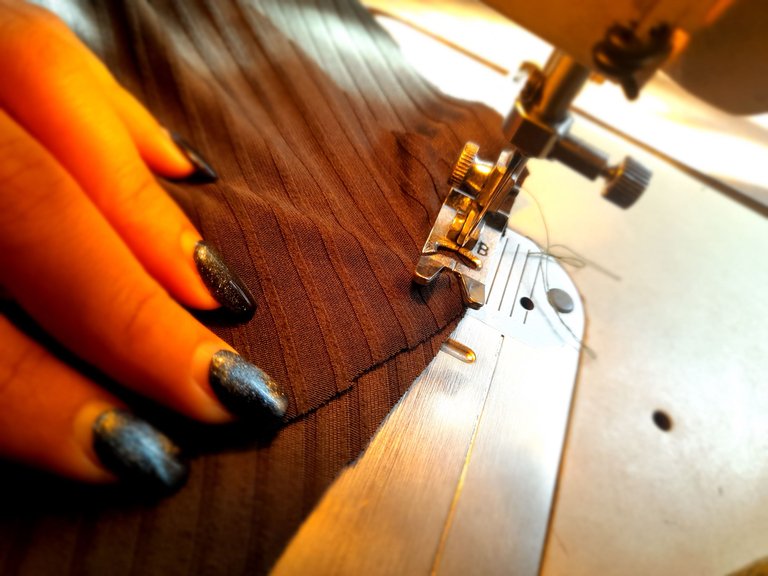
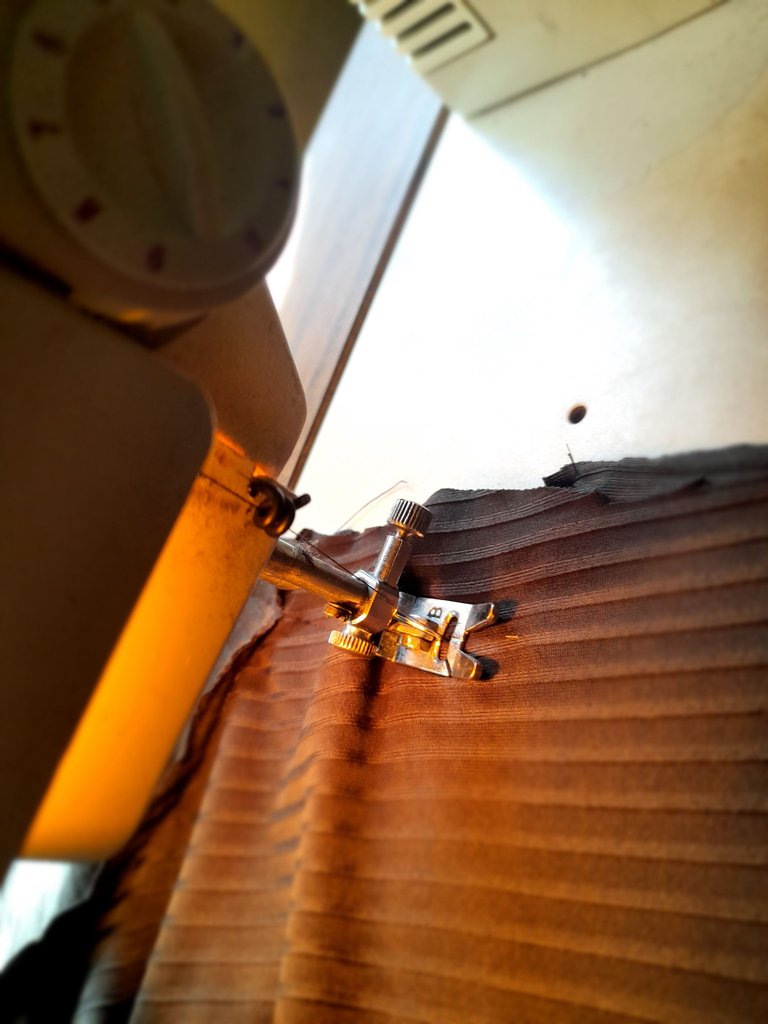
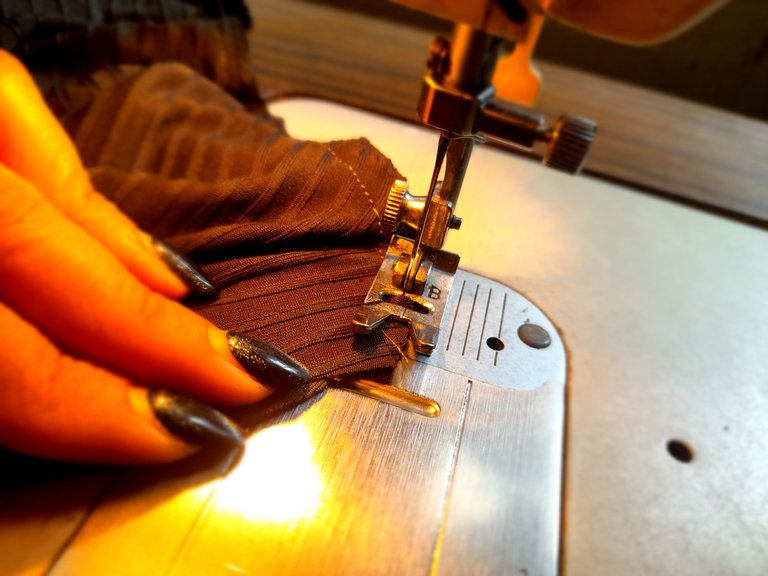
•✨️Continúo cosiendo las partes traseras para formar una sola costura con una costura recta y zigzag para asegurar luego voy a coser la orilla correspondiente a la parte superior cruzada doblando la tela y cosiendo con costura recta luego voy a doblar la orilla superior trasera y voy a coser con costura recta y zigzag luego voy a unir en la parte cruzada frontal con la parte de la falda frontal con costura recta y zigzag para asegurar.
 |  |  |  |
|---|
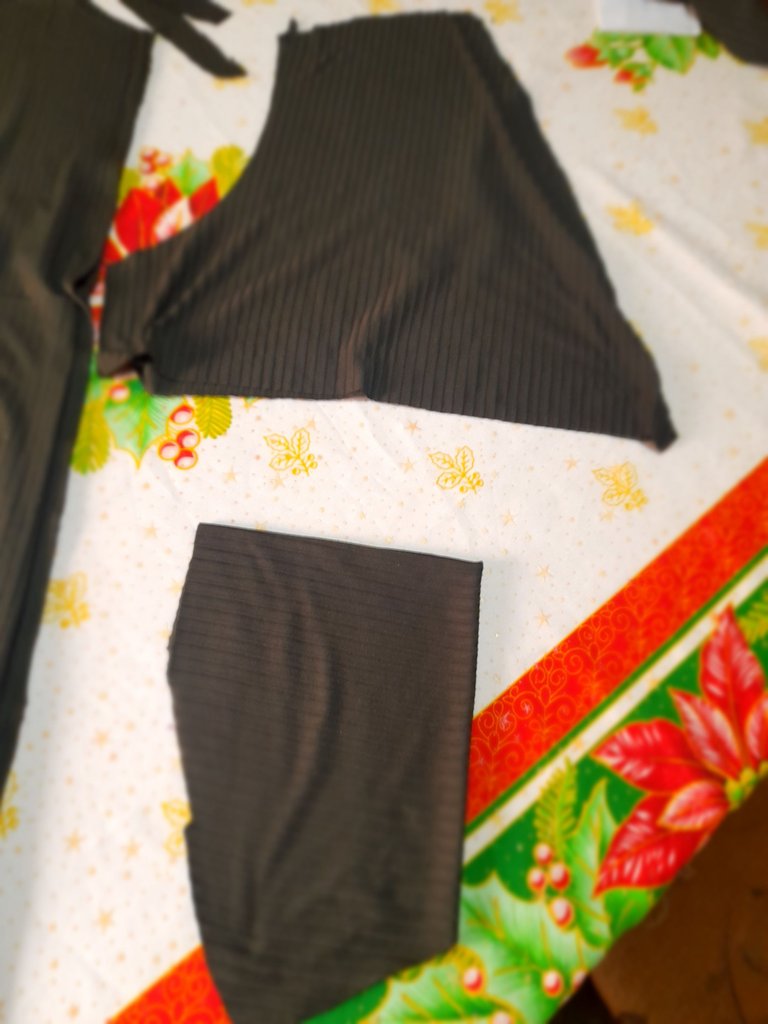
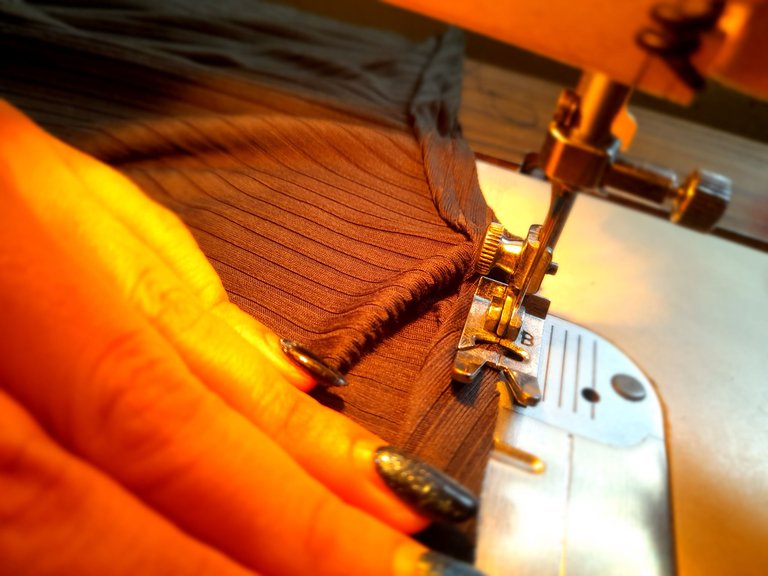
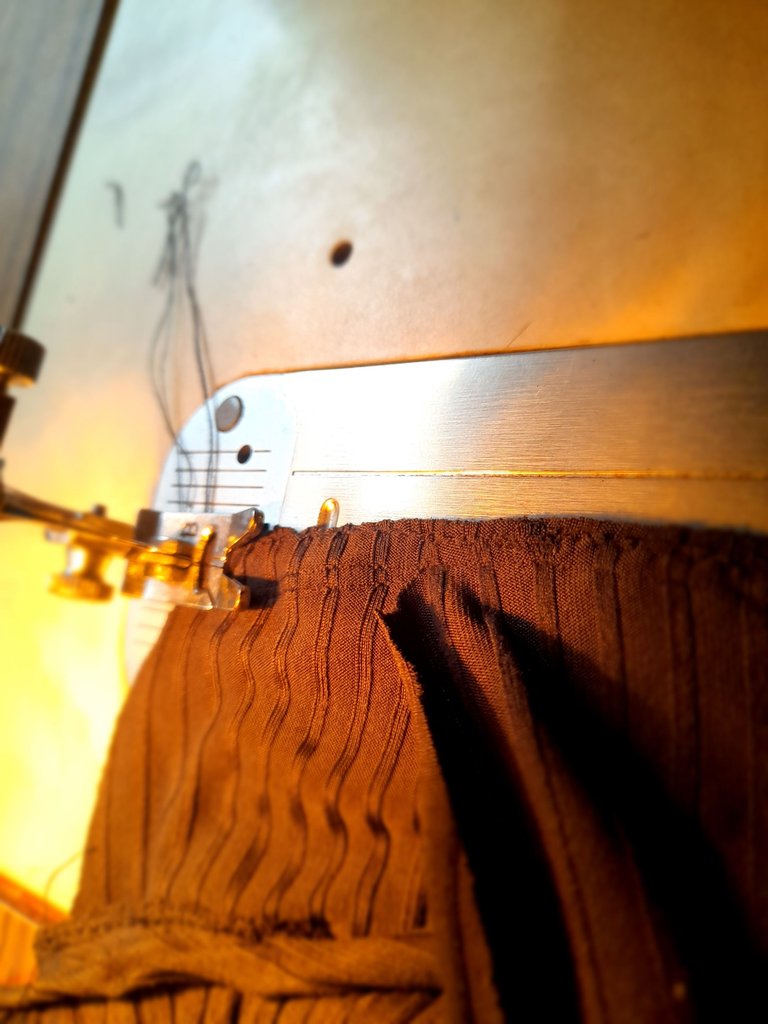
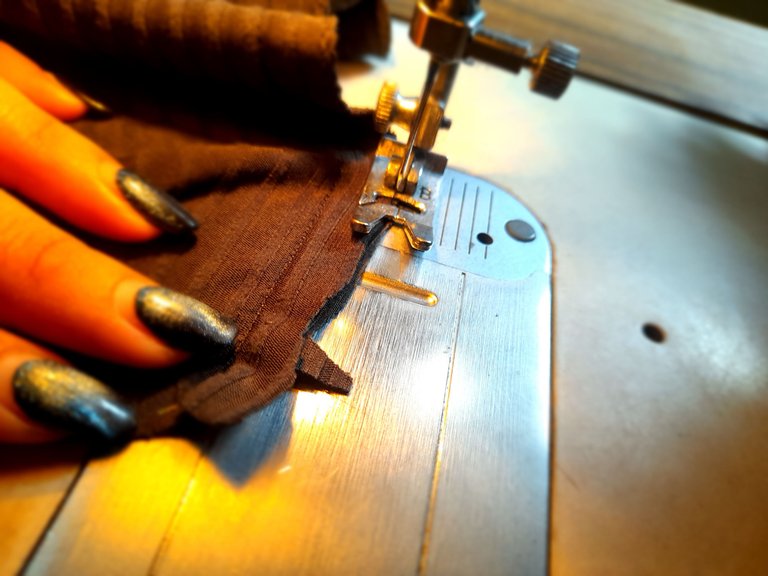
•✨️Luego de asegurar con zigzag la parte frontal voy a unir ambas piezas trasera y delantera en la parte superior de los hombros con costura recta y zigzag para asegurar para luego coser las mangas colocandolas en el lado derecho de la tela y coser con costura recta.
 |  |  |  |
|---|
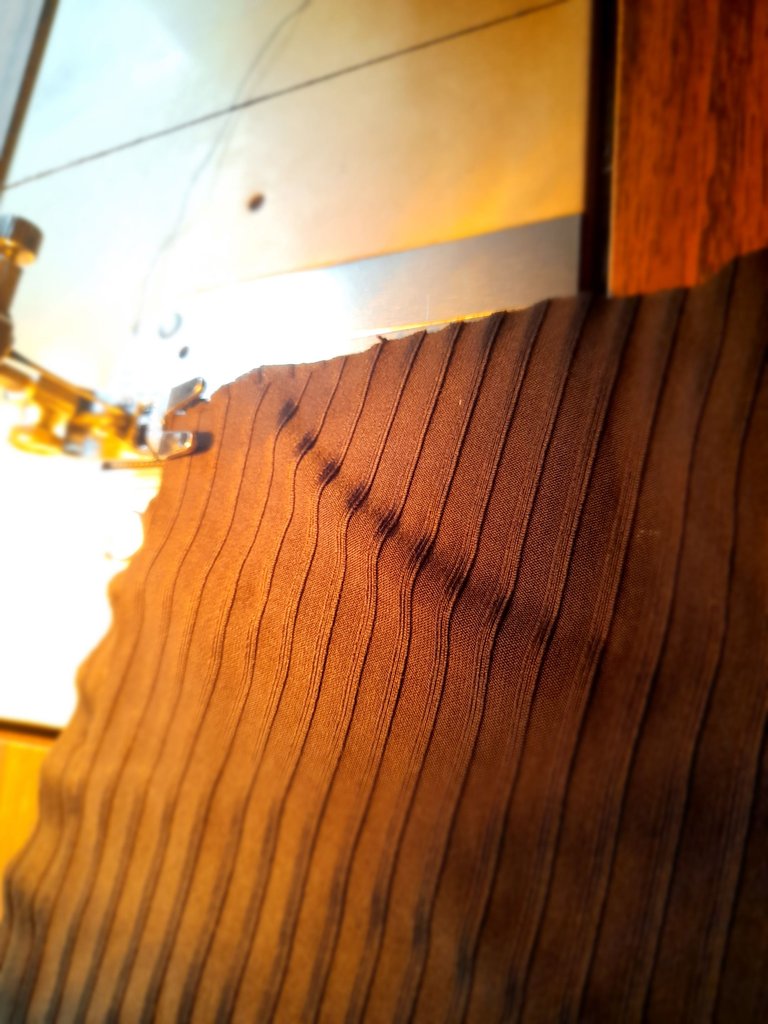
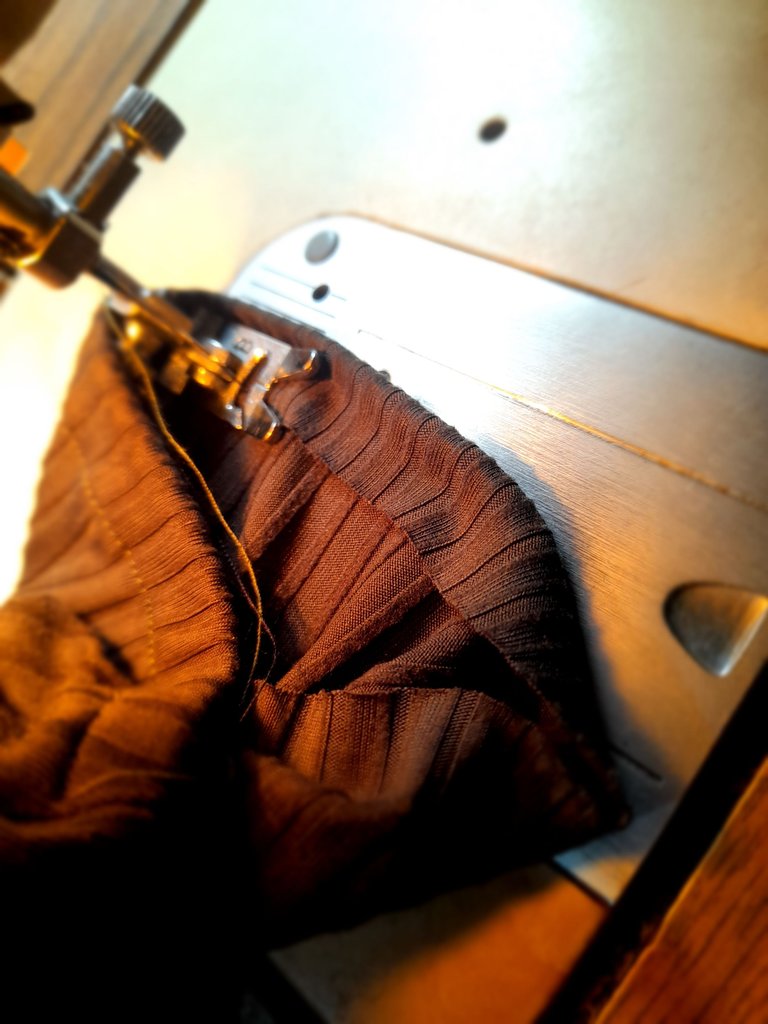
•✨️Voy asegurar la costura de las mangas con un falso overlock o también conocido zigzag para cerrar la prenda en ambos extremos con costura recta y zigzag y luego voy a coser la orilla de las mangas y el ruedo doblando la tela y cosiendo con costura recta doble culminando así este lindo y sofisticado diseño.
 |  |  |  |
|---|
🌹✨️Resultados✨️🌹
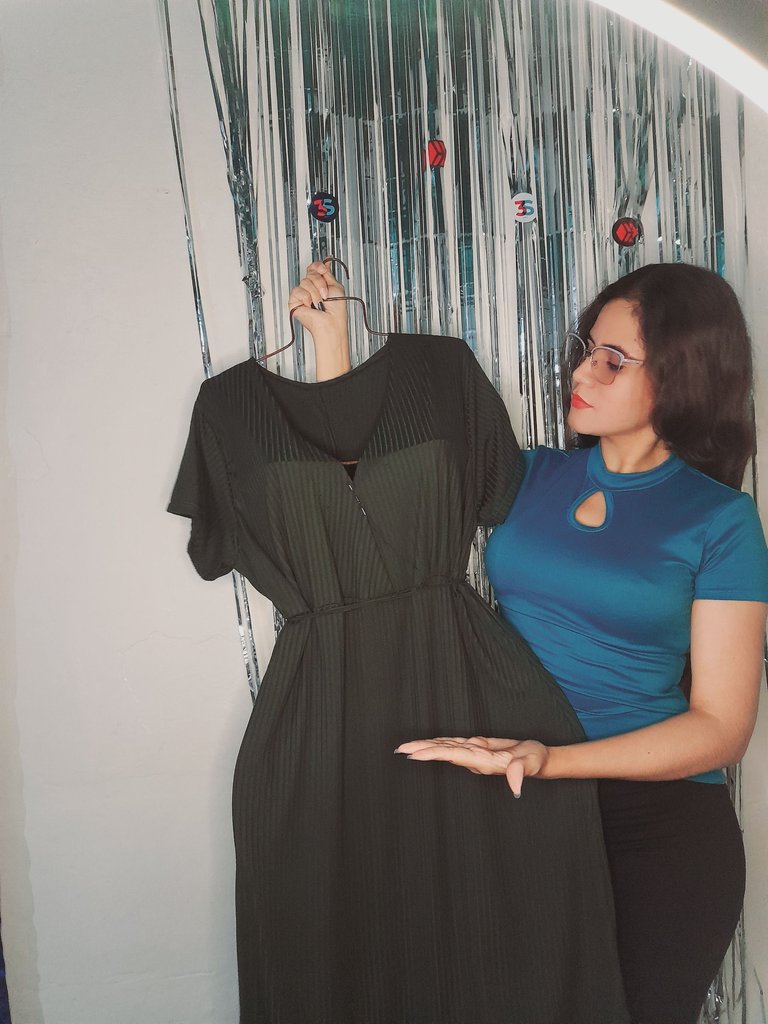
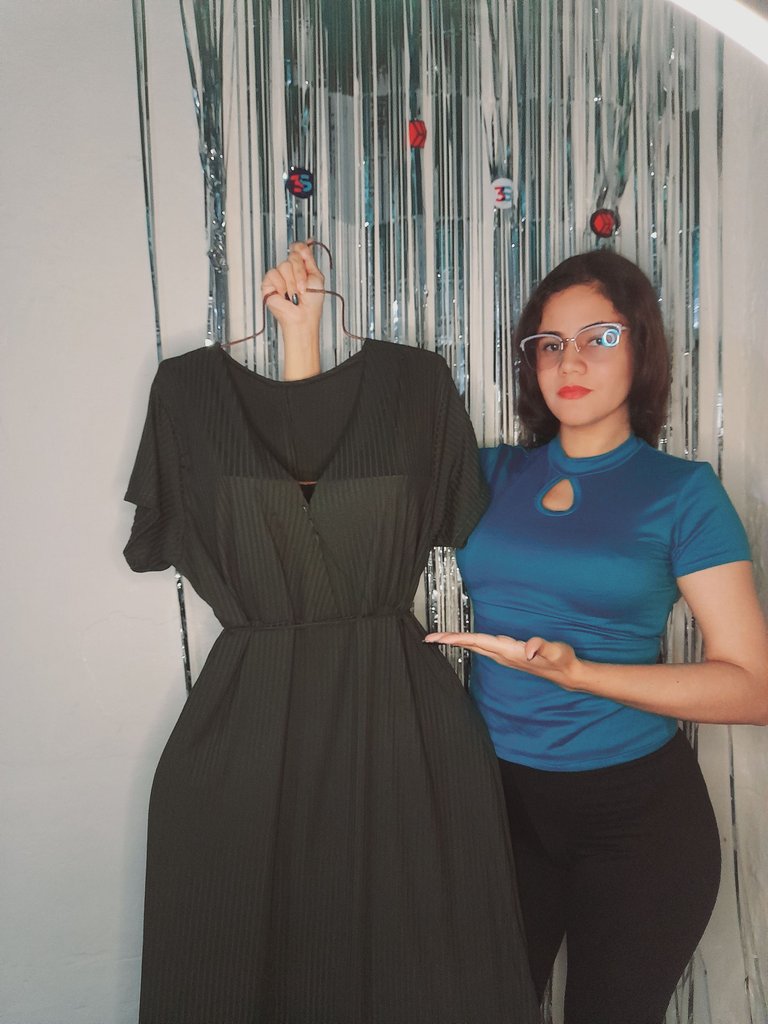
Es un diseño muy sencillo y elegante que sin duda alguna te hará lucir genuina y delicada resaltando la belleza y la feminidad de tu figura 🌹 me alegró mucho haber compartido este pequeño espacio con ustedes donde la costura es la anfitriona resaltando el poder de la creatividad. Muchas gracias por haber tomado un minuto para leer mi post espero les guste ✨️ saludos y bendecida noche para todos 💕.
🌹✨️English✨️🌹
Very good evening to all dear and appreciated friends of Hive ❤️ I hope you are well enjoying the night today 🤗 greetings to everyone in the #Diy community ❤️ I am here again greeting everyone and with great joy to be able to share my work of most recent sewing 😉 By the way, I tell you that my entrepreneurial project is going very well and all the pieces we make are distributed with good expectations and the clients are totally satisfied with the finishes and with the wonderful outfits we designed. On this occasion I would like to show you how I made a beautiful dress with front crossover detail and I would like you to accompany me in all the steps to follow.
✨️These were the materials I used✨️
• Sewing machine
• Scissors
• Sewing thread
• Fabric
• Measurement garment
🌹✨️Steps✨️🌹
•✨️With a garment measurement as a reference method, I am going to cut all the pieces of my dress, these being a back piece divided into two parts, the front part divided into three parts, these being one for the front crossing and the skirt part front, the upper edge of the neck and two sleeves.
| | |
|---|
•✨️I continue sewing the back parts to form a single seam with a straight seam and zigzag to secure then I am going to sew the edge corresponding to the crossed upper part by folding the fabric and sewing with a straight seam then I am going to fold the upper back edge and I will I will sew with straight seam and zigzag then I will join in the front cross part with the front skirt part with straight seam and zigzag to secure.
| | | |
|---|
•✨️After securing the front part with a zigzag, I will join both back and front pieces at the top of the shoulders with a straight and zigzag seam to secure and then sew the sleeves, placing them on the right side of the fabric and sew with a straight seam.
| | | |
|---|
•✨️I am going to secure the seam of the sleeves with a false overlock or also known zigzag to close the garment at both ends with a straight and zigzag seam and then I am going to sew the edge of the sleeves and the hem by folding the fabric and sewing with a straight seam double thus culminating this beautiful and sophisticated design.
| | | |
|---|
🌹✨️Results✨️🌹
It is a very simple and elegant design that will undoubtedly make you look genuine and delicate, highlighting the beauty and femininity of your figure 🌹 I was very happy to have shared this small space with you where sewing is the host, highlighting the power of creativity. Thank you very much for taking a minute to read my post, I hope you like it ✨️ greetings and blessed night to all 💕.
💁♀️Todas las fotografías son de mi autoría capturadas con mi Samsung Galaxy A12 y editadas en GridArt.
El texto y resumen es totalmente de mi autoría.
Texto traducido en el traductor Google.💁♀️
💁♀️All the photographs are my own, captured with my Samsung Galaxy A12 and edited in GridArt.
The text and summary is entirely my own.
Translated text in Google translator.💁♀️