✂️✨️Español✨️✂️
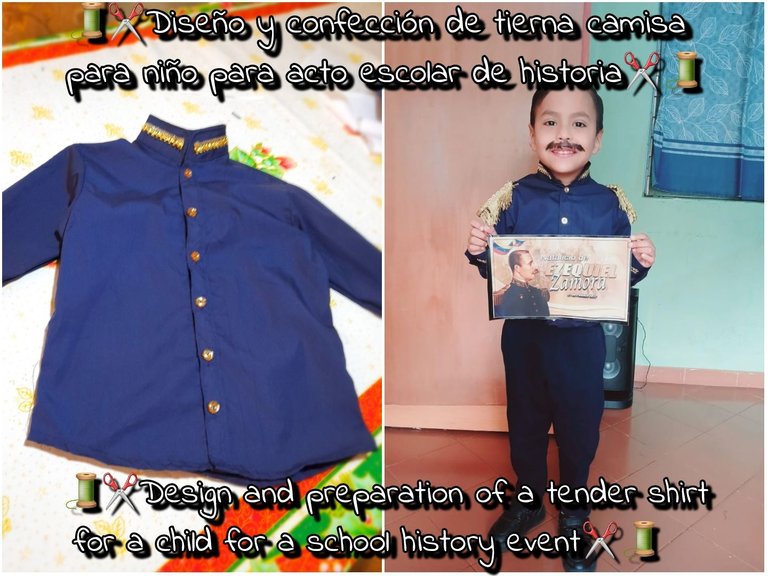
En esta ocasión me gustaría compartirles mi trabajo de costura más reciente que se trata del diseño y la confección de una hermosa camisa para niño la cual vamos a decorar con adornos dorados pues la siguiente es para ser usada en un acto escolar histico donde vamos a dar alusión y vida a un personaje de la Historia Venezolana como lo es Ezequiel Zamora 🤗 los invito a continuación a que me acompañen en cada paso a seguir.Hola hola mi gente linda de Hive ❤️ muy buenas noches para todos queridos amigos estoy muy alegre y entusiasmada de estar nuevamente acá compartiendo con todos ustedes 🤗 es un placer para mí poder saludarlos y encontrarme nuevamente acá para compartirles algo nuevo y de mucha enseñanza 😘 saludos para todos en esta creativa comunidad de #Diy donde cada día nos enseñan muchas cosas que podemos hacer nosotros mismos con mucho ingenio y creatividad.
✨️Estos fueron los materiales que use✨️
• Máquina de coser
• Tijera
• Hilo de coser
• Tela
• Prenda de medida
• Botones
✂️✨️Pasos✨️✂️
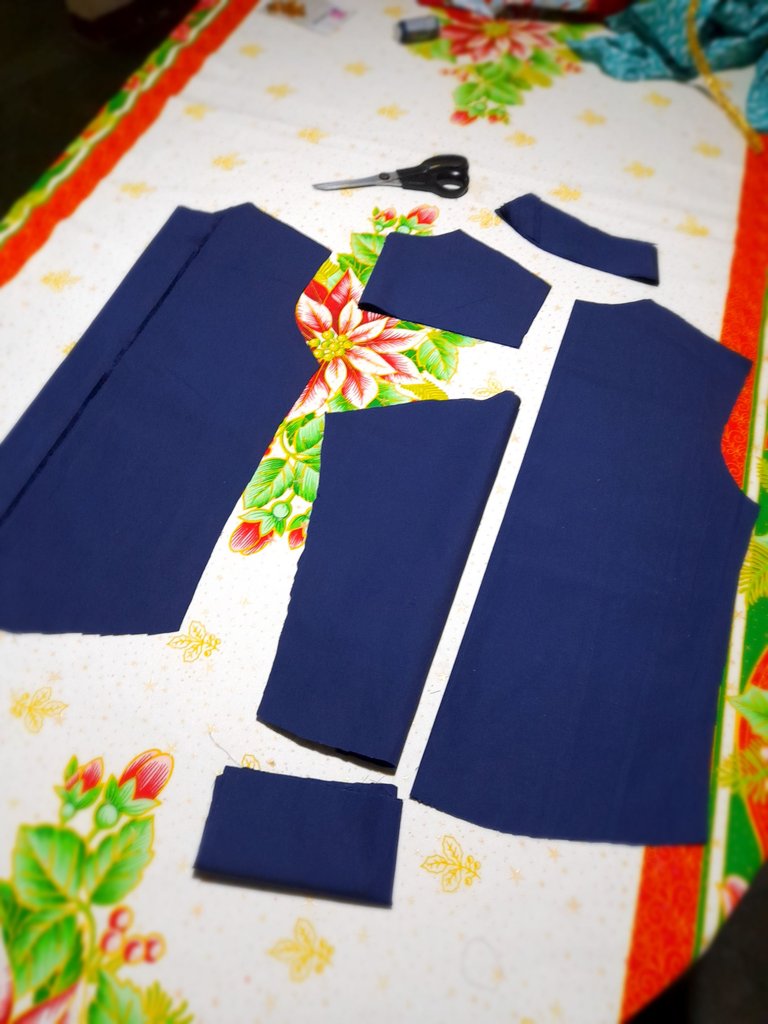
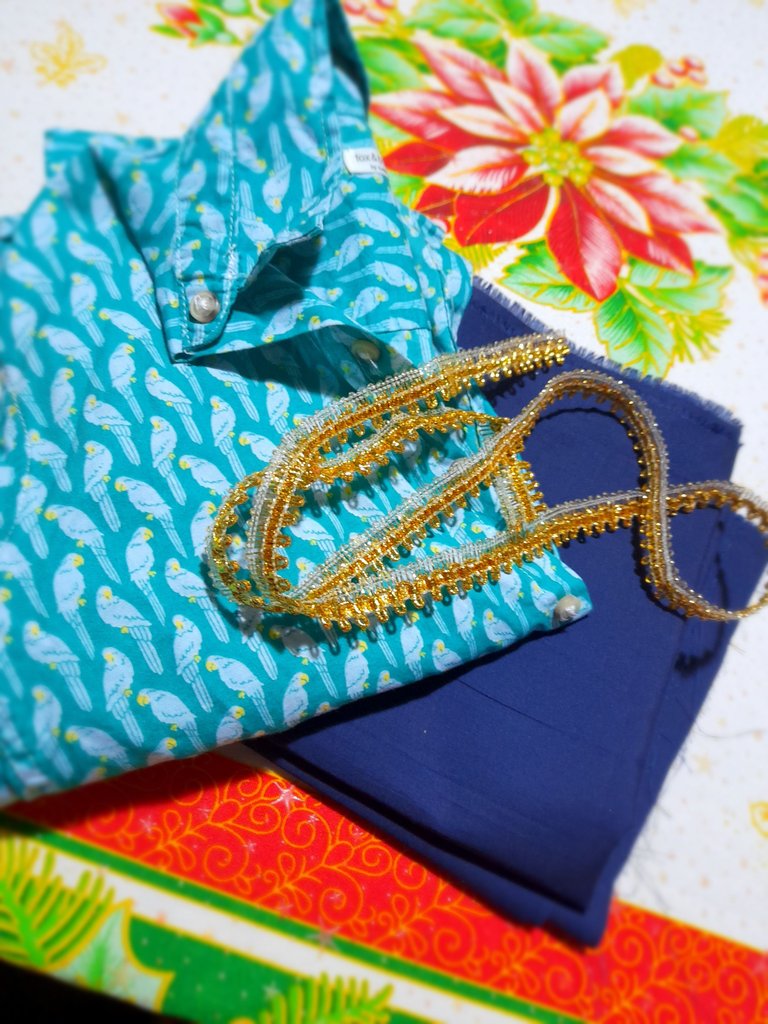
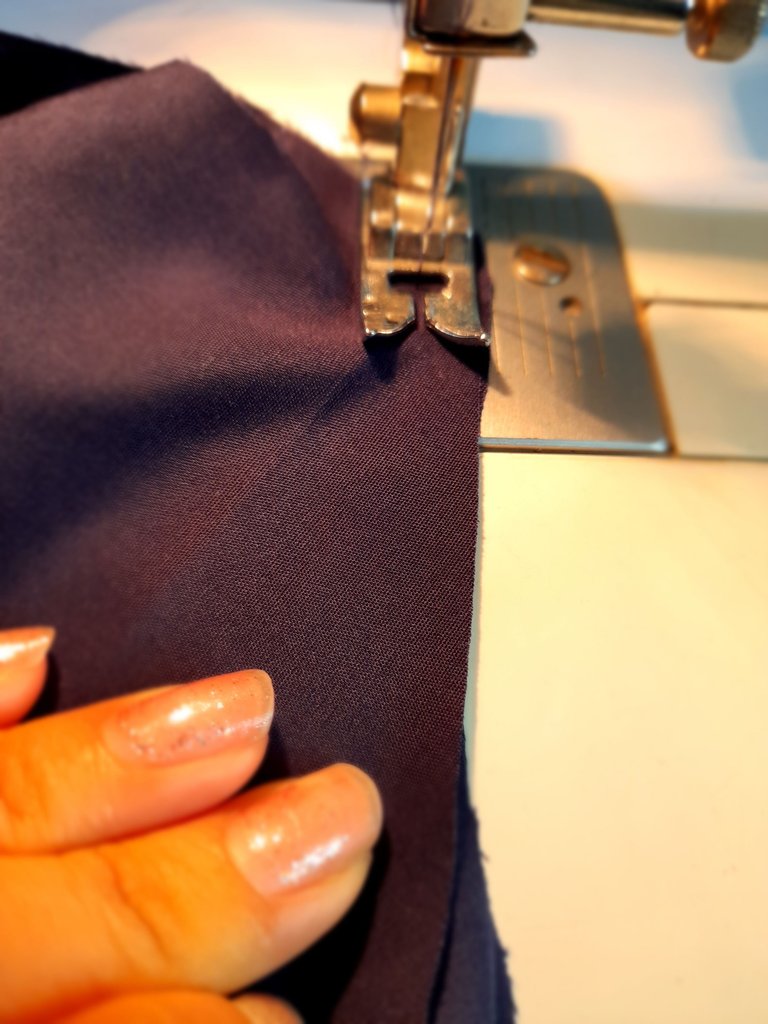
•✨️Para esta camisa voy a necesitar un metro y cuarto de tela de camiseria, botones, una máquina de coser con hilo y la tela de forro para la camisa y una prenda de medida. Con la prenda de medida voy a obtener una pieza trasera con tapa superior trasera, dos partes delanteras, dos mangas, dos orillas para la abertura de la manga, dos puños o orilla de las mangas y un cuello dividido en dos piezas.
 |  |  |
|---|
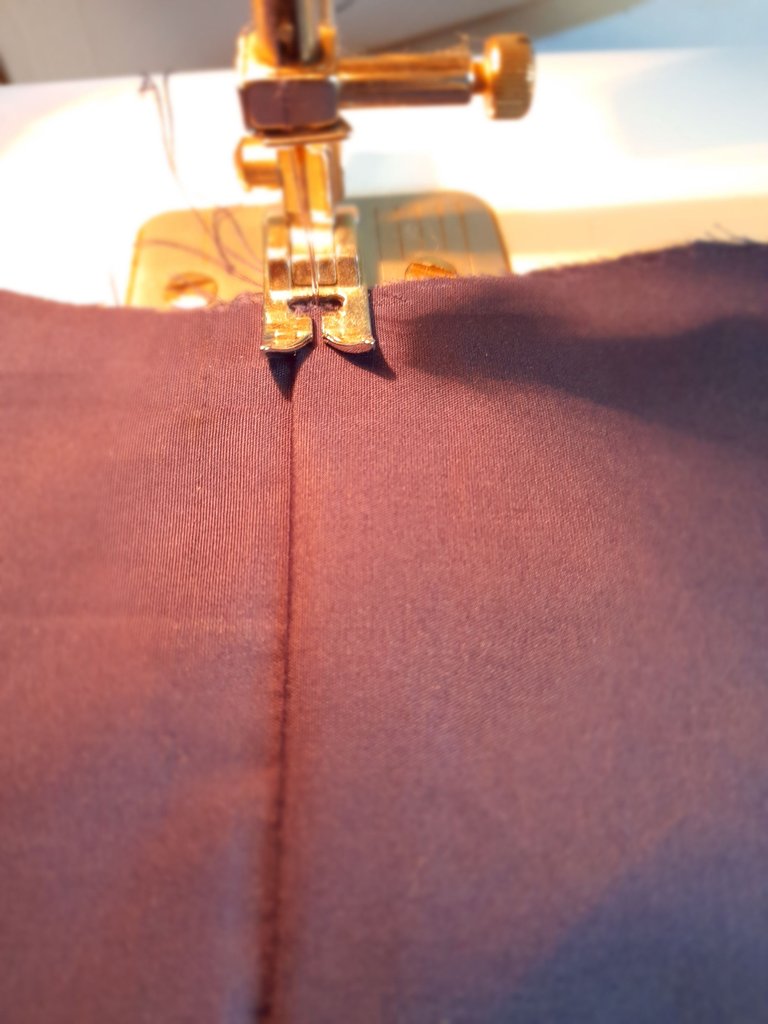
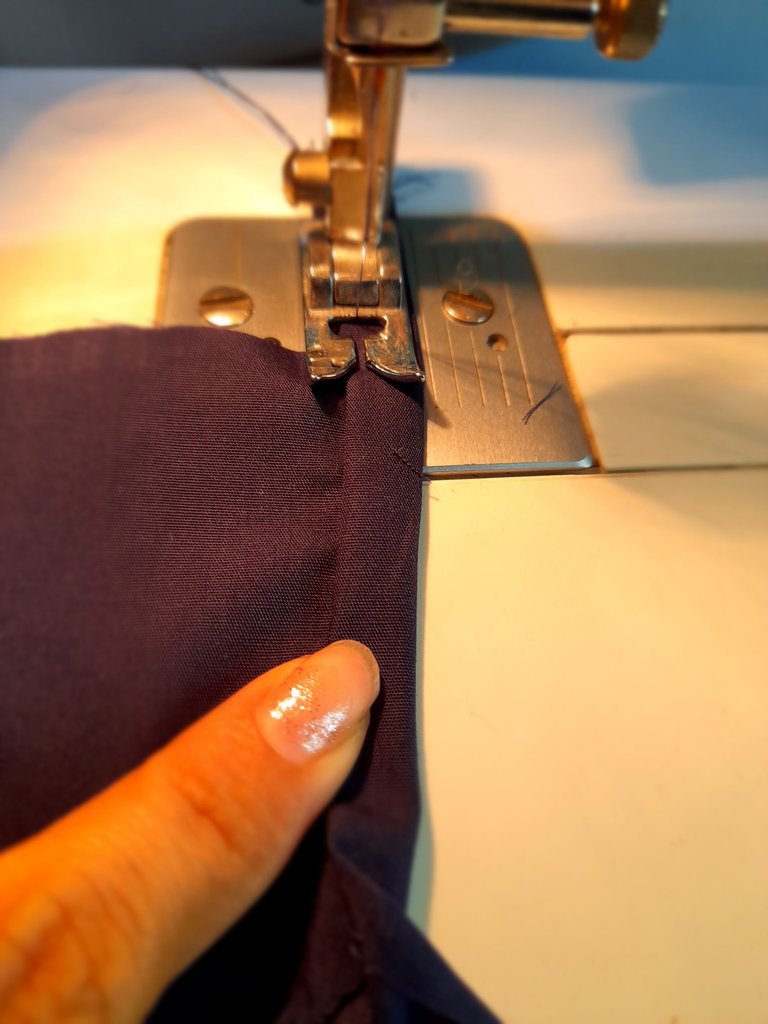
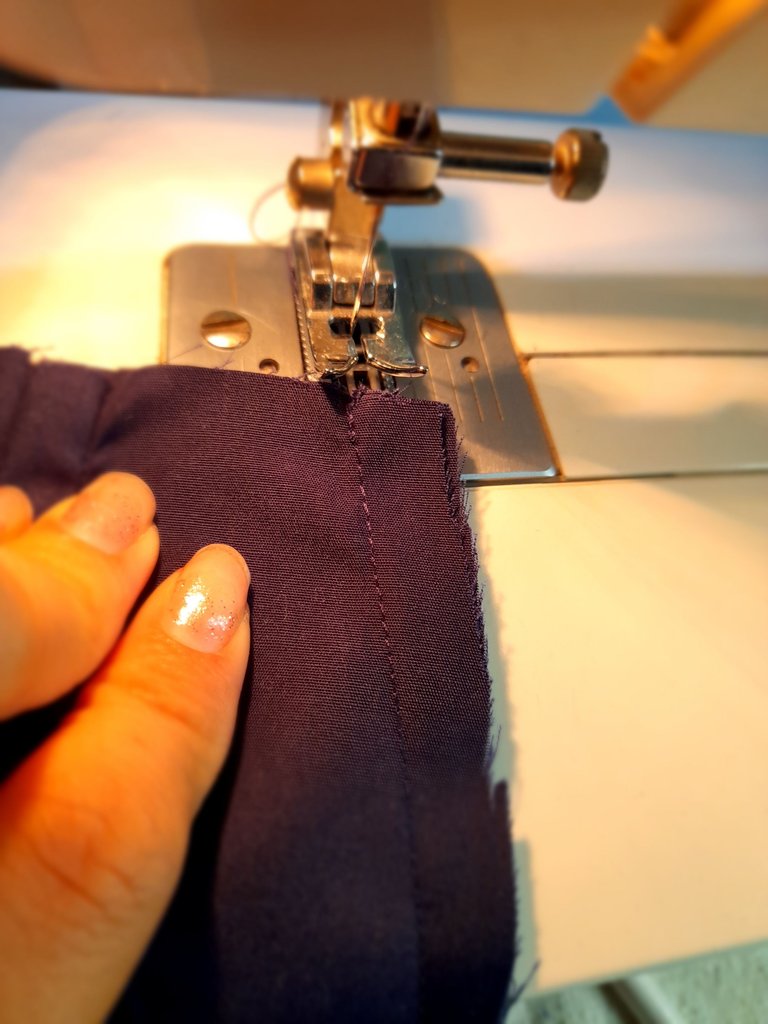
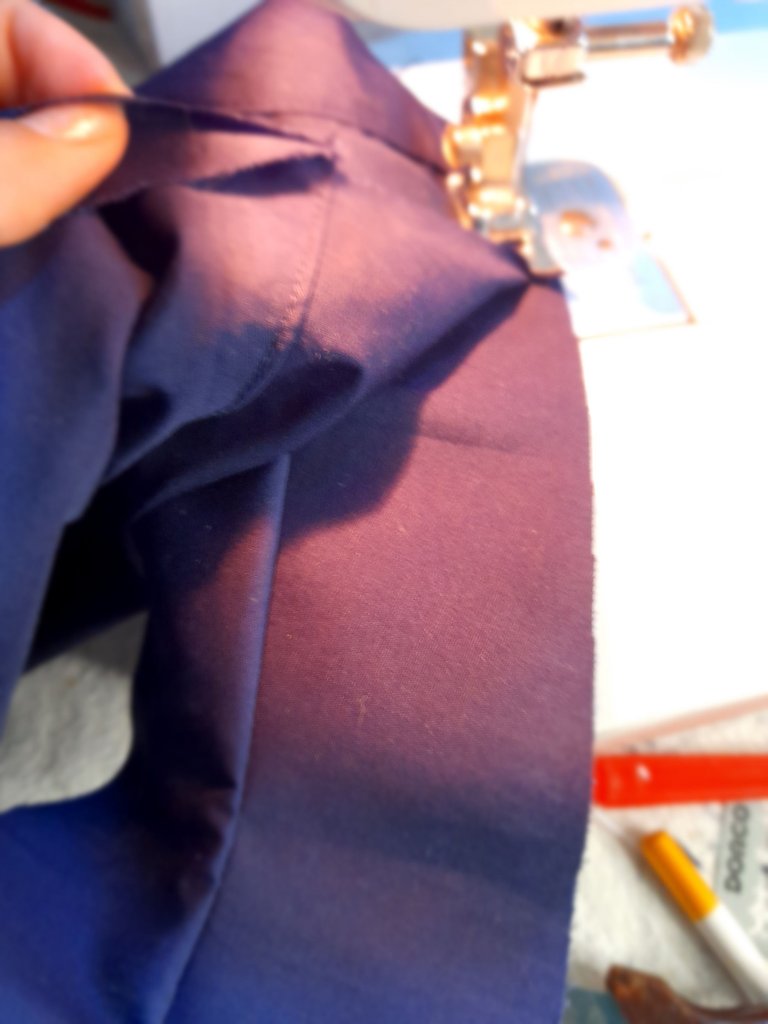
•✨️Continúo cosiendo la tapa trasera cosiendo esta con costura recta para luego doblar hacia arriba y fijar la costura con costura recta luego voy a unir la parte trasera de los hombros con costura recta de la parte delantera todo esto quedando en la parte interna de las dos tapas luego para fijar la forma voy a coser con costura recta.
 |  |  |  |
|---|
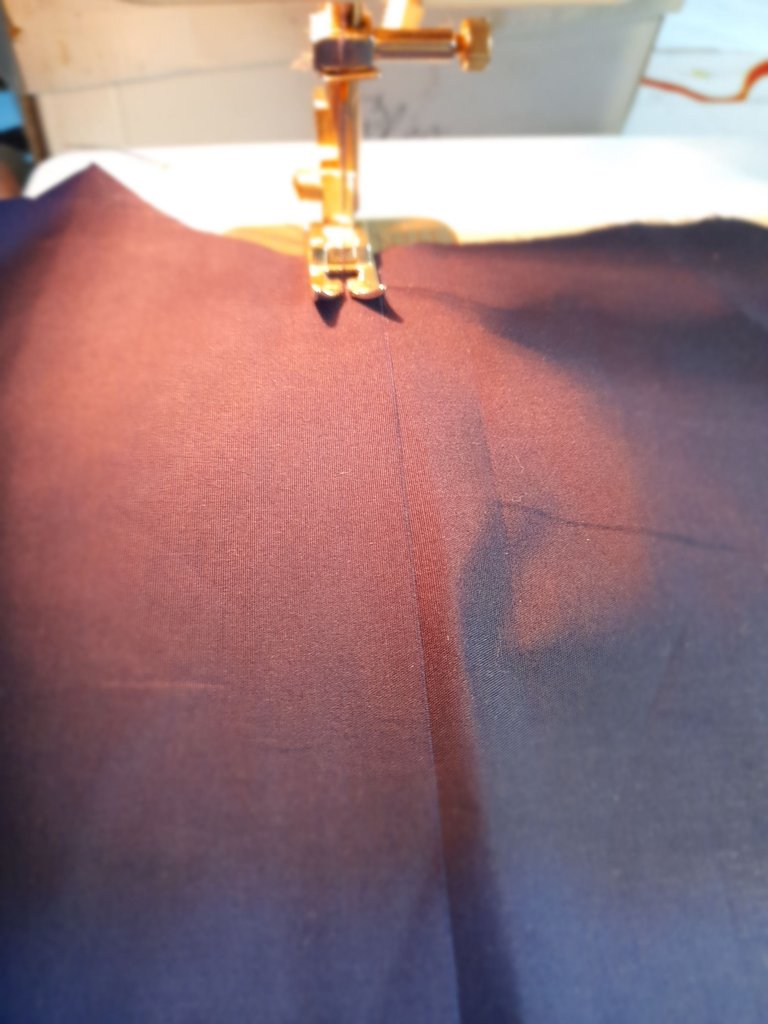
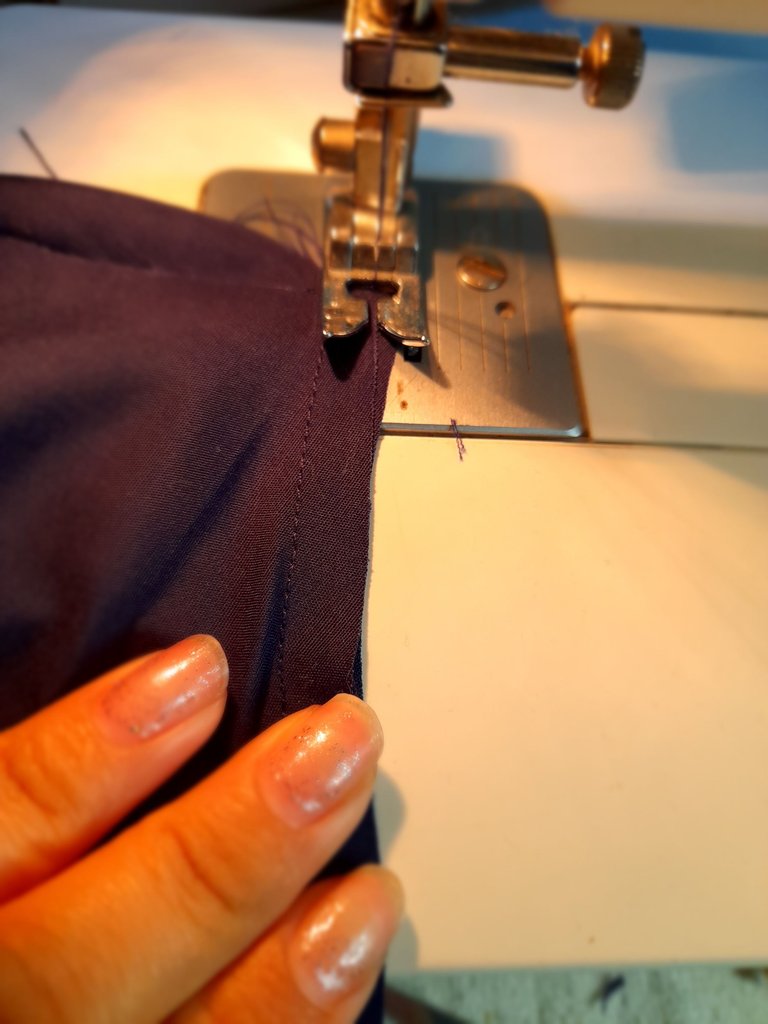
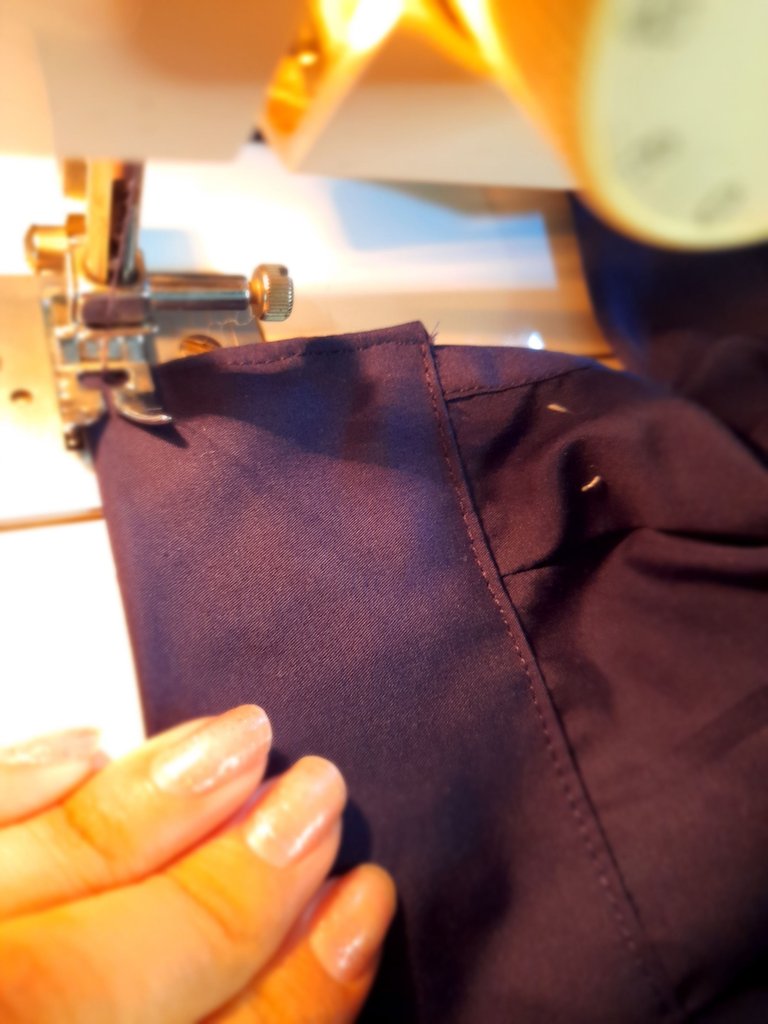
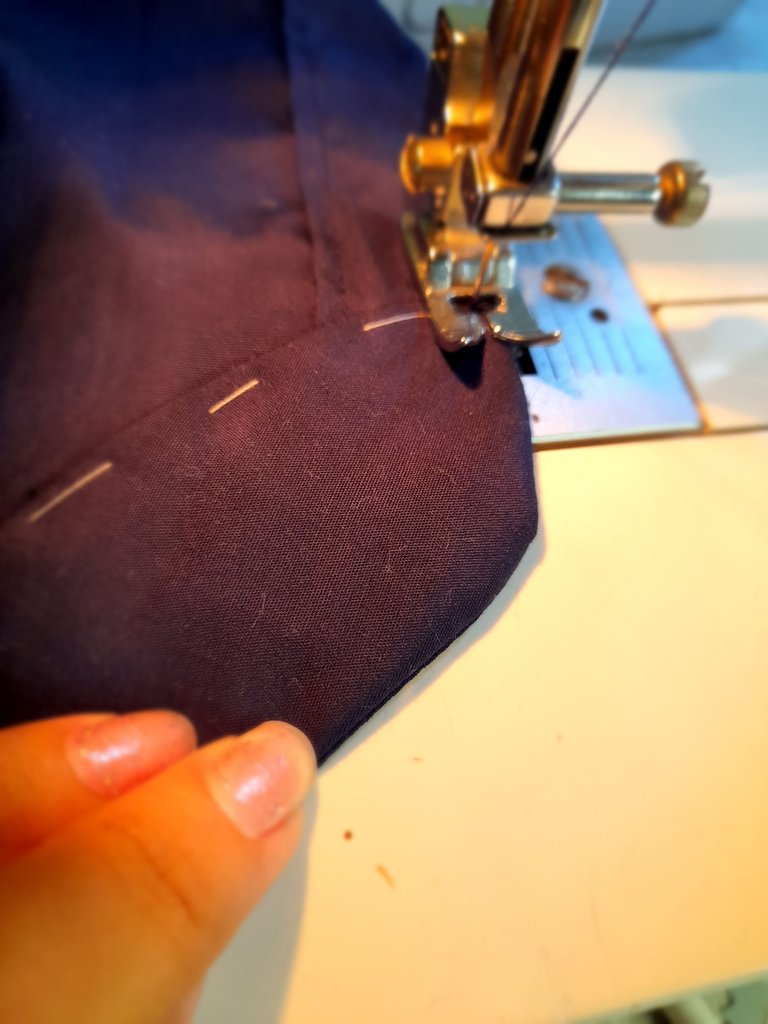
•✨️Luego voy a coser con costura recta la manga colocandola en el lado derecho de la tela y cosiendo con costura recta y zigzag luego en la parte trasera de las mangas justo en las aberturas que hice con la tijera voy a coser por el lado reverso la orilla con costura recta para luego voltear, doblar y coser con costura recta para finalmente fijar una encima de la otra y coser con costura recta.
 |  |  |  |
|---|
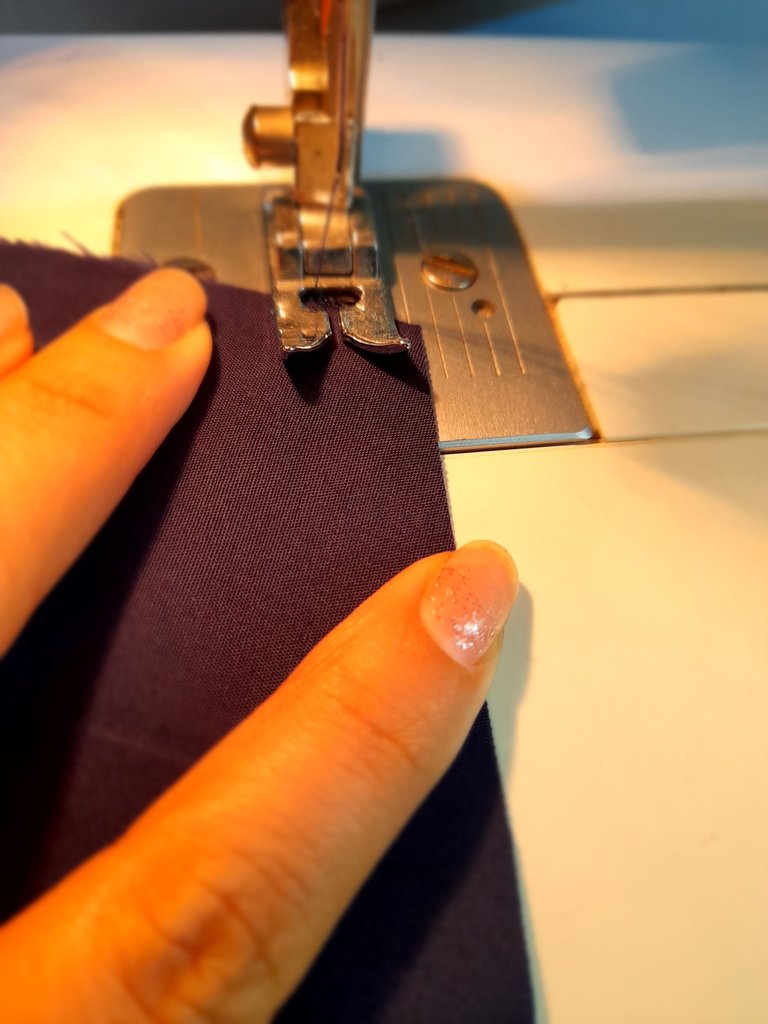
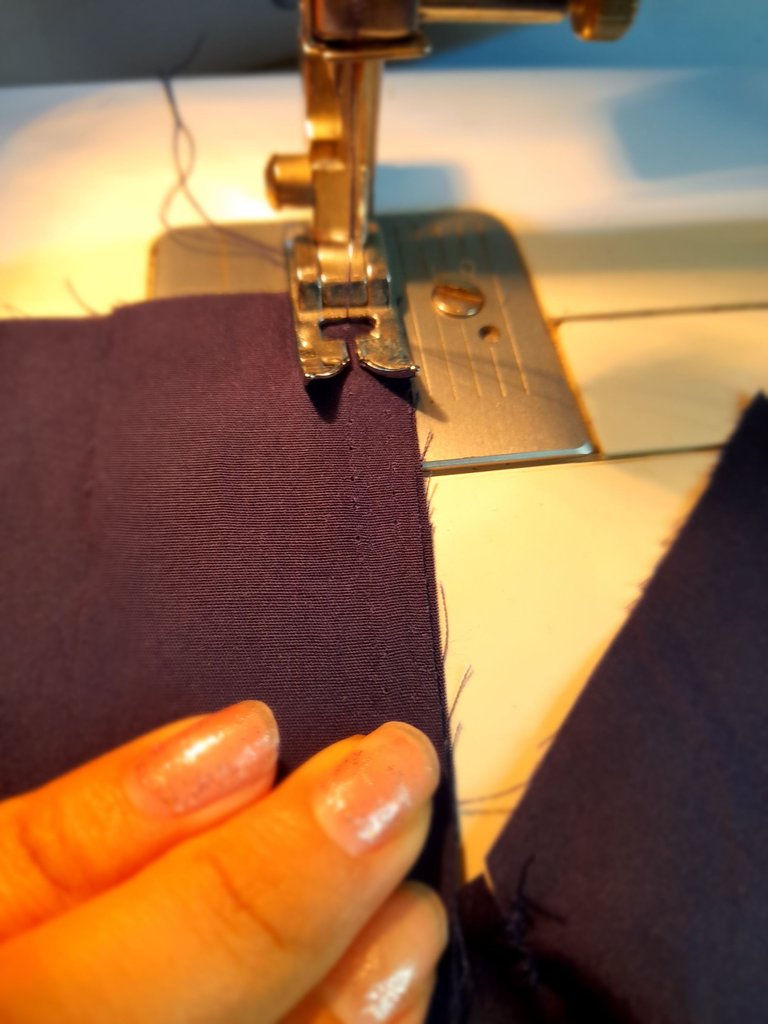
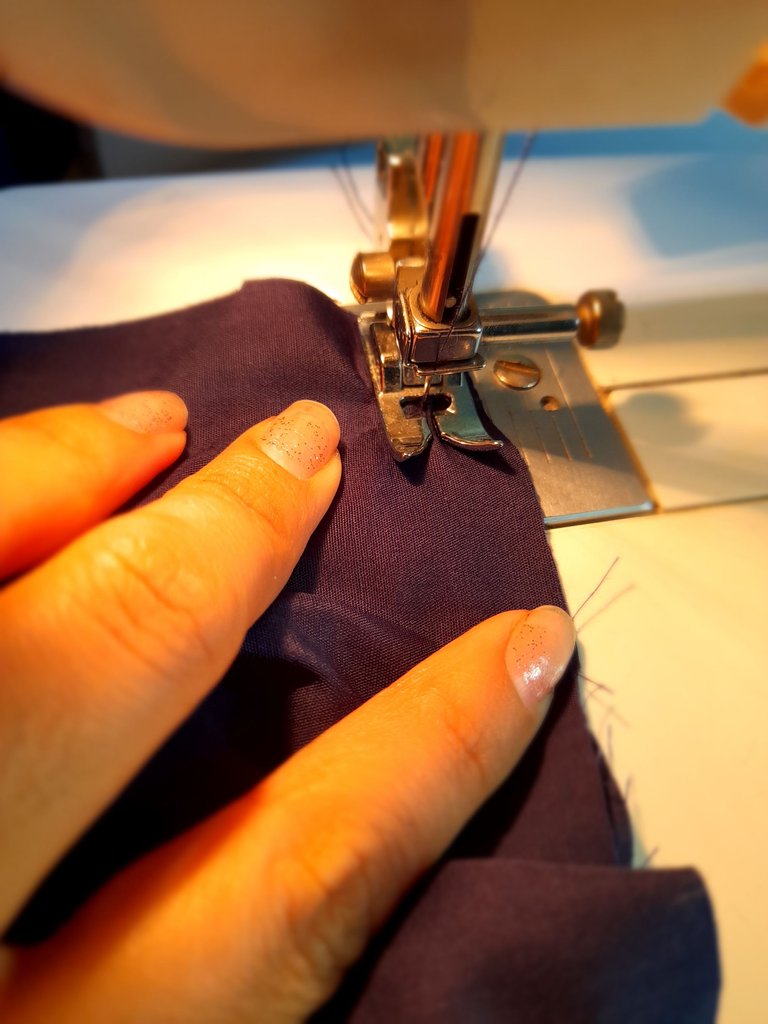
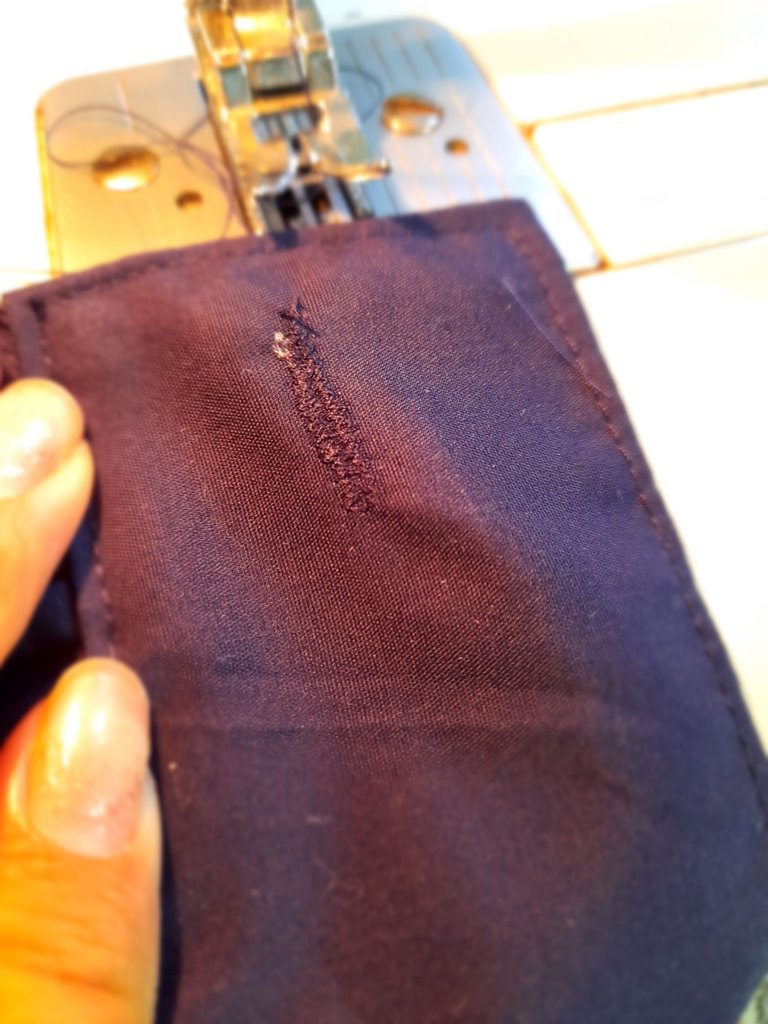
•✨️Continúo cosiendo una pequeña pinza en la parte más ancha de la manga la cual fijaré con una costura recta y luego así coser la parte interna de la manga con una costura recta y zigzag luego voy a coser el puño o final de la manga cosiendo primero uno de los extremos con costura recta para luego coser en los laterales con costura recta y luego así voltear hacia afuera y coser exclusivamente en la parte frontal de la camisa con una costura recta.
 |  |  |  |
|---|
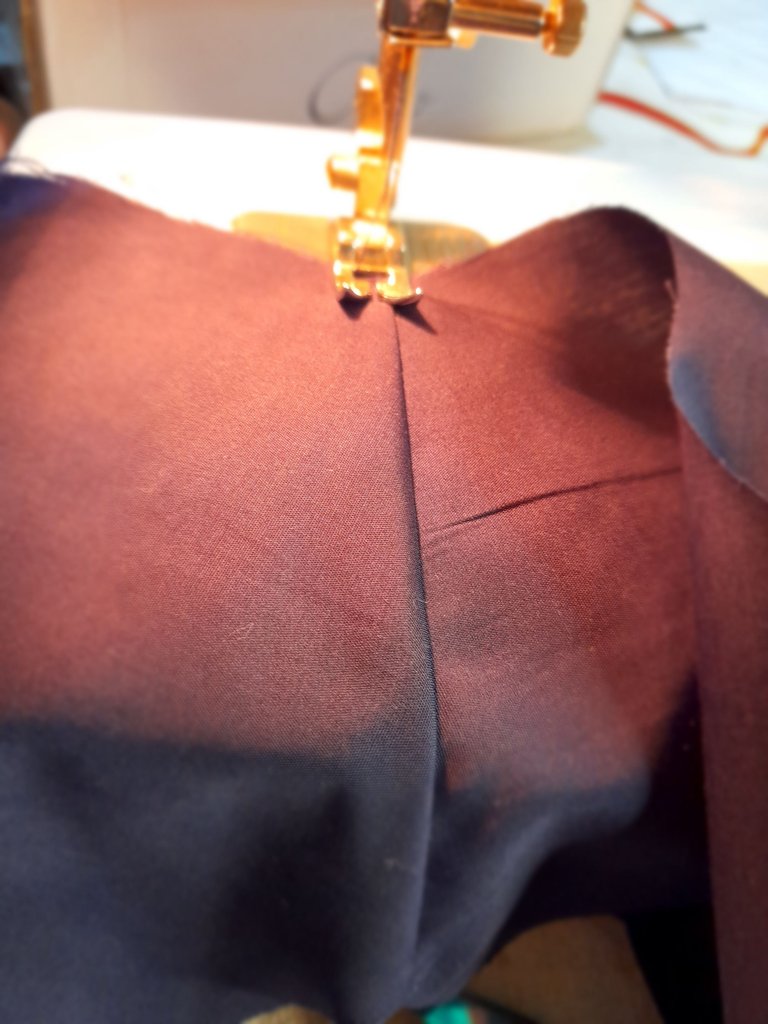
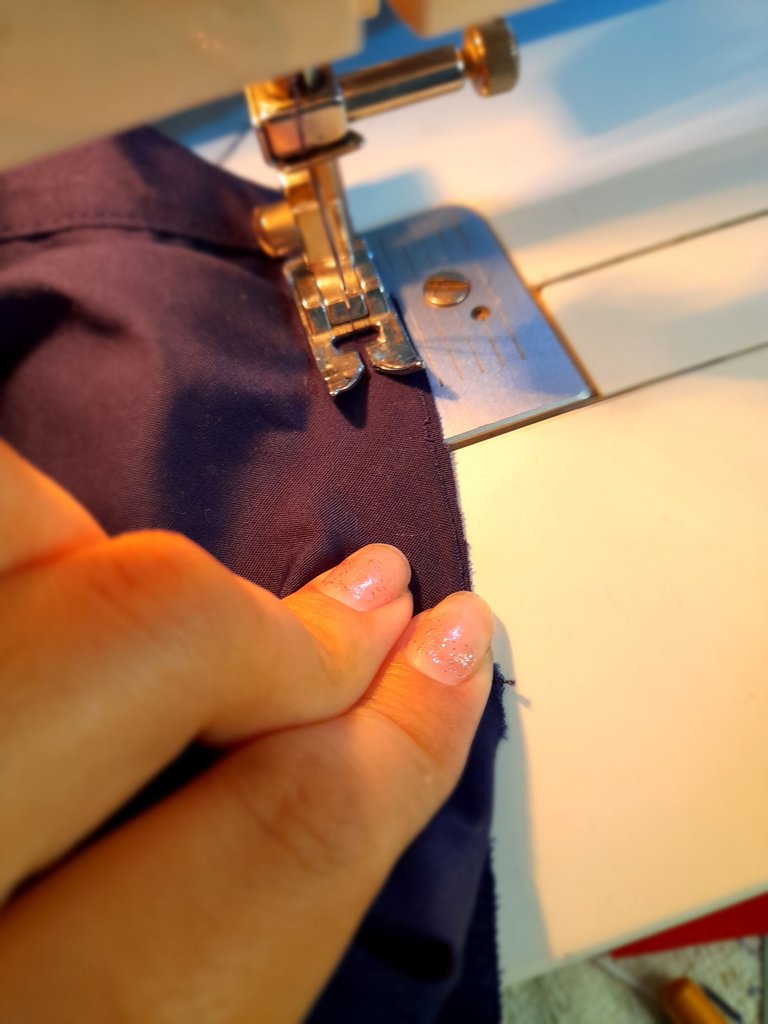
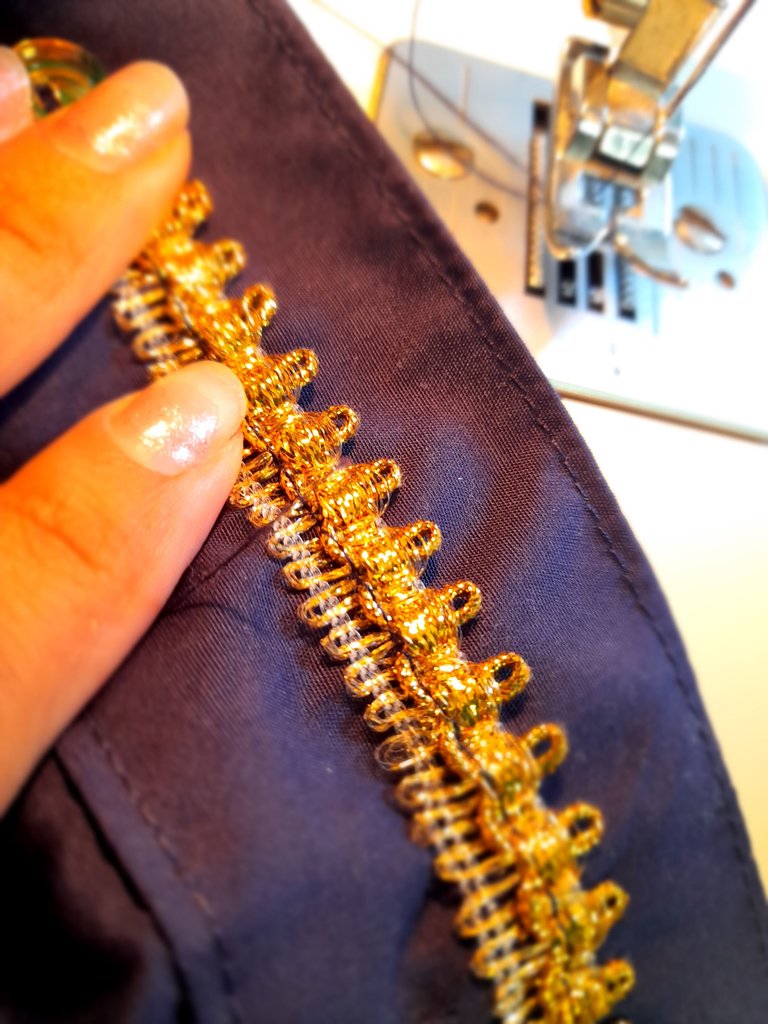
•✨️Luego voy a coser las orillas frontales doblando la tela y cosiendo con costura recta y voy a ir armando el cuello cosiendo alrededor con costura recta junto con el forro luego voy a coser este cuello por la parte interna de la pieza para luego fijar la parte externa con una aguja de mano y coser más cómodamente con la máquina con costura recta luego con costura de zigzag y tensión en 2 voy a coser los ojales de las mangas y pecho y por ultimo voy a fijar los adornos dorados con la costura más larga en puntada recta luego luego para culminar voy a coser con la aguja de mano los botones uno a uno.
 |  |  |
|---|
 |  |  |
|---|
✂️✨️Resultados✨️✂️
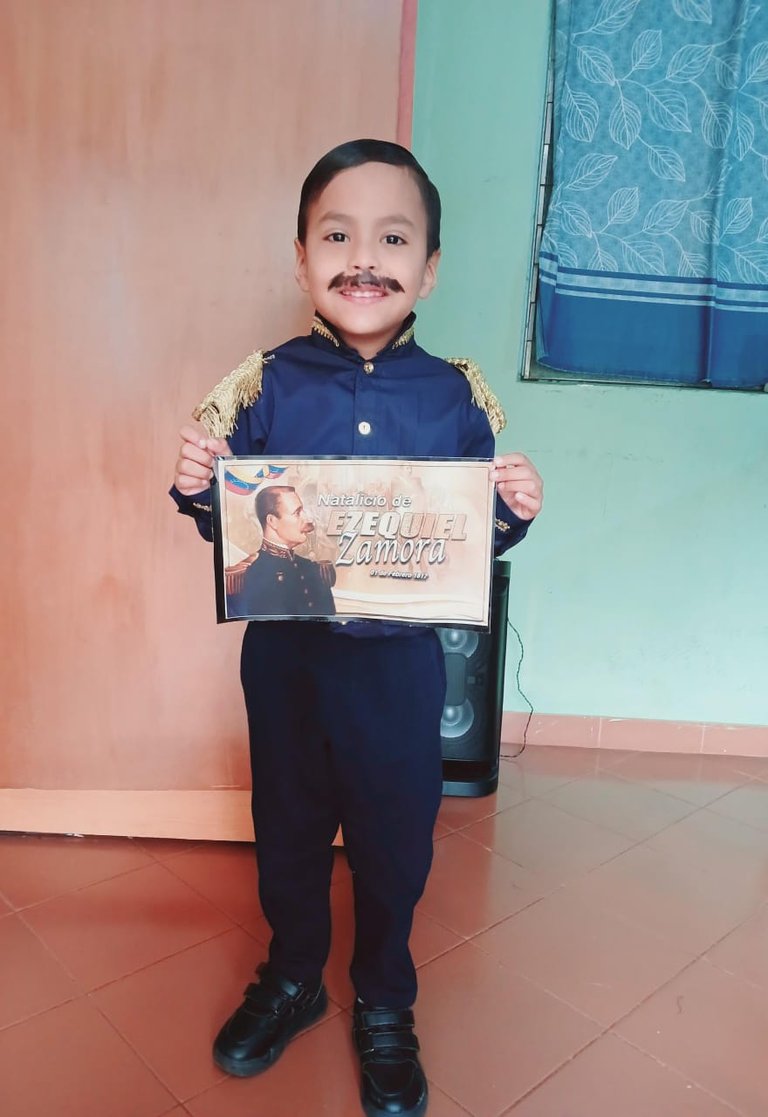
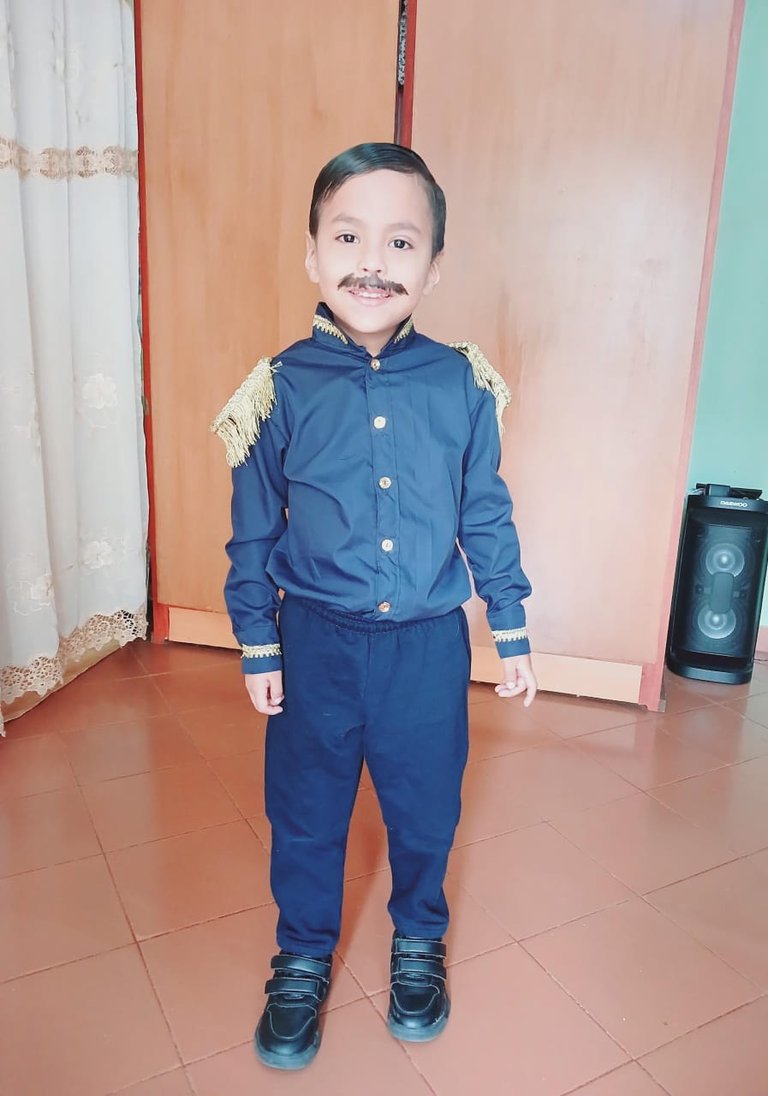

Y de esta forma amigos podemos hacer nosotros mismos los trajes que necesiten los pequeños de la casa con mucho ingenio y creatividad siempre poniendo amor a todas las cosas que hacemos 🤗 fue un placer haber compartido con ustedes este creativo post tutorial donde aprenderemos muchas cosas nuevas y útiles en nuestro día a día. Un saludo muy especial para todos queridos amigos de Hive espero les haya gustado mi post ❤️ Linda noche para todos 💕.
✂️✨️English✨️✂️
Hello hello my beautiful people of Hive ❤️ very good evening to all dear friends I am very happy and excited to be here again sharing with all of you 🤗 it is a pleasure for me to be able to greet you and meet you here again to share something new and very teaching 😘 greetings to everyone in this creative #DIY community where every day they teach us many things that we can do ourselves with a lot of ingenuity and creativity. On this occasion I would like to share with you my most recent sewing work which is about the design and making of a beautiful shirt for a child which we are going to decorate with gold ornaments because the next one is to be used in a historical school event where we are going to give allusion and life to a character from Venezuelan History such as Ezequiel Zamora 🤗 I invite you below to accompany me in each step to follow.
✨️These were the materials I used✨️
• Sewing machine
• Scissors
• Sewing thread
• Fabric
• Measurement garment
• Buttons
✂️✨️Steps✨️✂️
•✨️For this shirt I will need a meter and a quarter of shirting fabric, buttons, a sewing machine with thread and the lining fabric for the shirt and a measuring garment. With the tailored garment I will obtain a back piece with a back top cover, two front parts, two sleeves, two edges for the sleeve opening, two cuffs or edge of the sleeves and a collar divided into two pieces.
| | |
|---|
•✨️I continue sewing the back cover, sewing it with a straight seam and then folding it up and fixing the seam with a straight seam, then I am going to join the back part of the shoulders with a straight seam on the front part, all of this remaining on the inside of the two covers, then to fix the shape I am going to sew with a straight seam.
| | | |
|---|
•✨️Then I am going to sew the sleeve with a straight seam, placing it on the right side of the fabric and sewing with a straight and zigzag seam, then on the back of the sleeves right in the openings that I made with the scissors, I am going to sew on the reverse side the edge with a straight seam and then turn, fold and sew with a straight seam to finally fix one on top of the other and sew with a straight seam.
| | | |
|---|
•✨️I continue sewing a small dart in the widest part of the sleeve which I will fix with a straight seam and then sew the inside of the sleeve with a straight and zigzag seam then I will sew the cuff or end of the sleeve by first sewing one of the ends with a straight seam and then sew on the sides with a straight seam and then turn outwards and sew exclusively on the front part of the shirt with a straight seam.
| | | |
|---|
•✨️Then I am going to sew the front edges by folding the fabric and sewing with a straight seam and I am going to assemble the neck by sewing around with a straight seam along with the lining then I am going to sew this collar on the inside of the piece and then fix the external part with a hand needle and sew more comfortably with the machine with a straight seam then with a zigzag seam and tension in 2 I am going to sew the buttonholes of the sleeves and chest and finally I am going to fix the gold decorations with the longest seam in straight stitch then to finish I'm going to sew the buttons one by one with the hand needle.
| | |
|---|
| | |
|---|
🧵✂️Results✂️🧵
And this way, friends, we can make ourselves the outfits that the little ones in the house need with a lot of ingenuity and creativity, always putting love into all the things we do 🤗 it was a pleasure to have shared with you this creative tutorial post where we will learn many new and useful things in our daily lives. A very special greeting to all dear friends of Hive, I hope you liked my post ❤️ Nice night for everyone 💕.
💁♀️Todas las fotografías son de mi autoría capturadas con mi Samsung Galaxy A12 y editadas en GridArt.
El texto y resumen es totalmente de mi autoría.
Texto traducido en el traductor Google.💁♀️
💁♀️All the photographs are my own, captured with my Samsung Galaxy A12 and edited in GridArt.
The text and summary is entirely my own.
Translated text in Google translator.💁♀️
Discord Felicitaciones, su publicación ha sido votada por @ dsc-r2cornell. Puedes usar el tag #R2cornell. También, nos puedes encontrar en
Quedó muy linda la camisa del pequeño Zamora 😁 Saludos