.png)
Hoy les voy a mostrar cómo pueden hacer estas lindas y fáciles libretas para su uso personal o para complementar un detalle que quieran regular aprovechando también los tiempos decembrino. Mi ganas de querer hacer esta manualidad provino de mi mama ya que a ella le encanta anotar las cositas que va a comprar en el supermercado, las diligencias que tiene pendientes por hacer o números de teléfono. Ella siempre dice que es bueno tener un respaldo de los contactos del celular en papel porque uno nunca sabe que pueda pasar.
Today I am going to show you how you can make these beautiful and easy notebooks for your personal use or to complement a detail that you want to regulate, also taking advantage of the Christmas season. My desire to want to do this craft came from my mother since she loves to write down the little things that she is going to buy in the supermarket, the errands that she has pending to do or phone numbers. She always says that it is good to have a backup of the cell phone contacts on paper because you never know that she could happen.
- Cartulina (color de tu preferencia|Cardboard (color of your preference)
- Hojas blancas | White sheets
- Marcadores | Markers
- Lápiz | Pencil
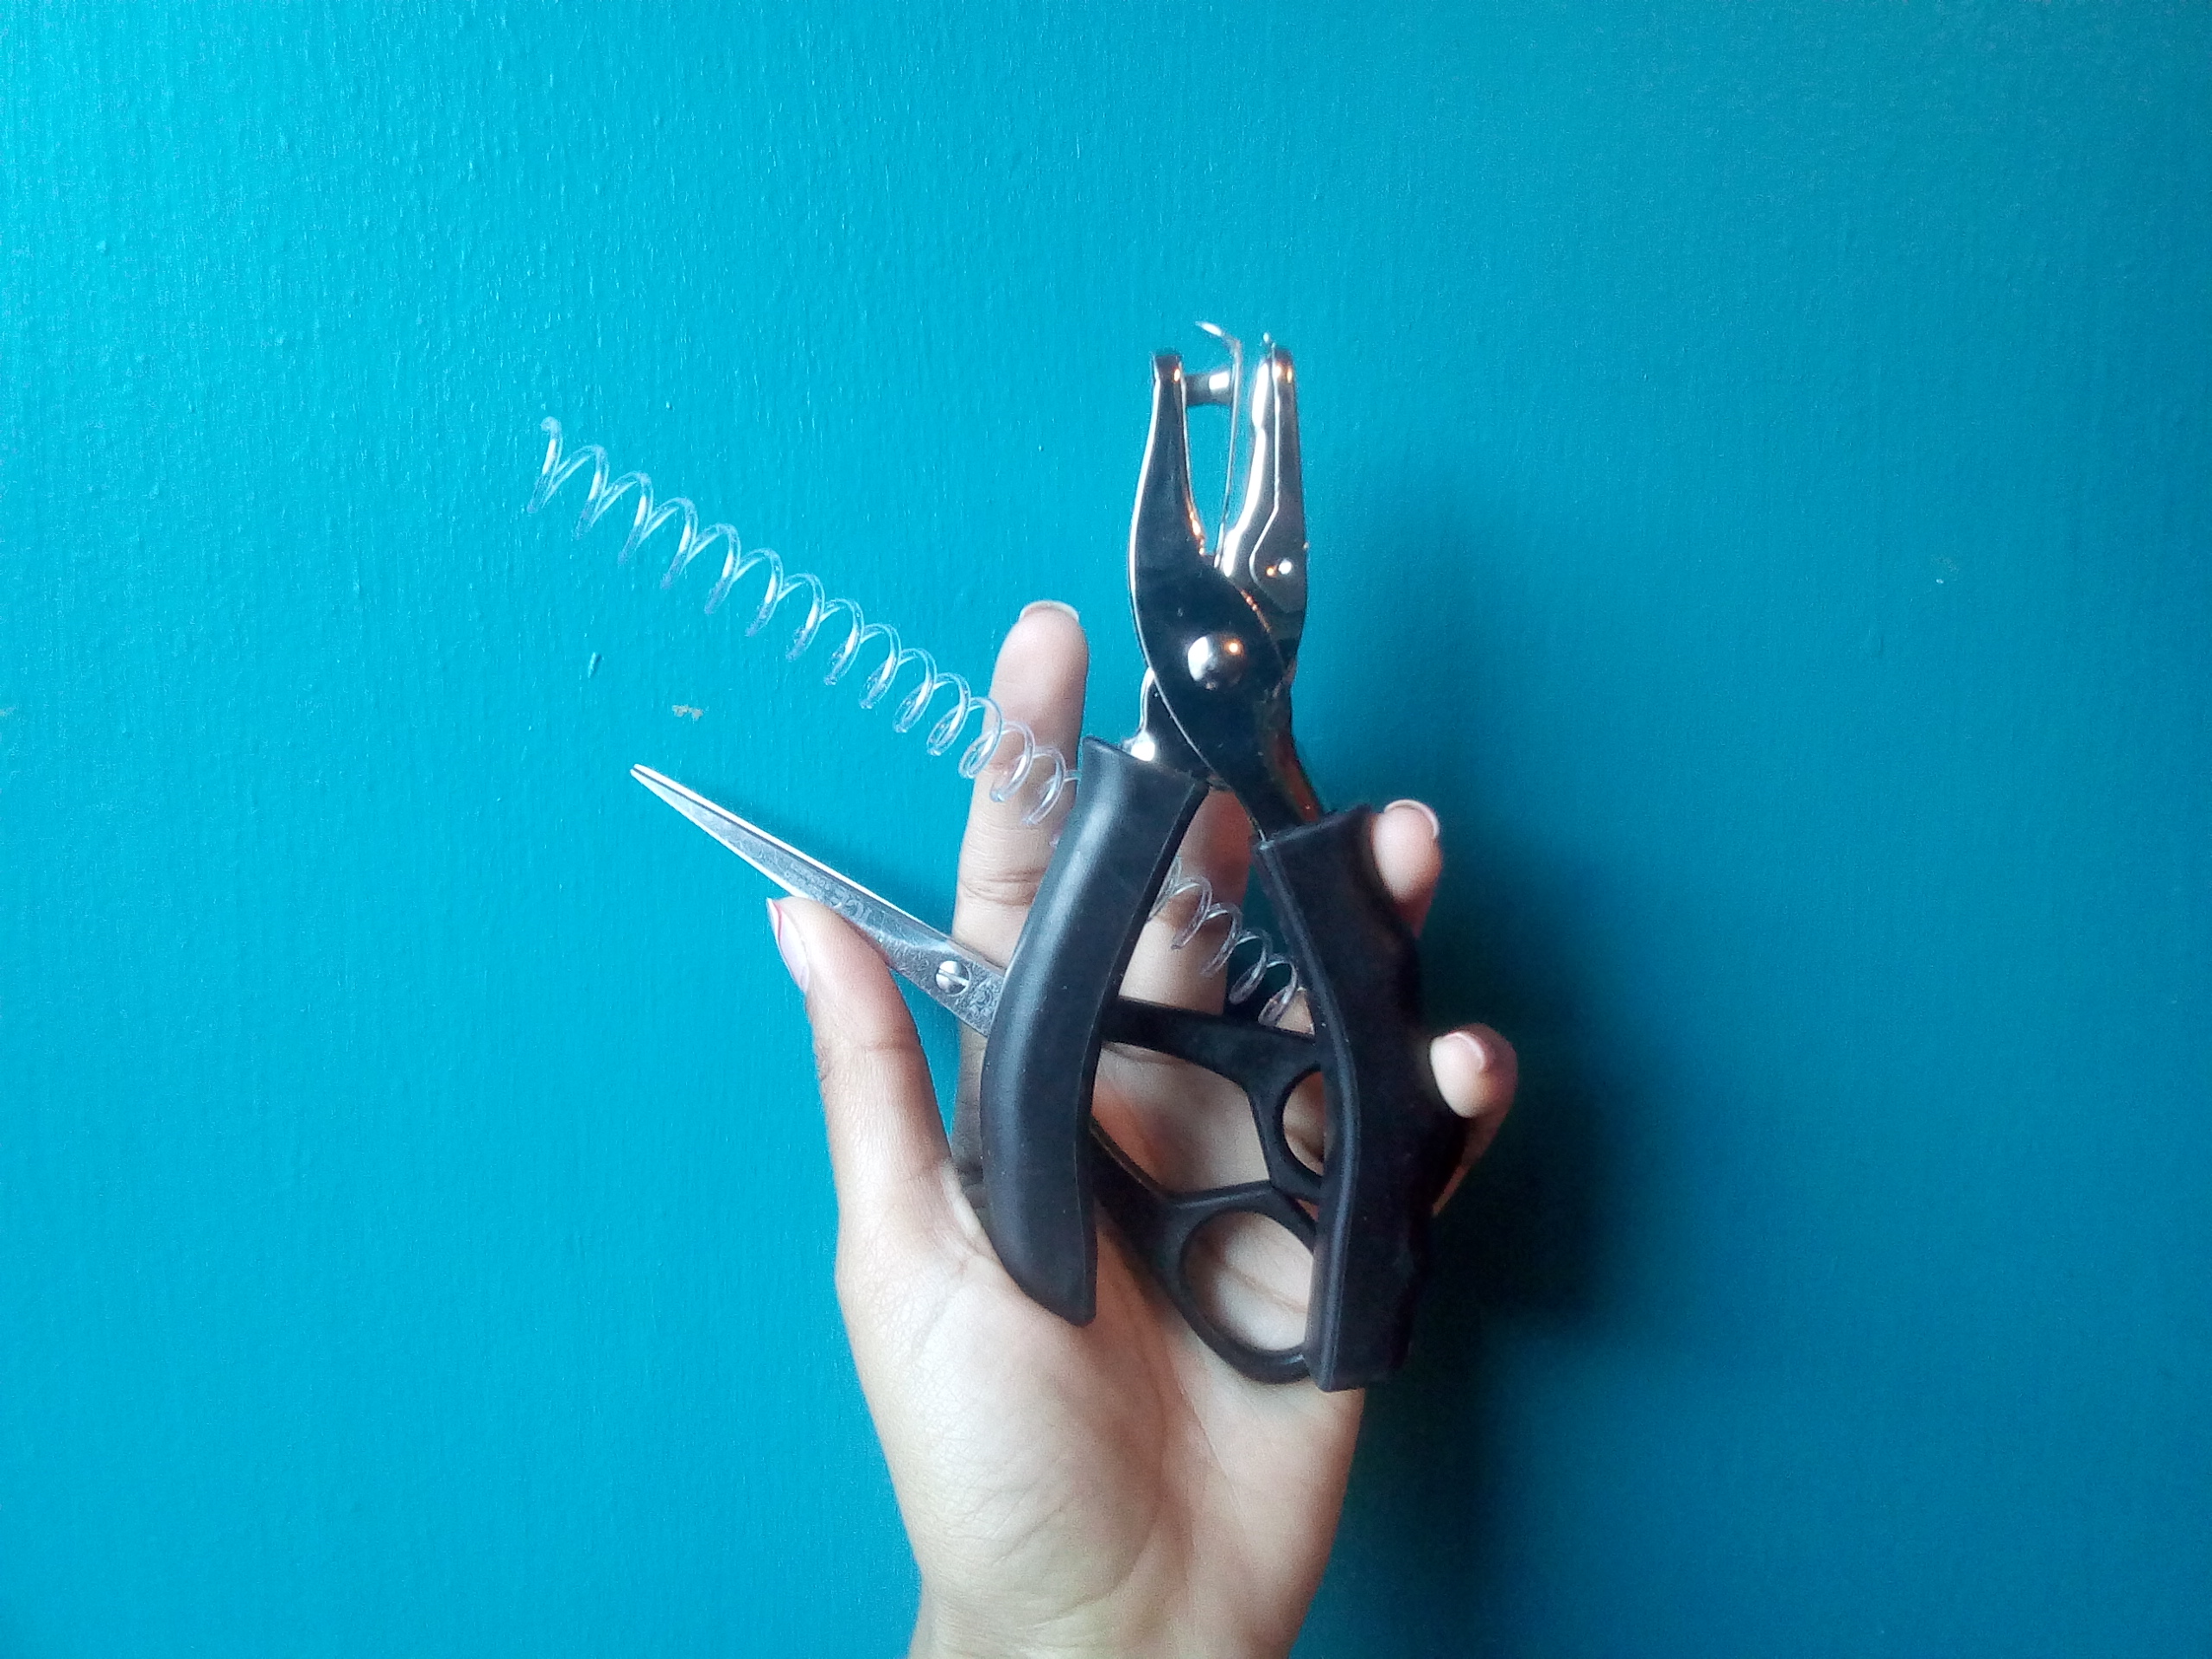
- Resorte | Spring
- Regla | Rule
- Tijera | Pair of scissors
- Saca bocado | Take a bite
- Y muchas ganas! | And I really want to!
Primero: Tomaremos nuestra cartulina y vamos a medir su ancho, la cantidad que nos dé la vamos a dividir por 2, el resultado obtenido nos va a indicar la mitad del ancho y justo ese valor es el que marcaremos con un lápiz en la cartulina para luego trazar una línea. Lo mismo hacemos con el largo y así habremos divido toda la cartulina en 4 rectángulos idénticos que serán nuestra futuras portadas y contraportadas.
First: We will take our cardboard and we are going to measure its width, the quantity that gives us we are going to divide by 2, the result obtained will indicate half the width and that value is precisely the one that we will mark with a pencil on the cardboard to then draw a line. We do the same with the length and thus we will have divided all the cardboard into 4 identical rectangles that will be our future covers and back covers.
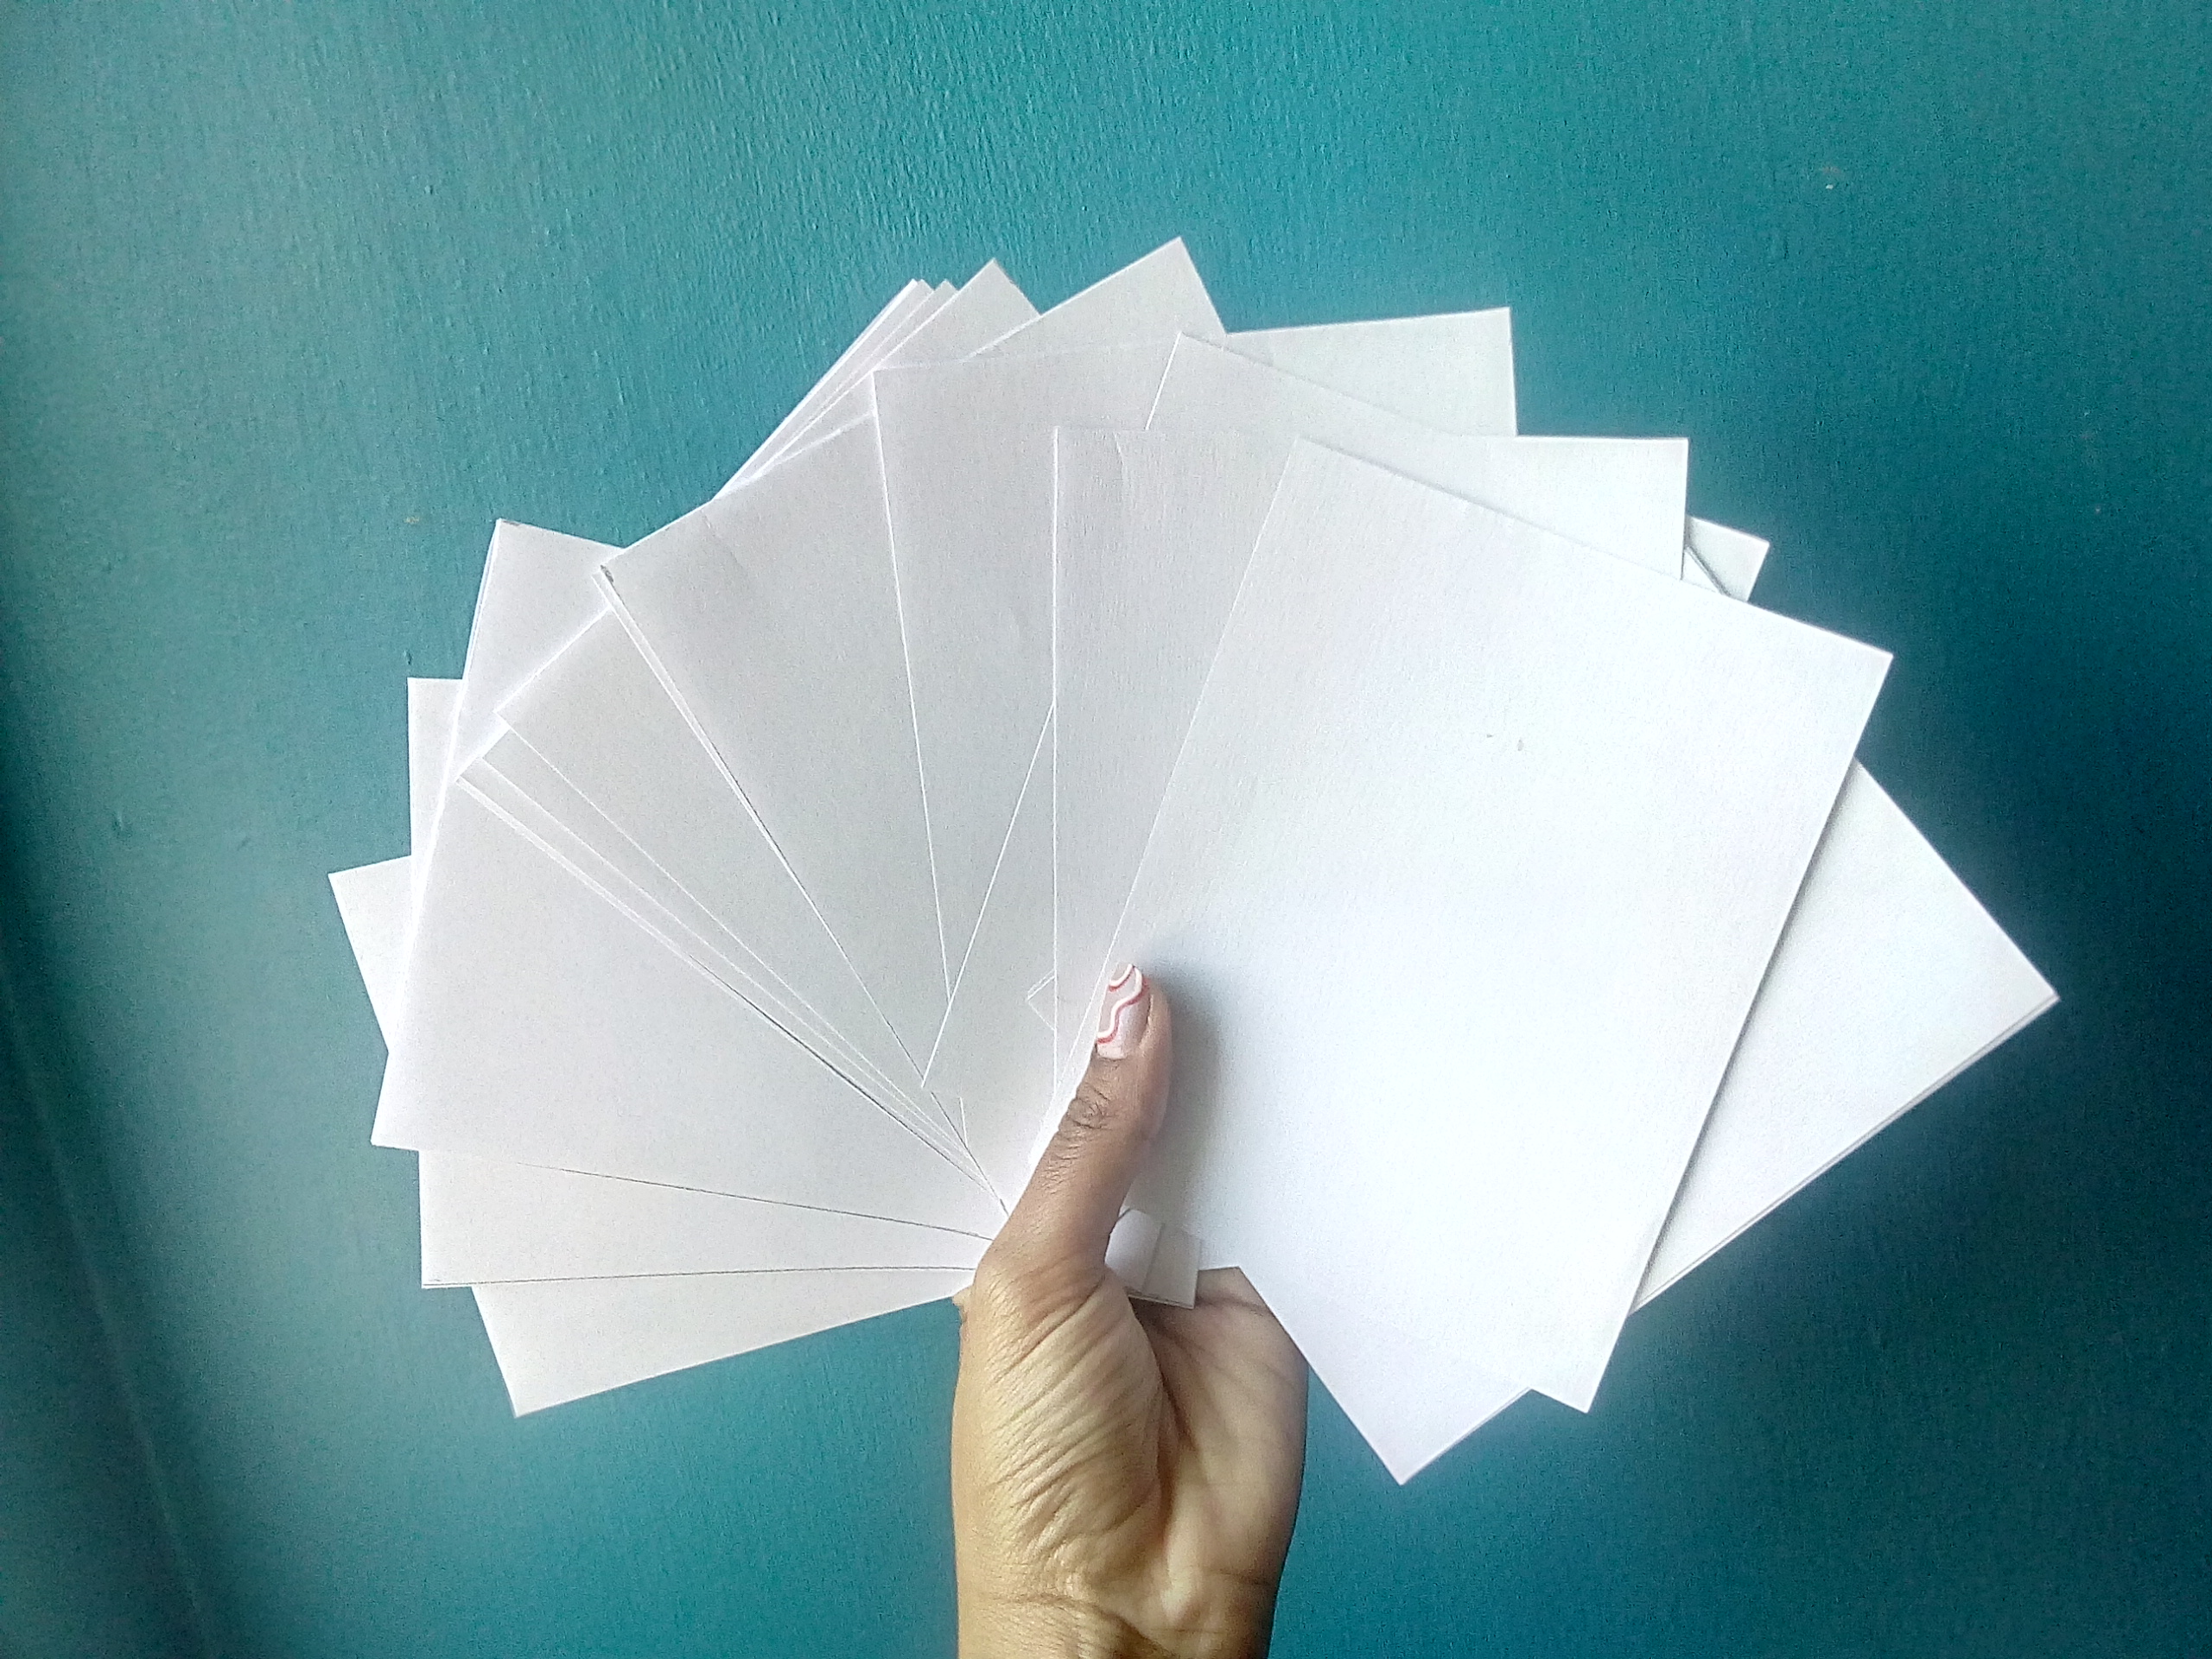
Segundo: Haremos exactamente lo mismo con las hojas blancas para obtener los rectángulos que conformarán la tripa de la libreta que son las páginas de su interior donde se pretende anotar.
Second: We will do exactly the same with the white sheets to obtain the rectangles that will make up the gut of the notebook, which are the pages inside where it is intended to write down.
Tercero: Recortamos los rectángulos que trazamos tanto en cartulina como en hoja blanca.
Third: We cut out the rectangles that we draw on both cardboard and white sheet.

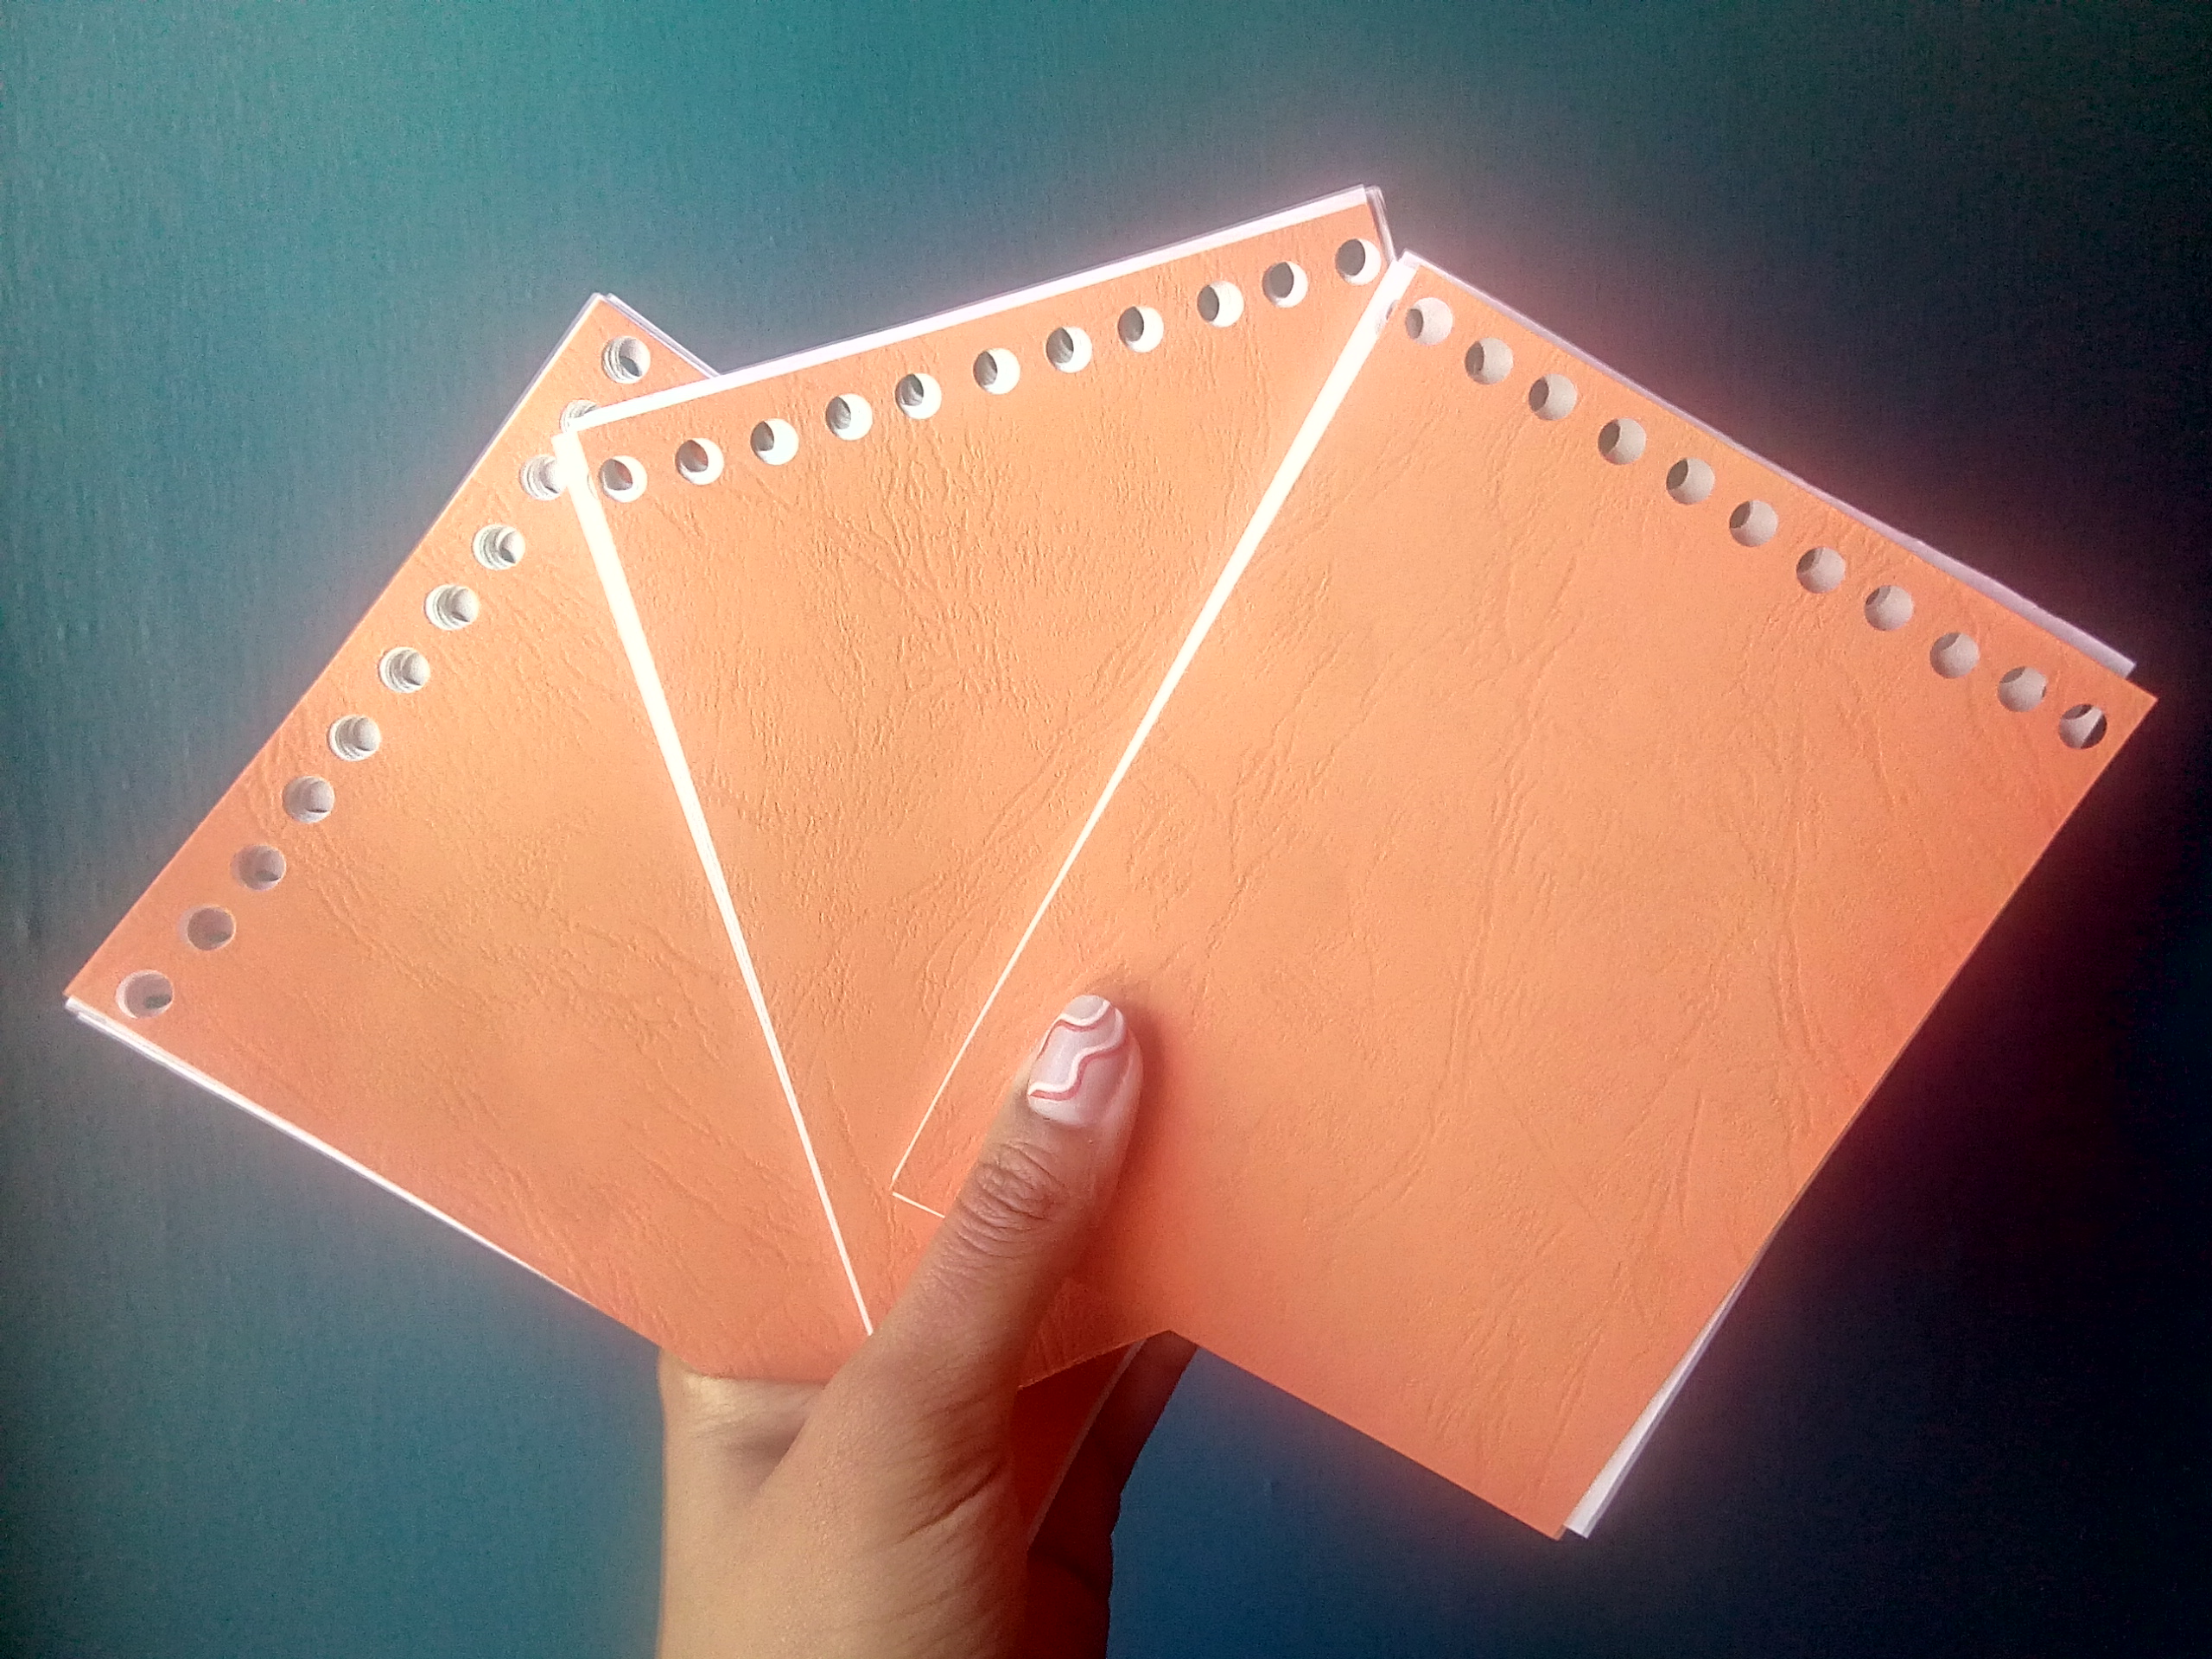
Cuarto: Ahora podemos empezar a sacar los bocados, para ello marcamos puntos a largo de toda su anchura dejando un centímetro entre cada punto para hacer la guía de donde abriremos el agujero.
Fourth: Now we can start to take out the bites, for this we mark points along their entire width, leaving a centimeter between each point to make the guide from where we will open the hole.
Quinto: Juntamos la tripa con sus respectivas portadas y contraportadas. En mi caso me salieron tres libretas y cada una tiene veinte hojitas blancas.
Fifth: We put the gut together with their respective covers and back covers. In my case I got three notebooks and each one has twenty little white sheets.
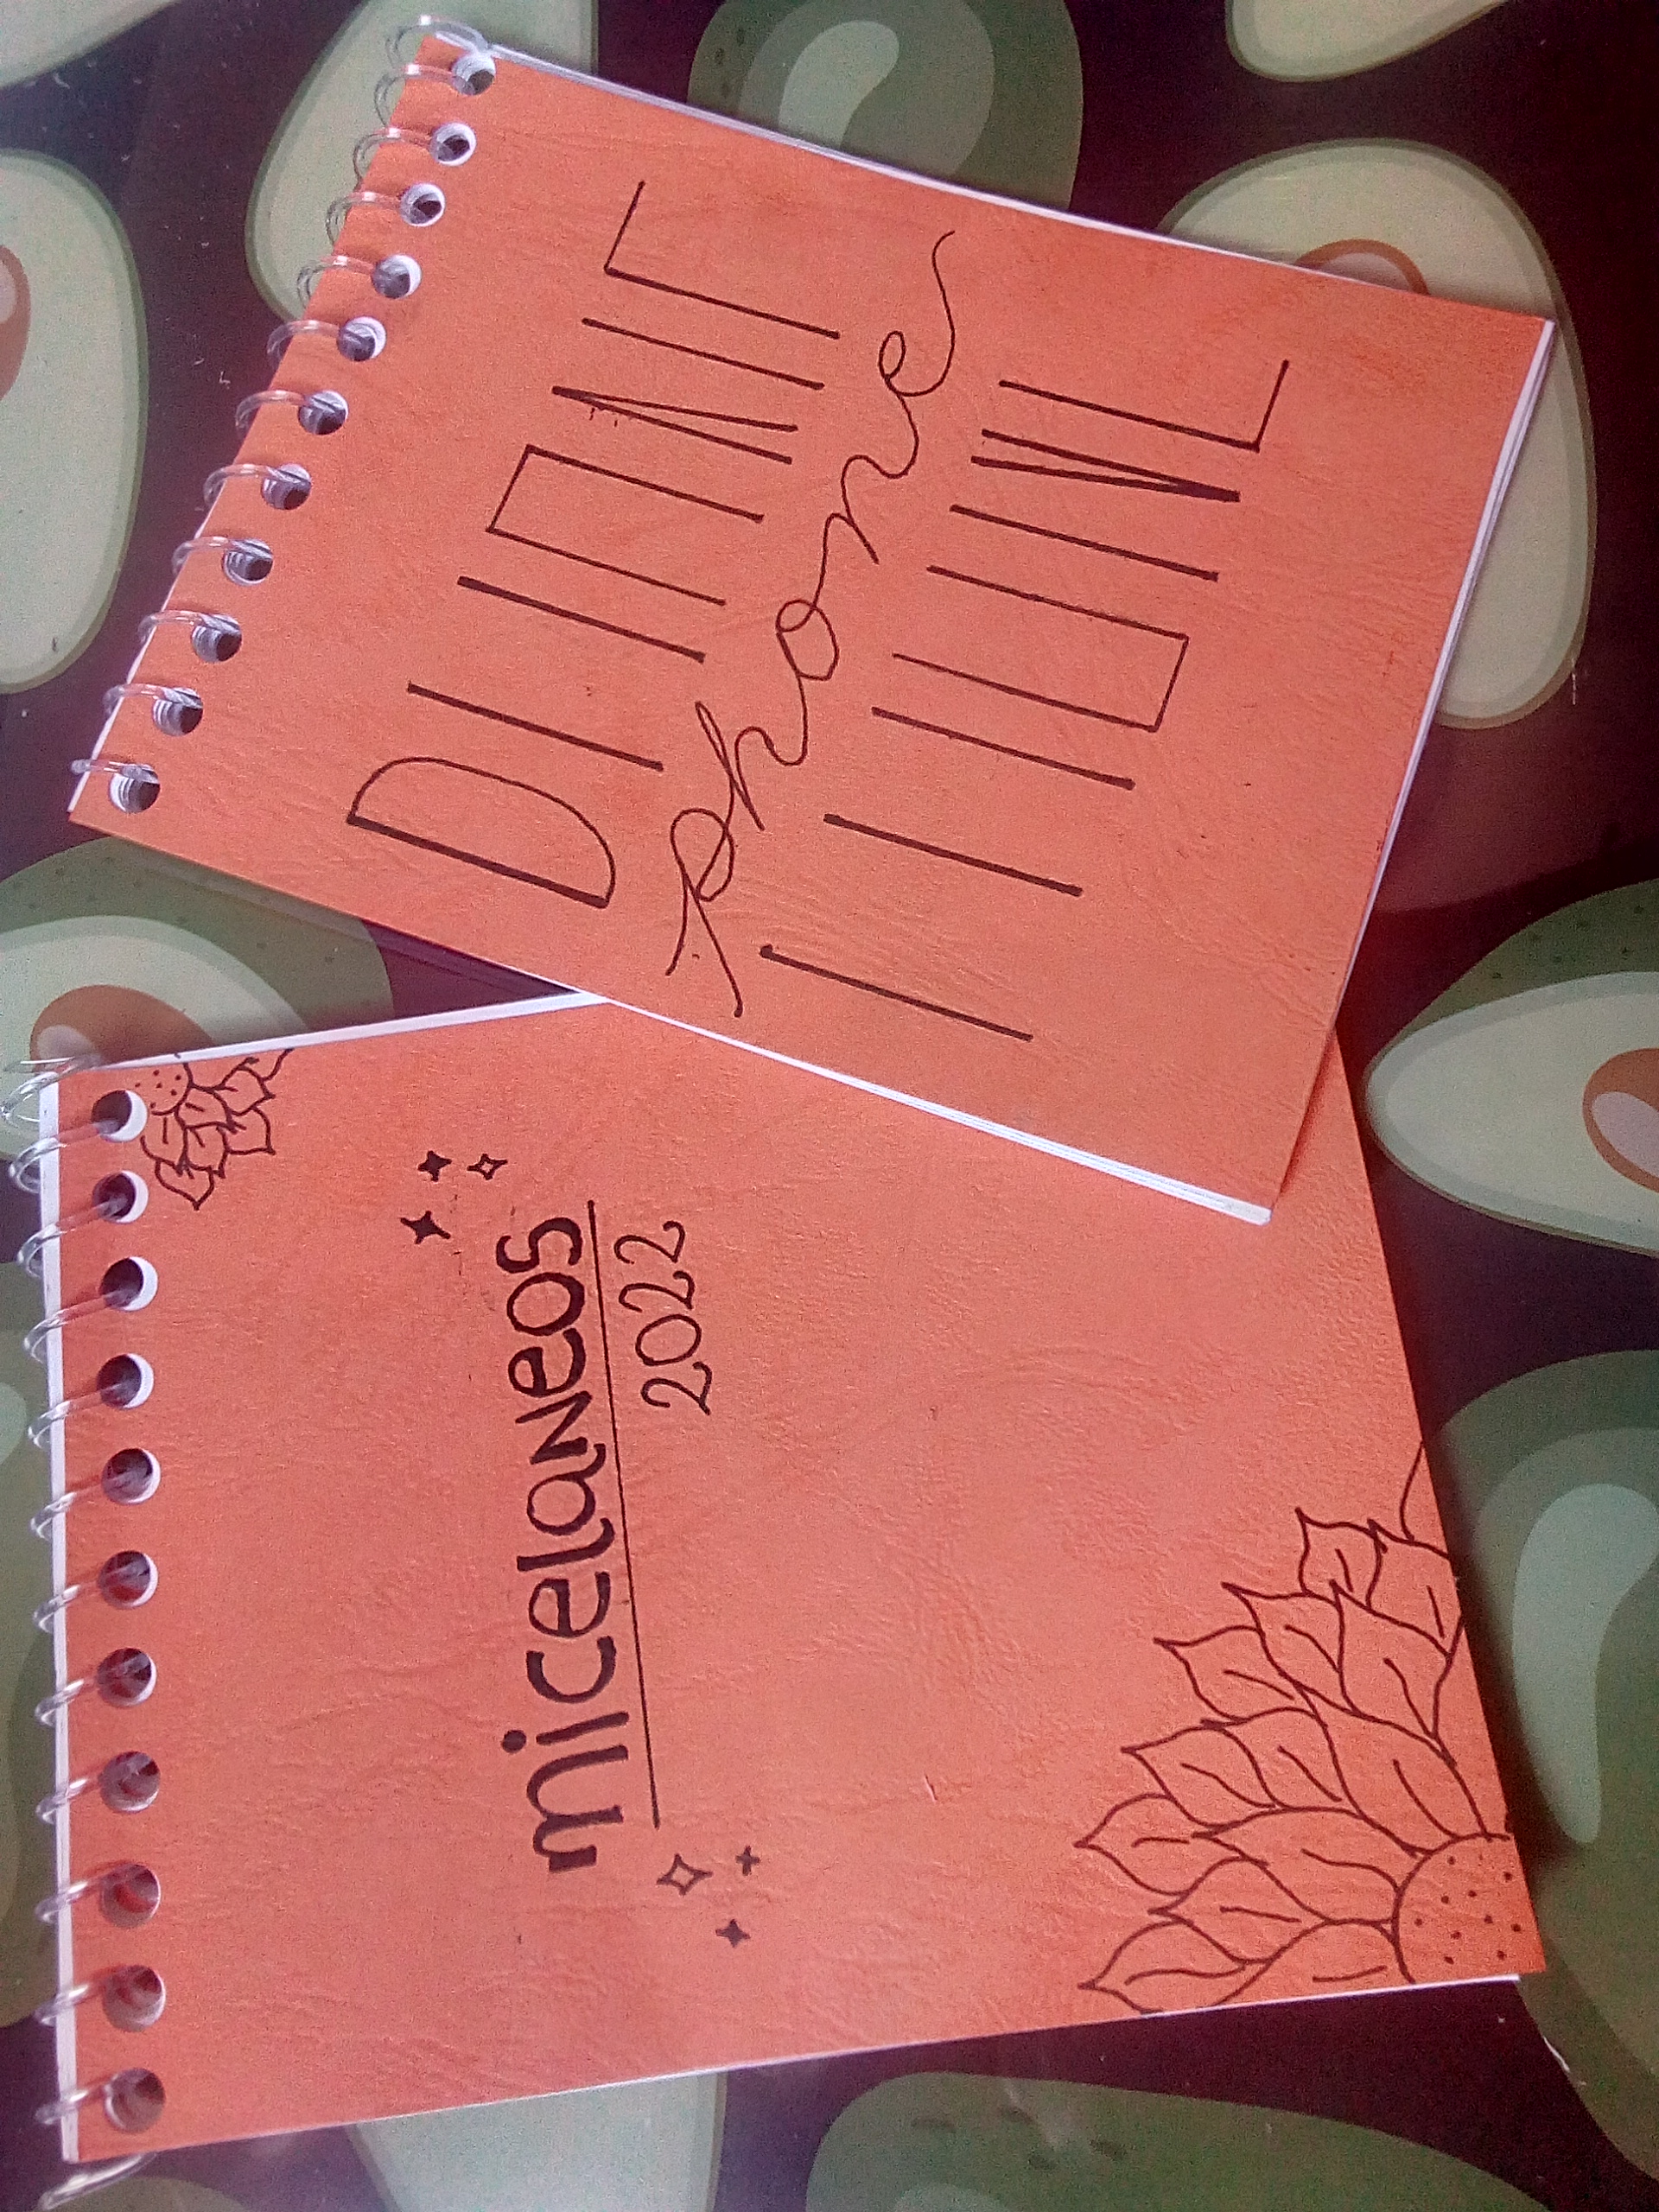
Sexto: Terminamos el ensamble con la colocación del resorte que va insertado en los huecos que hicimos.
Sixth: We finish the assembly with the placement of the spring that is inserted in the holes we made.
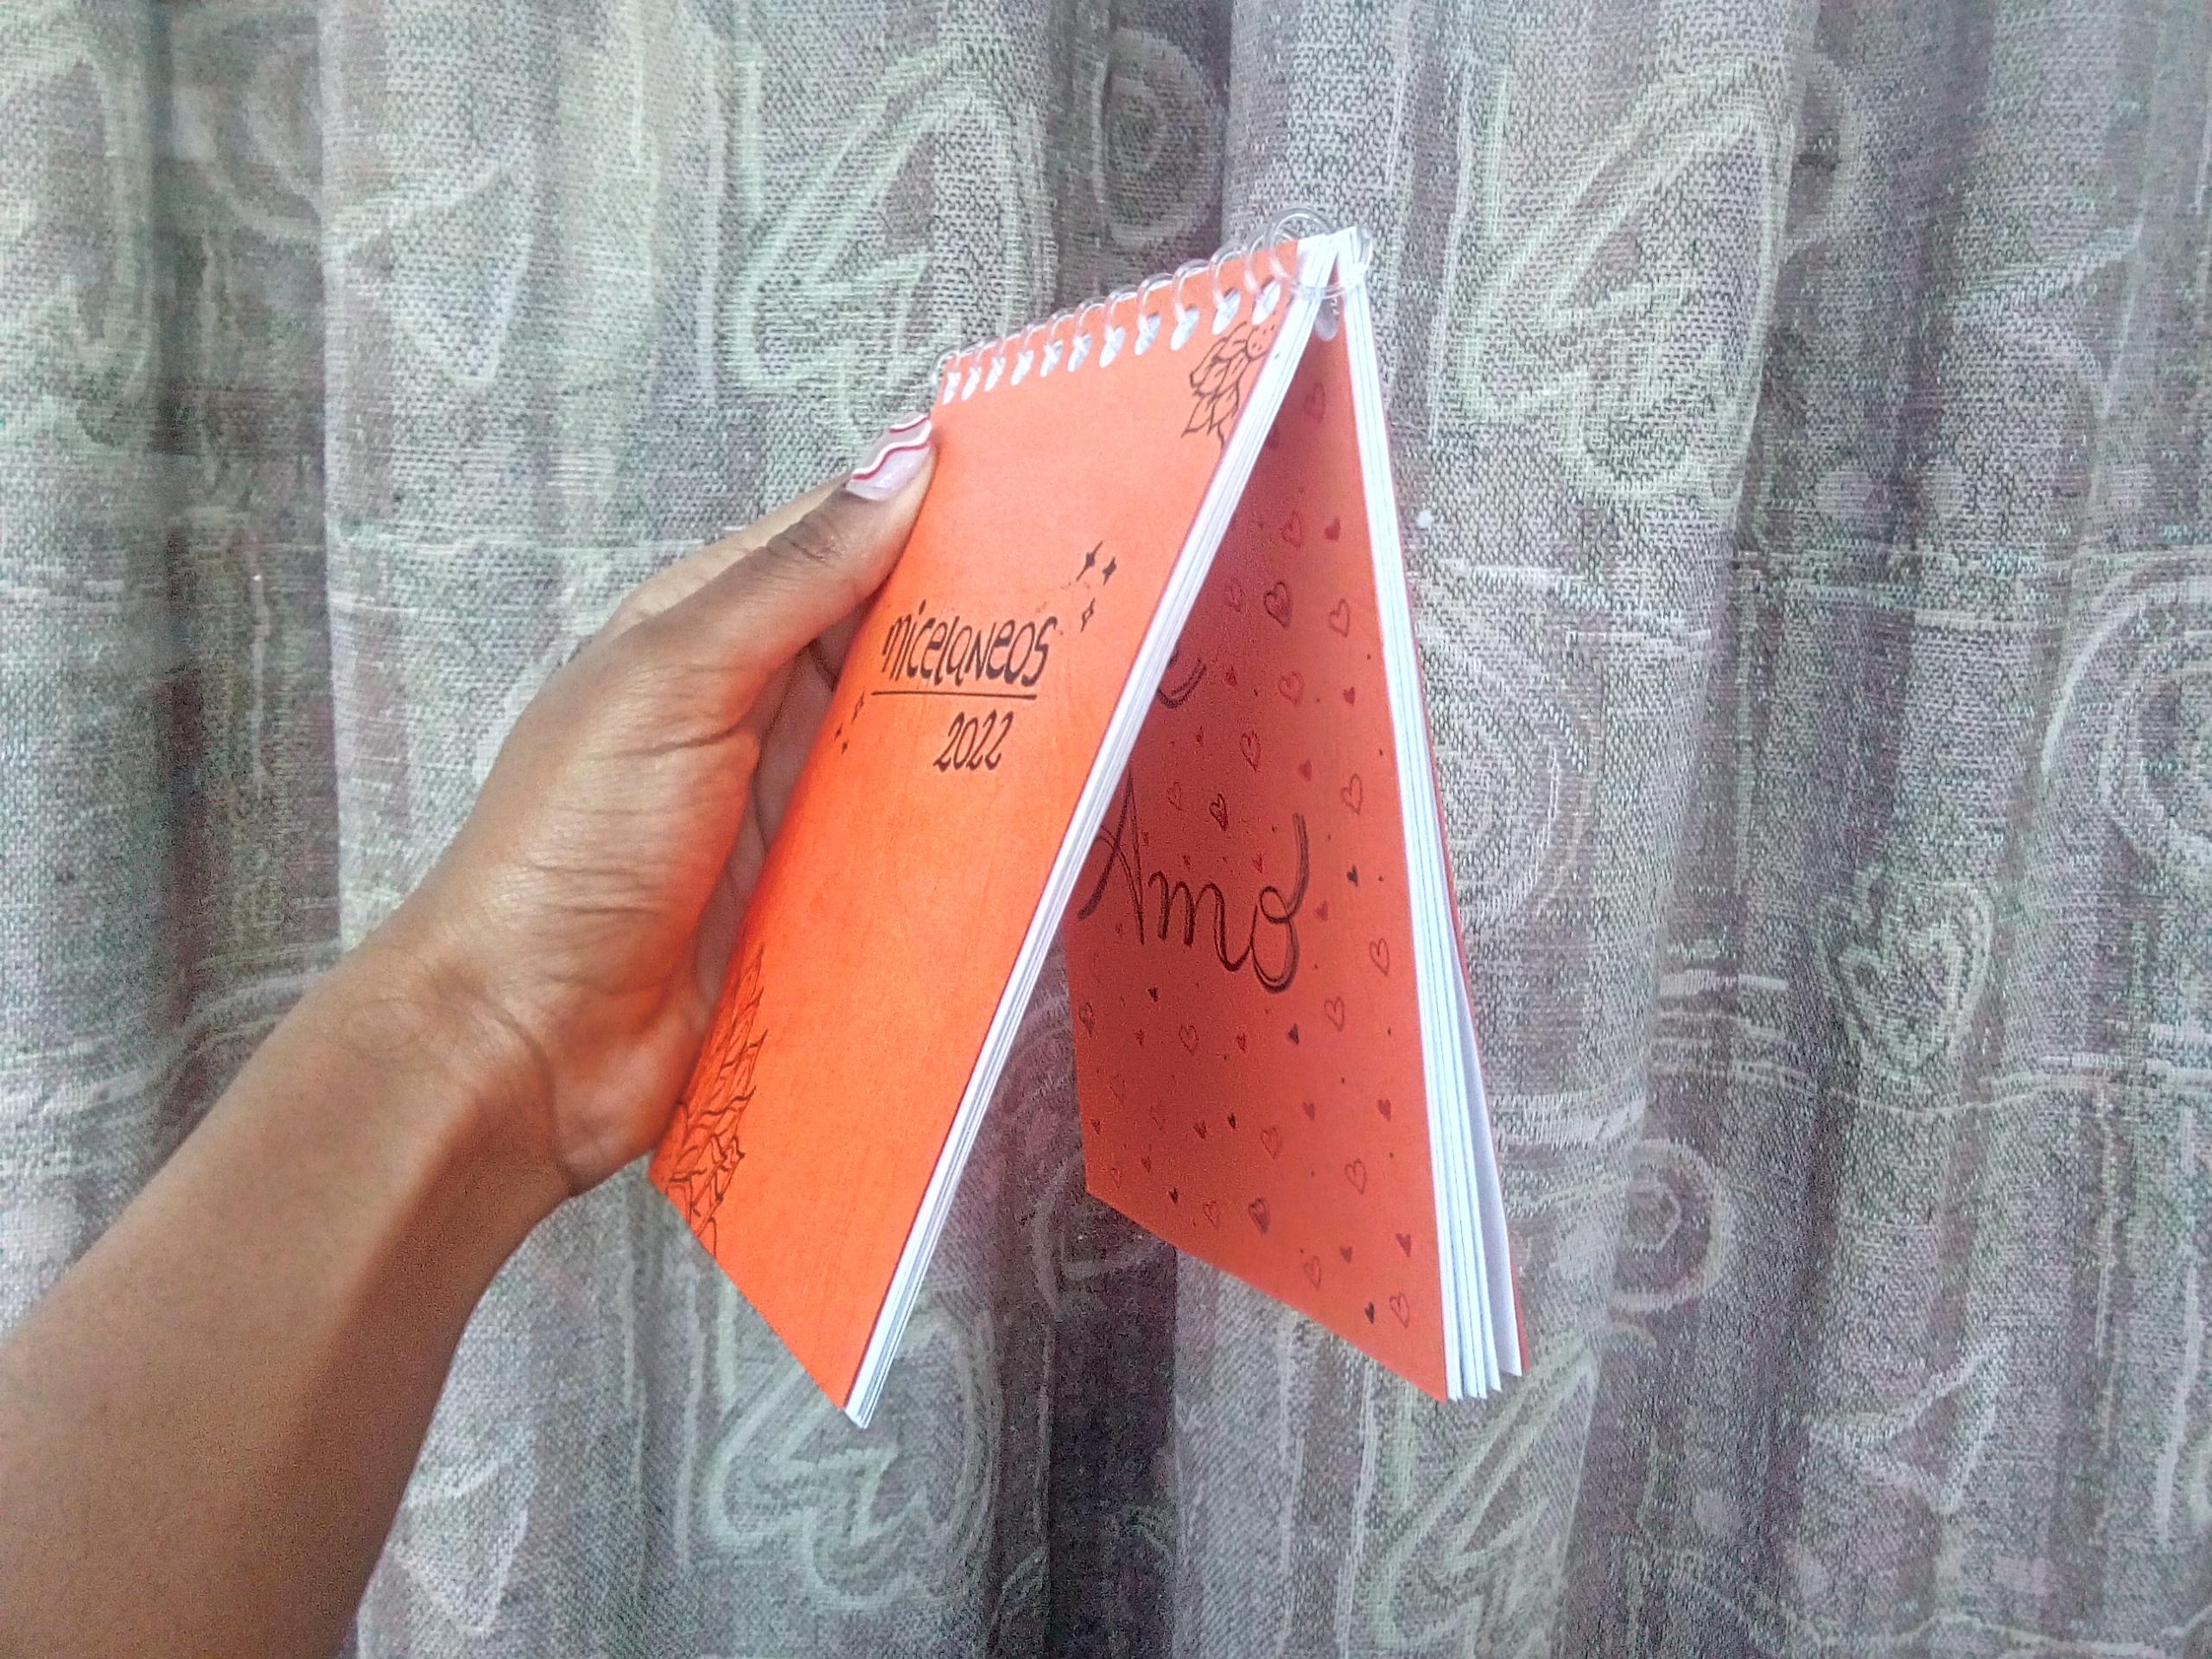
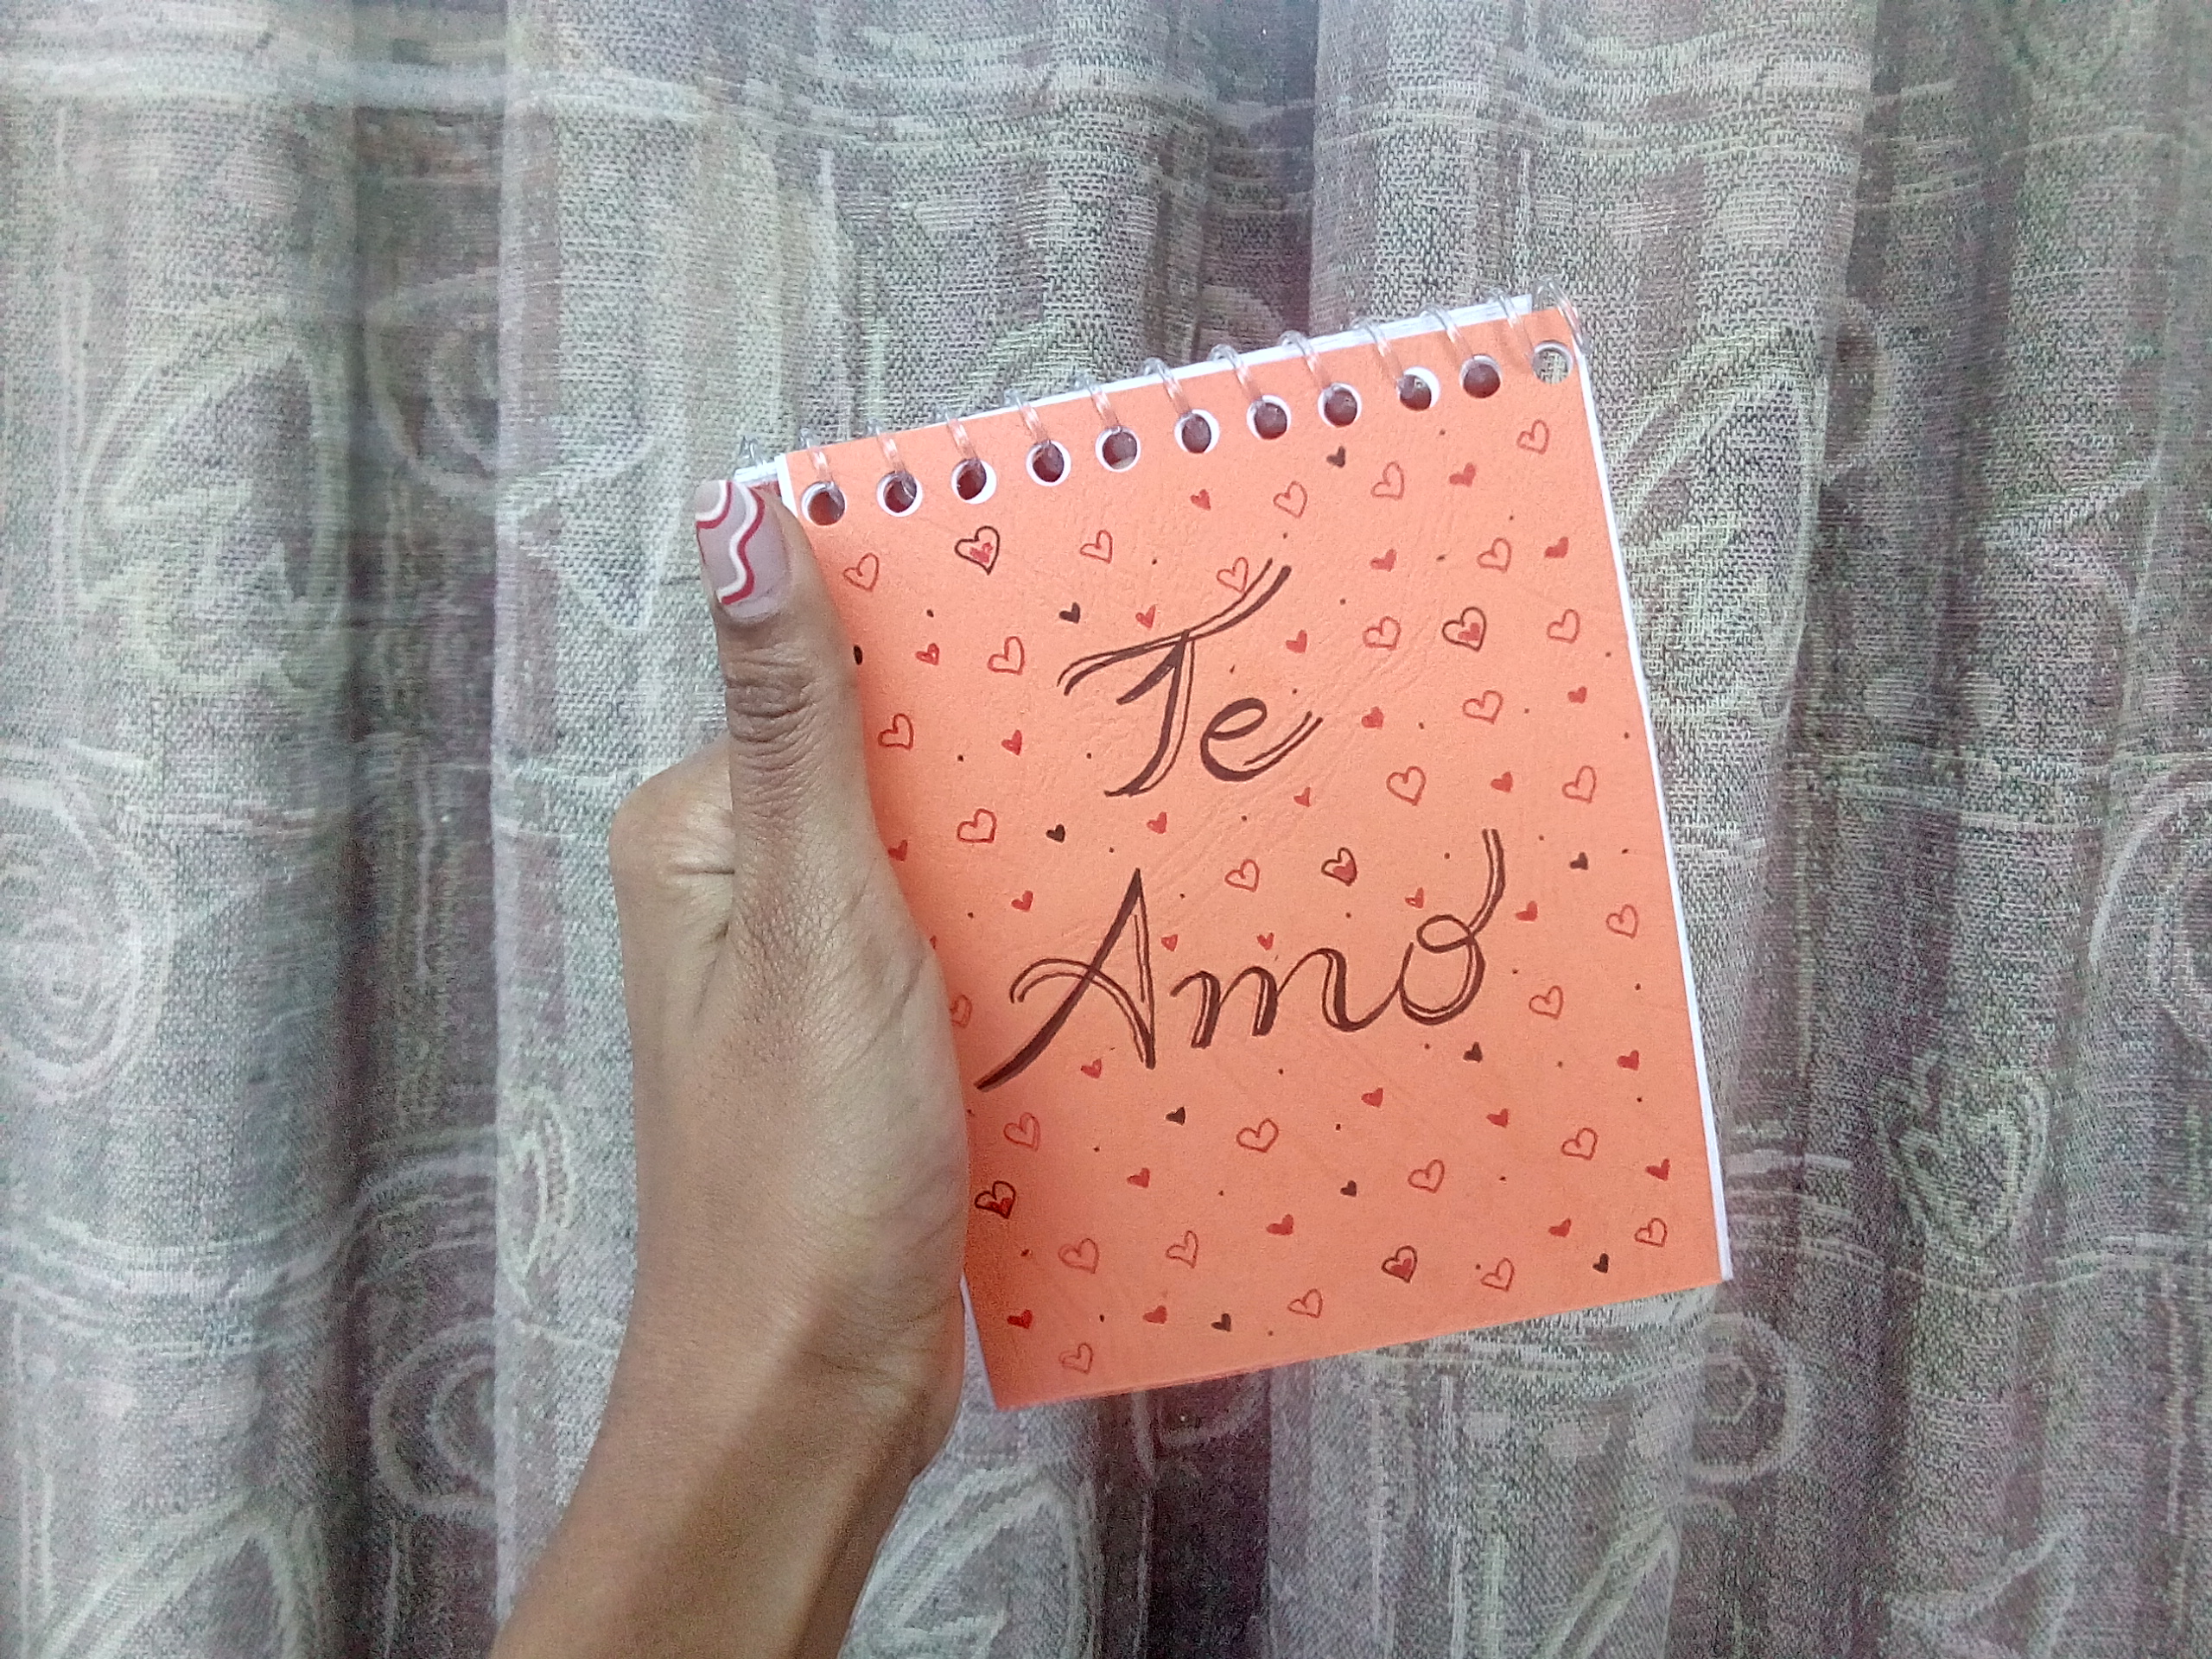
Séptimo: Como último paso toca adornar la libreta según se nos antoje o al estilo de la persona a la cual se lo deseamos regalar, yo en particular tome una de las libretas solo para números de teléfonos mientras que con las dos otras libretas las uní para formar una, en la primera portada escribí la palabra ”Micelaneos” ya que su uso se destinará para varios fines y en la segunda portada escribí la palabra “TE AMO” que me parece es un mensaje secreto y bonito para mi mama.
Seventh: As a last step we have to decorate the notebook as we please or in the style of the person to whom we want to give it as a gift, I in particular took one of the notebooks only for phone numbers while with the other two notebooks I joined them to form one, on the first cover I wrote the word "Micelaneos" since its use will be used for various purposes and on the second cover I wrote the word "I LOVE YOU" which I think is a beautiful and hidden message for my mother.
Y LISTO chicos con tan solo 7 pasos eres capaz de hacer esta manualidad también! Espero de verdad que te haya gustado y te haya sido útil. Muchas gracias por leer, besos y abrazos.
AND READY guys with just 7 steps you are able to do this craft too! I really hope you liked it and it has been useful to you. Thank you very much for reading, kisses and hugs.
Congratulations @snat! You have completed the following achievement on the Hive blockchain and have been rewarded with new badge(s):
Your next target is to reach 700 upvotes.
You can view your badges on your board and compare yourself to others in the Ranking
If you no longer want to receive notifications, reply to this comment with the word
STOPCheck out the last post from @hivebuzz:
Support the HiveBuzz project. Vote for our proposal!
Your content has been voted as a part of Encouragement program. Keep up the good work!
Use Ecency daily to boost your growth on platform!
Support Ecency
Vote for new Proposal
Delegate HP and earn more
Thank you for sharing this amazing post on HIVE!
non-profit curation initiative!Your content got selected by our fellow curator @stevenson7 & you just received a little thank you via an upvote from our
You will be featured in one of our recurring curation compilations and on our pinterest boards! Both are aiming to offer you a stage to widen your audience within and outside of the DIY scene of hive.
Join the official DIYHub community on HIVE and show us more of your amazing work and feel free to connect with us and other DIYers via our discord server: https://discord.gg/mY5uCfQ !
If you want to support our goal to motivate other DIY/art/music/homesteading/... creators just delegate to us and earn 100% of your curation rewards!
Stay creative & hive on!