¡Holaaaaa amig@s de toda la comunidad de Hive!
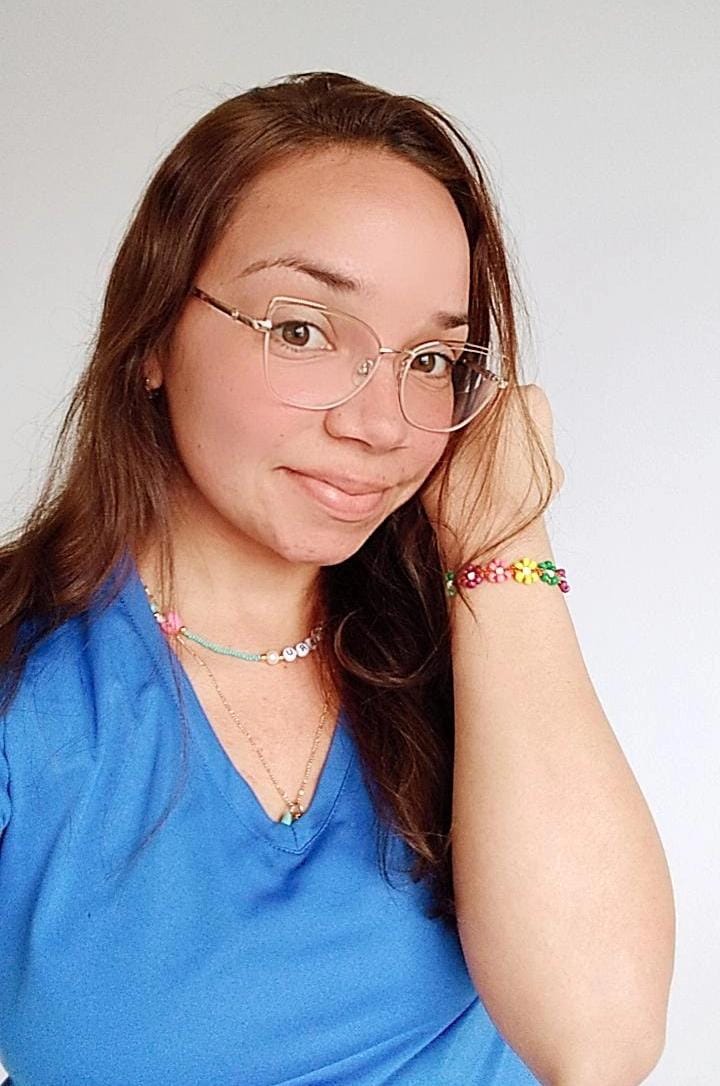
Hoy traigo una pulsera que esta en tendencia actualmente, es muy fácil y linda, aprender a hacerla te servirá para hacer pulseras y también collares.
Hello friends from the entire Hive community!
Today I bring a bracelet that is currently in trend, it is very easy and cute, learning how to make it will help you make bracelets and necklaces.
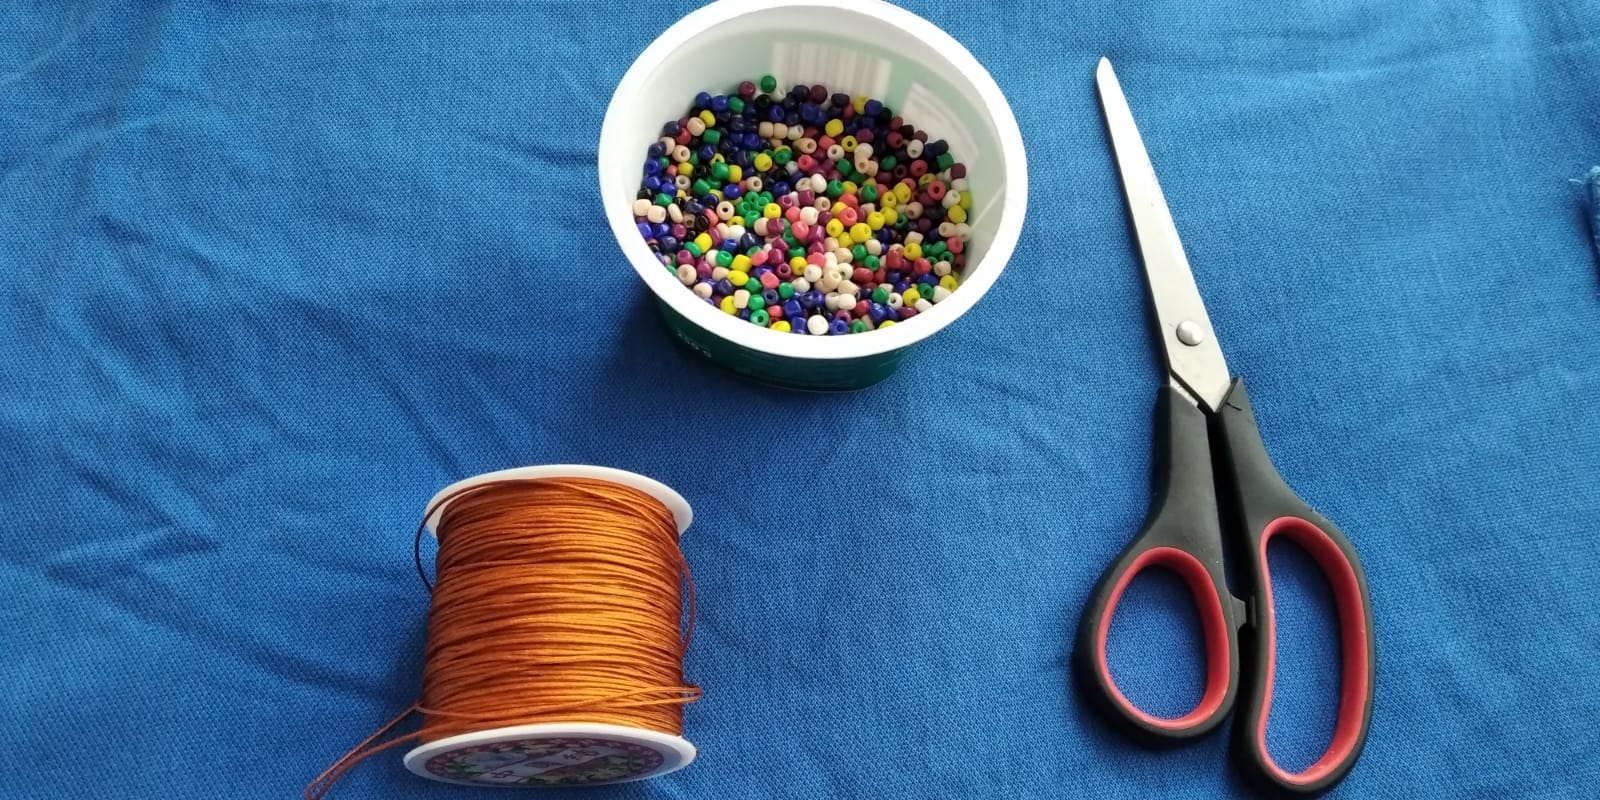
Materiales:
- Vamos a necesitas hilo chino ( también puedes usar hilo de macramé o cualquier otro que sientas que te dará un acabado que deseas.
- Tijera
- Mostacillón (mostacillas, miyuquí, etc)
- Encendedor para quemar las puntas de los hilos.
Materials:
- We are going to need Chinese thread (you can also use macrame thread or any other that you feel will give you a finish you want.
- Scissor
- Mostacillón (mostacillas, miyuquí, etc)
- Lighter to burn the ends of the threads.
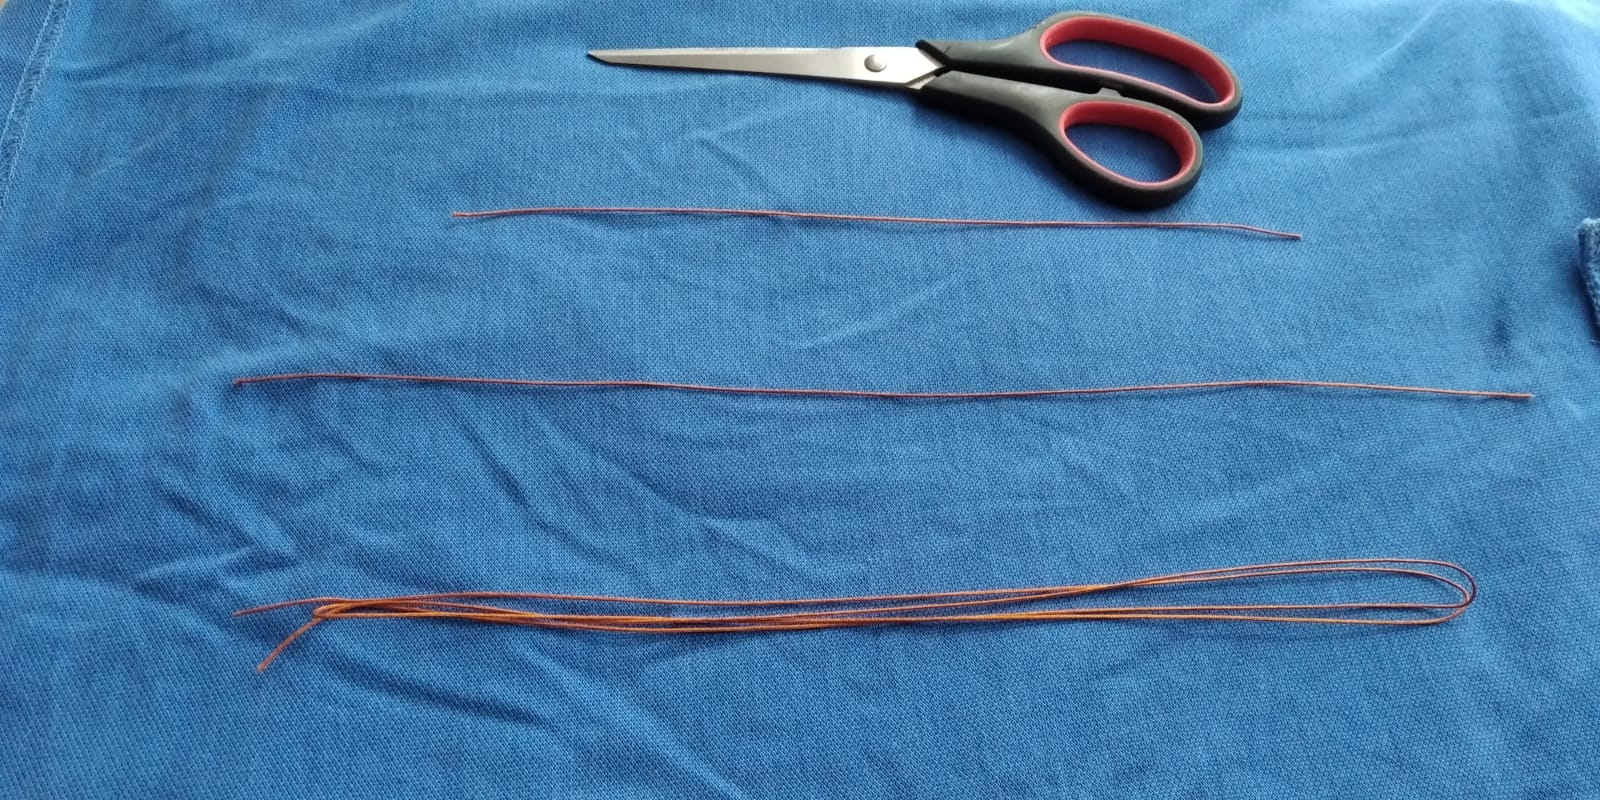
Lo primero será cortar el hilo a la medida que lo desees, te daré las medidas de una pulsera para mi muñeca que es bastante pequeña, en manualidades sería una muñeca talla S.
Cortamos el hilo más largo con el que tejeremos, el hilo mediano será nuestra base, y el más pequeño sera para finalizar nuestro brazalete.
Medidas: hilo largo 1.20 cm
Hilo mediano: 20cm
Hilo corto: 15 cm
Estas medidas suelen tener 1 o 2 c de más para prevenir.
The first thing is to cut the thread to the extent you want, I will give you the measurements of a bracelet for my wrist that is quite small, in crafts it would be a size S doll.
We cut the longest thread with which we will weave, the medium thread will be our base, and the smallest one will be to finish our bracelet.
Measurements: long thread 1.20 cm
Medium thread: 20cm
Short thread: 15 cm
These measures usually have 1 or 2 extra c's to prevent.
.jpeg)
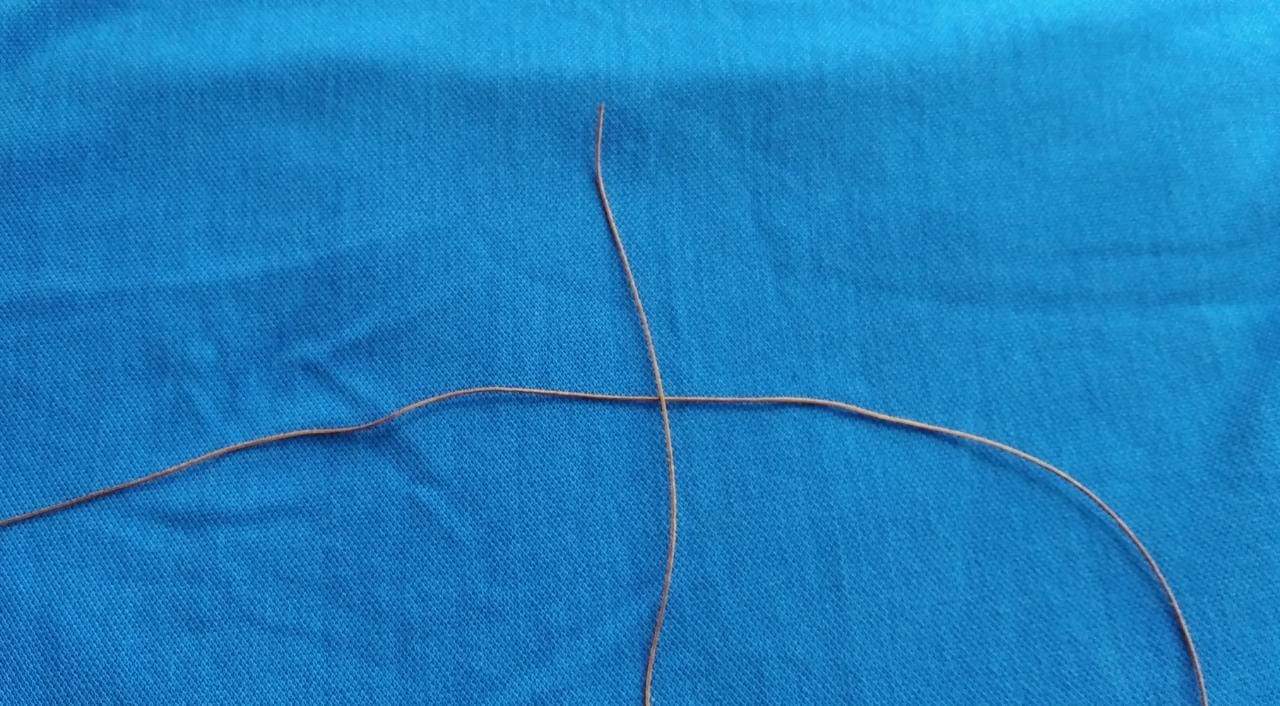
Lo siguiente será colocar el hilo largo de forma horizontal y el hilo base (medio) de forma vertical, y así irán durante todo el proceso.
The next thing will be to place the long thread horizontally and the base (middle) thread vertically, and they will go like this throughout the process.
.jpeg)
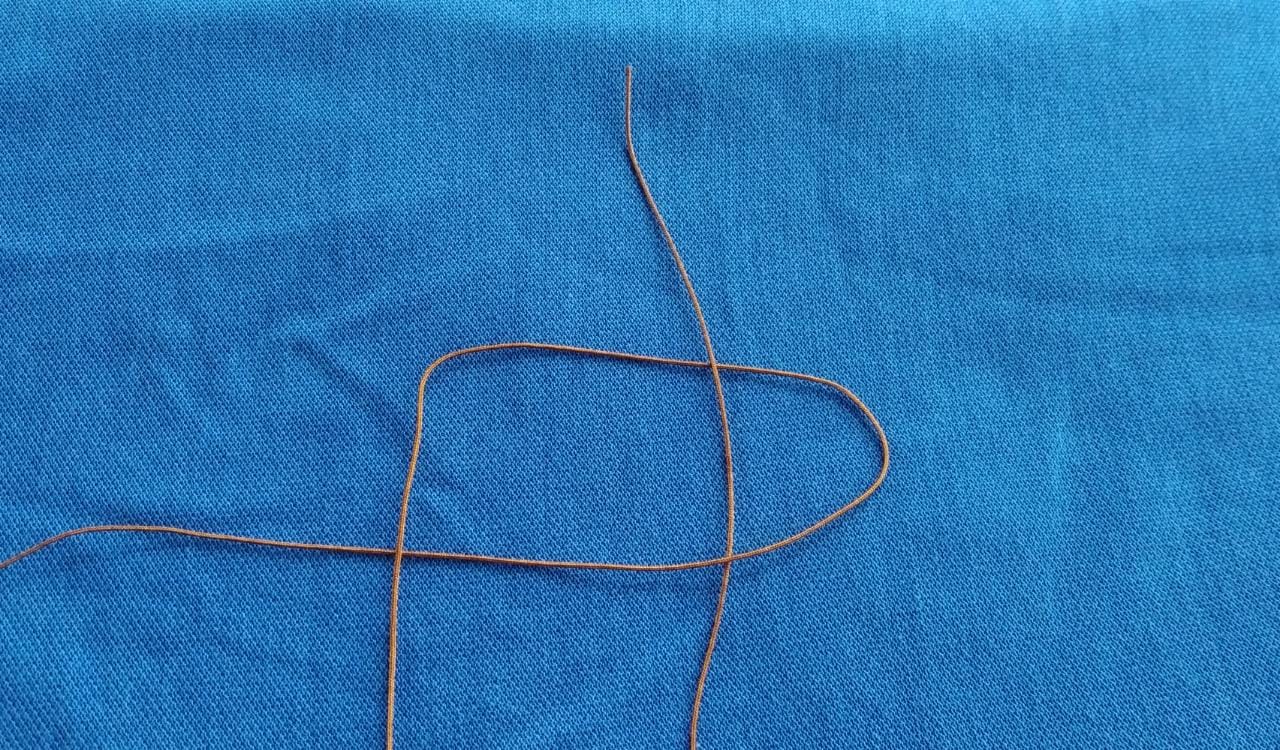
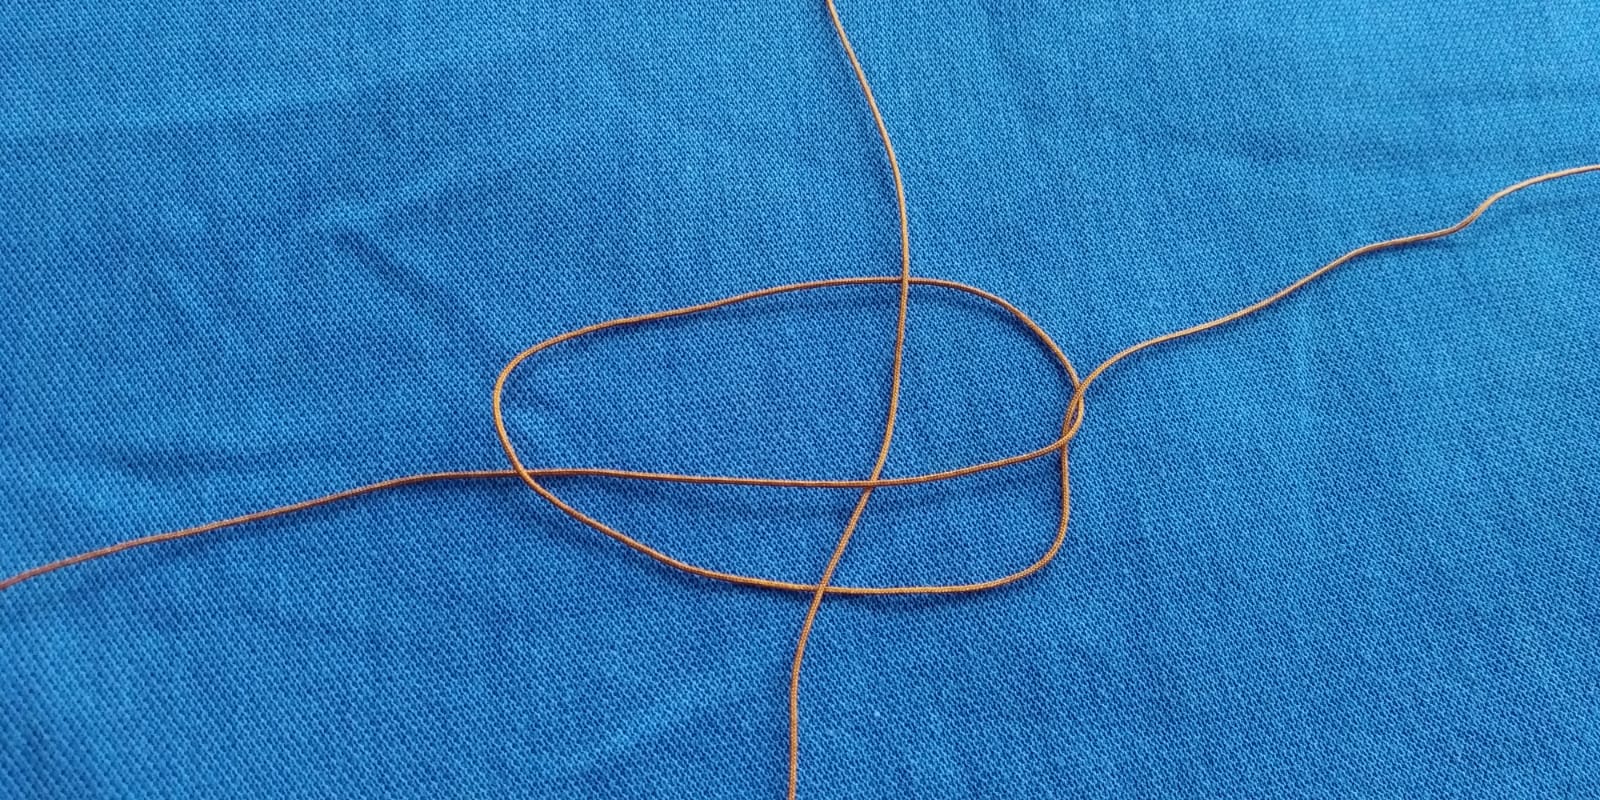
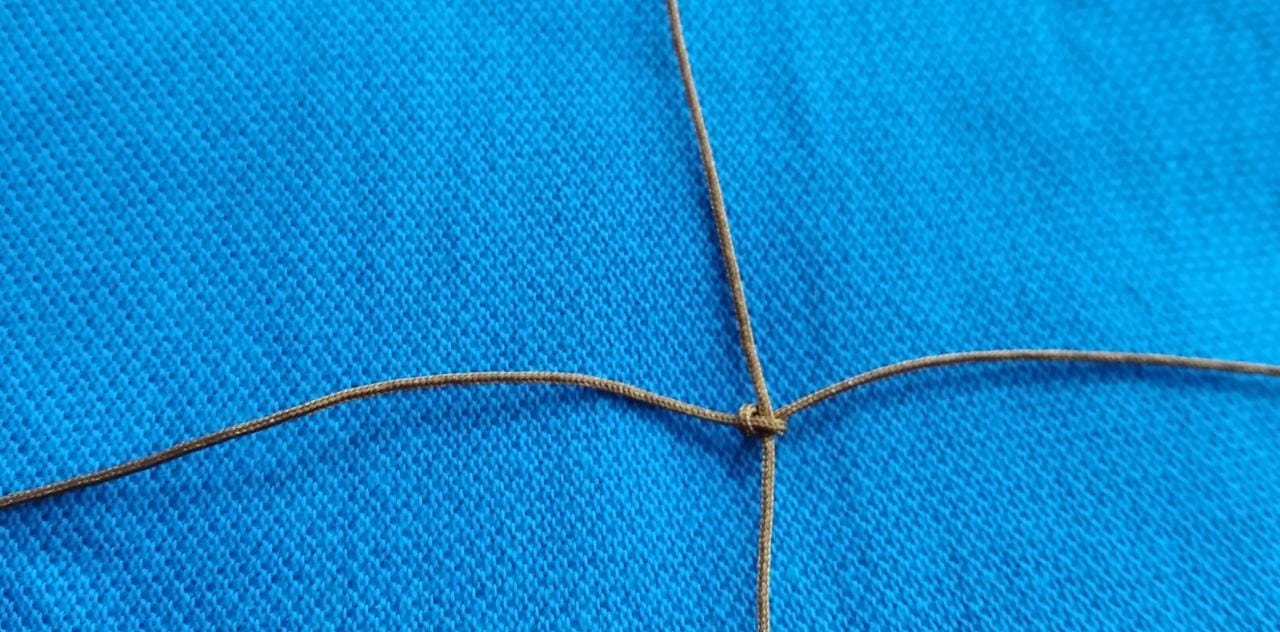
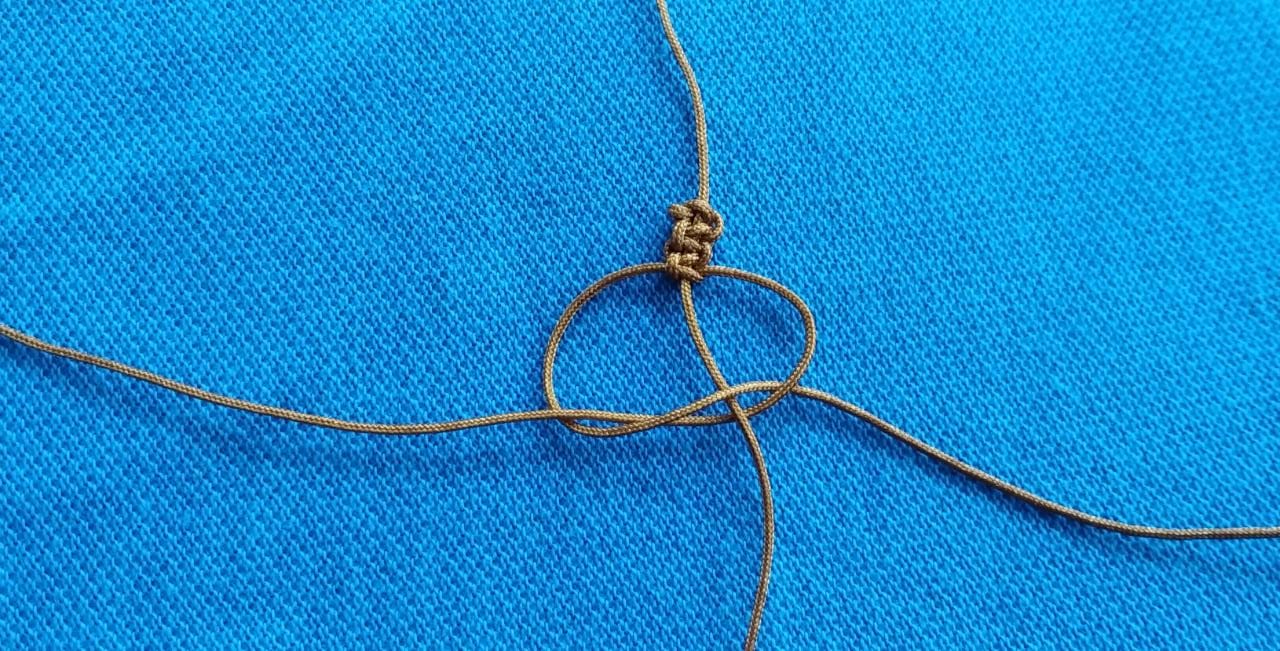
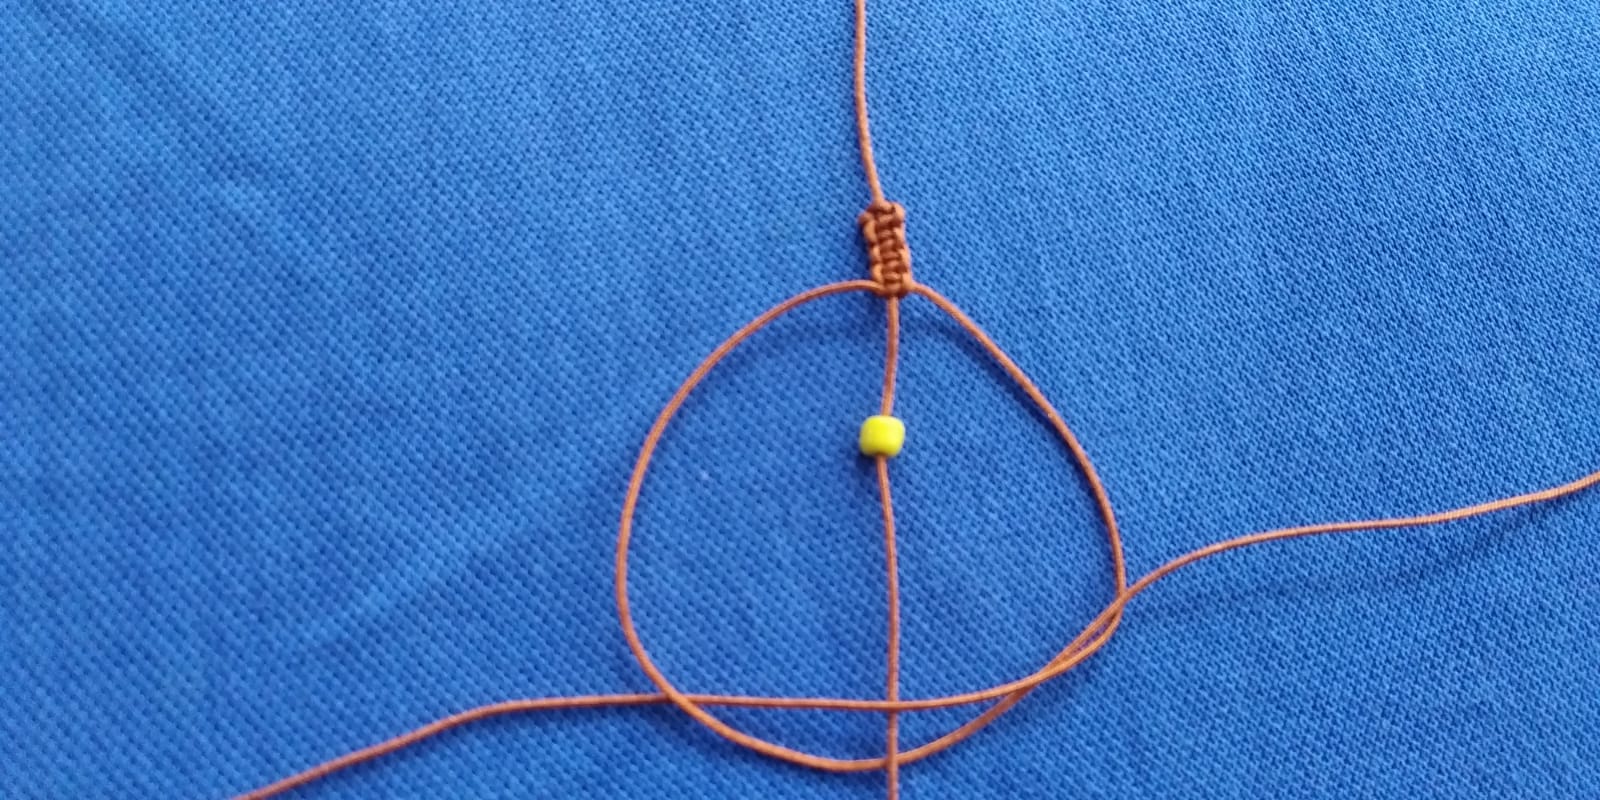
Luego tomamos el hilo de lado derecho y lo pasamos sobre el hilo medio, y el hilo de lado izquierdo sobre ese y por debajo, luego lo sacamos por el huequito que nos queda de lado derecho, en la imagen lo verás más claro. Al final lo aprietas con fuerza para que puedas ver el nudo plano.
Then we take the thread on the right side and pass it over the middle thread, and the thread on the left side over that and below, then we take it out through the little hole that remains on the right side, in the image you will see it more clearly.
At the end you tighten it tightly so that you can see the flat knot.
.jpeg)
.jpeg)
.jpeg)
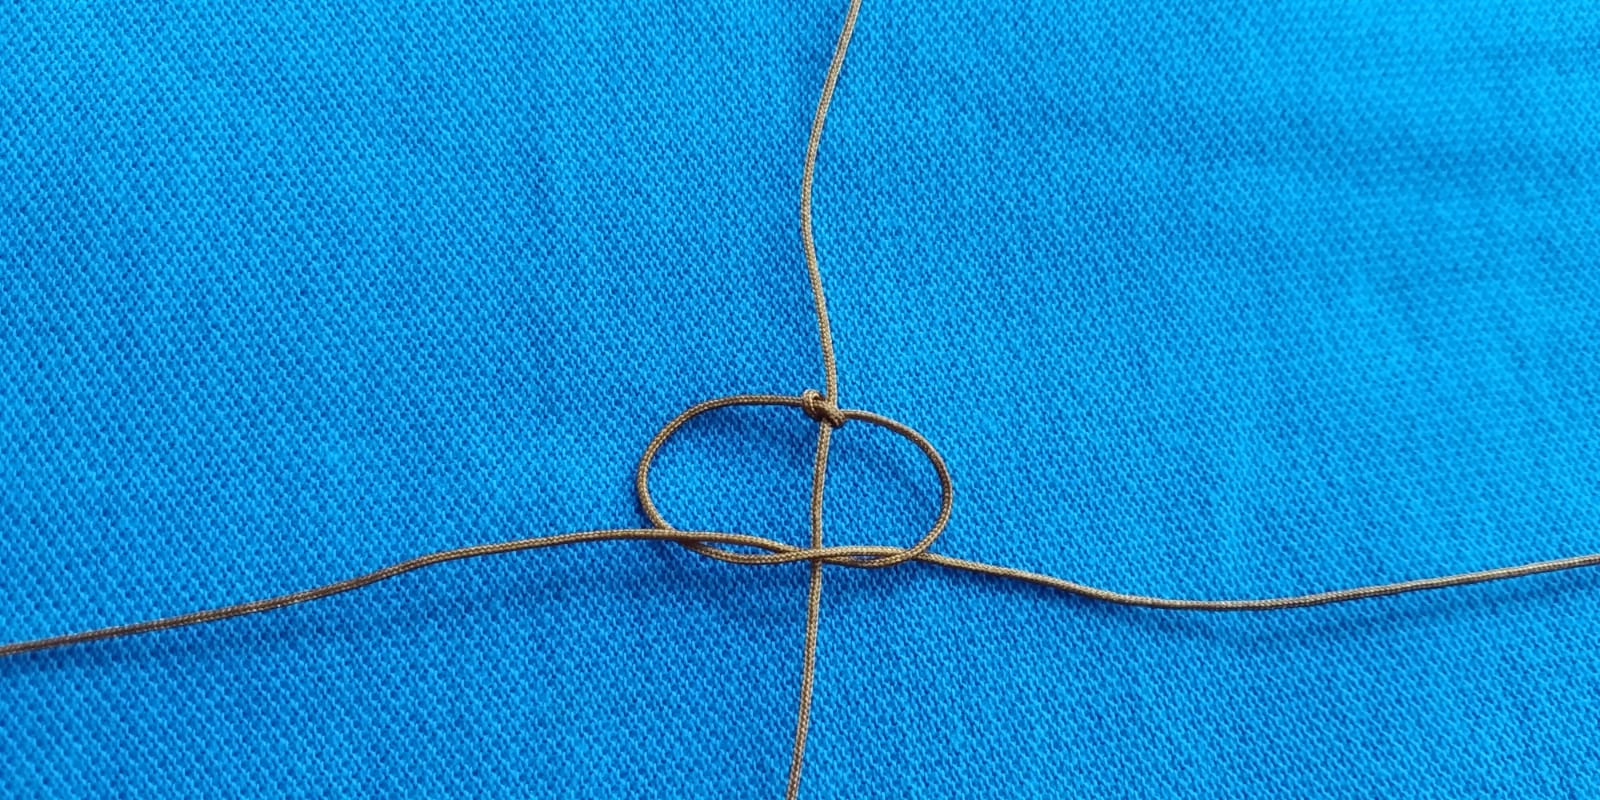
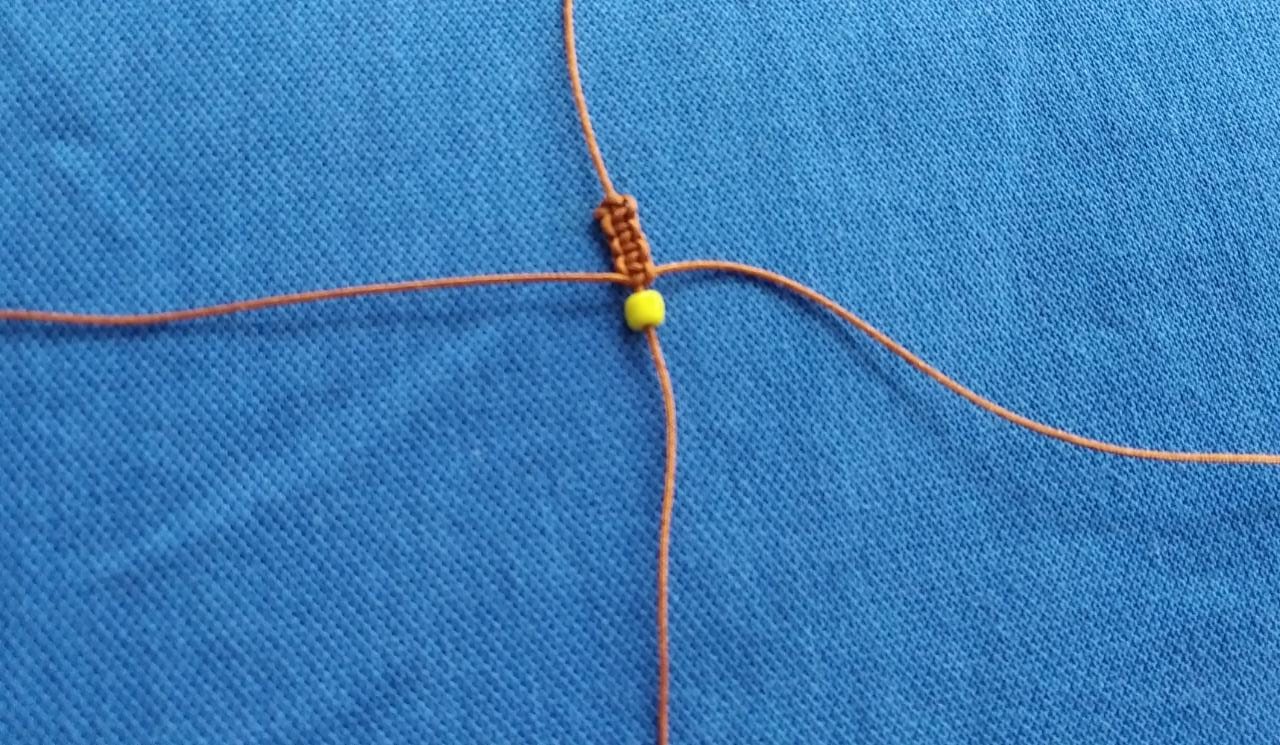
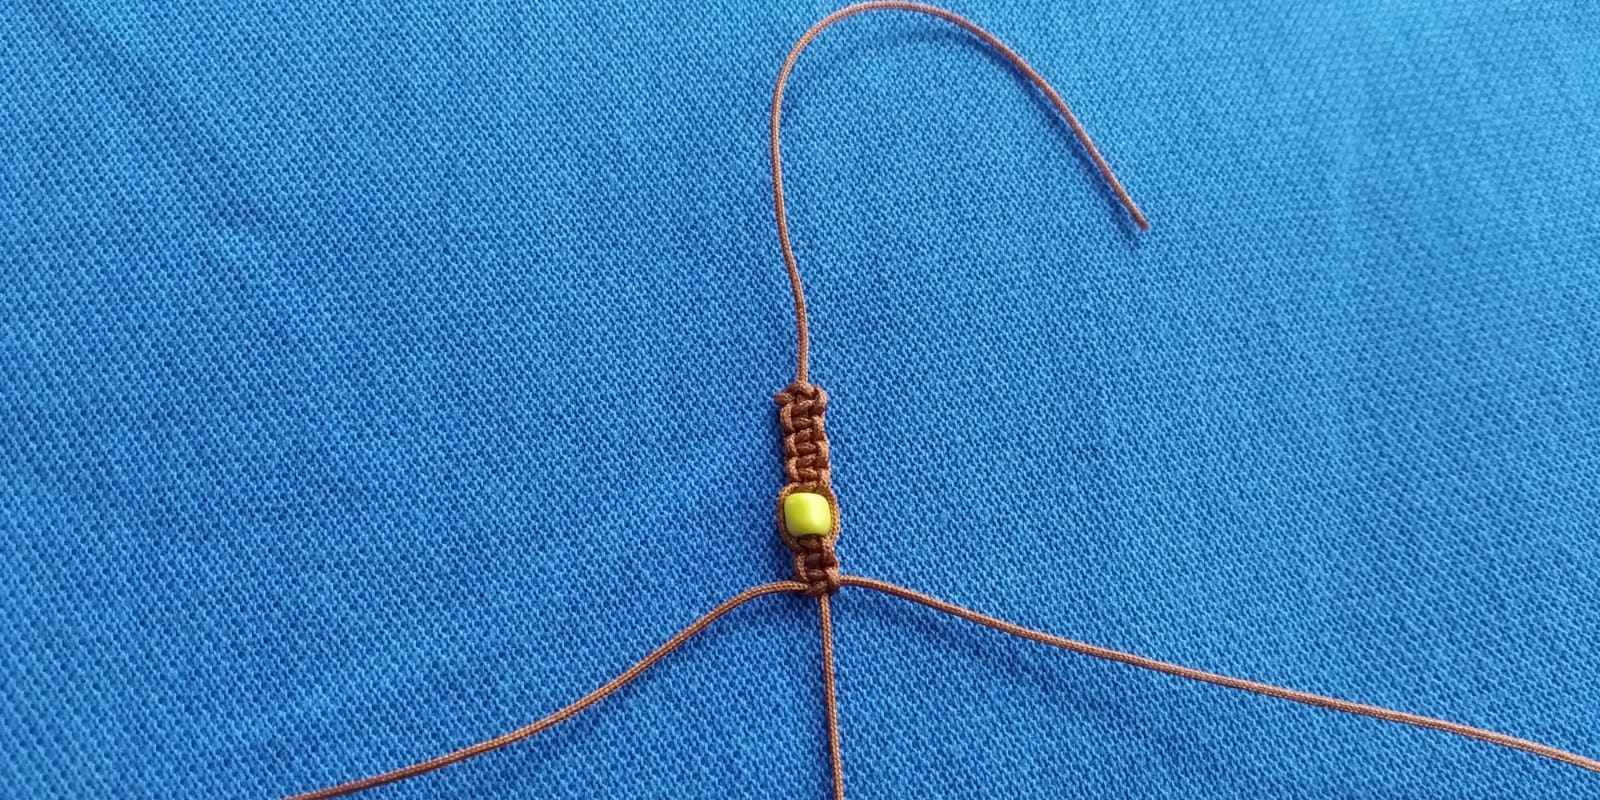
Ese paso lo vamos a repetir varias veces, para crear la primera parte de nuestra pulsera. Luego de que hemos hecho varios nudos procedemos a colocar un mostacillón en el hilo del medio, y volvemos a anudar.
We are going to repeat that step several times, to create the first part of our bracelet. After we have made several knots we proceed to place a mustacillion in the middle thread, and we tie again.
.jpeg)
.jpeg)
.jpeg)
.jpeg)
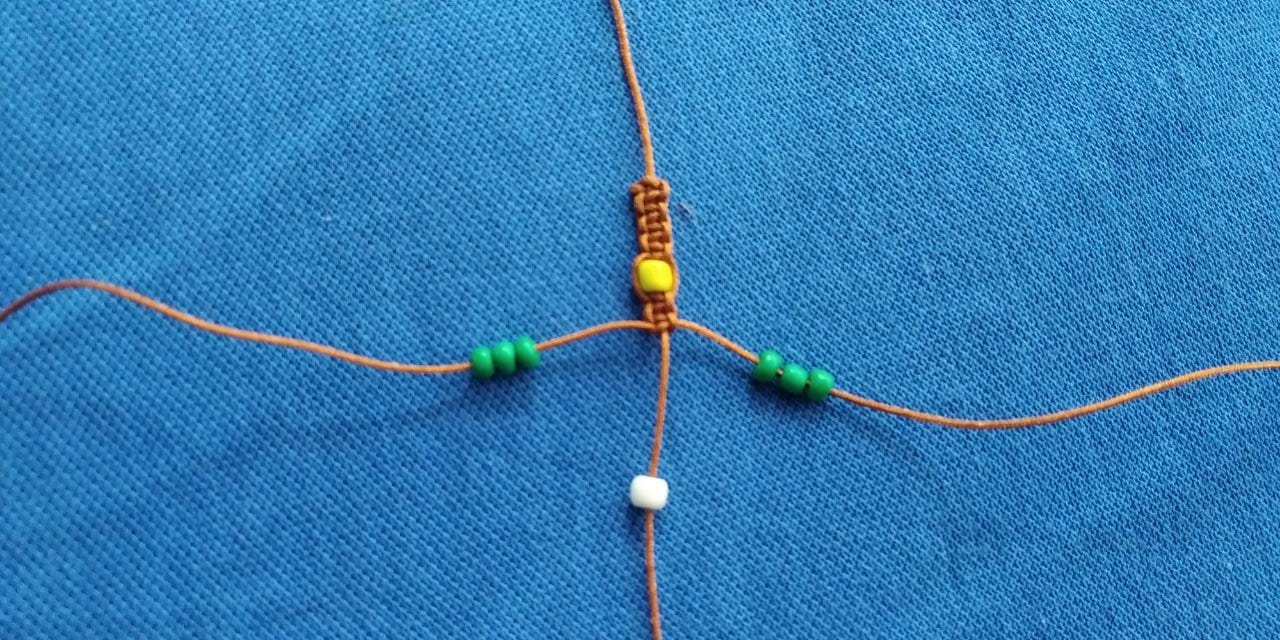
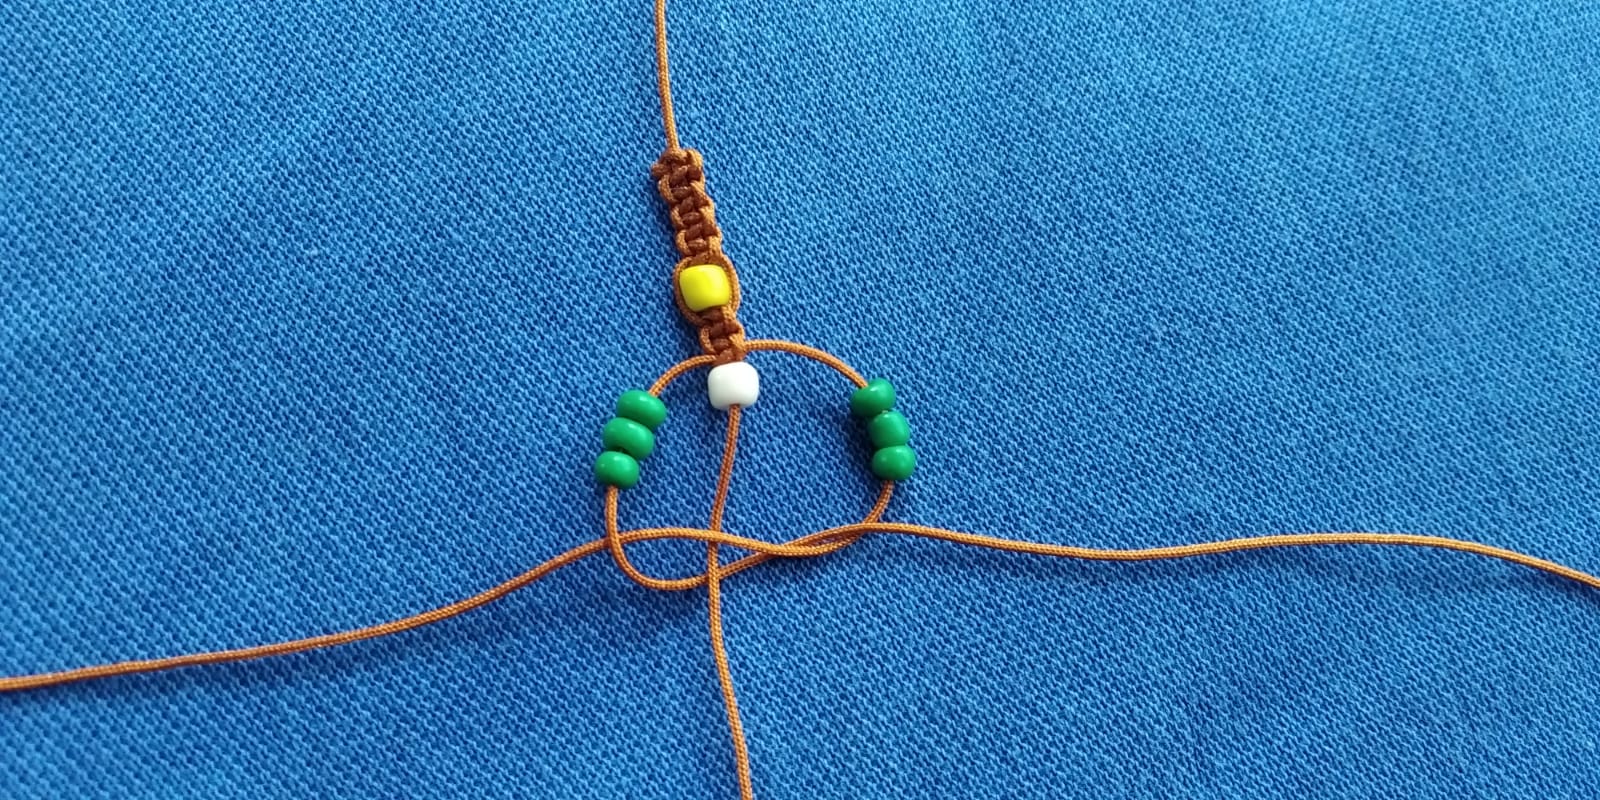
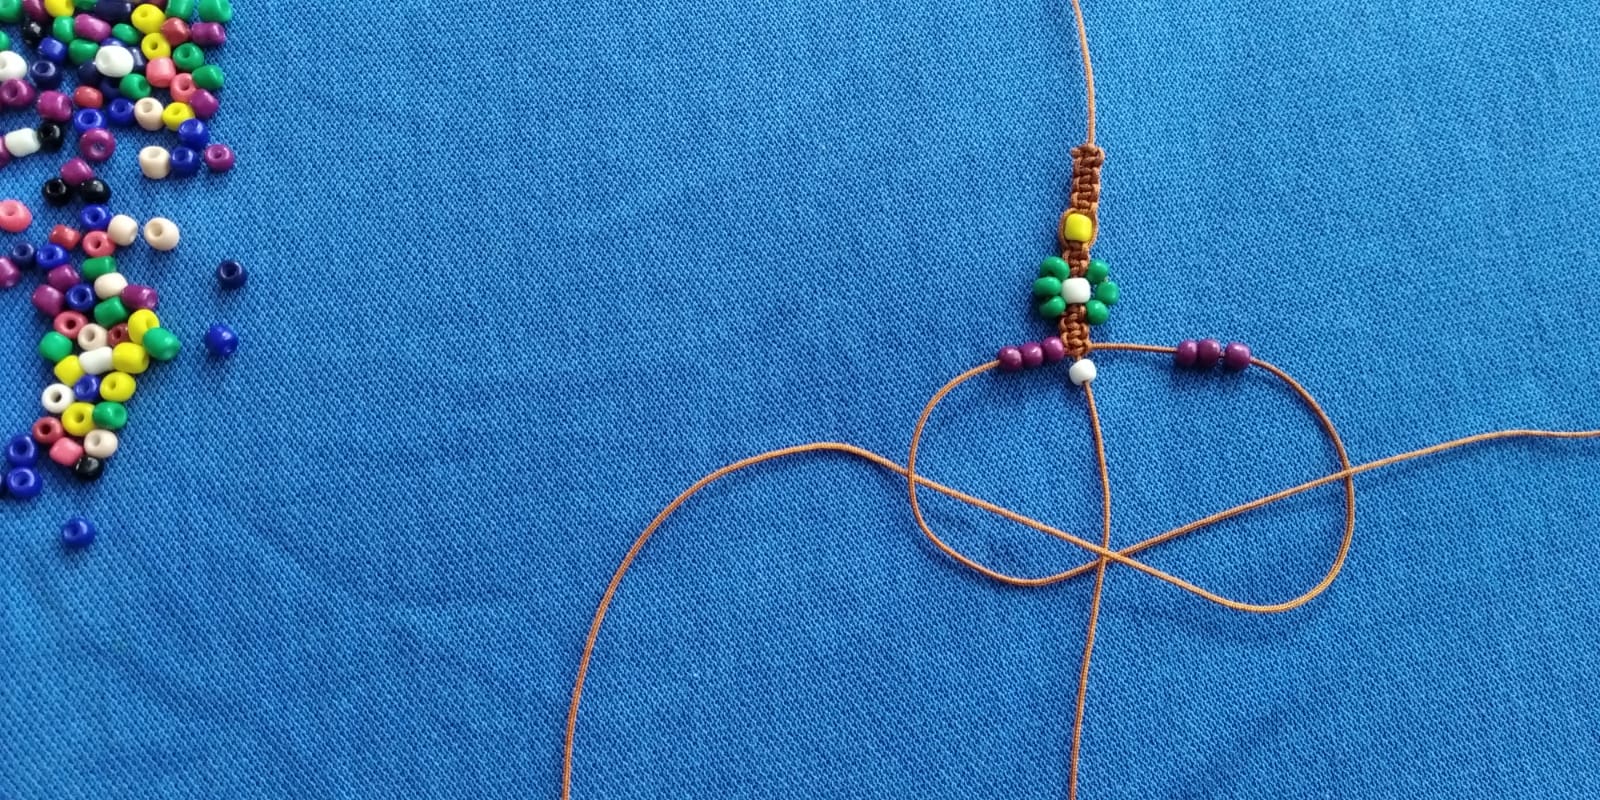
Cuando ya avanzamos unos tres nuditos más, vamos a realizar nuestra primera flor. Para ello vamos a colocar un mostacillón en nuestro hilo guía (medio), y tres mostacillones en cada uno de nuestros hilos largos, de lado derecho e izquierdo.
When we have already advanced about three more knots, we are going to make our first flower. For this we are going to place a mostacillón in our guide wire (middle), and three mostacillones in each of our long threads, on the right and left side.
.jpeg)
.jpeg)
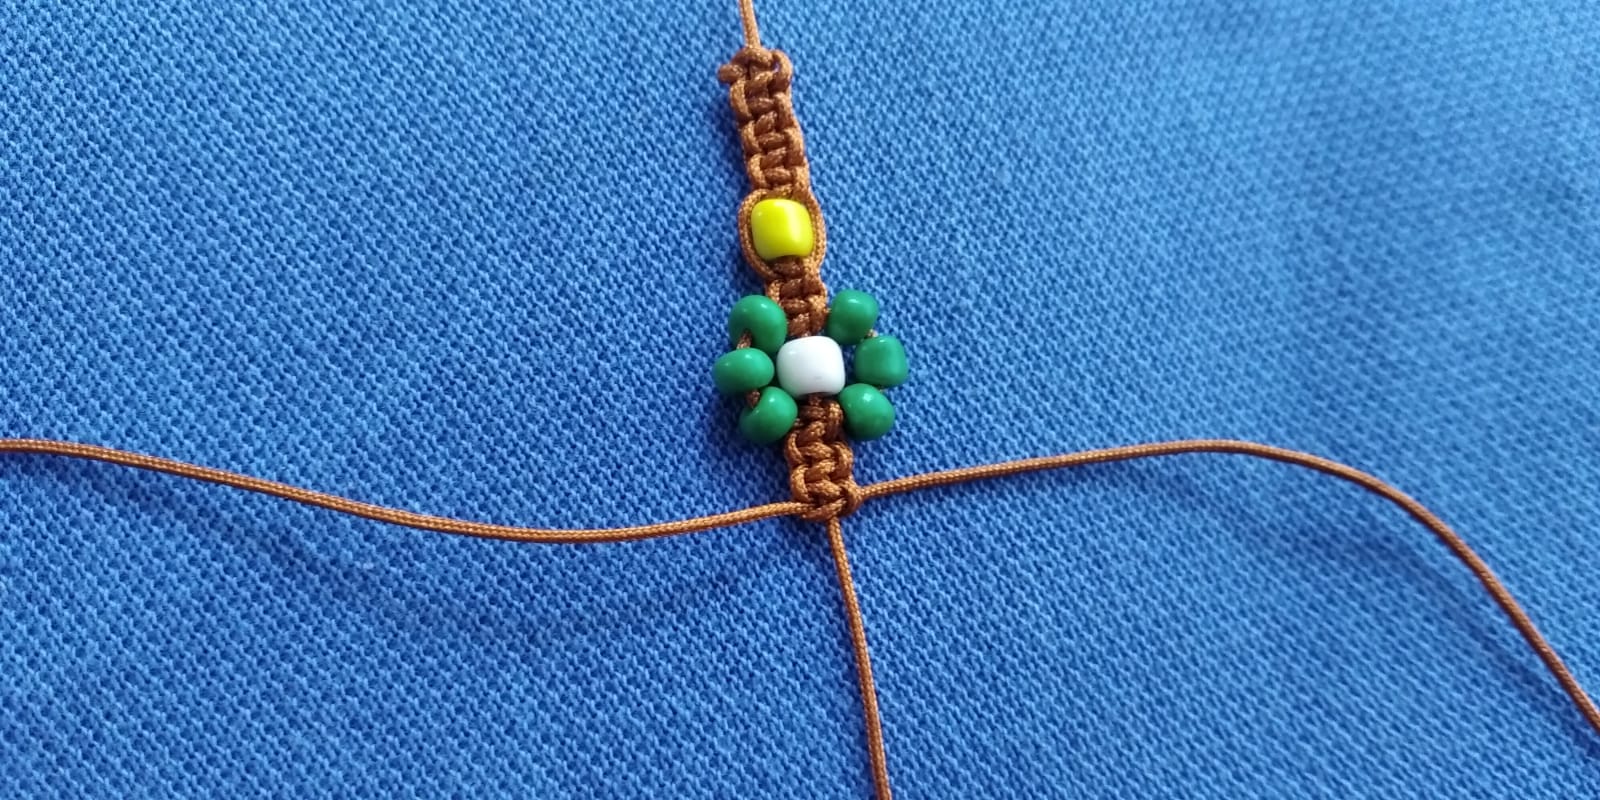
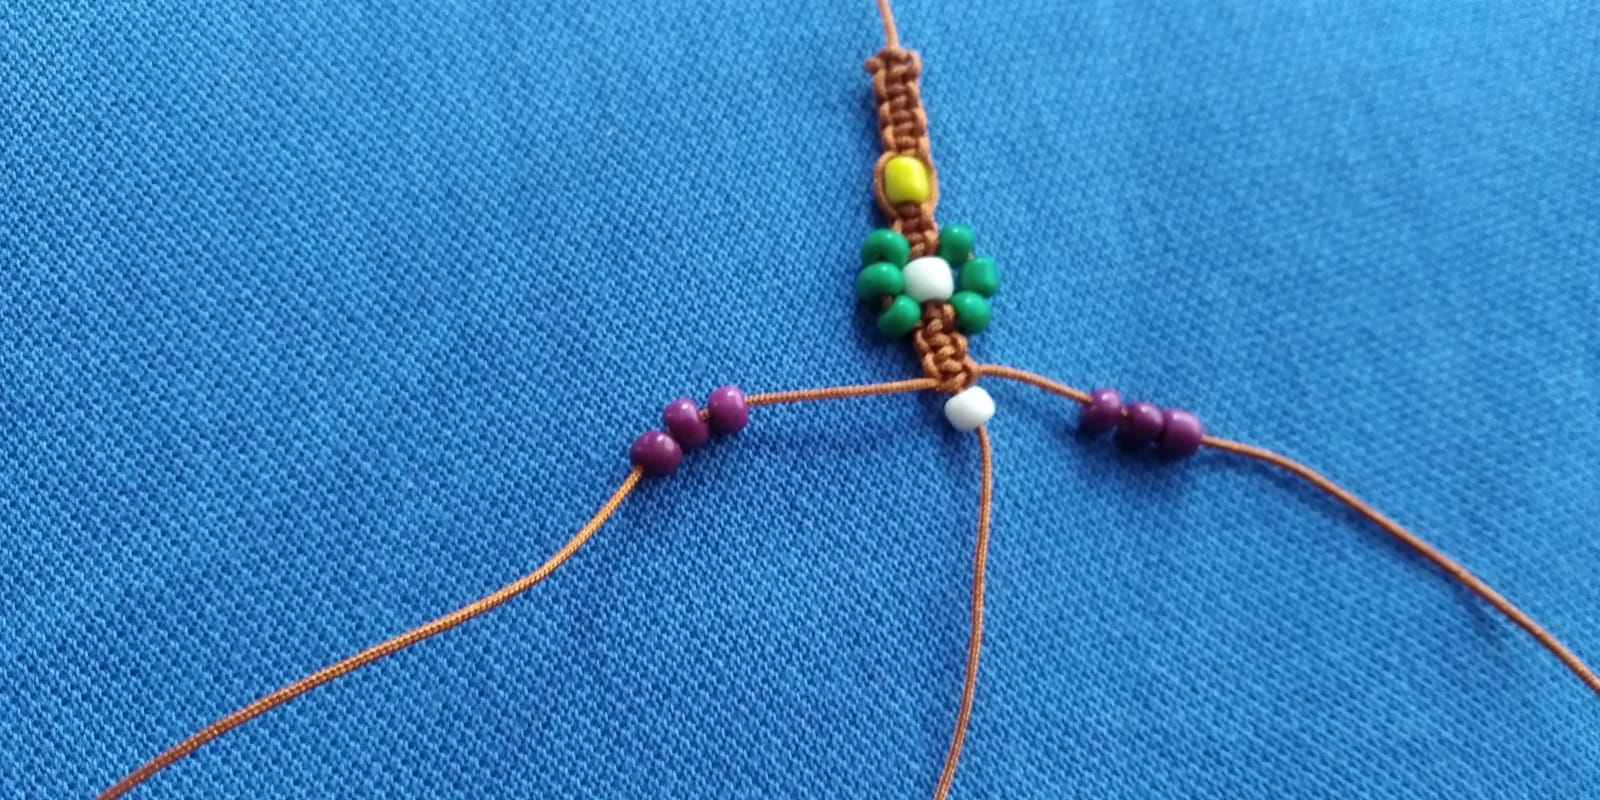
Cuando ya tenemos nuestras pepitas colocadas anudamos como veníamos haciéndolo normalmente. Entonces, realizamos tres nudos simples para distanciar nuestra flor una de otra, y volvemos a realizar el mismo procedimiento varias veces.
When we have our seeds in place, we knot as we have normally done. So, we make three simple knots to distance our flower from each other, and we repeat the same procedure several times.
.jpeg)
.jpeg)
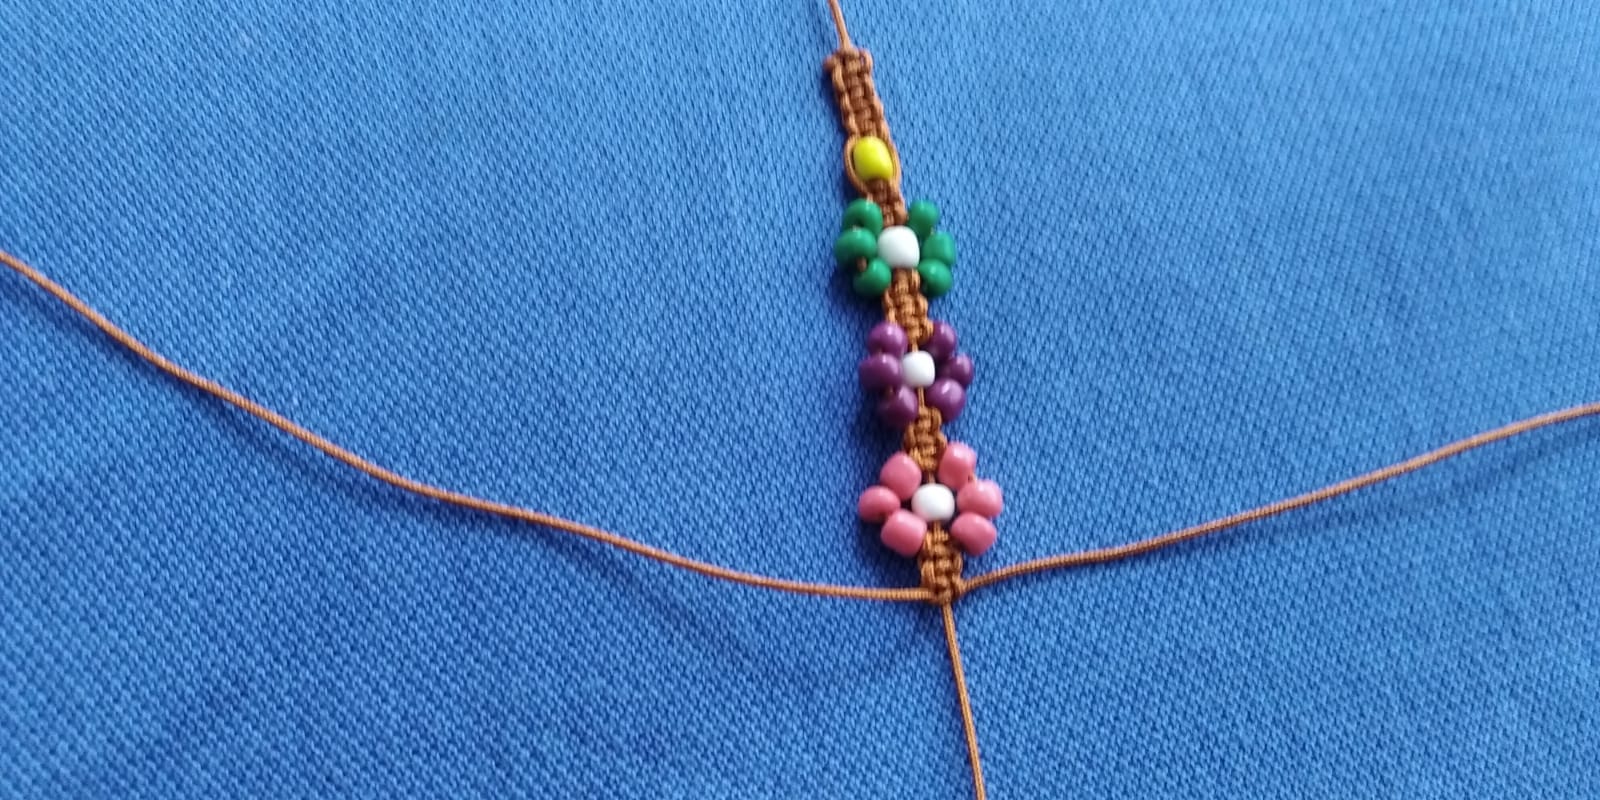
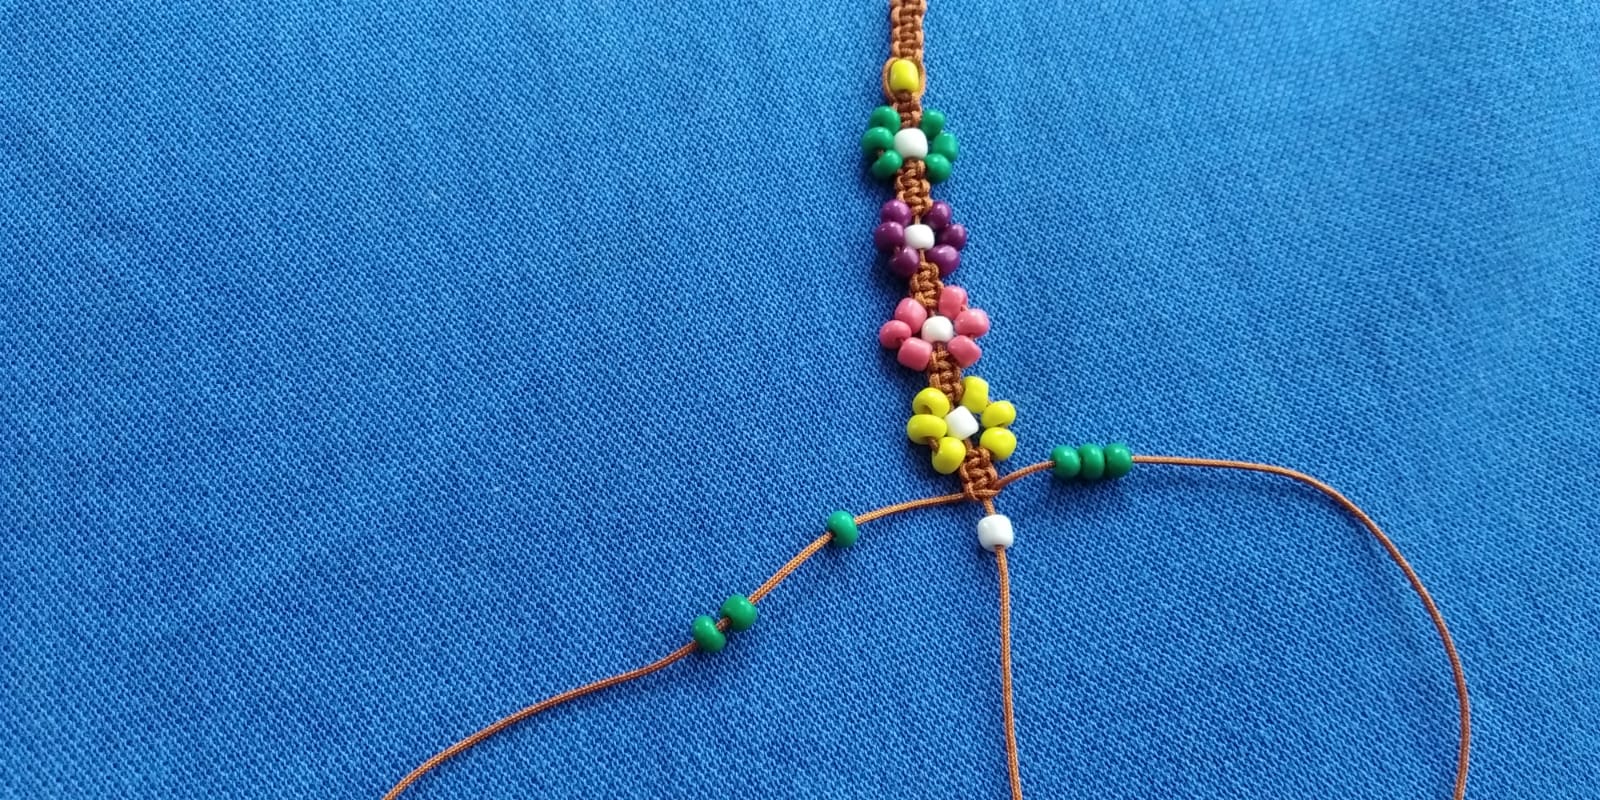
Así seguimos realizando una flor, nudos simples para marcar la distancia y volvemos a realizar otra flor.
So we continue making a flower, simple knots to mark the distance and we make another flower again.
.jpeg)
Cuando ya hemos terminado nuestras flores, realizamos nudos simples para terminarla igual que al inicio de nuestro brazalete, para que ambos lados se vean iguales y quede un trabajo más estético.
When we have finished our flowers, we make simple knots to finish it the same as at the beginning of our bracelet, so that both sides look the same and there is a more aesthetic work.
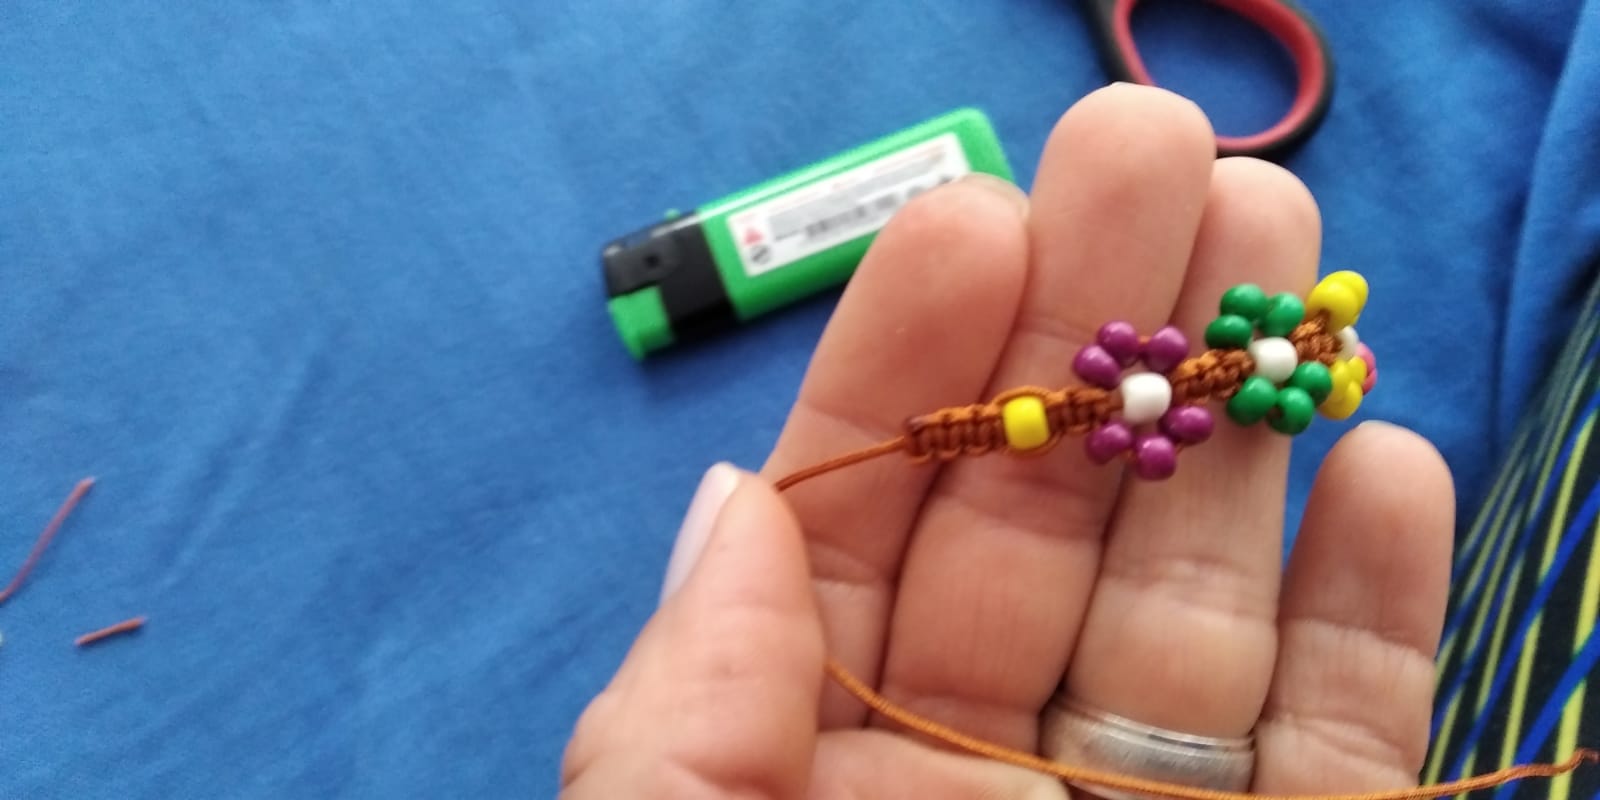
Cuando finalizamos cortamos nuestros hilos de tejido, dejando un pedacito para quemarlo y así sellarlo.
When we finish we cut our fabric threads, leaving a bit to burn it and thus seal it.
.jpeg)
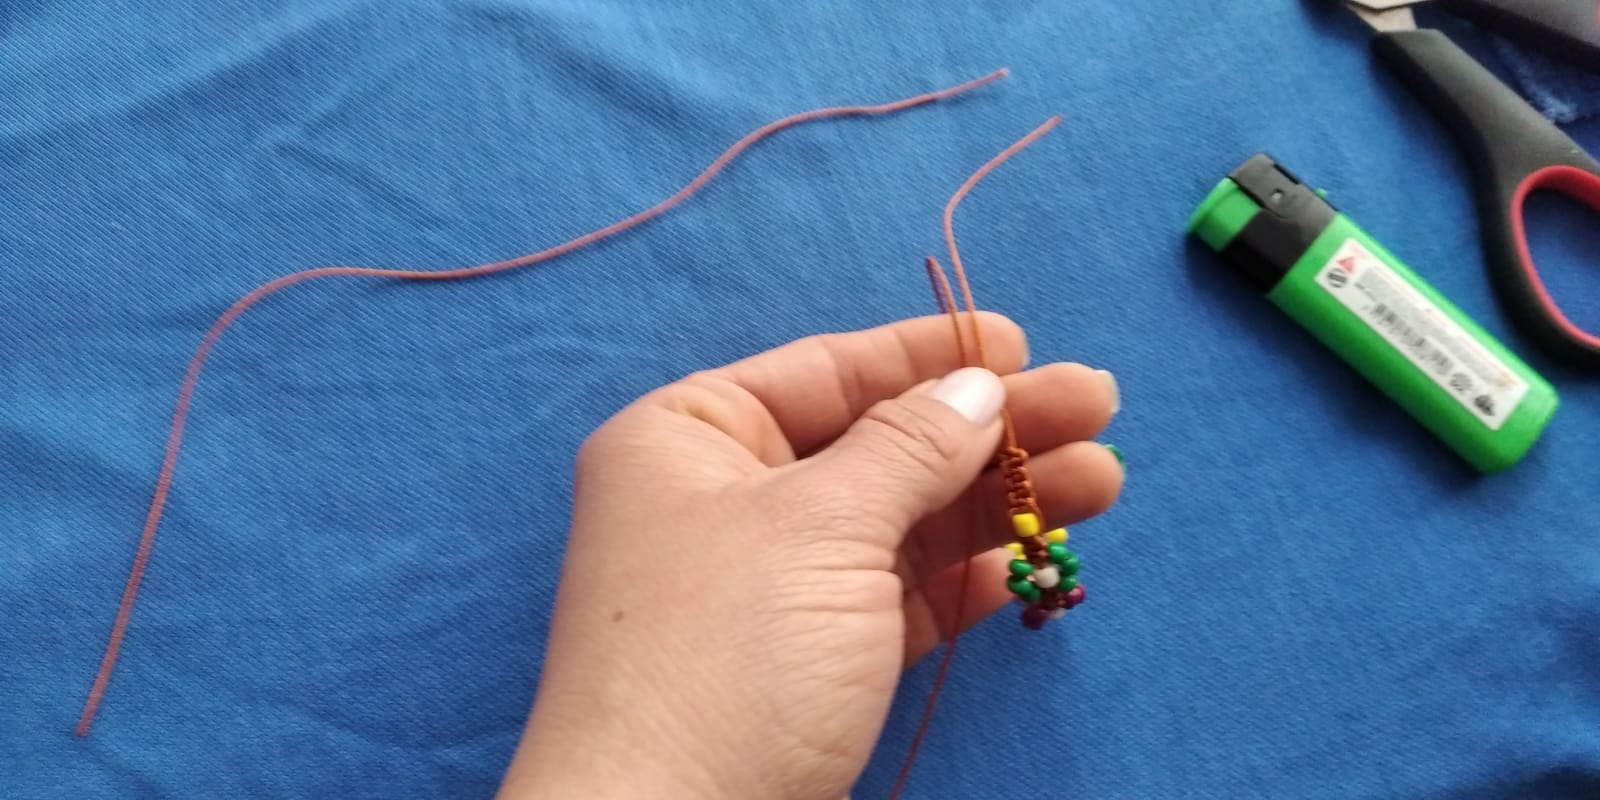
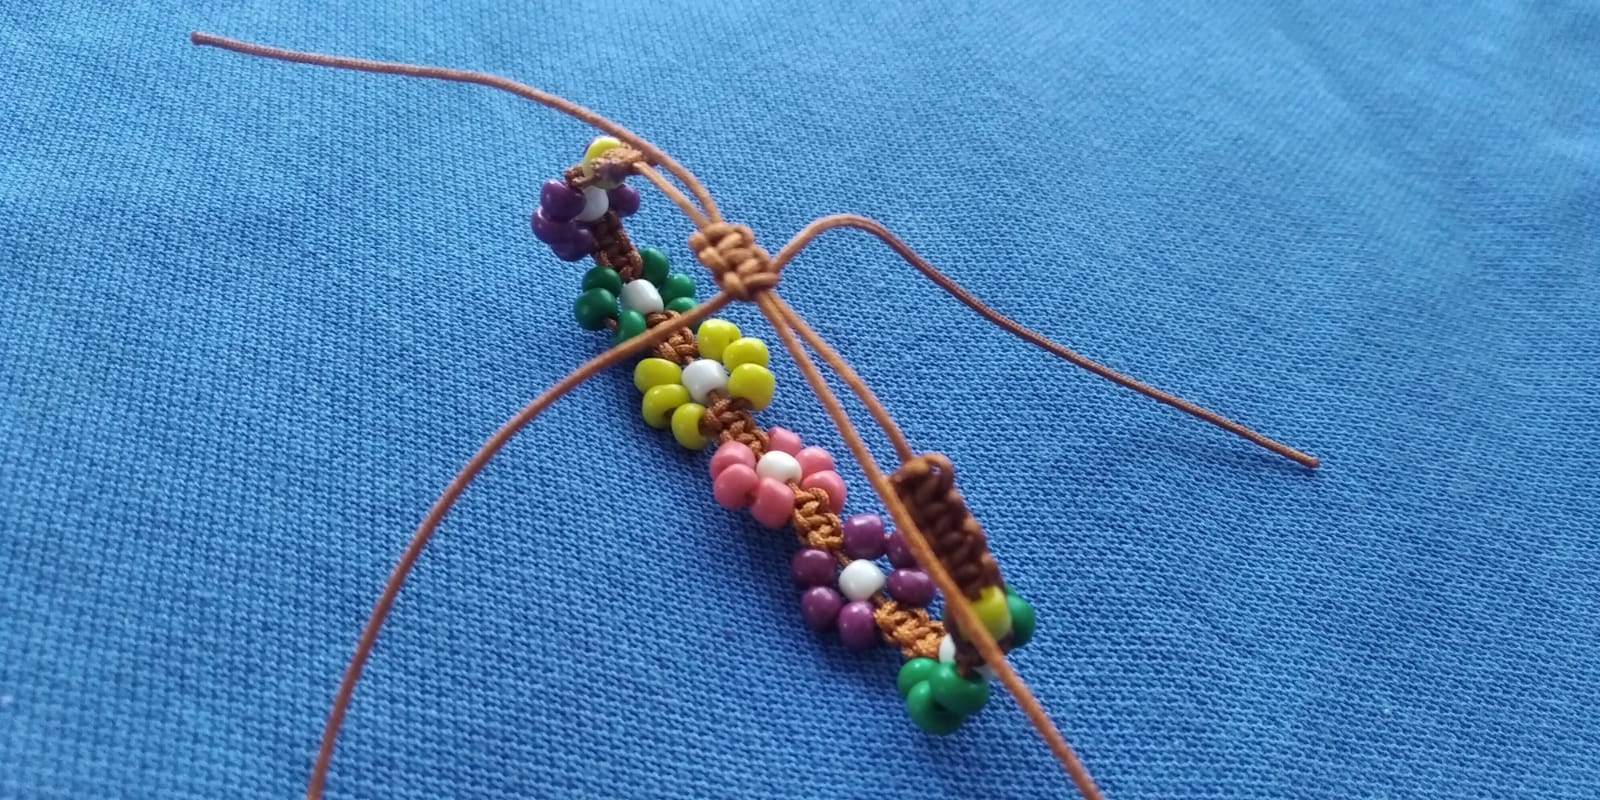
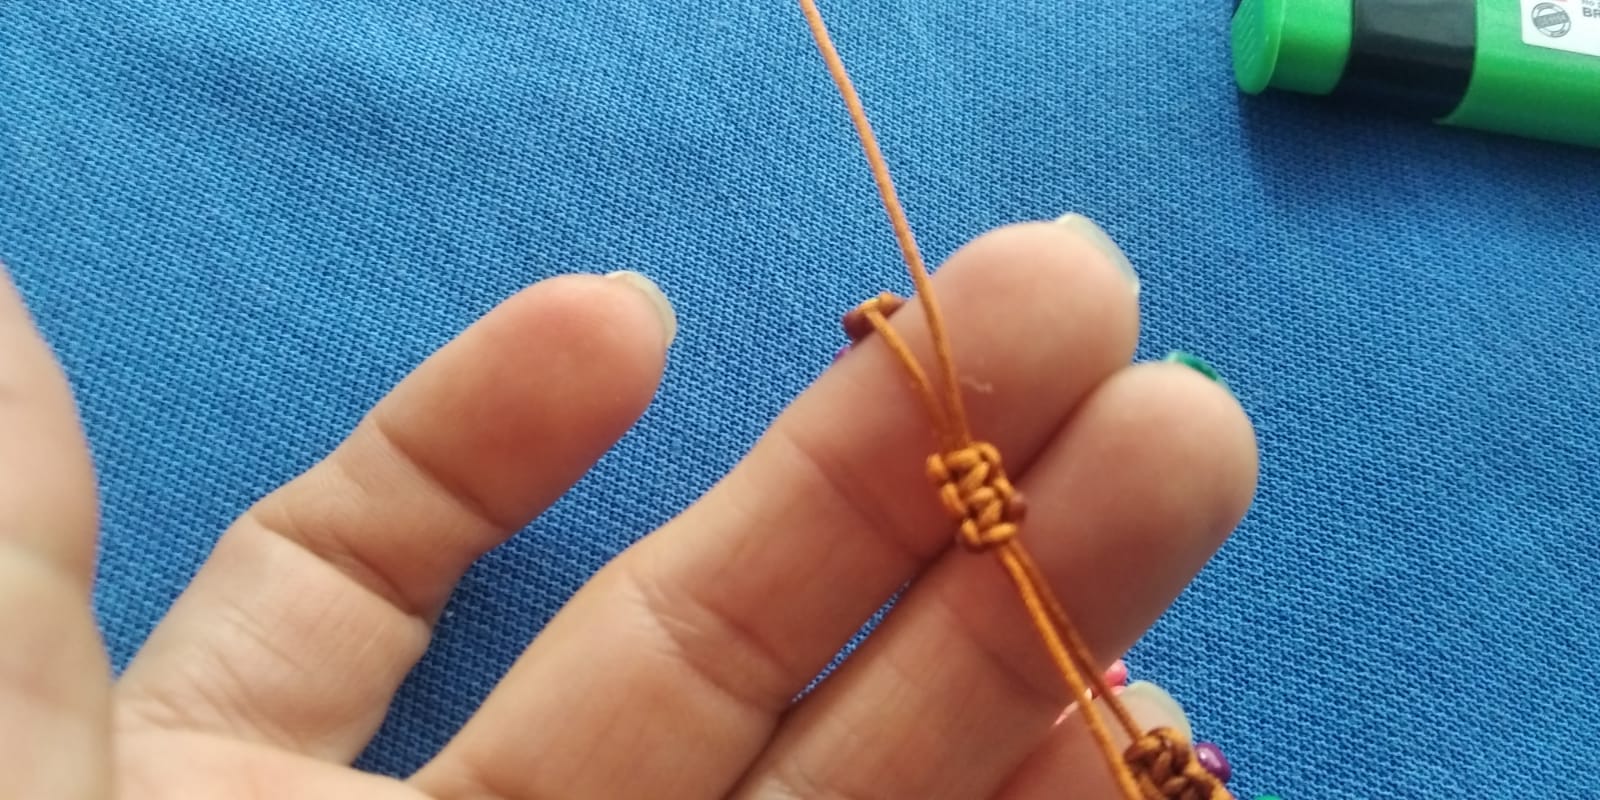
Luego vamos a unir nuestras dos puntas de los hilos guía para cerrar nuestra pulsera, cuando los tengamos unidos vamos a realizar los mismos nudos a la mitad. De igual manera, realizamos unos cuatro nudos, cortamos el exceso de hilo y quemamos para sellar.
Then we are going to join our two ends of the guide threads to close our bracelet, when we have them together we are going to make the same knots in the middle.
In the same way, we make about four knots, cut the excess thread and burn to seal.
.jpeg)
.jpeg)
.jpeg)
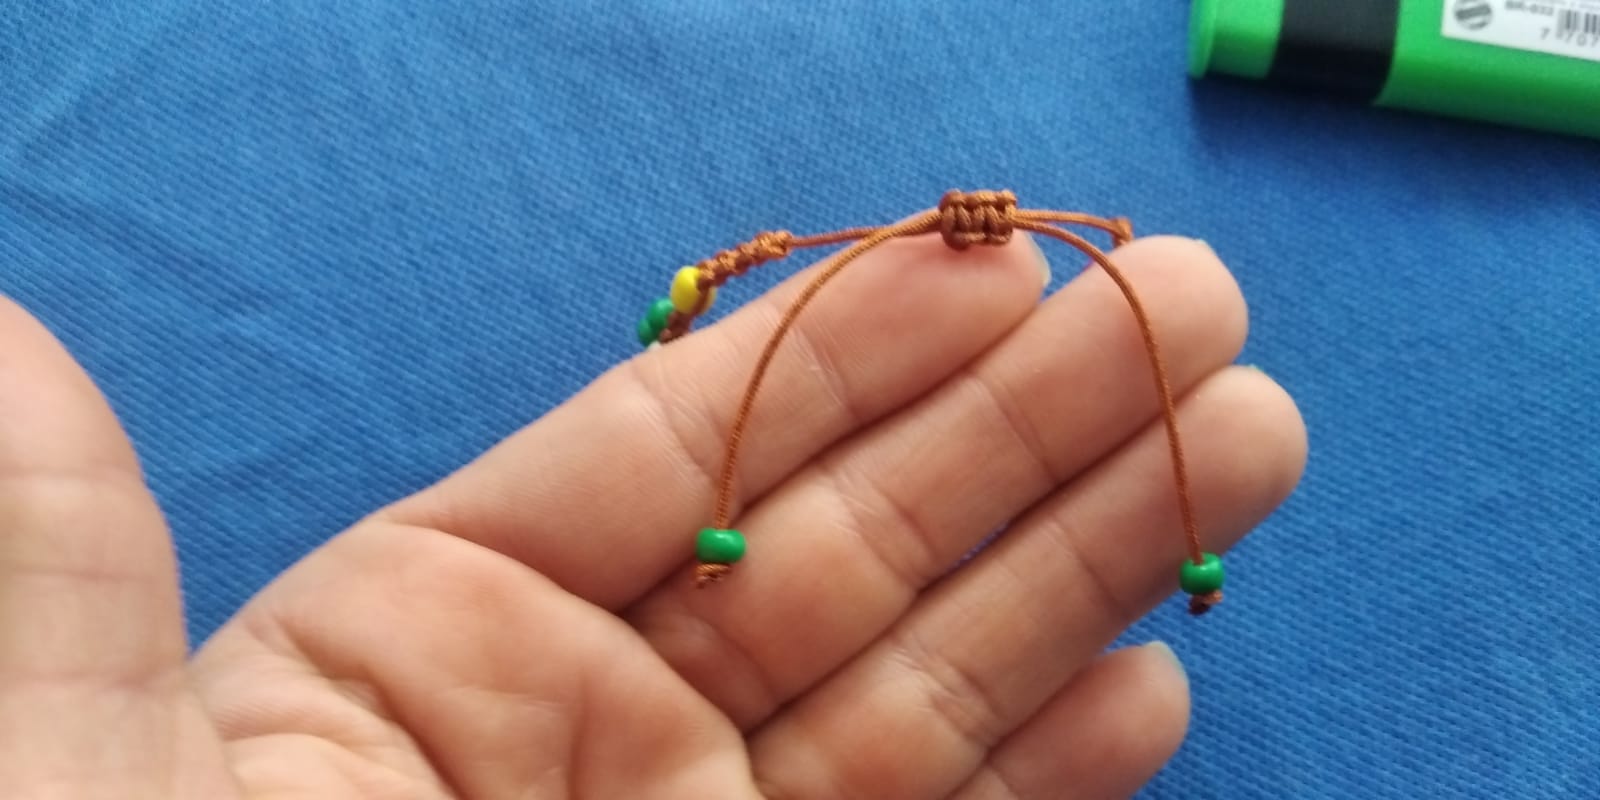
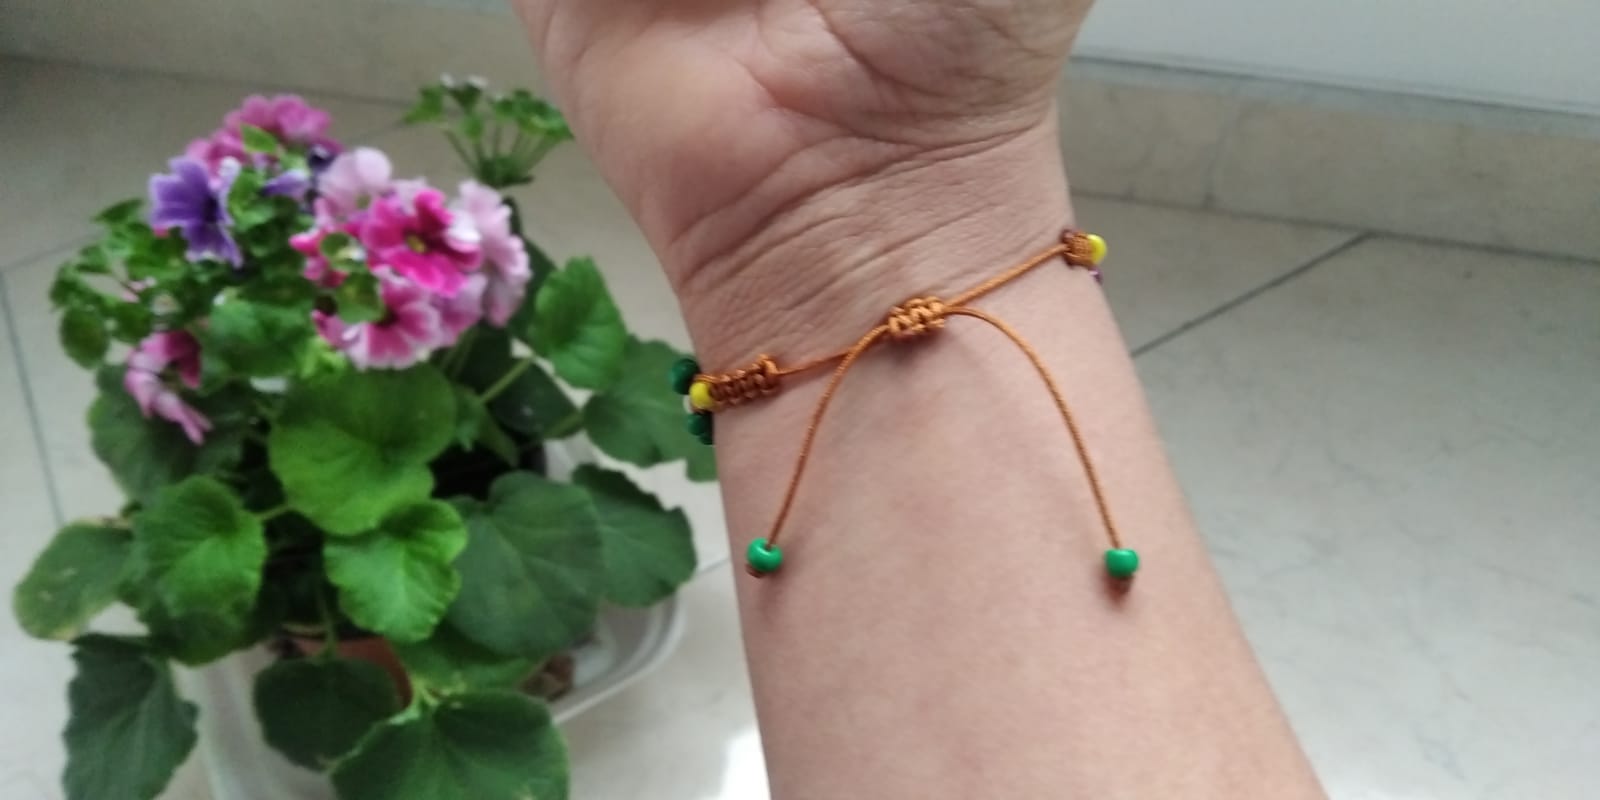
Para finalizar tomamos nuestros hilos guía y colocamos un mostacillon de cada lado y hacemos un nudo y quemamos la punta con nuestro encendedor. Eso nos da un mejor acabado e impide que e hilo pase por el medio de nuestros nudos y la pulsera de abra.
To finish we take our guide threads and place a mostacillon on each side and make a knot and burn the tip with our lighter. This gives us a better finish and prevents the thread from passing through the middle of our knots and the open bracelet.
.jpeg)
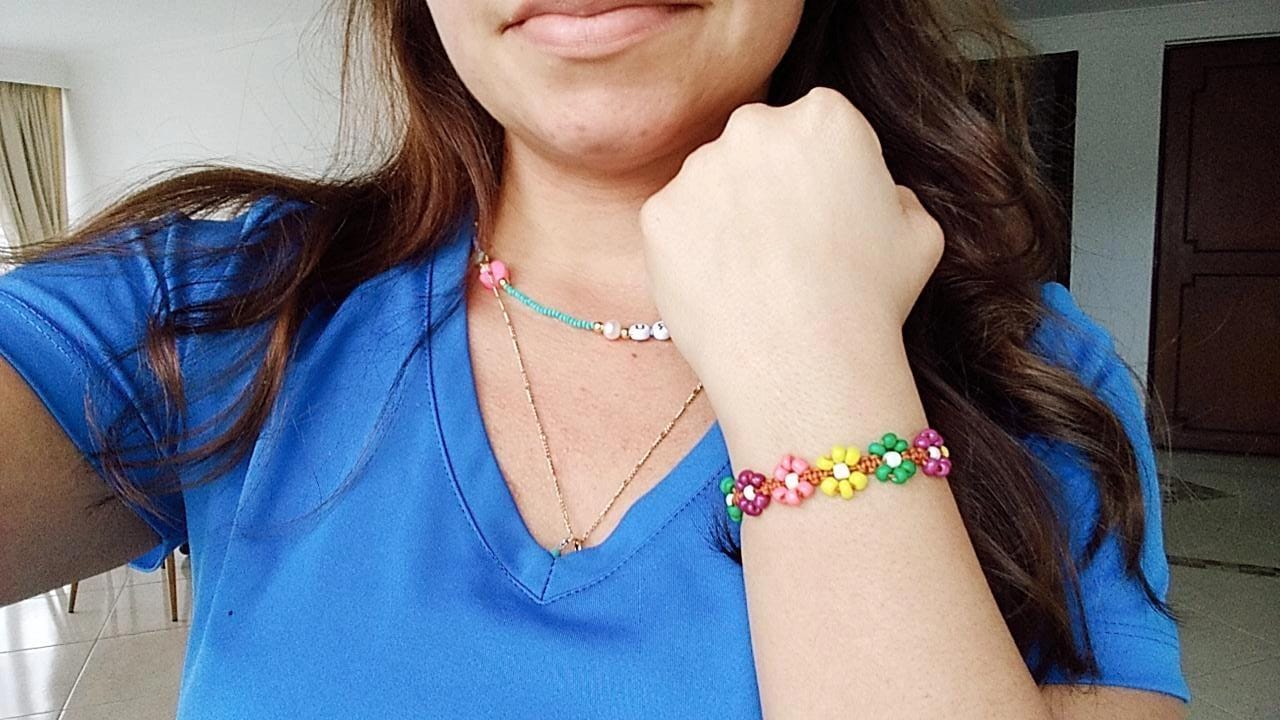
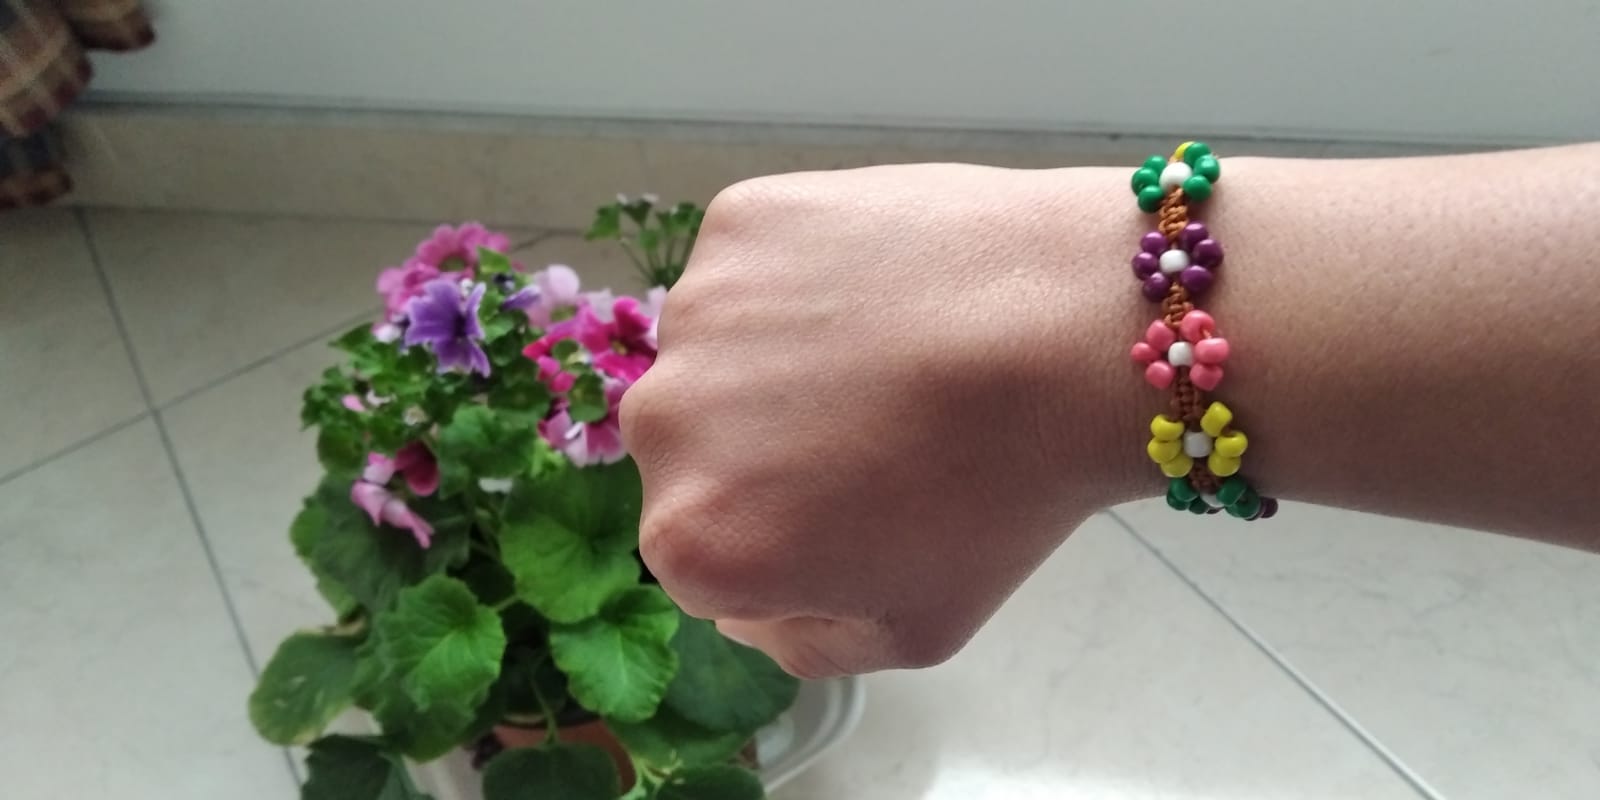
¡Listo, hemos realizado nuestra pulsera de nudos planos y flores!
Queda muy linda y puedes hacerla en tus colores favoritos e intentar hacer el mismo diseño para un collar. Espero les guste y la pongan en práctica.
Ready, we have made our bracelet with flat knots and flowers!
It is very cute and you can make it in your favorite colors and try to make the same design for a necklace. I hope you like it and put it into practice.
.jpeg)
.jpeg)
.jpeg)
Gracias nuevamente por visitar mi blog en Hive. Todas las fotos fueron tomadas por mi, con mi celular Xiaomi 7a.
Thanks again for visiting my blog on Hive. All the photos were taken by me, with my Xiaomi 7a cell phone.
.jpeg)
.jpeg)
¡Me encanta como queda!
Gracias, Carfelicia
Me encantan tus creaciones. Saludos.
Es un gusto compartirlas Bey :D Gracias por visitar mi perfil.
Congratulations @soyaruska! You have completed the following achievement on the Hive blockchain and have been rewarded with new badge(s) :
Your next target is to reach 4000 upvotes.
You can view your badges on your board and compare yourself to others in the Ranking
If you no longer want to receive notifications, reply to this comment with the word
STOPThanks
Support us back and vote for our witness.
You will get one more badge and bigger upvotes from us when we notify you.