Hello my creative Hive Diy family! Very good morning to everyone around here, I hope you are feeling excellent, we are close to finish the month of October this new week, I hope this month has been blessed for everyone and that the next one is much better, that you do not lack health, love, happiness, productivity and lots and lots of creativity to not stop creating art with our hands.♡
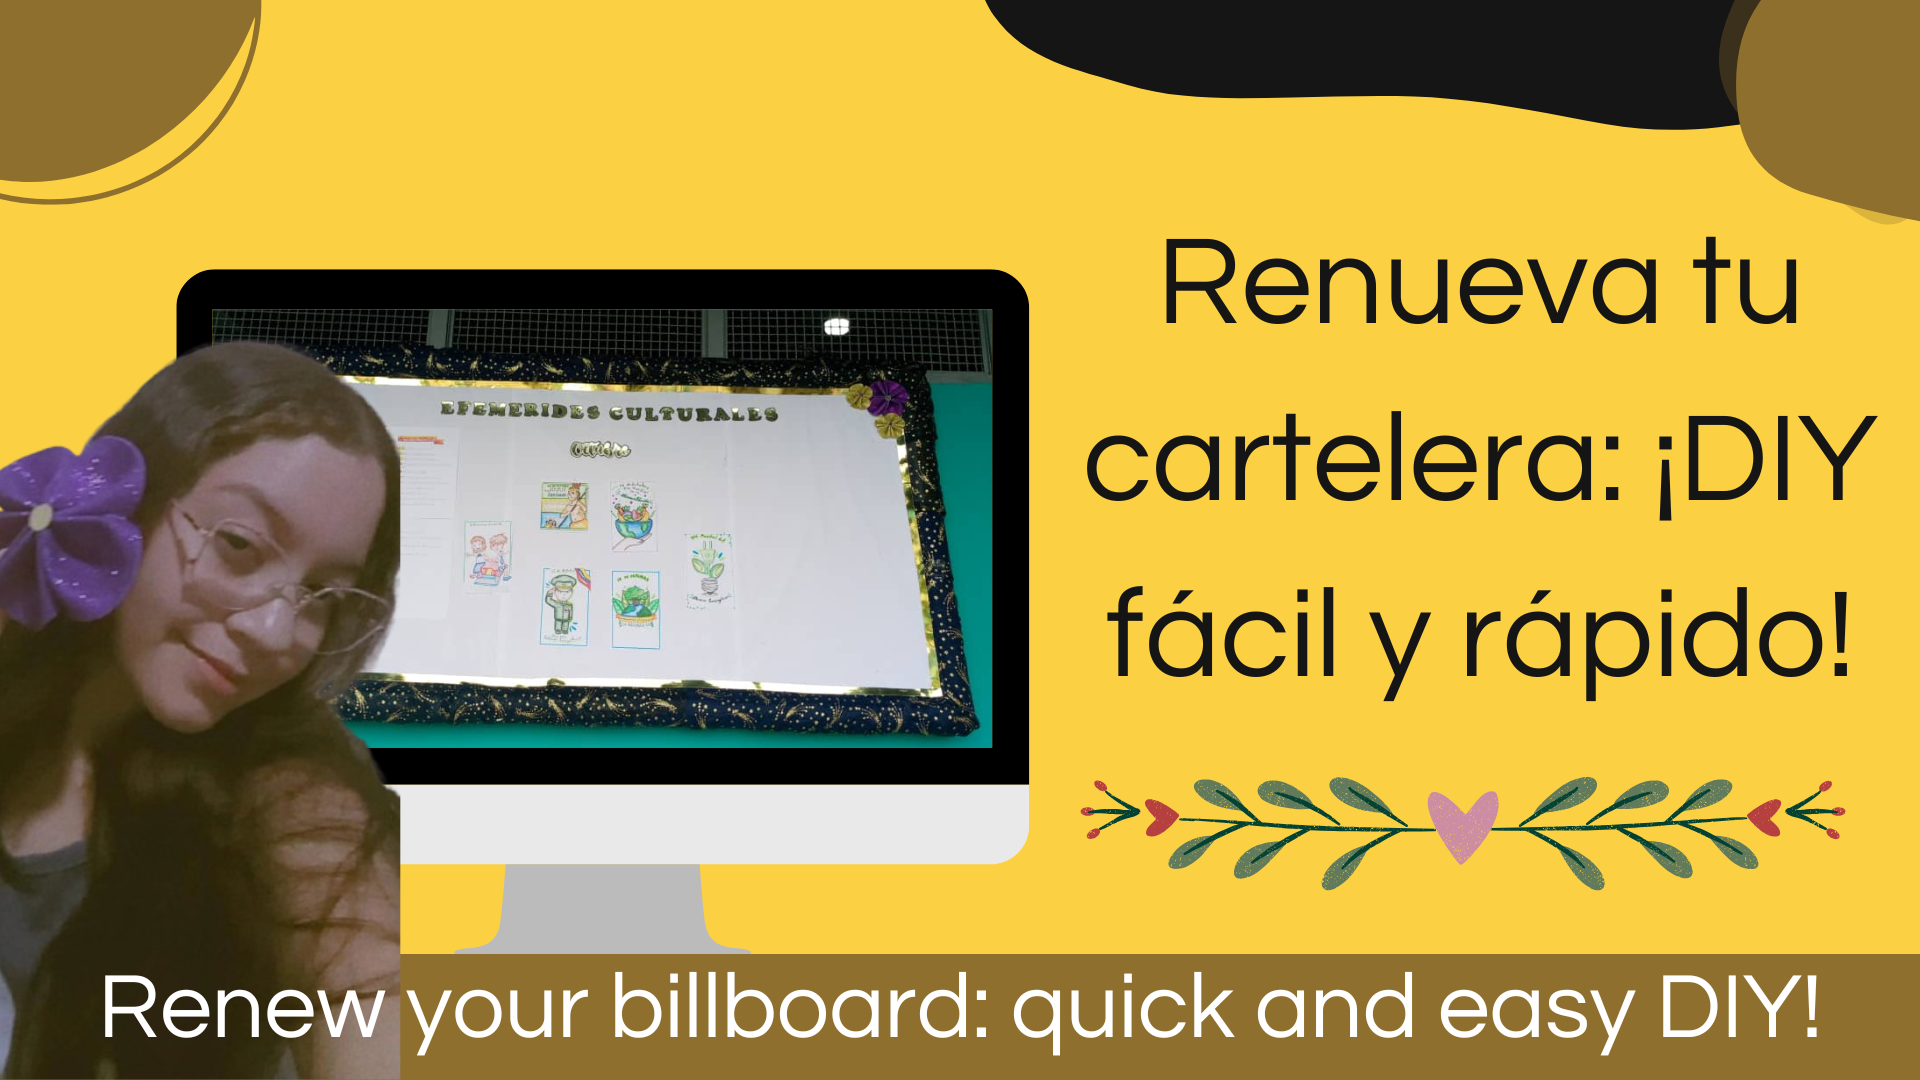
En está precisa ocasión, les traigo un tutorial un poco sencillo, dónde les mostraré el proceso paso a paso, de como decore y elaboré una cartelera para mi mamá, para ambientar su salón de clases de cultura con efemérides de cada mes. Así, en otros post les he dejado como elabore las letras y flores, si no las han visto se las dejaré aquí debajo, aquí les mostraré la elaboración de la cartelera, el resultado de todos los elementos unidos.
On this occasion, I bring you a simple tutorial, where I will show you the step by step process of how I decorated and made a billboard for my mum, to decorate her cultural classroom with the dates of each month. So, in other posts I have shown you how I made the letters and flowers, if you haven't seen them I will leave them here below, here I will show you the elaboration of the billboard, the result of all the elements joined together.
Tutorial de letras aquí
Diy Flores aquí
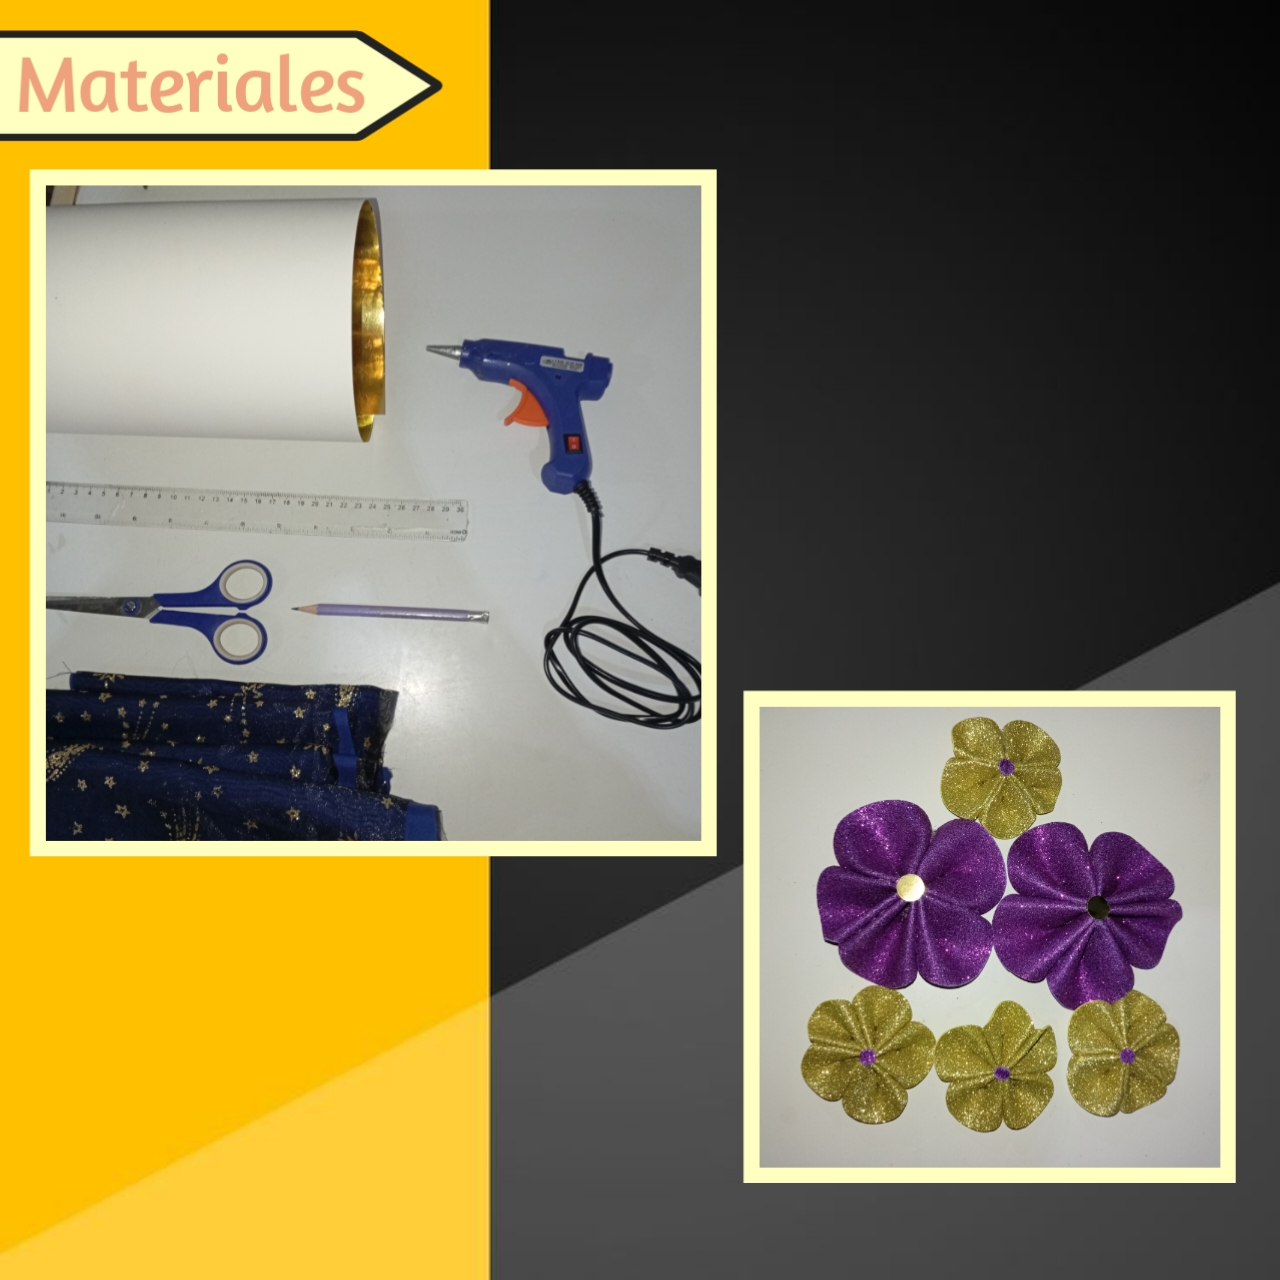
♡🖤💛Materials💛🖤♡
- Flores de foami
- Letras en cartulina
- Silicón
- Cartulina dorada
- Pistola de silicón
- Tela
- Regla
- Lápiz
- Tijeras
- Foami flowers
- Cardboard letters
- Silicone
- Gold cardboard
- Silicone gun
- Cloth
- Ruler
- Pencil
- Scissors
♡🖤⚜️Step by Step⚜️🖤♡
Paso 1:
Step 1:
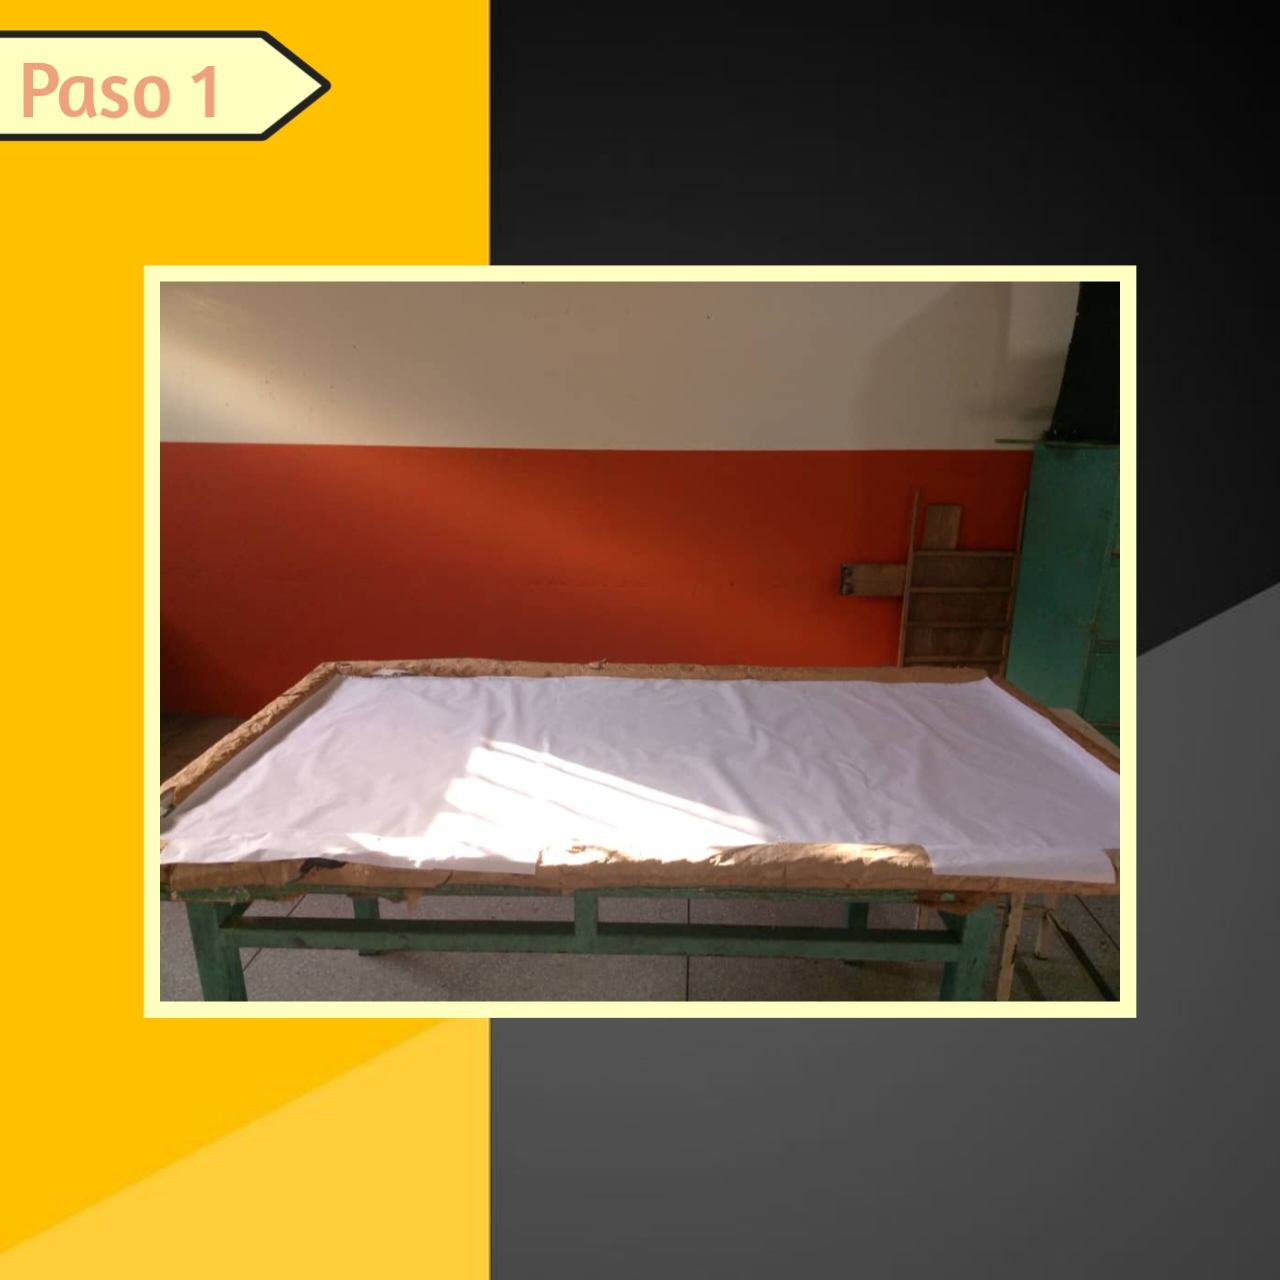
Está cartelera estaba ya vieja y abandonada, por lo que comenzamos a limpiarla, para quitarle todo el polvo y restos viejos de silicón. Así, después con dos Papel Bond, forramos la parte interna de está cartelera, con ayuda del silicón, también arreglamos parte de los bordes con papel reciclado marrón, de esos que vienen en pacas de comida.
This billboard was already old and abandoned, so we started to clean it, to remove all the dust and old silicone residues. Then, with two Bond Paper, we lined the inside of this billboard, with the help of the silicone, we also fixed part of the edges with brown recycled paper, the kind that comes in bales of food.
Paso 2:
Step 2:
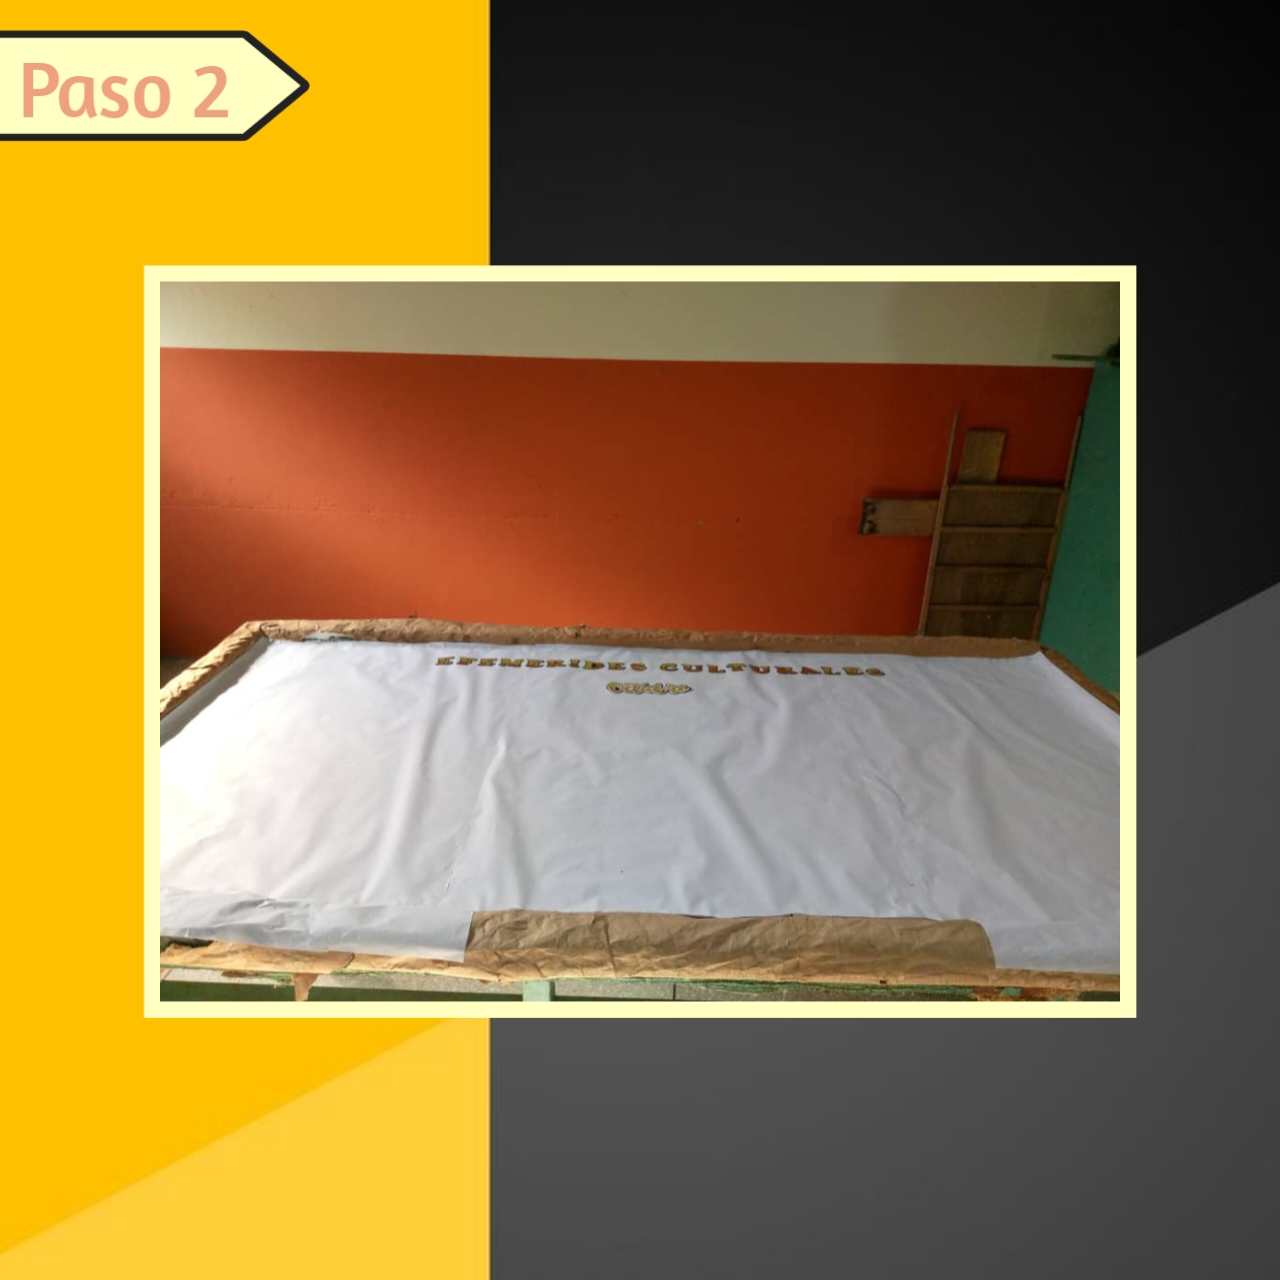
Así, tome mis elementos disponibles, en este caso las letras y la palabra "Octubre", así con ayuda de la pistola de silicón (cargada con su silicón por supuesto), fui pegando cada letra en su lugar y la palabra un poco más abajo, cabe señalar que anteriormente había puesto estás como simulacro para que quedarán lo mejor centradas posible.
So, I took my available elements, in this case the letters and the word "October", and with the help of the silicone gun (loaded with silicone of course), I stuck each letter in its place and the word a little lower, it should be noted that I had previously put these as a simulacrum so that they would be as well centred as possible.
Paso 3:
Step 3:
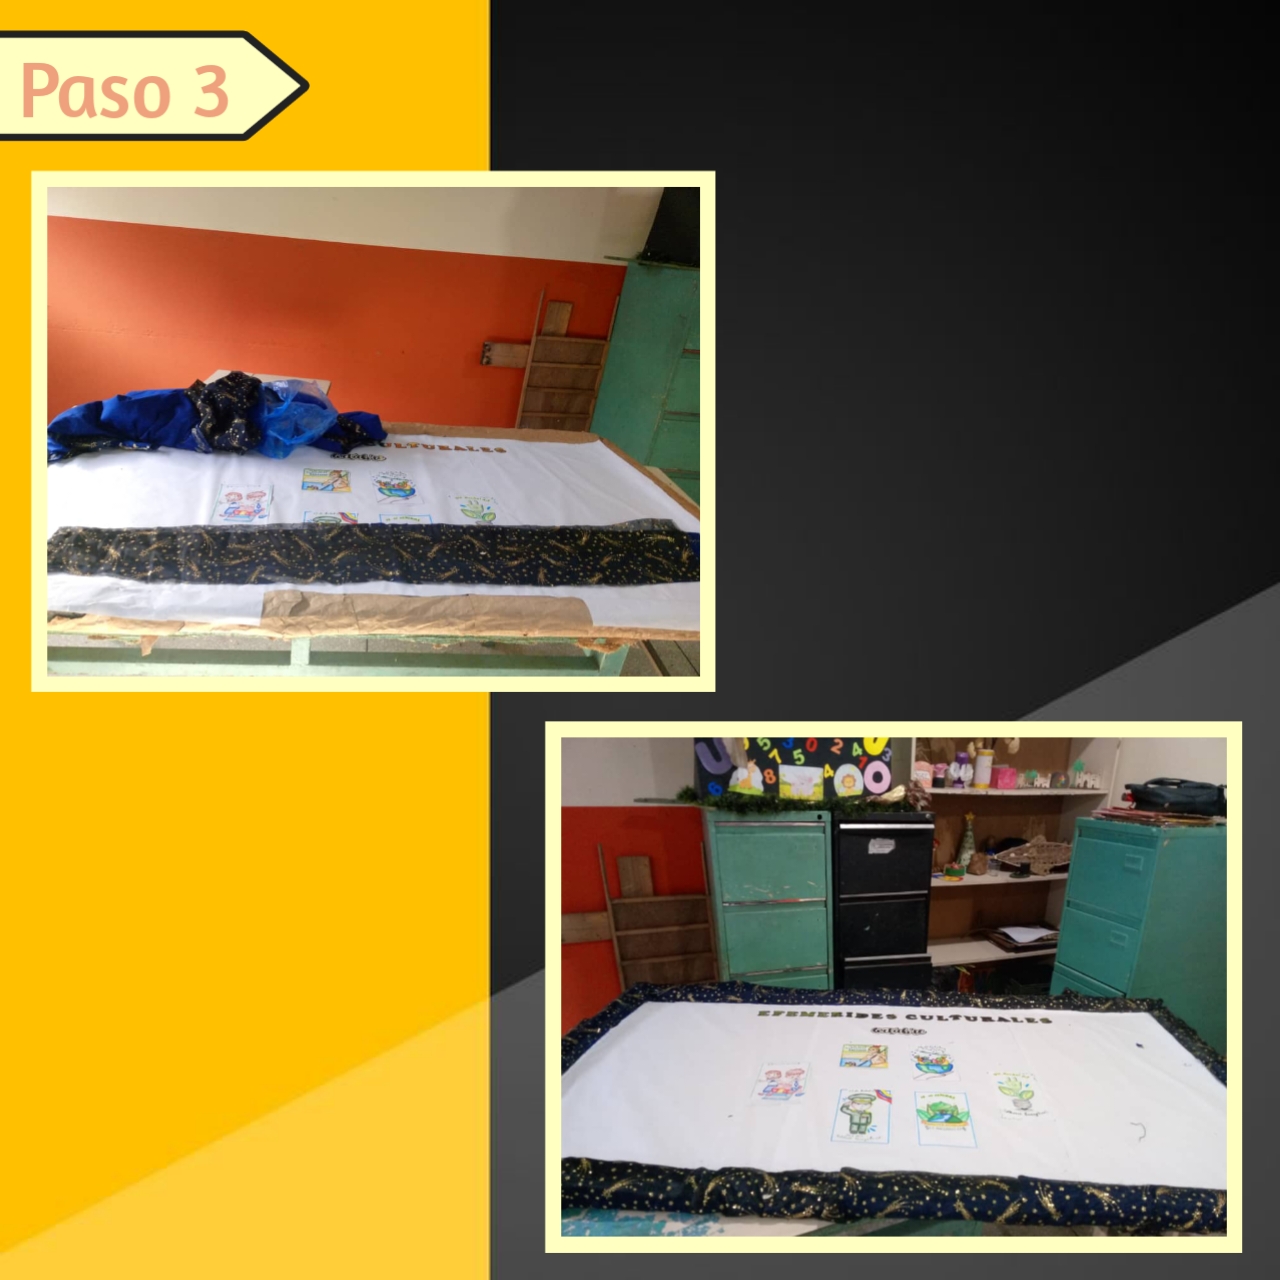
Continúe agregando un poco de silicón en las hojas de las efemérides y pegando estás, centrando también lo mejor que pude. Después recorte un trozo de tela y con la pistola de silicón nuevamente fui pegando el borde, hasta terminar con este, ya aquí iba agarrando mejor forma y apariencia.
I continued adding a bit of silicone on the leaves of the ephemeris and gluing them, centring them as well as I could. Then I cut a piece of fabric and with the silicone gun I glued the border again, until I finished with this one, and here it was getting a better shape and appearance.
Paso 4:
Step 4:
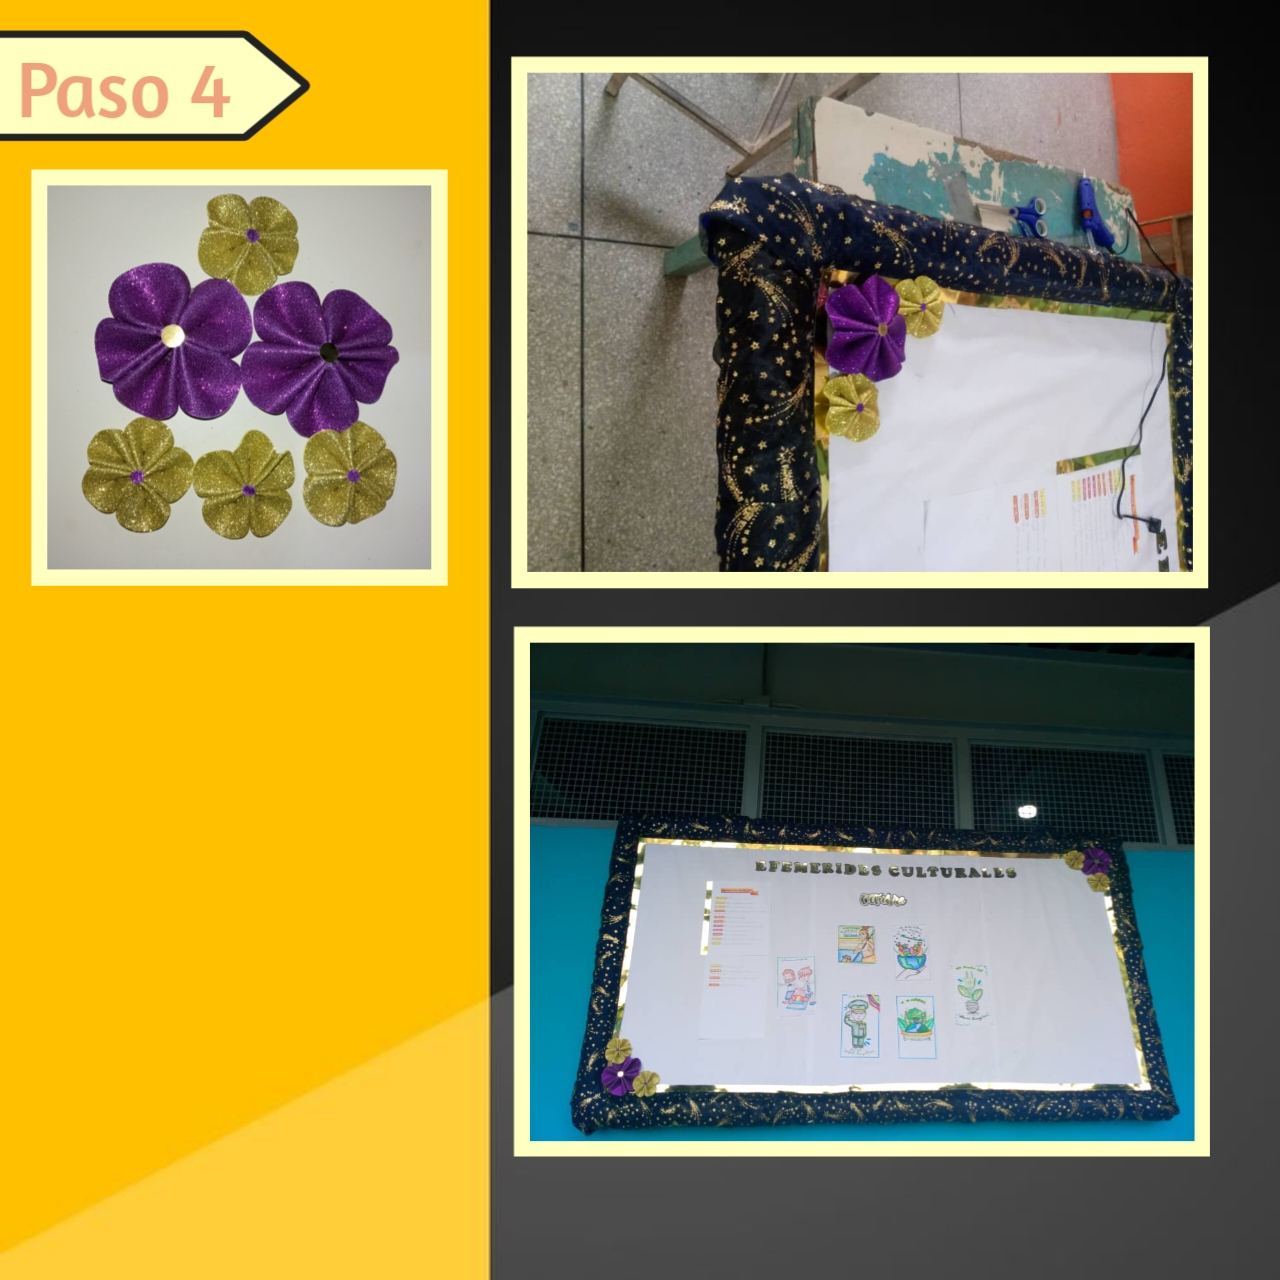
En este punto, recorte un par de tiras de más o menos 2.5cm de grosor en cartulina dorada y lo pegue en el borde interno muy bien. Luego tomé las flores que les enseñe a hacer en otro tutorial y las pegue en dos esquinas, la esquina derecha superior y la izquierda inferior, coloque la grande en el medio y las pequeñas a los lados y listo.
At this point, I cut a couple of strips about 2.5cm thick out of gold cardstock and glued them to the inside edge nicely. Then I took the flowers that I showed you how to make in another tutorial and glued them in two corners, the top right corner and the bottom left corner, put the big one in the middle and the small ones on the sides and that was it.
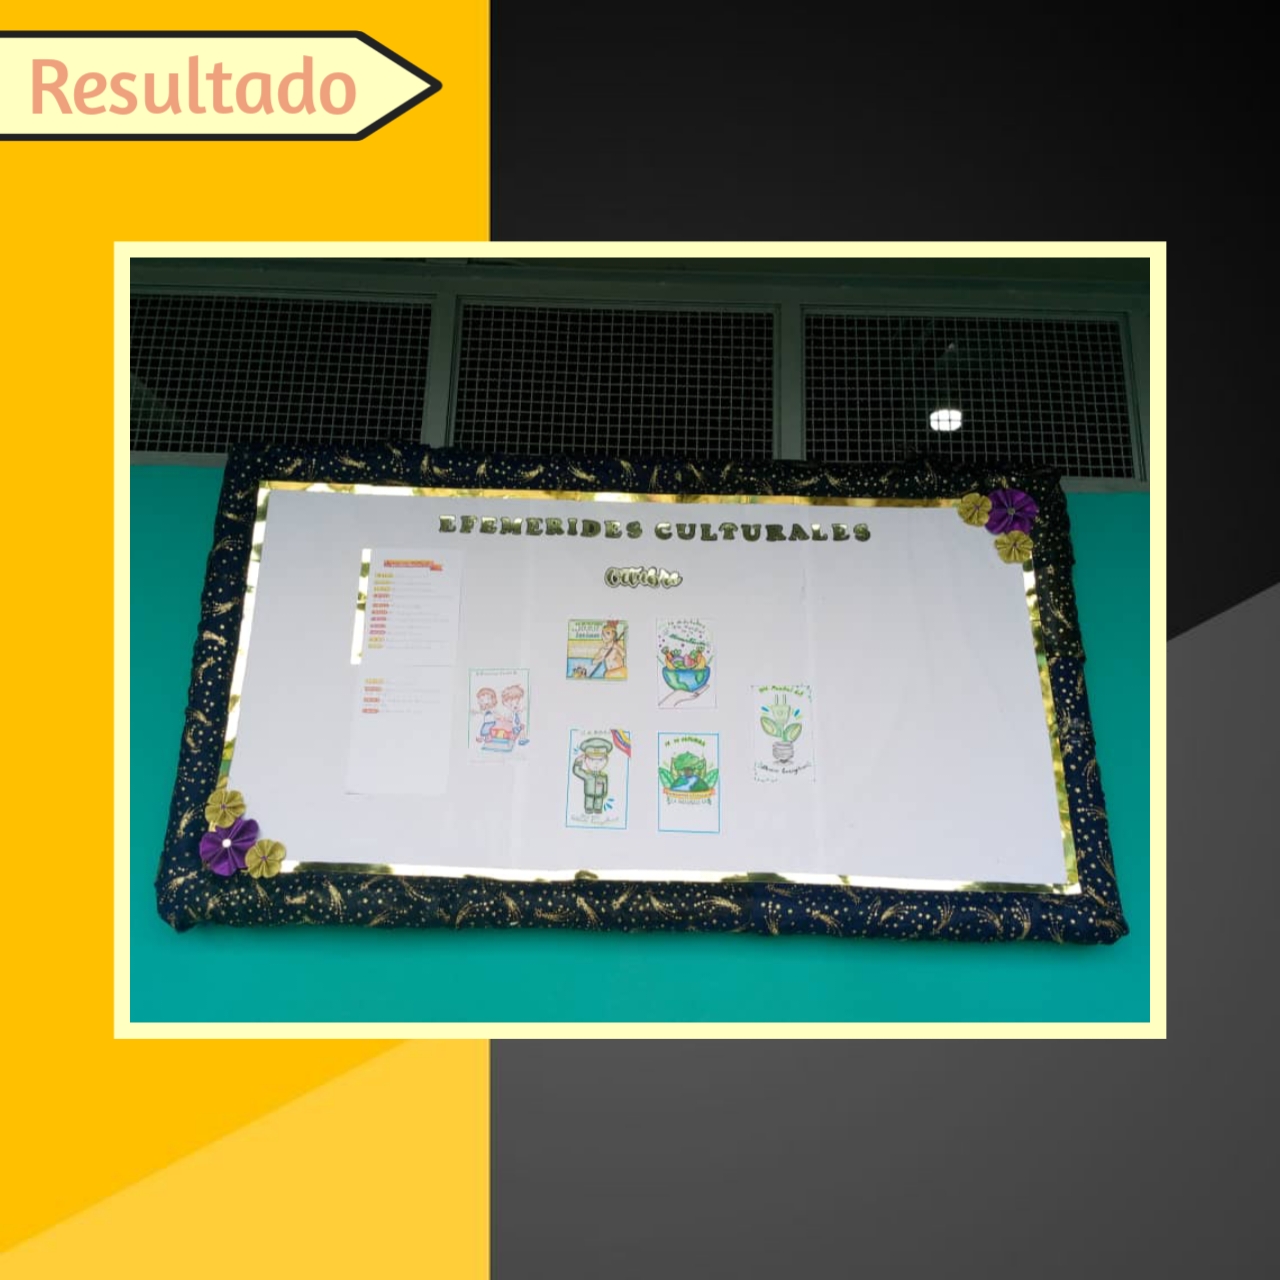
De esta forma es como podemos obtener una hermosa, pero sencilla cartelera, con pocos materiales y nuestra creatividad que es lo esencial. Es un diseño bastante sencillo, pero le dió un gran cambio a la cartelera abandonada y sucia, es el poder de reutilizar y buscar una segunda vida en las cosas, son resultados que dan satisfacción.✨💛
This is how we can get a beautiful, but simple billboard, with few materials and our creativity that is essential. It is a fairly simple design, but it gave a great change to the abandoned and dirty billboard, it is the power of reusing and looking for a second life in things, are results that give satisfaction.💛✨
Espero que les haya gustado este tutorial y puedan inspirarse a darle una segunda vida a las cosas, con materiales reciclados, un poco de inversión y creatividad podemos tener excelentes y prometedores resultados. Les agradezco por llegar hasta el final, si les gustó los invito a compartir y comentar.🖤✨
I hope you liked this tutorial and you can be inspired to give a second life to things, with recycled materials, a little investment and creativity we can have excellent and promising results. I thank you for making it to the end, if you liked it I invite you to share and comment.🖤✨
🖤💛¡Gracias por leer mi familia creativa! Hasta la próxima aventura de creatividad💛🖤
🖤💛Thanks for reading my creative family! Until the next creativity adventure💛🖤
Photos of my authorship taken from my Xiaomi Redmi 13C phone, edited in the free version of Canva