
Spots Colors by SK17
Hola, espero estén teniendo un lindo día y si aún no es así, me gustaría mostrarles algo que creo que puede ayudar o eso me gusta pensar. Hoy quiero enseñarles una técnica muy fácil con materiales súper sencillos, me encantaría que lo intentaran, para mí es una forma diferente y genial de pasar el tiempo por lo que es algo que recomiendo.
Hi, I hope you are having a nice day and even if you are not, I would like to show you something that I think it can help or so I like to think. Today, I want to show you a very easy technique with super simple materials, I would love for you to try it out, for me it's a different and cool way to spend time, so it's something I recommend.
La primera opción es con manchas de colores, la segunda luce similar a la acuarela, los materiales y primeros pasos son exactamente los mismos, por eso me gusta tanto. Quiero aclarar que la mitad de los instrumentos son opcionales pero igual coloque todos en la lista en caso de que quieran seguir el tutorial de forma detallada y específica.
The first option is with colored stains, the second one looks similar to watercolor, the materials and the first steps are exactly the same, that's why I like it so much. I want to clarify that half of the instruments are optional, but I still put them all in the list in case you want to follow the tutorial in detail and specifically.
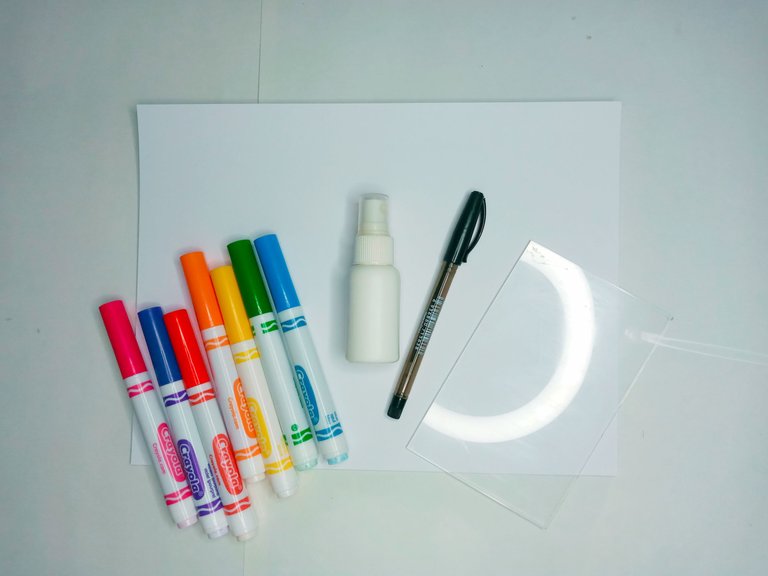
| Materiales | Materials |
|---|---|
| Marcadores a base de agua. | Water-based markers. |
| Cartulina opalina. | Opaline cardboard. |
| Vidrio, acrílico, plástico o acetato. | Glass, acrylic, plastic or acetate. |
| Agua en un atomizador. | Water in a spray bottle. |
| Lapicero. | Pen. |
| Guantes. | Gloves. |
| Jeringa. | Syringe. |
| Secador de cabello. | Hair dryer. |
En caso de que usen guantes, les recomiendo que antes colocárselos se apliquen talco para que sus manos no empiecen a sudar al momento de usarlos. En el primer método solo necesitan una superficie resistente al agua y para el segundo procedimiento necesitan dos.
In case you use gloves, I recommend that before putting them on you apply talcum poder, so that your hands do not start sweating when you use them. In the first method you only need a water resistant surface and for the second procedure you need two.
#1
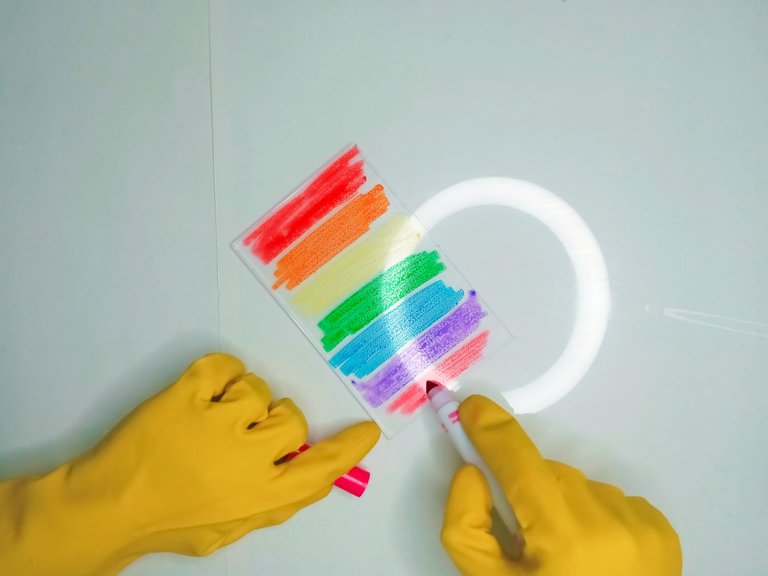
Dibujar secciones de diferentes colores en el acrílico
Draw sections of different colors on the acrylic.
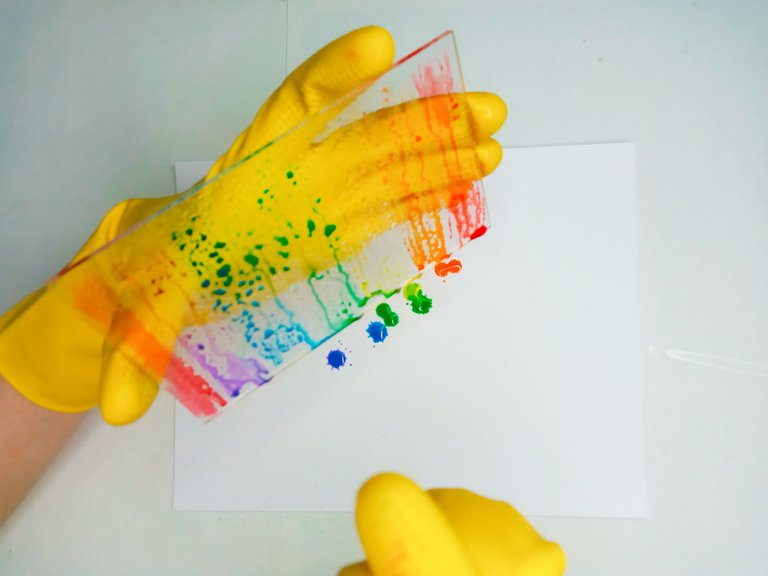
Colocar el acrílico de forma vertical y rociar agua con el atomizador.
Place the acrylic vertically and spray water with the atomizer.
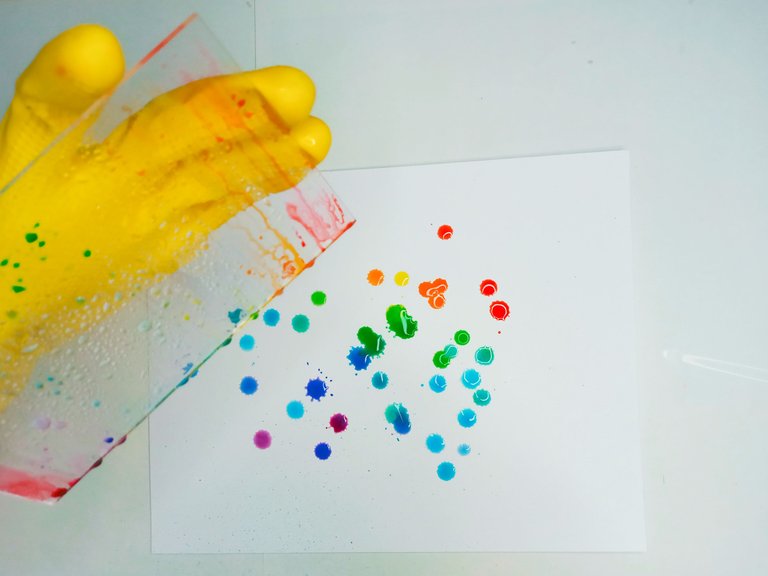
Deben dejar que las manchas caigan directamente sobre la cartulina.
They should let the stains fall directly on the cardboard.
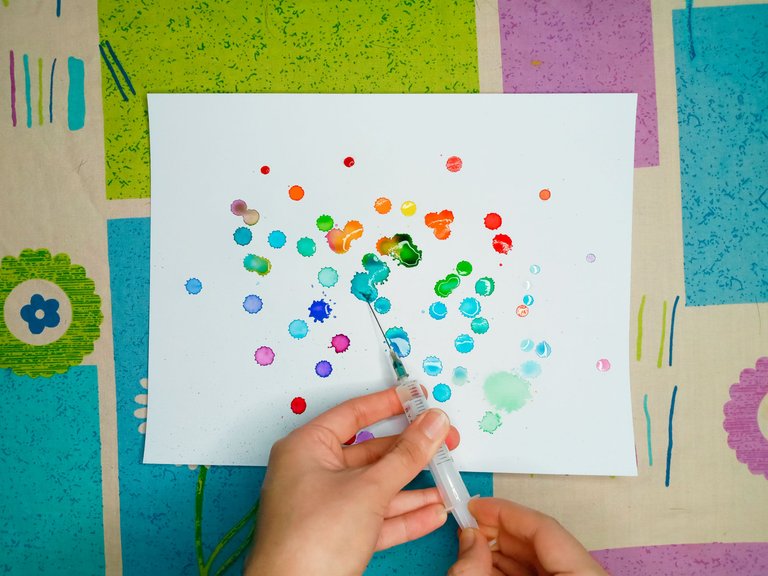
Usar una jeringa para sacar el exceso de agua de las manchas, paso que recomiendo porque ayuda a mantener la resistencia de la cartulina al evitar la absorción innecesaria de agua.
Use a syringe to remove excess water from the stains, a step I recommend because it helps maintain the strength of the cardboard by preventing unnecessary water absorption.
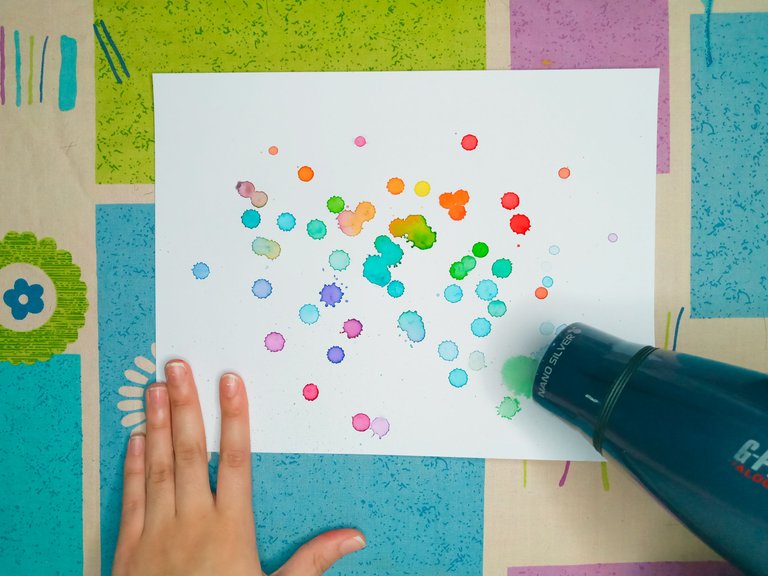
Pueden usar un secador de cabello para acelerar el proceso pero antes deben asegurarse que retirar el excedente de agua con el paso anterior.
You can use a hair dryer to speed up the process but first make sure you remove the excess water from the previous step.
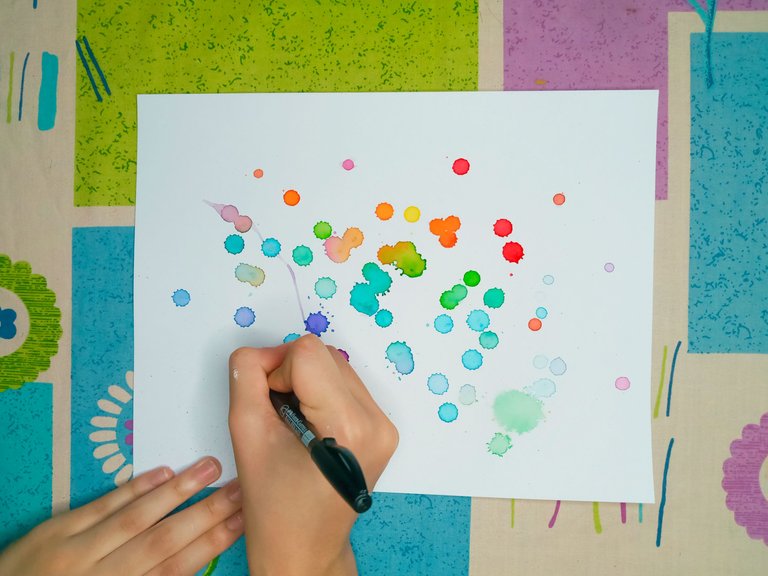
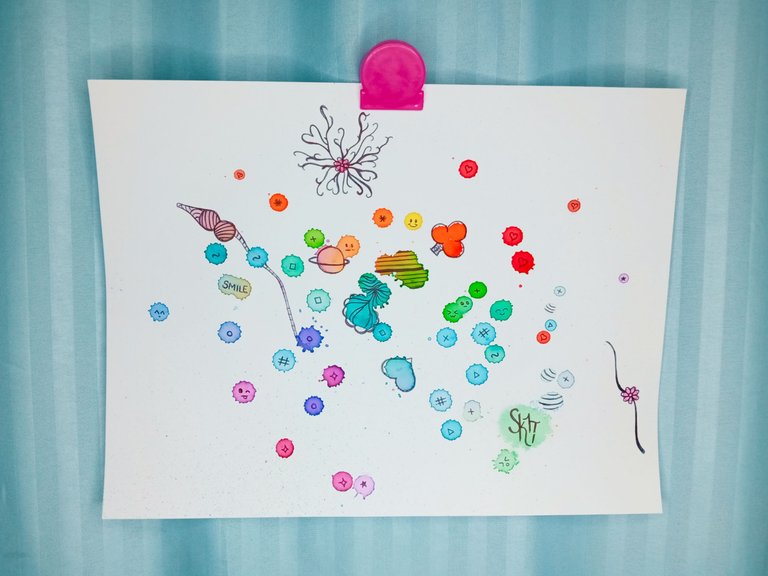
Por último, dibujar o escribir una frase que les guste.
Finally, draw or write a phrase that you like.
#2
Dibujar secciones de diferentes colores en el acrílico.
Draw sections of different colors on the acrylic.
Colocar el acrílico de forma vertical y rociar agua con el atomizador.
Place the acrylic vertically and spray water with the atomizer.
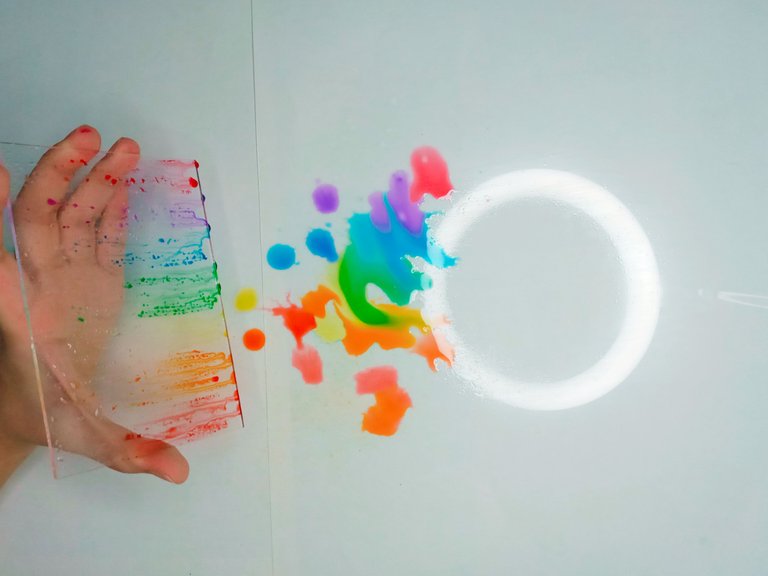
Dejar que las manchas caigan sobre una superficie plana de vidrio.
Let the stains fall on a flat glass surface.
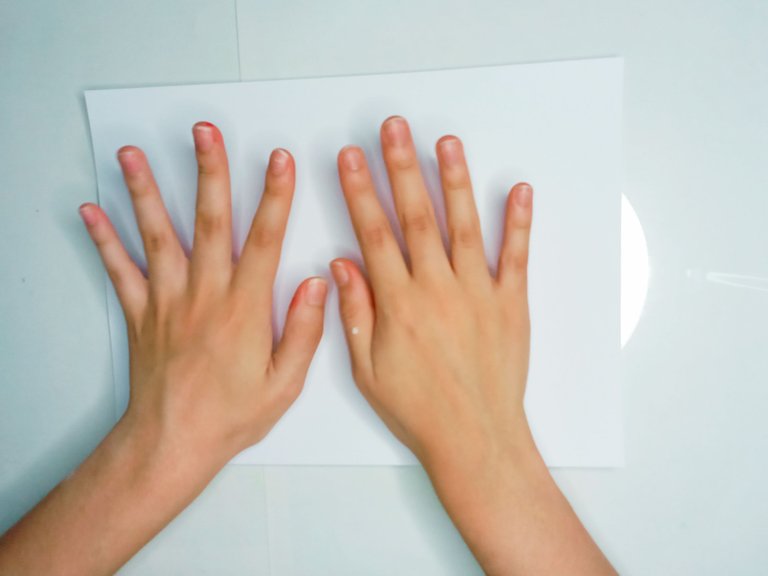
Colocar la cartulina sobre dicha mancha y hacer una ligera presión sobre esta con las manos.
Place the cardboard over the stain and press lightly on it with your hands.
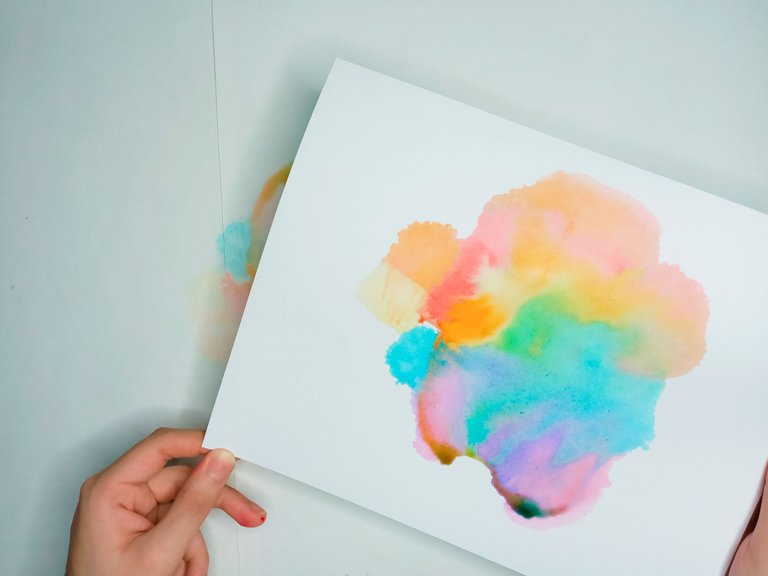
Tomar las esquinas superiores de la cartulina y levantarla poco a poco con mucho cuidado.
Take the upper corners of the cardboard and lift it up little by little but please be careful.
Igual que en la opción previa, pueden usar la jeringa y el secador para cumplir con la misma función.
As you can see in the previous option, you can use the syringe and the hairdryer to fulfill the same function.
Para finalizar pueden escribir algo que les guste o bien pueden dibujar, usar stickers o lo que deseen.
To finish, you can write or draw something you like, use stickers or whatever you want.
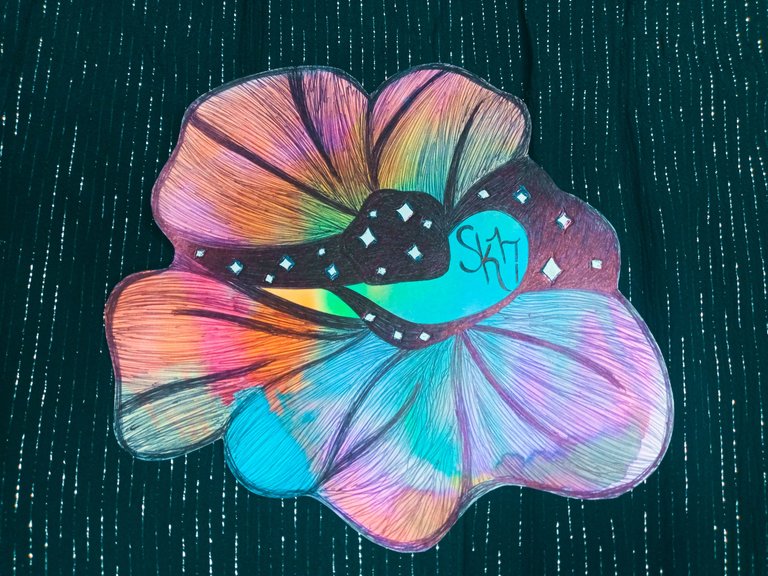
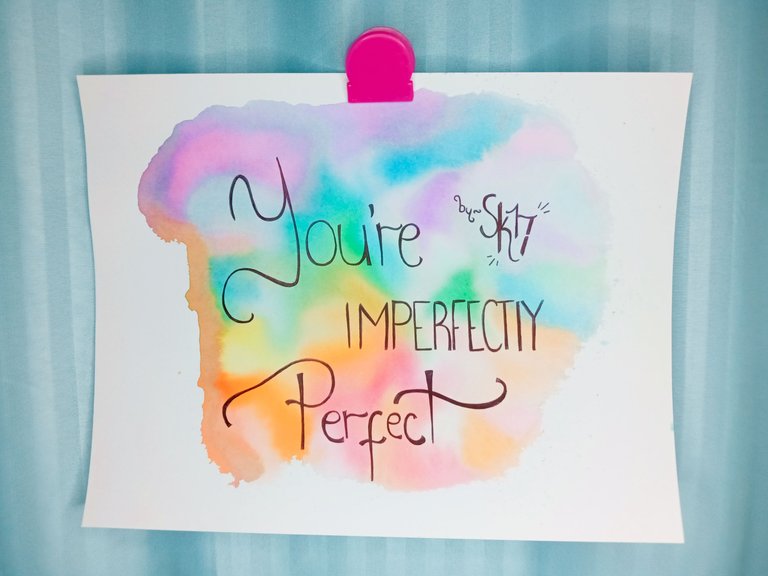
Another style
Holaaaa!!! bienvenida, me encantó tu técnica, gracias por otorgarnos conocimientos de cómo hacerla.
Hola ^^ ¡muchas gracias! ♡ me encanta que te encante~
Hola @stytchh!!!
Déjame felicitarte primero, tu creación es realmente hermosa. Y además quiero agradecerte, me hiciste recordar mi infancia... aunque ya han pasado 40 años, todavía recuerdo los trabajos con tempera que hacia en el preescolar. Con la edad que tengo disfruto muchisimo dibujar y pintar. Claro, ahora pinto mandalas!!!
Gracias por compartir tu técnica.
Hola ^^ gracias!!! Me alegra muchísimo haber logrado revivir esos recuerdos 🥺💖 de nada~ ¡gracias a ti! 💕
Hola. Super geniales las técnicas que mostraste, me encantaron. dejame decirte que tienes una muy bella creatividad e imaginacion, me encanto como dibujaste las burbujitas colocandole caritas y eso.
¡Hola! 🌸💕 muchísimas gracias, me alegra demasiado saberlo ♡ si, a mi igual ^^ disfruté mucho el proceso 💖
Congratulations @stytchh! You have completed the following achievement on the Hive blockchain and have been rewarded with new badge(s) :
Your next target is to reach 400 upvotes.
Your next target is to reach 50 comments.
Your next target is to reach 50 replies.
You can view your badges on your board and compare yourself to others in the Ranking
If you no longer want to receive notifications, reply to this comment with the word
STOPCheck out the last post from @hivebuzz:
Oh maaaiii, el resultado es hermoso! Prácticamente este es un tutorial para elaborar plantillas tipo los pack que encuentras en CreativeMarket 💎✨ estoy enamorada. Bienvenida a la plataforma lovely Bean! Acabo de leer tu IntroduceYourself o//7//o justo ayer platicaba con una amiga que Hive necesita más usuarios creativos (geek, otakus, k-popers) necesitamos variedad en la fauna 😆
Me alegra que te gustara tanto 💕 muchas gracias!!! ^^♡ jajaja que risa, justamente~