¡Hola, muy buenas noches! Hace unas semanas atrás realicé un traje para un evento al que asistí y entre una de las piezas que elaboré, se encuentra una cola, pues el personaje se trata de un diablillo. En el siguiente enlace, pueden ver el traje completo, por si gustan:
Hello, very good evening! A few weeks ago I made a costume for an event I attended and among one of the pieces I made, there is a tail, since the character is an imp. In the following link, you can see the complete suit, if you like:
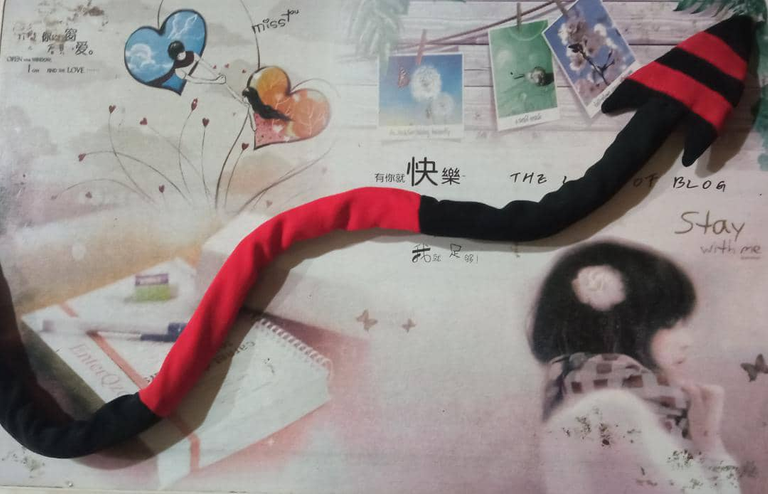
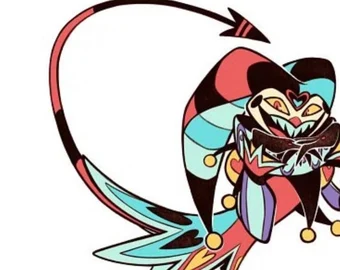
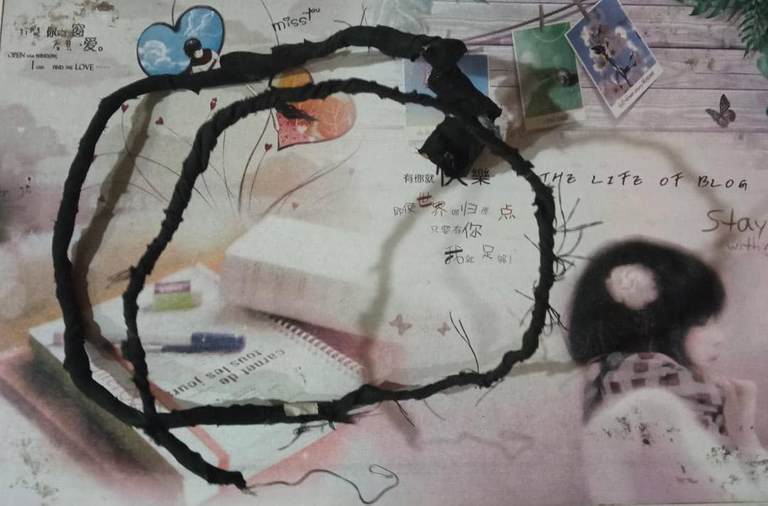
Para este tipo de accesorios, me gusta utilizar alambre, ya que permite que la cola obtenga una mayor flexibilidad y puede amoldarse fácilmente al cuerpo. En éste caso, reutilicé un trozo de alambre que había utilizado para otro traje.
For these types of accessories, I like to use wire as it allows the tail to gain more flexibility and can be easily molded to the body. In this case, I reused a piece of wire that I had used for another suit.
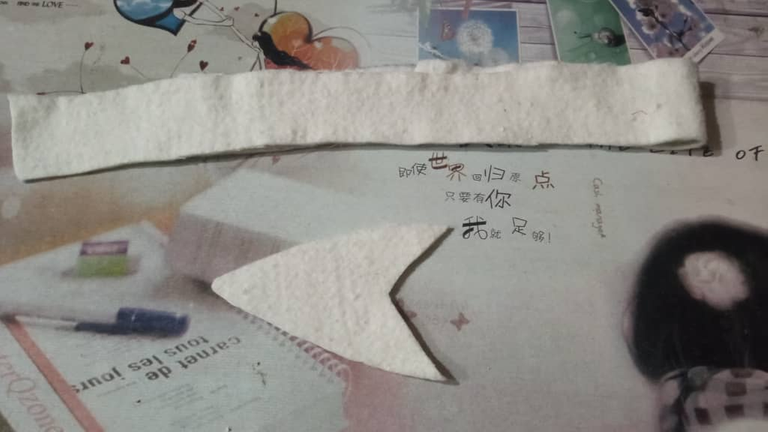
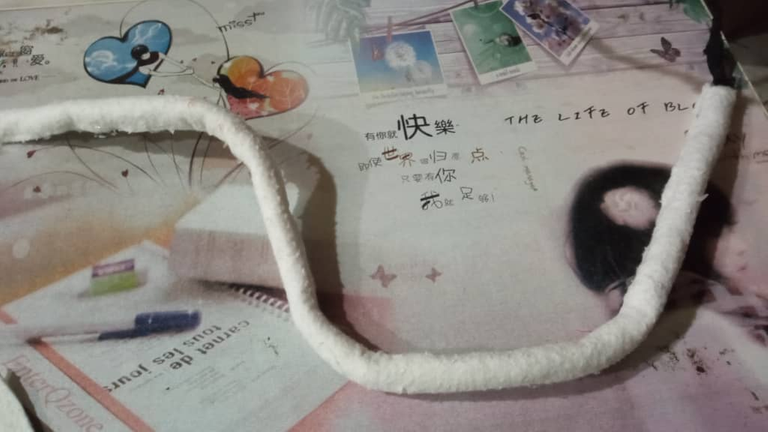
Como deseaba darle algo más de grosor, corté una tira de fieltro del largo de la cola (Dejando suficiente alambre para enrollarlo alrededor de nuestra cintura) y otra pieza más, con forma rectangular, para elaborar la punta de la cola, pues la del personaje, tiene forma de flecha.
As I wanted to give it a little more thickness, I cut a strip of felt the length of the tail (leaving enough wire to wrap it around our waist) and another piece, with a rectangular shape, to make the tip of the tail, since that of the character It has the shape of an arrow.
Forré la cola (el largo deseado), con la tira de fieltro, utilizando silicón caliente para mayor rapidez.
I covered the tail (the desired length), with the felt strip, using hot silicone for speed.
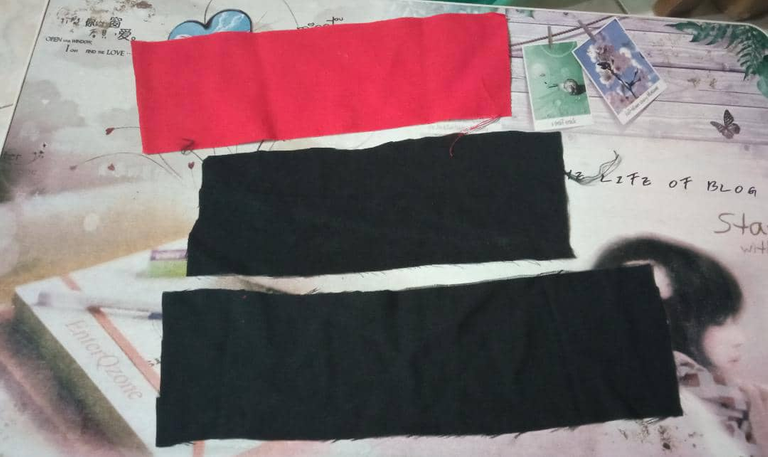
Como la cola tiene dos colores, corté unos rectángulos correspondientes al diseño. Dependiendo de lo que se vaya a realizar, puede hacerse unicolor. En ese caso, con una tira del largo de la cola, basta. Cosí al extremo de cada pieza y la cerré, para crear un forro para la cola.
As the tail has two colors, I cut some rectangles corresponding to the design. Depending on what is going to be done, it can be done in one color. In that case, a strip the length of the tail is enough. I sewed to the end of each piece and closed it, to create a lining for the tail.
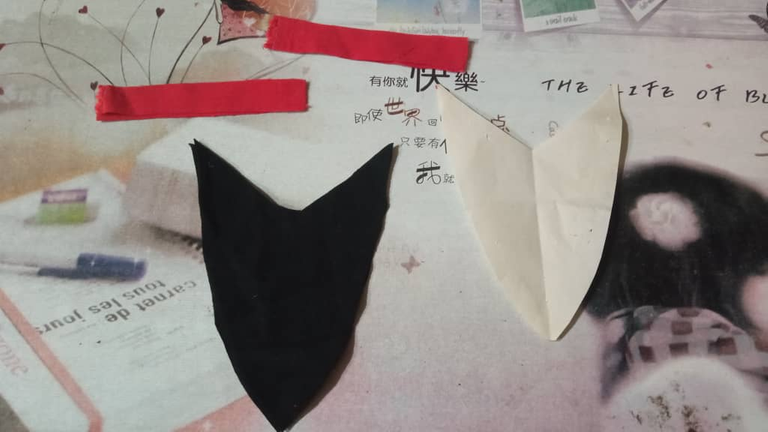
Para la punta de la cola, elaboré el molde en un trozo de papel y corté unas piezas en tela. Cosí unas tiras rojas para el detalle de la misma en cada pieza individualmente y luego cosí ambas, dejando una pequeña abertura en la parte superior para poder voltearla y anexar la otra parte pieza. Una vez hecho esto metí a través de la abertura, la pieza de fieltro en forma triangular que había cortado con anterioridad, dándole más forma a esta parte de la punta de la cola.
For the tip of the tail, I made the pattern on a piece of paper and cut some pieces out of fabric. I sewed some red strips for the detail of it on each piece individually and then sewed both together, leaving a small opening at the top so I could flip it over and attach the other piece. Once this was done I put through the opening, the triangular shaped piece of felt that I had cut earlier, giving more shape to this part of the tip of the tail.
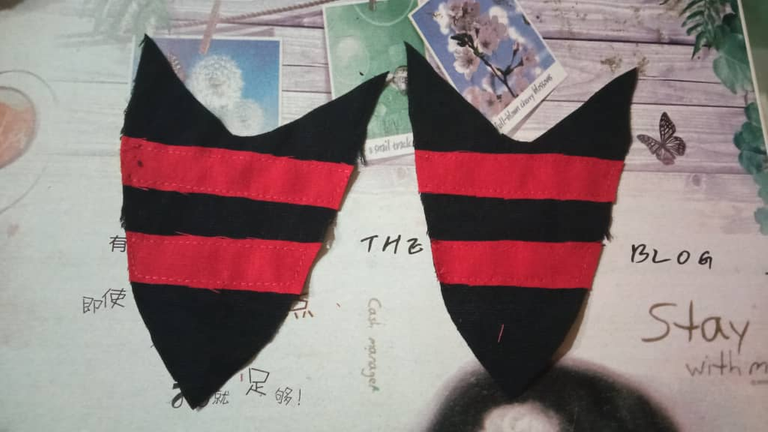
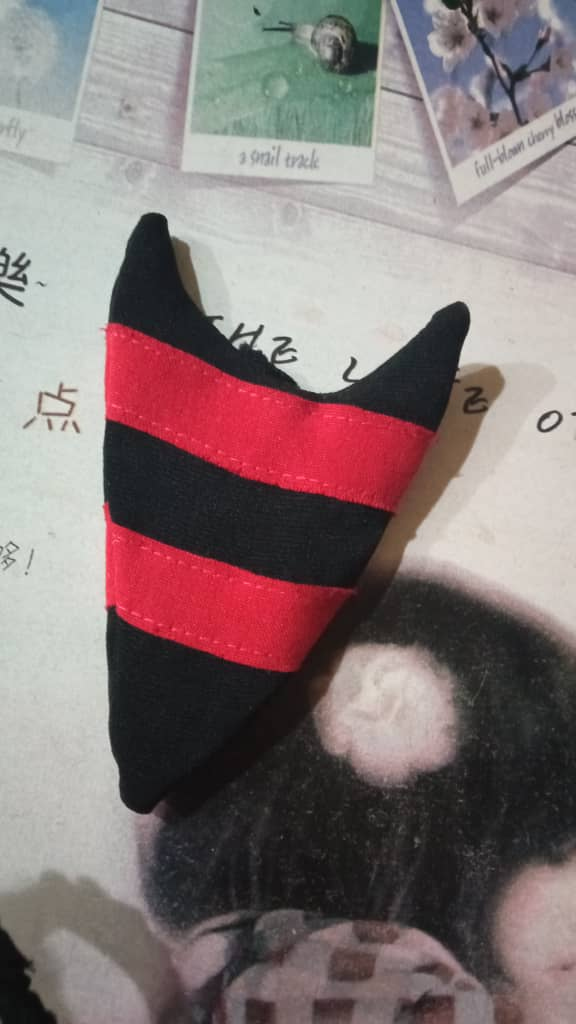
Ya teniendo las dos piezas armadas, lo siguiente fue meter en la alambre en el tubo de tela y tras introducirlo en la piza rectangular, proceder a coserlo con un par de puntadas a mano.
Already having the two pieces assembled, the next thing was to put the wire in the fabric tube and after inserting it in the rectangular piece, proceed to sew it with a couple of hand stitches.
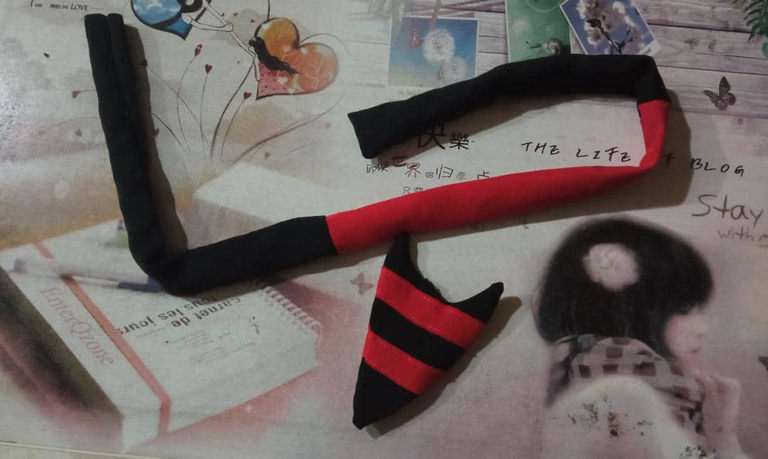
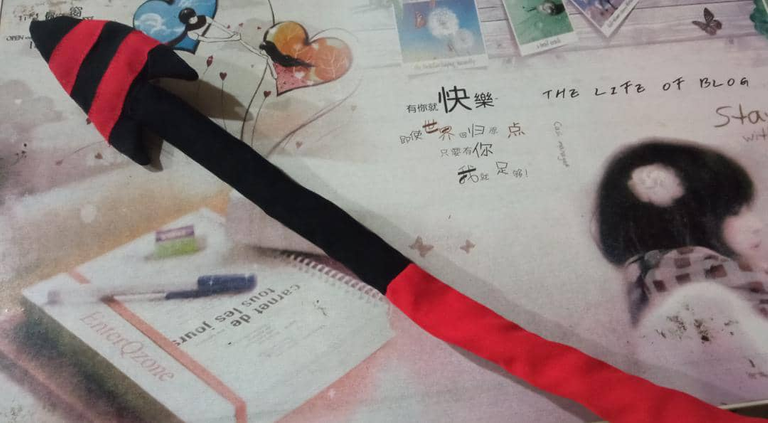
Debo admitir que fue una de las partes más sencillas en la elaboración de éste traje, no exige tantos materiales y luce bastante decente, ya que el alambre, permite darle bastante movilidad, sobre todo a la hora de apoyarla para las fotografías.
I must admit that it was one of the easiest parts in the making of this suit, it does not require so many materials and it looks quite decent, since the wire allows it to be quite mobile, especially when supporting it for photographs.
Muchas gracias por haber visitado mi publicación. Espero que les haya parecido interesante.
¡Hasta una próxima oportunidad!
Thank you very much for visiting my publication. I hope you found it interesting.
See you next time!
Ideal este tutorial ya que se acerca halloween 🎃. Excelentes tips
Que gran serie helluva boss, la cola de diablillo esta muy bien lograda aparte usaste unos materiales muy accesibles logrando una buena pieza final.