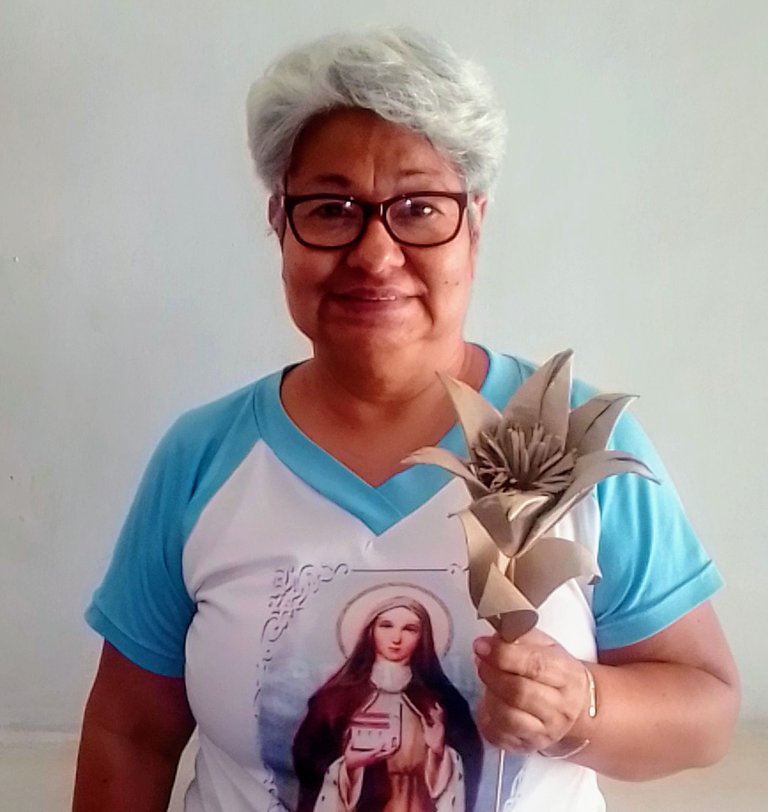

Greetings to all #hive friends especially this community #hivediy I hope you are well are my best wishes, today I bring you the step by step of a beautiful craft with toilet paper tubes is a Lily Flower, so recycling is the most conscientious thing we can do.
Con esto podemos ir concientizando a muchas personas e igualmente llevarlo a los niños que los residuos que vayamos a botar lo volvemos a reutilizar y le damos nueva vida y otro uso el que tu quieras y hay grandes cantidades de objetos que tiran a la basura y eso contamina nuestro ambiente.
With this we can raise awareness among many people and also take it to the children that the waste we throw away can be reused and we give it a new life and another use that you want and there are large amounts of objects that are thrown away and that pollutes our environment.
Así que te invito a reciclar y darle nueva vida a ese objeto que vayas a desechar, ahora yo soy una persona que vivo reciclando y dándole otro uso a estos envases.
So I invite you to recycle and give new life to that object that you are going to throw away, now I am a person who lives recycling and giving another use to these containers.
MATERIALES A UTILIZAR
MATERIALS TO BE USED
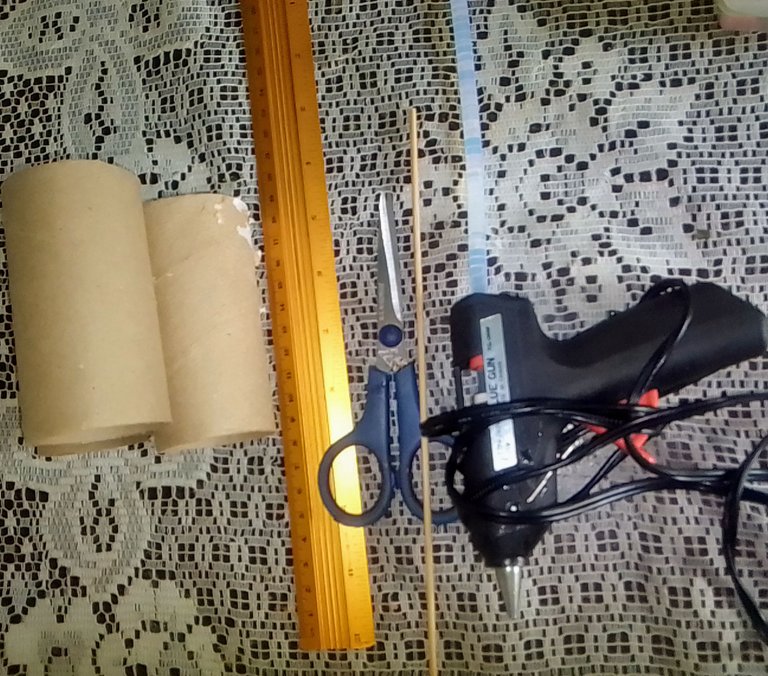
- Una regla
- Tubos de papel higiénicos
- Tijera
- Palito de altura
- Barra de Silicón
- Pistola de silicón.
- A ruler
- Toilet paper tubes
- Scissors
- Height stick
- Silicone stick
- Silicone gun.
PROCEDIMIENTO
PROCEDURE
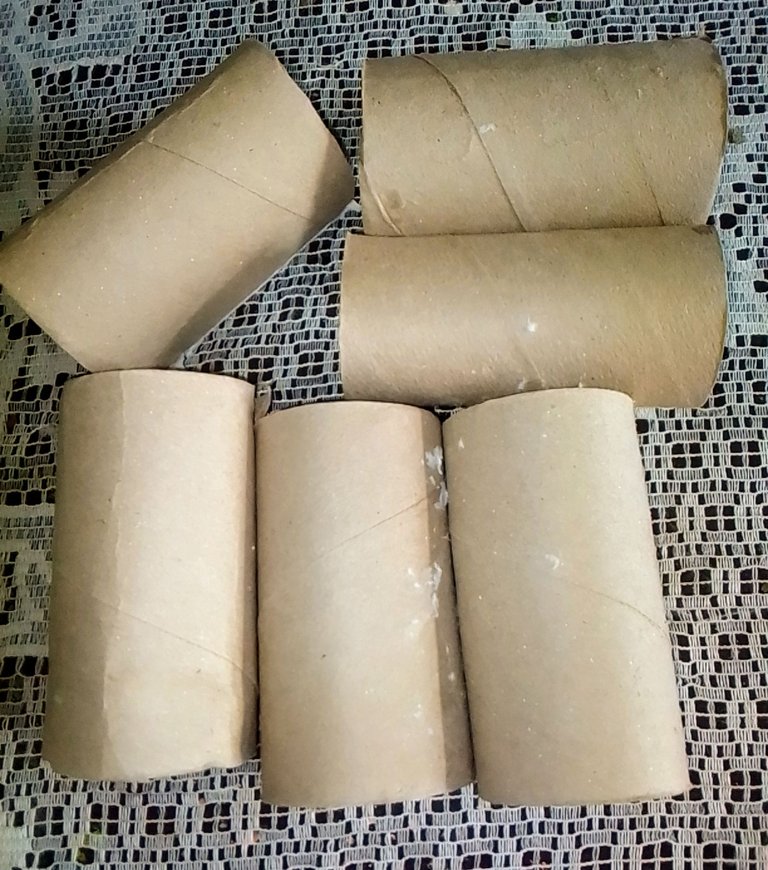
STEP 1
Lo primero que hice fué ir recolectando los tubos de papel higiénicos y aproximadamente lo que voy a necesitar para hacer mi creatividad de la flor de lirio, ahora estos tubos tiene que limpiarlos bien que le quedan papelitos blancos.
The first thing I did was to collect the toilet paper tubes and approximately what I will need to make my creativity of the lily flower, now these tubes have to be cleaned well that you have white papers left.
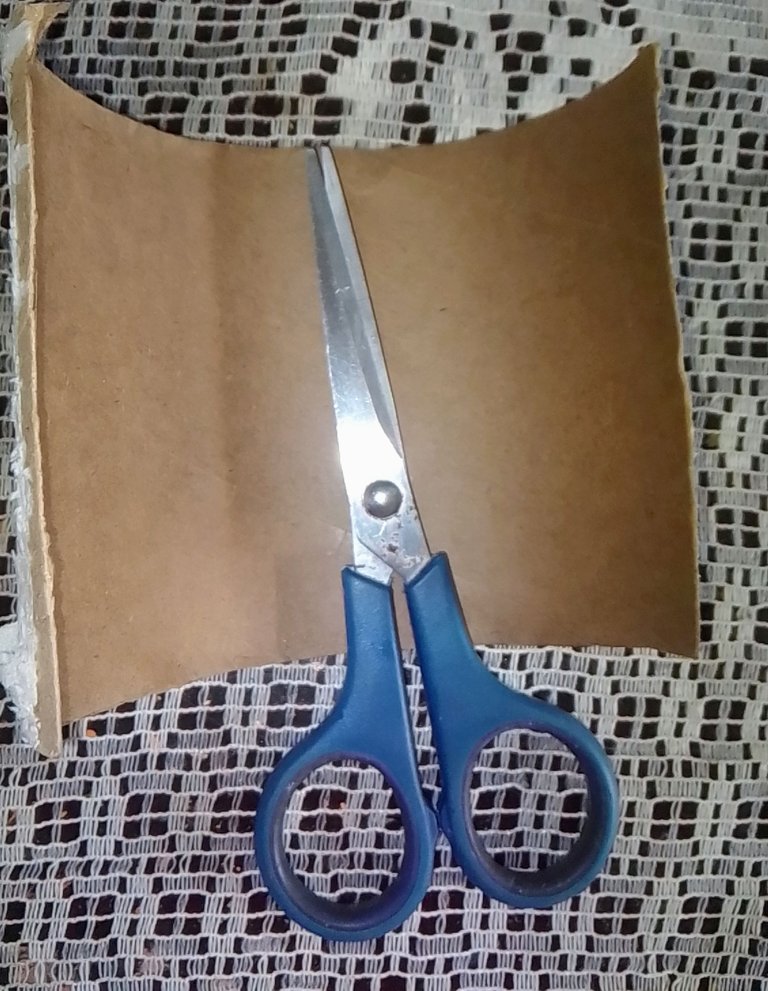
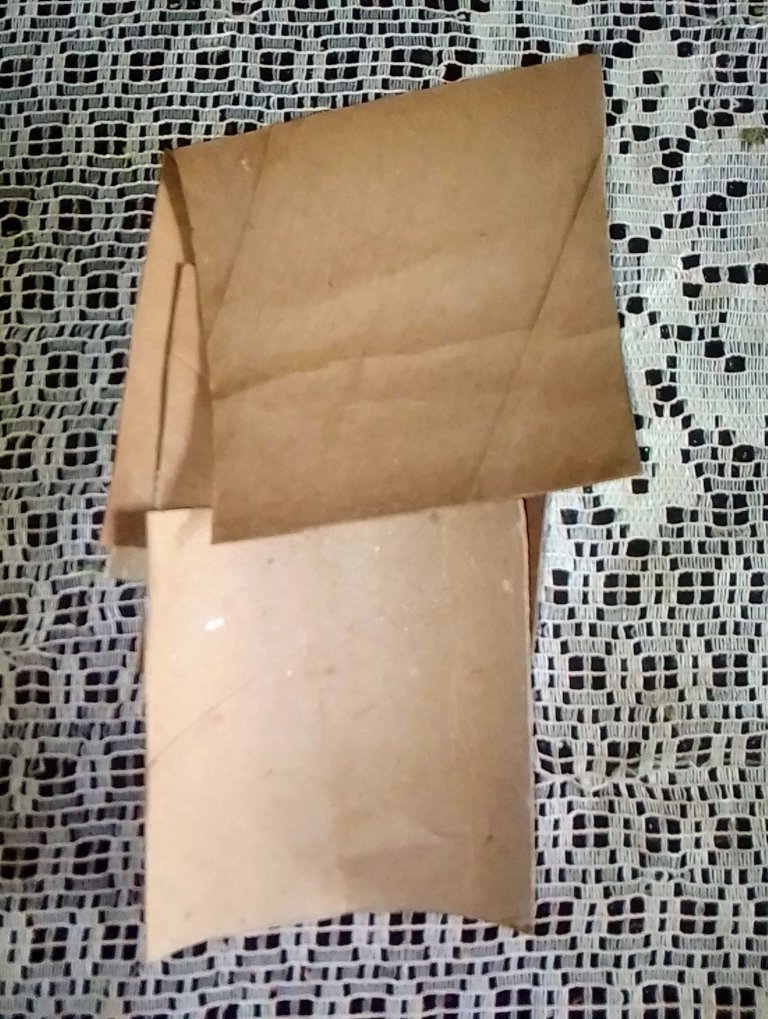
STEP 2
Ahora acá vas a tomar cada tubo de papel higiénico y con la tijera lo vas a cortar a la mitad.
Now here you are going to take each toilet paper tube and with the scissors you are going to cut it in half.
STEP 3
Luego con la regla vas a medir 9 X 9 exactamente 6 cuadritos con la cual vas hacer los pétalos de la flor.
Then with the ruler you are going to measure 9 X 9 exactly 6 squares with which you are going to make the petals of the flower.
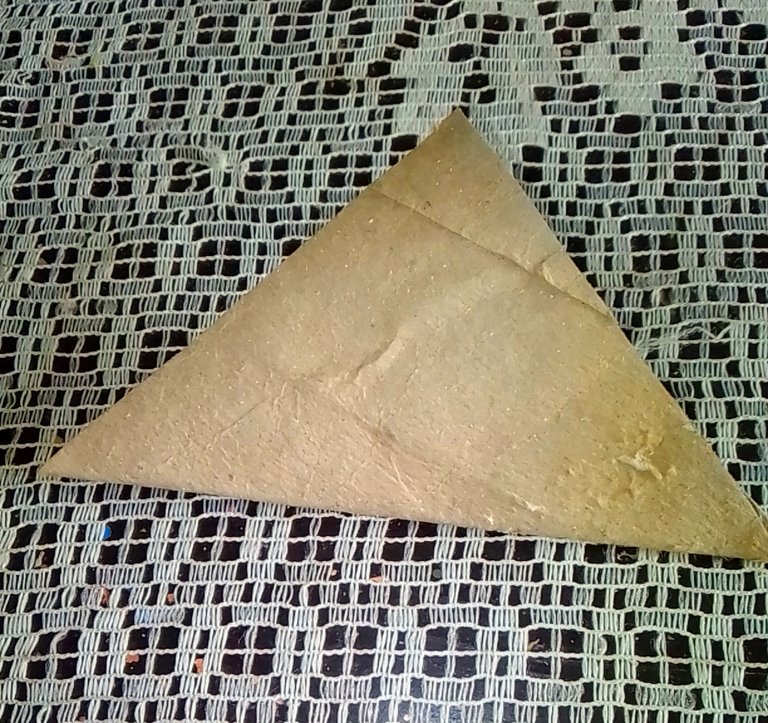
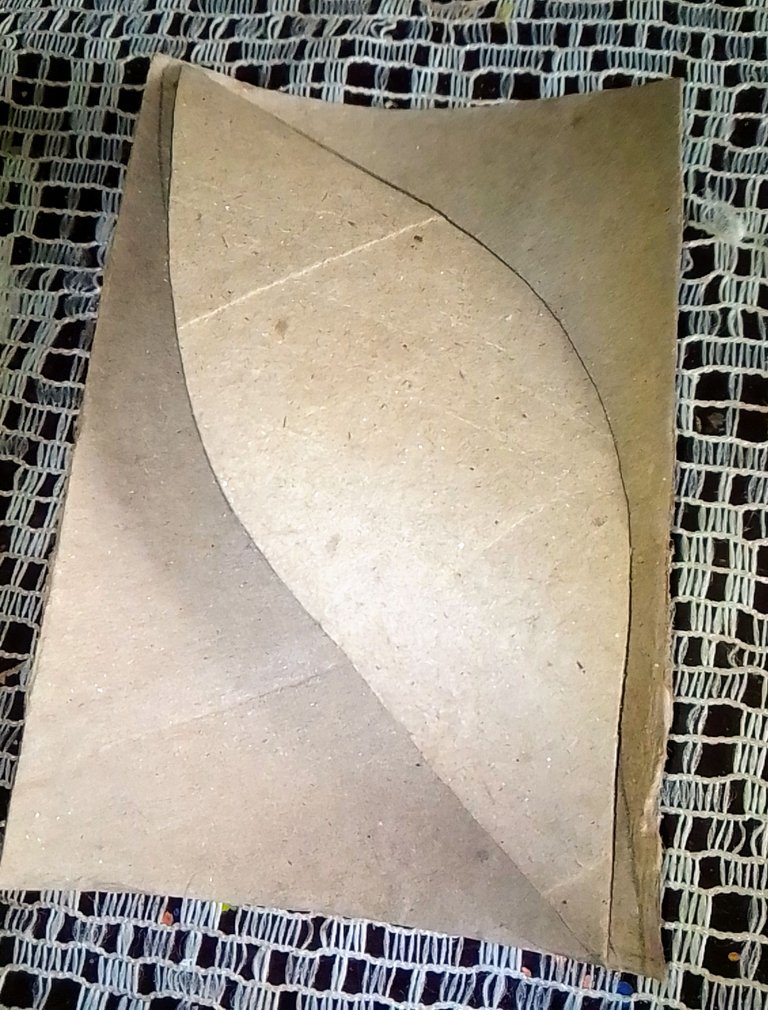
STEP 4
Luego que ya los tienes recortado y la cantidad con la cual se va a trabajar procede a doblarlo diagonal en forma de pañuelo y con la ayuda de la regla por la línea lo presiona para que quede marcado y se vea.
After you have them cut out and the amount with which you are going to work, proceed to fold it diagonally in the form of a handkerchief and with the help of the ruler along the line, press it so that it is marked and visible.
STEP 5
Ahora lo abrimos y doblamos las dos esquinas llevándola por la misma línea que es la guía mitad y mitad.
Now we open it and fold the two corners taking it along the same line which is the half and half guide.
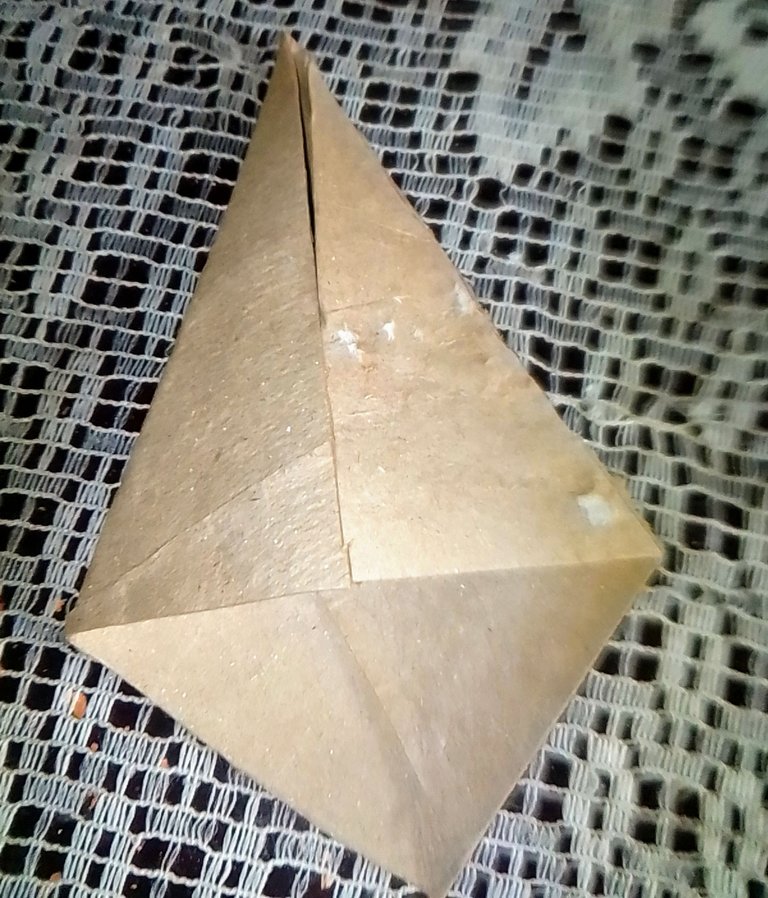
STEP 6
Y de allí una vez que hayas doblado arriba mitad y mitad procede hacer lo mismo abajo como muestra la imagen y luego la otra y presiona bien las líneas.
And from there once you have folded up half and half proceed to do the same below as shown in the picture and then the other and press the lines well.

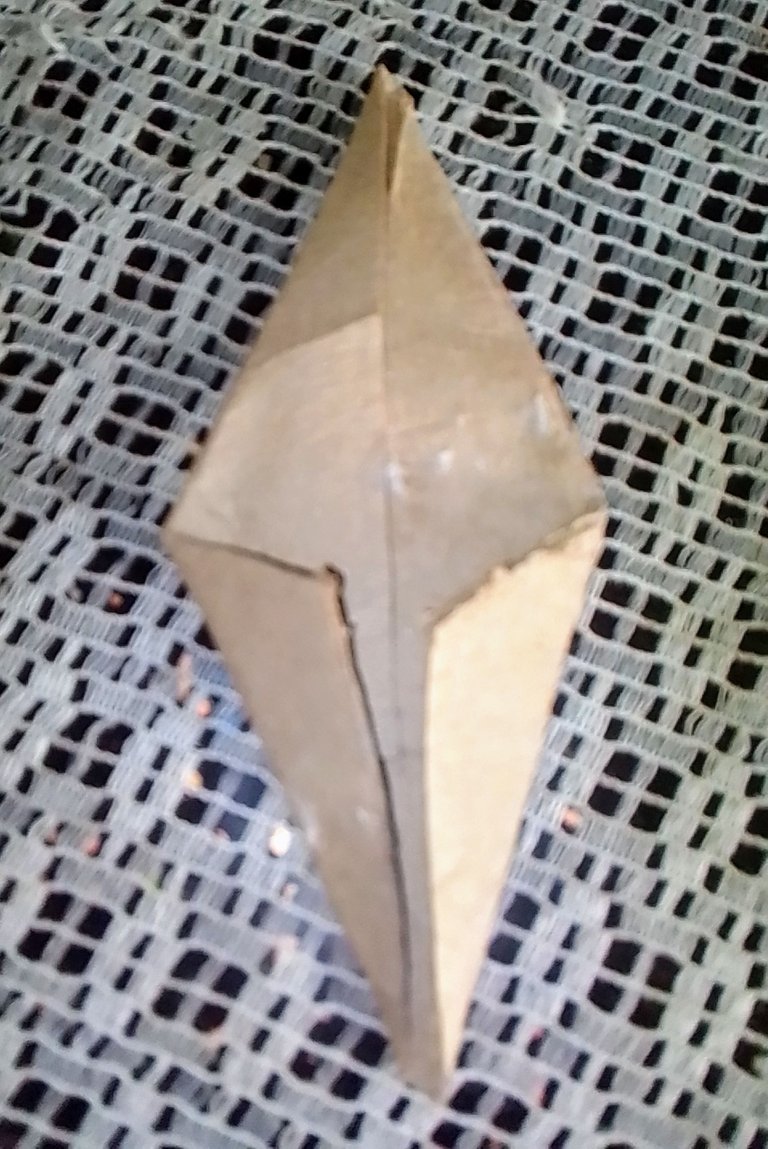
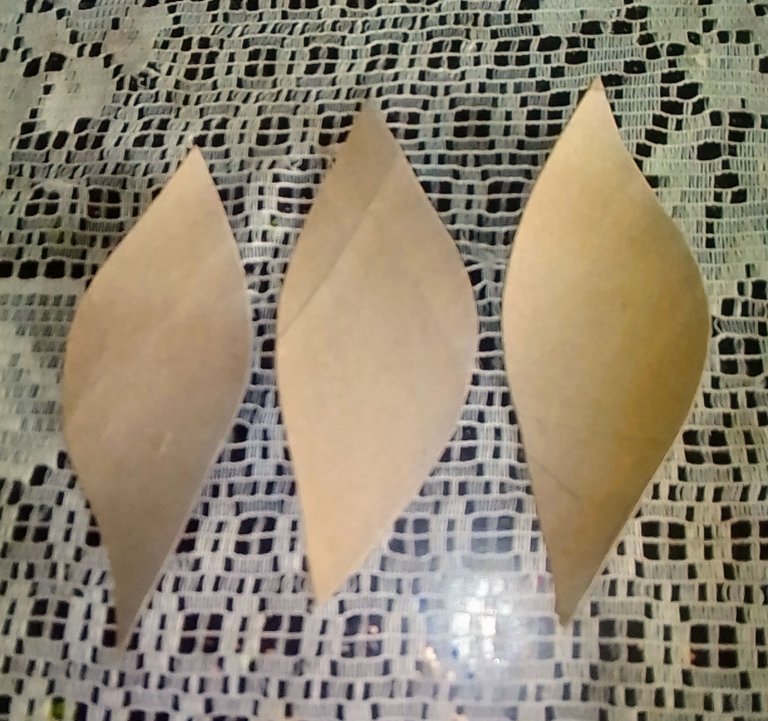
STEP 7
Y de esta manera te quedan los pétalos de la flor.
And this way you get the petals of the flower.
STEP 8
Ya aquí tengo mis 6 pétalos lista para empezar a ensamblar.
Here I have my 6 petals ready to start assembling.
STEP 9
Después voy a medir 6 cmts con un pedazo de tubo de papel higiénico ya van a ver para que se va a utilizar.
Then I will measure 6 cm with a piece of toilet paper tube and you will see what it will be used for.
STEP 10
Acá muestro ya recortado y medido mi cartón son 6 cmts y a lo largo del tubo de papel higiénico.
Here I show already cut and measured my cardboard is 6 cm and along the length of the toilet paper tube.
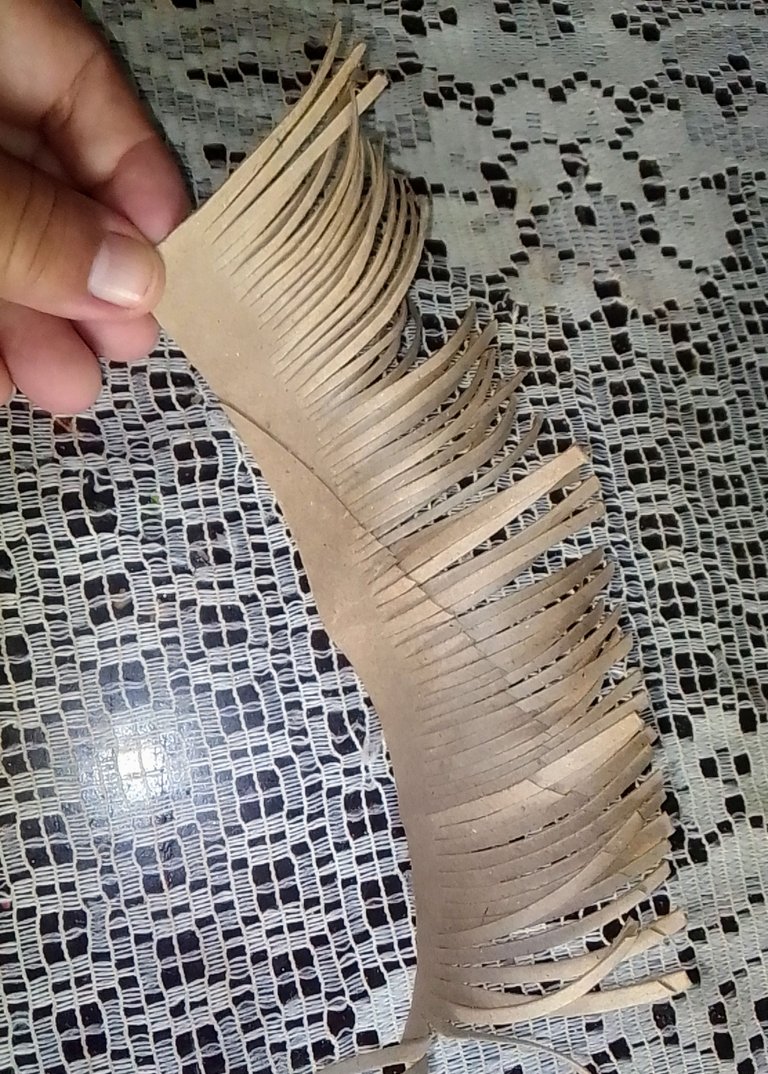
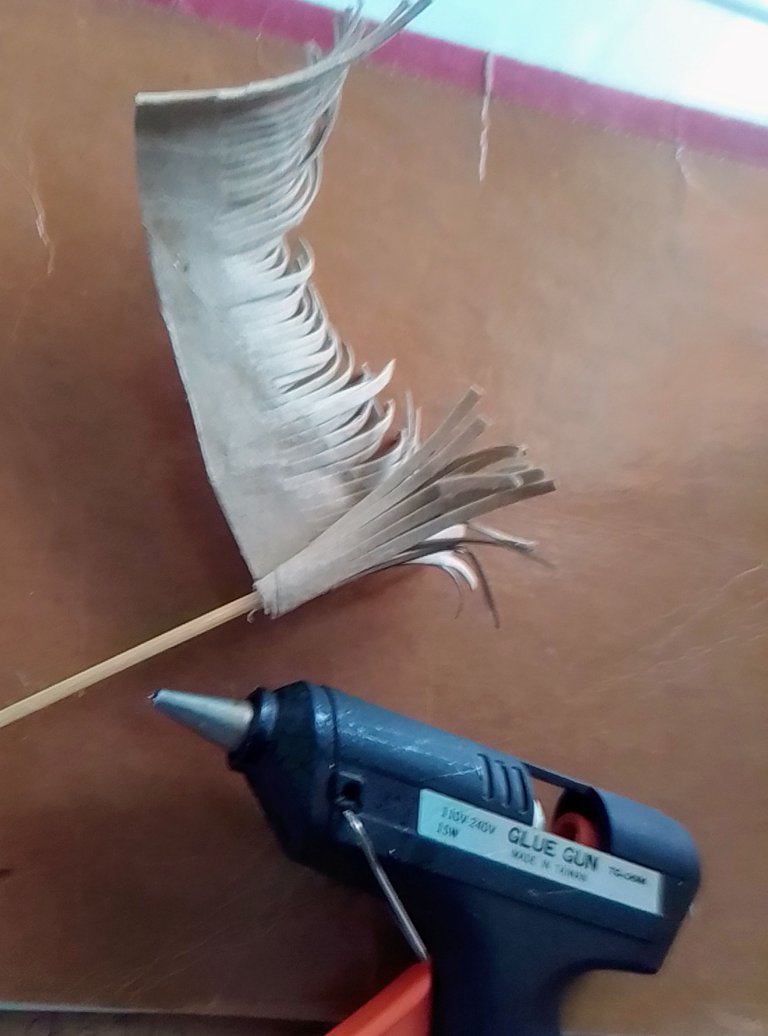
STEP 11
Observa ahora para que es el pedazo de cartón con la ayuda de la tijera a un lado empieza a cortar lo más finito que puedas y no lo vas hacer hasta arriba sino que vas a dejar como 1 1/2 y ese corte es hasta el final.
Now observe what the piece of cardboard is for and with the help of the scissors on one side start cutting as thinly as you can and you are not going to do it all the way to the top but you are going to leave about 1 1/2 and that cut is all the way to the end.
STEP 12
Y así te queda todo bien recortadito.
And that way you get a nice trim.
STEP 13
Luego en un cartón recorta una forma de hoja este va hacer tu patrón y luego la colocas encima y marcas.
Then on a cardboard cut out a leaf shape this will make your pattern and then place it on top and mark it.
STEP 14
Ya acá tengo mis tres hojas lista para luego ensamblar.
Here I have my three sheets ready for assembly.
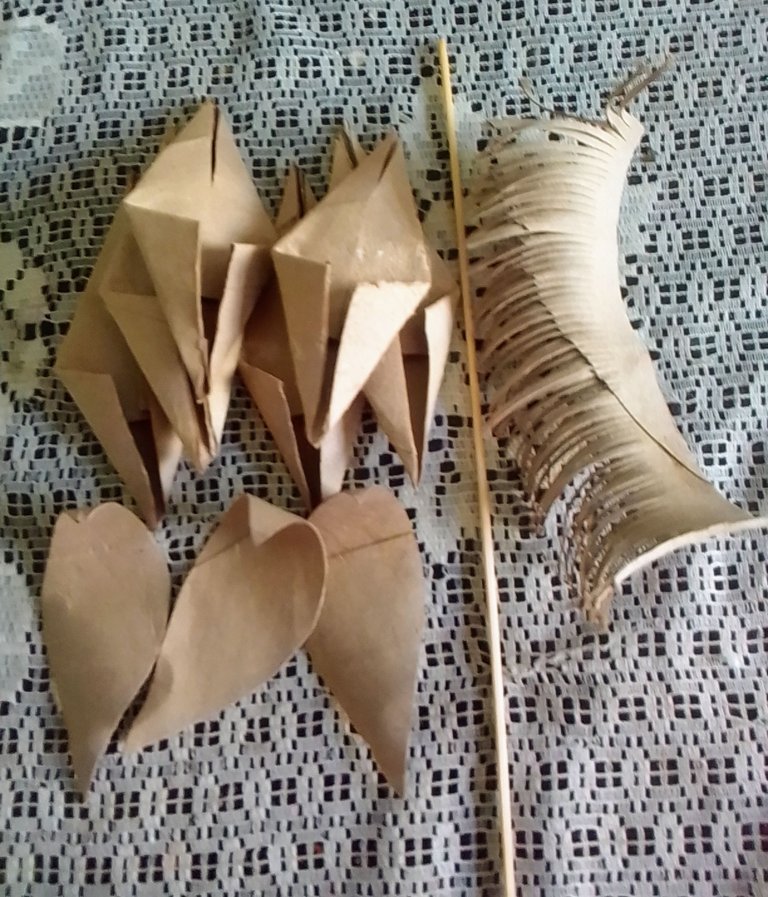
STEP 15
Como pueden observar ya tengo casi todo para empezar ensamblar mi flor mis 6 pétalos, mis 3 hojas en la orilla le hice un doblez, mi palito de altura y el flequillo.
As you can see I have almost everything to start assembling my flower my 6 petals, my 3 leaves on the edge I made a fold, my height stick and the fringe.
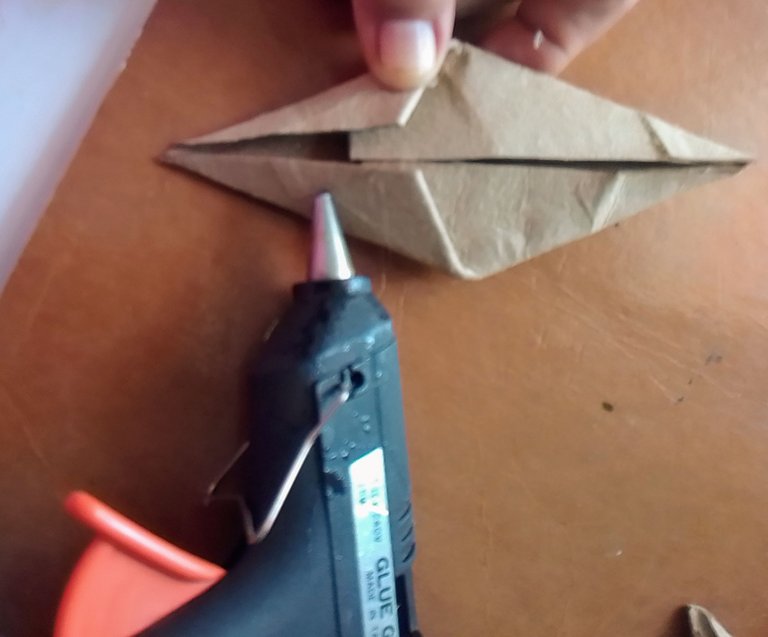
STEP 16
Ok ya empezamos a pegar los pétalos en la parte de abajo le agregamos silicón caliente ya previamente puesta a calentar la pistola.
Ok, now we start gluing the petals on the bottom part, we add hot silicone and heat the gun.
STEP 17
Empezamos a pegar una por una de lado a lado en la misma dirección.
We start gluing one by one from side to side in the same direction.
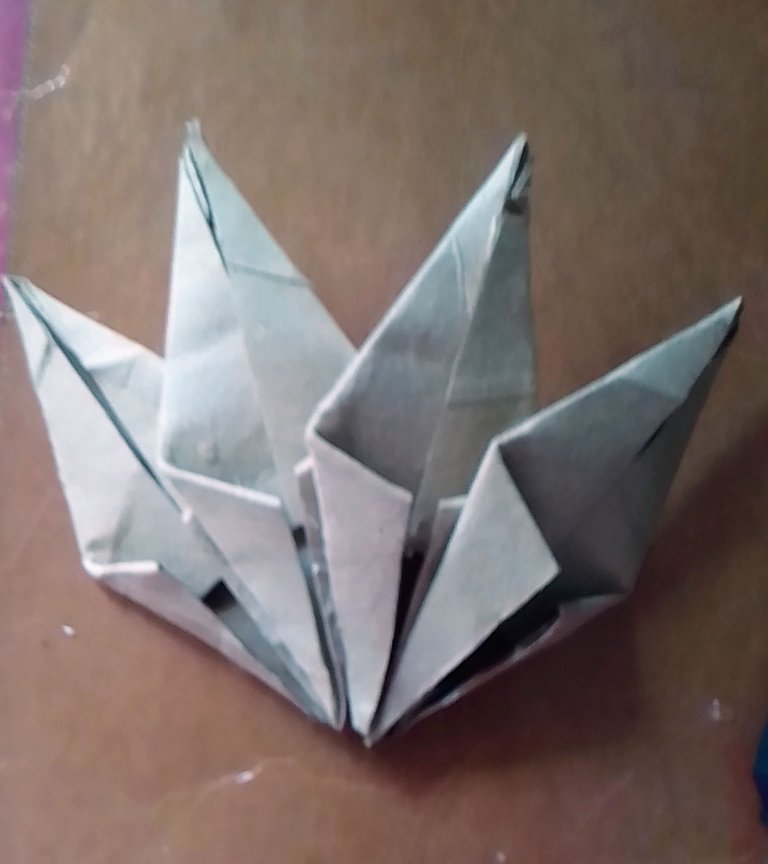
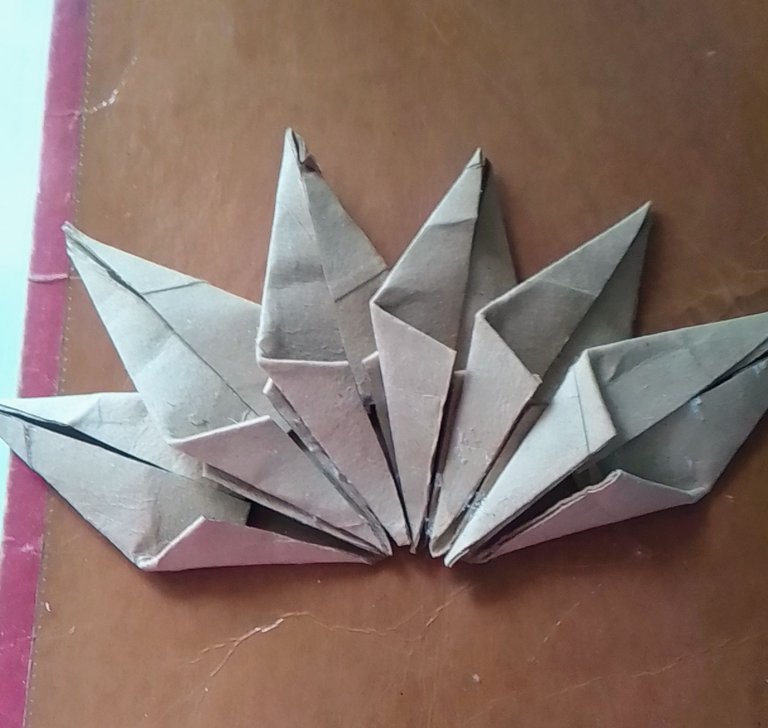
STEP 18
Ya acá tenemos los 6 pétalos pegados en una hilera.
Here we have the 6 petals glued in a row.
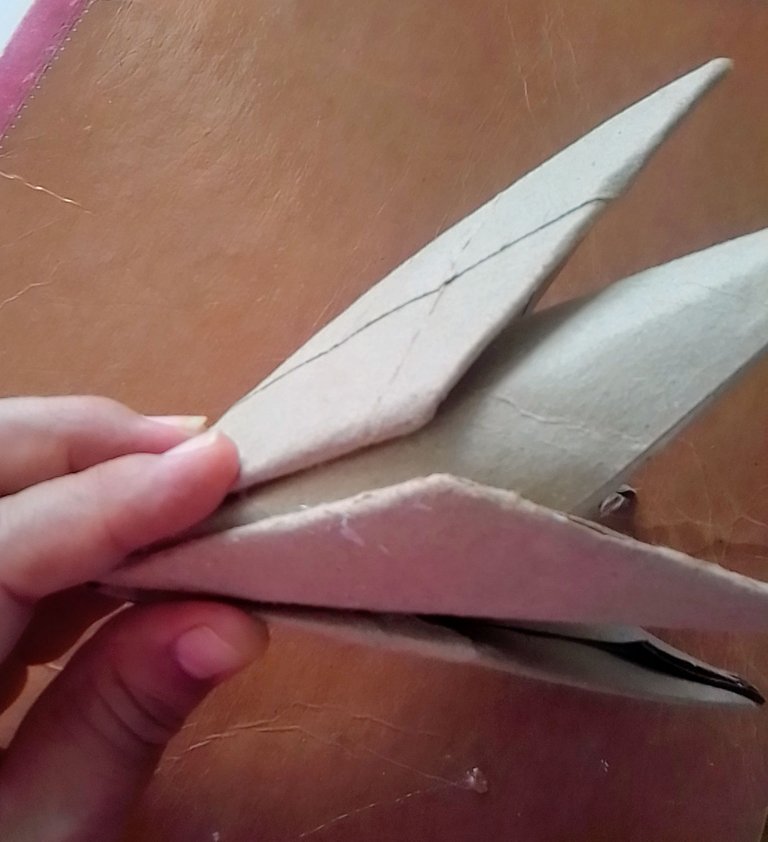
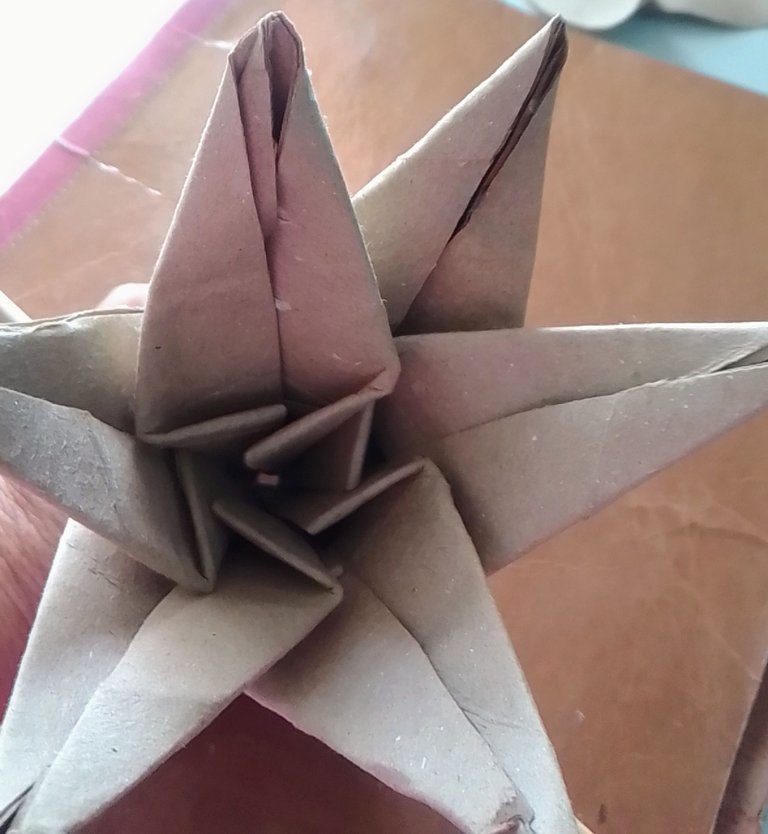
STEP 19
Luego tomamos los pétalos y pegamos silicón caliente en uno de los extremos y el siguiente extremo lo pegamos como haciendo un embudo y lo sostenemos que pegue bien.
Then we take the petals and glue hot silicone on one of the ends and the next end we glue it as if making a funnel and hold it so that it sticks well.
STEP 20
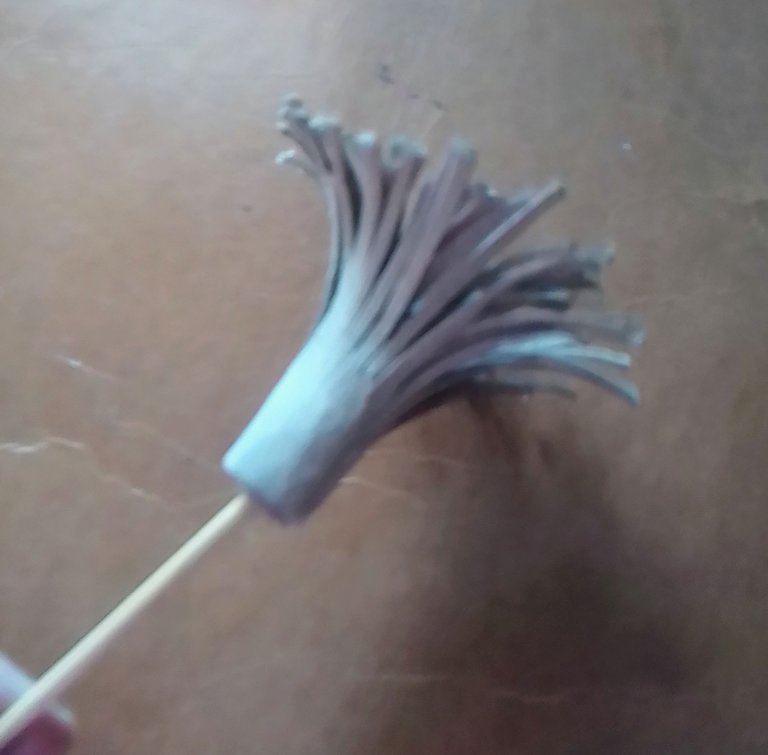
Acá tomamos el cartón con los flequillos y el palito de altura y le agregamos pega en la punta del palito y empezamos a colocarle los flequillos y le damos vuelta y echamos pega y así sucesivamente hasta el final.
Here we take the cardboard with the bangs and the height stick and we add glue on the tip of the stick and we start to put the bangs and we turn it over and we add glue and so on until the end.
STEP 21
Y de esta manera nos quedó los flequillos que sería el centro de la flor y esta la acomodamos bien dándole forma.
And in this way we got the bangs that would be the center of the flower and this one we arrange it well giving it shape.
STEP 22
Cuando pegaste los pétalos te quedó en el centro un huequito y allí vas a introducir el palito de altura con el centro de la flor.
When you glued the petals you will have a small hole in the center and there you will insert the height stick with the center of the flower.
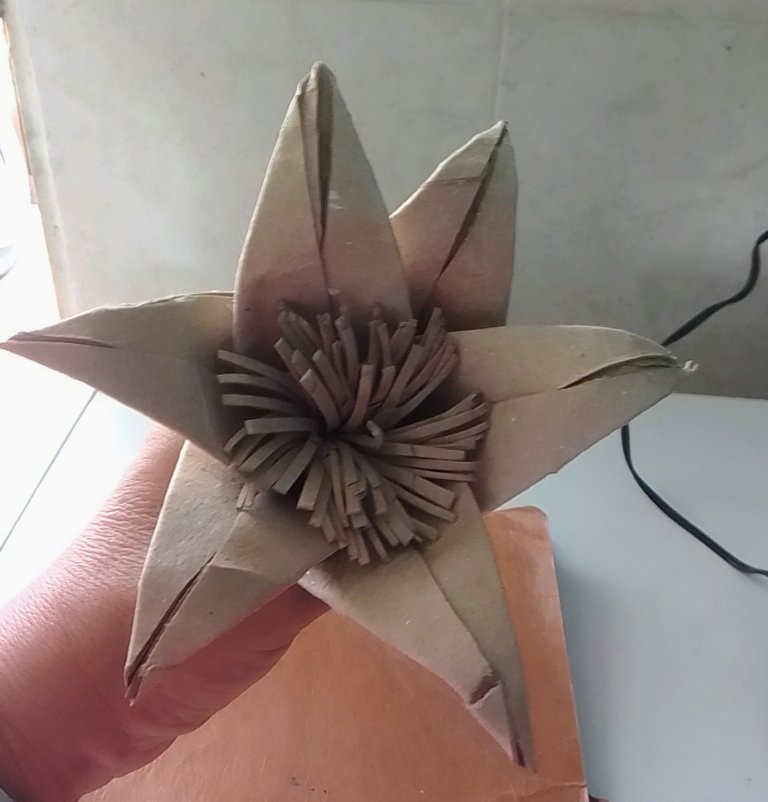
STEP 23
Y de esta manera te queda tu Flor de Lirio ya toda ensamblada con su centro y por último las hojas y queda hermosa toda al natural la dejé sin pintarla, bueno imaginense pintada más hermosa queda.
And this way you get your Lily Flower all assembled with its center and finally the leaves and it is beautiful all natural I left it unpainted, well imagine it painted more beautiful.

Gracias a todos por haberme acompañado hasta el final de este paso a paso de esta hermosa flor espero le guste y puedan realizarla para hacer un florero en su casa, para regalar, decorar o como ustedes lo prefieran y así están enseñando a concientizar para mantener nuestro planeta libre de desecho y cuando digan de que está hecho no lo podrán creer.
Thank you all for joining me until the end of this step by step of this beautiful flower I hope you like it and can make it to make a vase at home, to give, decorate or as you prefer and thus are teaching awareness to keep our planet free of waste and when they say that it is made of you will not believe it.
Todas las imágenes son tomadas con mi celular LOGICL55B.
Traducido con DEEPL TRANSLATE.
All images are taken with my LOGICL55B cell phone.
Translated with DEEPL TRANSLATE.
HASTA OTRO ENCUENTRO PRODUCTIVO.
UNTIL ANOTHER PRODUCTIVE MEETING.

Es una forma bastante creativa y hermosa para reciclar, la felicito su flor de lirio quedo bellisima, gracias por compartir, saludos 🖖
Gracias amiga por tu grata visita y me alegro que te haya gustado es una forma de contribuir con nuestro planeta feliz tarde.
Muy bonita su flor me gustó su creatividad!! Me recordó mucho a mi mami. Es muy bueno lo que podemos realizar con material de provecho, creando arte y cuidando al planeta!! Felicitaciones @tibisayq23
!DIY
Gracias mi linda me alegra mucho que te haya gustado así es el material de desecho si lo aprovechamos ayuda a cuidar nuestro planeta y gracias por decir que te recordé a tu mami feliz tarde bendiciones.
You can query your personal balance by
@danhyelita24 just sent you a DIY token as a little appreciation for your post dear @tibisayq23! Feel free to multiply it by sending someone else !DIY in a comment :) You can do that x times a day depending on your balance so:!DIYSTATS