✨¡Hola amigos amantes de la creatividad! Espero que estén todos bien.✨
🔸Sin más que añadir, a continuación los dejo con el paso a paso:
✨¡Hello friends who love creativity! I hope you are all well.✨
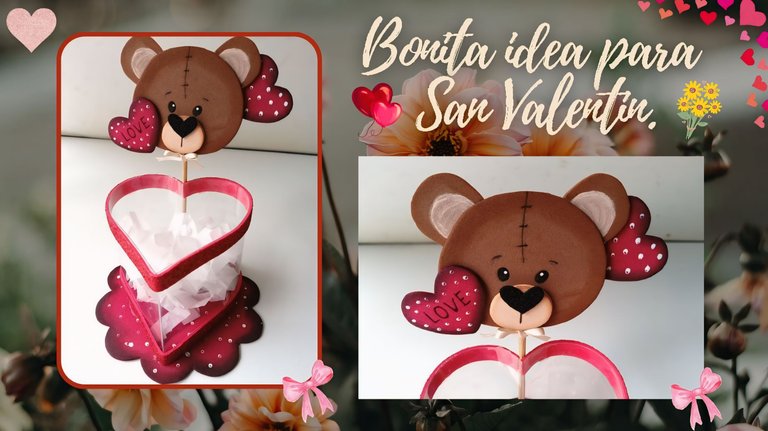
I hope you are having a great week. For my part, I am happy to stop by here to share a new creation with you. On this occasion, I am sharing with you the step-by-step instructions for creating a nice idea for Valentine's Day. I didn't have a very clear idea for the base of this idea, but remembering that I had a couple of soda bottles, I decided to use them and give it a nice heart shape. Also, the touch of transparency makes it look elegant. Also, I couldn't miss the touch of red, a couple of hearts and the bear as the protagonist.
🔸Without more to add, then I leave you with the step by step:
♥️ESPERO QUE TE GUSTE,
¡Empecemos!
♥️I HOPE YOU LIKE IT,
Let's start!

✂️ MATERIALES | ✂️ MATERIALS
- Botella de refresco.
- Foami escarchado rojo.
- Foami rojo.
- Foami marrón.
- Foami crema.
- Pinturas y marcadores.
- Palito de altura.
- Pegamento.
- Hoja blanca.
- Tijeras.
- Lápiz.
- Soda bottle.
- Red frosted foam.
- Red foam.
- Brown foam.
- Cream foam.
- Paints and markers.
- Tall stick.
- Glue.
- White paper.
- Scissors.
- Pencil.
🌟 PROCEDIMIENTO | 🌟 PROCESS
✨PASO 1:
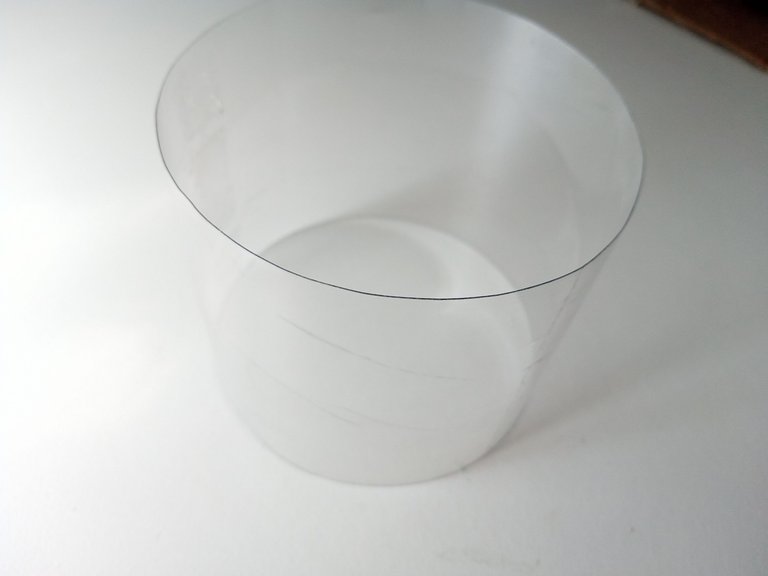
Lo primero que hice fue tomar la botella de refresco (pueden utilizar el envase con el tamaño que deseen), retirar la etiqueta, limpiar el pegamento con un algodón y acetona. Seguidamente, recorté justo la circunferencia donde estaba la etiqueta con ayuda de un cortador y para emparejar mejor los bordes, recorté con tijeras.
✨STEP 1:
The first thing I did was take the soda bottle (you can use the container with the size you want), remove the label, clean the glue with cotton and acetone. Next, I cut out the circumference where the label was with the help of a cutter and to better match the edges, I cut it with scissors.
 |  |
|---|
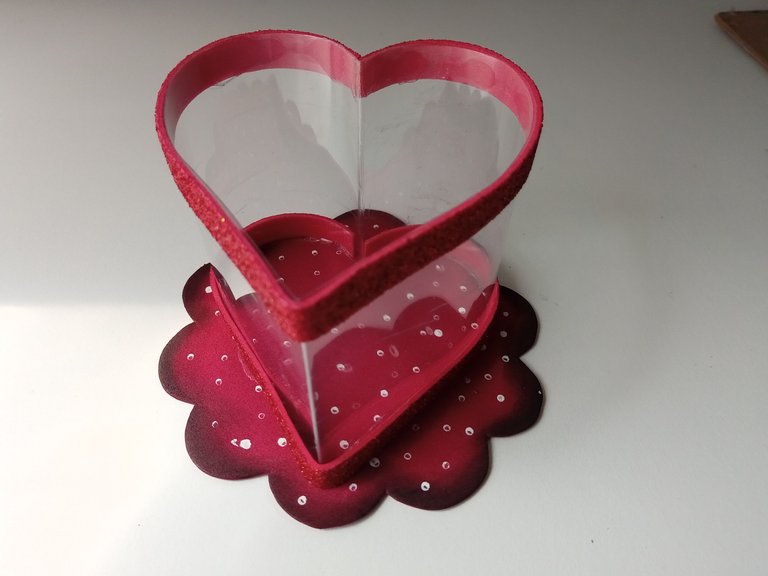
✨PASO 2:
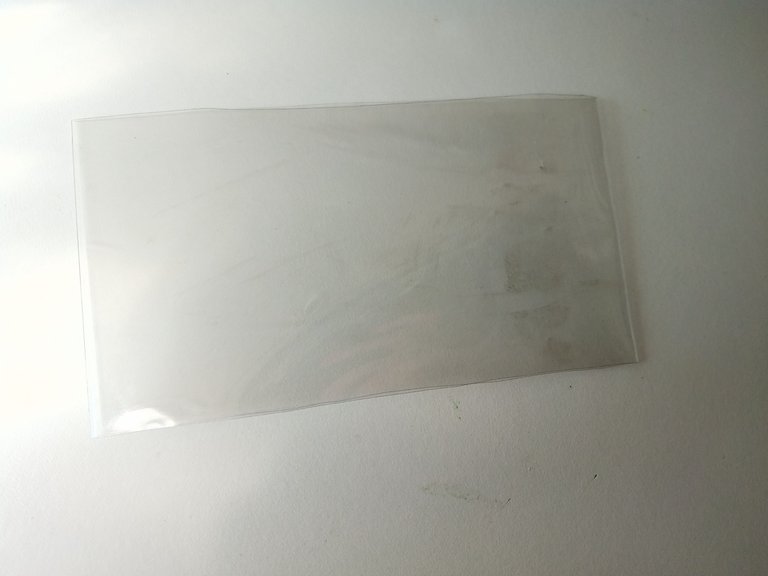
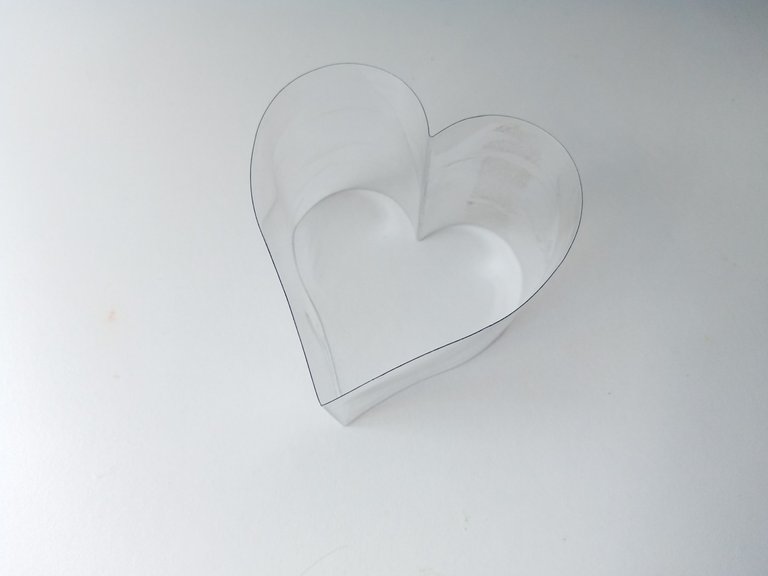
Para darle la forma de corazón, aplané a la mitad el cilindro, marcando muy bien el doblez con ayuda de las tijeras. Seguidamente, abrí en medio y doblé uno de los mismos, pero hacia adentro. Nuevamente, marqué muy bien el doblez y así es como se forma un lindo corazón.
✨STEP 2:
To give it the heart shape, I flattened the cylinder in half, marking the fold very well with the help of the scissors. Next, I opened it in half and folded one of them, but inwards. Again, I marked the fold very well and that's how a nice heart is formed.
 |  |
|---|
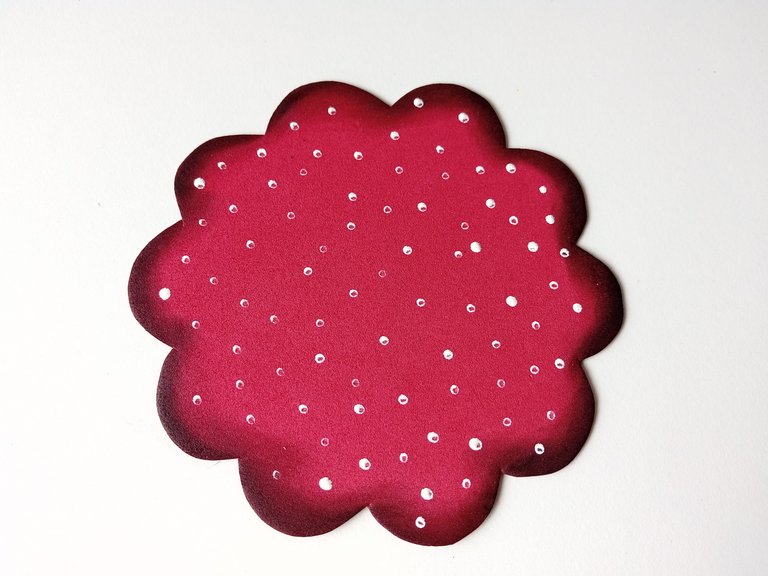
✨PASO 3:
Para la base quise hacer algo diferente, no solo cubrir el envase y listo. Así que tomé el foami rojo y recorté una circunferencia, pero con bordes ovalados, para darle una forma de flor. En seguida le di color a los bordes con pintura negra y con ayuda de un pañito difuminé, además le hice puntos blancos a toda la pieza y al estar seco, pegué el corazón encima. También recorté dos tiras de 1 cm en foami escarchado rojo, para pegarlo en el borde superior e inferior del corazón.
✨STEP 3:
For the base I wanted to do something different, not just cover the container and that's it. So I took the red foam and cut out a circumference, but with oval edges, to give it a flower shape. Then I colored the edges with black paint and with the help of a cloth I blended it, I also made white dots on the whole piece and when it was dry, I glued the heart on top. I also cut out two 1cm strips of red frosted foam to stick on the top and bottom edge of the heart.
 |  |  |
|---|
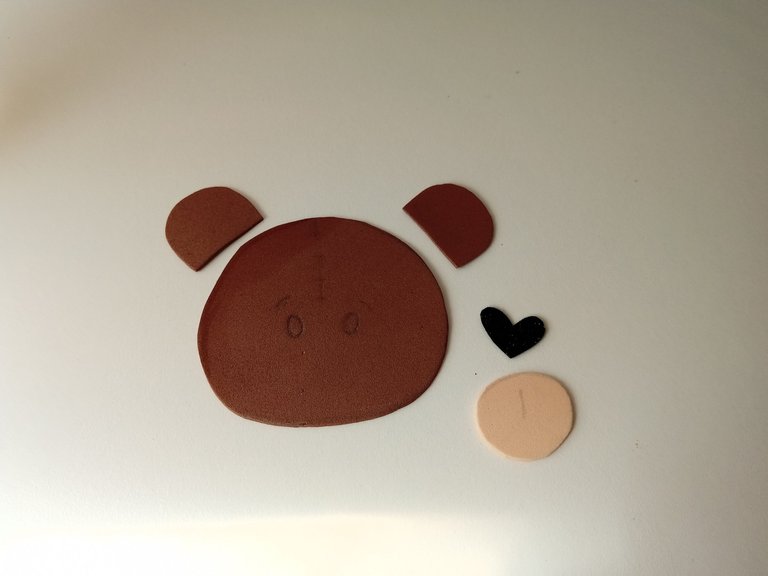
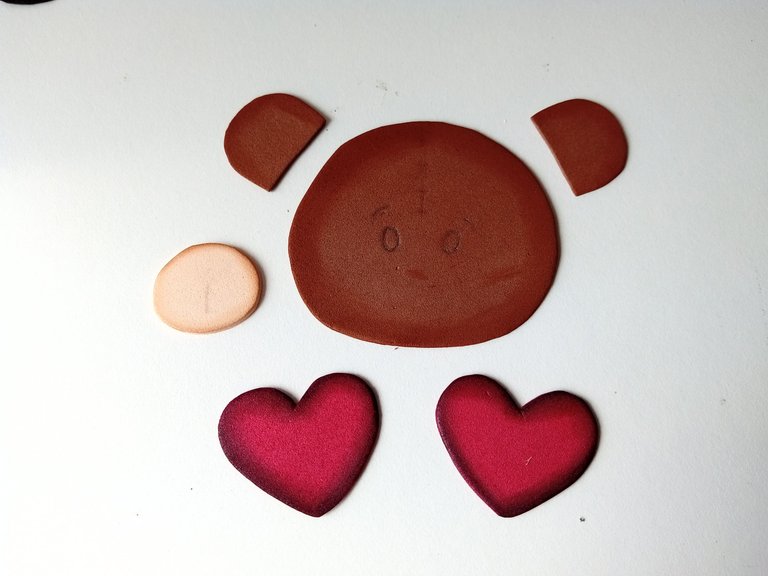
✨PASO 4:
Tomé la hoja blanca, dibujé la cabeza de un oso a mi gusto, junto con un par de corazones como decoración extra, y seguidamente, transferí a los colores correspondientes de foami, como explico a continuación:
✨Cabeza de 5 cm y orejas de 1.5 cm en foami marrón.
✨Hocico de 2 cm en foami crema.
✨Nariz en forma de corazón de 1 cm en foami negro.
✨Corazones de 3 cm en foami rojo.
✨STEP 4:
I took the white sheet, drew the head of a bear to my liking, along with a couple of hearts as extra decoration, and then transferred it to the corresponding colors of foam, as explained below:
✨5cm head and 1.5cm ears in brown foam.
✨2cm snout in cream foam.
✨1cm heart-shaped nose in black foam.
✨3cm hearts in red foam.
 |  |
|---|
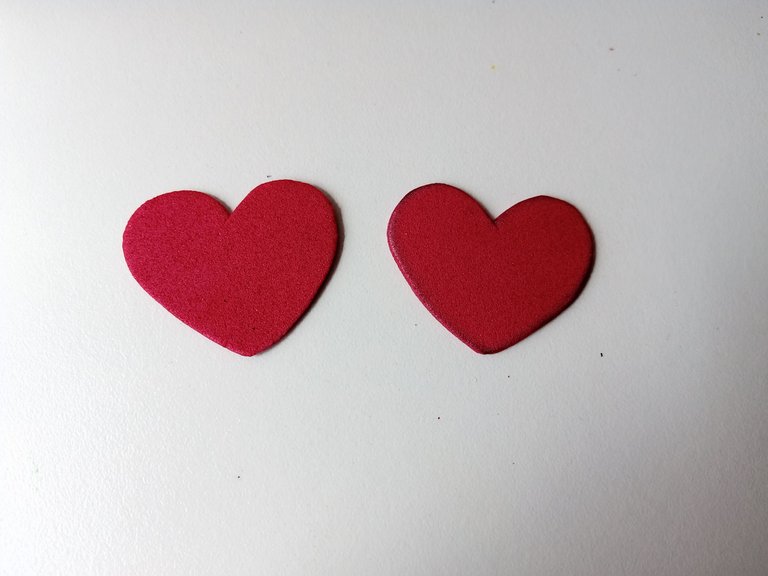
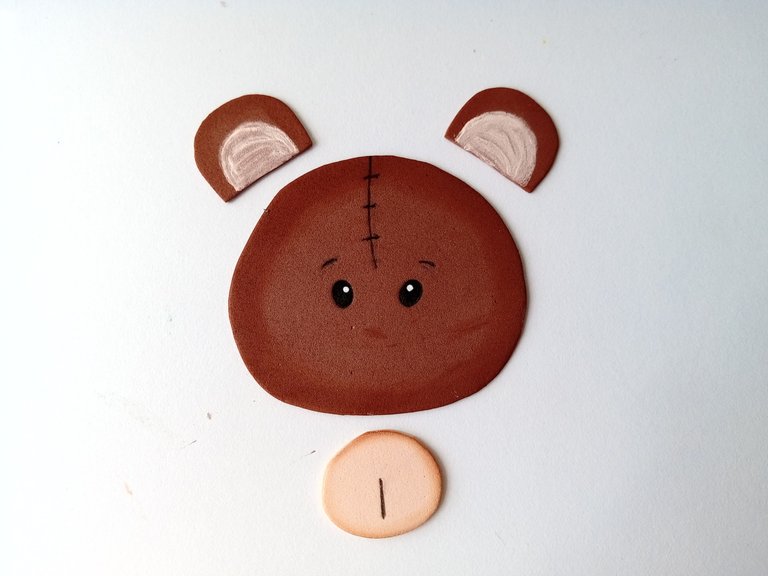
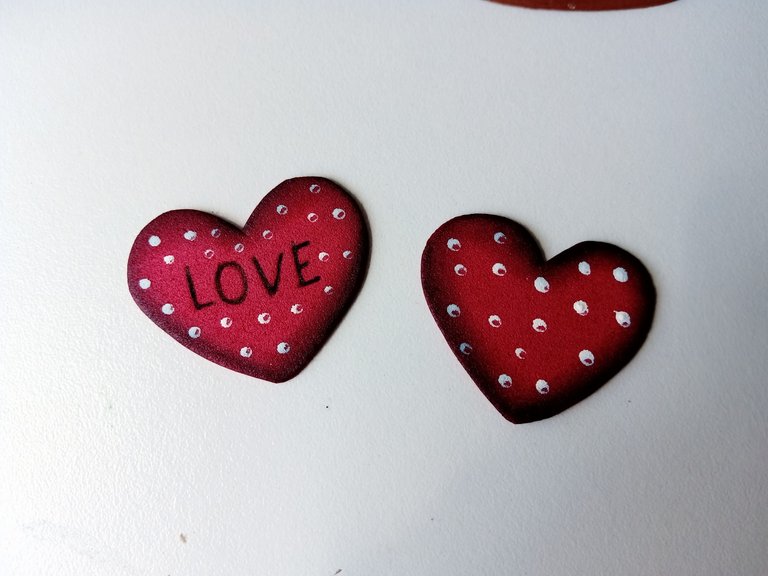
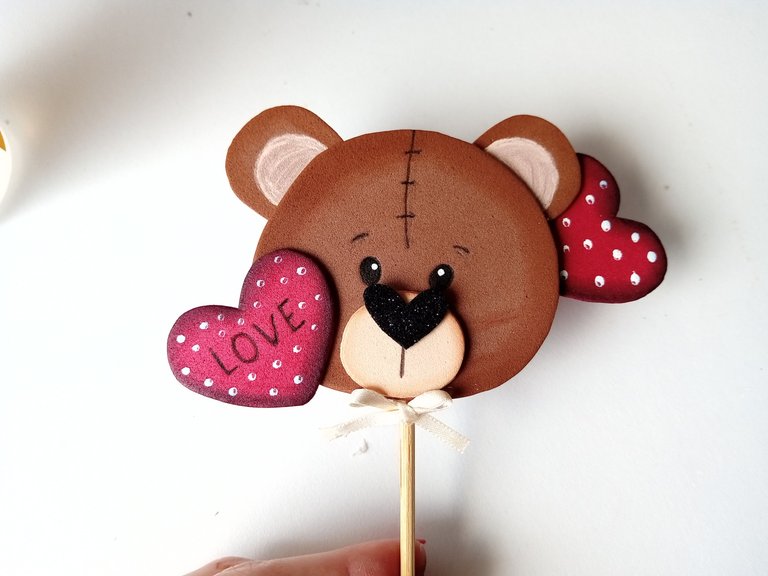
✨PASO 5:
Al tener las piezas listas, comencé, como siempre, a dar color a los bordes de las piezas de foami, con pinturas que hagan contraste con los colores de cada una de las piezas y para difuminar, utilizamos un pañito. Al estar seco, es momento de dibujar los detalles con marcadores; a los ojos, hocico, cejas y pinté como extra la parte interna de las orejas con pintura color crema. En el caso de los corazones, hice algunos puntos con pintura blanca y a uno de ellos le escribí la palabra “LOVE/AMOR” en medio.
✨STEP 5:
Once I had the pieces ready, I began, as always, to color the edges of the foam pieces, with paints that contrast with the colors of each of the pieces and to blur, we used a cloth. When it is dry, it is time to draw the details with markers; I added some extra paint to the eyes, snout, eyebrows, and I painted the inside of the ears with cream-colored paint. For the hearts, I made some dots with white paint and wrote the word “LOVE” in the middle of one of them.
 |  |  |
|---|
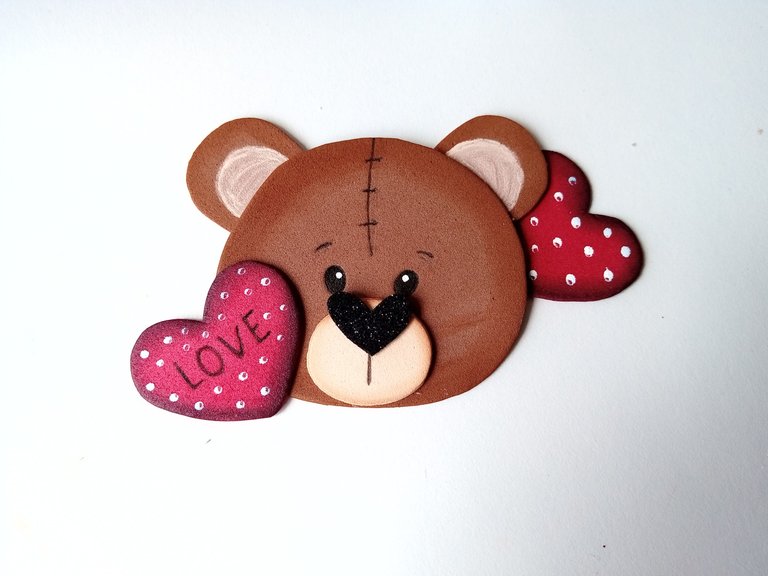
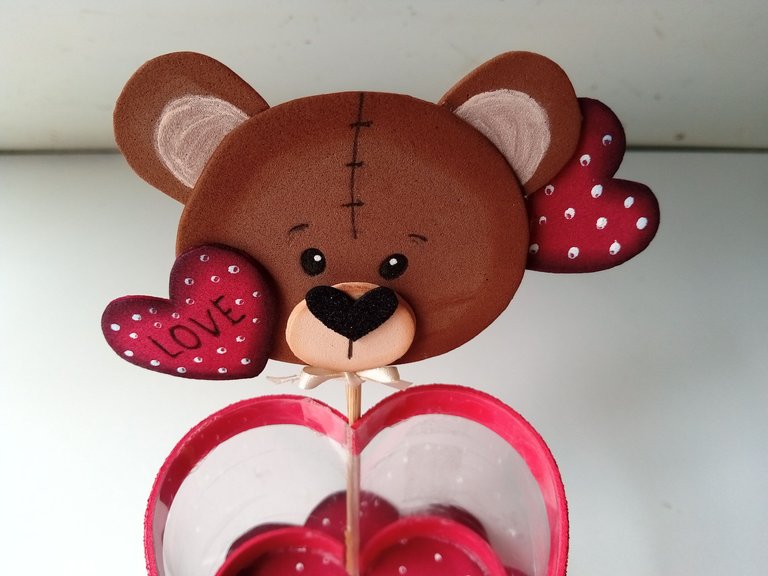
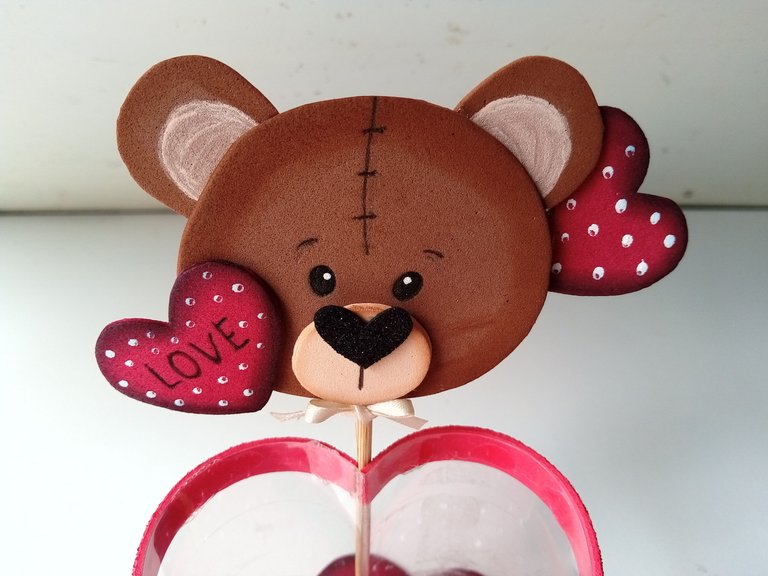
✨PASO 6:
Seguidamente, pegué todas las piezas hasta formar al oso, puse uno de los corazones al lado de la mejilla y al otro por detrás de la oreja. Pegué al oso en un palito de altura junto con un lacito en la parte baja y, posteriormente, pegué el palito de altura justo en el doblez que forma al corazón.
✨STEP 6:
Next, I glued all the pieces together to form the bear. I put one of the hearts next to the cheek and the other behind the ear. I glued the bear to a tall stick with a bow at the bottom, and then I glued the tall stick right in the fold that forms the heart.
 |  |  |
|---|
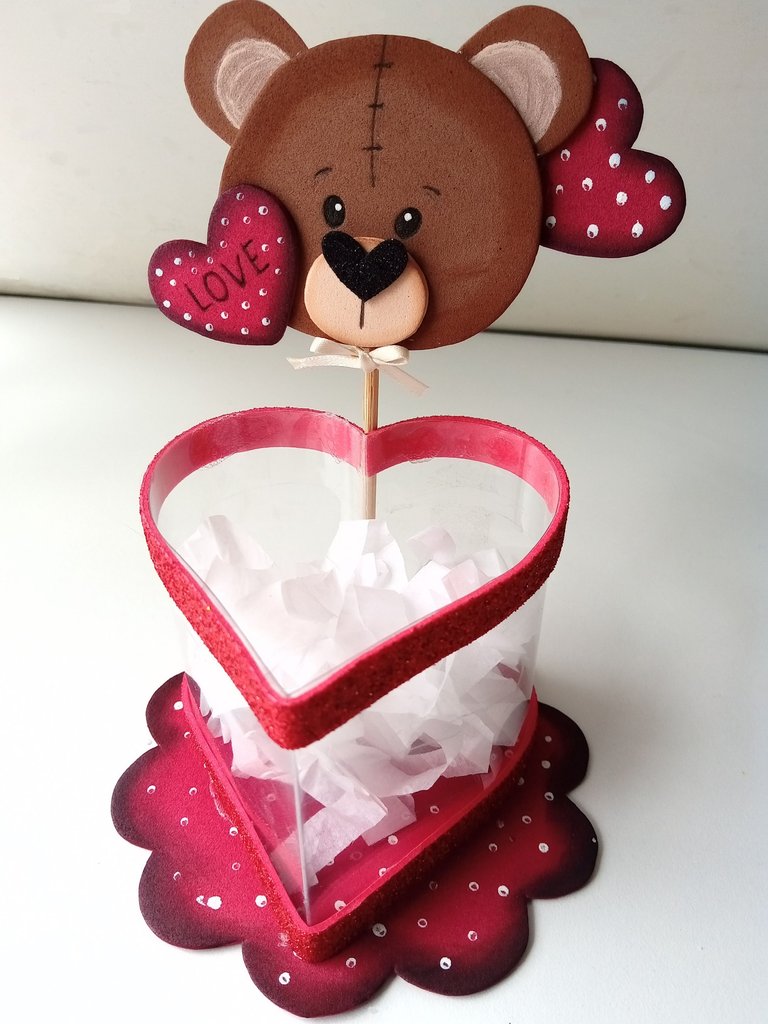
✨This is how you can make a nice and simple idea to put some detail on that special day. Also, inside the heart, you can add strips of tissue paper and add some chocolates or whatever detail you want. I hope you liked the step by step and are encouraged to make it.
❤️Until the next post.
✨RESULTADO: | ✨RESULT:
 |  |
|---|

Todas las fotografías son de mi propiedad.
Separador y Fotos editadas en Canva
All photographs are my property.
Photos edited in Canva
Posted Using INLEO
Quedó súper tierno y bonito ✨☺️
Muchas gracias amiga ! ✨
Excelente y bonita idea para San Valentin, muy lindos colores y diseño para conquistar a esa persona especial jeje 😊
Muchas gracias ! Me alegra que te haya gustado la combinación de colores y diseño. Saludos ✨
Hermoso, se ve tan tierno 😍
Muchas gracias 🤭💕
Que hermosa idea ami, super útil para estas fechas❤️✨
Gracias Ami! Me alegra que te haya gustado 💕
Amiga que lindo detalle, quedo muy tierno y que bueno podemos reutilizar esas botellas de refresco!🤗
Te quedo super bien, es una bonita idea la cual puedes hasta vender si le colocas dulces y una que otra bomba, saludos y bendiciones
Ami está precioso, súper tierno. Yo lo quiero lleno de chocolates todo todito jajaha
Pero qué bonito te quedo, muy creativo, con pocos materiales caseros, que bien, gran idea, gracias por compartirla, saludos.😉
Muchas gracias! Reciclando alguna botella o cualquier envase y algunos foamis, se pueden hacer cositas lindas. Saludos.💕
Que precioso mi Valen, una súper idea para dar un detalle en San Valentín 😍😍
Gracias mi Vane! Me alegra que te haya gustado 💕✨
This is truly a great idea for Valentine. Skillfully and beautifully crafted, this would be a perfect gift idea for our loved ones. Great job and thanks for sharing.
Thank you so much for the nice comment. I'm glad you liked it 💕
Una gran y hermosa idea! Me encantó amiga
Ami te quedó súper lindo!!! Sin duda es una excelente idea para un detalle en San Valentín, me encanta que se le puede agregar chocolates y queda súper bello 😍😍
Ese oso no pudo quedar la tierno y coqueto, amooooo cada detalle que haces y me sorprendo cada vez más que todo te sale de un limpio y prolijo y que siento que necesito aprender de tí ❤️❤️
Falta unos chocolatitos y listo te lo recibo con mucho amor😁🤭🤭🤭