✨¡Hola amigos amantes de la creatividad! Espero que estén todos bien.✨
🔸Sin más que añadir, a continuación los dejo con el paso a paso:
✨¡Hello friends who love creativity! I hope you are all well.✨
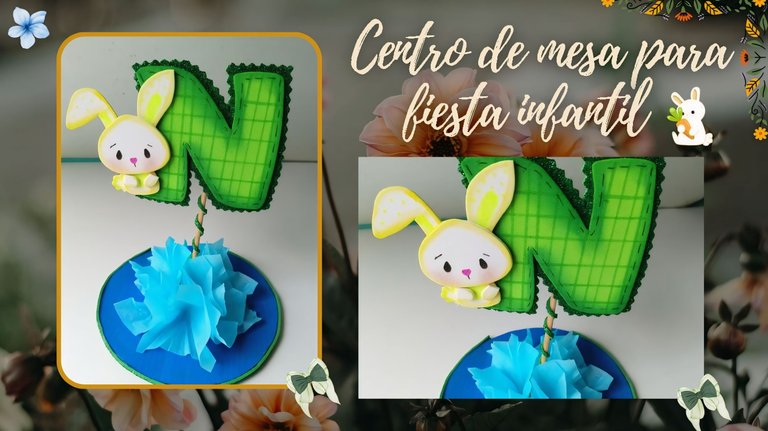
Good evening, friends! I hope you are having a great week. For my part, I am happy to stop by here to share a new creation with you. On this occasion I am sharing with you the step by step to make a nice centerpiece for a children's party. You already know that I like, on some occasions, to share ideas for the birthdays of the little ones, whether they are toppers or, in this case, a nice and simple centerpiece with a bunny theme and a simple base, but with a little decoration. The important thing in this case was the small details of the initial so that it would attract more attention.
🔸Without more to add, then I leave you with the step by step:
♥️ESPERO QUE TE GUSTE,
¡Empecemos!
♥️I HOPE YOU LIKE IT,
Let's start!

✂️ MATERIALES | ✂️ MATERIALS
- Cartulina gruesa.
- Foami verde escarchado.
- Foami verde.
- Foami blanco.
- Pinturas y marcadores.
- Palito alto.
- Papel de seda azul.
- Pegamento.
- Tijeras.
- Lápiz.
- Thick cardboard.
- Frosted green foam.
- Green foam.
- White foam.
- Paints and markers.
- Tall stick.
- Blue tissue paper.
- Glue.
- Scissors.
- Pencil.
🌟 PROCEDIMIENTO | 🌟 PROCESS
✨PASO 1:
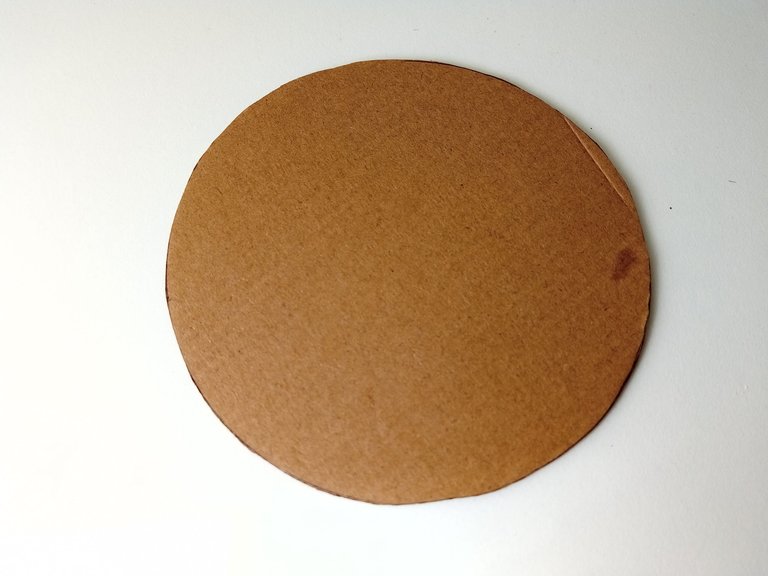
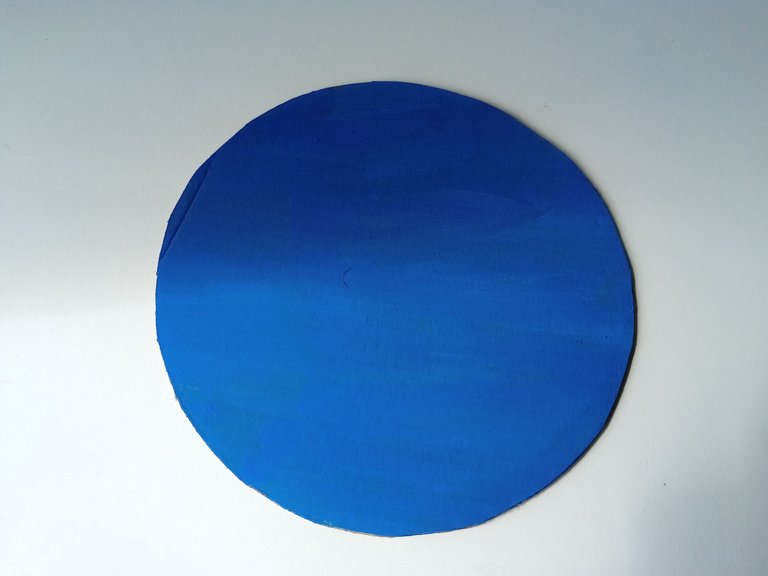
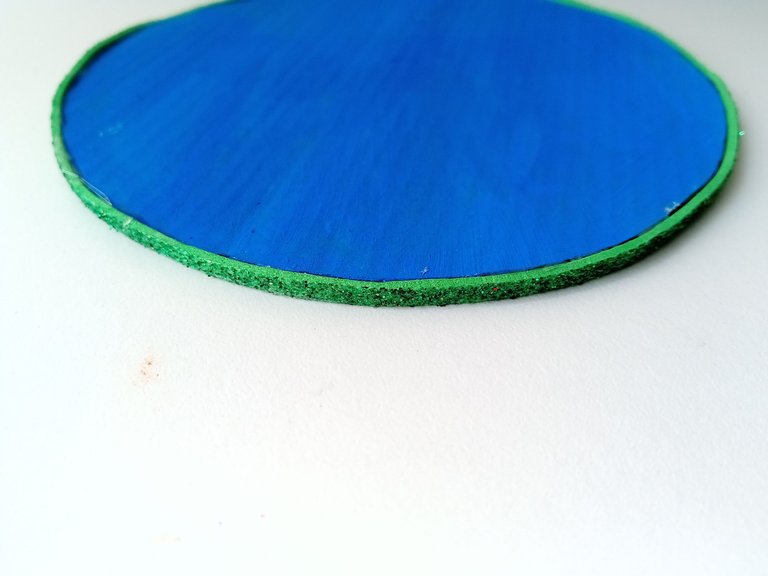
Lo primero que hice fue tomar el cartón grueso, trazar un círculo de 13 cm y recortarlo. Luego, tomé pintura azul, le di una mano de pintura por ambos lados de la pieza y dejé secar. Una vez seco, corté una tira de foami escarchado verde de 0,5 cm de grosor, o del grosor del borde del círculo, y la pegué por todo el borde para tapar imperfecciones.
✨STEP 1:
The first thing I did was take the thick cardboard, draw a 13 cm circle and cut it out. Then, I took blue paint, gave it a coat of paint on both sides of the piece and let it dry. Once dry, I cut a strip of green foam 0.5 cm thick, or the thickness of the circle's edge, and glued it all around the edge to cover imperfections.
 |  |  |
|---|
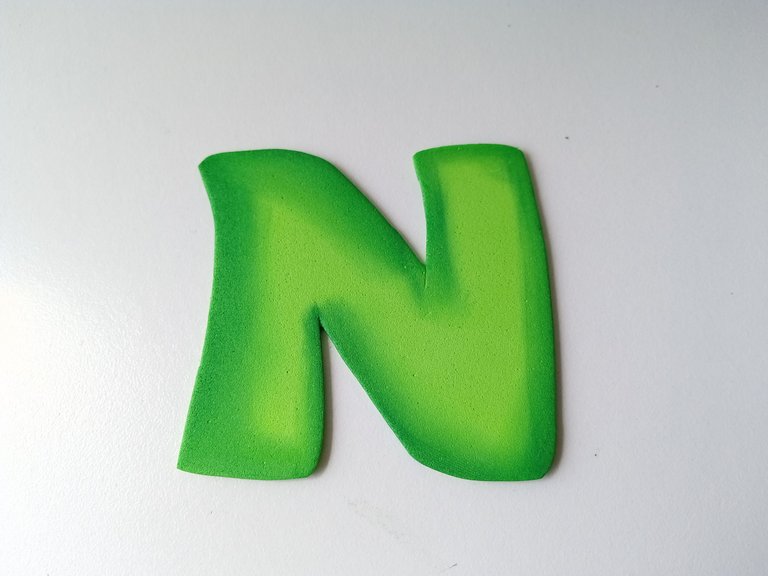
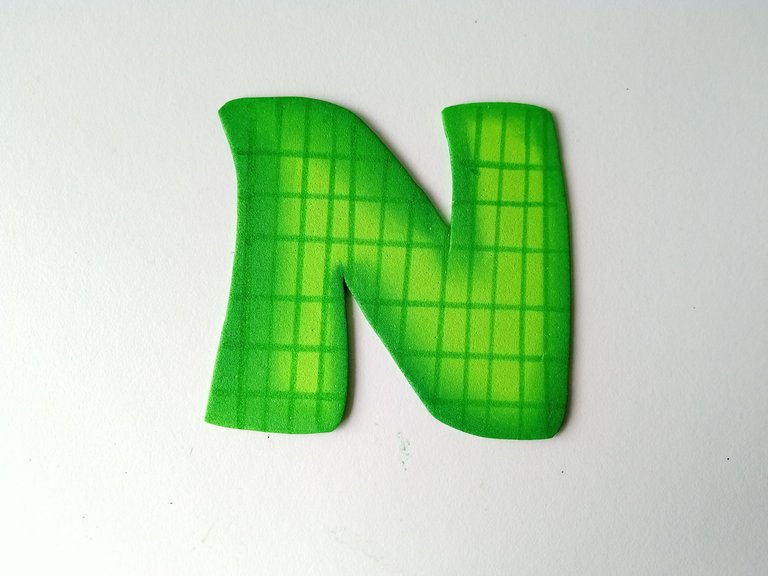
✨PASO 2:
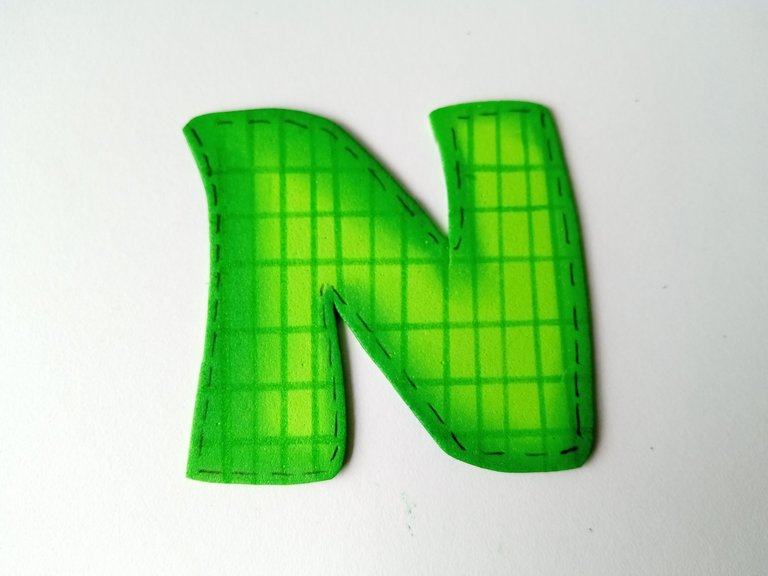
Luego, dibujé la inicial sobre foami verde, tomé un poco de pintura y repasé los bordes de la inicial. Una vez seco, comencé a agregar detalles con el marcador verde. En este caso, hice líneas verticales y las crucé con líneas horizontales, para hacer una especie de cuadrícula, y con un marcador negro dibujé pequeñas líneas separadas por todo el borde.
✨STEP 2:
Then, I drew the initial on green foam, took some paint and went over the edges of the initial. Once dry, I started adding details with the green marker. In this case, I made vertical lines and crossed them with horizontal lines, to make a kind of grid, and with a black marker I drew small lines separated all around the edge.
 |  |  |
|---|
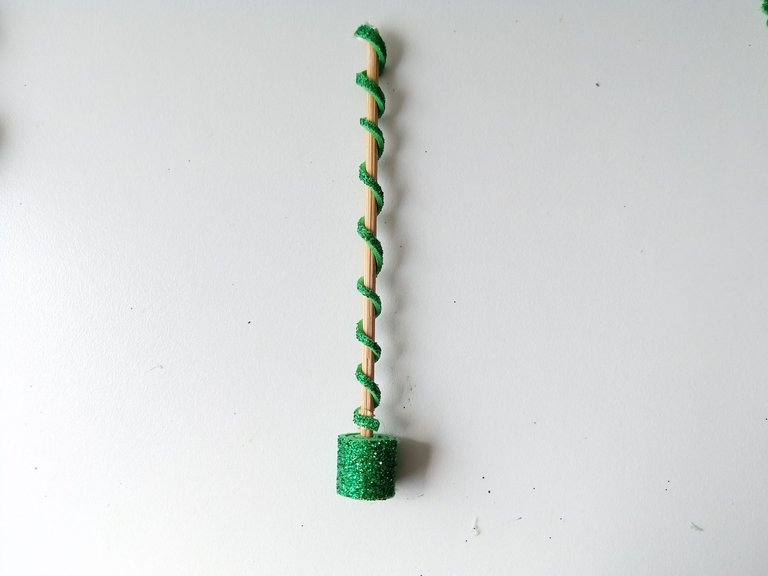
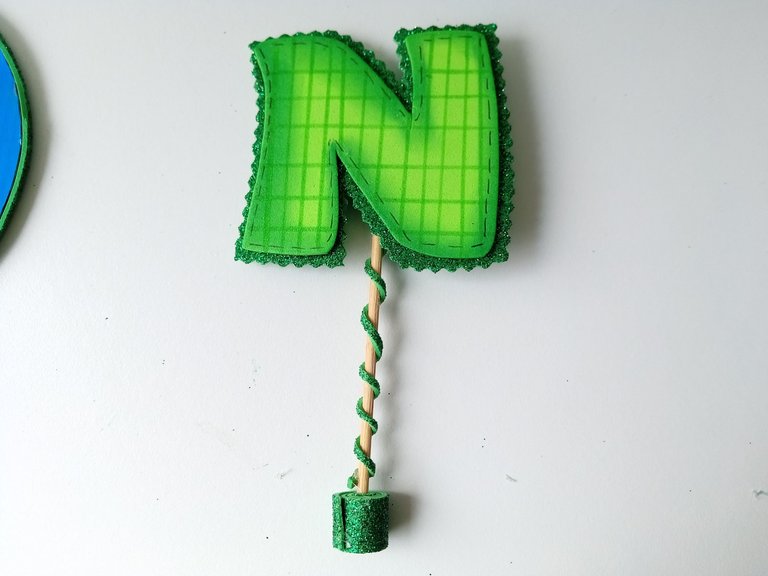
✨PASO 3:
Una vez que estuvo completamente seco, pegué la inicial sobre foami verde y la recorté con tijeras de diseño, dejando un borde de aproximadamente 0,5 cm. Luego, tomé el palito alto, corté una tira muy fina de foami verde y la enrollé alrededor de todo el palito. También corté una tira de 6cm x 1cm y la pegué enrollada hasta uno de los extremos, mientras que en el otro extremo pegué la inicial.
✨STEP 3:
Once it was completely dry, I glued the initial on green foam and cut it out with design scissors, leaving a border of about 0.5 cm. Then, I took the tall stick, cut a very thin strip of green foam and rolled it around the entire stick. I also cut a 6cm x 1cm strip and glued it rolled up to one end, while at the other end I glued the initial.
 |  |  |
|---|
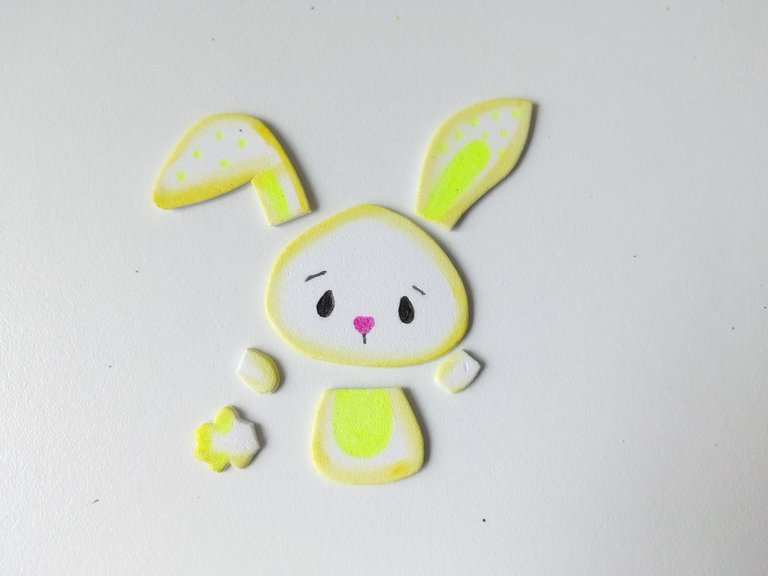
✨PASO 4:
Dibujé un conejito en papel blanco, transferí las piezas del cuerpo a foami blanco y coloreé los bordes con pintura amarilla. Cuando ya estaba seco, le di los detalles de la cara con un marcador negro, el cuerpo con un marcador verde y la nariz con un marcador rosa. Cuando ya estaba listo, pegué todas las piezas y luego se formó el conejito en un lado de la inicial.
✨STEP 4:
I drew a bunny on white paper, transferred the body pieces to white foam and colored the edges with yellow paint. When it was dry, I gave the details of the face with a black marker, the body with a green marker and the nose with a pink marker. When it was ready, I glued all the pieces together and then the bunny was formed on one side of the initial.
 |  |  |
|---|
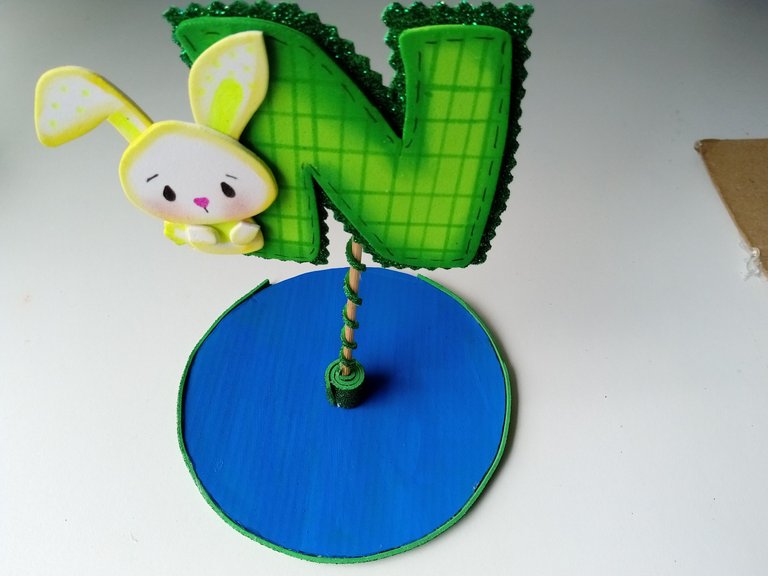
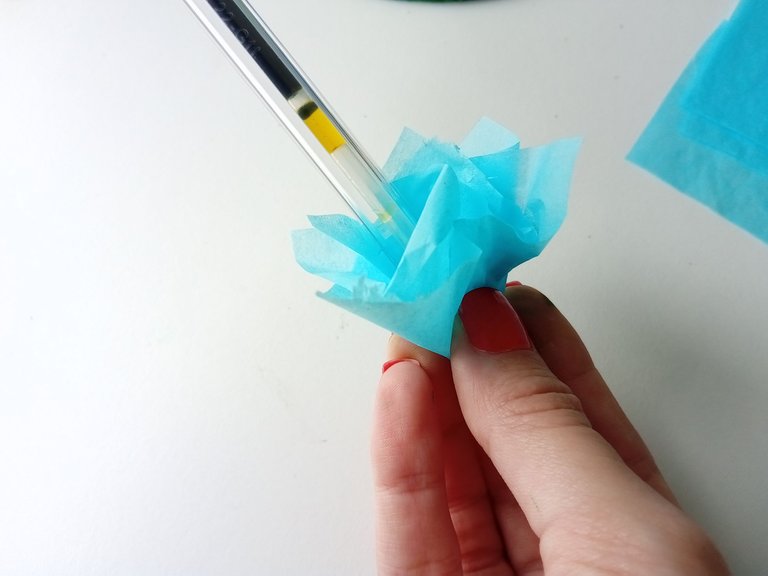
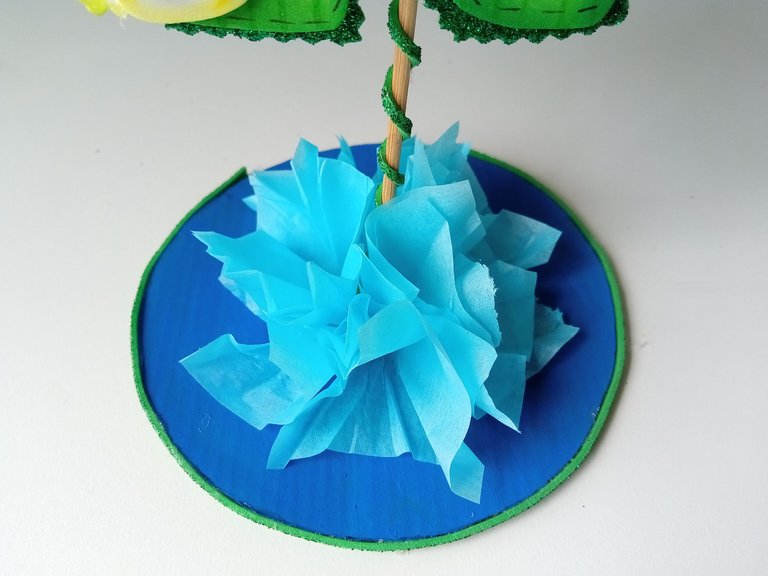
✨PASO 5:
Pegué el palito en el medio de la base que hicimos al principio y comenzamos a cortar cuadritos de papel de seda. Cuando ya estábamos listos, tomamos uno de los cuadritos, colocamos un lápiz en el medio para darle la forma de cono que se muestra en la imagen de abajo y por último, pegamos el papel de seda de esta manera por toda la parte inferior del palito alto, hasta cubrirlo.
✨STEP 5:
I glued the stick in the middle of the base we made at the beginning and began cutting squares of tissue paper. When we were ready, we took one of the squares, placed a pencil in the middle to give it the cone shape shown in the image below and finally, we glued the tissue paper in this way all over the bottom of the tall stick, until it was covered.
 |  |  |
|---|
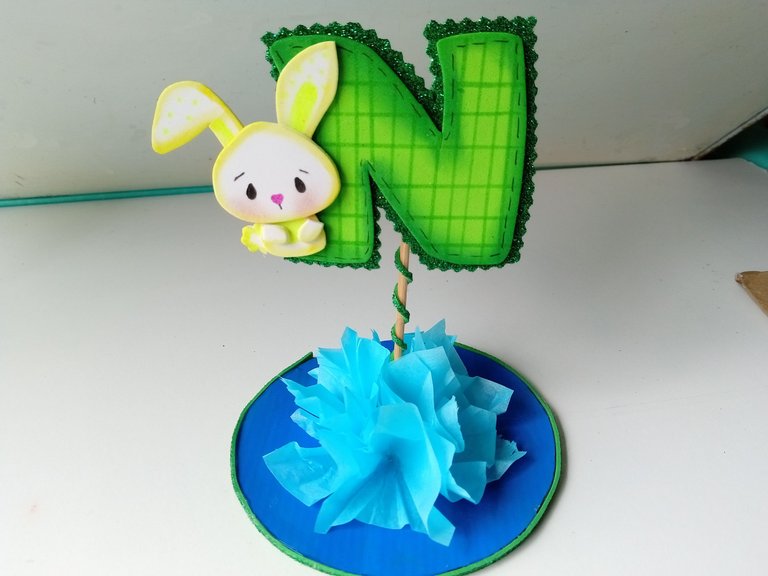
✨This way you can make a nice centerpiece for the little ones' party. You can also take the idea without the base and use it as a topper for an arrangement or for the cake. In addition, you can use the colors and themes of your preference. I really liked the color palette I used in this creation, what do you think?
❤️Until the next post.
✨RESULTADO: | ✨RESULT:

Todas las fotografías son de mi propiedad.
Separador y Fotos editadas en Canva
All photographs are my property.
Photos edited in Canva
Posted Using INLEO
Pero que creativa eres vale
Ami, te quedó precioso, me encanta el trabajo que hiciste con la inicial, bello de verdad. Tienes unas manitos que hacen bellezas
Cuando es que mi amiga no hace algo tiernamente hermoso? Wow me super encantó ❤️❤️
Aww ame al conejito jaja esta super adorable y esta observando a los invitados mientras es el centro de mesa jeje vigila que no se pasen con la comida, ok, ya me arme una historia 😂 Te quedo muy lindo 😘
Valen que bello te quedó, me encantó el detalle de la letra N😍
Te quedó súper lindo ami y me parece bastante original, la verdad no había pensado en centros de mesa para una fiesta infantil. Me encantó 😍