✨¡Hola amigos amantes de la creatividad! Espero que estén todos bien.✨
🔸Sin más que añadir, a continuación los dejo con el paso a paso:
✨¡Hello friends who love creativity! I hope you are all well.✨
Good afternoon, friends! I hope you are having a great week. For my part, I am happy to stop by here to share a new creation with you. On this occasion, I am sharing with you the step-by-step instructions for making a cute earring organizer. I decided to change some organizers I have in my room and make new ones with different colors that matched the new colors in my room and in a smaller size so that it does not take up so much space. At the same time, I wanted to make something delicate, with only one or two colors, it would be perfect, so I got to work.
🔸Without more to add, then I leave you with the step by step:
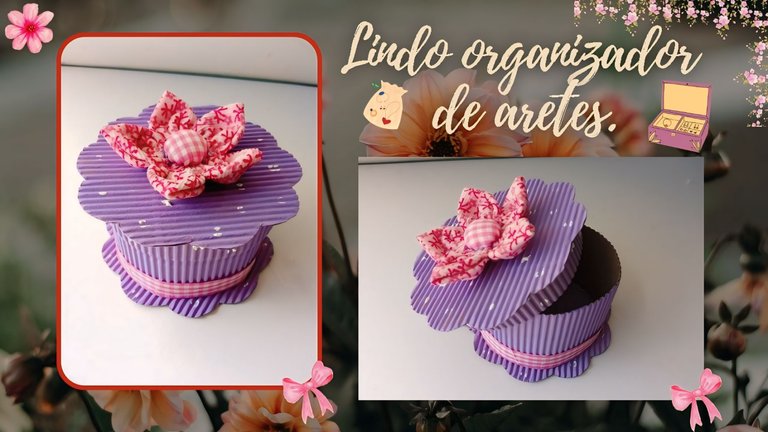
♥️ESPERO QUE TE GUSTE,
¡Empecemos!
♥️I HOPE YOU LIKE IT,
Let's start!

✂️ MATERIALES | ✂️ MATERIALS

- Cartulina corrugada.
- Telas del color o diseño deseado.
- Pinturas y marcadores.
- Algodón o relleno para almohadas.
- Aguja e hilo.
- Pegamento.
- Regla.
- Lápiz.
- Corrugated cardboard.
- Fabrics of the desired color or design.
- Paints and markers.
- Cotton or pillow stuffing.
- Needle and thread.
- Glue.
- Ruler.
- Pencil.

🌟 PROCEDIMIENTO | 🌟 PROCESS

✨PASO 1:
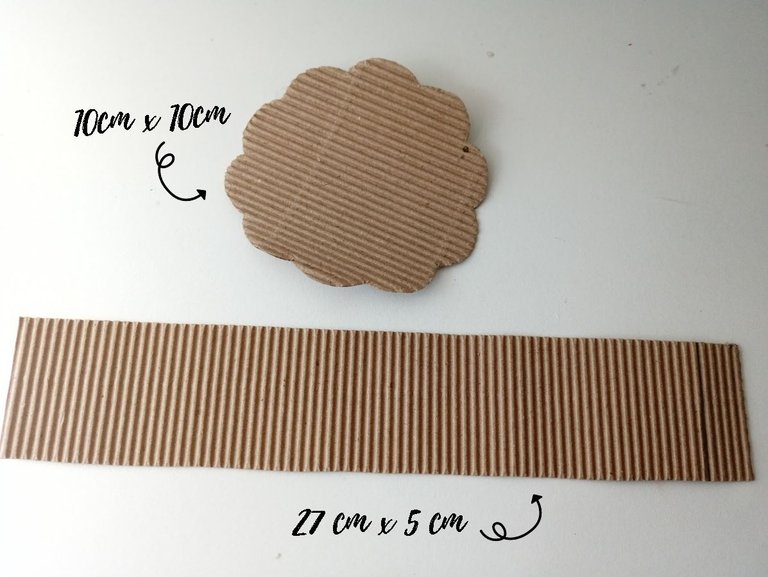
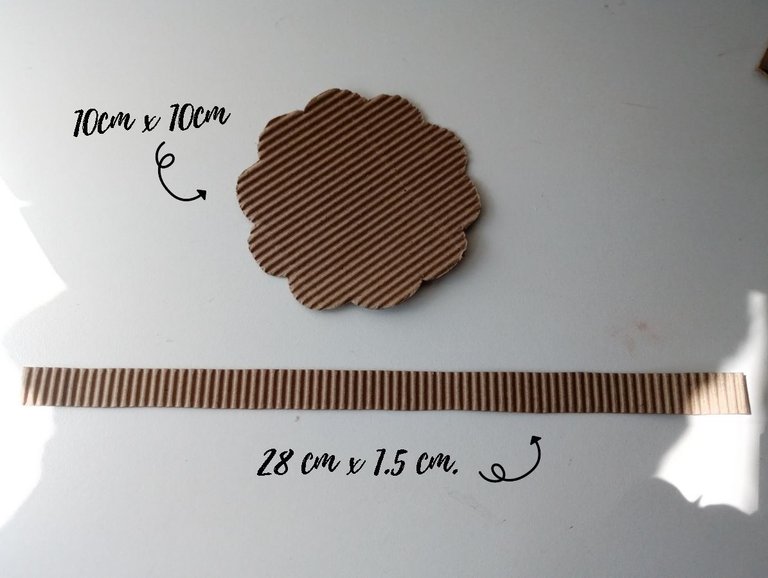
Lo primero que hice fue trazar y recortar en cartulina corrugada las medidas de las piezas para el organizador. En este caso, las medidas que tomé para cada pieza fueron las siguientes: para la base y tapa con forma de flor o bordes ovalados 10 cm x 10 cm, para la pared una tira de 27 cm x 5 cm y para la pieza de la tapa 28 cm x 1.5 cm.
✨STEP 1:
The first thing I did was trace and cut out the measurements of the pieces for the organizer on corrugated cardboard. In this case, the measurements I took for each piece were the following: for the base and lid in the shape of a flower or oval edges 10 cm x 10 cm, for the wall a strip of 27 cm x 5 cm and for the lid piece 28 cm x 1.5 cm.

 |  |
|---|

✨PASO 2:
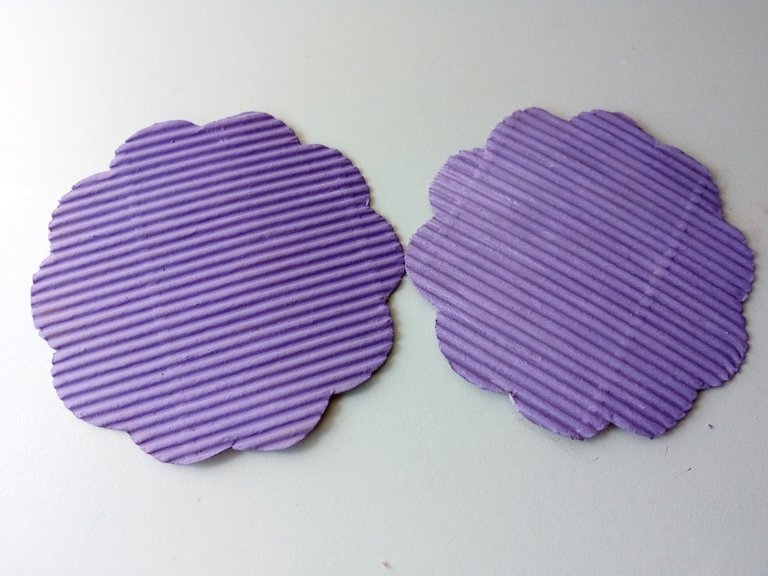
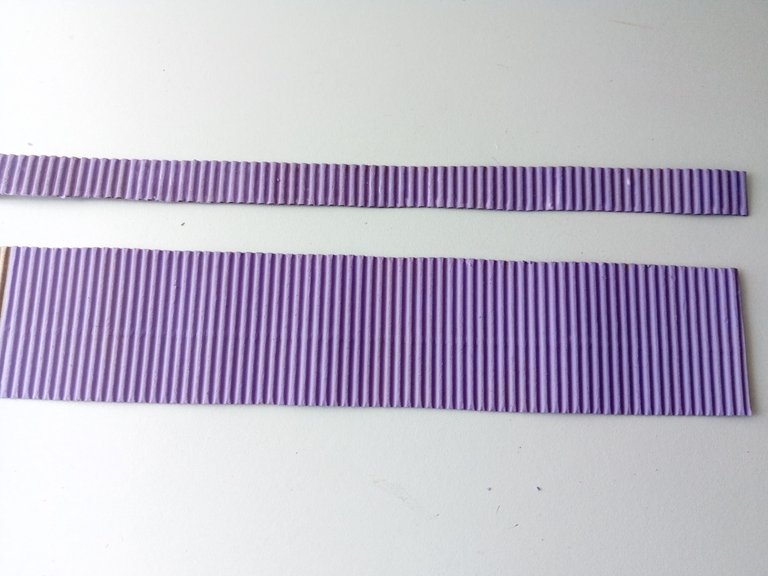
Seguidamente, comencé a dar color a todas las piezas de cartulina corrugada previamente recortadas, utilizando un color lila y pasando una o dos capas de pintura para cubrir muy bien, aunque no se necesita pasar tantas capas, pues se cubre bastante rápido.
📌En mi caso utilicé una cartulina corrugada sin un color para que a la hora de hacer manualidades solo tengo que pintarla del color que necesito con pinturas, además me ahorro el comprar distintos colores de cartulina corrugada.
✨STEP 2:
Next, I began to color all the previously cut pieces of corrugated cardboard, using a lilac color and applying one or two layers of paint to cover it very well, although you don't need to apply so many layers, because it covers quite quickly.
📌In my case, I used corrugated cardboard without a color so that when I do crafts I only have to paint it the color I need with paints, and it also saves me from buying different colors of corrugated cardboard.

 |  |
|---|

✨PASO 3:
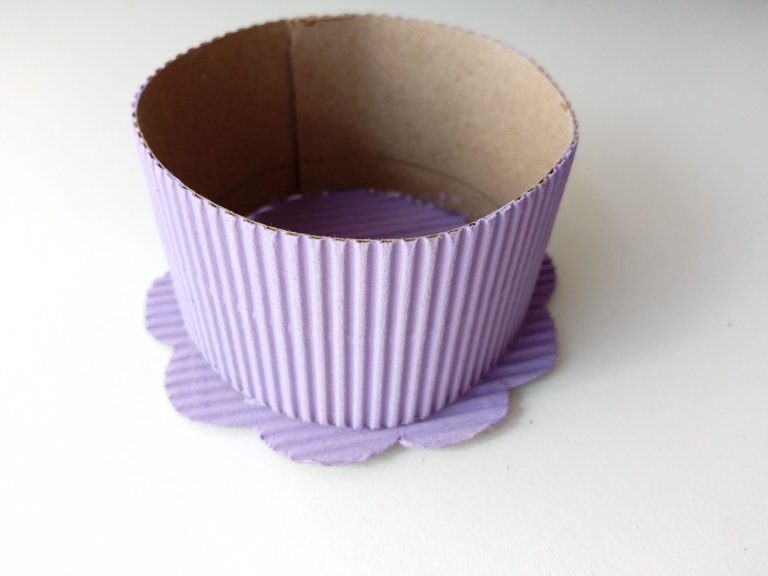
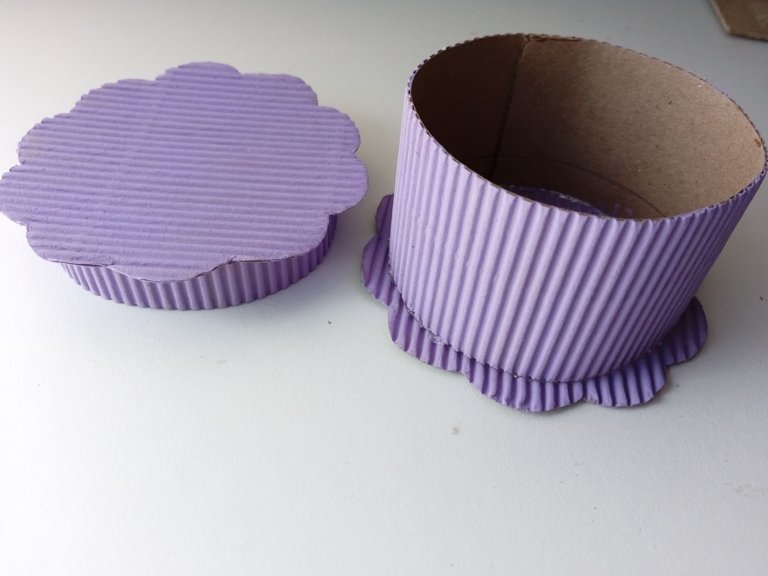
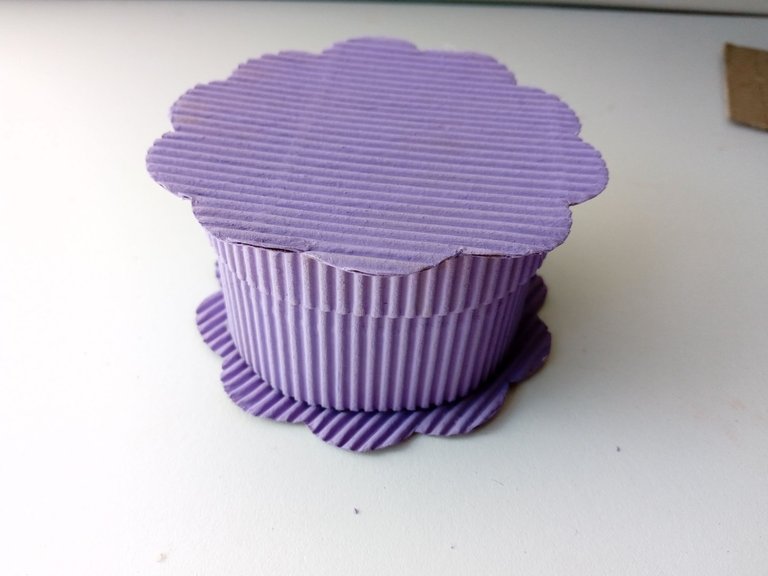
Seguidamente, pegué la tira más ancha sobre una de las piezas circulares con forma de flor, un poco más adentro de donde termina cada óvalo, para así no tapar la forma. Al estar lista, pegué la tira más delgada a la otra pieza circular, un poco más afuera que la pared más grande, para que calce muy bien en la caja.
✨STEP 3:
Next, I glued the wider strip onto one of the circular flower-shaped pieces, a little further inside where each oval ends, so as not to cover the shape. Once it was ready, I glued the thinnest strip to the other circular piece, a little further out than the largest wall, so that it fits nicely in the box.

 |  |  |
|---|

✨PASO 4:
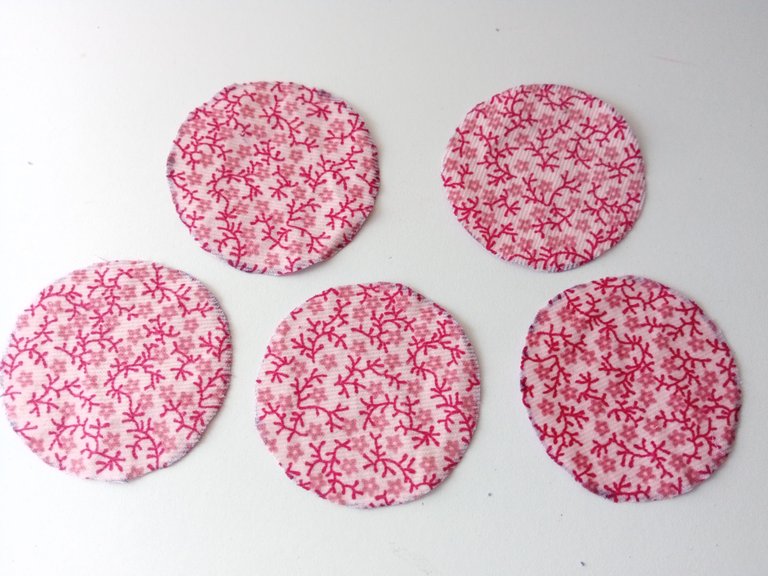
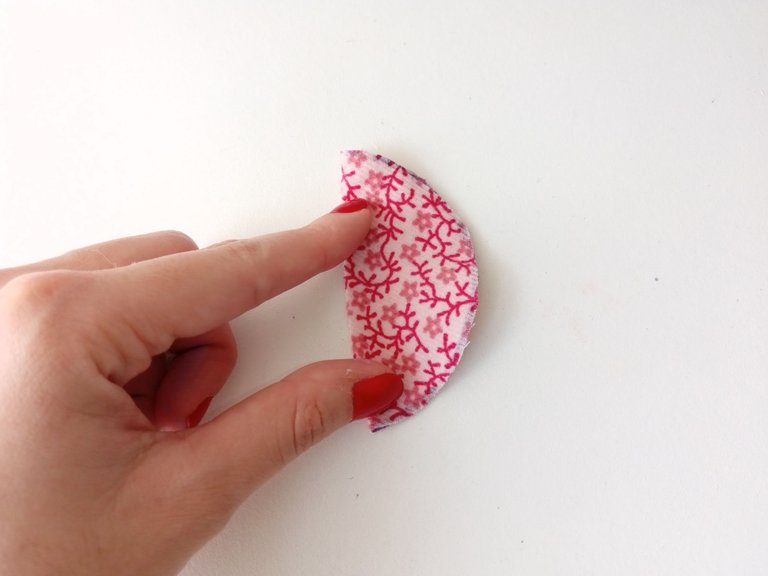
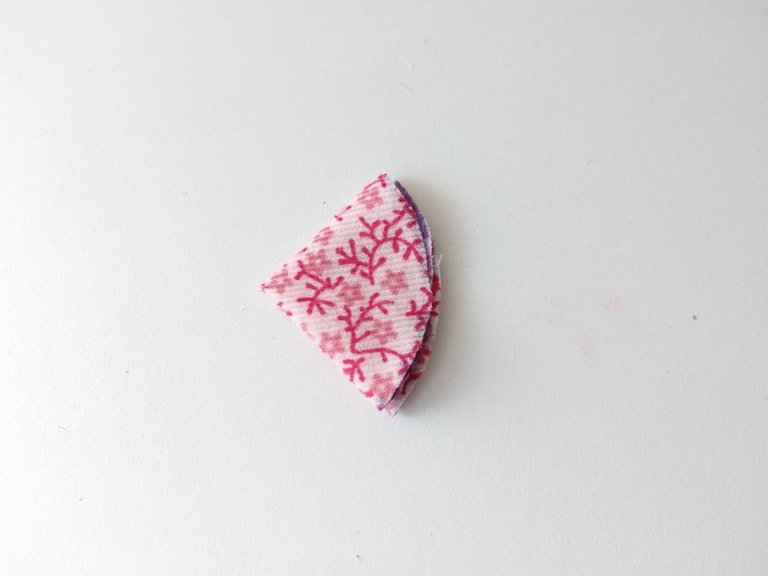
Una vez listo, vamos con la decoración de la flor, para esto comencé recortando 5 círculos de 7 cm de circunferencia, tomé una de las piezas, la doblé a la mitad y de nuevo a la mitad hasta que quede una forma de triángulo, pero ovalado en la parte baja. Repetimos el mismo proceso con el resto de las piezas.
✨STEP 4:
Once ready, we go on to decorate the flower. To do this, I started by cutting out 5 circles of 7 cm in circumference. I took one of the pieces, folded it in half and then in half again until it became a triangle shape, but oval at the bottom. We repeated the same process with the rest of the pieces.

 |  |  |
|---|

✨PASO 5:
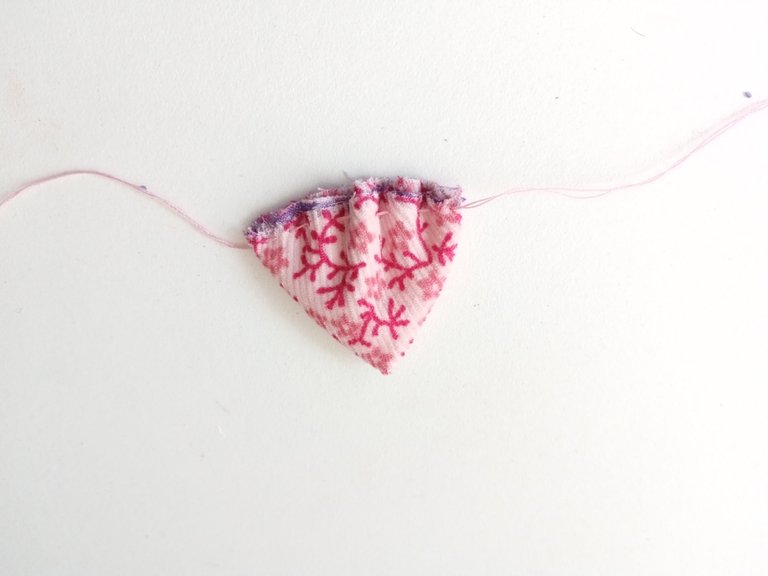
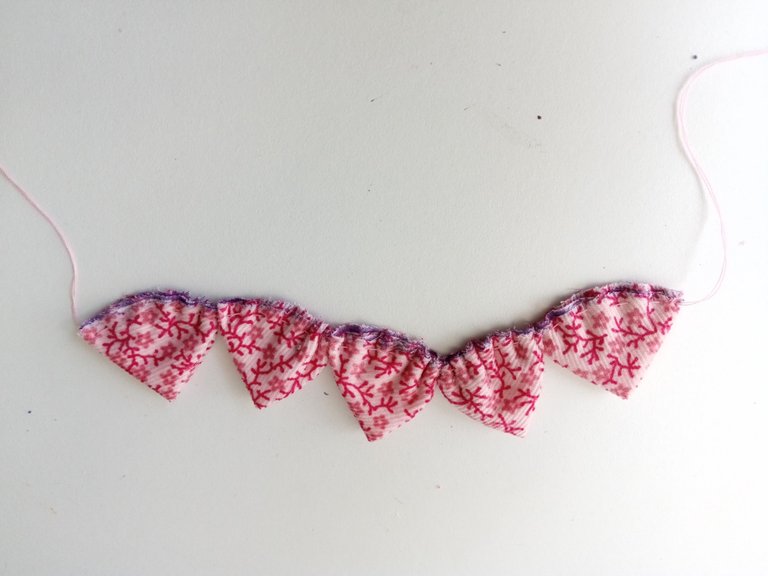
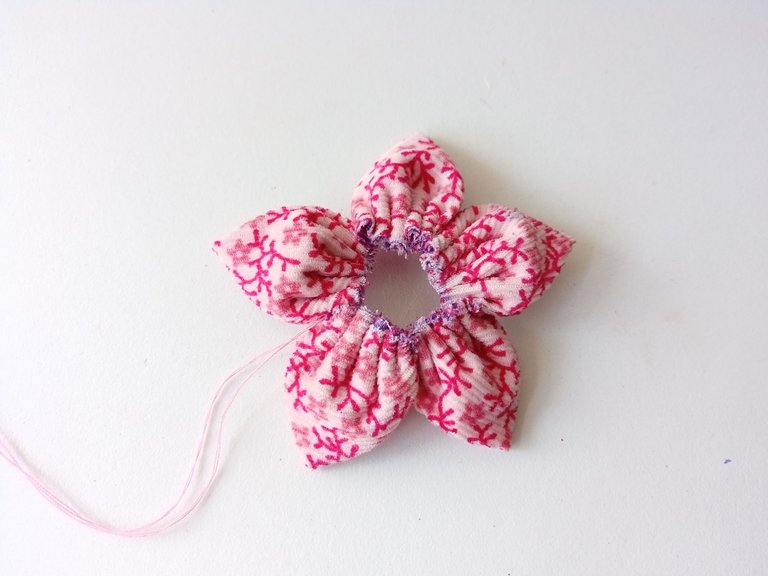
Seguidamente, con aguja e hilo, comencé a dar puntada recta por todo el borde ovalado de cada una de las piezas y las fui dejando dentro del hilo, una al lado de la otra. Al tener todas las piezas juntas, las arruché un poco, dejando también un poco de hilo de ambos lados para amarrar ambos hilos y formar así, los pétalos.
✨STEP 5:
Next, with needle and thread, I began to make a straight stitch along the entire oval edge of each of the pieces and I left them inside the thread, one next to the other. Once I had all the pieces together, I crumpled them a little, also leaving a little thread on both sides to tie both threads and thus form the petals.

 |  |  |
|---|

✨PASO 6:
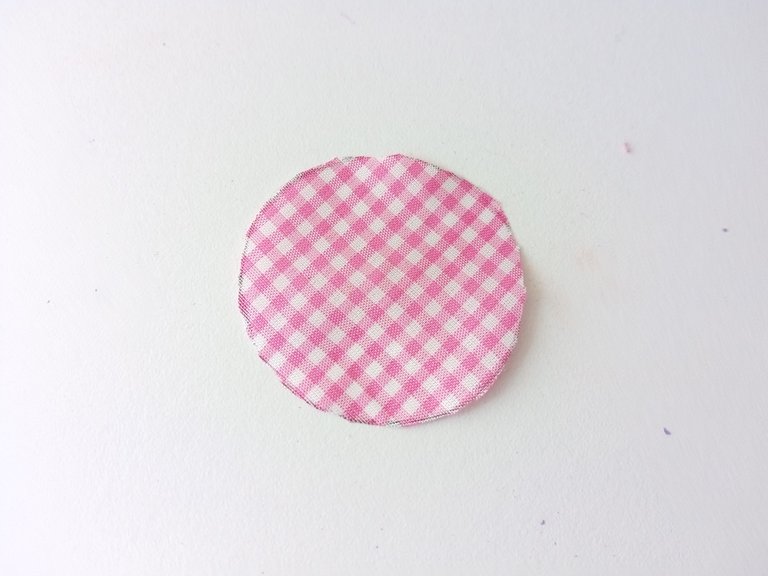
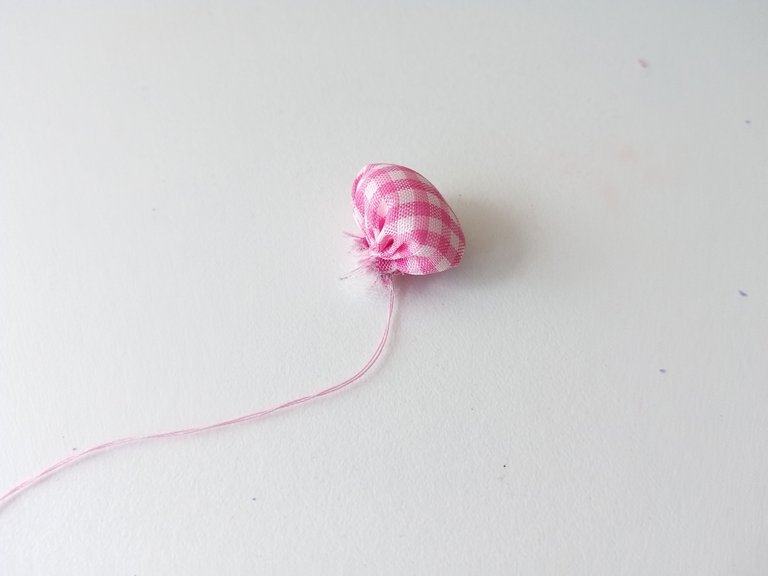
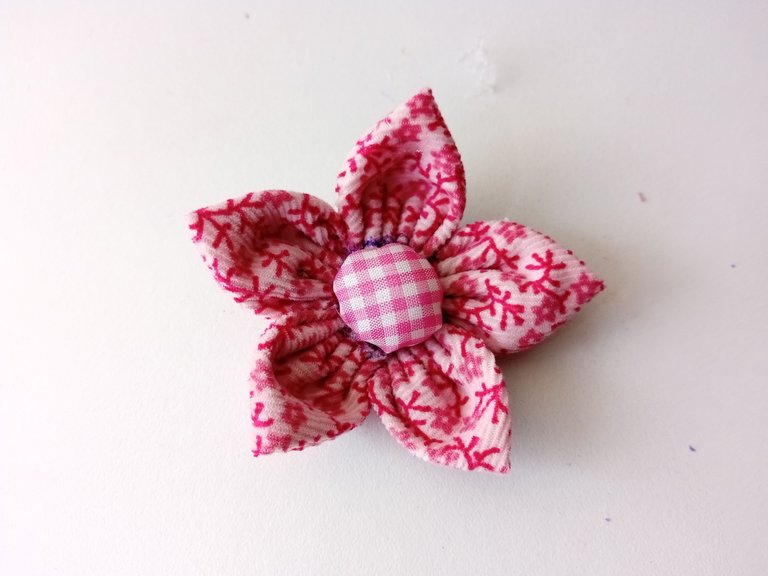
Seguidamente, recorté otro círculo de 5 cm en una tela con otro diseño, di puntas rectas por el borde y al tener una especie de saquito, rellené con relleno para almohadas, hale el hilo para cerrar la costura, cerré con otra puntada y pegué la pieza en el centro de los pétalos.
✨STEP 6:
Next, I cut out another 5cm circle from a fabric with another design, made straight points around the edge and, having a kind of bag, I filled it with pillow stuffing, pulled the thread to close the seam, closed with another stitch and glued the piece in the center of the petals.

 |  |  |
|---|

✨PASO 7:
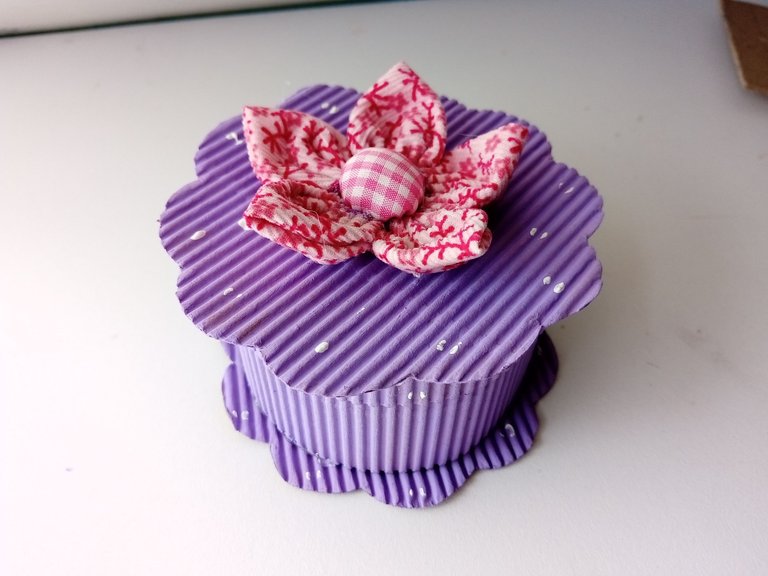
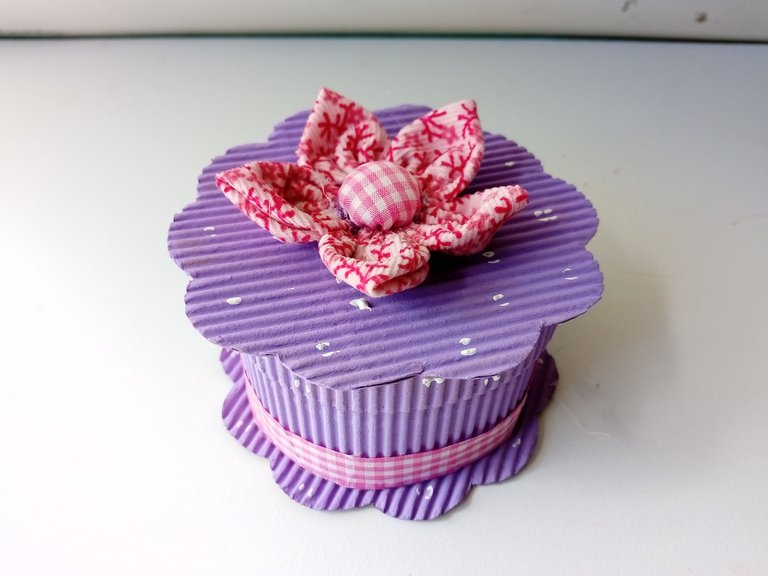
Finalmente, pegué la flor en medio de la parte superior de la tapa y con pintura blanca di algunos detalles o como manchas por toda la caja. Además, recorté una tira de 1 cm con la tela que utilicé para el centro de la flor y la pegué en el borde superior de la pared más grande.
✨STEP 7:
Finally, I glued the flower in the middle of the top of the lid and with white paint I gave some details or spots all over the box. In addition, I cut out a 1cm strip from the fabric I used for the center of the flower and glued it to the top edge of the largest wall.

 |  |
|---|

✨This is how you can make a nice organizer for earrings or any type of accessory you want. Also, you can stuff a piece of fabric and place it on the inside of the box to place more delicate accessories or ones that don't scratch. I hope you liked the step by step and are encouraged to make it.
❤️Until the next post.

✨RESULTADO: | ✨RESULT:


Todas las fotografías son de mi propiedad.
Separador y Fotos editadas en Canva
All photographs are my property.
Photos edited in Canva
Me encanta. Quedó super tierno 😍
Yo creo que ofreces tus manualidades en venta y vuelan porque todo te queda bello 🩷🩷
From Venezuela, our witness drives decentralization and the adoption of Web3 technology, creating opportunities for the local community and contributing to the global ecosystem. // Desde Venezuela, nuestro testigo impulsa la descentralización y la adopción de la tecnología Web3, generando oportunidades para la comunidad local y contribuyendo al ecosistema global.
Sigue, contacta y se parte del testigo en: // Follow, contact and be part of the witness in:
Concuerdo con Bani! Todo lo que haces es una cuchitura! Prueba con un mini emprendimiento a ver que tal 😍💖
Que preciosura ami 🤩 te quedó realmente hermoso ese organizador. ¡Me encantó! 😍🥰
Que tierno, los colores son realmente agradables y decorativos 😍 aunque no uso zarcillos, es una cajita ideal para guardar cositas pequeñas y que no se pierdan jeje ❤️
Me encanta! Que bonito Ami! Necesito uno Asi
This is a really beautiful and elegant work so full of details, I congratulate you for showing us that from materials we have at home we can obtain such a beautiful thing.The jewelry box turned out like a dream. Thank you for letting us know your step by step and creative process.
Amiga, justo necesito algo así! Para mí el orden es fundamental, porque a la hora de usar los aretes es más fácil encontrarlos! Que lindo te quedó! 🤗
It's a nice organizer, we like the creativity you have to make it, it's nice the color you used.
Ami, está precioso!! A Miranda le gustaría y estaría genial para guardar las liguitas del cabello. De hecho ella misma puede hacerlo!
Que bello amiga, yo lo usaría para poner mis pulseras, seguro que quedarían súper bien guardadas. Me encantan todas las manualidades que nos compartes 💗.
Me encantó esta manualidad. Está bien sencilla de realizar. Me ha dado una idea que me va a servir como sorpresa para mí esposa 😄. Tiene un acabado bien bonito, lo que lo cataloga como una de las creaciones más bellas que he visto en la comunidad.