✨Hola amigos amantes de la creatividad. Has tenido un gran comienzo de semana.✨
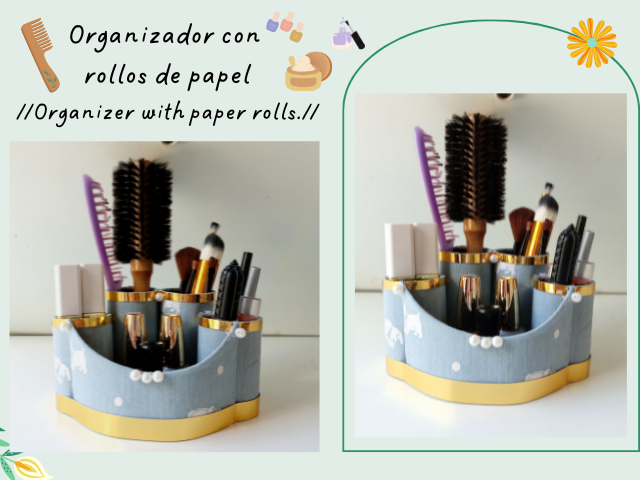
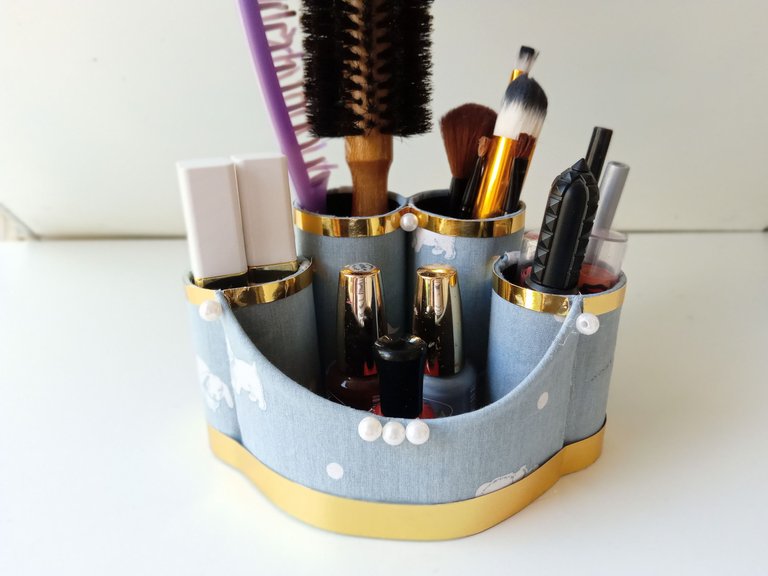
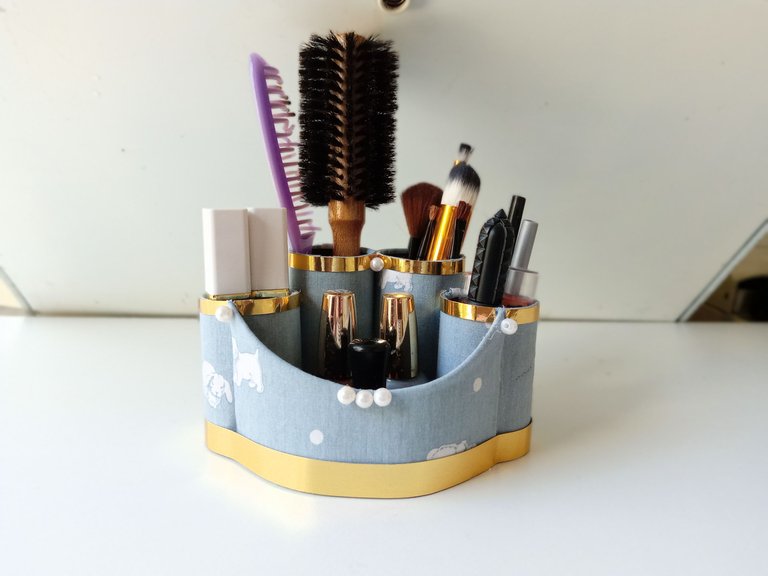
En esta oportunidad les traigo un tutorial para hacer un organizador para la habitación con rollos de papel. Creo que este organizador es uno de mis favoritos, disfruté mucho haciéndolo, ya que cuando lo estaba haciendo pase varios días enferma, así que era bastante divertido sentarse y pensar en otras cosas. Como saben me gusta que mi trabajo sea bastante prolijo, elegante y con un toque delicado, esta vez pensé que no sería así, he visto muchos trabajos con rollos de papel pero nunca me terminan de gustar porque suelen ser pintadas con pintura fría y no me gusta mucho el acabado, pero esta vez decidí probar a forrarlas con tela para ver como quedaban, claramente buscaba una tela que para el resultado final fuera algo delicada , con pocos colores y algunos bonitos detalles. Me gustó mucho la tela que usé porque era entre azul y gris, con algunos lunares y diseños de conejos, gatos y perros en blanco, pero se veía muy elegante.
Por otro lado, me parece muy divertido, fácil de hacer y realmente se necesitan muy pocos materiales para hacer este hermoso organizador. Puedes utilizar tantos rollos de papel como necesites, la tela que más te guste, o incluso utilizar diferentes diseños y colores de tela.
🔸A continuación, los dejo con el tutorial:
✨Hello friends’ lovers of creativity. You've had a great start to the week.✨
This time I bring you a tutorial to make an organizer for the room with paper rolls. I think this organizer is one of my favourites, I really enjoyed making it as when I was making it I would spend several days sick so it was quite fun to sit and think about other things. As you know I like my work to be quite neat, elegant and with a delicate touch, this time I thought it would not be like that, I have seen many works with rolls of paper, but I never finish liking them because they are usually painted with cold paint and not I really like the finish, but this time I decided to try lining them with fabric to see how they look, clearly she was looking for a fabric that would be somewhat delicate for the final result, with few colors and some nice details. I really liked the fabric I used because it was between blue and gray, with some polka dots and designs of rabbits, cats and dogs in white, but it looked very elegant.
On the other hand, I find it very fun, easy to make, and very few materials are really needed to make this beautiful organizer. You can use as many rolls of paper as you need, the fabric that you like the most, or even use different designs and colors of fabric.
🔸Then, I leave you with the tutorial:
♥️ESPERO QUE TE GUSTE,
¡Empecemos!
♥️I HOPE YOU LIKE IT,
Let's start!

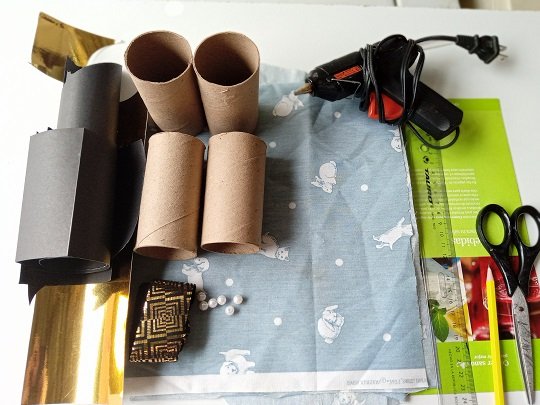
✂️ MATERIALES | ✂️ MATERIALS

- 5 rollos de papel.
- La tela de tu preferencia.
- Cartulina metalizada doradas.
- Cartulina escolar negra.
- Cartón o cartulina blanca.
- Perlas blancas.
- Silicon caliente.
- Tijera.
- Regla.
- Lápiz.
- 5 rolls of paper.
- The fabric of your choice.
- Gold metallic cardboard.
- Black school cardboard.
- Cardboard or white cardboard.
- white pearls
- hot silicon.
- Scissors.
- Rule.
- Pencil.


🐾 PROCEDIMIENTO | 🐾 PROCESS

- PASO 1:
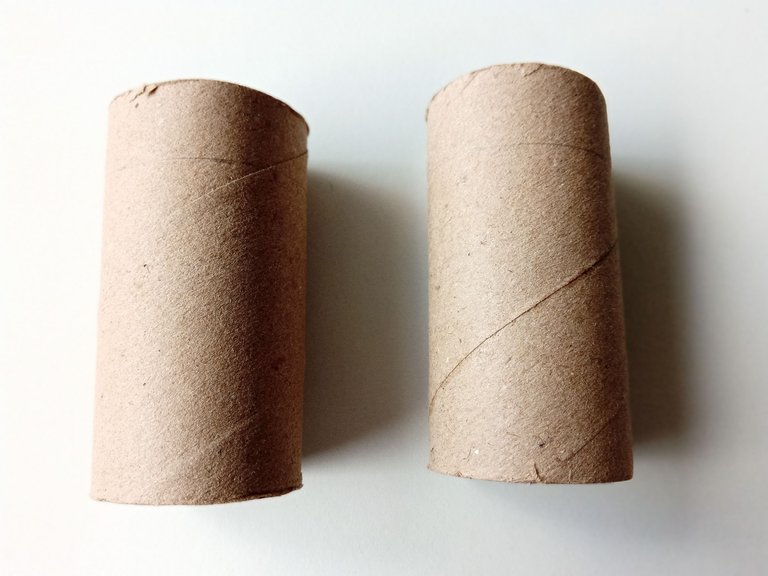
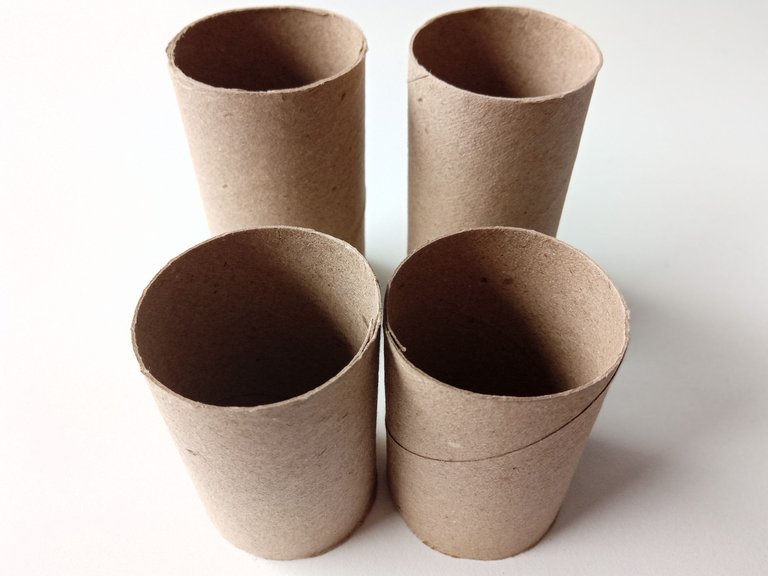
Toma dos rollos de papel, dibuja una línea alrededor de cada uno a una distancia de 2 cm y corta, así tendremos dos rollos de diferentes tamaños.
- STEP 1:
Take two rolls of paper, draw a line around each one at a distance of 2 cm and cut, so we will have two rolls of different sizes.


- PASO 2:
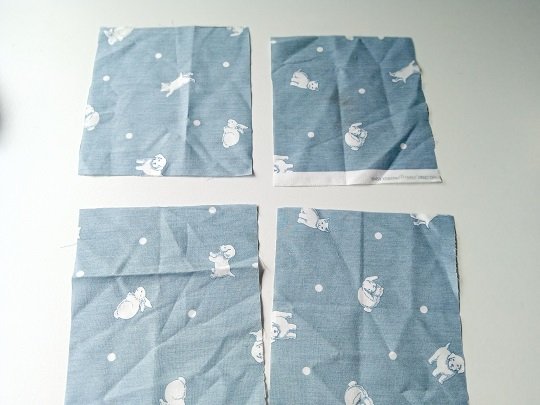
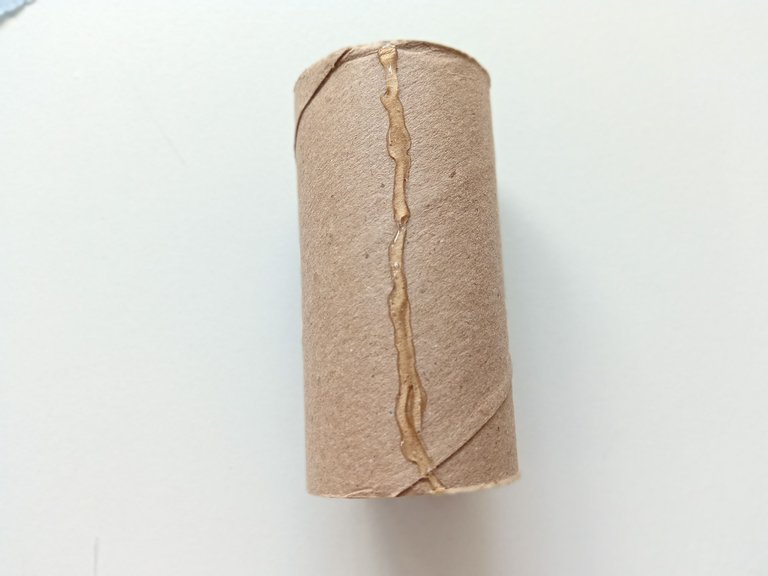
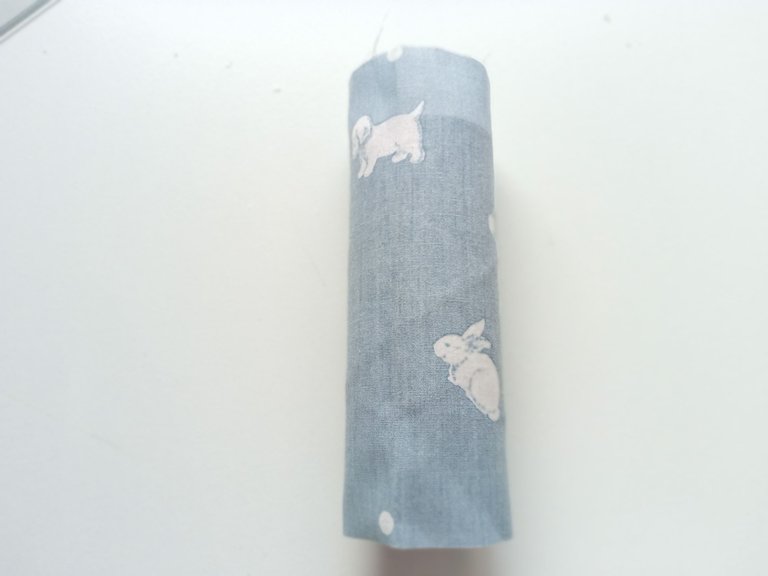
A continuación, recortar 4 cuadrados de tela, de 17.5 cm por 16 cm cada uno, y planche ligeramente las telas. agrega un poco de pegamento verticalmente al rollo de papel, pega la tela, cubre todo el rollo y pega para cerrar, puedes hacer un pequeño dobladillo al cerrar para que se vea más prolijo. Repetir con cada rollo.
- STEP 2:
Next, cut out 4 squares of fabric, 17.5 cm by 16 cm each, and lightly iron the fabrics. Add a little glue vertically to the paper roll, glue the fabric, cover the entire roll and glue to close, you can make a little hem when closing to make it look neater. Repeat with each roll.


- PASO 3:
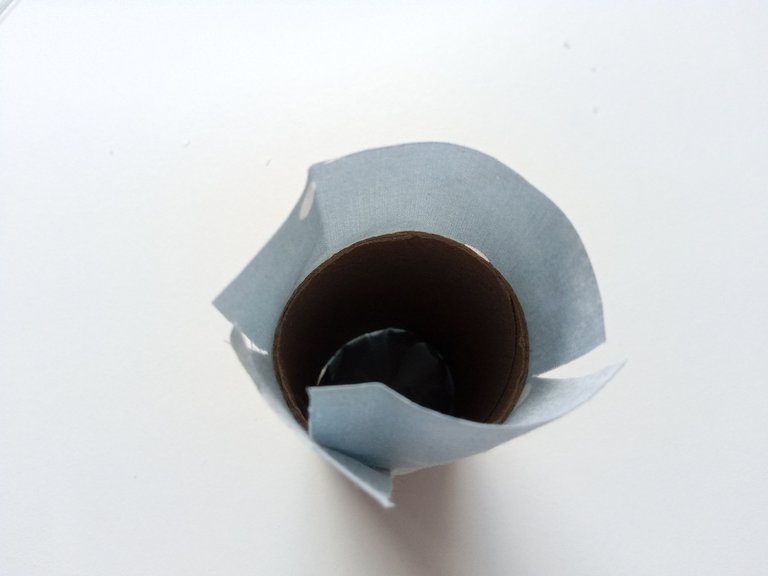
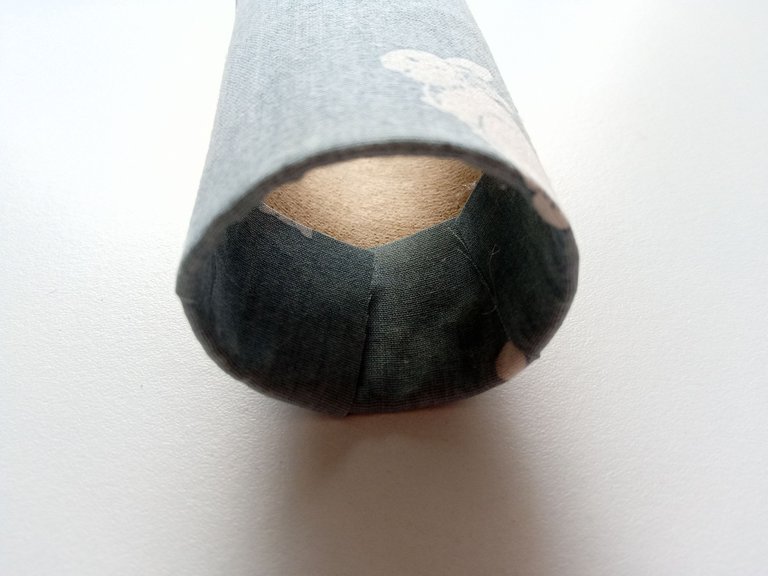
Para la tela sobrante de cada lado, haz 3 cortes justo antes de llegar al rollo, coloca un poco de pegamento y pega cada parte poco a poco con mucho cuidado para que quede prolijo y no te quemes, repite en la parte de abajo y con el resto de rollos.
- STEP 3:
For the excess fabric on each side, make 3 cuts just before reaching the roll, place a little glue and glue each part little by little very carefully so that it is neat and you do not burn yourself, repeat on the bottom part and with the rest of the rolls.


- PASO 4:
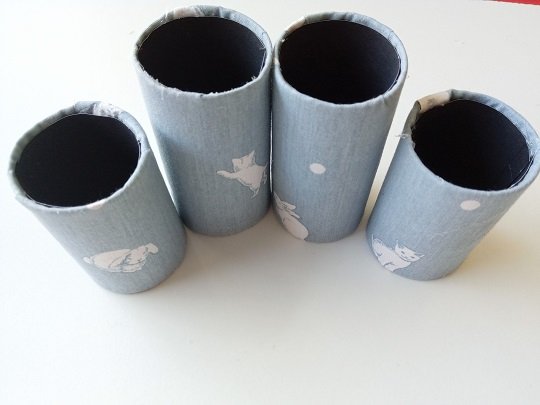
Tomar la cartulina escolar negra, trazar y recortar rectángulos de 14 cm por 9.5 cm. Pegar dentro de cada uno de los rollos que acabamos de forrar con un poco de pegamento.
- STEP 4:
Take the black school cardboard, trace and cut out 14 cm by 9.5 cm rectangles. Paste inside each of the rolls that we just lined with a little glue.


- PASO 5:
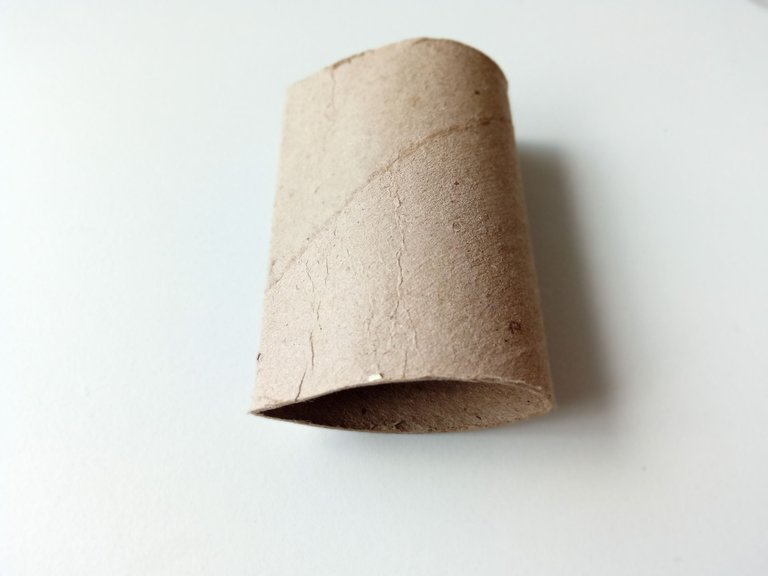
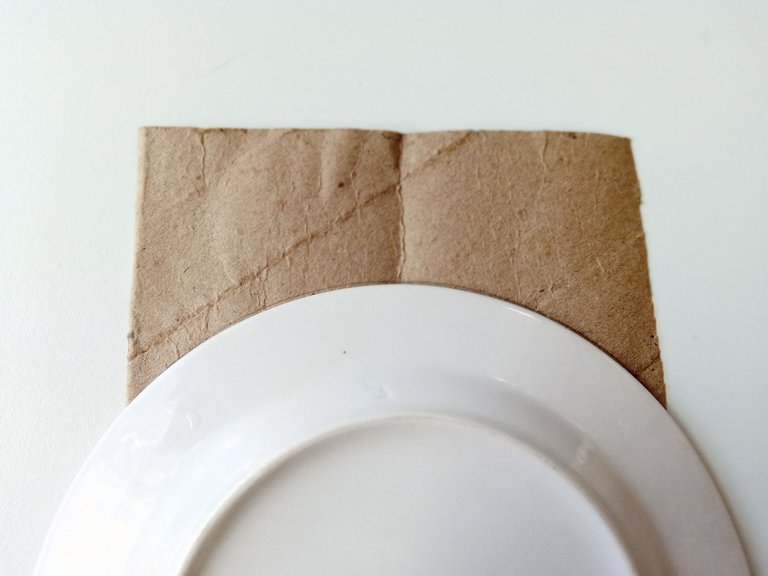
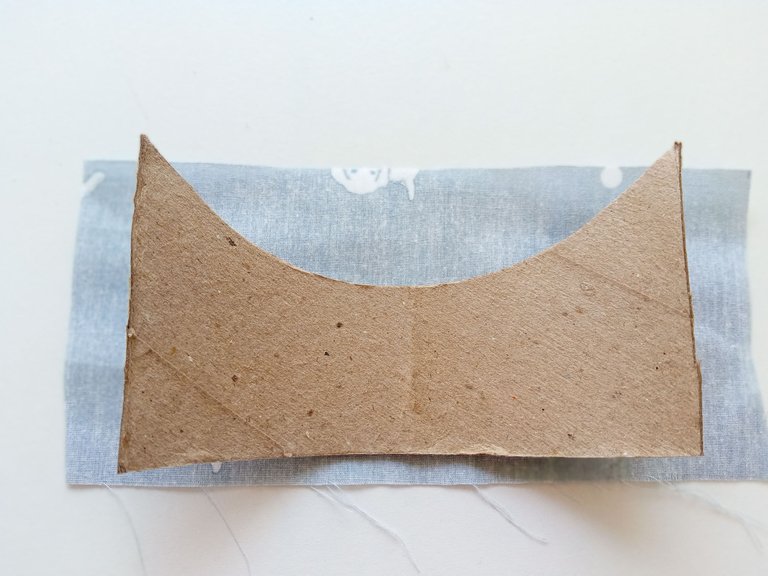
Por otro lado, toma un nuevo rollo de papel, aplana uno de sus lados y recórtalo. luego abre el rollo, coloca algún objeto circular encima, dibuja esta forma y recorta.
- STEP 5:
On the other hand, take a new roll of paper, flatten one of its sides and cut it out. then open the roll, place some circular object on top, draw this shape and cut out.


- PASO 6:
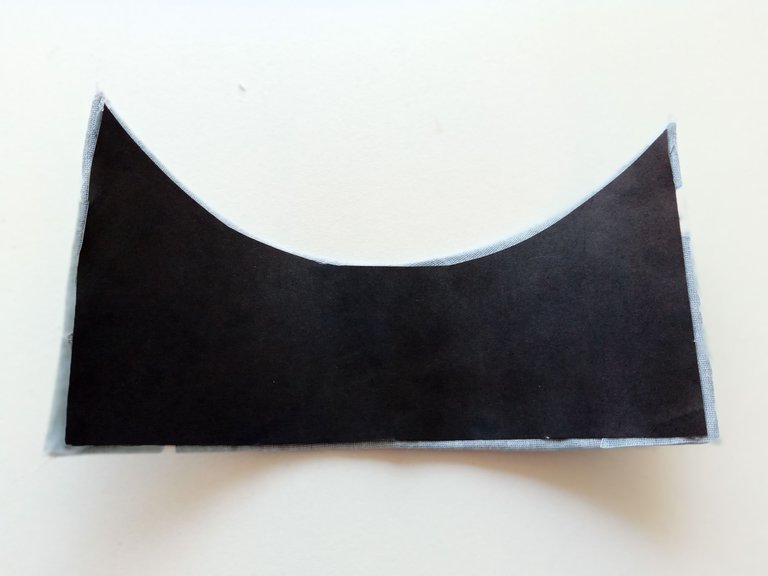
Forrar con tela, dejar un trozo de tela a cada lado para poder pegar por el reverso y tapar con cartulina escolar negra.
- STEP 6:
Cover with fabric, leave a piece of fabric on each side to be able to paste on the back and cover with black school cardboard.


- PASO 7:
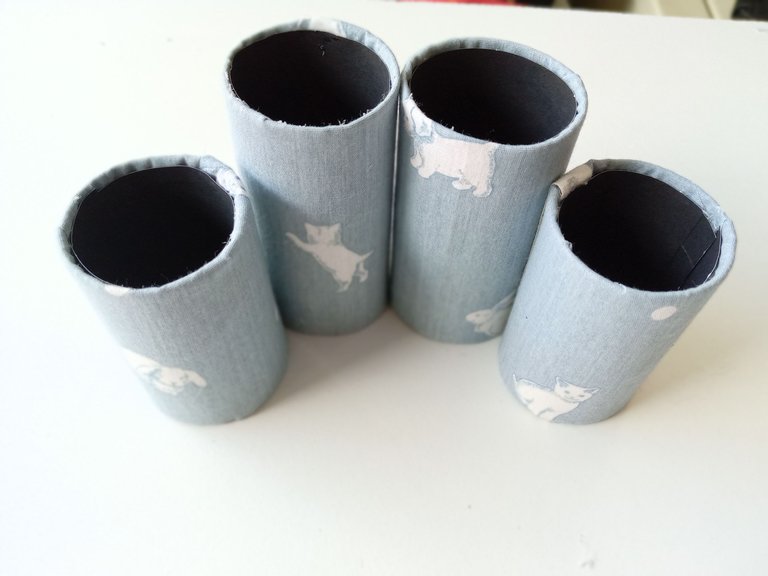
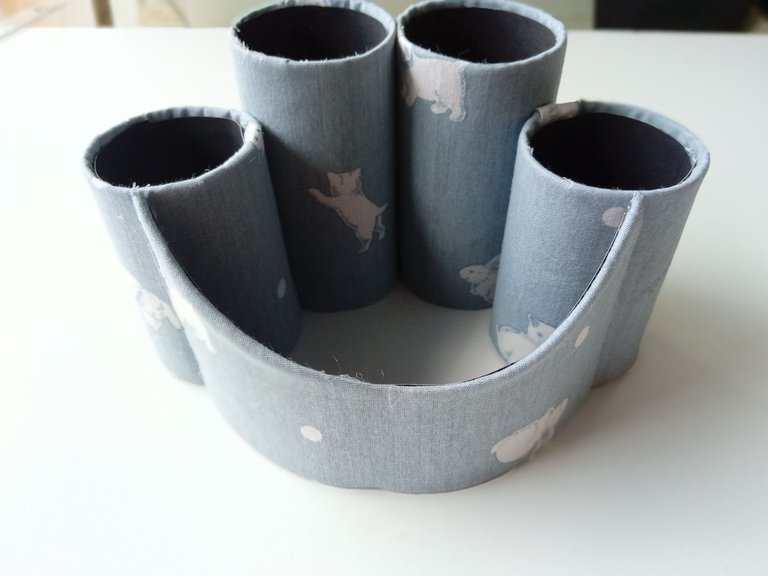
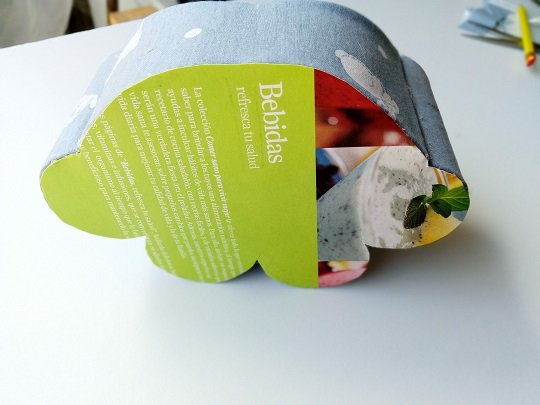
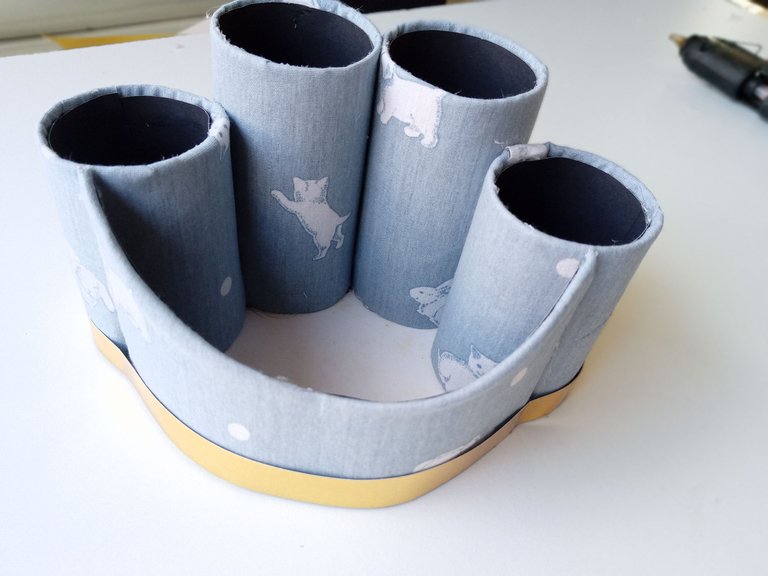
Ahora ya podemos armar los organizados, colocar los dos rollos más grandes en el medio y los más pequeños a cada lado, también pegar el último rollo de papel que acabamos de forrar al frente, justo enfrente de los rollos más pequeños. Luego, tomar el cartón o cartulina blanca, dibuja la base, recórtala y pégala.
- STEP 7:
Now we can assemble the organizers, place the two larger rolls in the middle and the smaller ones on each side, also glue the last roll of paper that we just covered to the front, right in front of the smaller rolls. Then, the white cardboard or cardboard, draw the base, cut it out and glue it.


- PASO 8:
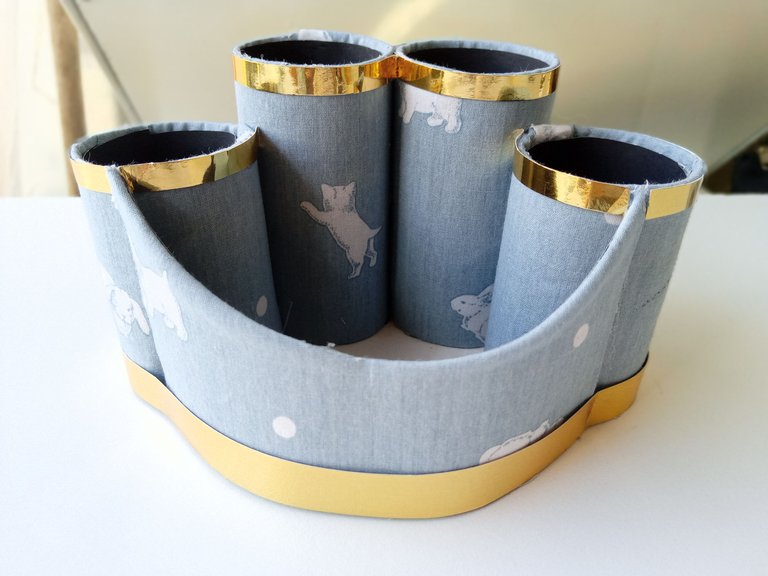
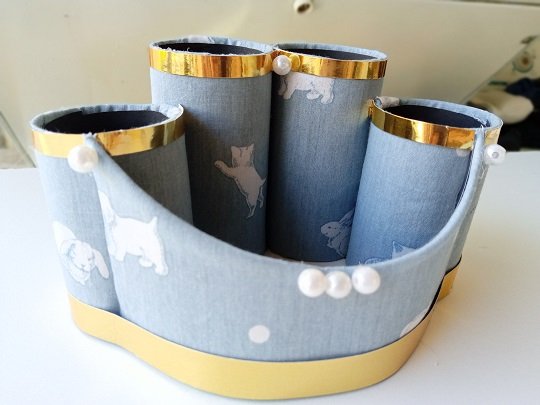
Para decorar: corta una tira de 3 cm de cartulina dorada metalizada y pégala al borde de la base, luego corta una tira de ½ cm y forra cada uno de los rollos por encima; Para terminar, pega unas perlas donde más te guste.
- STEP 8:
To decorate: cut a 3 cm strip of metallic gold cardboard and glue it to the edge of the base, then cut a ½ cm strip and line each of the rolls on top; To finish, paste some pearls where you like the most.


✨¡Y listo!✨ Habremos terminado con este tutorial de un bonito organizador que puedes hacer para tu habitación o donde más lo necesites, súper fácil de hacer y con materiales que fácilmente tenemos en casa y nadie se creerá que son rollos de papel. Espero que se animen a hacerlo y se diviertan tanto como yo. hasta la próxima publicación.
✨¡And ready!✨ We will have finished with this tutorial of a beautiful organizer that you can make for your room or wherever you need it most, super easy to make and with materials that we easily have at home and nobody will believe that they are paper rolls. I hope you are encouraged to do it and have as much fun as I did. until the next post.



Todas las fotografías son de mi propiedad.
Separador y Fotos editadas en Canva
All photographs are my property.
Photos edited in Canva
PIZZA Holders sent $PIZZA tips in this post's comments:
@chacald.dcymt(5/5) tipped @valenpba (x1)
Join us in Discord!
Gracias por apoyar mi contenido amigos. ✨💕
The rewards earned on this comment will go directly to the people sharing the post on Twitter as long as they are registered with @poshtoken. Sign up at https://hiveposh.com.
Muchas Gracias por el apoyo ☺️😊
Está bellísimo
Muchas gracias linda, me alegra mucho que te haya gustado. ✨💕
Congratulations @valenpba! You have completed the following achievement on the Hive blockchain and have been rewarded with new badge(s):
Your next target is to reach 90 posts.
Your next target is to reach 4000 upvotes.
You can view your badges on your board and compare yourself to others in the Ranking
If you no longer want to receive notifications, reply to this comment with the word
STOPTo support your work, I also upvoted your post!
Check out the last post from @hivebuzz:
Support the HiveBuzz project. Vote for our proposal!
Te quedó hermoso. Me gusta mucho el diseño. Gracias por compartir 😊.
🎆🎇🎉🎊🌧️💐✨🌾🌱🌹🌙🌿🍃🥀⚡🌺☘️🍀🌈🌷⭐🪴🌵🌸🌟💮🌴🌳💫☀️💮☔🌲🌳🌍🌌🌠☄️🏵️🐝🌻🌼🍄🐞🦋💙☕💜🍍🎆🎇🎉🎊
!PIZZA
Muchas gracias, me alegra que te haya gustado amiga. ✨💕♥️🥰😊
Hola 👋👋🎉🙊😊 me ha gustado el organizador, te ha quedado muy lindo. Muy detallado la explicación para todo el que quiera realizarlo. Excelente!! ☀️
Hola linda. ✨
Muchas gracias por tus lindas palabras amiga, un gusto tenerte por acá. Saludos. 👋🏻😊✨
Quedo demasiado lindo ❤️ Estos organizadores son demasiado prácticos para organizar todas nuestras cosas 😊 me encanto un saludo amiga!!
Hola linda! ♥️
Me alegra mucho que te haya gustado. Así es, son muy útiles, ya sea para maquillaje, como organizador de escritorio o lo que desees.
Gracias por tus lindas palabras, saludos amiga.✨😊
Thank you for sharing this amazing post on HIVE!
Your content got selected by our fellow curator @rezoanulvibes & you just received a little thank you via an upvote from our non-profit curation initiative!
You will be featured in one of our recurring curation compilations and on our pinterest boards! Both are aiming to offer you a stage to widen your audience within and outside of the DIY scene of hive.
Join the official DIYHub community on HIVE and show us more of your amazing work and feel free to connect with us and other DIYers via our discord server: https://discord.gg/mY5uCfQ !
If you want to support our goal to motivate other DIY/art/music/homesteading/... creators just delegate to us and earn 100% of your curation rewards!
Stay creative & hive on!
Muchas gracias amigos , súper feliz y agradecida.
Quedo muy bonito y super practico, intentare hacerlo. Saludos.
En cuanto lo ví me encantó, muy lindo y creativo, el uso de materiales reciclados es excelente ✨✨✨
Muchas gracias linda, me alegra mucho que te haya gustado.♥️✨
Así es, y es algo que todos tenemos en casa, es solo cuestión de ir guardando la cantidad deseada y hacerlo al gusto.
Un Saludo.✨♥️