¡Hola Hivers y hola creativa comunidad❤️
Hoy me uno a ésta comunidad llena de personas talentosas y creativas compartiendoles el paso a paso para elaborar un "DulceRegalo" con un material excelente y delicado como lo es el foami.
¡Acompáñame y continúa leyendo!
Hello Hivers and hello creative community❤️
Today I join this community full of talented and creative people sharing with you the step by step to make a "SweetGift" with an excellent and delicate material such as foami.
Join me and keep reading!
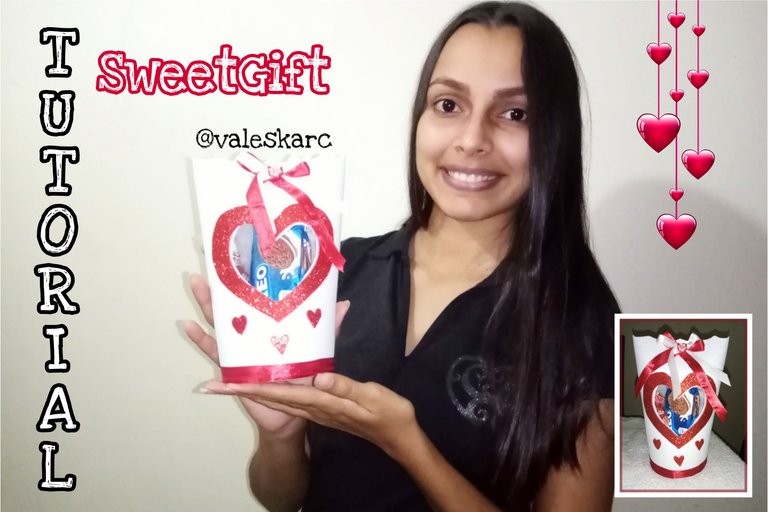
Imagen diseñada por mí en PicsArt
En Venezuela se acerca el 14 de febrero el cual es un día especial y dedicado al amor, así que es preciso para obsequiar un detalle a las personas que amamos, si te gusta celebrar este día seguro te vendrá súper bien aprender a realizar un DulceRegalo.
In Venezuela, February 14 is approaching, which is a special day dedicated to love, so it is a great day to give a gift to the people we love. If you like to celebrate this day, it will be very useful to learn how to make a SweetGift.
Necesitaremos lo siguiente.
We will need the following.
| Materiales | Materials |
|---|---|
| 2 Foami Blanco | 2 White Foami |
| 1 Foami Rojo | 1 Red Foami |
| 1 Papel transparente | 1 Transparent paper |
| Cintas Rojas y Blancas | Red and White Ribbons |
| Silicon caliente | Hot Silicon |
| Silicon frío | Cold silicon |
| Tijera | Scissors |
| Perforadora de papel o instrumento para abrir hoyos | Paper punch or hole punch. |
| Regla y Lápiz | Ruler and Pencil |
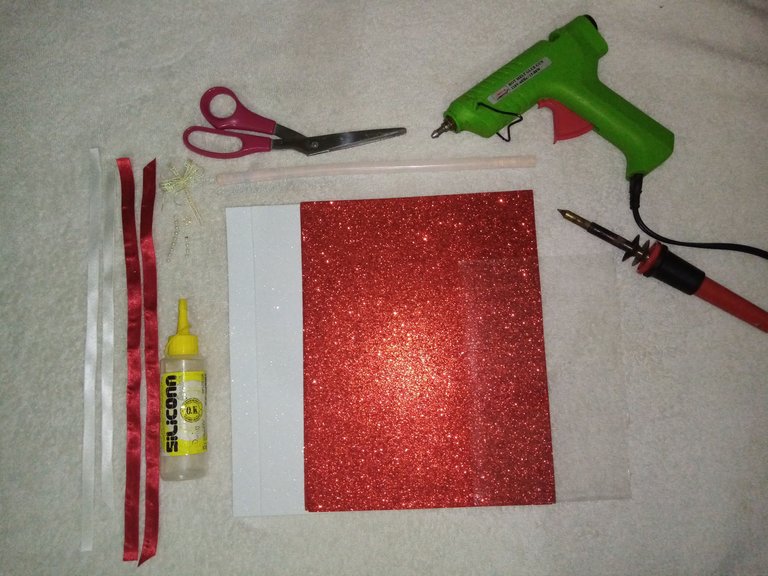
Materiales a utilizar
Procedimiento | Paso a Paso (Procedure | Step by Step)
Paso 1 / Step 1
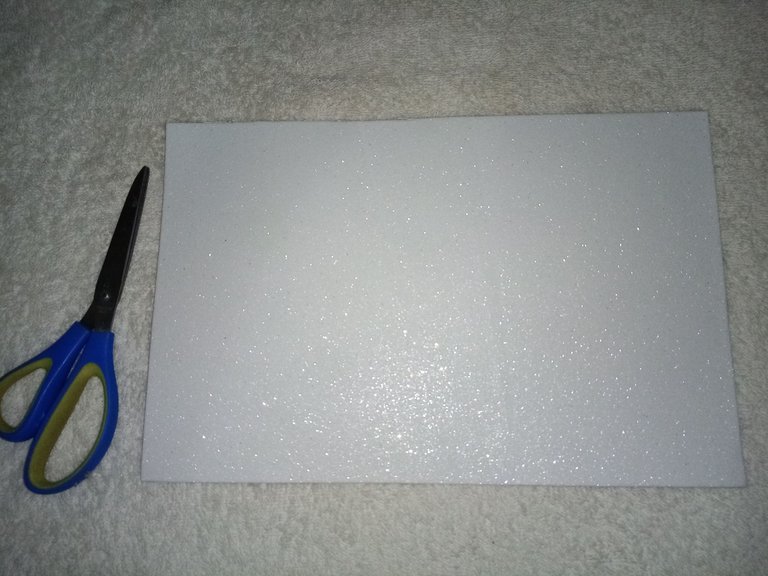
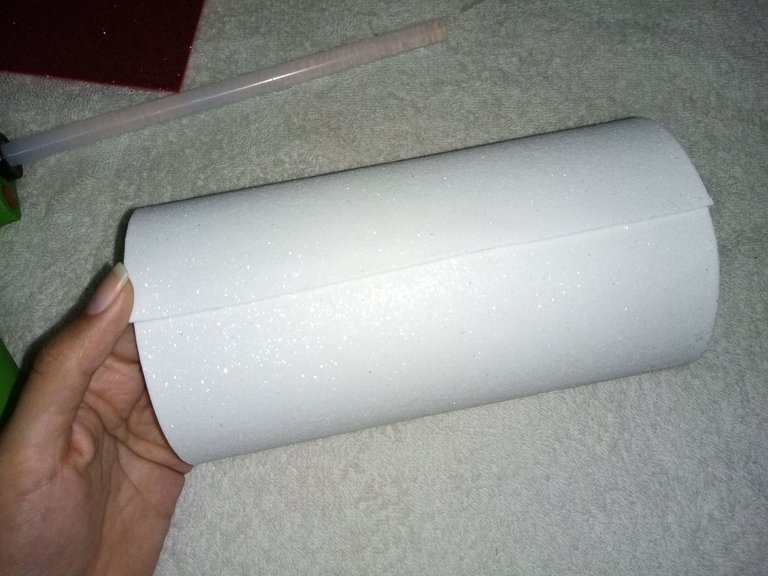
Cortamos el foami blanco de manera que quede 28x18 cm, seguidamente pegamos ambos extremos con ayuda del silicon caliente.
Cut the white foami so that it is 28x18 cm, then glue both ends with the help of hot silicone.
Paso 2 / Step 2
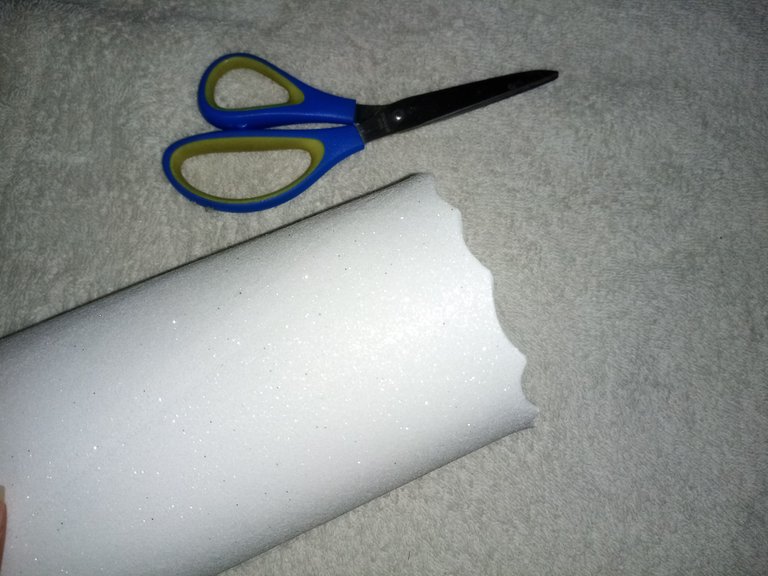
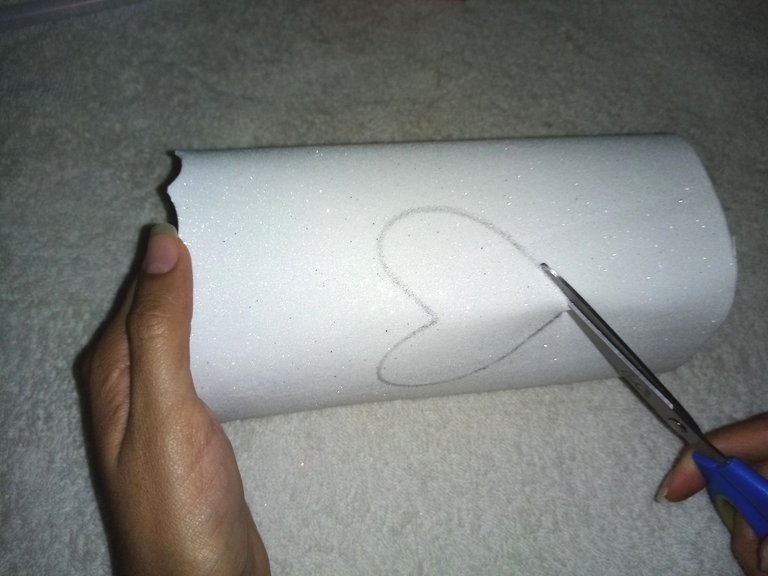
En uno de los lados cortamos en forma de ondas, para darle un toque lindo a lo que será nuestro DulceRegalo.
On one of the sides we cut in the shape of waves, to give a nice touch to what will be our SweetGift.
Paso 3 / Step 3
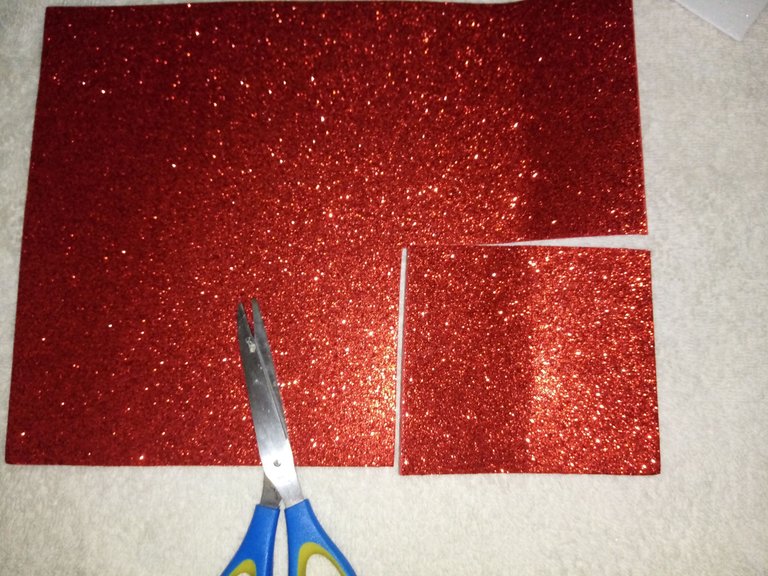
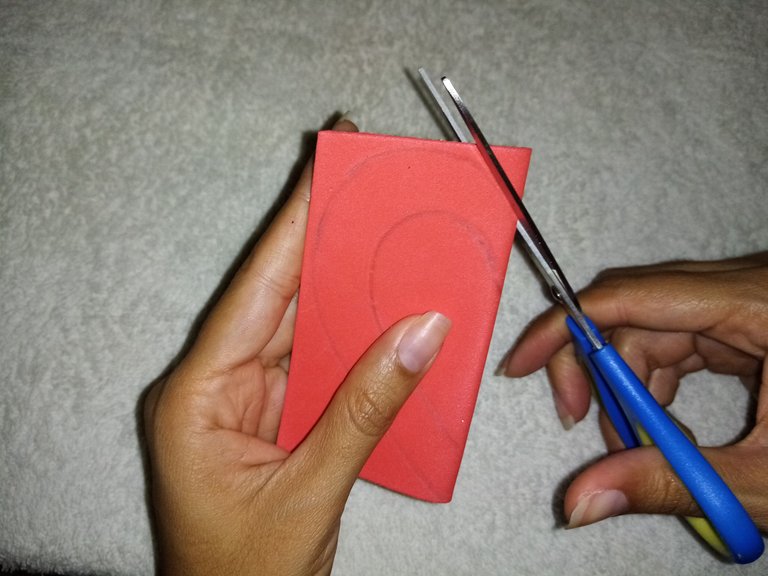
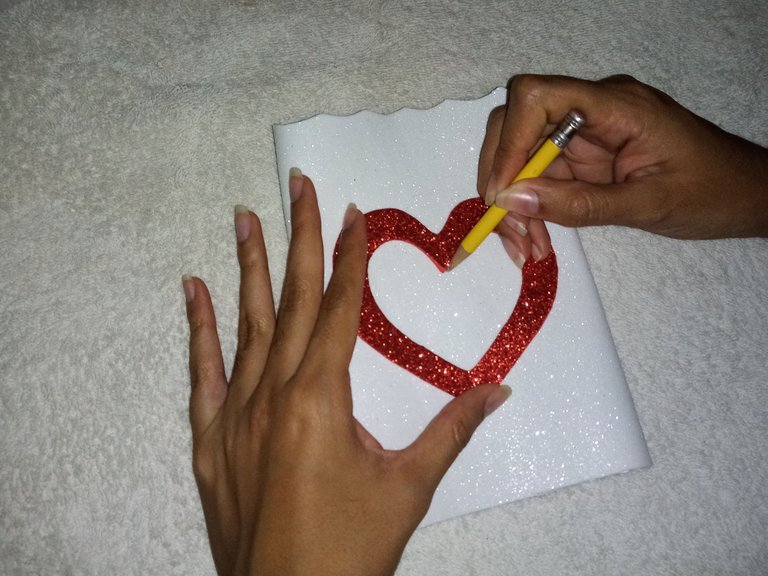
Ahora trabajaremos con el foami rojo, cortamos un cuadrado de unos 10x10 cm. Procedemos a doblar justo a la mitad nuestro cuadrado rojo para dibujar en él la silueta de 2 corazones, uno grade y otro más pequeño, recortamos.
Now we will work with the red foami, cut a square of about 10x10 cm. We proceed to fold right in half our red square to draw on it the silhouette of 2 hearts, one large and one smaller, cut out.
Paso 4 / Step 4
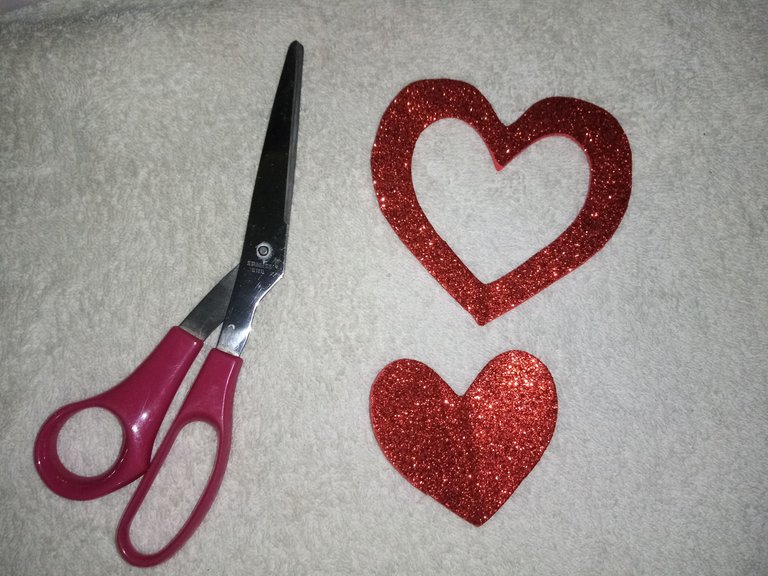
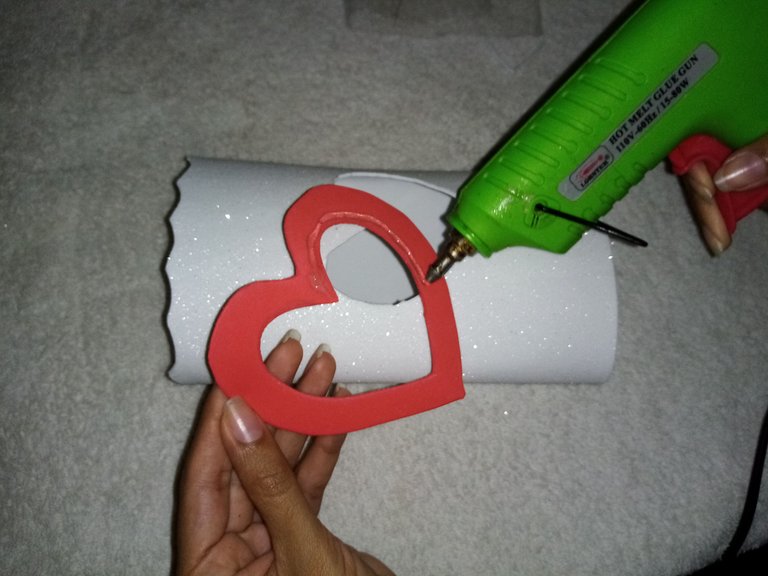
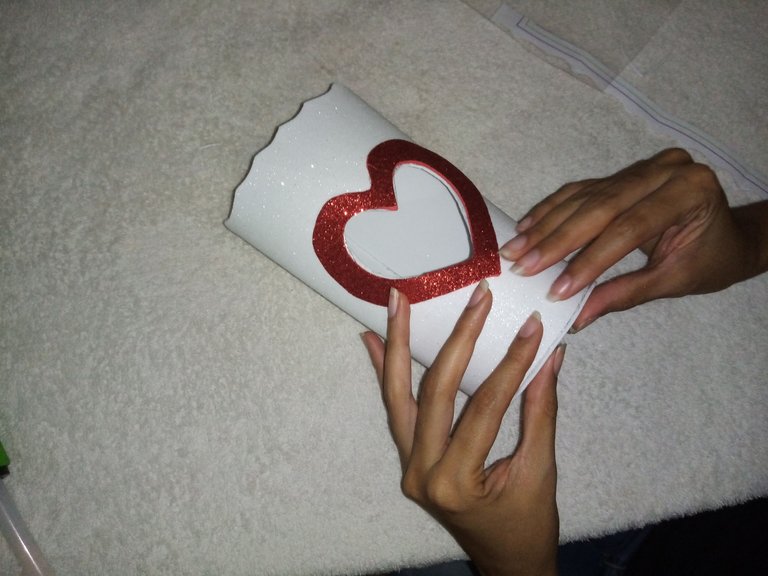
Ahora con ayuda del corazón grande dibujaremos justo en el centro un corazón más pequeño y recortamos cuidadosamente. Al tenerlo listo, pegamos con silicon caliente el corazón grande que fue nuestro molde.
Now with the help of the big heart we will draw a smaller heart right in the center and carefully cut it out. Once it is ready, we glue with hot silicon the big heart that was our mold.
Paso 5 / Step 5
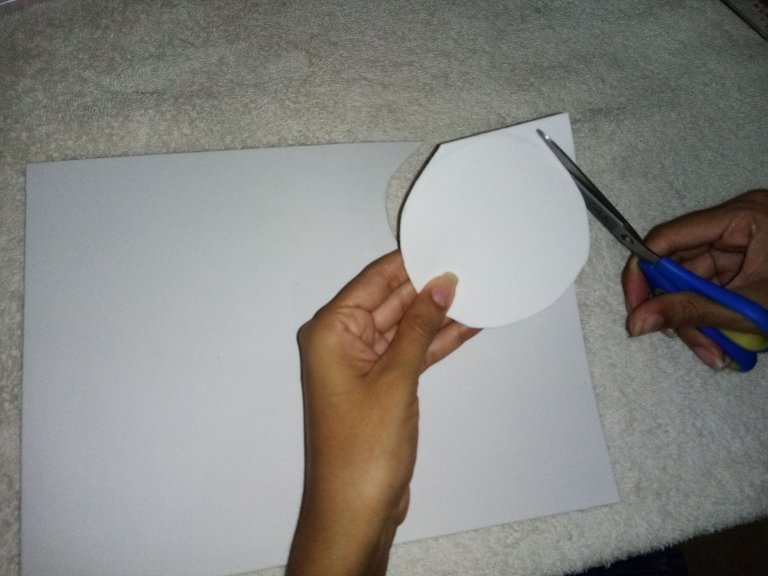
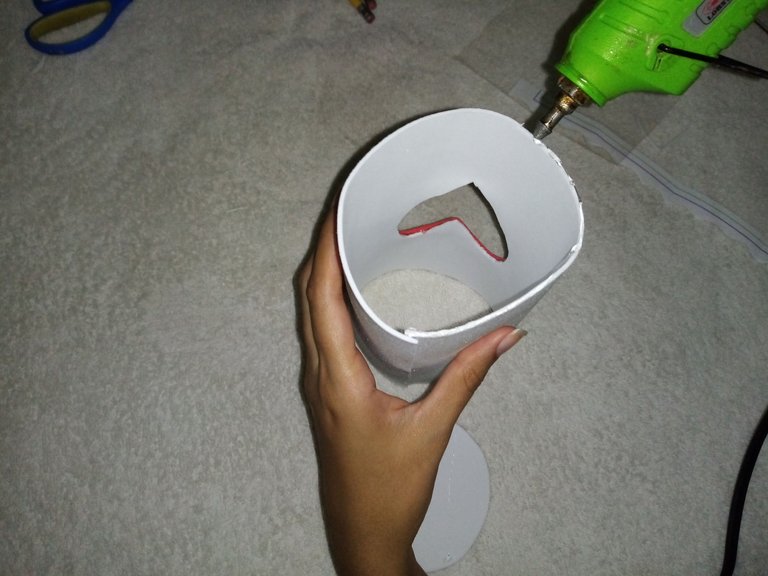
En un foami blanco dibujamos el contorno del cilindro de forma que podamos hacerle una especie de base o tapa. Recortamos y pegamos con silicon caliente.
In a white foami we draw the outline of the cylinder so that we can make a kind of base or lid. Cut it out and glue it with hot silicon.
Paso 6 / Step 6
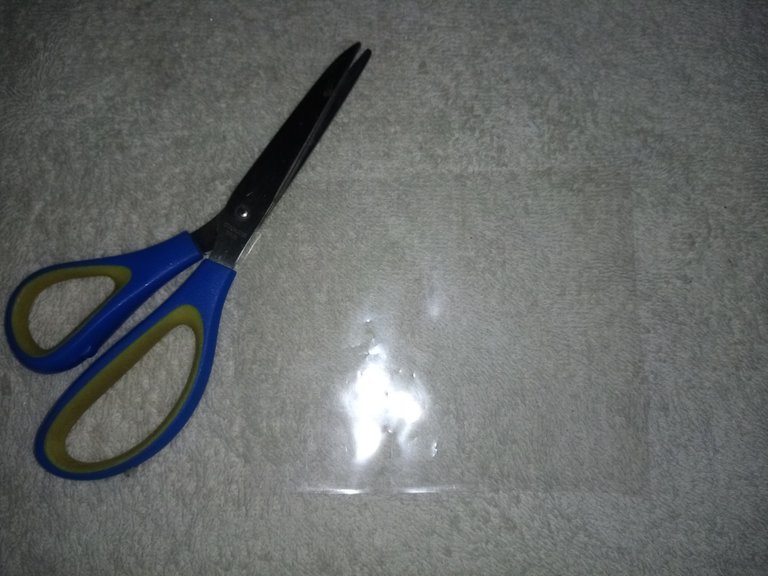
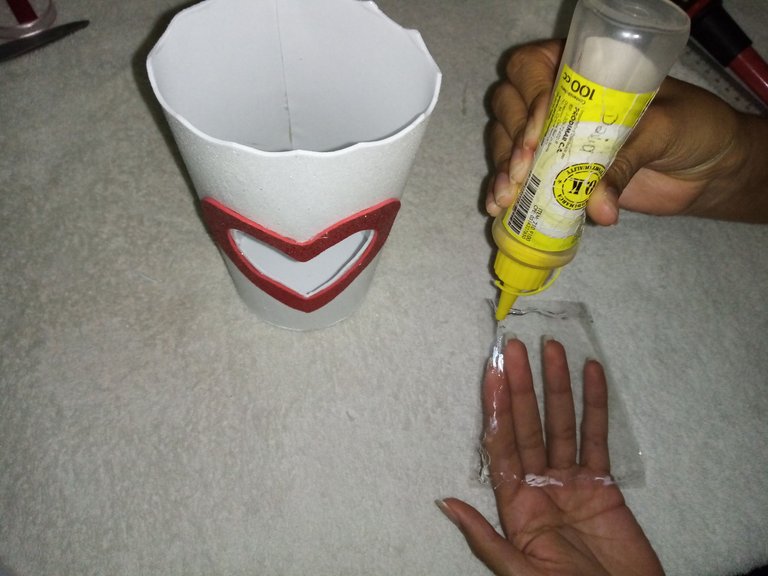
Procedemos recortando un pequeño cuadrado del papel transparente, aplicamos silicon frío por lo bordes y con mucho cuidado introducimos para pegar por dentro del corazón.
We proceed by cutting out a small square from the transparent paper, apply cold silicone around the edges and carefully insert it to glue inside the heart.
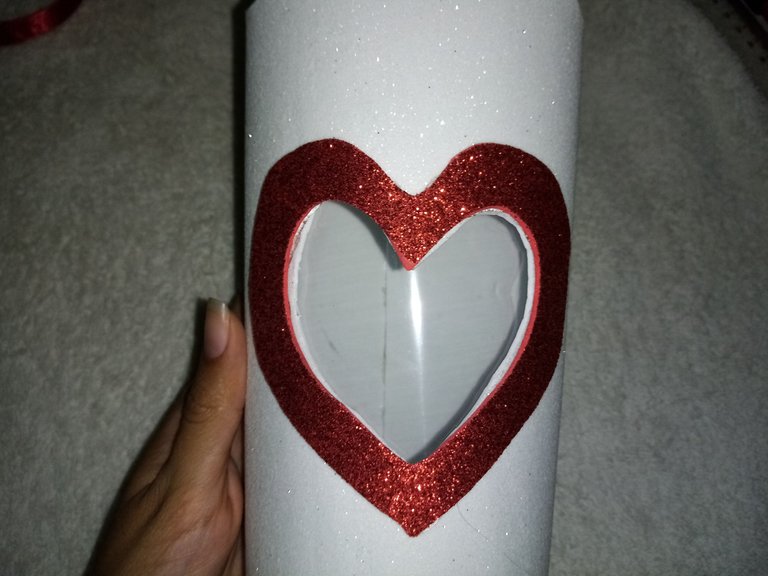
Paso 7 / Step 7
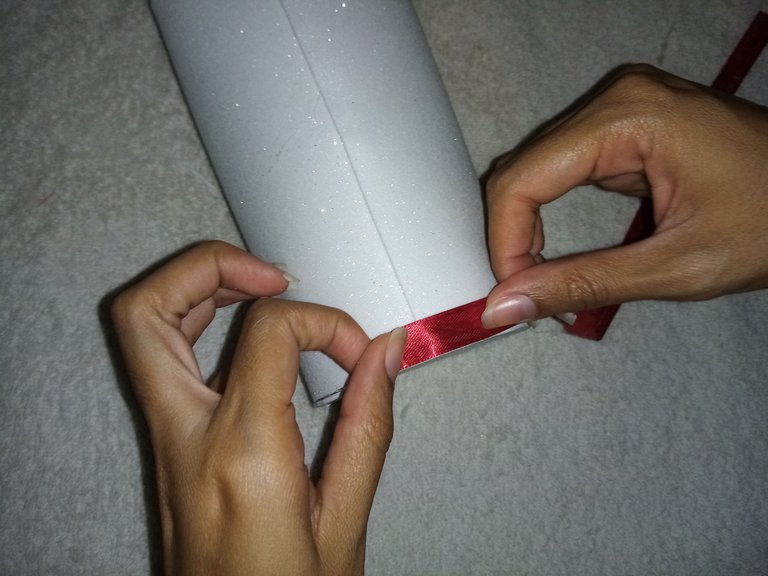
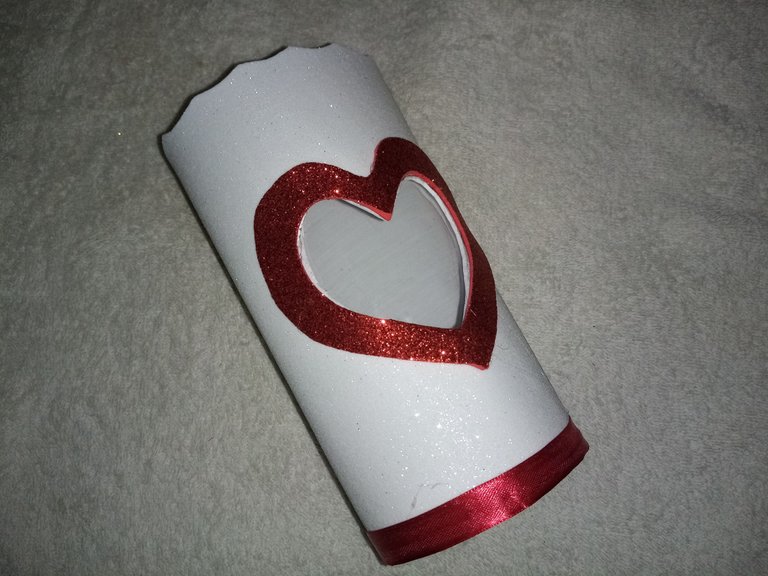
Ahora, la cinta roja la pegamos por todo alrededor de la base, Le dará un toque hermoso al detalle.
Now, we glue the red ribbon all around the base, it will give a beautiful touch to the detail.
Paso 8 / Step 8
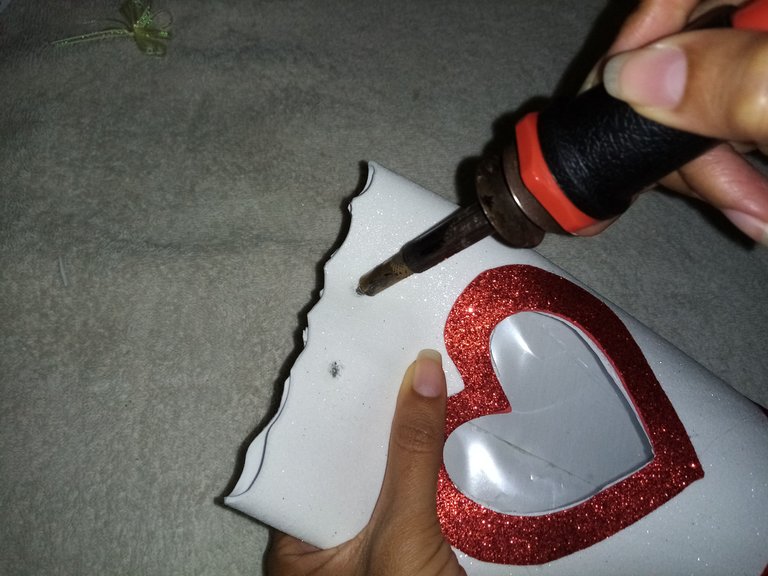
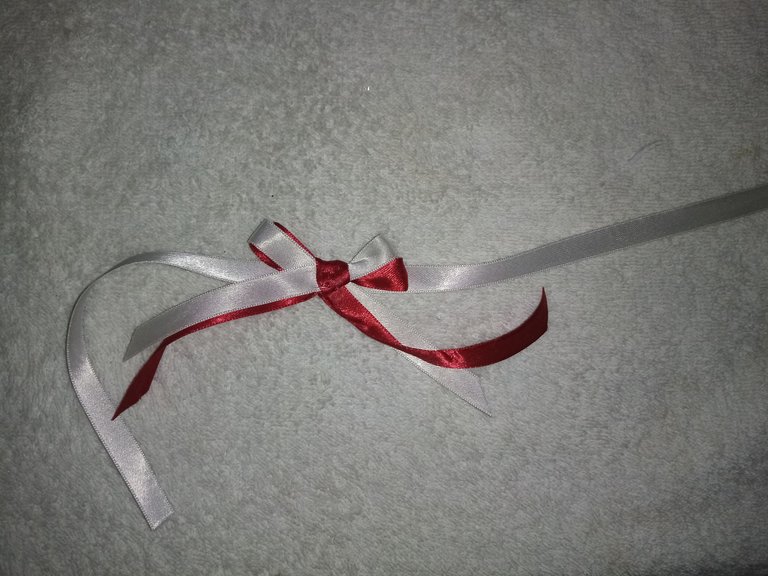
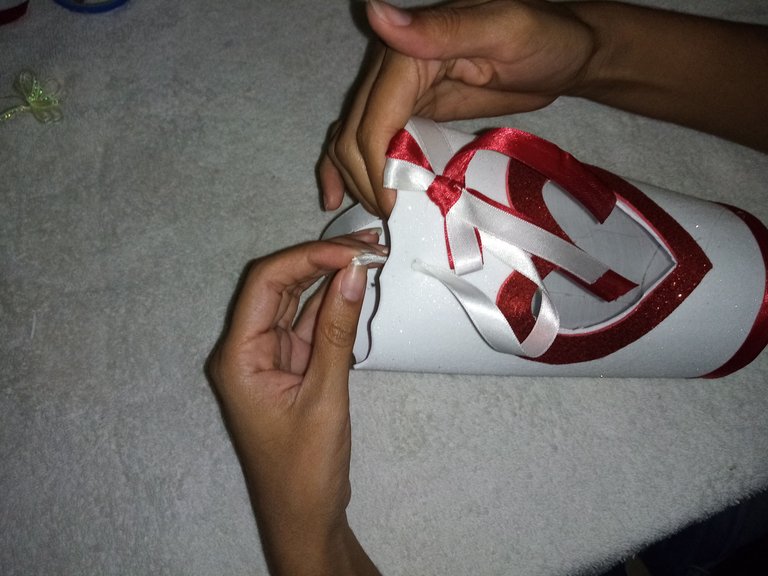
Con ayuda de un instrumento perforamos dos hoyos pequeños justo arriba del corazón. Al tenerlo listo aprovechamos el resto de la cinta roja y blanca para crear una lazo pequeño, que introduciremos por los hoyos ya creados.
With the help of an instrument we pierce two small holes just above the heart. Once it is ready, we use the rest of the red and white ribbon to create a small bow, which we will insert through the holes already created.
Paso 9 / Step 9
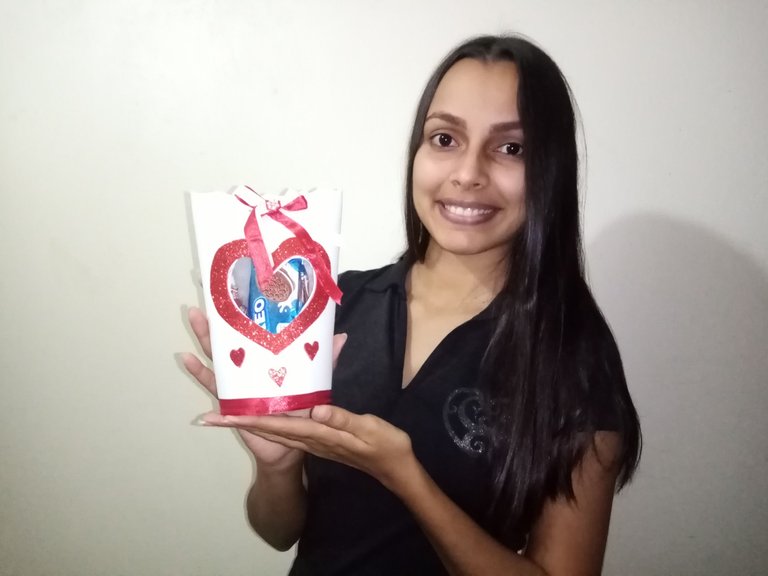
Agregamos detalles como corazones pequeños alrededor, introducimos los dulces preferidos y listo.
We add details such as small hearts around it, insert the favorite candies and that's it.
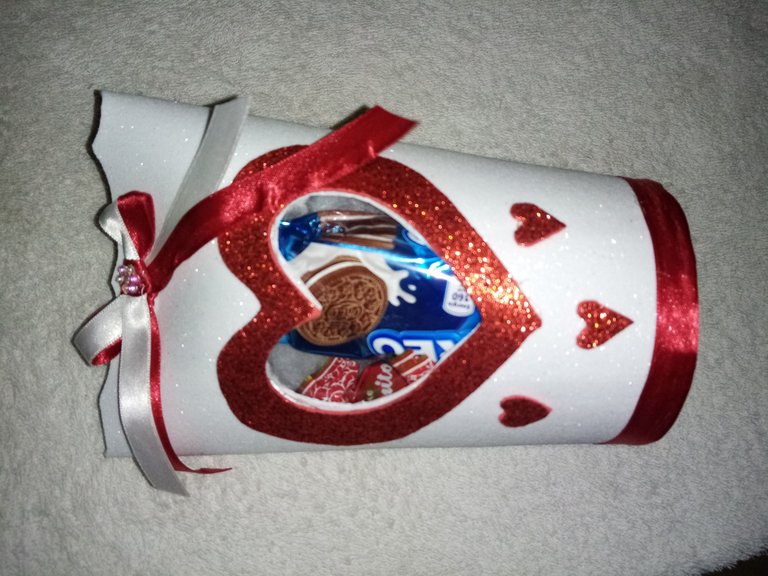
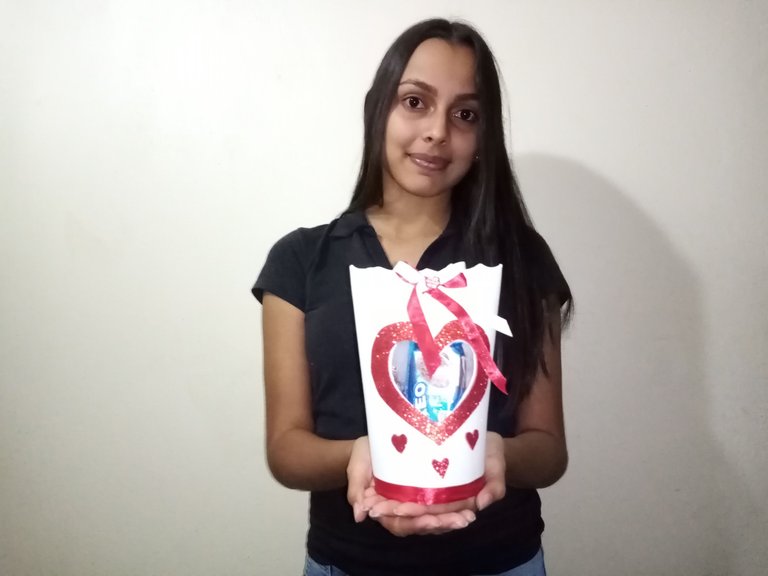
Hemos terminado una hermosa creación que nos servirá para obsequiar a alguien especial. Espero les haya gustado y se animen a regalar este 14 de febrero día de San Valentín recuerda que lo más importante siempre será el gesto de amor y cariño que tengamos hacia los demás.
We have finished a beautiful creation that will serve as a gift for someone special. I hope you liked it and I encourage you to give this February 14 Valentine's Day remember that the most important thing will always be the gesture of love and affection that we have towards others.
Además puedes divertirte mucho realizando esta manualidad que es sencilla, económica y muy fácil de crear, te aseguro que todos quedarán encantados. Recuerda incluir los dulces preferidos de la persona especial y listo, será todo un éxito.
You can also have a lot of fun making this craft that is simple, inexpensive and very easy to create, I assure you that everyone will be delighted. Remember to include the favorite candies of the special person and that's it, it will be a success.
Muchas gracias por su solidaridad y atención.
Thank you very much for your solidarity and attention
Texto traducido con deepl.com / Text translated with deepl.com
Todas las Fotografias fueron tomadas con mi celular Honor 8S. / All pictures were taken with my Honor 8S cell phone.
Te quedo muy bonito amiga. Feliz día.
Hola amigo te quedó muy lindo ideal para estás fechas de San Valentín ❤️
¡Felicidades! Esta publicación obtuvo upvote y fue compartido por @la-colmena, un proyecto de Curación Manual para la comunidad hispana de Hive que cuenta con el respaldo de @curie.
Si te gusta el trabajo que hacemos, te invitamos a darle tu voto a este comentario y a votar como testigo por Curie.
Si quieres saber más sobre nuestro proyecto, acompáñanos en Discord: La Colmena.
Your content has been voted as a part of Encouragement program. Keep up the good work!
Use Ecency daily to boost your growth on platform!
Support Ecency
Vote for new Proposal
Delegate HP and earn more
Adoro este tipo de detalles para regalar en san valentin, además, es más fácil de hacer de lo que parece, eso es genial. Siempre he pensado que los regalos elaborados por ti mismo tienen un valor especial porque la persona puso todo su tiempo y mano de obra en hacer algo lindo por ti.
Congratulations @valeskarc! You have completed the following achievement on the Hive blockchain and have been rewarded with new badge(s):
Your next target is to reach 800 upvotes.
You can view your badges on your board and compare yourself to others in the Ranking
If you no longer want to receive notifications, reply to this comment with the word
STOPCheck out the last post from @hivebuzz:
Support the HiveBuzz project. Vote for our proposal!
Thank you for sharing this amazing post on HIVE!
non-profit curation initiative!Your content got selected by our fellow curator @rezoanulvibes & you just received a little thank you via an upvote from our
You will be featured in one of our recurring curation compilations and on our pinterest boards! Both are aiming to offer you a stage to widen your audience within and outside of the DIY scene of hive.
Join the official DIYHub community on HIVE and show us more of your amazing work and feel free to connect with us and other DIYers via our discord server: https://discord.gg/mY5uCfQ !
If you want to support our goal to motivate other DIY/art/music/homesteading/... creators just delegate to us and earn 100% of your curation rewards!
Stay creative & hive on!
Te quedo muy lindo felicidades