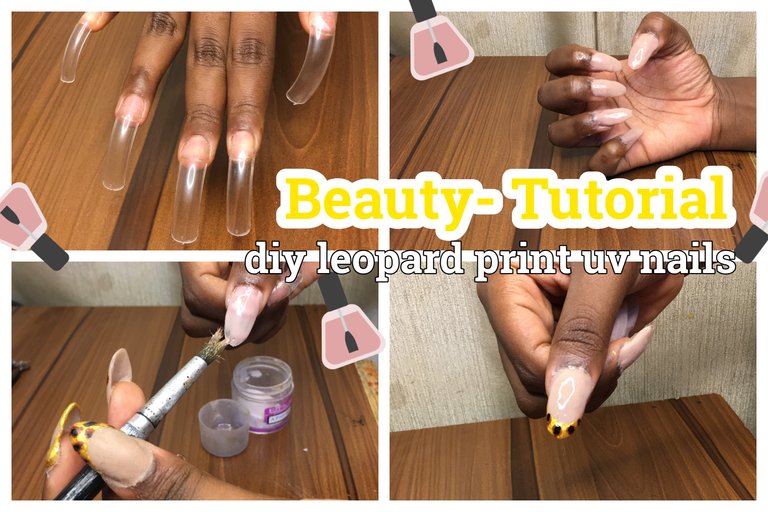
Happy weekend my friend and welcome to my beauty tutorial on here, today i am excited to bring to you a step by step process of getting acrylic powder nails done from the comfort of your home, i decided to come on here and share this tutorial just to give you insight opinion on how diy beauty routines could help you more thank you know. this days beauty maintenance are indeed costing a lot than they used to, so it is rather essential that incorporating diying most of them to help you keep up. Lets get into it.
Feliz fin de semana mi amigo y bienvenido a mi tutorial de belleza aquí, hoy estoy emocionado de traer a usted un proceso paso a paso de conseguir las uñas de acrílico en polvo hecho desde la comodidad de su hogar, decidí venir aquí y compartir este tutorial sólo para darle la opinión de penetración en cómo diy rutinas de belleza podría ayudar a usted más gracias usted sabe. estos días de mantenimiento de la belleza son de hecho cuesta mucho de lo que solían, por lo que es más bien esencial que la incorporación de diying la mayoría de ellos para ayudarle a mantenerse al día. Vamos a entrar en ella.
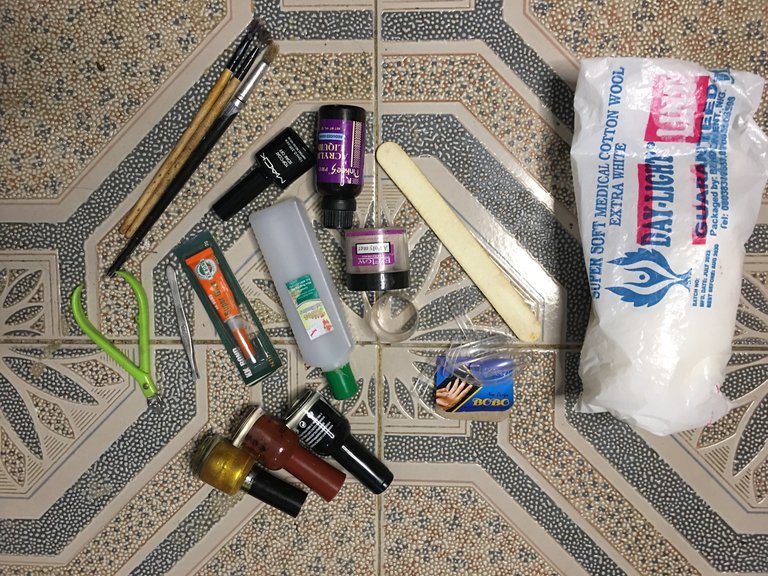
Products Needed
cotton wool
acetone solution
acrylic liquid
acrylic powder
cuticle cutter
nail glue
acrylic top coat
brush applicator
nail file
nail tip extension
nail polish
algodón
solución de acetona
acrílico líquido
polvo acrílico
corta cutículas
pegamento para uñas
top coat acrílico
pincel aplicador
lima de uñas
alargador de uñas
esmalte de uñas
Step 1.

Taking a cuticle pusher, i push back my cuticle and file my nail beds off any shine i the proceed to cleaning the beds with an acetone
Tomando un empujador de cutícula, empujo hacia atrás mi cutícula y limo mis camas de uñas de cualquier brillo i el procedimiento a la limpieza de las camas con una acetona.

This process i done so that the nail is prepped properly for the adhearance of the nail tips.
Este proceso se realiza para que la uña esté bien preparada para la adhesión de las puntas.
step 2
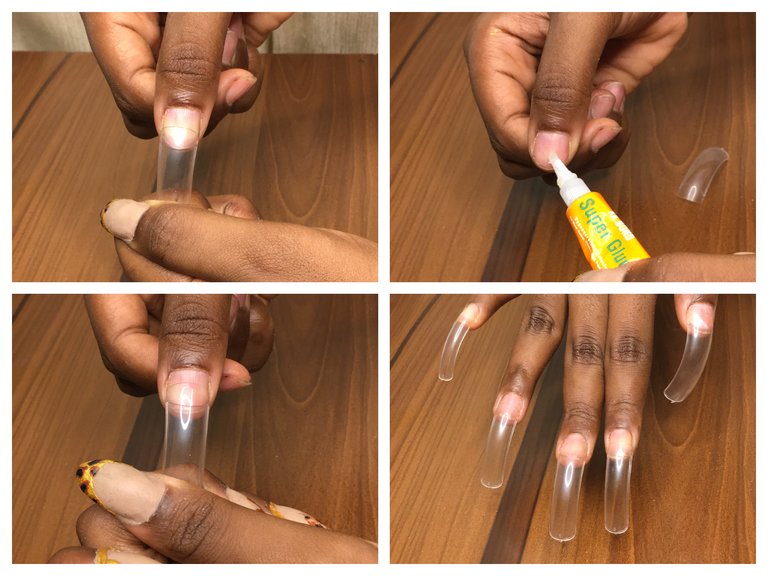
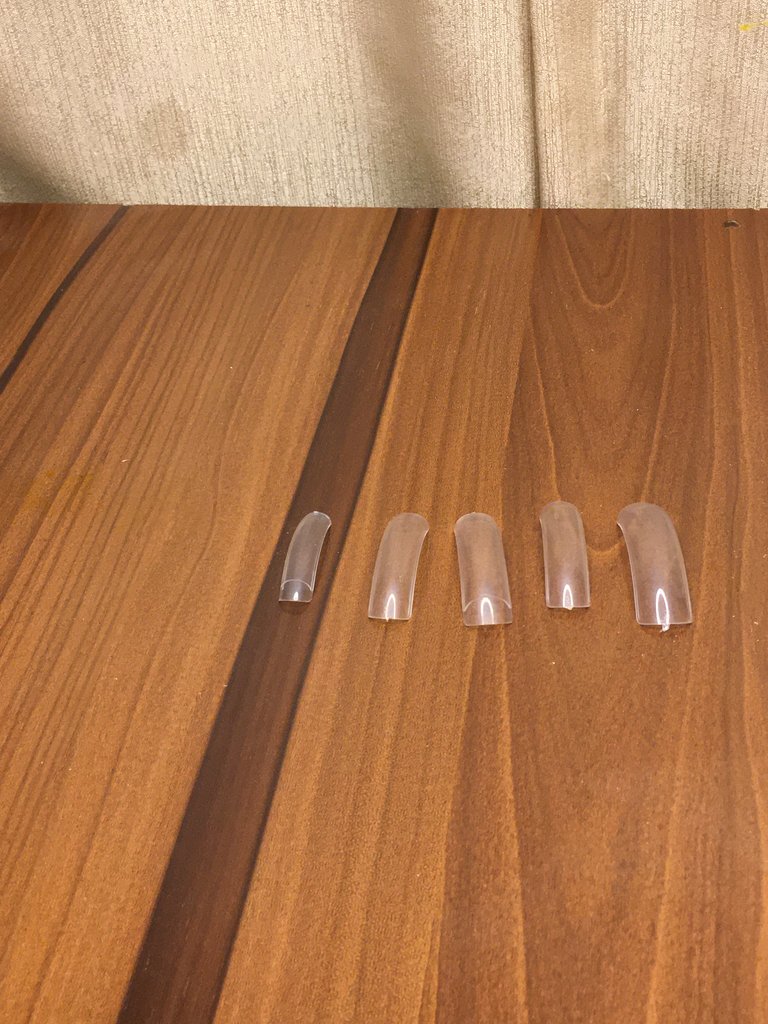
i have gone ahead to organize the nails tips as you would see in the step above gluing the nail edges unto the tip of my nails with a glue
he seguido adelante para organizar las puntas de las uñas como se vería en el paso anterior pegar los bordes de las uñas a la punta de mis uñas con un pegamento
Step 3

In the next step i am cutting down the length of the nails o my desired nail length using a nail cutter, i then file the nails to my desired shape which is my go-to an almond shape
En el siguiente paso estoy cortando la longitud de las uñas a mi longitud deseada de uñas con un cortador de uñas, a continuación, limar las uñas a mi forma deseada que es mi go-to una forma de almendra
step 4
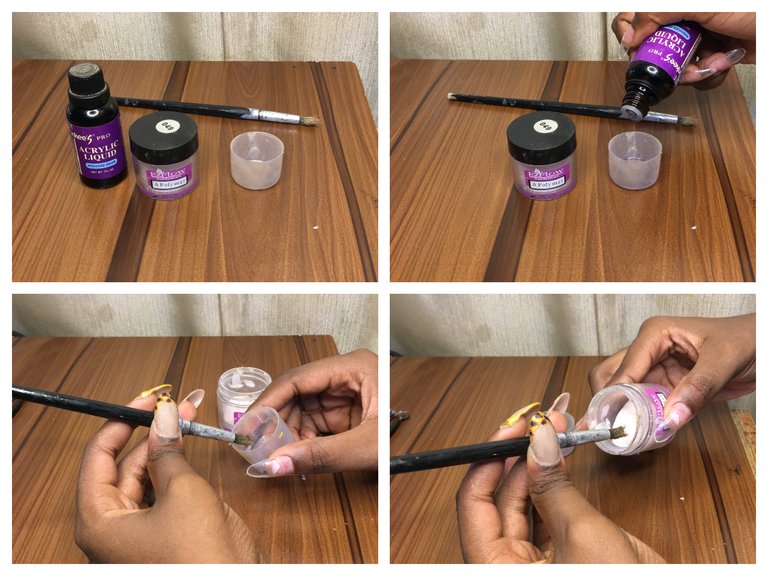
The next step involves the building of the acrylic, to do this i pour a little amount of acrylic liqud i a small cap . taking the brush applicator i dip it into the cap and then into the powder simultaneously, it form a sticky consistency and i build this unto my nails.
El siguiente paso consiste en la construcción de la acrílico, para hacer esto vierto una pequeña cantidad de acrílico liqud i una pequeña tapa . tomando el pincel aplicador lo sumerjo en la tapa y luego en el polvo al mismo tiempo, se forma una consistencia pegajosa y construyo esto en mis uñas.
step 5
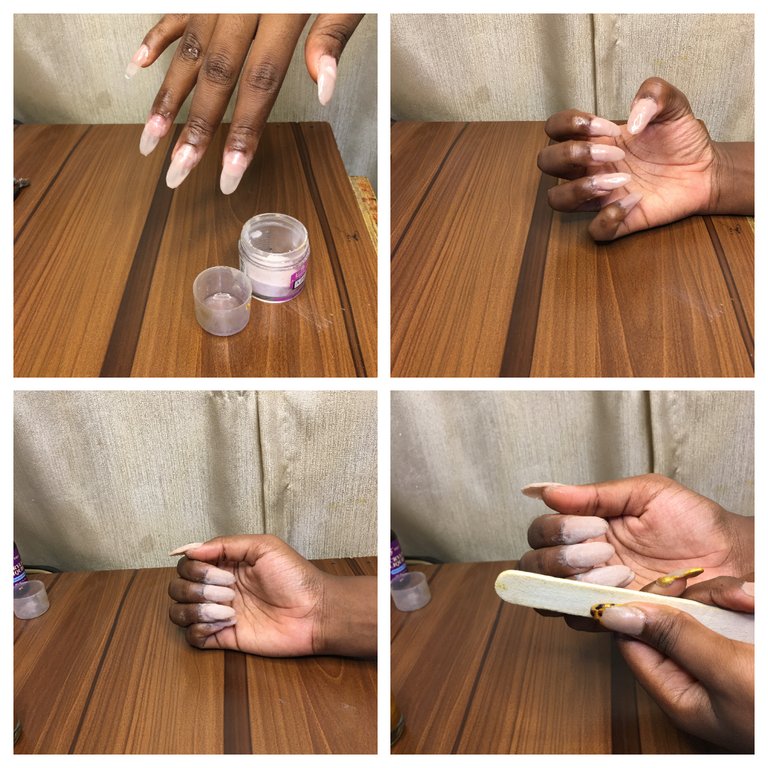
repeating the same process i do about 4 rounds of acrylic building unto each nails, before i am satisfied with the thickness i have gotten, it then file down the nail for even and smooth surface.
repitiendo el mismo proceso hago unas 4 rondas de acrilico sobre cada uña, antes de estar satisfecha con el grosor que he conseguido, limo la uña para que quede uniforme y lisa.
step 6

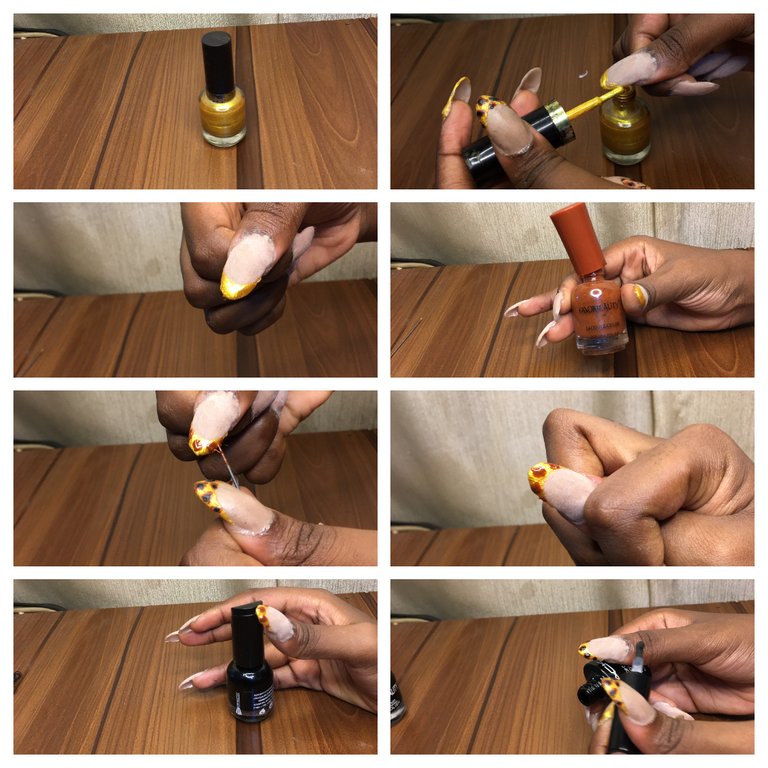
in this step i have proceeded to designing my nails with polish, i used a gold brown and black polish to to create my leopard print design and a combination of other design on the other nails.
Final step
the final step i am adding some top coat which adds shine and finish to the nail.
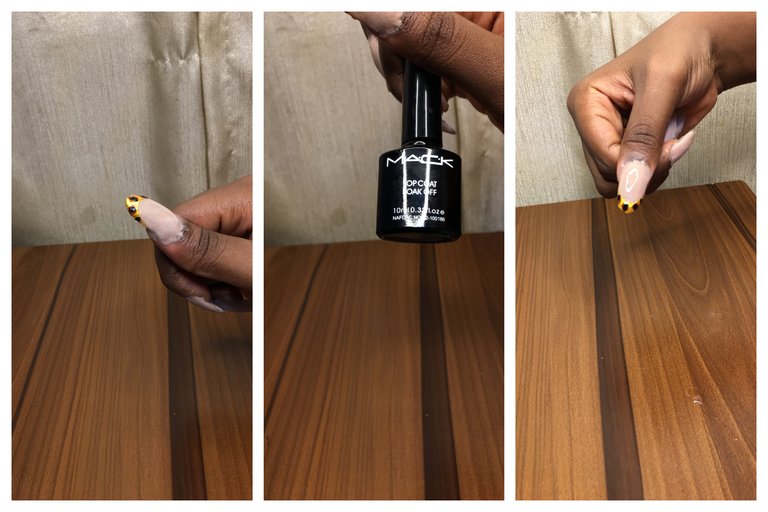
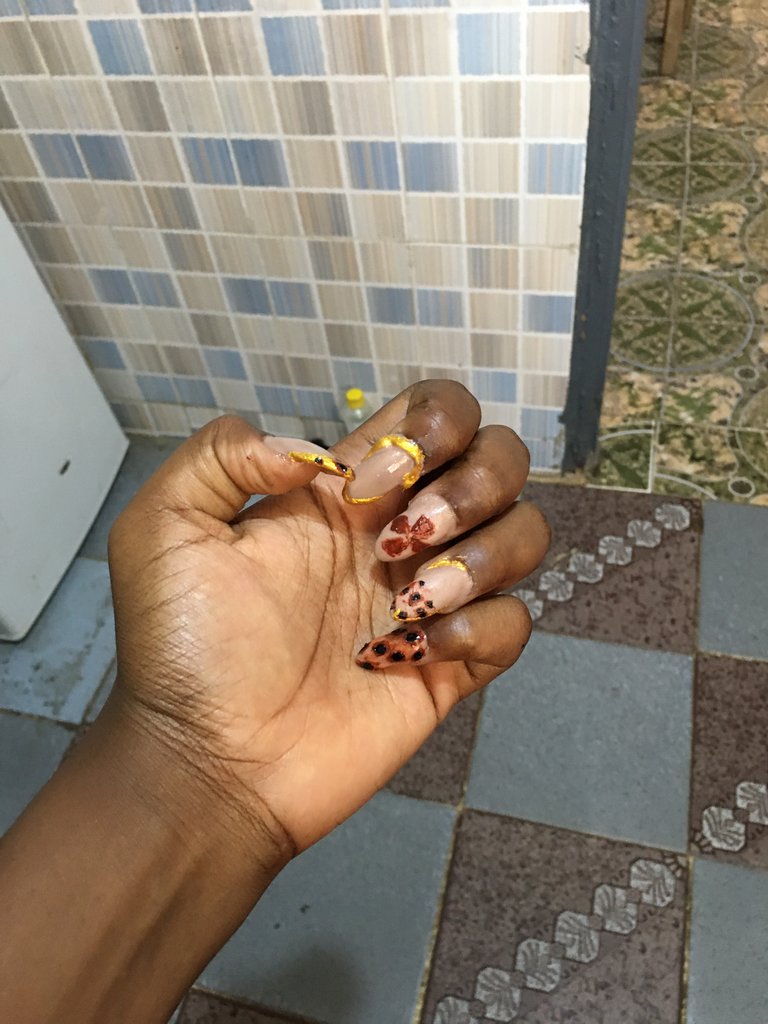
Thank you for stopping by my beauty tutorial i am glad to have shared this diy with you for whenever it might come in handy for you, let me know what your thoughts are on acrylic nails have you never tried them yet, if so are you willing and for the friends who have have you tried an animal print nails yet, lets hear it in the comments, see you soon.
Gracias por pasar por mi tutorial de belleza me alegro de haber compartido este diy con usted para siempre que pueda ser útil para usted, hágamelo saber cuáles son sus pensamientos están en las uñas de acrílico nunca los han probado todavía, si es así estás dispuesto y para los amigos que han probado un animal print uñas todavía, vamos a escuchar en los comentarios, nos vemos pronto.

This leopard-print nail tutorial is fantastic. The end result looks super chic and stylish. It’s such a fun way to keep up with nail trends without the salon costs. Thank you for sharing and for encouraging others to give it a try.
Thanks for the ever encouraging reviews, i was glad to have shared, welcome.