diseño creado en PicsArt,Margarita, Edo Nueva Esparta-Venezuela
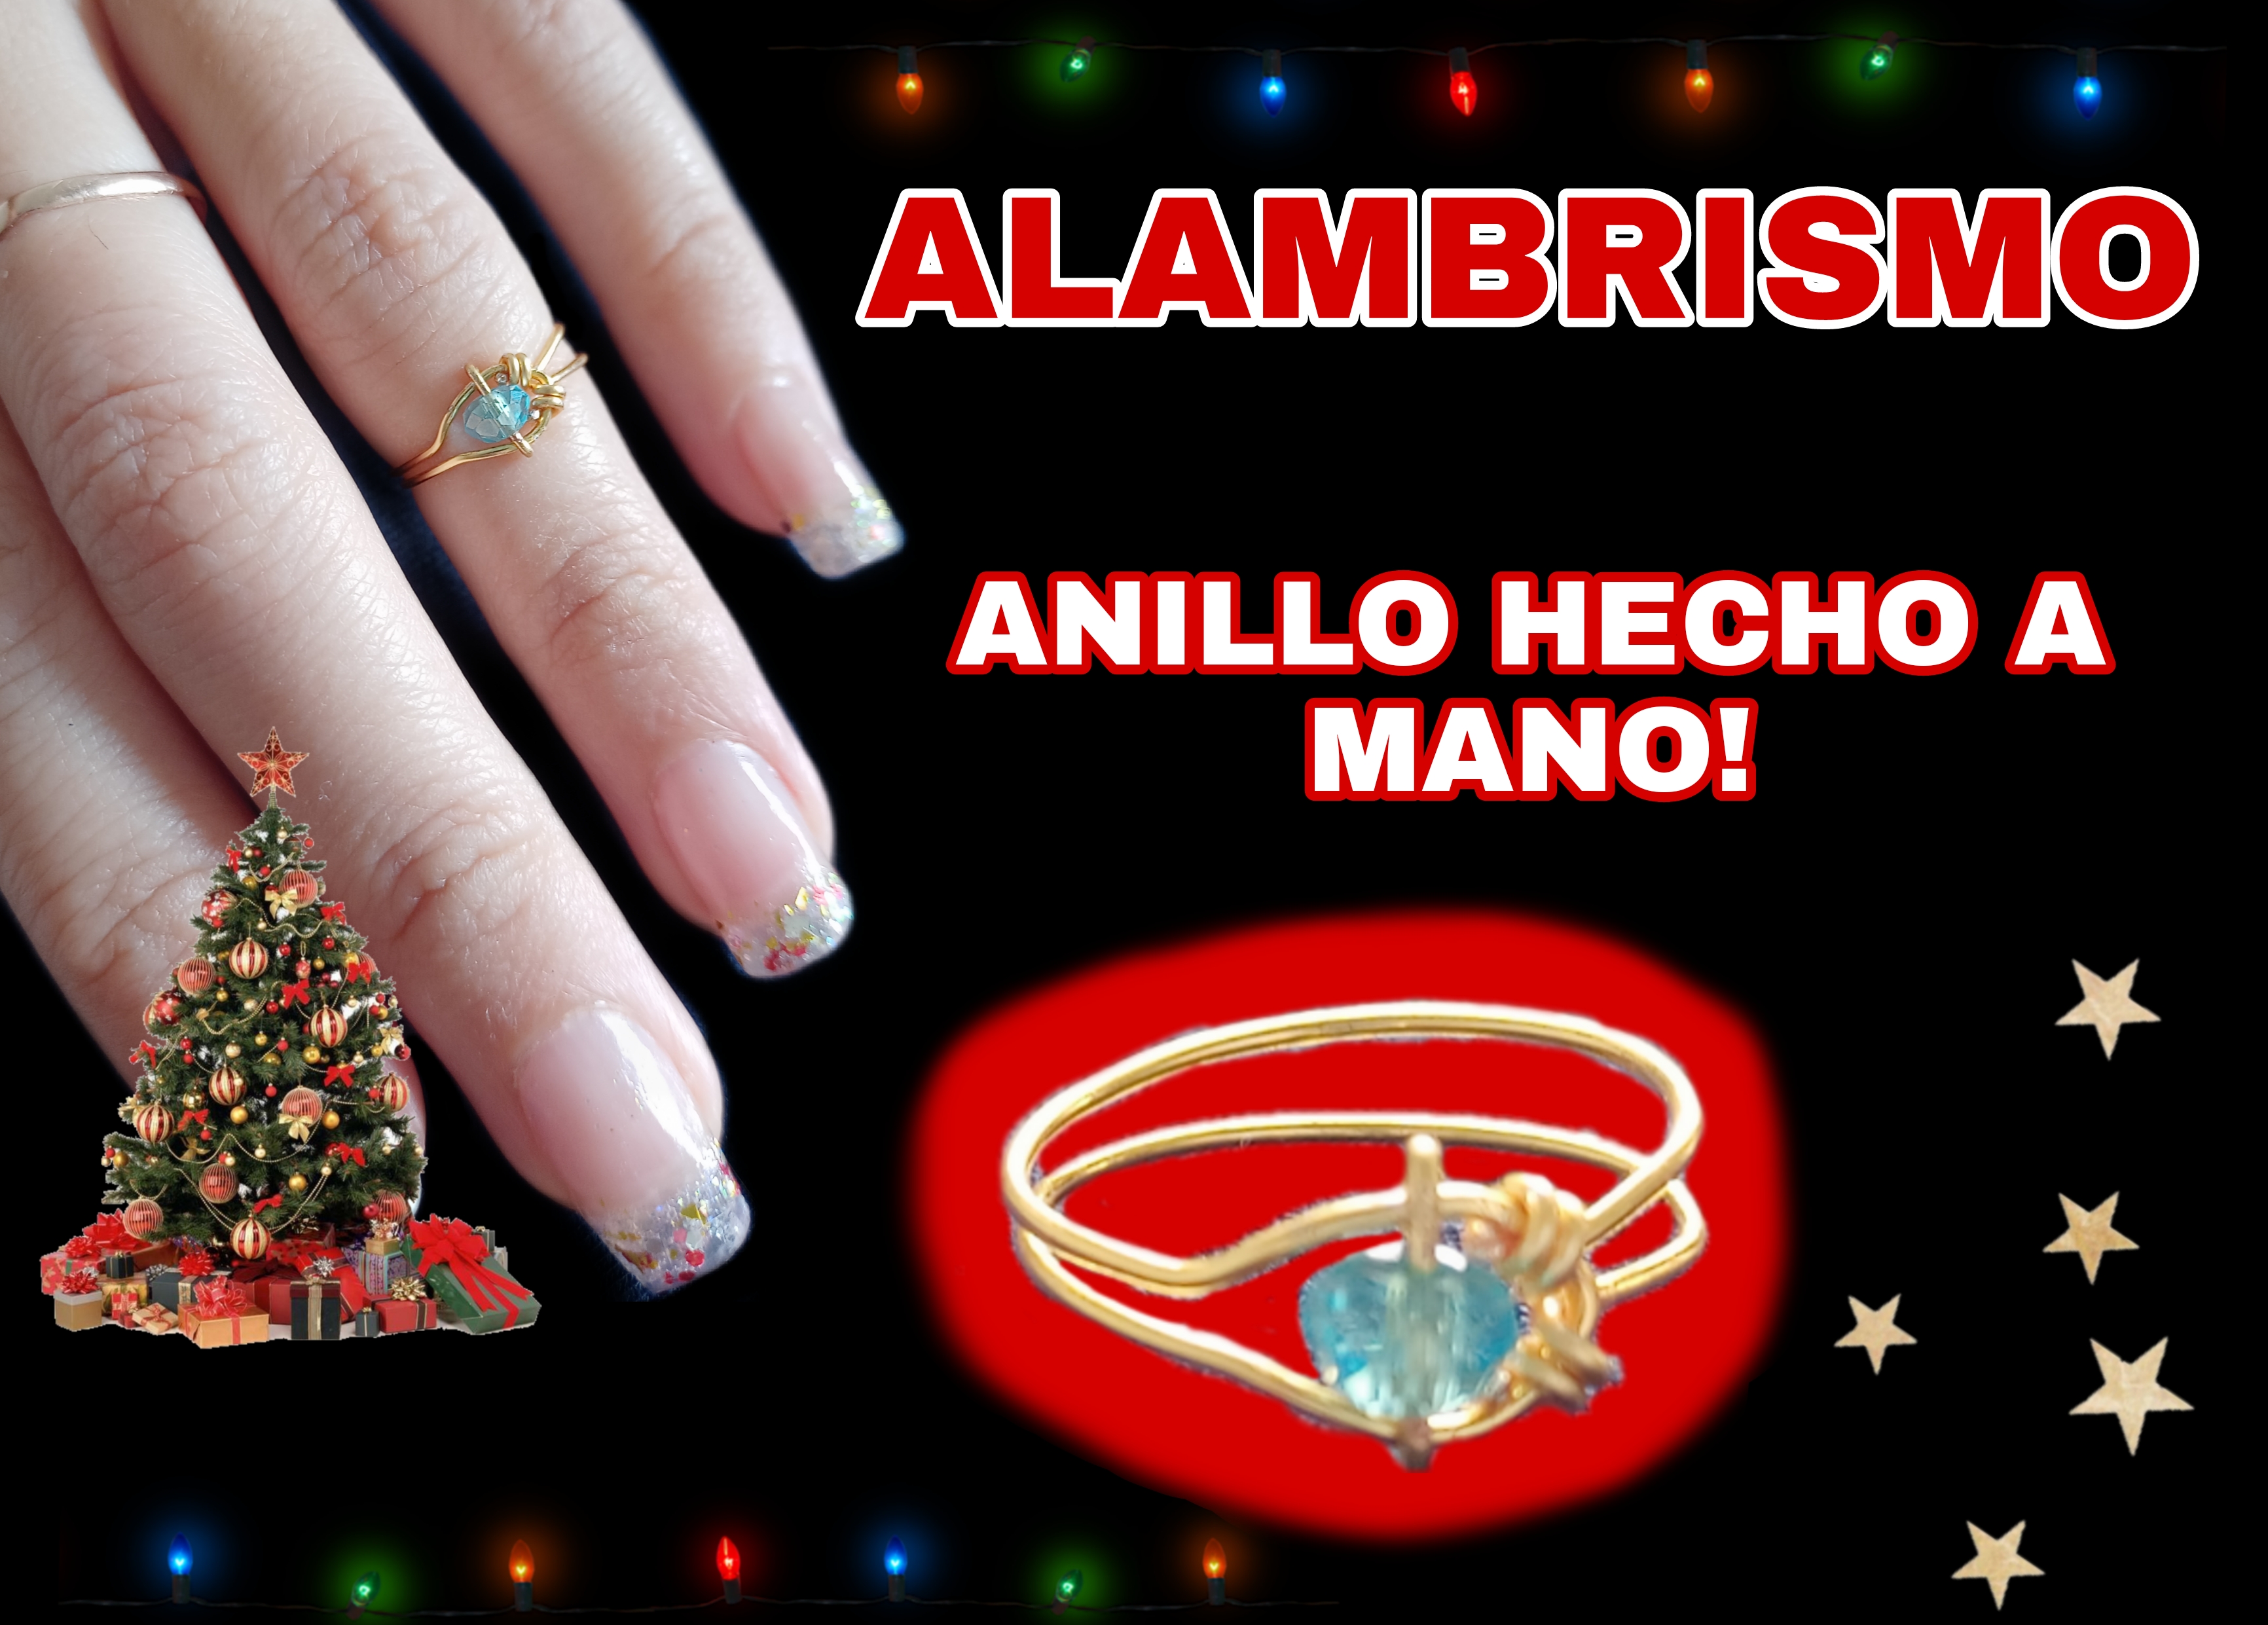
Hello creative friends of #hivediy, I am happy to greet you again, he stopped by today wishing you a wonderful day, and to share with you a tutorial where I explain step by step how to make this spectacular ring! I did it with the wire rope technique, here I will explain step by step how to do it.
I really hope you like this small step by step, I really liked creating it and mainly sharing it with you, you will see how easy it is to elaborate it and I will try to be as explicit as possible in this tutorial, so without further ado, here are the steps to follow. This time we will use the following materials:
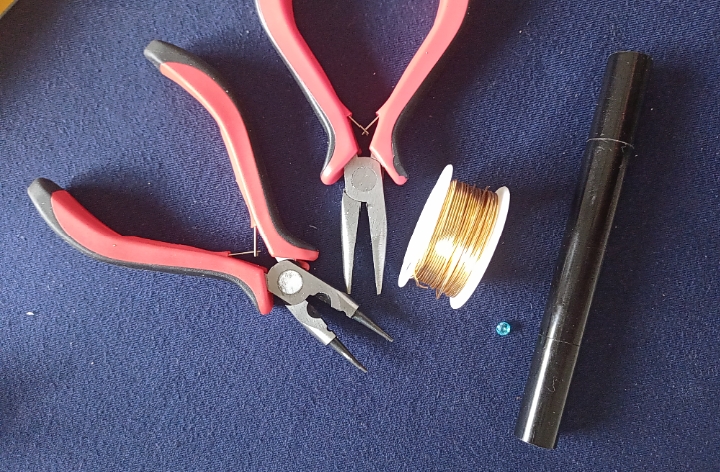
MATERIALES
- alambre calibre 20 (la cantidad depende del grosor del anillo)
- Pinza plana.
- pinza punta redonda.
- un marcador y objeto cilíndrico
- una piedra de tu preferencia
MATERIALS
- 20 gauge wire (the amount depends on the thickness of the ring)
- Flat clamp.
- Round nose pliers.
- a marker and cylindrical object
- a stone of your choice
STEP BY STEP
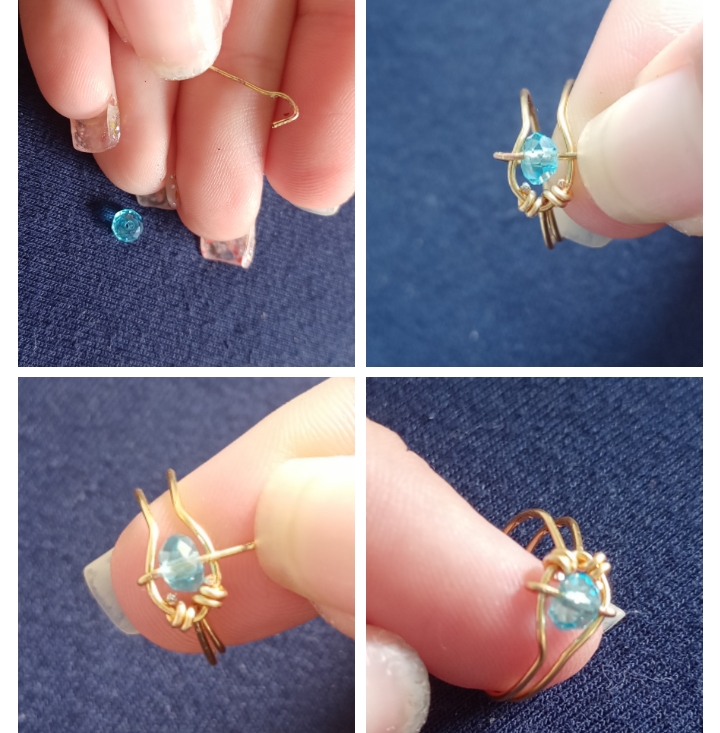
1 . The first thing I did was cut a piece of 20 gauge wire, and then fold it in half.
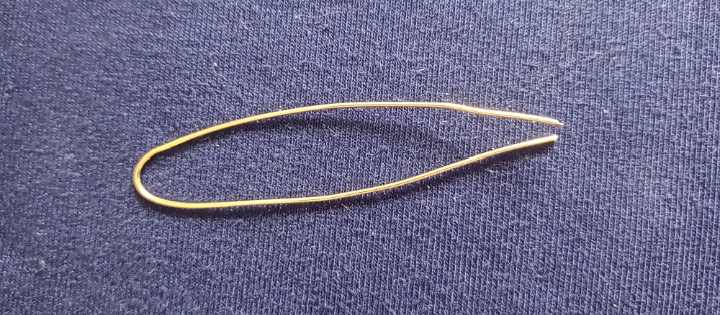
2 . Then make a ring right on the double so that it will be as follows.
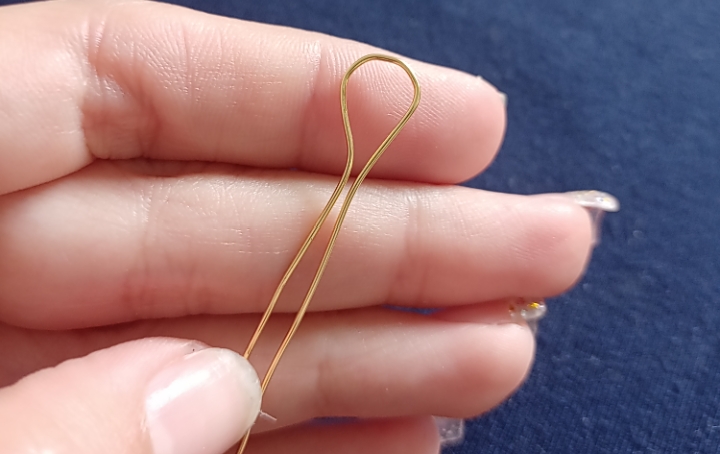
3 . Take the cylindrical object in which the wire influences, this allowed me to take the measurement of the ring, I introduced the tips inside the idi ring for two to three turns to ensure.

4 . Finally, make the central piece for which you use a piece of approximately 0.5 cm of 22 gauge wire, make a small ring at one of the ends and place it right where the ring is main ring, in this way the stone will be located right in the middle, you are only cutting the excess and making a ring at the other end.
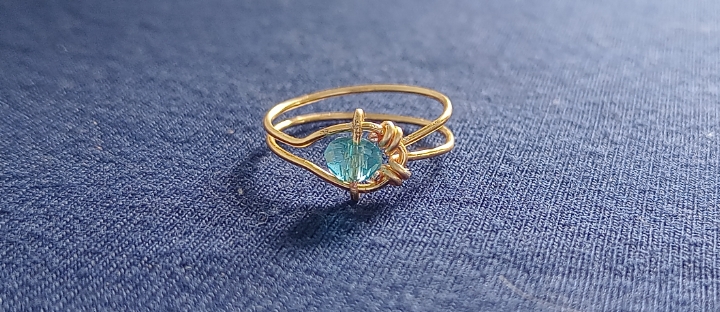
And that's it, we'll have our new accessory ready, I really loved how it turned out and how it looks, I hope you'll be encouraged to try
RESULTADO FINAL
FINAL SCORE
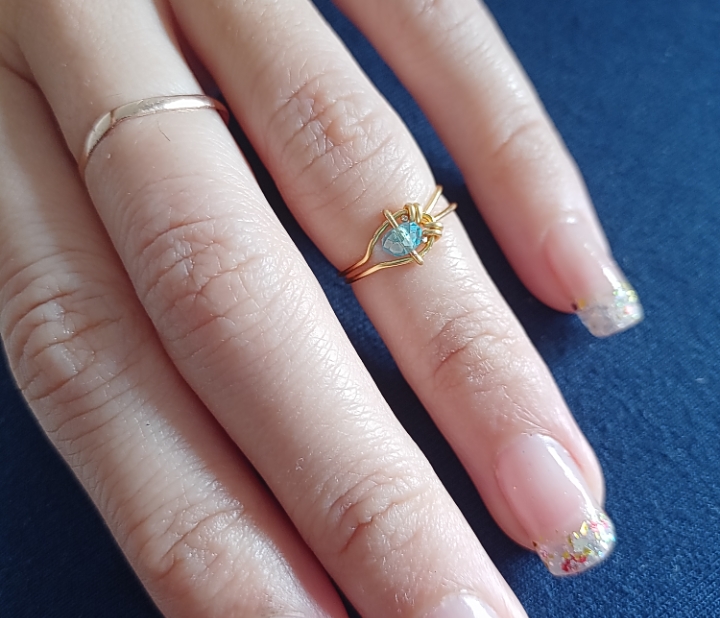

REMEMBER THAT YOU CAN GIVE IT YOUR PERSONAL TOUCH!
You can find more tutorials like this on my blog, it will be until a next opportunity!Happy to share with you friends of #jewelry one more of my projects, I hope you liked it! It was made with love and dedication😊
Fotografías propias tomadas con mi REALME 7i
Contenido 100% exclusivo
Own photos taken with my REALME 7i
100% exclusive content
Feliz de compartir con ustedes amigos de #jewelry uno más de mis proyectos, espero haya sido de su agrado! Fue hecho con amor y dedicación😊 Pueden encontrar más tutoriales cómo este en mi blog, será hasta una próxima oportunidad!
Que lindo, me encanta, te quedo muy original.
Gracias ☺️, es lindo saber que fue de tu agrado
Thank you for sharing this post on HIVE!
Your content got selected by our fellow curator rezoanulvibes & you just received a little thank you upvote from us for your great work! Your post will be featured in one of our recurring compilations which are aiming to offer you a stage to widen your audience within the DIY scene of Hive. Stay creative & HIVE ON!
Please vote for our hive witness <3
Gracias por su apoyo ☺️
Congratulations @venusl19! You have completed the following achievement on the Hive blockchain And have been rewarded with New badge(s)
Your next target is to reach 600 replies.
You can view your badges on your board and compare yourself to others in the Ranking
If you no longer want to receive notifications, reply to this comment with the word
STOPCheck out the last post from @hivebuzz:
Support the HiveBuzz project. Vote for our proposal!
Este tipo de accesorios les dan un look delicado a nuestras manos, me gusta que brindes opciones para reemplazar materiales como usar algún objeto cilíndrico, excelente tutorial.